This post may contain affiliate links. Please read our disclosure policy.
Painted Sharpie Mugs (that don’t wash off) make a great gift for friends, relatives, or teachers. All you need is a mug, some oil-based paint markers and your creativity!
")
Sharpie mugs have been popular for a while because they are personal, really fun to make, and are an affordable gift to give.
The secret to success with this project is to use an oil-based paint marker. Sharpie brand does make these, but a traditional permanent marker is not the same and will wash off.
Table of Contents
")
Why You’ll Love This Project
- Makes a great gift for friends, family members, or teachers.
- Easy project for kids to do (with supervision).
- Budget friendly.
- Wonderful addition to a gift basket.
Project Supplies
- Mugs: White is a good color because the paint shows up well.
- Rubbing alcohol
- Cotton balls
- Sharpie oil-based paint markers: Regular Sharpies will not work – they must be oil-based paint markers.
")
How to Make a Sharpie Painted Mug
- Step #1. Wash the mug in warm soapy water to remove any stickers. Rinse and dry.
- Step #2. Put some rubbing alcohol on a cotton ball and rub it all over the outside of the mug where you’ll be painting it.
- Step #3. Decorate the mug with paint pens however you’d like.
- Step #4. Let your painted mug dry for 24 hours.
- Step #5. Place your mugs on a rimmed baking sheet (makes getting them in and out of the oven easier) and place them in a cold oven.
- Step #6. Turn the oven on to 375 degrees F. Once it’s heated, let the mugs bake for 25 minutes.
- Step #7. Turn the oven off and leave the mugs inside until they cool down.
- Step #8. Once the mugs are cool, wash them again in warm soapy water and then use them!
FAQs
No. While Sharpie’s website says they are made from non-toxic materials, it also says they have not been tested for food safety. So it’s best to only use the paint on the outside of the mug.
Personalizing a mug for yourself or a friend or family member is half the fun. Add a monogram or a name, write a favorite quote, or draw a series of stick figures that represent your family. The options are endless!
It’s what helps the paint set more permanently on the mugs.
Yes! Mine have helped up well with regular trips through the dishwasher.
")
Expert Tips
- If you’re making a Sharpie painted mug with kids, be sure to protect all surfaces and put on old clothes or smocks.
- If you make a mistake, dip a cotton swab in rubbing alcohol and wipe away anything you don’t want on the mug.
- The process for baking the mugs takes about 2 hours to complete, so make sure you have enough time. You could let them dry a little longer than 24 hours if you need to.
- Pay attention to the size of the markers you’re buying. Medium, fine, or thin markers work the best for this mug project because larger marker tips make it harder to add details.
More Craft Projects to Consider
Garden Ideas
The Best Homemade Hummingbird Food Recipe
Crafts & DIY
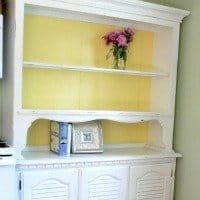
How to Paint Furniture Without sanding
Crafts & DIY
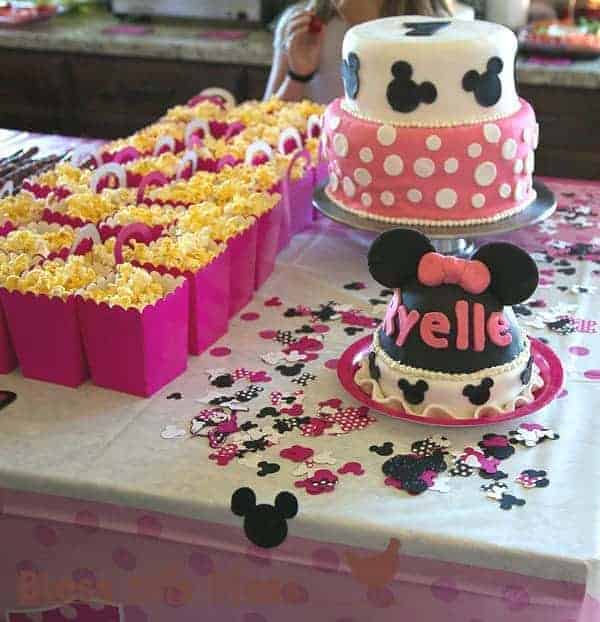
Minnie Mouse Birthday Party
Did you make this recipe? Leave a ⭐️ review and share it on Instagram, Facebook, or Pinterest!


I don’t know what I’m doing wrong, I’ve tried 5 times and every single time, the mugs come out of the oven, the paint pen is still able to be scratched off. I’ve tried using different colours, doing 1 layer instead of going over the lettering twice, and nothing has worked to help keep the paint on the mug! And yes, I’m using the sharpie oil based paint pens. Help!!! Please 🙂
An issue I have after baking the mugs is sometimes they get some light brown spots for some reason. They usually do wipe off but I’m wondering if there is anything I can do to avoid this happening?
It might just be your mug? I’d probably lower the baking temperature by 25 degrees.
Muchas gracias, has sido de gran ayuda.
Thanks a lot!!!
Are these microwave safe?
I think it would depend on the mug, I haven’t really done much with microwaving them though.
I’ve been looking for just these instructions thank you Melissa. Hopefully will show what I’ve doon soon.
Thanks Melissa!
They turned out so cute!
Have you ever used AROIC oil based paint pens? They have some great colors. I am going to try your technique on the ones I bought. I waited 24 hours but didn’t bake and some of the paint came off on the mug i painted with the AROIC paint pens.
I have not used those, but oil paints tend to be really great. I think heat setting the paint, any paint is really key to the success of the project, so I’d recommend that step!