
This post may contain affiliate links. Please read our disclosure policy.

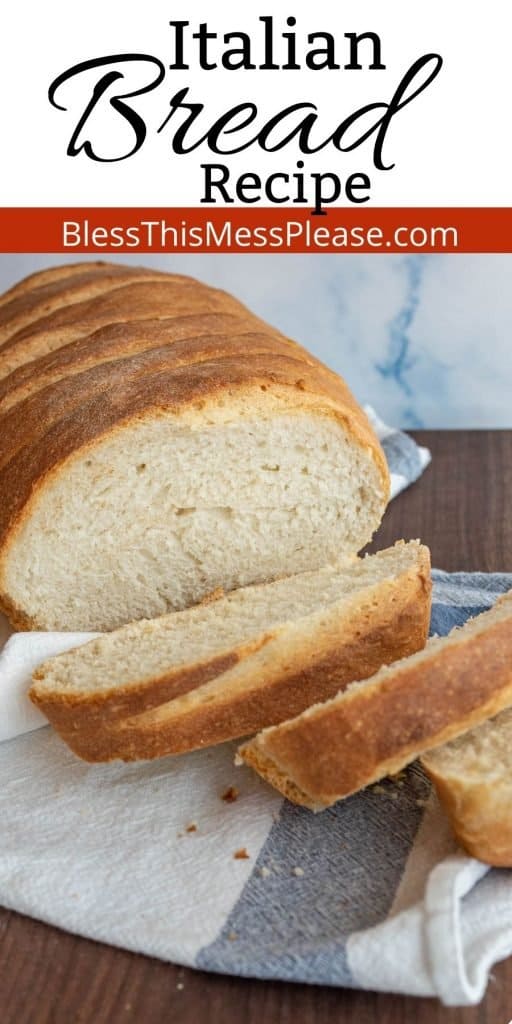
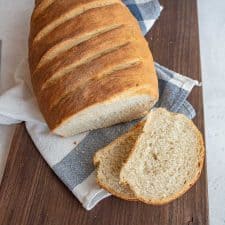
This easy Homemade Italian Bread needs only 4 simple ingredients. With its crusty exterior and fluffy interior, it’s the perfect side for soups, stews, and chilis!
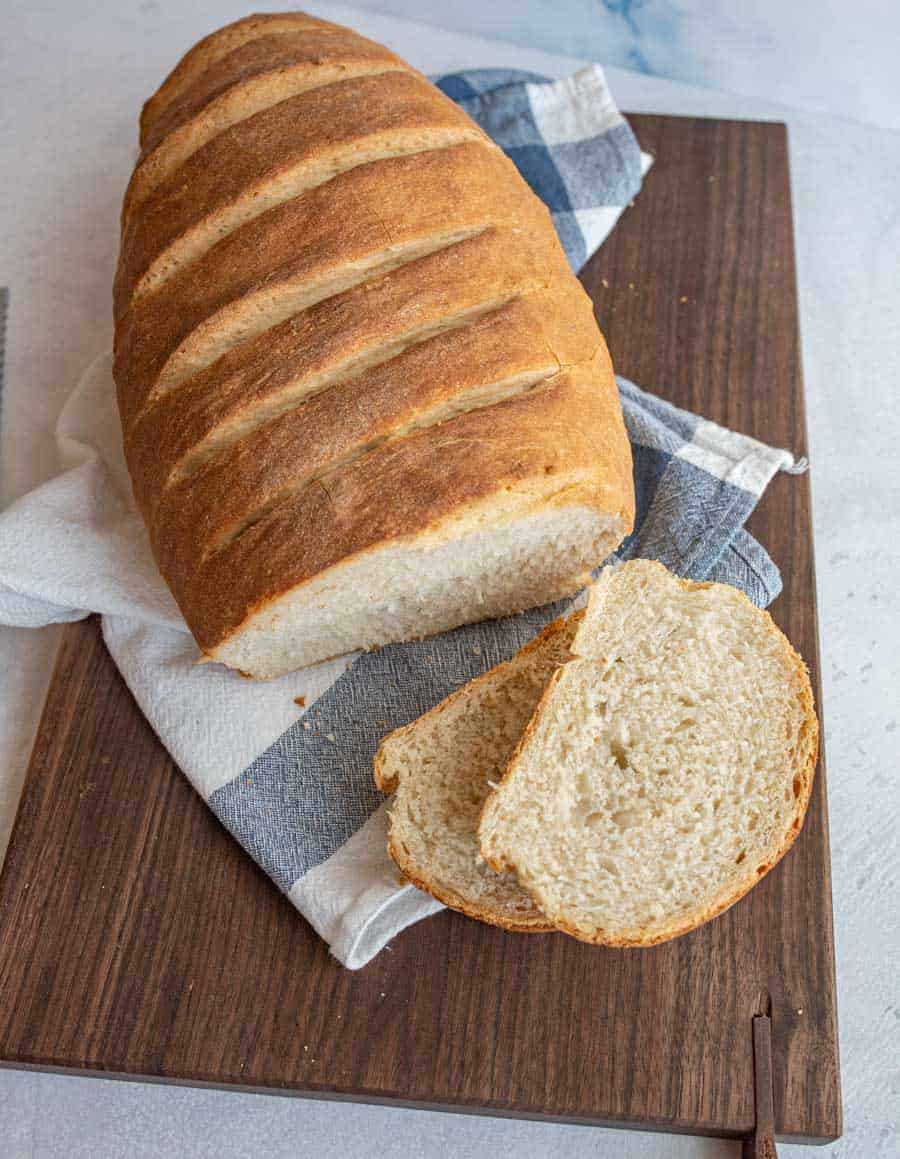
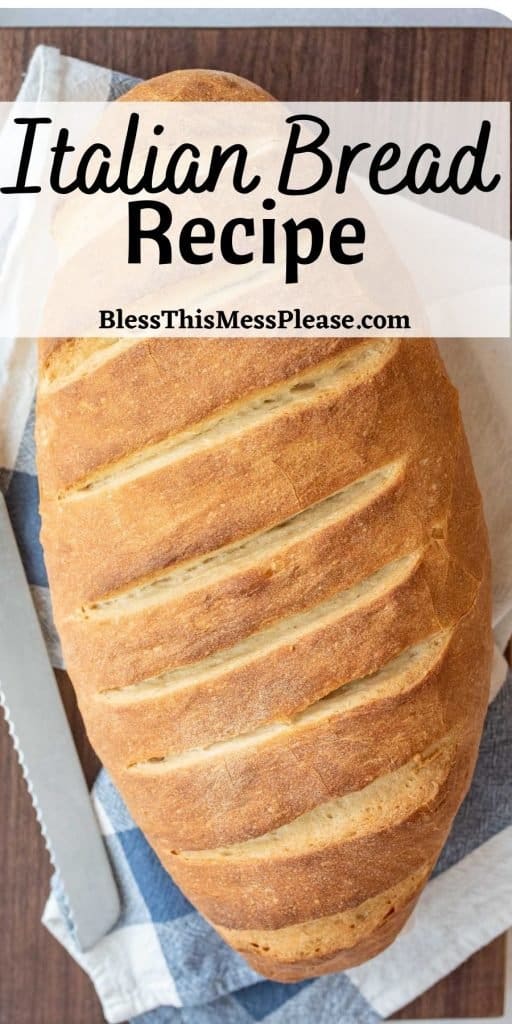
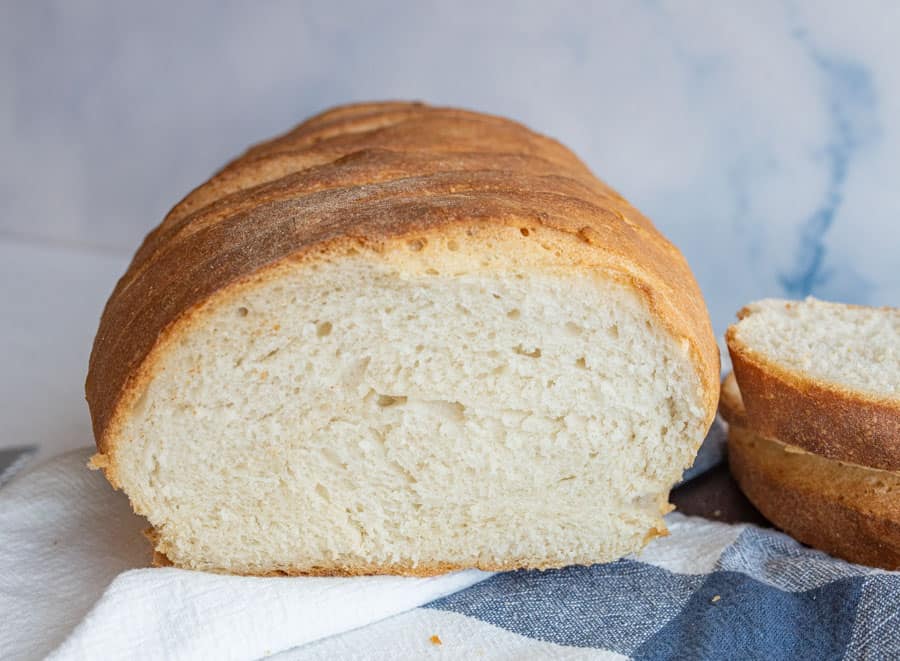
A-maz-ing. That is the only way to describe this rustic Italian bread. It is dense and wonderfully chewy on the outside while being super soft and fluffy on the inside.
There’s something magical about simple ingredients like flour, water, salt, and yeast working together with time. This bread tastes just like any good loaf of crusty bread you’d find at a high-end bakery but you can make it at home.
This is the best homemade bread for overnight French toast casserole. It is also wonderful alongside Hearty Lentil Soup, White Bean Chicken Chili, Homemade Beef Stew, and my best Corn Chowder recipe.
Table of Contents
Why You’ll Love This Recipe
- Taste – This is the most delicious loaf of Italian bread you can make at home.
- Texture – Soft and chewy in the middle with a slightly crusty exterior.
- Simple – There are only four ingredients and all are pantry staples.
Recipe Ingredients
- Bread flour: All-purpose flour will work in this recipe but bread flour is better.
- Warm water: Between 105 and 110 degrees F.
- Instant yeast
- Salt
See the recipe card below for full information on ingredients and quantities.
How to Make Homemade Italian Bread
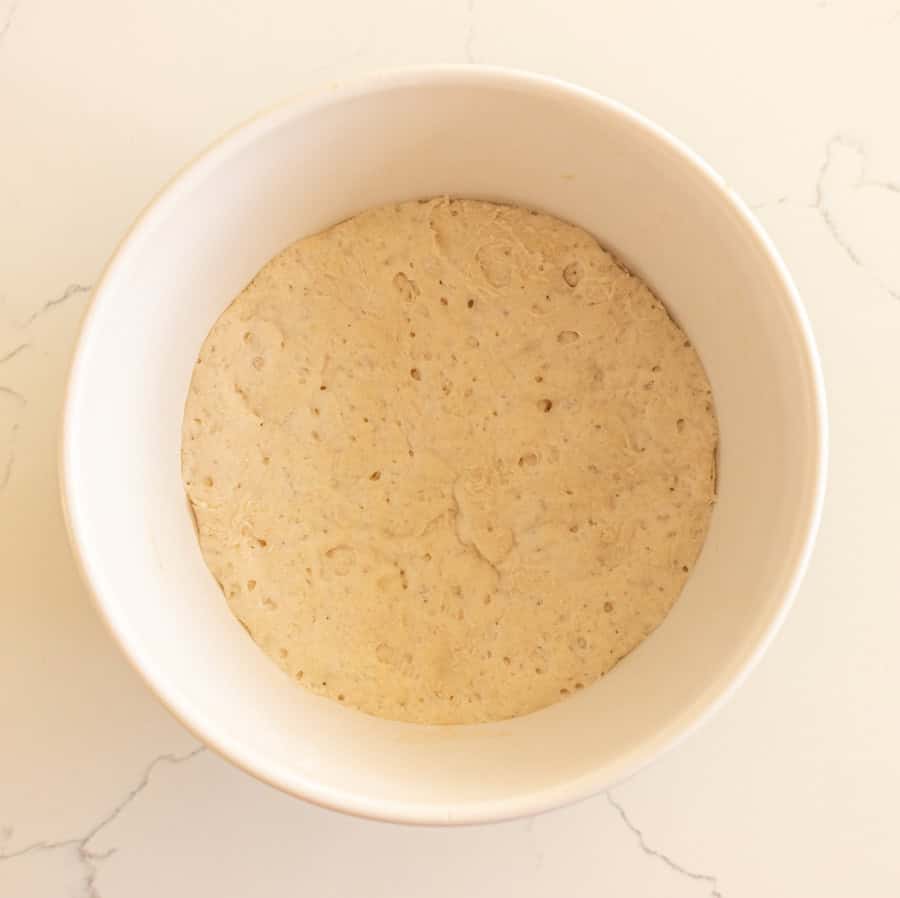
Step #1. Mix together the ingredients for the sponge until it looks like dough. Cover and let it sit for 6 to 24 hours at room temperature.
Step #2. Add 3 cups of flour and the yeast to a stand mixer with a dough hook and slowly add the water while the mixer is running. Cover the dough and let it rest for 20 minutes.
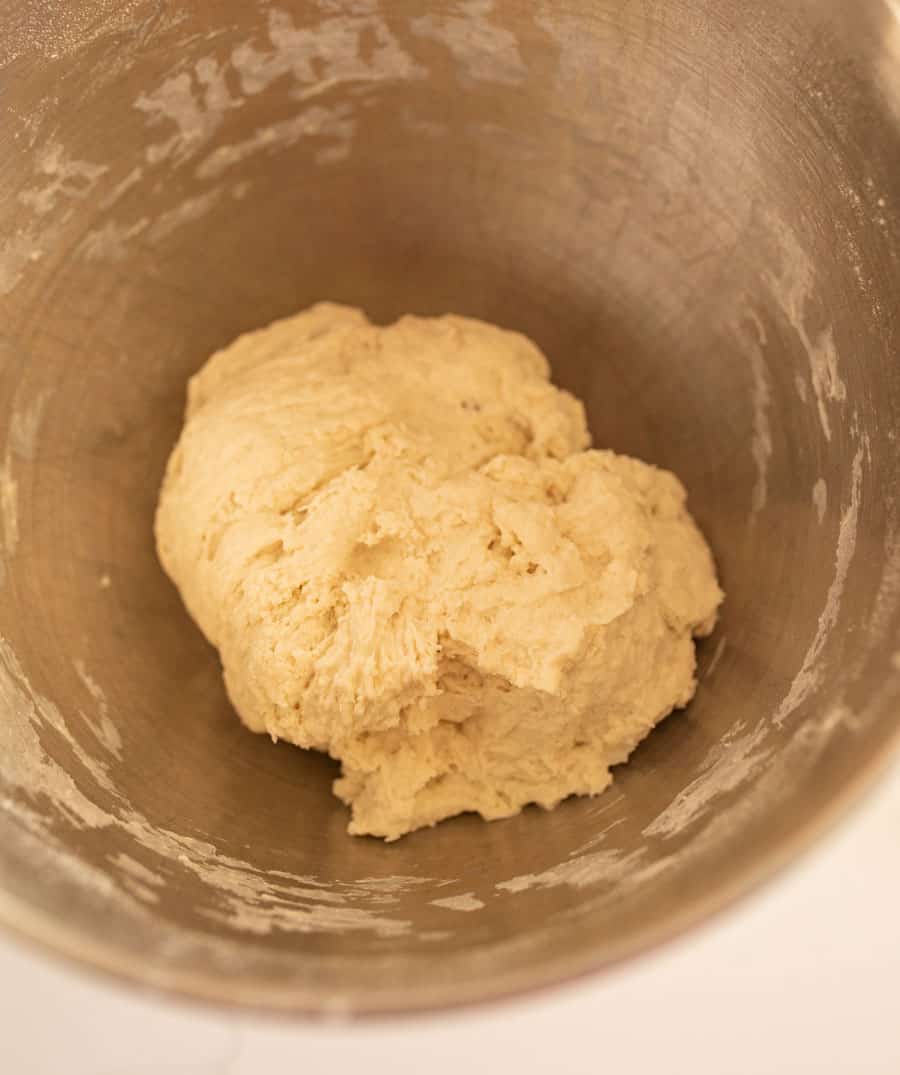
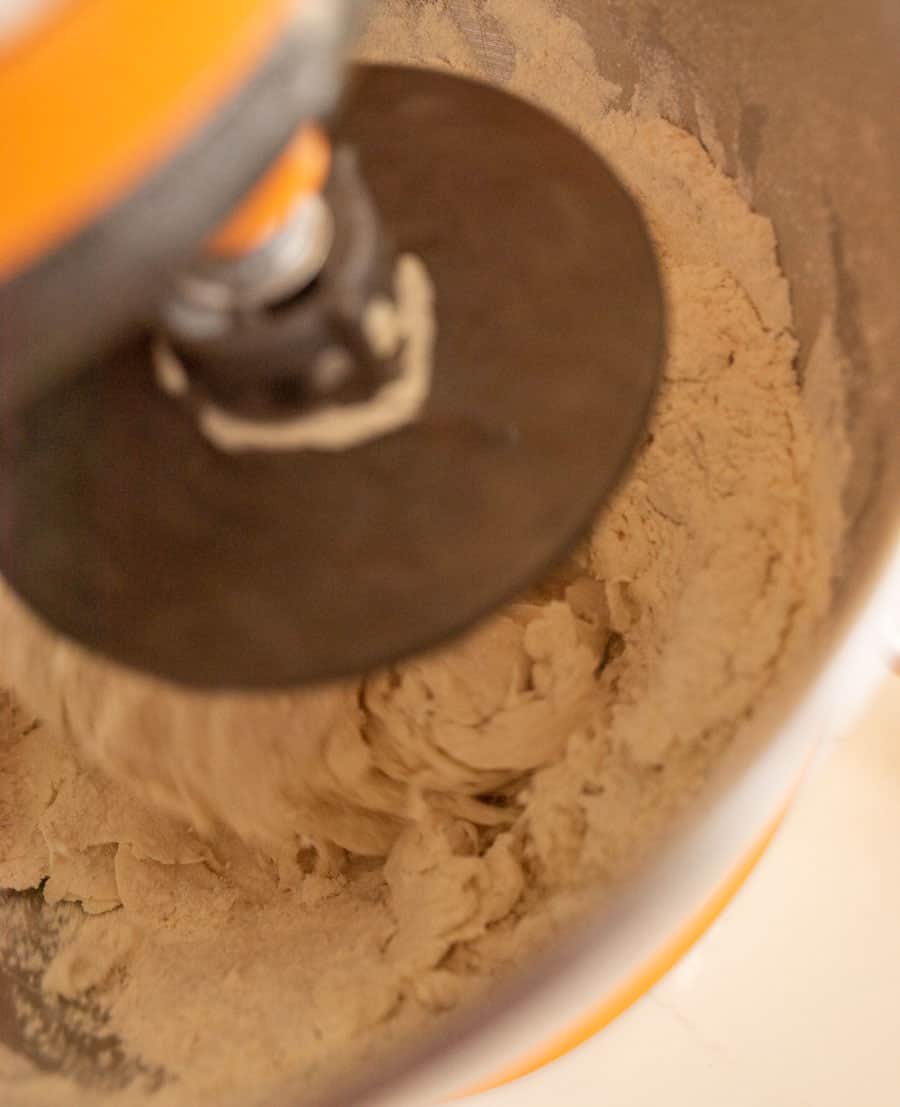
Step #3. Add the sponge and salt to the stand mixer and mixon on medium low speed for 8 minutes adding more flour a little at a time until the dough doesn’t stick to the edges.
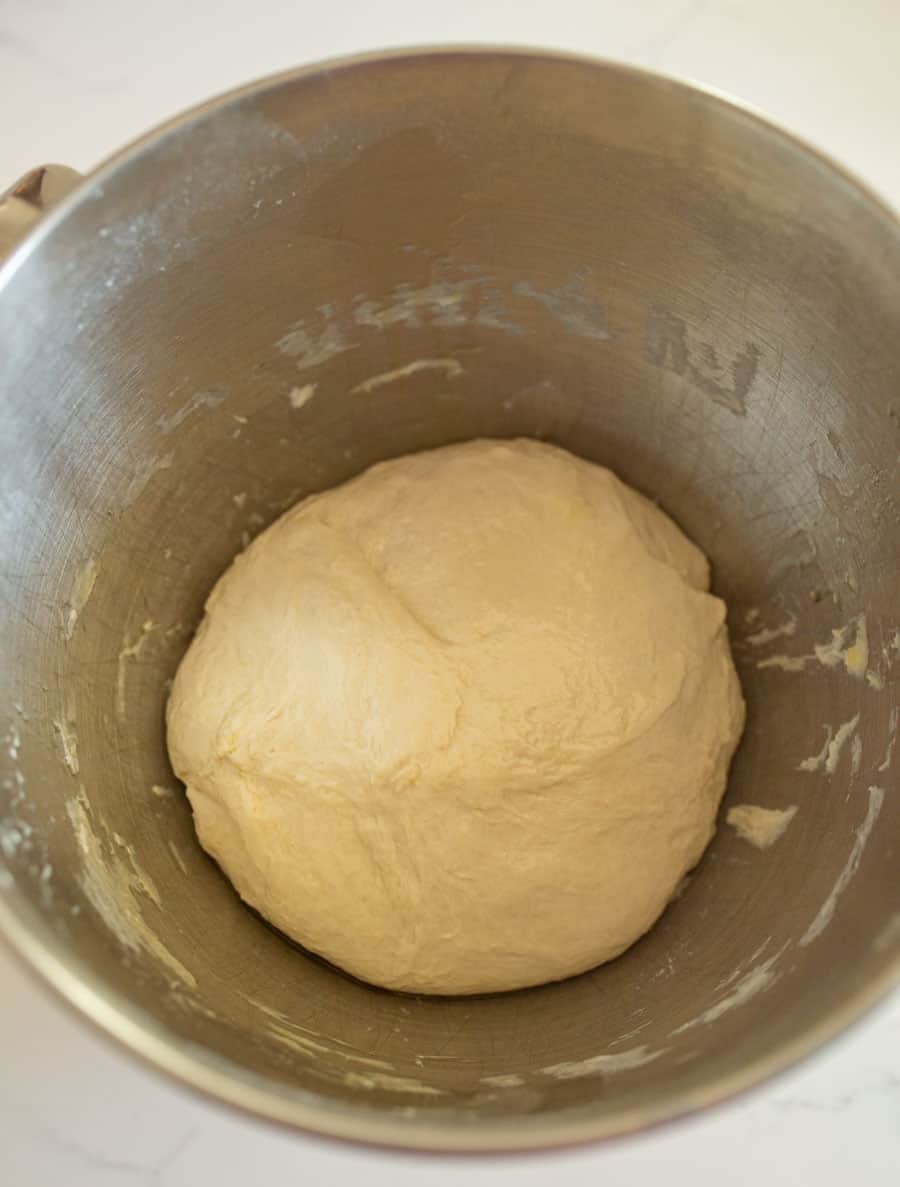
Step #4. Let the dough rise in a covered and lightly oiled bowl in a warm place until doubled, about an hour.
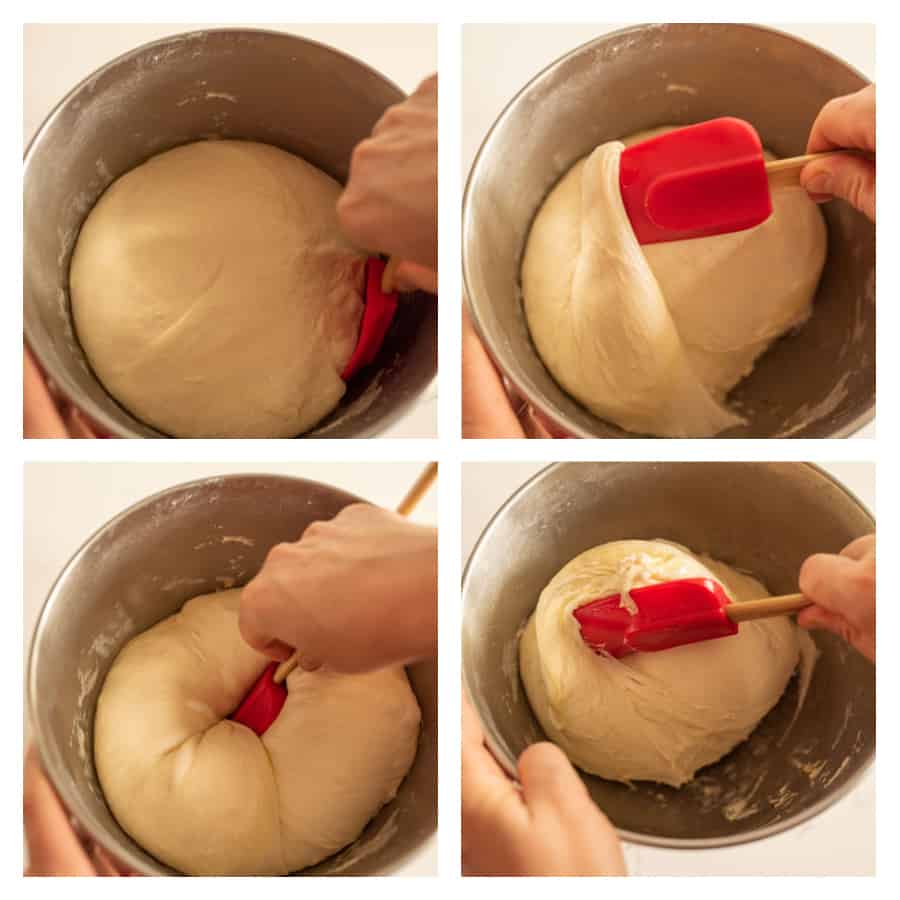
Step #5. Fold the dough a few times in the bowl and then cover it again and let the dough rise for another 30 minutes. Repeat once.
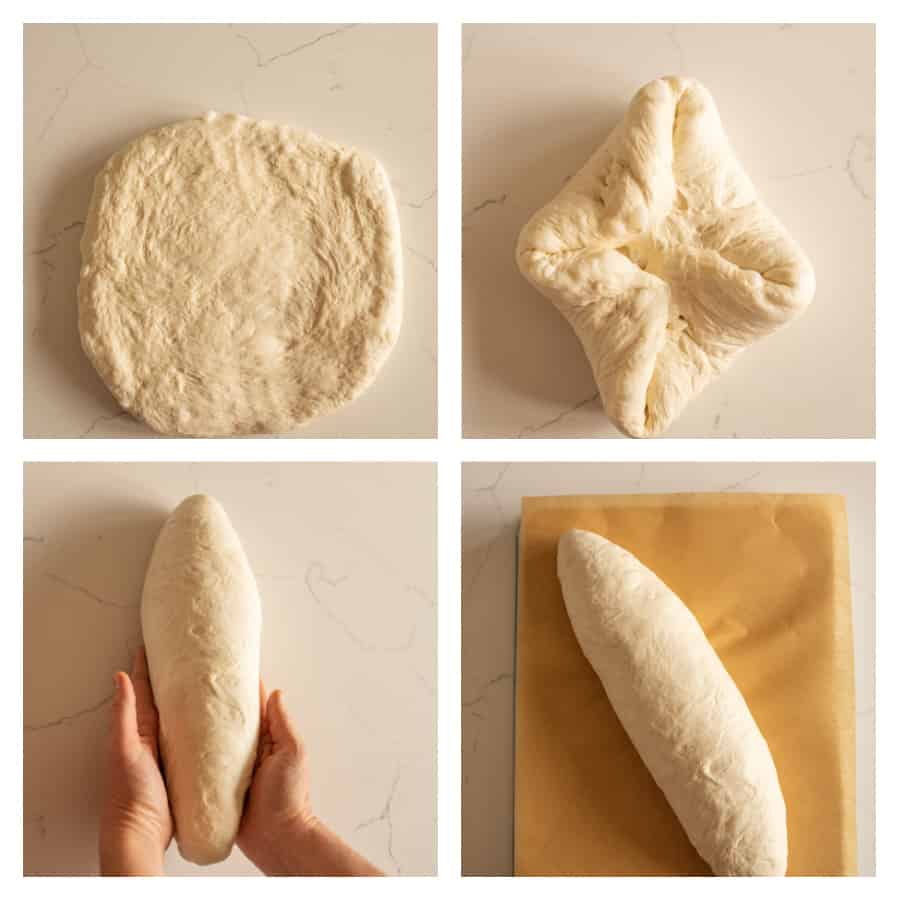
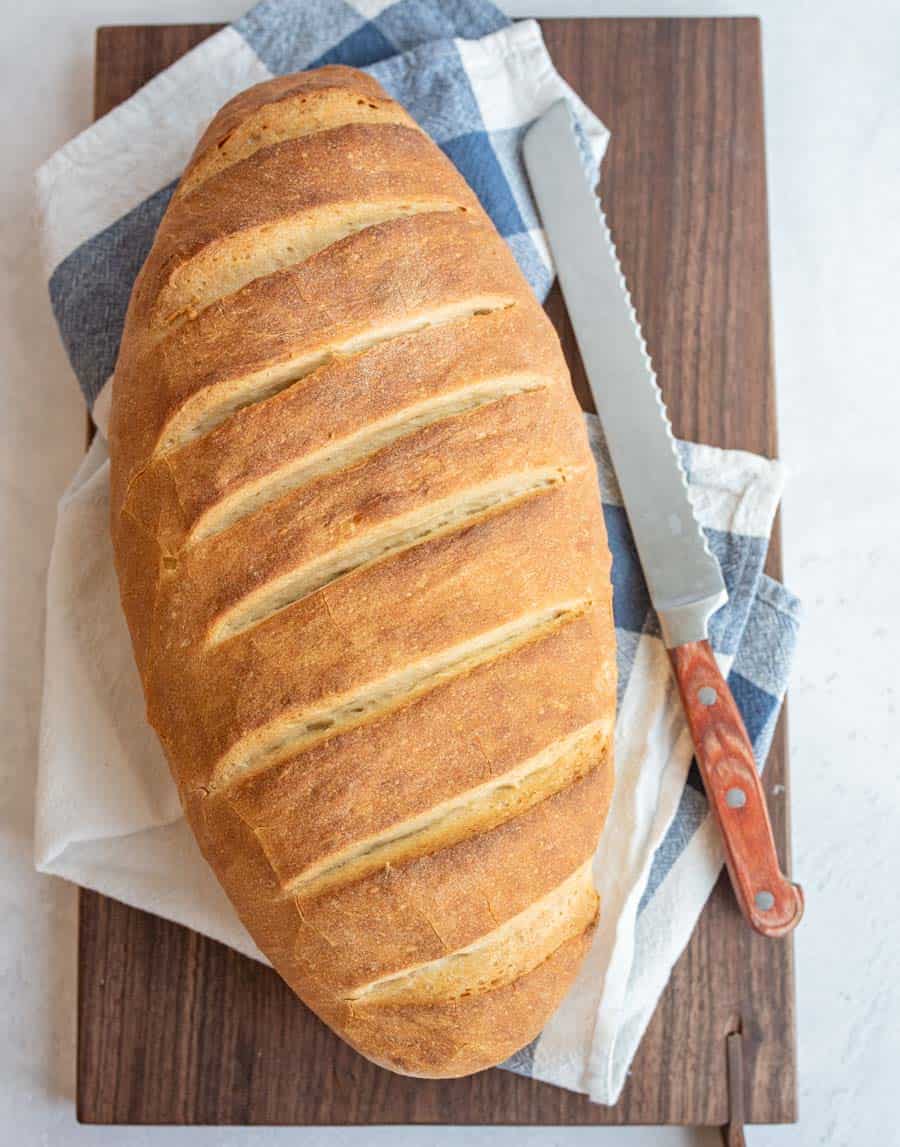
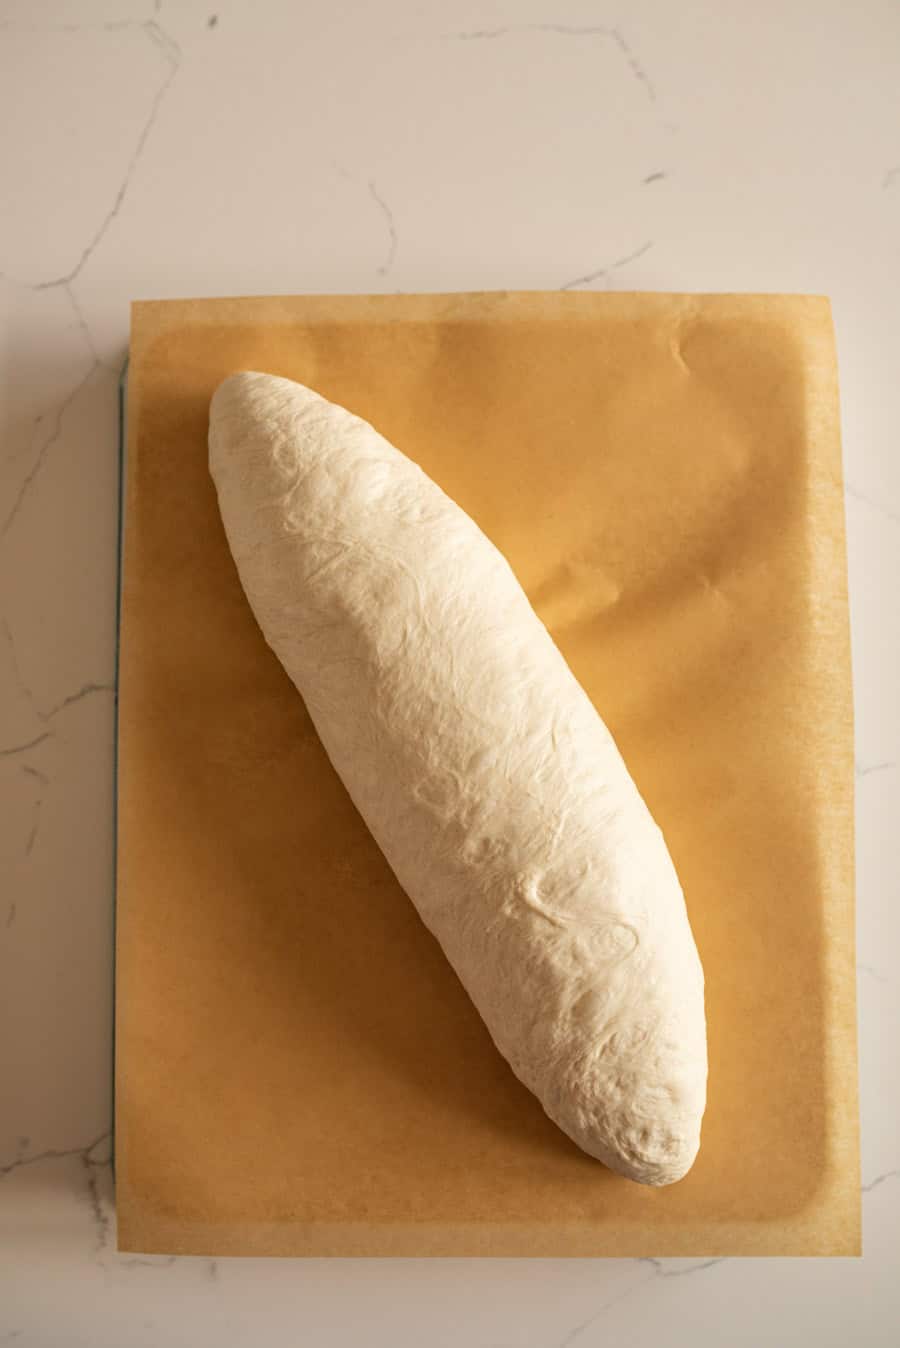
Step #6. Shape the dough into a loaf, place it on parchment paper on a rimless baking sheet, and let it rise for 60 to 90 minutes.
Step #7. While the loaf is rising, preheat the oven to 500 degrees and then put the baking stone in for 30 to 60 minutes.
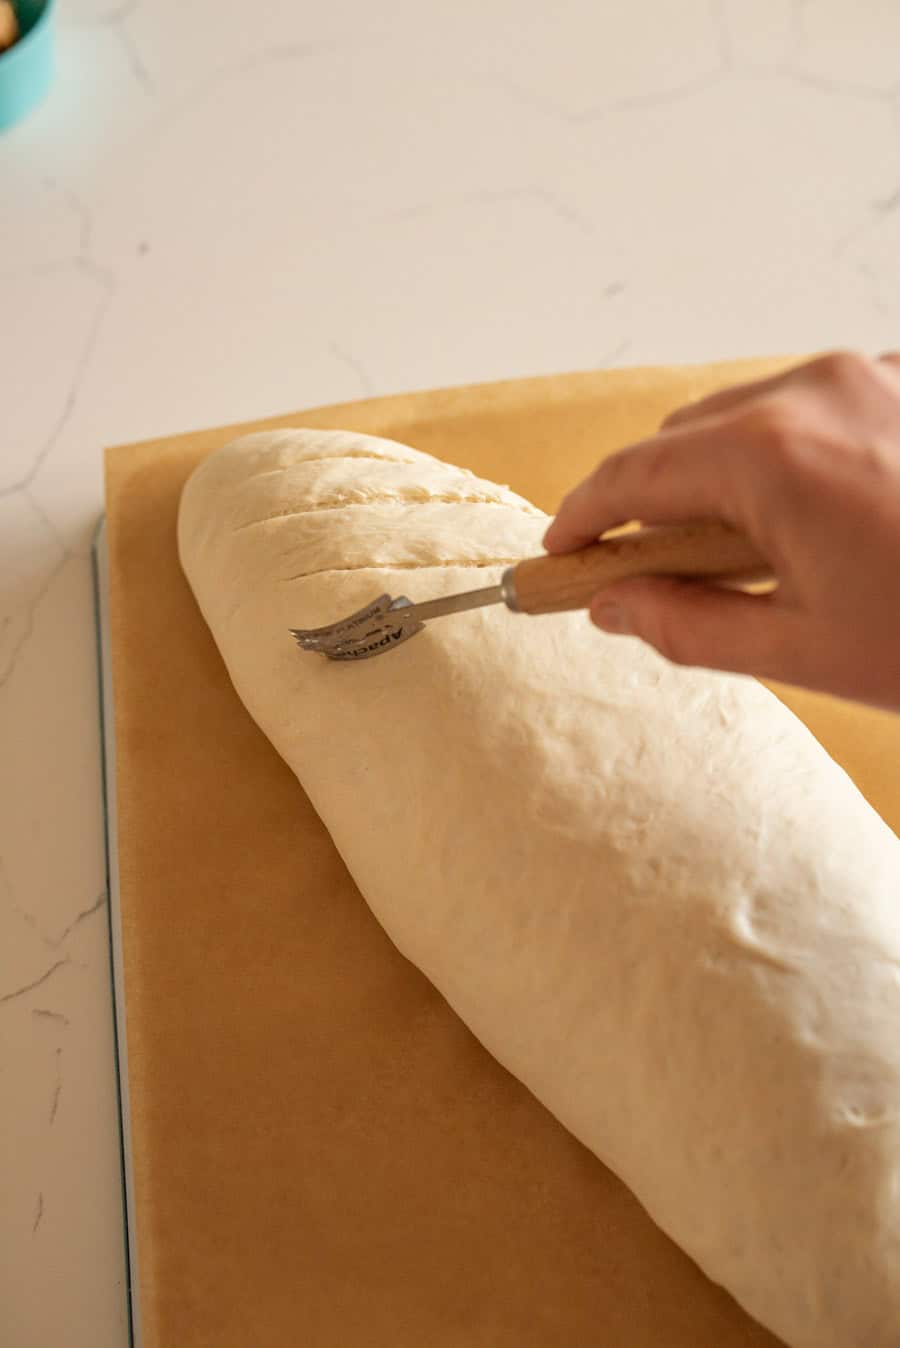
Step #8. Score the loaf of bread and slide it and the parchment from the baking sheet onto the hot stone and bake for 10 minutes at 500 degrees F.
Step #9. Reduce the oven temperature to 400 degrees and bake for 30 to 35 more minutes.
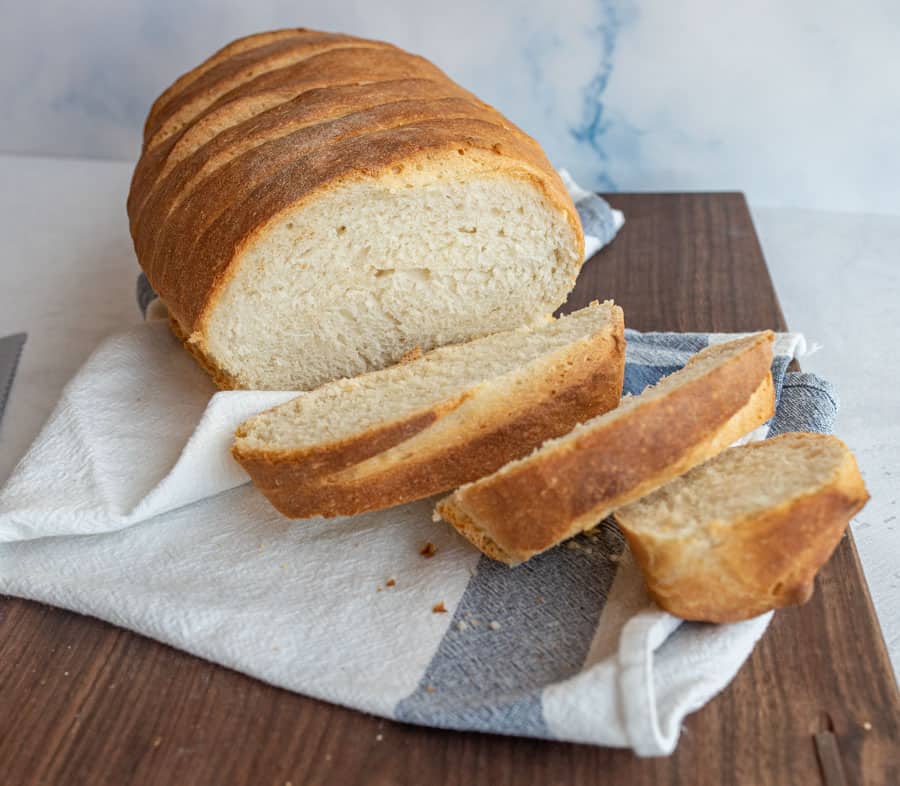
Step #10. When it’s a deep golden brown, remove the loaf from the oven and place it on a wire cool rack and let cool for 2 hours before serving.
Recipe FAQs
You make a sponge by mixing together flour, yeast, and water and let it sit for 24 hours before making the bread. The sponge adds amazing flavor and gives Italian bread its soft and chewy middle while the crust is still dense and delicious.
Yes and no. Bread flour is going to give you the chewiest texture that is traditional for Italian bread. But, I have tested this with all-purpose flour and it still turns out tasting good.
They have different sizes, shapes, and processes. French bread is long and thin while Italian bread is shorter and rounder in nature. French bread typically has a hard crust while Italian bread is chewier.
You will have the most success making bread with either a KitchenAid stand mixer or a Bosch. If you don’t have either, you can hand mix the dough by hand.
Expert Tips
- The bread flour makes for a chewier loaf, but in a pinch I’ve used all-purpose flour and the results were still worth the effort. (Bread flour has a high protein content and a high gluten content which helps the bread to be chewy.)
- The longer the sponge sits, the more developed the flavor will be. Try to let it set for 24 hours if you can.
- Make sure to place the seam side of your bread loaf down. This will create a loaf of bread that is more visually appealing.
- This bread is baked on a baking stone. If you don’t have one, an upside down cookie sheet works well, too!
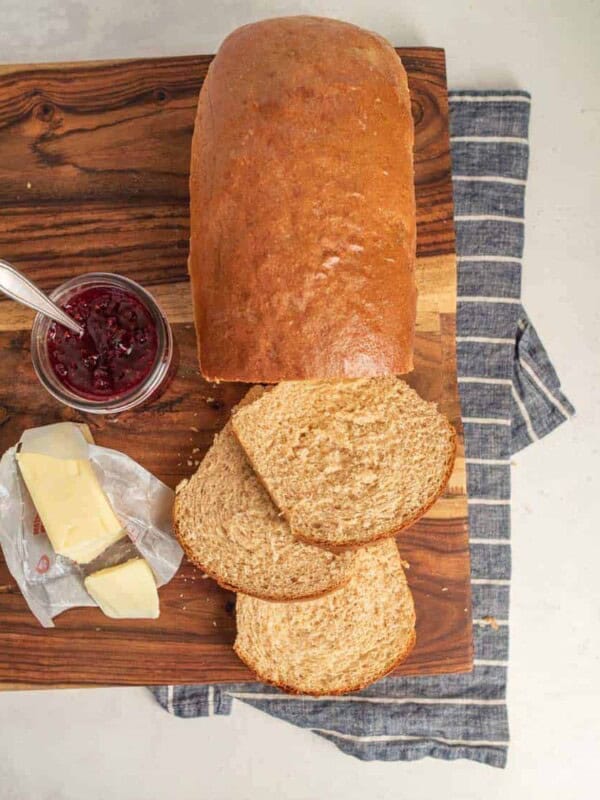
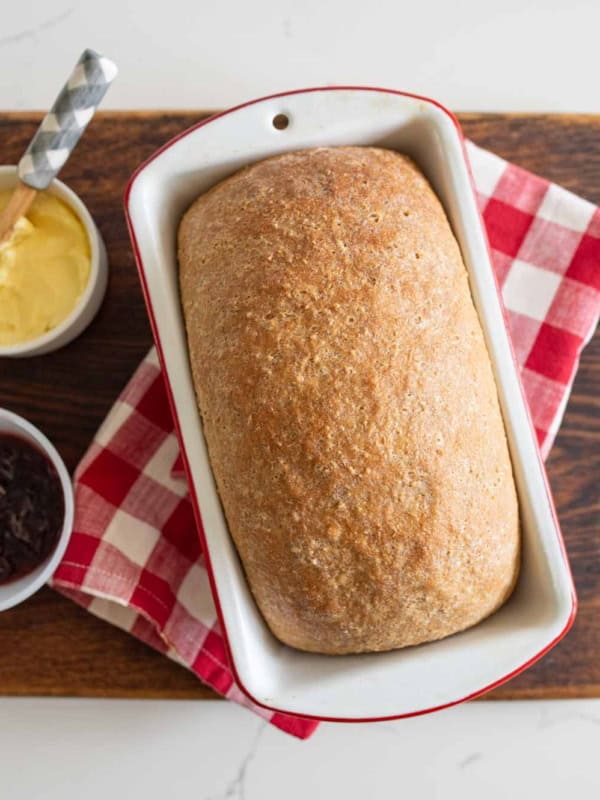
More Bread Recipes to Consider
Homemade Bread
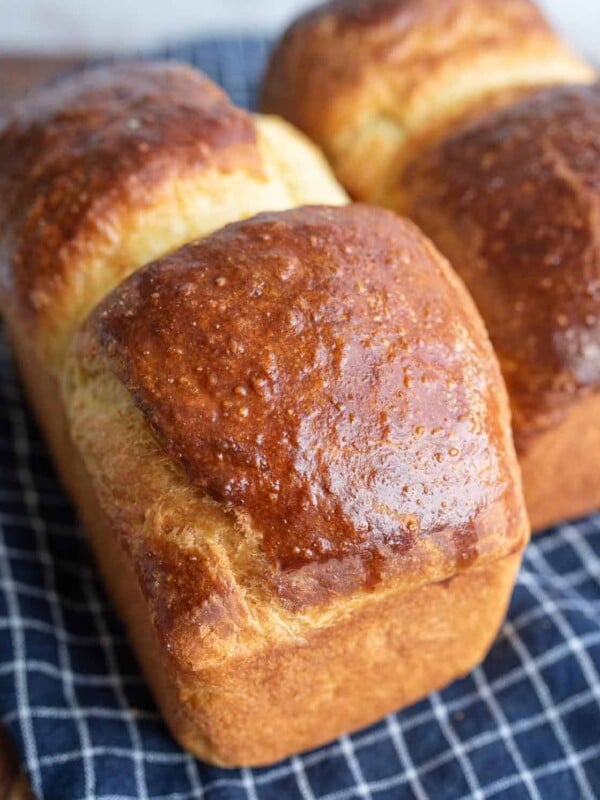
100% Whole Wheat Bread Recipe
Homemade Bread
Soft Whole Wheat Sandwich Bread Recipe
Yeast Bread Recipes
Brioche Bread
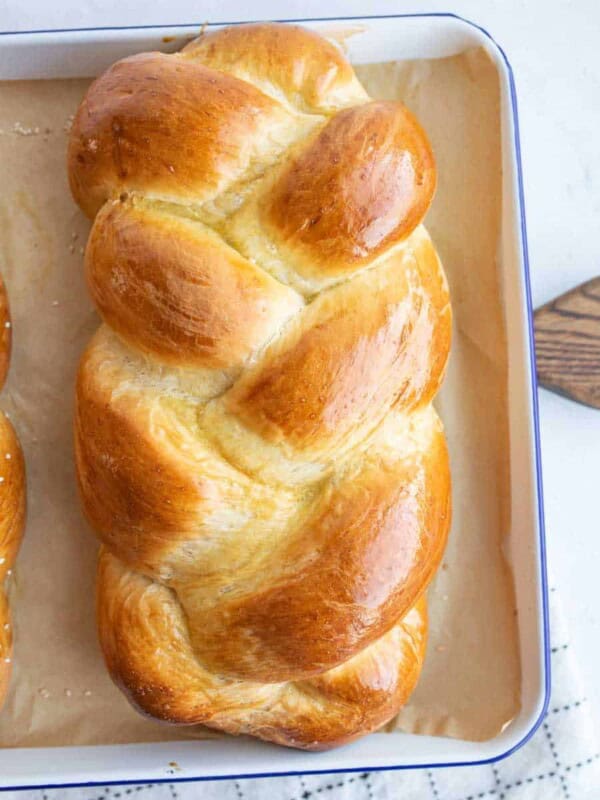
Yeast Bread Recipes
Challah Bread
Did you make this recipe? Leave a ⭐️ review and share it on Instagram, Facebook, or Pinterest!
Homemade Italian Bread
Ingredients
For the sponge:
- 2 cups bread flour
- 1 cup warm water
- 1/4 tsp instant yeast
For the dough:
- 3-3 1/2 cups bread flour
- 1 tsp instant yeast
- 1 1/4 cups warm water
- 2 tsp salt
Instructions
To make the sponge:
- Mix the flour, water, and yeast together in a medium bowl until it resembles dough. Cover the top of the bowl with plastic wrap and let it sit at room temperature for 6 to 24 hours.
To make the dough:
- Add 3 cups of the flour and yeast to the bowl of your stand mixer. With the dough hook attached, turn the mixer to low and slowly add the water while the mixer is running. Let this mix for 2 minutes until the dough starts to come together. Lift the head of your stand mixer and place a piece of plastic wrap tightly over the bowl. Let the dough rest for 20 minutes.
- After the 20 minute rest, remove the plastic wrap and add your sponge and salt. Mix on medium low speed for 8 minutes. After 4 minutes, if the dough is sticking to the side of the bowl add the last 1/2 cup of flour a little at a time until the dough stops sticking to the edges of the bowl but is still sticking to the bottom (you do want it to stick to the bottom). Turn the dough out onto a lightly floured surface and form into a smooth round ball.
- Place the dough in a large, lightly oiled bowl, and cover tightly with plastic wrap. Let the dough rise in a warm spot until doubled, about an hour.
- After the dough has doubled, remove the plastic wrap. Using a large spatula, gently fold the dough into itself by pulling the edge of the dough into the middle. Do this a few times all around the edge of the bowl. Cover the bowl and let the dough rise for 30 minutes.
- Repeat the previous step after the 30 minutes are up and then let it rise for a second 30 minutes.
- After the second 30 minutes of rising, it's time to form the loaf. Remove the dough from the bowl and gently press it into a 10-inch square without tearing it. Fold each corner into the middle and then gently roll the dough into a tornado shape. Place the dough, seam down, on a rimless baking sheet (or one that is upside-down) that is lined with parchment paper. Gently tuck the dough into place on the parchment. You should end up with a long thin loaf that is 16 inches long. Lightly mist the dough with cooking oil and then loosely cover with plastic wrap. Let the dough rise in a warm place until doubled, 60 to 90 minutes.
- While the dough is rising, prep the oven and your baking stone. Preheat the oven to 500 degrees. Let the baking stone heat for 30 minutes (but not longer than an hour).
- When the dough has doubled, score the top with a razor blade, diagonally and 1/2 inch deep and spray lightly with water. CAREFULLY slide the loaf and the parchment onto the hot baking stone in the oven and bake for 10 minutes.
- After 10 minutes reduce the oven temperature to 400 degrees. Bake for 30 to 35 more minutes until the crust is a deep golden brown. Let the loaf cool on a wire rack until it is room temperature before serving (about 2 hours cooling time).
Notes
- You can use all-purpose flour if it’s all you but bread flour will give you the best Italian bread.
- The longer the sponge sits, the more developed the flavor will be.Try to let it set for 24 hours if you can.
- Don’t skip on the initial 20 minute rest and the two light in-bowl “kneading” with the spatula – these help the gluten to develop and are what make the bread chewy on the outside while being fluffy in the middle.
- This bread is my favorite baking stone to bake this bread on. If you don’t have one, you can use cookie sheet that’s upside down.
- While this bread is wonderful, it’s not the best for sandwiches. I recommend making Extra Soft White Bread if you’re looking for the best bread for sandwiches.


I’ve made this several times now and it is always my go to for Italian bread. Thanks for the great recipe
Yay! I’m so glad you love it too Tim, it’s a favorite in our house too!
Not sure what I did wrong! I followed the directions to the letter. I used my KitchenAid mixer, and everything exactly. The dough never really setup? It was wet and sticky. I was unable to “form” a torpedo, and instead it was a wet long mess.
What did I do wrong? Any help would be greatly appreciated.
Thank you
Did you use bread flour instead of all purpose?