Homemade Subway Bread Recipe
on Apr 18, 2022, Updated May 13, 2024
This post may contain affiliate links. Please read our disclosure policy.


Perfect Homemade Subway Bread recipe, just like the restaurant. This recipes makes a perfect copycat loaf of Subway bread for sandwiches at home.
I love making homemade bread. It’s easier than you think, makes the house smell amazing, and provides that little extra something for your meal. Plus I can put on as many banana peppers as my heart desires, so I’ll also be making up a batch of easy refrigerated pickled banana peppers, too.
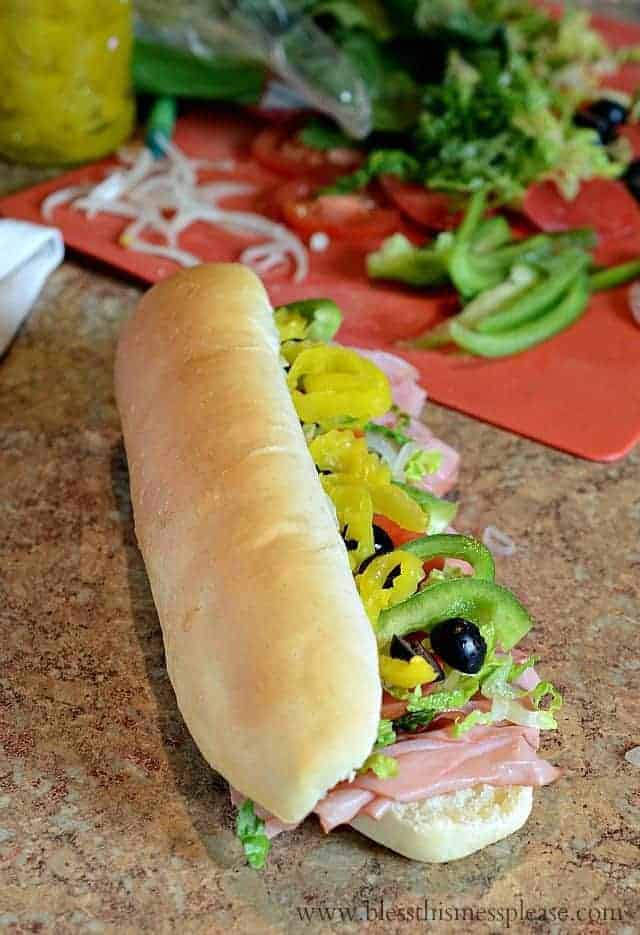
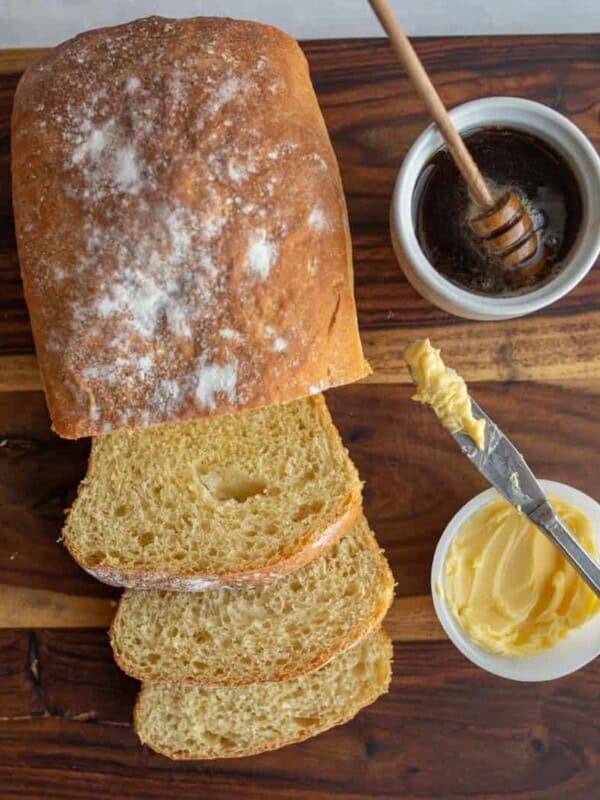
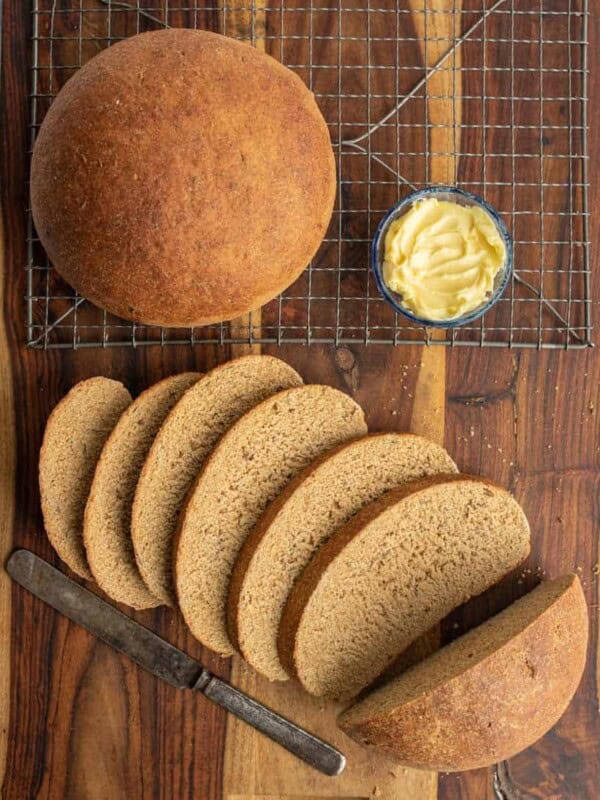
The homemade Subway bread was just perfect. It had a very soft crust (thanks to a little butter and letting it steam in a towel as it cooled) and a light middle, and it kind of smashed into nothing when you ate it. Just like the real thing.
Your family will be shocked and amazed at your mad skills, and you can wow them with an amazing cheese steak sandwich served on this perfect sandwich bread. Mom for the win!
Table of Contents
Why You’ll Love This Recipe
- Soft crust and light as air in the middle – a perfect replica of Subway bread
- This is a great recipe to keep on hand for any future hoagie needs
- A simple bread recipe with basic ingredients you’ll likely find in your pantry
Recipe Ingredients
- Yeast – If buying yeast in the packets, you’ll need to open two to measure out the amount needed for this recipe
- Sugar – Plain old sugar to make the yeast happy!
- Olive oil
- All-purpose flour
See the recipe card below for full information on ingredients and quantities.
Popular Variation: Italian Herb & Cheese Bread
I have had a few people email me and say that just before baking they brushed the outside of the dough with olive oil or butter and then sprinkled on some Italian seasoning and some Parmesan cheese for a great homemade Subway Italian Herb and Cheese bread.
I can’t wait to try this myself on any number of creative sandwich recipes!
How to Make Homemade Subway Bread
- Mix wet ingredients with all dry ingredients except the flour. Let the mixture stand for 5 minutes.
- Add 1 cup of flour and mix for 3 to 5 minutes. Add an additional cup of flour and mix well, and then add rest of flour a little at a time, until a soft dough is formed. Knead until smooth.
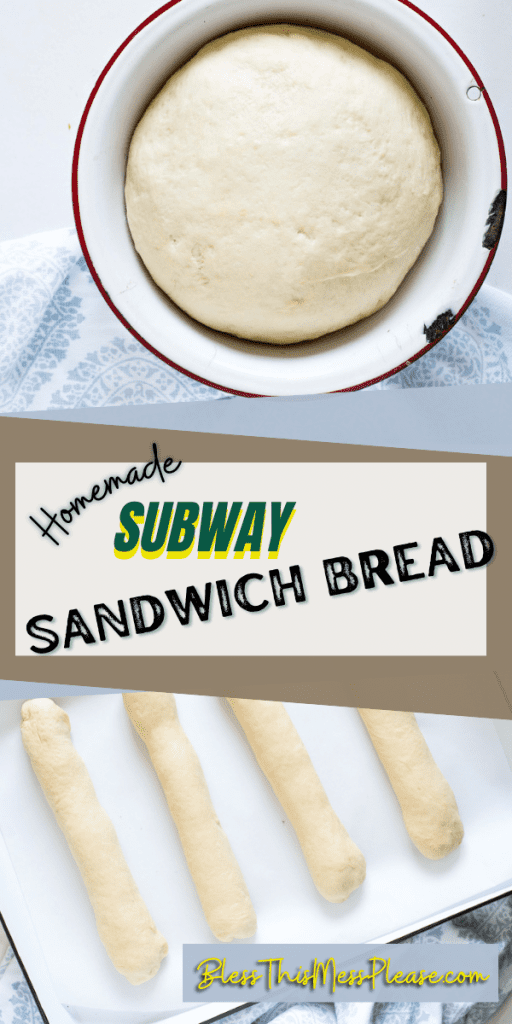
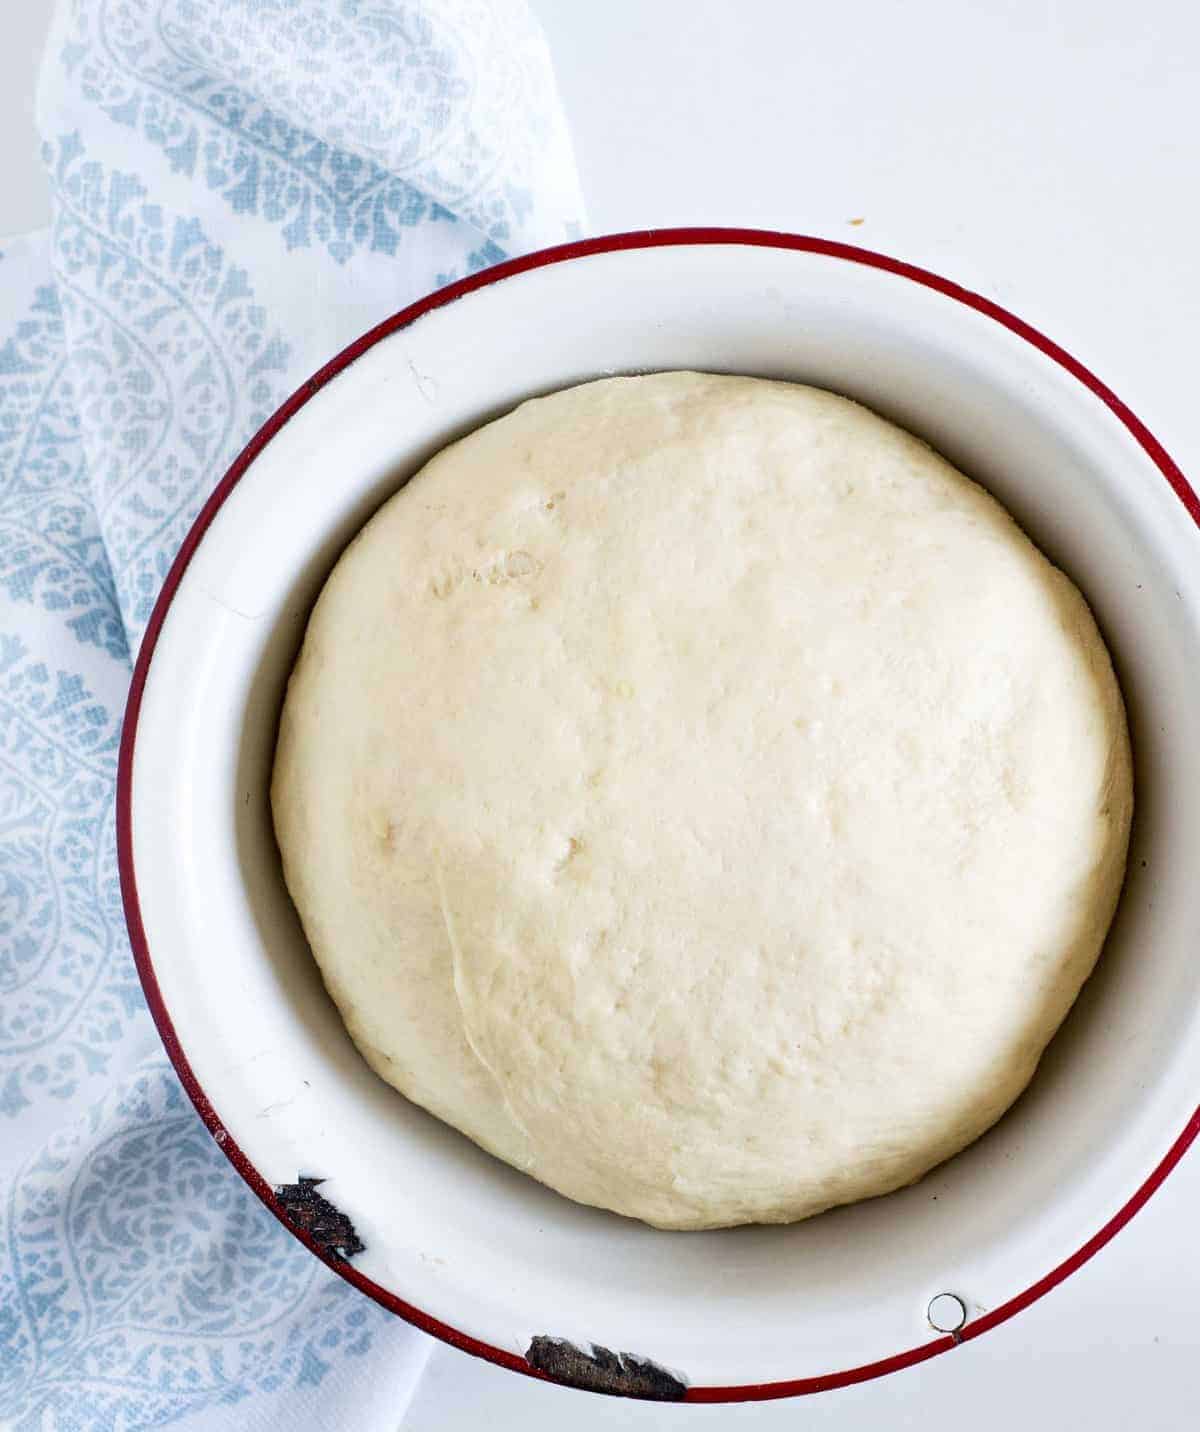
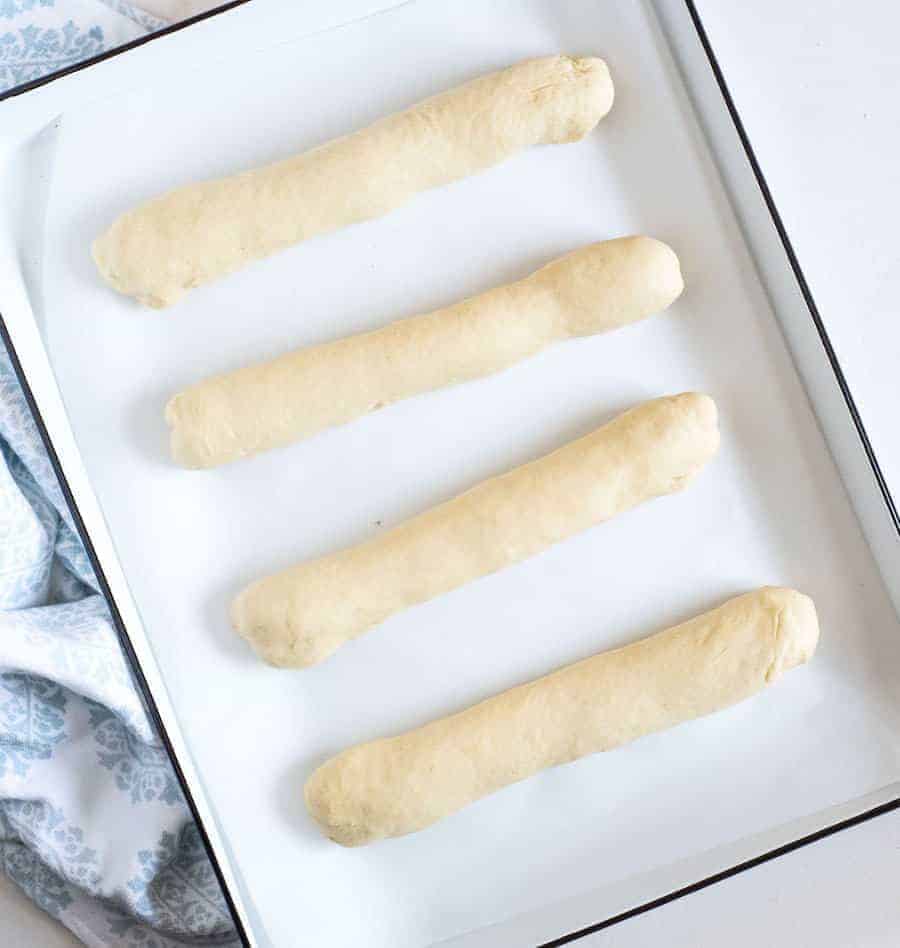
- Place the dough in a bowl and cover. Allow to rise and then shape into 4 rolls, allowing these to rise again.
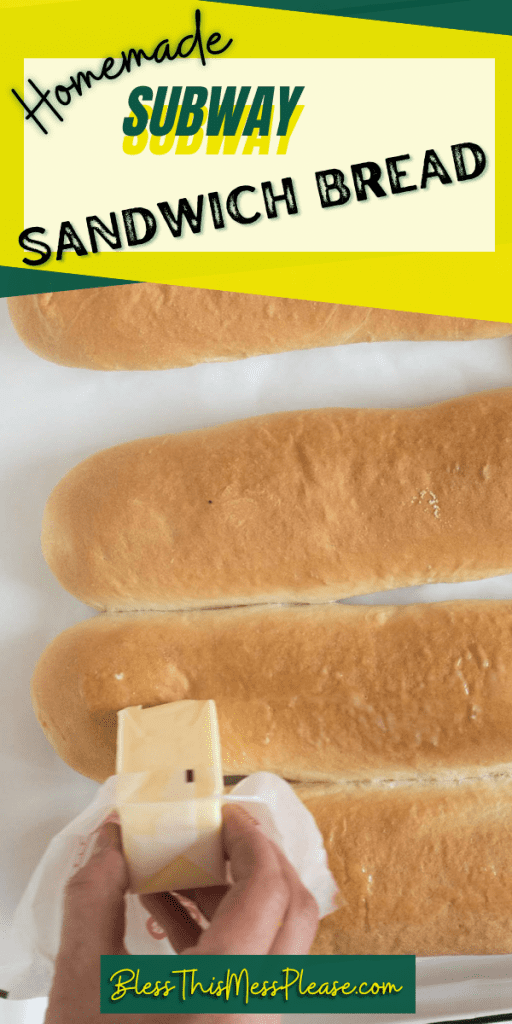
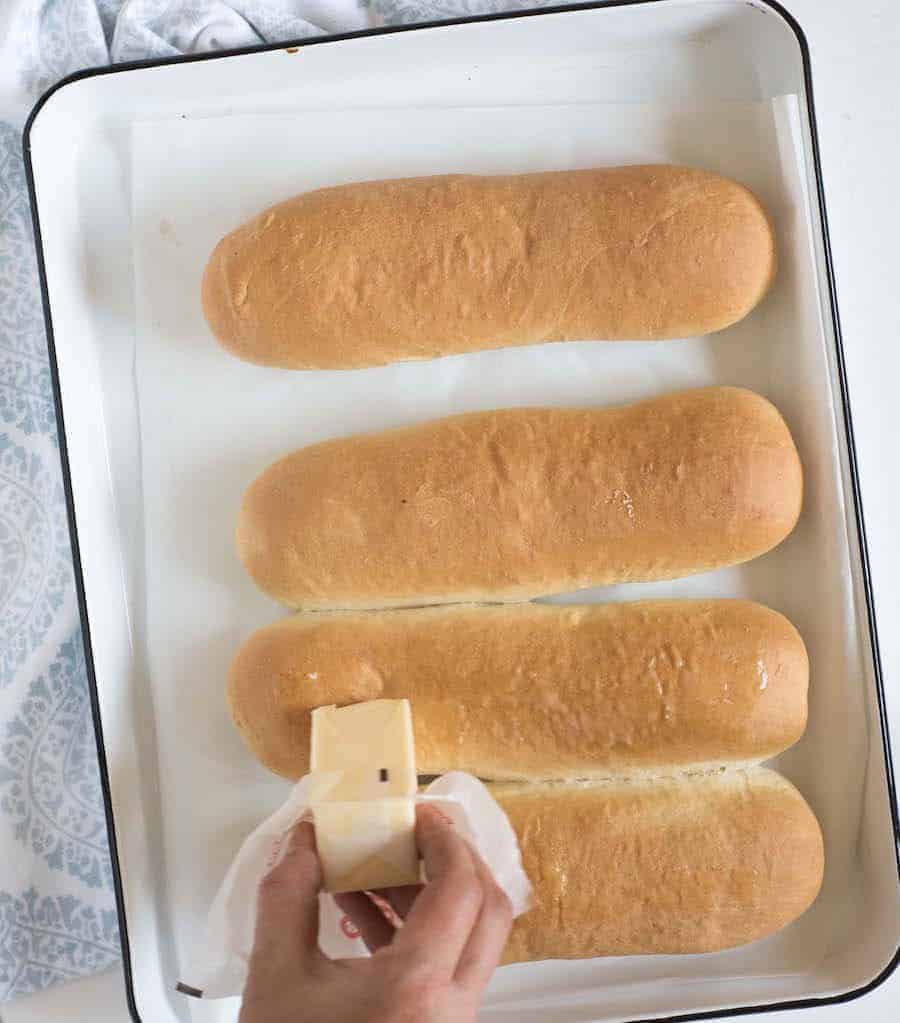
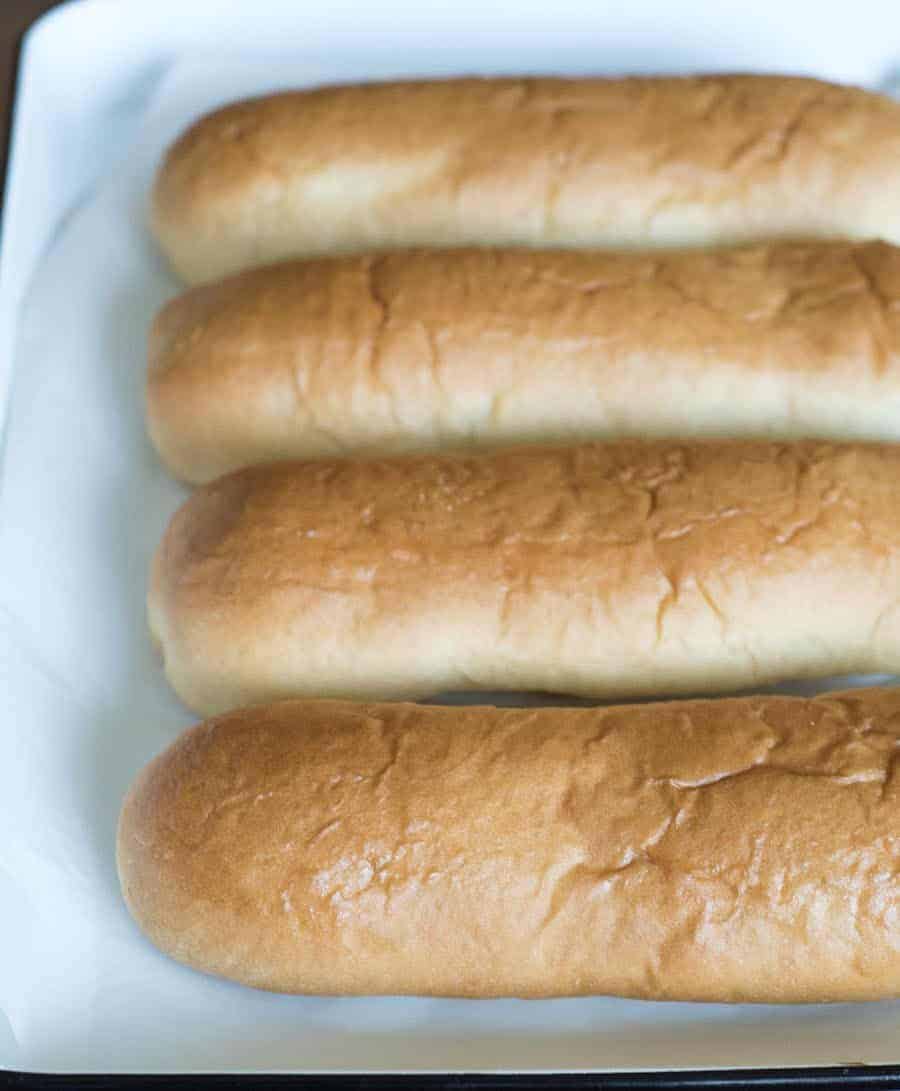
- Bake at 350 for 25 minutes, brushing with butter and covering when they come out of the oven.
Recipe FAQs
If you haven’t ever made a simple bread recipe before, the goal is to add just enough flour for it to be a soft but not sticky dough. If you add too much flour, you’ll end up with Subway bricks instead of bread.
No stand mixer? This recipe can be made by hand, just be sure to knead it for a full 8 minutes. That’s a long time but developing the gluten helps the bread to be soft.
This recipe works well with half whole wheat flour mixed with half all-purpose flour for whole wheat sub buns.
Expert Tips
- This bread froze just about as well as other breads. It was still soft but seemed a bit dryer after freezing. Fresh is best but they do freeze and thaw well.
- Do not skip rubbing with butter and covering the bread with a towel to cool. This is the key to the texture of this awesome bread!
- One of the awesome Bless this Mess readers, Kim, had great success using her bread machine to make this recipe. She let the bread machine run the full dough cycle, which is 1.5 hours long. After the cycle she shaped the loaves and let them rise for an hour before baking.
More Amazing Bread Recipes to Consider
Yeasted Breads
Brioche Bread
Yeasted Breads
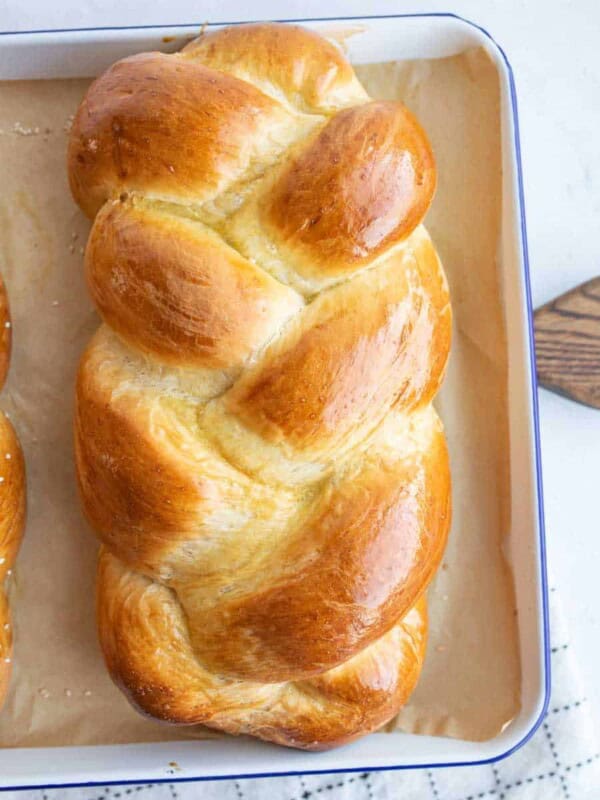
Challah Bread
Yeasted Breads
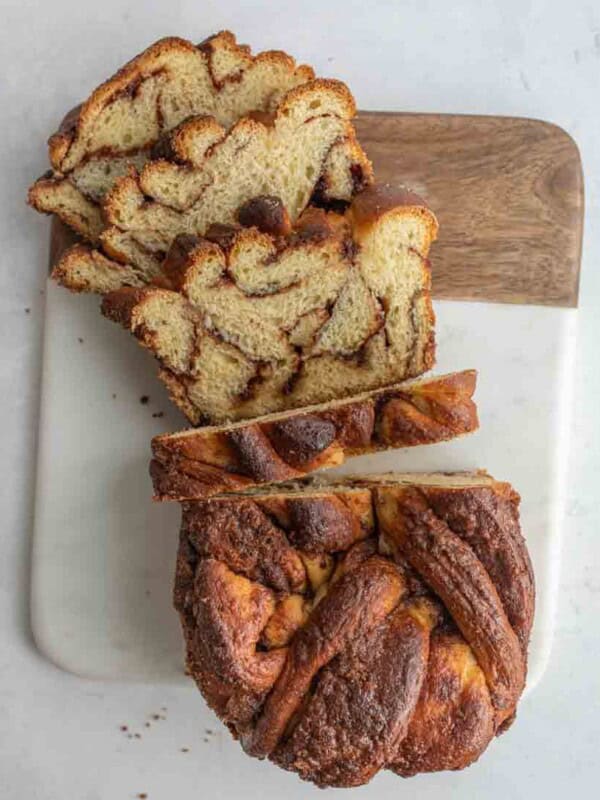
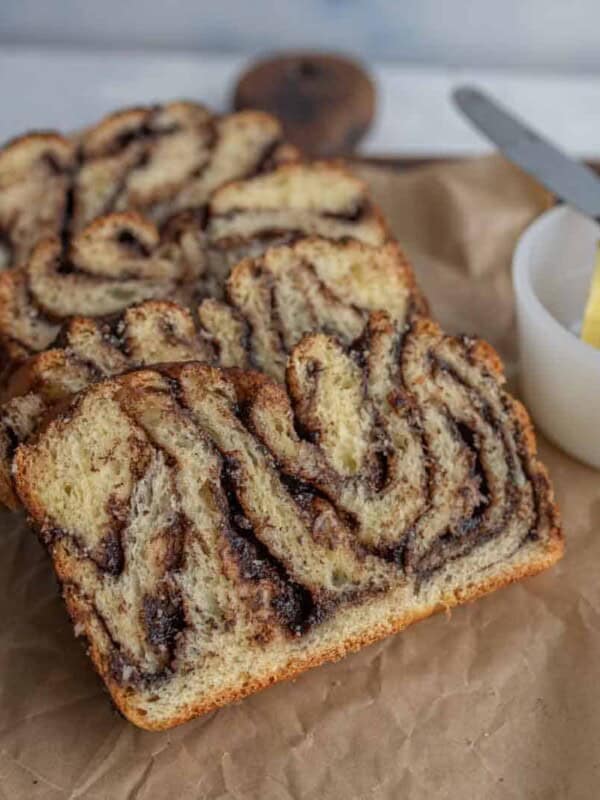
Cinnamon Babka
Yeasted Breads
Chocolate Babka
Did you make this recipe? Leave a ⭐️ review and share it on Instagram, Facebook, or Pinterest!

Homemade Subway Bread Recipe
Ingredients
- 1 cup warm water, (110 degrees F)
- 1 tablespoon instant yeast
- 1 tablespoon sugar
- 1 1/2 teaspoon salt
- 4 tablespoons olive oil
- 2 1/2 to 2 3/4 cups all-purpose flour
Instructions
- In the bowl of your stand mixer, add the water, yeast, sugar, salt, and olive oil. Let the mixture stand for 5 minutes.
- Add 1 cup of flour and mix with the dough hook for 3 to 5 minutes. Add an additional cup of flour and mix until well combined. Continue adding the flour, 1/4 cup at a time, until a soft dough is formed. The dough should still stick to the bottom of of the bowl, but pull away from the sides. Let the dough mix for around 8 minutes total.
- When the dough has come together but is still sticking a bit to the bottom of the bowl, turn it out onto a lightly floured surface and knead until smooth. The dough should be very soft. Shape the dough into a ball and return it to the bowl. Cover the bowl with plastic wrap and allow the dough to rise for a half hour.
- After the dough has risen, turn it out onto a clean surface and divide it into 4. Roll each piece of dough into a long skinny loaf that is about 9 to 10 inches long.
- Place the rolled loaves onto a baking sheet lined with parchment or a baking mat. Repeat with the rest of the dough. Allow at least 2 inches between each loaf on the pan.
- Cover the loaves with a greased piece of plastic wrap and allow the loaves to rise until doubled, about an hour.
- Towards the end of the rising time, preheat the oven to 350 degrees. When the loaves are ready, bake them in the preheated oven for 25 minutes.
- When the loaves come out of the oven, rub the tops with a stick of butter and cover them with a dish towel to cool.
- Let the loaves cool for at least 30 minutes before cutting down the middle and topping with your favorite sandwich fixings.
Notes
- Rubbing the loaves with butter and covering them with a towel to cool are part of what keeps them very soft, so be sure not to miss those steps
- If you don’t have a stand mixer, just mix the flour in a bit at a time, kneading very well after it’s all incorporated.
- Add seasonings to the dough to change it up, like garlic powder or Italian seasonings.
- Instead of shaping the dough into loaves for Hoagie-style bread, make it into whatever shapes of sandwich rolls your family likes. Note that smaller shapes may need a shorter baking time.


Success – kind of. This came out tasting great and made a great sub but not quite subway. I think I know why and I did a few things different I probably shouldn’t have. The issue I had was good bread but it flattened out. Still baked fine but not a round slice more of a flat oval. Reasons, I think. First of all I used 2/3 bread flour 1/3 all purpose because that is what I had on hand. 2nd I used packaged active dry yeast rather than the bulk in a jar. 2 packages make real close to the 1 1/2 tbls in the recipe so I did that, – well I think my bread rose too fast so maybe I should use the bottled yeast or just use 1 packet, another reason is maybe it was too warm where I had it rising. Room temp may have been better.It rose to more than double in 35 minutes well short of the hour. Lastly Parchment paper, – who uses this stuff, really? I just lightly buffed a non stick baking sheet with grease then sprinkled a little corn meal to put the loaves on to rise and bake. I don’t think that was my problem I am sure it was just rising too fast and I need to control that better. I am going to experiment baking it on a pizza stone next go around to see how it does as well.
Ooh this is very nice, I used to work for Subway, we’d spritz some water on the top of the bread and roll them in seasonings too for our italian herbs and as well as our oats bread. You can do the same thing for these if you want specific types of bread. I highly suggest experimenting with these seasonings because you can make your ideal sandwich bread this way ^^
That’s such a great idea! Thank you for sharing Daniela!
Do you know if these buns freeze well or if it’s better to just make them fresh
Fresh is always best but they do freeze well. I often make a double batch and stick half in the freezer!
Mine turned out perfect!Great recipe!
Has anyone tried this with bread flour instead of all-purpose… just wondering. I’ll probably try both.
We shall see, I Only had 1 cup all-purpose flour on hand but a bunch of bread flour. so I used the 1 cup then the rest with the bread flour. Its rising now so — results later.
Easy but disappointingly devoid of taste. This bread needs a reason to eat it.
Agreed. Easy to work with and roll out, but completely flavorless. Needs less yeast and a slower rise.
For some reason mine don’t seem to want to brown, what did I do wrong? I’m not trying to burn them but they’ve been in for 30 minutes now
Hmmm… now sure! Did you figure anything out?
made rolls turned out great love it
What if you don’t own a dough hook? All I have is a hand mixer.
very easily done by hand, no expensive gadgets required from my experience. Just takes a little more elbow grease. I have been making bread and buns for years without mixers or bread machines etc.
This may be a dumb question, but I am new to this bread making thing. I will be doing this by hand. Is it something you need to be careful not to overwork?
It would be hard to over work this by hand, I think you’ll be just fine! ENJOY!
this is looking so far like a great recipe, it in the first rise now so we shall see. Anyway Katie you are going to find this bread making thing addicting but in a healthy way. You should start looking for a stand mixer with a dough hook, better yet just a low end Kitchen aid model. I like them cause there are some neat attachments for lots of other stuff. You will use this mixer for everything. I found the best price on my white classic model on Amazon, but Walmart was close. Maybe even a thrift store may have a used one.
Another hubby approved recipe! Perfect for a picnic lunch in the mountains. I had to cut the yeast by a 1/3 because of my high altitude(7000′). They still flattened out…..I got sidetracked during the 2nd rise and over-inflated the poor things so they fell . No matter….they tasted wonderful!
Mmm! What did you put on them? Any great toppings?
Oh haha….remember…he was eating. It had to be roast beef, mayo and cheese only. I tried to slip cheddar jack cheese by him the first day….busted….2nd day he got the yummy processed stuff they label as American. Me…I kept the cheddar jack and the only toppings I had available…..lettuce and red onion. I hate it when the cupboard is bare….oh well…they were still drool worthy!!
Just tried this and I definitely did something wrong. The bread is very dense and flat. Any suggestions from advanced bread makers?
I should mention that the one modification I made was to use whole wheat flour.
Chop that up and drdry it out for croutons. I find using only whole wheat to be denser and more spongey, use half white flour. My first attempts at bread always came out flat,dense and yeasty tasting and once I figured out why I haven’t had issues since. I underkneaded and let it rise too high, which makes it fall flat in the oven. I always knead 15 minutes. When rising do not let it go higher than doubled, it’ll rise more in the oven and if it gets too big before crusting up hit falls. I also only use one tsp salt with this recipe, salt hinders risingfrising. Hope this helps!
Cant substitute whole wheat without making other changes, like adding more water and also adding vital wheat gluten.
You need to proof your yeast, I would suggest not adding the salt until you put in your second cup of flour, salt kills yeast and if your yeast is already week it may have finished it off.