This post may contain affiliate links. Please read our disclosure policy.
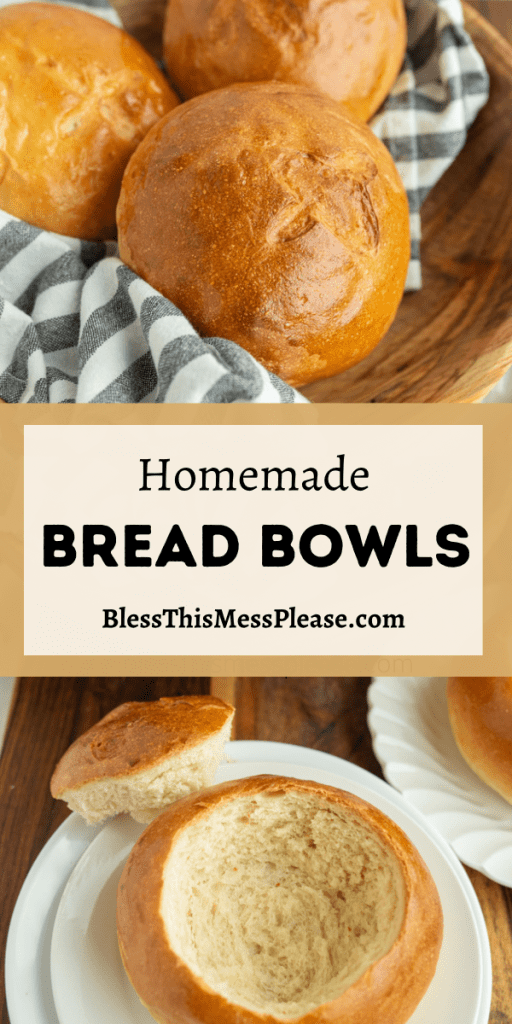
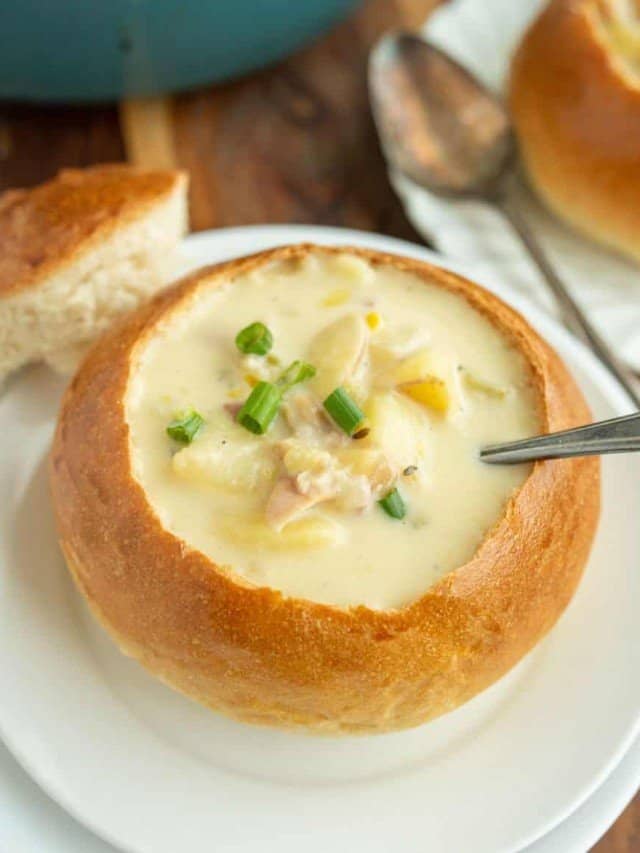
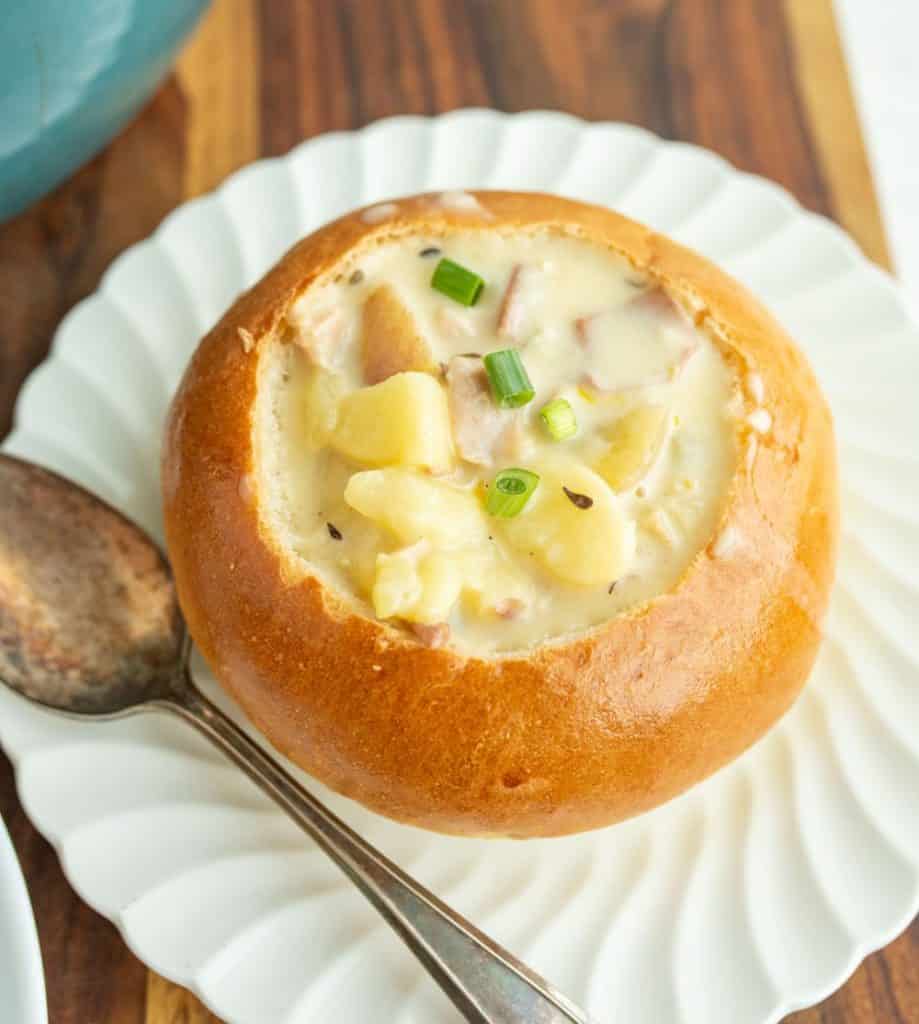
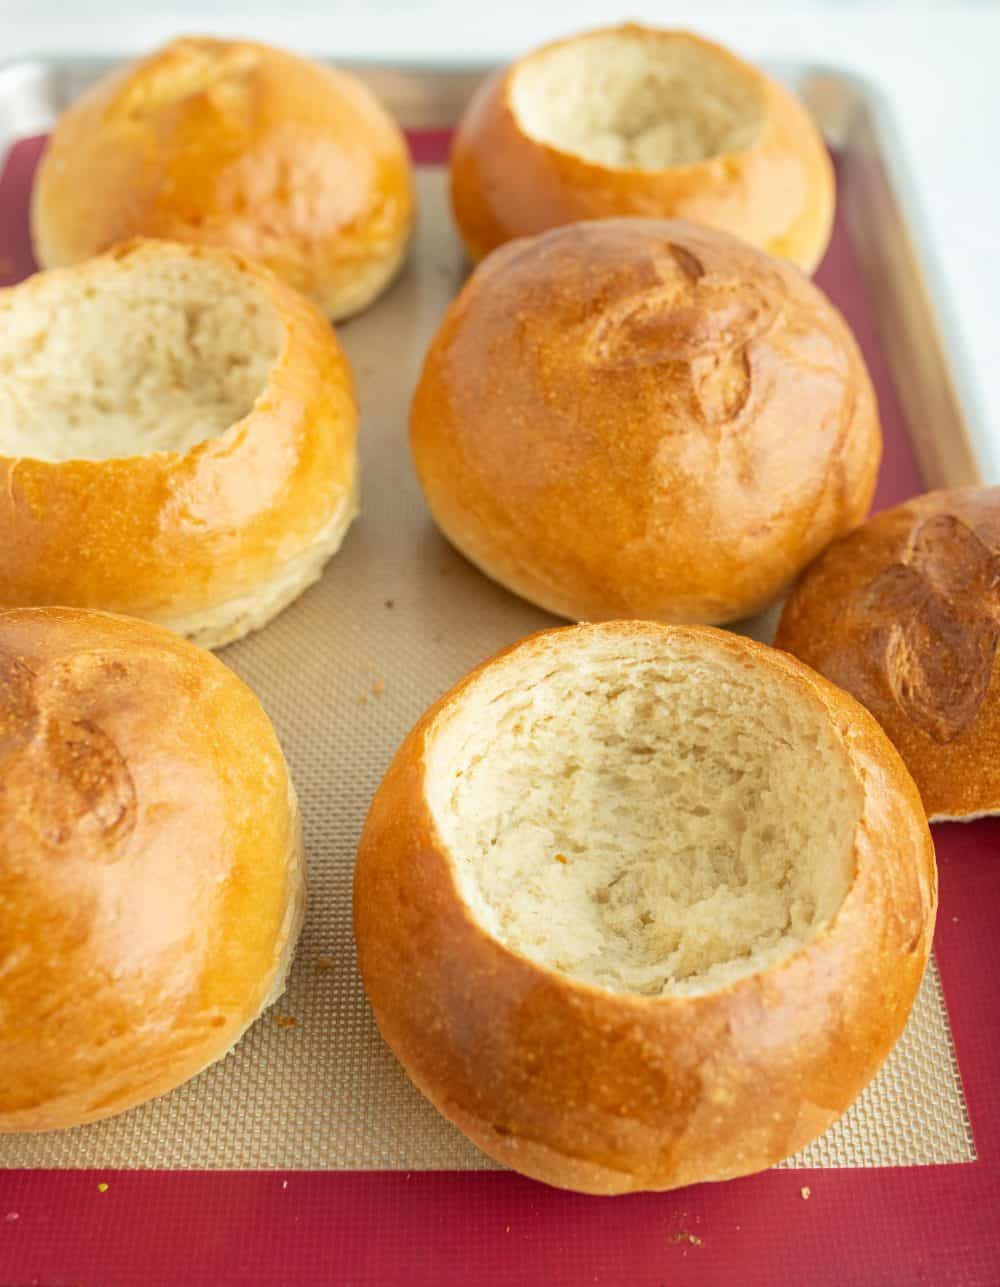
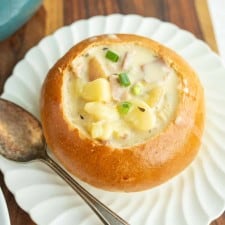
Homemade Bread Bowls are quite literally the stuff that dreams are made of. This recipe is simple, and they are the perfect size to hold a bowl of delicious, hot soup.
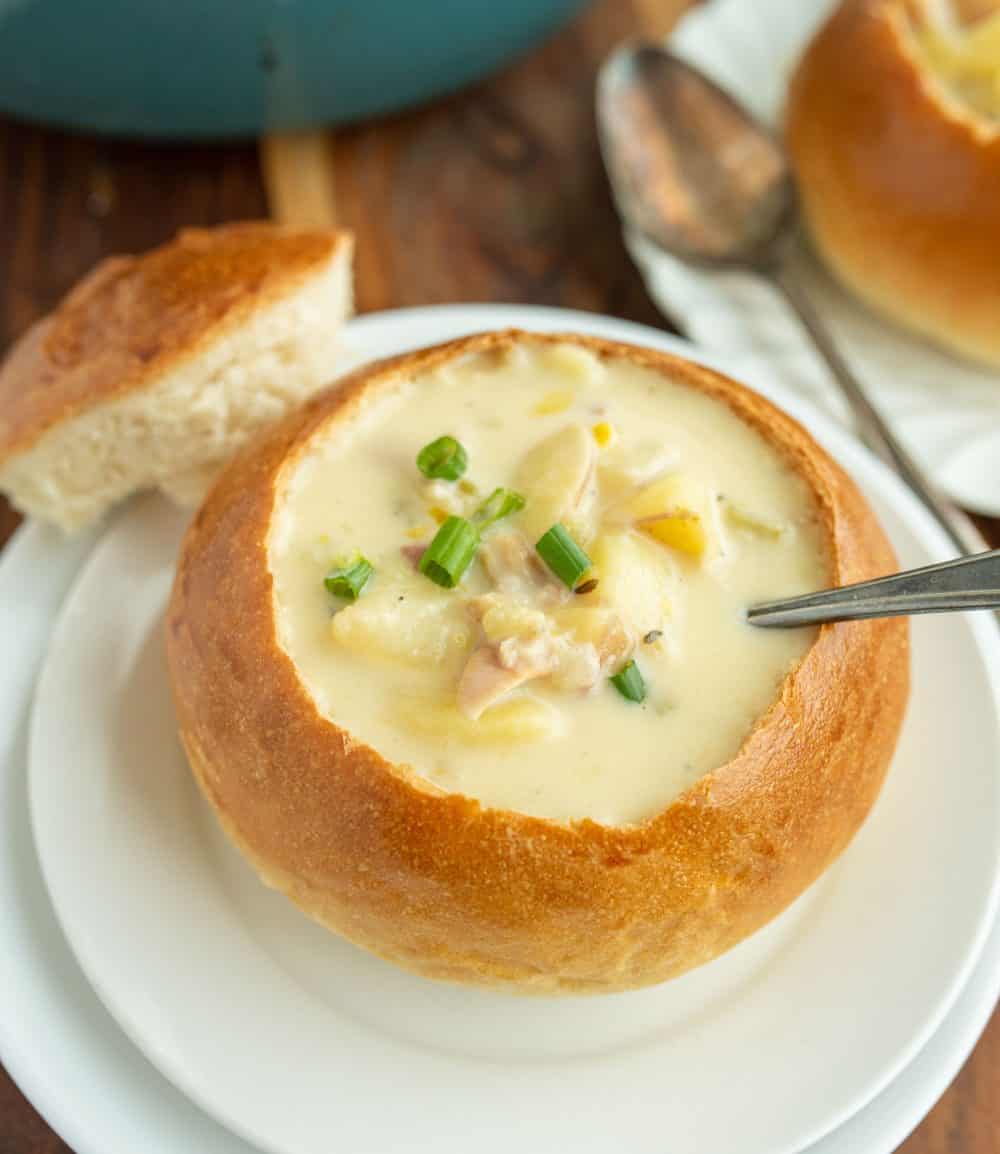
Devouring a thick warm soup from inside a cute bread bowl is one of the sweet, simple pleasures of life. These homemade bread bowls are made from a basic dough and are easier than you think! They have a light and fluffy inside with the most perfect sturdy outside.
Bread Bowls are such a fun and tasty way to serve up warm soup like a delicious loaded baked potato soup . They are simple to make and will fill all the bellies. I can’t wait for you to make these!
Table of Contents
Why You’ll Love This Recipe
- Light and fluffy inside
- Sturdy enough for thick soups like this creamy clam chowder
- Impressive but oh-so-easy
- Made with basic pantry ingredients
Recipe Ingredients
- Water – Warm water to activate the yeast
- Instant yeast – This will give the bread bowls a good rise
- Sugar – Just a bit to feed the yeast and make it perky
- Olive oil – A different oil can be used, such as canola or vegetable
- Salt – I like kosher salt
- Flour – Either all-purpose or bread flour works well for this recipe
- Milk & egg white – This glaze for a golden, shiny crust
See the recipe card below for full information on ingredients and quantities.
How to Make Bread Bowls
This simple bread bowl recipe is a great place to start your bread-making journey because it requires basic ingredients and is an easy introduction to yeast breads.
- Activate yeast: Combine water, yeast, and sugar, and let rest for 5 minutes.
- Mix dough: Add oil, salt, and 4 cups of flour, gradually adding the remaining flour until the dough pulls away from the bowl.
- Knead dough: Knead for 3 minutes in the bowl, then knead on a floured surface until barely tacky.
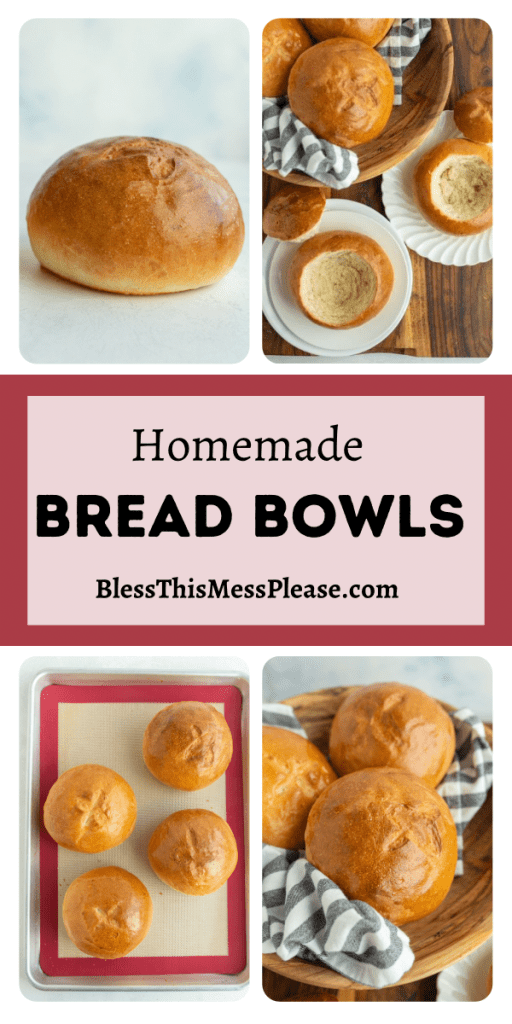
- Shape and rise: Divide dough, shape into balls, place on baking sheets, cover, and let rise for 30-45 minutes.
- Preheat and prep: Preheat oven to 400°F. Mix milk and egg white, then brush over bread balls.
- Bake and serve: Bake for 30 minutes, cool for 15, then serve and enjoy!
Recipe FAQs
The biggest way to avoid a soggy bowl is to serve a thicker soup inside. Broth-type soups will soak up the middle and create a soggy mess. Serving the bowls immediately after filling them with soup will help keep them crusty!
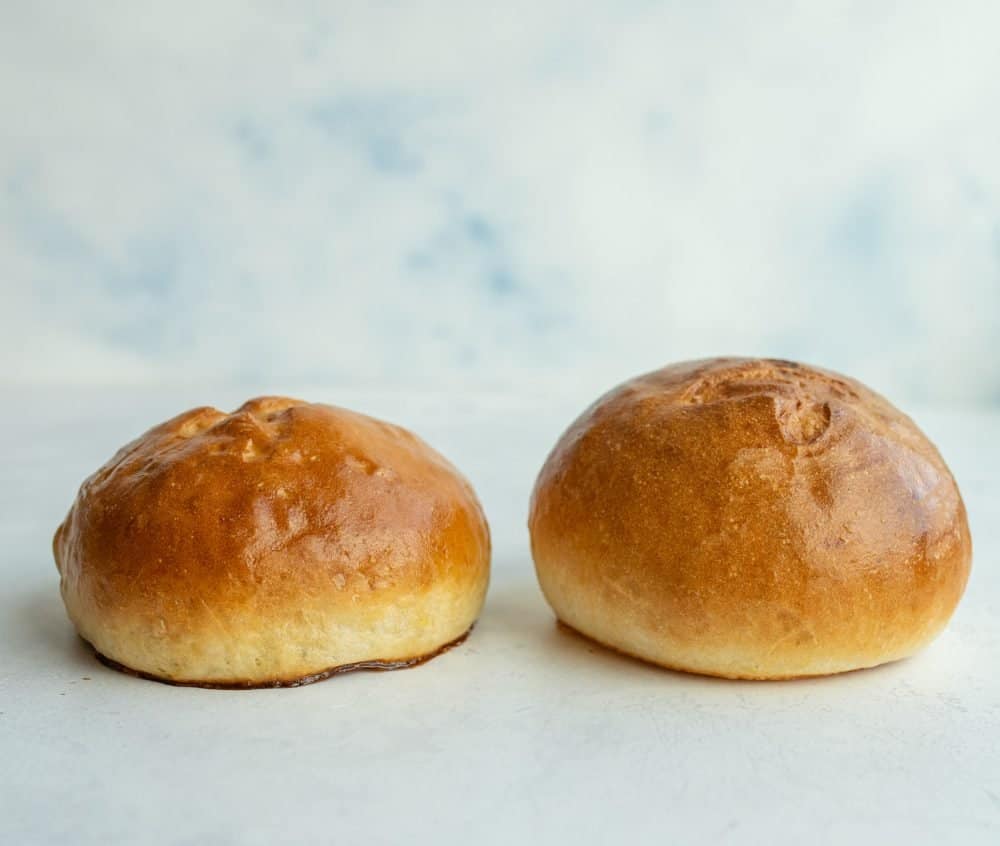
You can use either type of flour. The bread bowls will rise a bit higher if using bread flour, but there isn’t a noticeable difference inside the bowls with either flour.
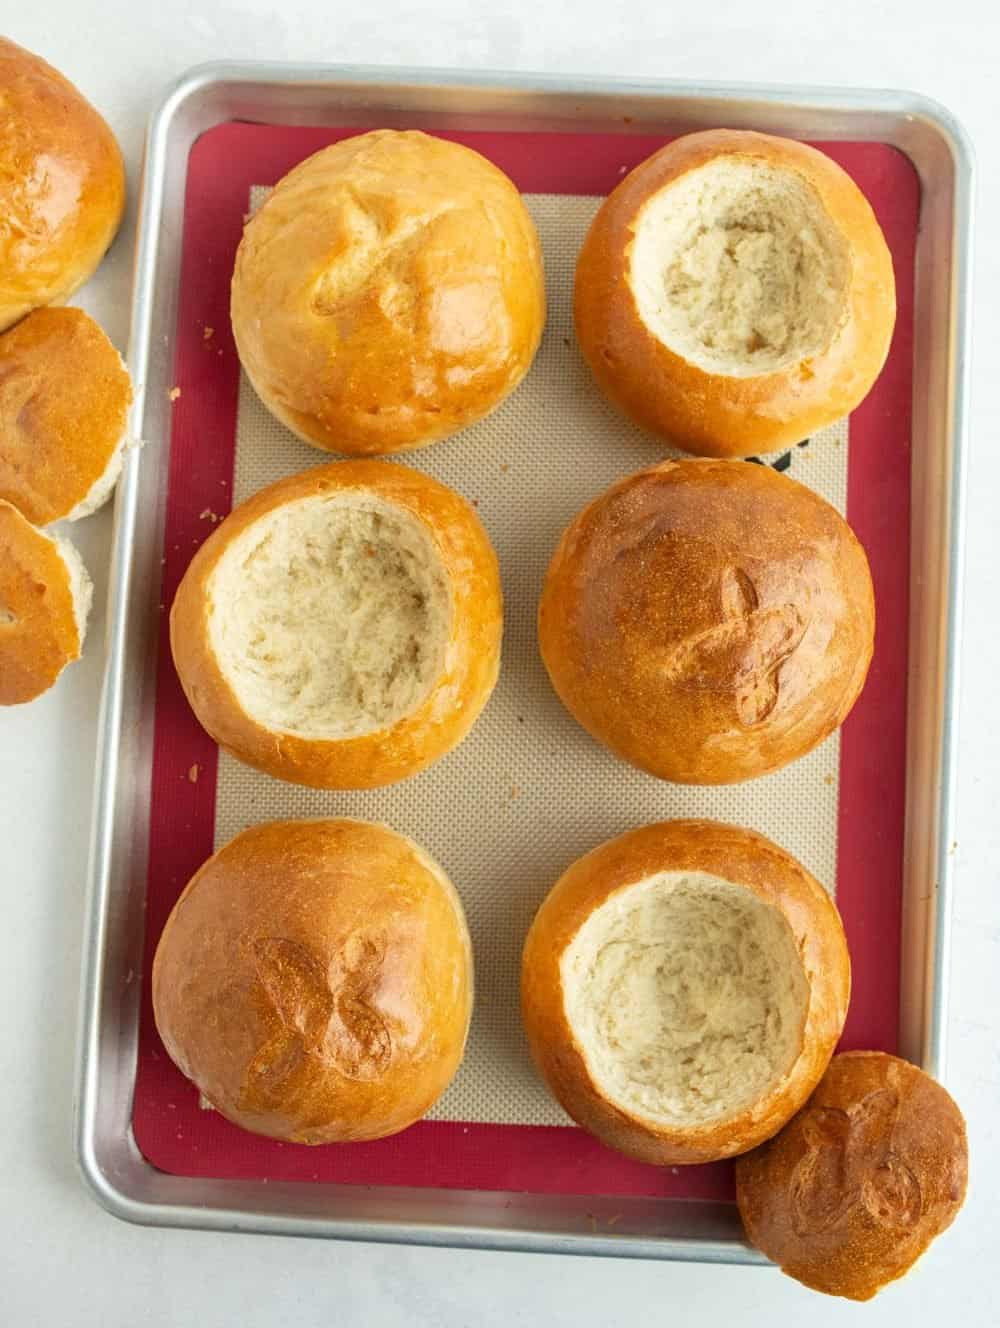
Don’t throw the middle away. Use the inside pieces to make croutons or bread crumbs. Or just use the chunks for dipping, perfect for this hearty lentil soup!
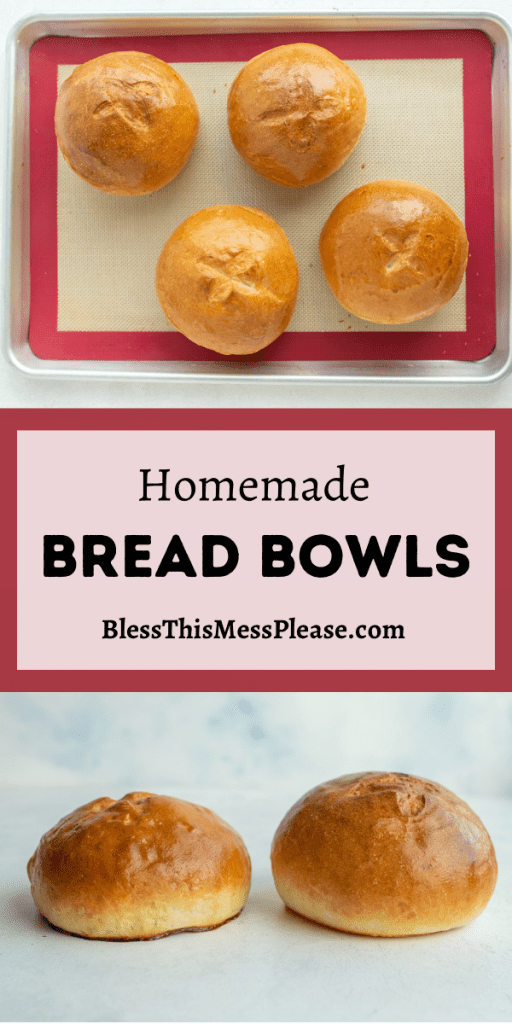
This is called “scoring” the dough. An X is cut into the top of the dough to control where the bread expands as it bakes. It also creates more of an artisan look.
Expert Tips
- You don’t need any special equipment to make bread bowls. You can either knead the dough in a stand mixer or by hand.
- Thicker, creamier soups are best for serving in a bread bowl. The thinner the soup, the more it will soak into the bread and make it soggy. We love our bread bowls with clam chowder.
- To ensure even baking and browning on all sides, rotate the bread bowls halfway through the baking time.
Soup Recipes For Bread Bowls
Soups, Stews & Chowders
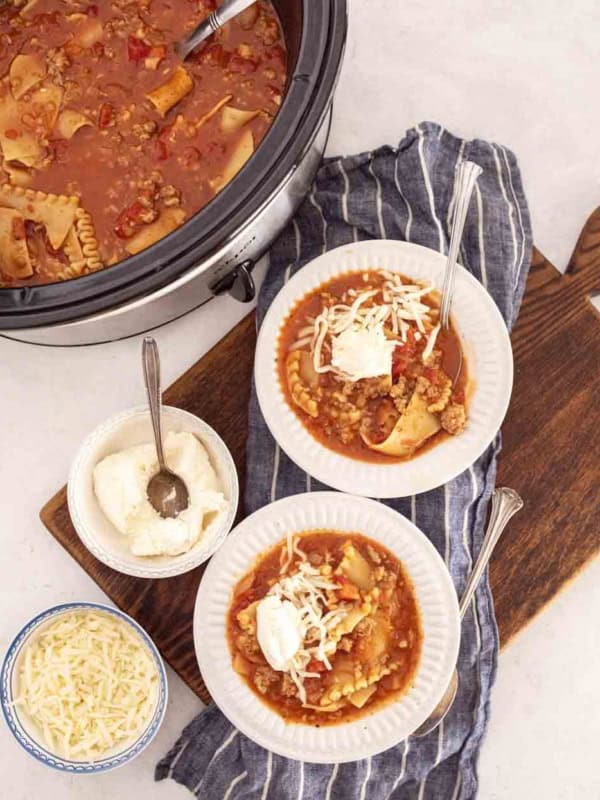
Lasagna Soup in Slow Cooker Recipe
Soups, Stews & Chowders
70+ Cozy Soup Recipes for the Best Winter Soups
Soups, Stews & Chowders
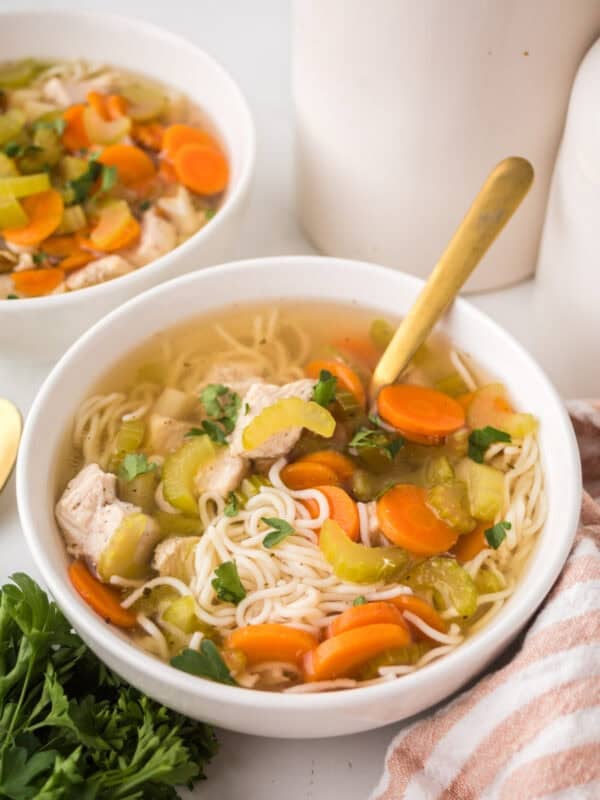
Slow Cooker Chicken Soup
Soups, Stews & Chowders
Slow Cooker Butternut Squash Soup
Did you make this recipe? Leave a ⭐️ review and share it on Instagram, Facebook, or Pinterest!
Bread Bowls
Ingredients
- 3 cups warm water
- 1 tablespoon + 1 teaspoon instant yeast, (or 2 packages)
- 2 tablespoons granulated sugar
- 3 tablespoon olive oil
- 1 tablespoons kosher salt
- 7 to 8 cups all purpose or bread flour
- 1 tablespoon milk
- 1 egg white
Instructions
- In a large mixing bowl add the water, yeast, and sugar. Let the mixture rest for 5 minutes.
- Add the olive oil, salt, and 4 cups of flour to the bowl and stir to combine. Using your stand mixer or a wooden spoon, mix the dough for 5 minutes.
- After you’ve mixed the dough for 5 minute, gradually add more flour, 1/3 cup at a time until the dough starts to come clean from the sides of the bowl. The dough will be just a little bit sticky at this point. Knead for another 3 minutes.
- Remove the dough from the bowl and place it on a lightly floured surface and knead by hand until the dough is just barely tacky, adding just a little flour at a time as needed.
- Form the dough into a smooth ball and return it to the bowl.
- Cover the bowl with a damp dish towel, a beeswax wrap, or a piece of plastic wrap and allow the dough to rest for 30-45 minutes.
- Add a baking mat or parchment paper to two large baking sheets.
- Remove the dough from the bowl and divide into 8 even pieces.
- Shape each piece into a smooth ball and place on the baking sheet, 4 ball doughs per sheet, so that they aren’t touching each other and are spaced out evenly.
- Cover the dough balls with a clean dishtowel and allow to rise an additional 30 to 45 minutes.
- Preheat the oven to 400 degrees F.
- In a small bowl add the 1 tablespoon of milk and the egg white and use a fork to combine well.
- Cut a small X in the top of each bread ball.
- Brush each dough ball with the milk mixture, being sure to cover all of the dough (not just the top).
- Bake the bread bowls on two separate racks for 30 minutes, rotating the pans from the upper rack to the lower rack half way through baking.
- Allow the bread bowls to cool for 15 minutes before cutting open to serve.
Notes
- You can use any light oil you like, such as avocado or canola oil, for this recipe.
- I tested this recipe with both bread flour and all-purpose flour, and they both worked great, so use what you like or have on hand.
- If you are using bread flour, you’ll probably use 7 to 7-1/2 cups of flour, and if you are using all-purpose flour, you’ll probably use 7-1/2 to 8 cups of flour.
- Use a razor blade, lame, or sharp serrated knife to score the top of the dough.


Can you freeze bread bowls.
Can you freeze bread bowls.
Easily the best bread. My husband talked about it all evening.
These turned out so well for our pumpkin bread bowls for Halloween dinner. I added orange coloring and green stems and leaves for Halloween fun! 🎃
What a great idea!!! SO CUTE!