This post may contain affiliate links. Please read our disclosure policy.
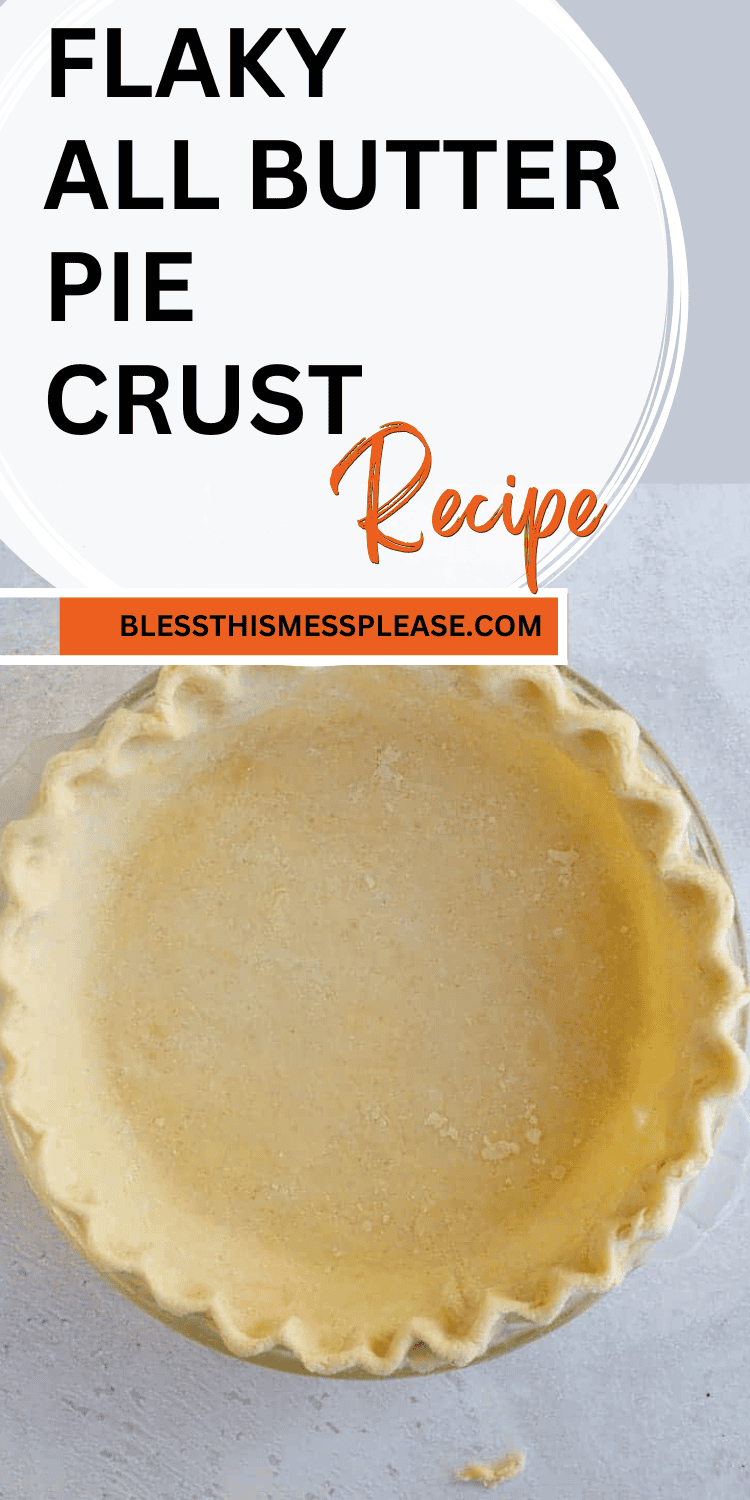
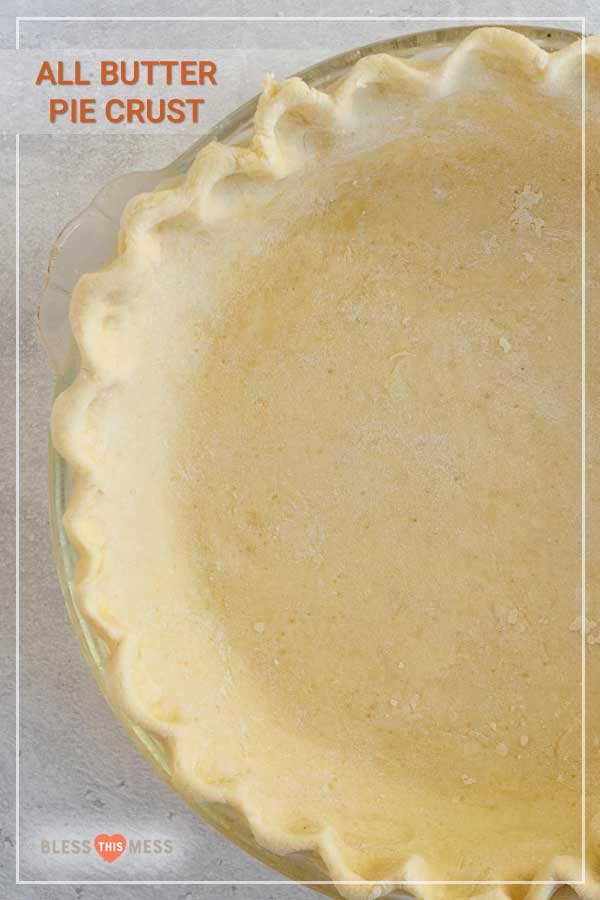
This buttery and flaky all-butter pie crust is a simple recipe with just four ingredients. It’s the perfect crust for all your favorite pies!
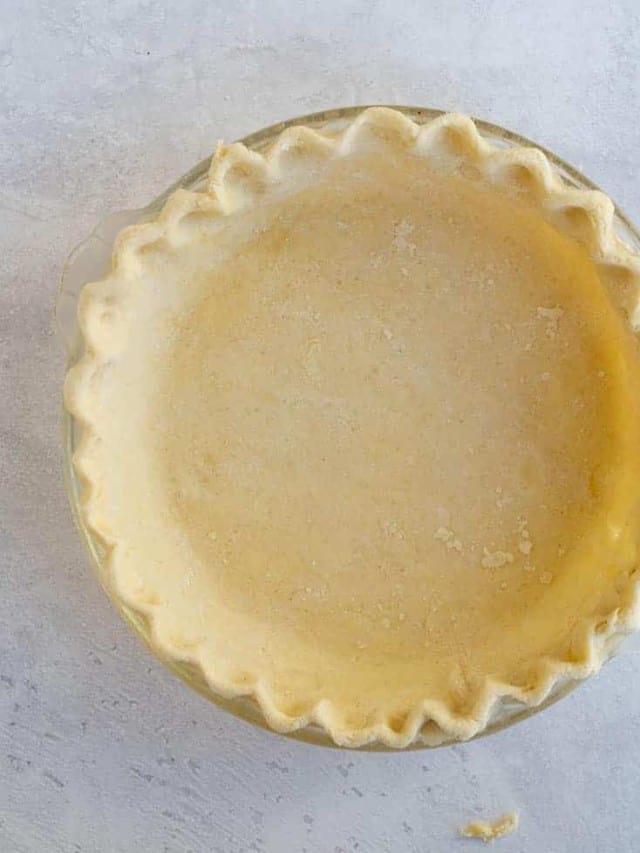
If you’ve been around here for a while, you know I love a good pie. And the thing that makes a good pie great is a scrumptious pie crust. I have a few pie crust recipes on the site, but I wanted to share this one because it’s the best if you want to only use butter (and not shortening).
This is a great crust to use for holiday baking and all the pumpkin and pecan pies your heart desires, as well as warmer seasonal pies, like your favorite fruit renditions (including berry, apple, and strawberry rhubarb)! Basically, this crust can do it all. And that’s the kind of pie crust you need in your life.
Table of Contents
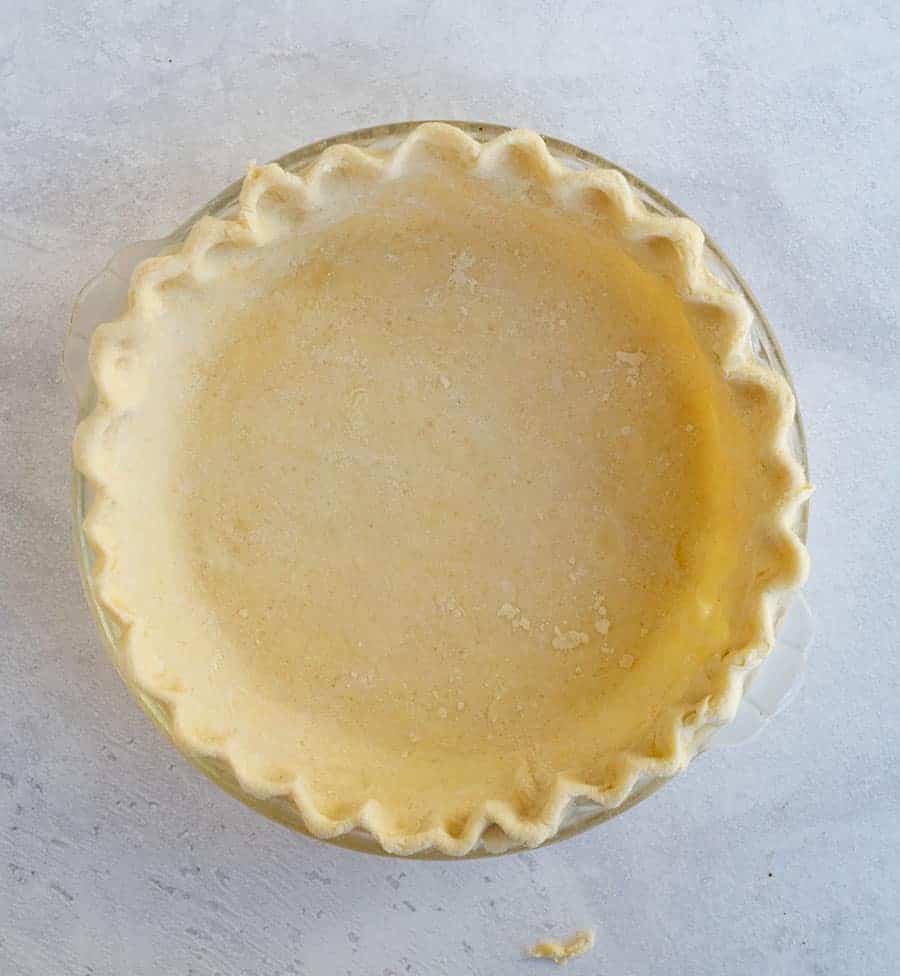
Why You’ll Love This All-Butter Pie Crust Recipe
- Rich Buttery Flavor: Made entirely with butter, this crust delivers a deliciously buttery taste that enhances any pie filling. The natural richness of butter adds a depth of flavor that other fats just can’t match.
- Flaky Texture: Creates perfectly crisp, layers that crumble beautifully when cut. By carefully cutting cold butter into the flour and using techniques like minimal handling and chilling the dough, you’ll achieve those coveted layers that shatter delicately with each bite.
- Easy Technique: Beginner-friendly method that looks impressive but is actually easy to master. With a few key tips like keeping ingredients cold and not overworking the dough, even new bakers can create a pie crust that looks and tastes like it came from a professional bakery.
- Versatile Recipe: Works beautifully for fruit pies, quiches, tarts, and more, adapting to a variety of dishes. It’s the go-to crust that’s reliable for any occasion, from everyday meals to special celebrations.
🥧 Between us, nothing says “I love you” like surprising someone with a slice of a homemade pie made with that buttery, melt-in-your-mouth pie crust.
Recipe Ingredients
- All-purpose flour
- Salt
- Butter – if using salted butter, decrease the amount of salt added
- Water – must be ICE COLD!
See the recipe card below for full information on ingredients and quantities.
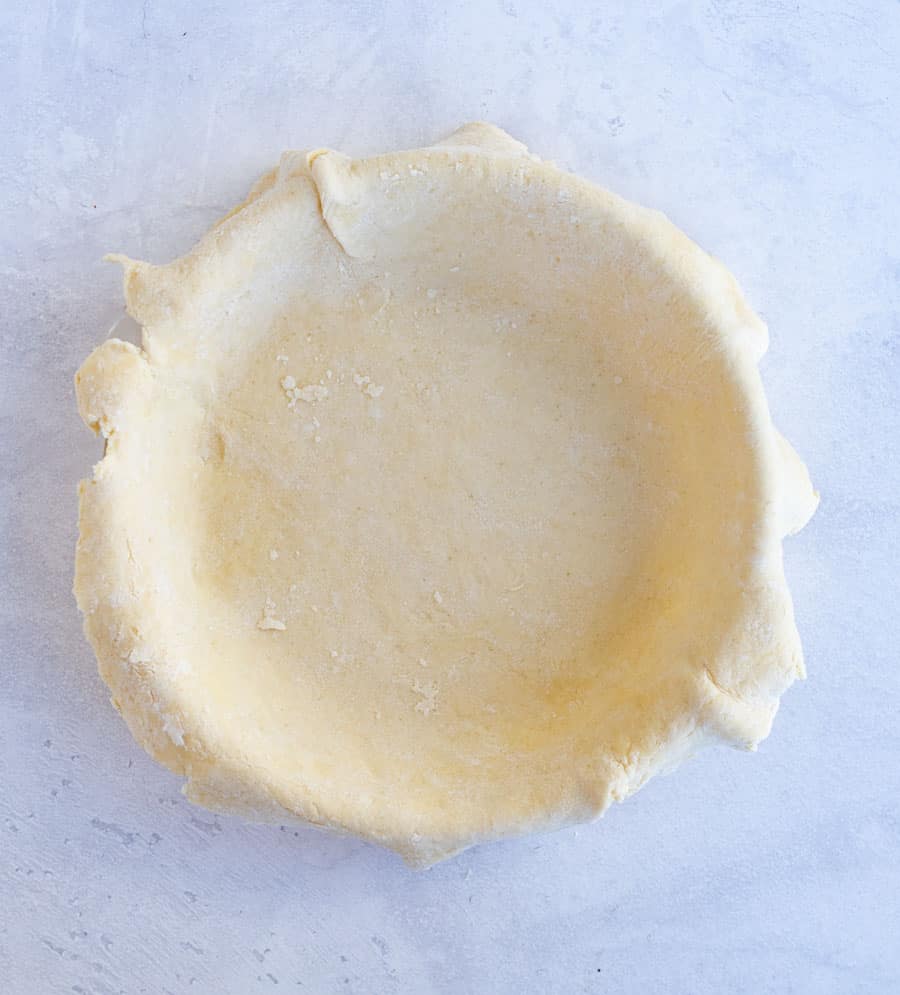
How to Make All Butter Pie Crust
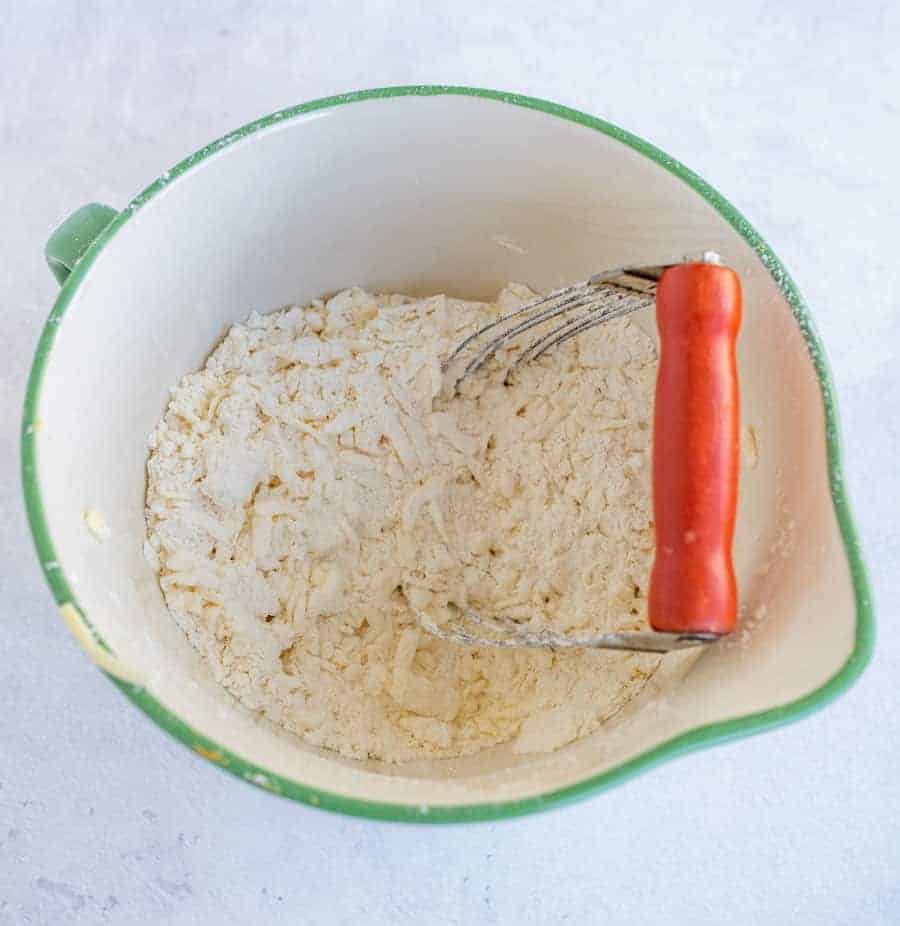
Step 1: Add grated or cut butter to the flour and salt.
Step 2: Press butter until chunks about the size of peas.
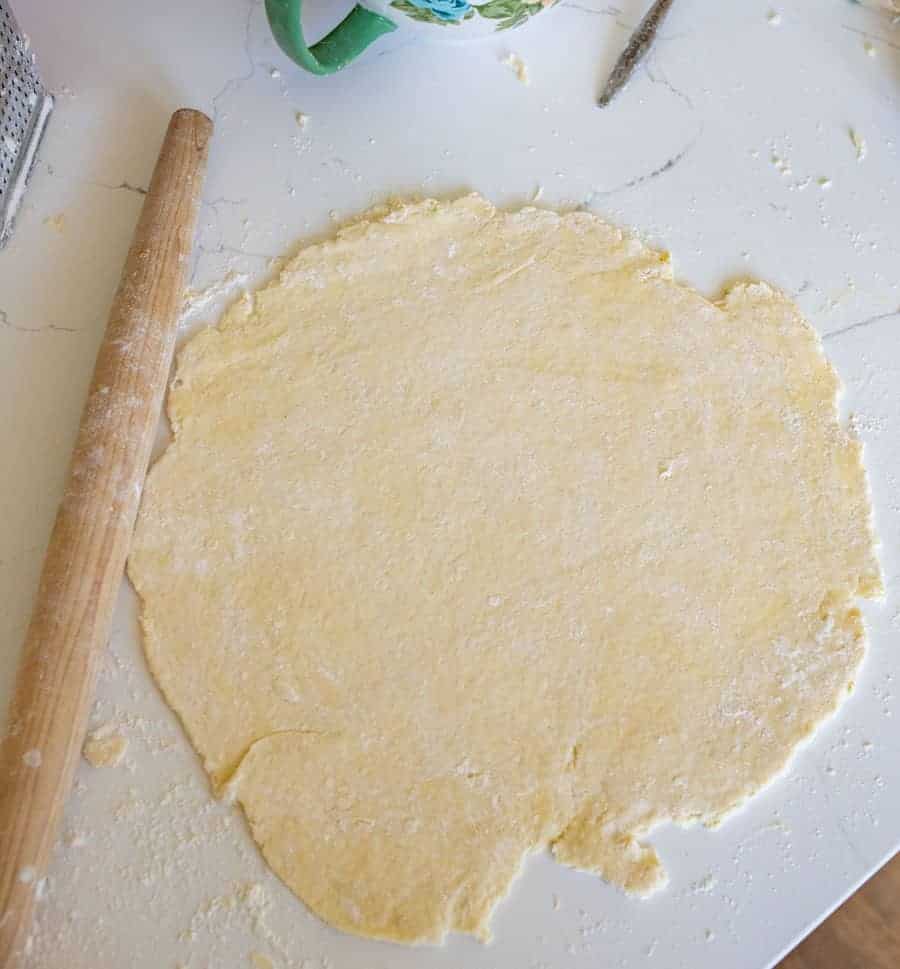
Step 3: Add the cold water all at once, and stir to combine.
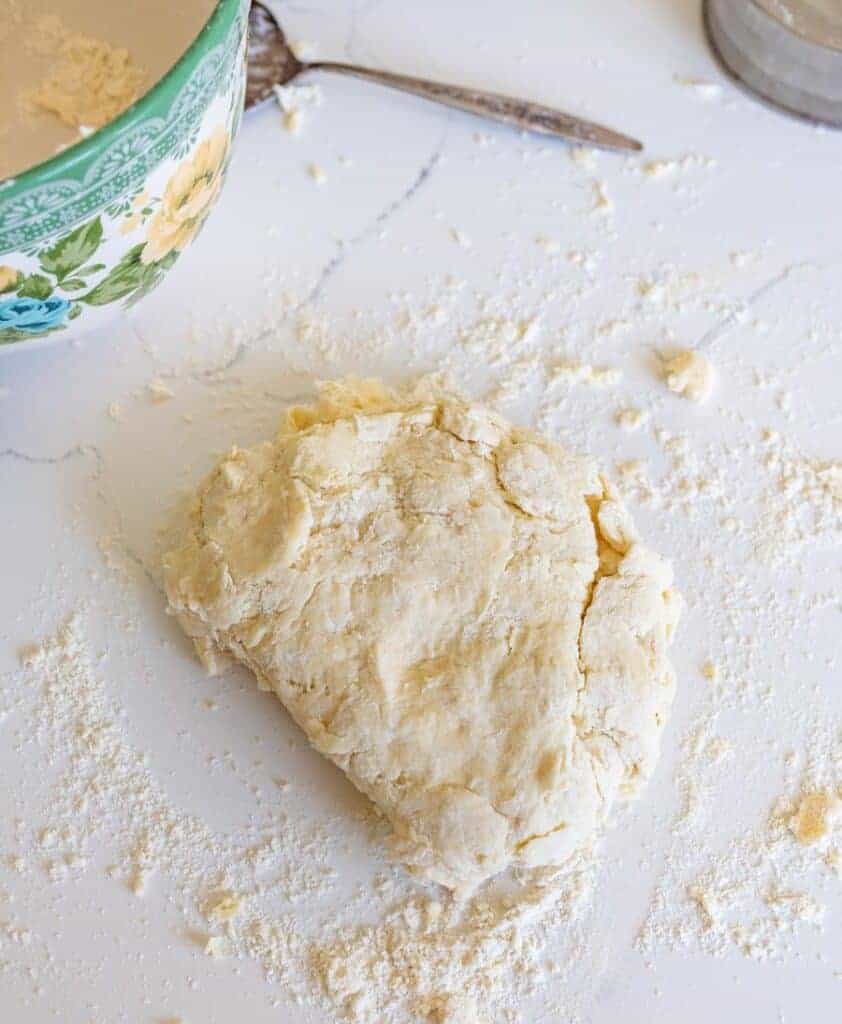
Step 4: Dump the dough onto a lightly floured surface and shape it into a ball.

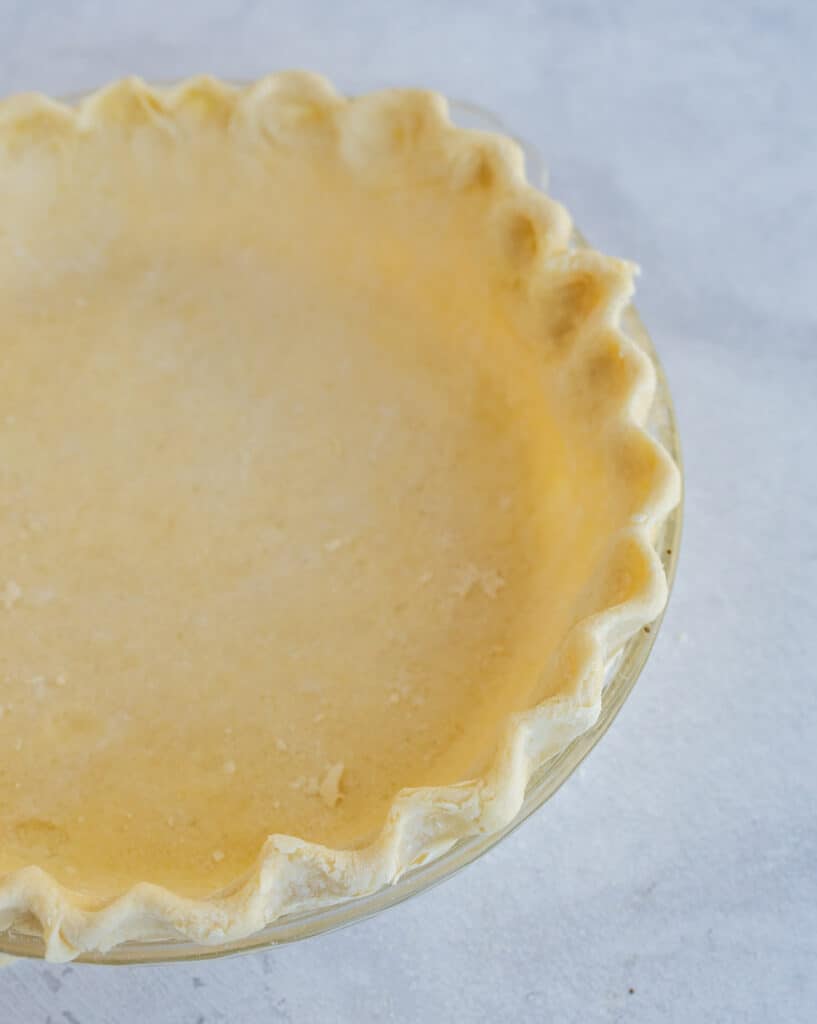
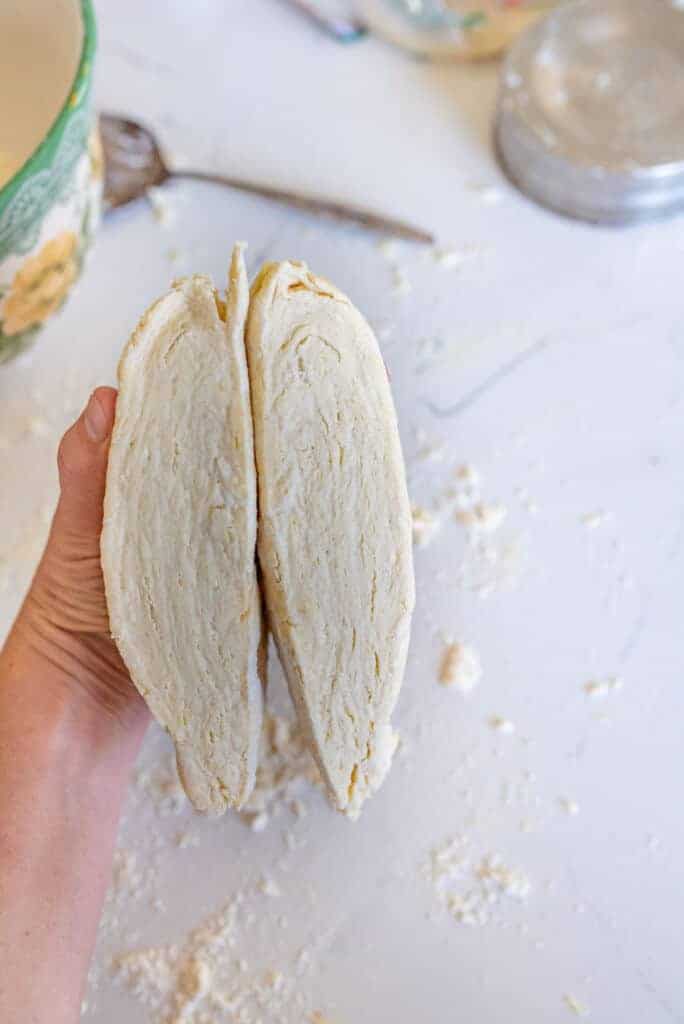
Step 5: Cut the ball in half and flatten each half into a disc.
Step 6: Roll and use in your favorite pie recipes.
Recipe FAQs
Some pie crust recipes call for vinegar to prevent the crust from being tough, as vinegar helps to stop the formation of gluten, but this recipe doesn’t need it!
To get that glossy, golden appearance on the top crust, brush the crust with an egg wash (one yolk beaten with a teaspoon of water) before baking.
Using too much water creates a sticky dough, which turns into a chewy and tough pie crust. But too little liquid makes a dry crust that cracks and falls apart. The key is to add water until you can form a ball that doesn’t crumble when you pull it apart but also isn’t sticky.
Definitely! This versatile all-butter pie crust works wonderfully for both sweet dessert pies like apple and cherry, and savory options like chicken pot pie or quiche. The rich butter flavor complements a wide range of fillings, making it a truly multipurpose recipe that belongs in every home baker’s repertoire.

Expert Tips
- Grating Butter Tip: Use the large hole side of a cheese grater to grate the butter into small pieces so you can more easily incorporate it with the flour.
- Science of Butter Layers: Do you know why using cold butter broken down into little pieces is so important? When the pie bakes, those little pieces of butter melt, creating small pockets of air and layers within the pastry itself. It’s what makes pie crust ultra-flaky.
- Ice Cold Water Technique: The water must be ice cold so be sure to give it time to chill after putting ice cubes in it. Cold water is crucial because it keeps the butter pieces solid and intact until the moment they hit the hot oven.

How To Keep Your Pie Crust From Getting Soggy
There are a few ways to keep pie crust from getting soggy:
- Blind bake it, or pre-bake it before adding the pie filling.
- Brush the crust with egg before adding the pie filling.
- Bake the pie on a hot baking sheet by preheating the baking sheet inside the oven. (This will firm up the crust even more as it bakes.)
- Store the pie properly, covered tightly and in a dry area, so moisture stays out.

All-Butter Pie Crust vs Pie Crust Made With Shortening
Pros of all butter pie crust: flaky, great flavor, butter is often considered a healthier fat than shortening
Cons of all butter pie crust: they tend to shrink more when baked and don’t hold their shape as well
Pros of butter and shortening crust: still flaky, rich flavor, easy to work with, holds its shape better when baked or cut into decorations
Cons of butter and shortening pie crust: not everyone likes to use shortening or keeps it on hand
Test it Yourself: I have a great shortening and butter pie crust recipe if you’d like to see the difference!
More Pie & Dessert Recipes to Consider
Pies, Crisps & Tarts
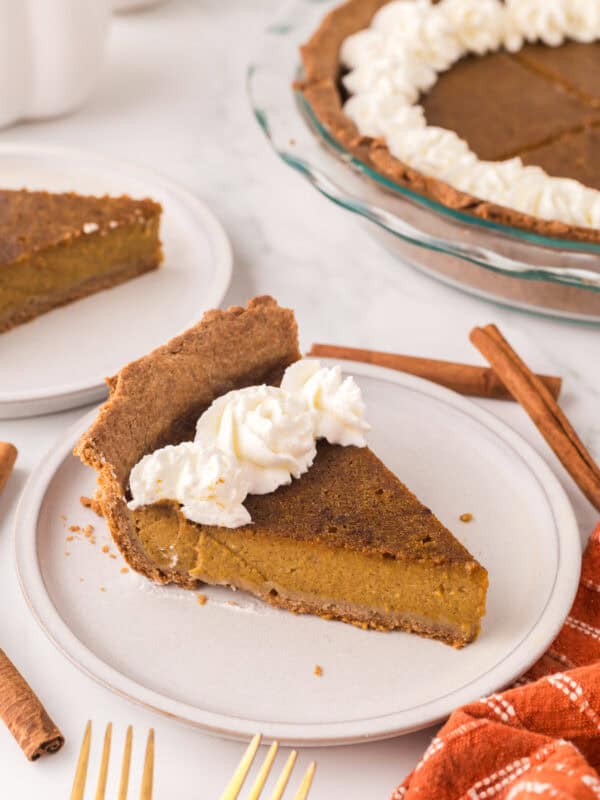
Healthy Pumpkin Pie Recipe
Pies, Crisps & Tarts
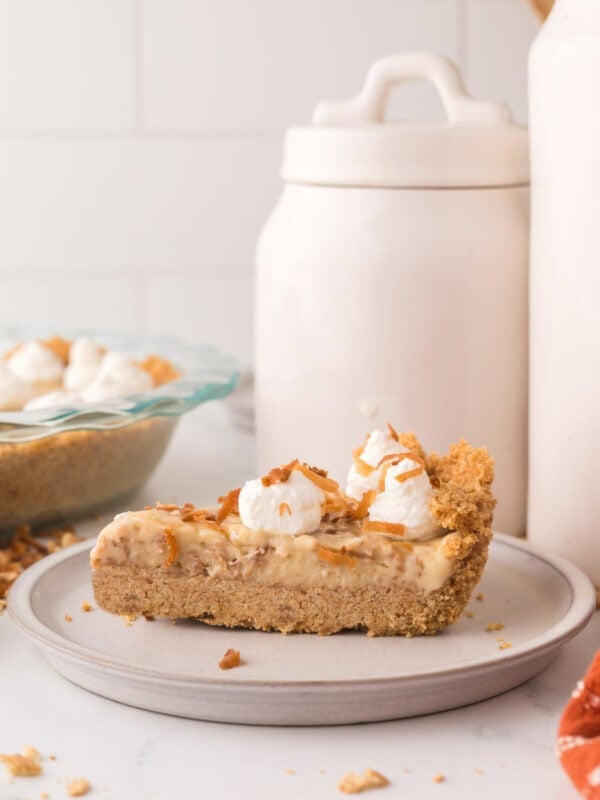
Homemade Coconut Cream Pie
Pies, Crisps & Tarts
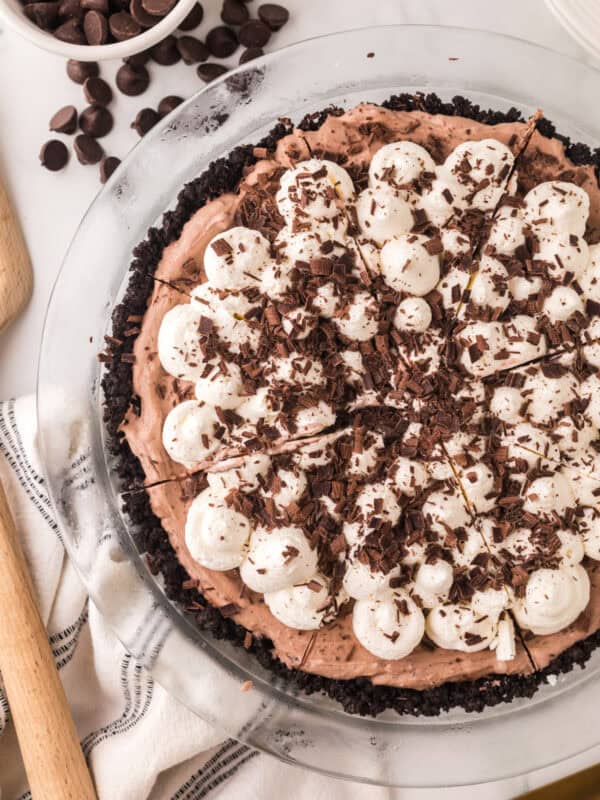
Homemade Chocolate Cream Pie
Pies, Crisps & Tarts
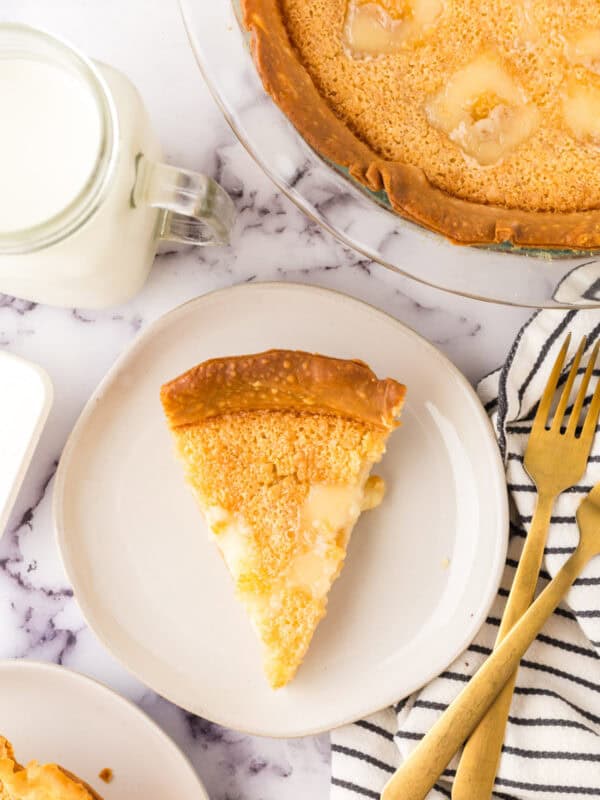
Hoosier Sugar Cream Pie
Did you make this recipe? Leave a ⭐️ review and share it on Instagram, Facebook, or Pinterest!
All Butter Pie Crust
Ingredients
- 2 1/2 cups all-purpose flour
- 1 teaspoon salt
- 1 cup plus 2 tablespoons, butter, (18 tablespoons)
- 1/2 cup ice-cold water, give or take 1 tablespoon
Instructions
- Measure the flour by scooping it in your measuring cup and leaving off the top with the back side of the butter knife. This will help ensure that you aren’t using too much flour.
- Place flour and salt in a medium mixing bowl.
- Cut the butter into thin pieces, or you can grate it with the large holes of your cheese grater, and add to the flour.
- Use a pastry blender or a fork to combine the flour and butter. Press until you have pieces of the fat mixed in with chunks about the size of peas remaining.
- Add the cold water all at once, and stir to combine. If the dough is a bit dry, add 1 additional tablespoon of water.
- The dough will come together nicely.
- Dump the dough out onto a lightly floured surface, and use your hands to collect it all into one ball.
- Cut the ball in half and flatten each half into a disc.
- Wrap each disc tightly with plastic wrap.
- Store in the fridge for 30 minutes before using, up to 3 days, or store in the freezer for up to 3 months. Let the dough thaw overnight in the fridge before using.
- Roll and use in your favorite pie recipes.
- Makes a double pie crust (a top and bottom) or enough for 2 bottoms (like 2 pumpkin pies that don’t need a top).
Notes
- Store in the fridge for 30 minutes before using, up to 3 days, or in the freezer for up to 3 months. Let the dough thaw overnight in the fridge before using.
- Use the large hole side of a cheese grater to grate the butter into small pieces so you can more easily incorporate it with the flour
- The water must be ice cold so be sure to give it time to chill after putting ice cubes in it.
- To get that glossy, golden appearance on the top crust, brush the crust with an egg wash (one yolk beaten with a teaspoon of water) before baking.

