This post may contain affiliate links. Please read our disclosure policy.
This is your ULTIMATE guide to making a Perfect Pie Crust! It has 4 great homemade recipes – traditional, whole wheat, graham cracker, and chocolate cookie crust. These easy pie crust recipes are the basis of the best Thanksgiving dessert!
Looking for more pie crust recipes? Try My Favorite Pie Crust Recipe and this Simple Pie Crust!
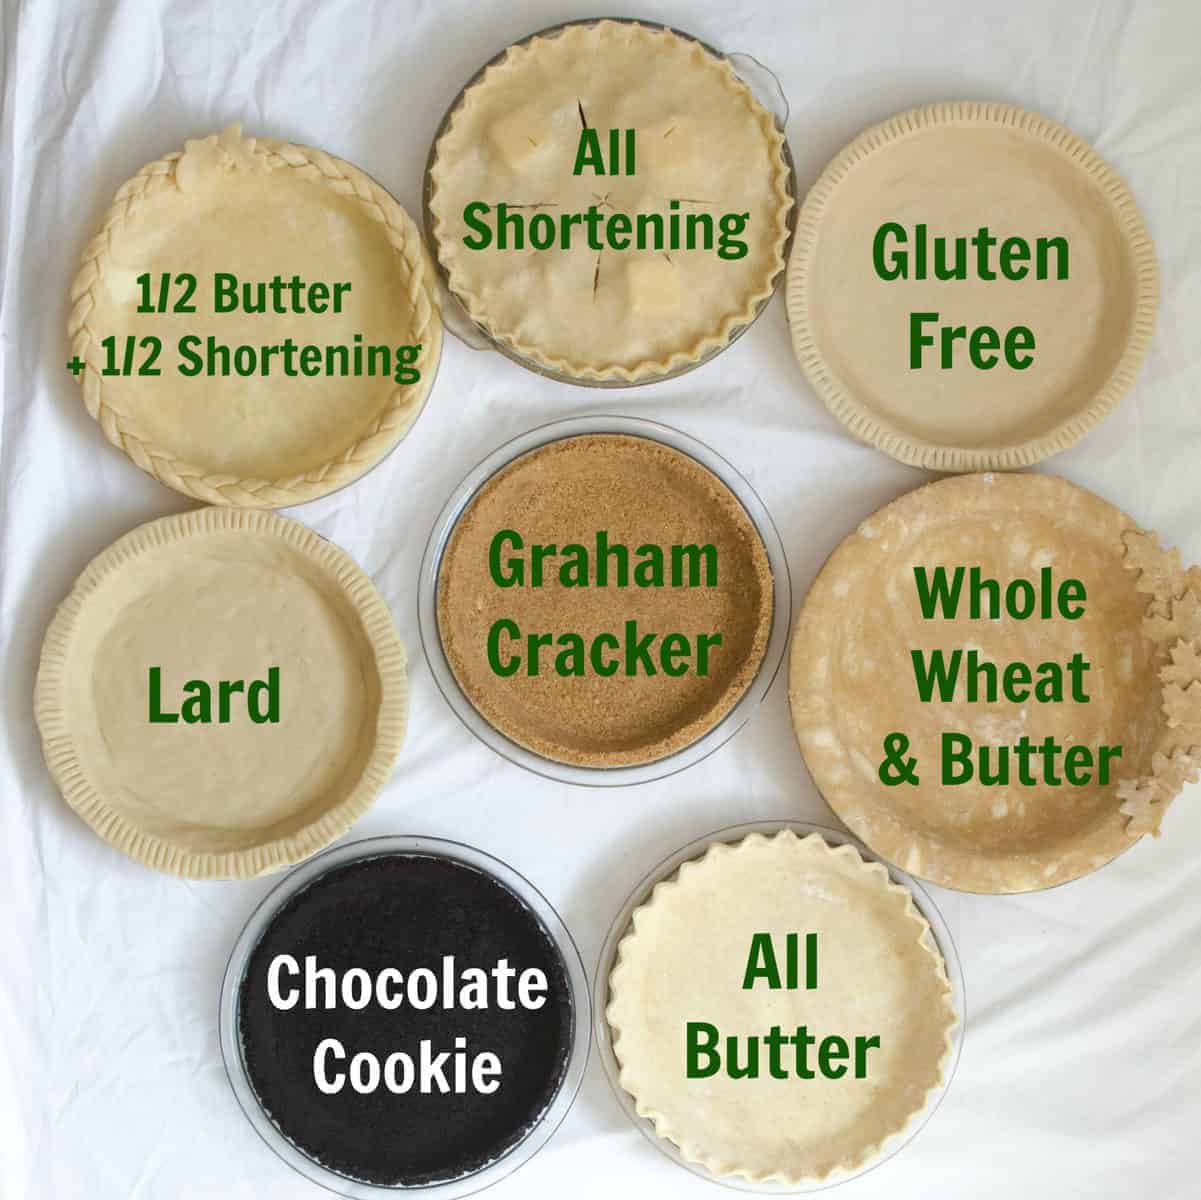
Table of Contents
- Flaky Homemade Pie Crust Recipe
- Whole Wheat and Graham Cracker Pie Crust
- Combining Flour and Fat for Perfect Pie Crust:
- The Best Fats for Pie Crust:
- Which Flours to Use for a Pie Crust:
- Chilling and Resting:
- Baking the Perfect Pie Crust:
- Additional Things You Might Want to Note:
- Tips and Tricks for Making the Best Pie Crusts:
- Traditional Perfect Pie Crusts Recipe
- Whole Wheat Pie Crust:
- Whole Wheat All-Butter Perfect Pie Crusts Recipe
- Graham Cracker Pie Crust:
- Graham Cracker Crust Recipe
- Chocolate Cookie Pie Crust:
- Chocolate Cookie Crust Recipe
Flaky Homemade Pie Crust Recipe
Few things are more rewarding than pulling a hot homemade pie from the oven. It makes you feel like a domestic ninja goddess. I did all the work and research so that you can make homemade pie crust at home with confidence. Trust me on this one – learning how to make pie just might change your life.
I’ll be the first to admit that I used to be totally intimidated by pie crust. I felt like there were too many rules, too many recipes, and too many differing opinions on what makes one crust work and another one flop. Do you use shortening, butter, or lard? For how long do you chill it?
I thought that if I didn’t know exactly what I was doing, I’d ruin hours worth of work because pie crust was fussy and hard. But after a full 12 hour day of making pie crusts, I’m here to tell you that homemade pie is awesome and the crust is totally doable. I tried 8 different crust variations, made at least 20 different crusts, and used everything from a fork to a food processor to make them. YOU CAN MAKE A HOMEMADE PIE CRUST, friends, and I’ll be your guide to all things pie crust. Whether you are new to pie-making or you make it weekly, you’ll find this post interesting.
Whole Wheat and Graham Cracker Pie Crust
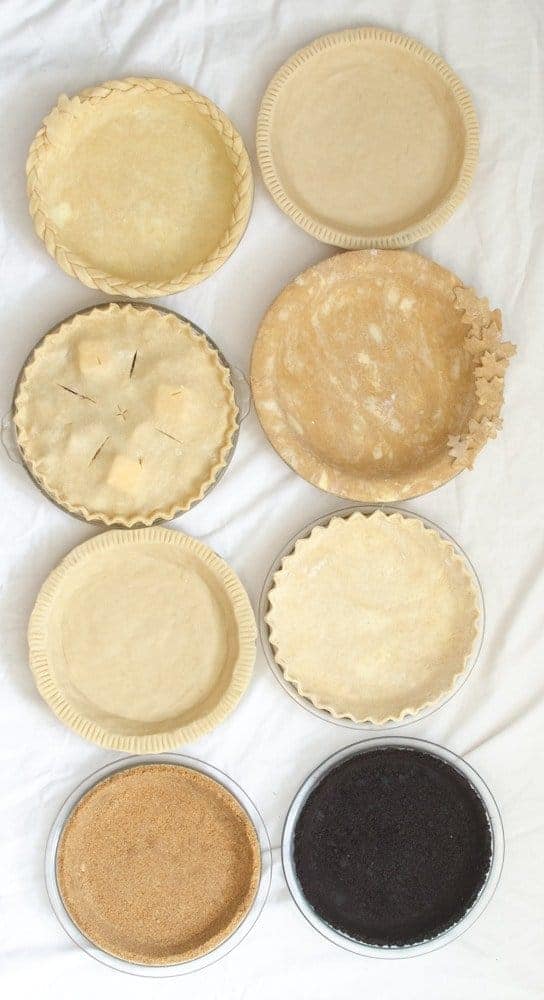
I tested recipes using a fork, a pastry blender, and a food processor to combine the flours and fat. I made pie crust using all butter, all shortening, half shortening and half butter, all lard, gluten-free flour, whole wheat flour, all-purpose flour, graham cracker crumbs, and chocolate cookie crumbs. I also did 6 different washes on top of the pie crust to see what produces the best browning while baking. If that doesn’t cover 99% of your pie crust needs, then I don’t know what will!
Pie Crusts Need To Be Filled: 8 Must Make Pie Recipes
If this post speaks to you, you think someone else might like it, or you want to save it for later, by all means, share it on your social media platforms. Pin it, Facebook it, throw a picture up on Instagram and tag me (#blessthismesseats). All of those things are incredibly helpful to me, and the more sharing that happens, the more I’m able to turn this hobby into a job that helps my family (and my house building project). There is so much power in your sharing – you literally have no idea how important that is for me.
Combining Flour and Fat for Perfect Pie Crust:
NOTE: In my research and through my experience, I noticed that butter needs to be combined much less than shortening does. When you are mixing your flour and shortening together, you want the pieces to be as small as peas to bread crumbs. When you are combining butter, you want the butter to still have chunks the size of peas, but not smaller.
Fork:
Using a fork is the simplest way to get the job done. All of us have a fork in our house, so no extra tools are needed. This method takes the longest because a fork is a pretty small area to work with, but it does work. I’d also note that if you have wrist/grip/arthritis issues, it’s a little more taxing on your wrist and hands (I’m a chronic carpal tunnel sufferer, so this mattered to me).
Pastry blender:
Pastry blenders were built for this job and they work great! I felt like the pastry blender worked well for all of the crusts, though it was a little harder to use for the all-butter recipe (cold butter is really hard!). This is a pretty inexpensive single-use gadget that I feel is worth owning if you plan on making pie a few times a year. I also use my pastry blender to chop up eggs for egg salad, and the kids use it to mash bananas for banana bread.
Rolling pin:
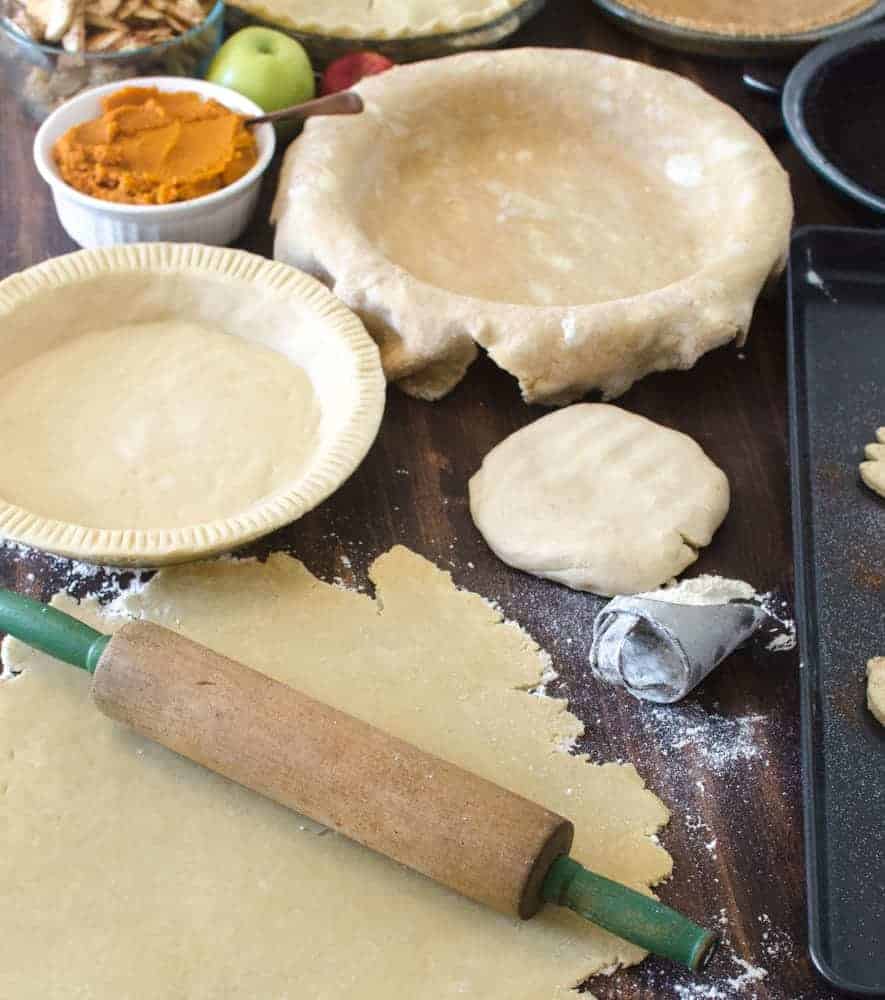
Did you know that you could use a rolling pin to get the fat and flour together? I sure didn’t, until I saw this post from Annalise of Completely Delicious. I have used this method to cut butter into flour many times and I love it. Take a look! It’s a little messy, but it works very well. I think this is the best option for the all-butter recipe (besides the food processor). It does not work very well for any of the other recipes though, because the other fats stick to the rolling pin.
Food Processor:
This worked very quickly, but you need to know the best ways to use it. I already own one and use it all of the time to make my favorite energy bites. If you only want it for pie crust, it probably isn’t worth the expense, but once I got one I found myself using it often. If you have one, I thought it was worth washing it to use for pie crust. I recommend that you only combine the fat and flour in the food processor, then dump the mixture into a bowl to stir the water in by hand. I have found that I overwork the dough when I try to add the water in the food processor, and my dough comes out tougher than I’d like. The food processor was also definitely the best option for crushing graham crackers and chocolate cookies into crumbs for those crusts.
The Best Fats for Pie Crust:
All-butter:
This pie crust tastes great, is nice and flaky, and browns up nicely. I like all-butter crusts because I always have butter on hand and I feel like it is more of a “whole food” than shortening. Butter is more expensive and it’s a little trickier to work with than other fats (though not so hard that you shouldn’t try it). It also doesn’t hold it’s shape as well as shortening, which means it isn’t ideal for doing pretty detailed work like braids and cut-outs (though it works fine for lattices and most traditional pie crust looks).
All-Shortening:
All-shortening crusts have less flavor than the all-butter crusts and the texture is a little “sandier.” I had a hard time getting it as flaky as the all-butter crust, though it was still good. A homemade all-shortening crust tasted much better than the store-bought crust we tried it against. The all-shortening crust was nice to work with when it came to making fancier details like braids and cut-outs on the crust, and shortening is relatively inexpensive in the fat world.
I know that shortening gets a bad rap, but I also know that there are some better than standard options out there if you want to do some research. I would note that my friend Emily from One Lovely Life pointed me towards Spectrum Shortening all vegetable shortening, which is organic and non-hydrogenated. I have also looked into this organic palm oil shortening that is also non-hydrogenated. I have not tried either, but if you are looking for a better shortening option or need to make your pie crust dairy-free, those would both be good places to start.
Half-butter and half-shortening:
This is a mix between the two main options of fat. You get the taste of butter, the stability of shortening, and a price point that’s right in the middle. It is easy to work with, plenty flaky, and holds its shape well when baked.
Lard:
This was my first time buying lard (which was surprisingly hard to find), but I was fully committed to trying everything in the name of pie crust research. The lard was so weird! The pie crusts I made with it were super sandy and fell apart no matter what I did with them or how I made them. The lard was very greasy and hard to wash off (it must have a pretty high melting point), and it honestly smelled kind of odd. It didn’t have much flavor, the crust didn’t hold together well, and I didn’t like it. Save yourself the trouble and rule out lard. Old-timers might swear by it, but my opinion is that butter is far superior and tastes a million times better.
Conclusion:
After asking all kinds of people to taste test, the all-butter and the half-butter and half-shortening pie crusts were the winners in taste and texture. I tend to make all-butter for my family the most often because I don’t keep shortening on hand. If I’m making a lot of pies for something like a party or church function, then I make the half-butter and half-shortening because it cuts down the cost a bit and stays pretty.
Which Flours to Use for a Pie Crust:
Unbleached White All-Purpose Flour:
This is the standard for pie crust and worked great. If you are after a traditional pie crust, this is for you.
White Whole Wheat Flour or Whole Wheat Pastry Flour:
The whole wheat pie crust was AWESOME! I’m so excited about how it turned out. It still tastes more wheat-y than a traditional white flour crust, but that flavor was such a great combo for a maple sweetened pumpkin pie filling that I paired it with. The rich flavors went really well together (pie recipes coming soon!).
If you are going for the whole grain option, either of these two whole wheat flours are your best options. There are different kinds of wheat, and those different types are what majorly influence the wheat flour and how the end product turns out. Wheat flour is ground from hard red wheat berries (the wheat grain) or soft white wheat berries. White whole wheat flour and whole wheat pastry flour are made from grinding the soft white wheat berries. This wheat has a light, less “wheat-y” flavor. The whole wheat pastry flour is ground extra fine and might even be sifted to remove the largest pieces. These are both good whole wheat flour options for making pie crust. This is the whole wheat flour that I use and love the most.
Gluten-Free Pie Crust:
I really wanted to rock the gluten-free pie crust for you so that you had all kinds of options, but I just didn’t nail it. I bought King Arthur Flour Gluten-Free Flour Blend and just used it in place of the flour in my base recipe. I thought it would be a pretty simple swap, but I was wrong. It just didn’t turn out. The crust didn’t hold together at all, it was a nightmare to get into the pan, and once baked, it crumbled and fell apart. Gluten-free baking obviously takes more than a little flour substitution when it comes to pie crust. If you are looking for gluten-free pie crust recipes, I’d try this one from One Lovely Life, this one from King Arthur Flour, or this one from America’s Test Kitchen. I’m going to leave that one to the experts. That being said, I have had good luck using gluten-free gingersnaps in place of graham crackers for a gluten-free pie crust, though that is different than a traditional flour pie crust.
Chilling and Resting:
There are lots of opinions about chilling the pie dough, so I thought I’d let you know what I discovered.
- I didn’t think it made that big of a difference if I used cold shortening or not.
- Cold butter is a must. Warm butter works itself into the flour too much, instead of staying in little chunks that get smashed between the flour. Those cold little chunks of flour are what melt while the pie is baking, making the crust flaky. Warm butter makes for a weird, almost shortbread-like crust – not what we are after here.
- I used ice water (just the water itself – don’t actually put ice into the crust), because that was a standard.
- The all-shortening crust was best if it was used right after making, instead of chilling it first. The chilled all-shortening crust didn’t roll out well and cracked a lot.
- Chilling the all-butter and half shortening and half butter crusts for 15-30 minutes before use was great, but it took 10 minutes on the counter for me to be able to roll them out. I think if you are short on time, you can roll the crust out right after making the dough, and then stick the rolled-out pie crust in the fridge to stay cool while you make your filling.
- Resting and chilling the whole wheat pie crust is a must because of the nature of the whole wheat – you want to get it as tender and flaky as possible.
Baking the Perfect Pie Crust:
- The recipe I have shared below is for a double pie crust. This means it makes enough dough for a top and a bottom crust (like you would for a traditional apple pie). If you want to make a pie that only needs one bottom crust (like pumpkin pie), then halve the recipe. I normally make a double crust and will either make two pies or store one crust in the freezer for later. It’s the same amount of work either way, so you might as well make both and just save one for later. Freezing instructions are in the “additional things you might want to note” section below.
- Most double pie crust recipes use between 2 1/2 and 3 cups of flour. I went with 3 cups because it’s easier to have more dough to work with instead of less. When I have extra dough after rolling, I simply cut it into strips, brush with water, sprinkle with sugar and cinnamon, and then bake at 350 degrees until they are golden brown, about 15 minutes. We call these “crispies,” and they are the perk of making pie! These are the little treats your pie making helpers get to enjoy in the middle of the morning or afternoon when they don’t get to eat the actual pie until after dinner.
- You can brush the top of your pie with a few things. I found that brushing the top crust with water and sprinkling it with a large grain sugar made the crust really pretty and added a little texture and flavor. You can also mix together one egg yolk and 2 tablespoons of water and then brush it on the crust. This makes the crust golden and extra shiny. I like both options.
- Sometimes a recipe will ask you to pre-bake or partially bake a single pie crust – this is called a “blind bake.” The recipe will indicate when you need a baked and cooled pie crust. Here are some great tutorials about blind baking pie crust.
Additional Things You Might Want to Note:
- The addition of salt in the recipe heightens the flavor of the dough. Don’t skip it. It doesn’t matter much which kind of salt you use (table, kosher, or sea salt), just make sure you don’t forget it.
- Some pie crust recipes call for things like eggs, buttermilk, or milk. These make the pie heartier, the crust sturdier, and the dough easier to work with. Recipes that call for these are good options when you want to serve the pie outside of the pan (like a quiche or other sturdy pie).
- You can add a tablespoon of sugar to the dry ingredients if you’d like – it’s a preference thing.
- You can freeze pie crust for later use. Either form it into the discs before rolling it out, or put the crust in a pie pan, crimp it, and get it fully ready. If you are freezing the discs, just wrap them well in plastic and pop them into a freezer zip-top bag. Freeze for up to 3 months and let thaw in the fridge before rolling out. If you are freezing a whole pie shell, get it all ready (don’t add the filling), and stick the whole thing in the pie pan in the freezer. Once it is frozen, you can remove it from the pie pan and wrap it well for freezer storage. If you are going to make a few of these, you can stack them up, with a layer of parchment paper in between, before you wrap them.
Tips and Tricks for Making the Best Pie Crusts:
- If you are using the food processor, only use it to combine the fat and flour. Dump the combined mixture into a bowl and then add the water so that you don’t overwork the dough, causing it to be tough and chewy in the end.
- If you are rolling out your dough and it seems to break apart or isn’t working like you think it should (story of my life), have no fear! Sometimes I just take the chunks of broken dough and place them in the pie plate. Then I’ll use my fingers and kind of smoosh things together to make what looks more like a pie crust. When it’s filled and baked, no one will know the difference.
- Not all pie plates are created equal. Some are thick, some are thin, and some are ceramic, metal, or glass. I think if you are only going to own one pie plate, it should be this deeper 9-inch glass Pyrex pie plate. It cooks the crust evenly. It’s a little deeper than some, so you can fill it as much as you’d like, and it just works well. There are a million really cute pie plates, but if you are looking for something that is going to work well over and over again, that simple dish is my vote.
- If you are a visual learner, there are some great videos on YouTube for how to crimp a pie crust edge.
Traditional Perfect Pie Crusts
Ingredients
- 3 cups all-purpose flour
- 1 teaspoon salt
- 1 cup cold unsalted butter OR 1 cup shortening OR a half cup of each
- 5-9 tablespoons ice cold water
Instructions
- In a medium bowl, combine the flour and salt. Whisk to combine. If you are using any butter, cut it into smaller pieces.
- Work the fat (butter, shortening, or combo of the two) into the flour using a fork, pastry blender, or food processor. If you are using butter, be sure to leave chunks of butter about the size of a pea. Don’t overwork the dough.
- If you used a food processor, add the fat and flour mixture back to the bowl.
- Add the ice water a small amount at a time, stirring after each addition. The pie crust should just start to come together and should stick together when you press some in your hand. You don’t want it to be sticky, but don’t fear adding too much water either.
- When the dough comes together, dump it out onto a piece of plastic wrap. Use your hand to form the dough into a uniform mound.
- Separate the dough into two each pieces. Place one half on another piece of plastic wrap. Press each half into a round disc and wrap well in plastic wrap.
- Chill for 15-30 minutes. Then roll and use as directed in your pie recipe.
Nutrition
Whole Wheat Pie Crust:
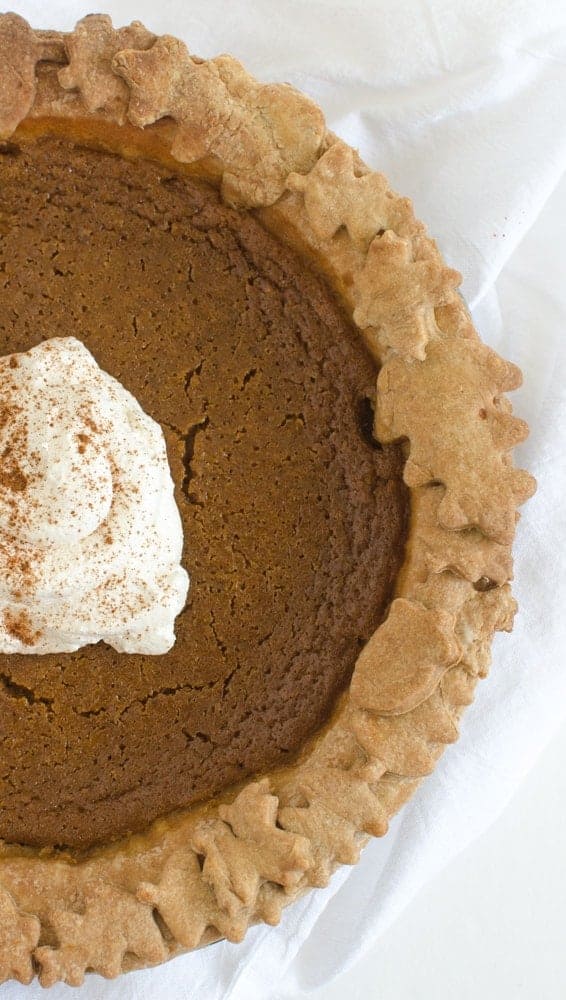
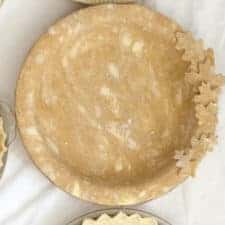
This recipe for a whole wheat flour crust uses all butter. This is for all my whole food-loving folks who still need pie in their life. This goes so well with pumpkin pie! It’s nutty, rich, and surprisingly tender and flaky. I’m so excited to have this recipe to share with you.
Whole Wheat All-Butter Perfect Pie Crusts
Ingredients
- 3 cups white whole wheat or whole wheat pastry flour
- 1 teaspoon salt
- 1/2 teaspoon baking soda
- 1 cup cold unsalted butter, cut into smaller pieces
- 3 tablespoons orange juice
- 1/3 cup buttermilk
- 2-6 tablespoons ice cold water
Instructions
- In a medium bowl, combine the flour, salt, and baking soda. Whisk to combine.
- Work the butter into the flour using a fork, pastry blender, or food processor, making sure to leave chunks of butter about the size of a pea. Don’t overwork the dough.
- If you used a food processor, add the butter and flour mixture back to to the bowl.
- Add the orange juice and buttermilk and stir to combine. Add the ice water a small amount at a time, stirring after each addition.
- This pie crust should just form a ball when you stir it. Don’t make it too dry, because whole wheat flour absorbs more liquid than white flour. You don’t want it to be sticky, but don’t fear adding too much water either.
- When the dough comes together, dump it out onto a piece of plastic wrap. Use your hand to form the dough into a uniform mound.
- Separate the dough into two each pieces. Place one half on another piece of plastic wrap. Press each half into a round disc and wrap well in plastic wrap.
- Chill for 15-30 minutes. Then roll and use as directed in your pie recipe.
Nutrition
Graham Cracker Pie Crust:
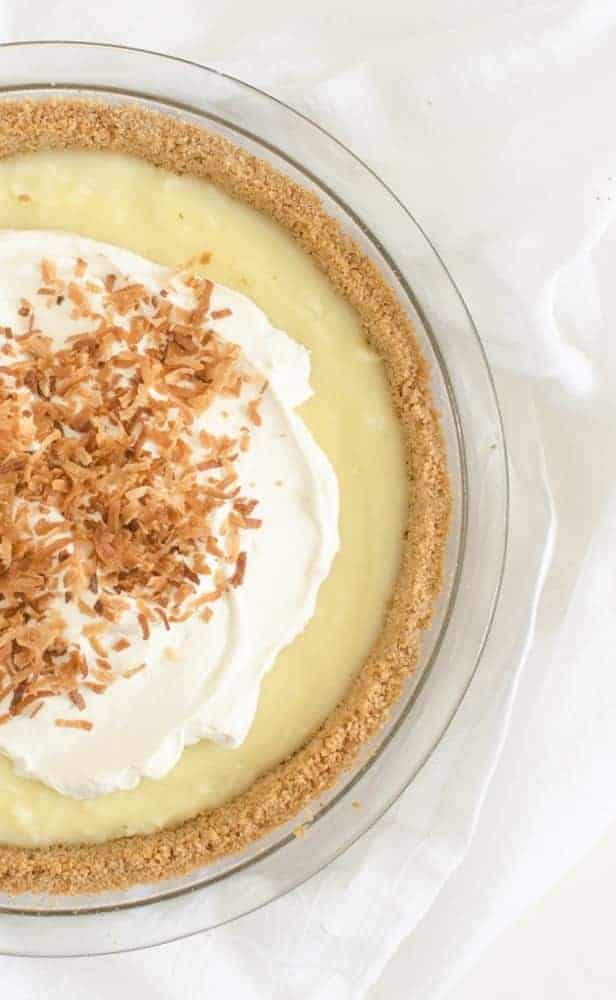
I felt like if this was going to be the ultimate pie crust post, then I also needed to include recipes for a graham cracker crust and a chocolate cookie crust. This graham cracker crust is simple and delicious and goes great with cream pies. It’s a kitchen staple.
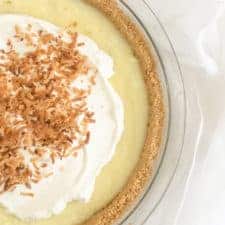
Graham Cracker Crust
Ingredients
- 1 1/4 cups finely-ground graham cracker crumbs, about 1 sleeve of crackers
- 2 tablespoons sugar
- 5 tablespoons butter, melted
Instructions
- Preheat oven to 350 degrees.
- Stir together graham cracker crumbs, sugar, and butter in a bowl until evenly combined. Press mixture evenly onto bottom and up the sides of a 9-inch (4-cup) pie plate. You can use your fingers, a spoon, or the back of a measuring cup to do this.
- Bake crust on the middle oven rack for 10 minutes, then remove and let cool.
Notes
Nutrition
This recipe is from the America’s Test Kitchen’s Family Baking Cookbook. Love this book!
Chocolate Cookie Pie Crust:
Chocolate cookie pie crusts are simple to make and fun to have on hand. Fill this with homemade chocolate pudding and whipped cream, or get fancy and try your hand at a s’mores pie! You can fill this with just about anything.
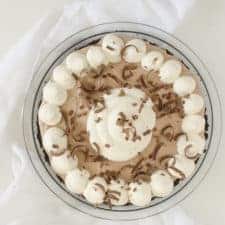
Chocolate Cookie Crust
Ingredients
- 16 Oreo cookies, crushed into very small pieces
- 3 tablespoons unsalted butter, melted
Instructions
- Preheat oven to 350 degrees.
- Stir together chocolate cookie crumbs and butter in a bowl until evenly combined. Press mixture evenly onto bottom and up the sides of a 9-inch (4-cup) pie plate. You can use your fingers, a spoon, or the back of a measuring cup to do this.
- Bake crust on the middle oven shelf for 10 minutes, then remove and let cool.
Notes
Nutrition
This recipe is from the America’s Test Kitchen’s Family Baking Cookbook. Love this book!
There you have it – over 4,000 words about pie crust. Just wait for the post on what to put in all those crusts, coming your way soon! Enjoy, Enjoy, ENJOY, from my kitchen to yours! And because pie crust need to be made into pies, here’s my post that includes 8 of my favorite pie recipes (apple, Dutch apple, cherry, pecan, buttermilk, pumpkin, chocolate cream, and coconut cream pie recipes included)!




I appreciate the info on the use of different fats for pie crust. It was interesting. Though I must say, using an all-lard recipe can actually be awesome. That’s what my grandma did, that’s what my mom does, that’s what I do. Maybe it just takes the right recipe to have a good experience. But I’ve also eaten one made with butter – it was different than what I’m used to, but it was just as good.
How much do lard do you put in the crust my mother’s recipe was vegetable oil flour but it is very hard to roll
Out
My neighbor made a vegetable oil pie crust too, I’ll have to ask her for the recipe. I just used the same amount of lard as I was for the shortening and didn’t love it.
I love the tips. I used to make shortening pie crust and they would be great, flaky and tender. Then we realized how bad transfat was for you. Then I was trying to use coconut oil for shortening and they never turned out. All butter was fifty/fifty results. So I bought Spectrum shortening and I am going to make the 1/2 shortening and 1/2 butter. I have pie duty for Thanksgiving. I am going to try your recipe and hope it works out.