This post may contain affiliate links. Please read our disclosure policy.


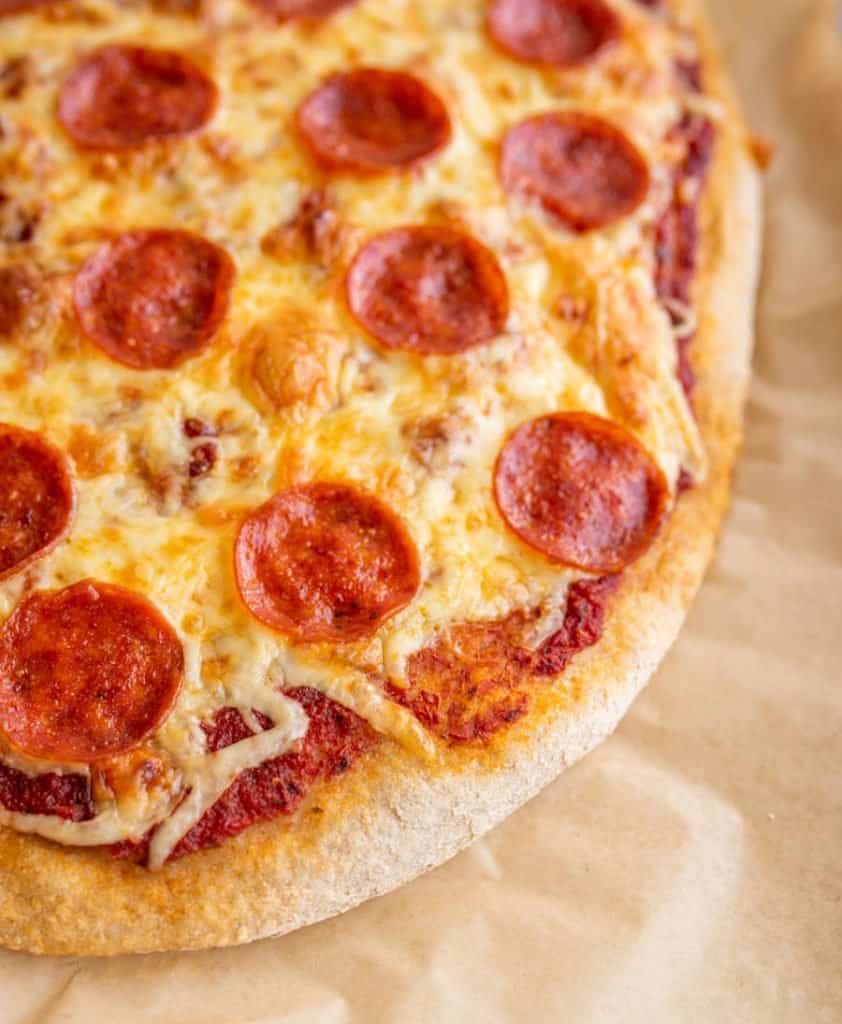
I am a big fan of pizza night and I have the best Whole Wheat Pizza Dough to share. This crust is made with 100% whole wheat flour and it makes a perfectly chewy whole grain crust that everyone will rave about.

Whole wheat pizza crust often gets a bad rap, but this recipe will not disappoint. It’s an overnight recipe- although it works just about as well if you make it in the morning and let it sit until dinner. Something beautiful happens when you let the dough sit and give the starches time to break down a bit. The texture and flavor is unmatched.
This recipe turns out an amazingly chewy yet tender pizza crust and you’ll never go back to your old recipe (or baking method for that matter) again! Those whole grains are just better for you in general and the fiber aids in digestion and helps everyone feel full a lot longer. You can top it with this super simple homemade pizza sauce using only THREE ingredients!
Table of Contents
Why You’ll Love This Recipe
- The dough can be made ahead of time and rises in the fridge, giving you flexibility with your schedule.
- Enjoy a healthier pizza crust that’s packed with fiber and whole grain goodness that really keeps you and those kiddos full a lot longer.
- Whether you like a thin, crispy crust or a thicker, chewy one, you can easily adjust the dough to your preference.
- Make dinner a fun family activity to let the kids decorate their own personal pizzas.
Recipe Ingredients
- Flour – Whole wheat
- Sugar – Or honey
- Instant yeast
- Sauce – You can go with a classic red sauce, or spice it up with a white, pesto, or barbecue sauce.
- Cheese – I like to use fresh grated Parmesan and Mozzarella cheese
- Olive Oil
- Salt
- Toppings – Fully customizable, but we like to use pepperoni, mushrooms, black olives, bell peppers, red onion, and diced tomato.
See the recipe card below for full information on ingredients and quantities
How to Make 100% Whole Wheat Pizza Dough
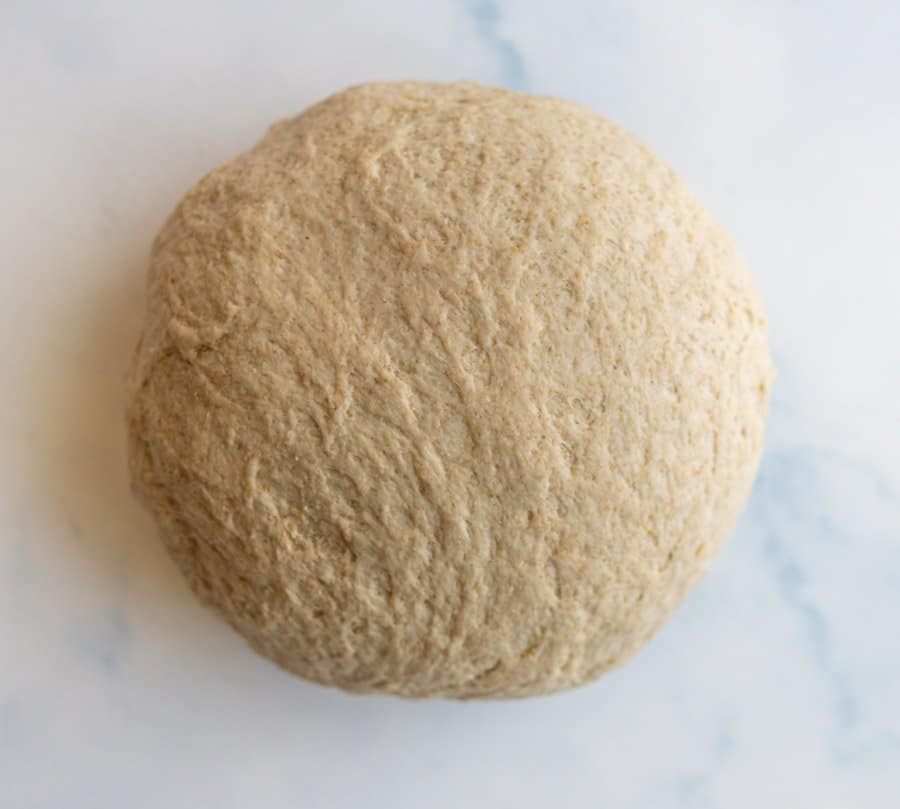
Step #1. Combine flour, sugar, salt, yeast, water, and olive oil to form a sticky dough. Cover and refrigerate for 24 hours or up to 3 days.
Step #2. Bring dough to room temperature for 1 hour, and preheat the oven to 500°F with a baking stone or cookie sheet.
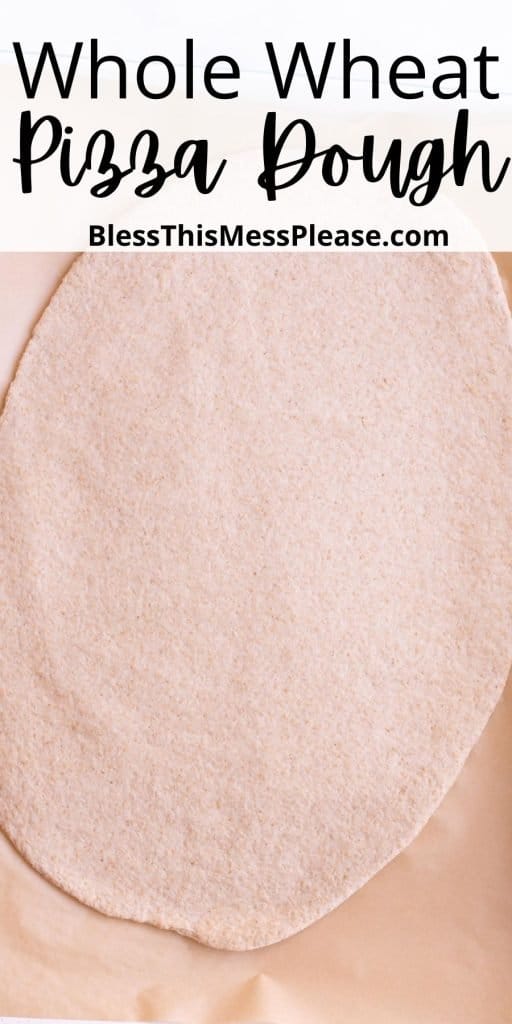
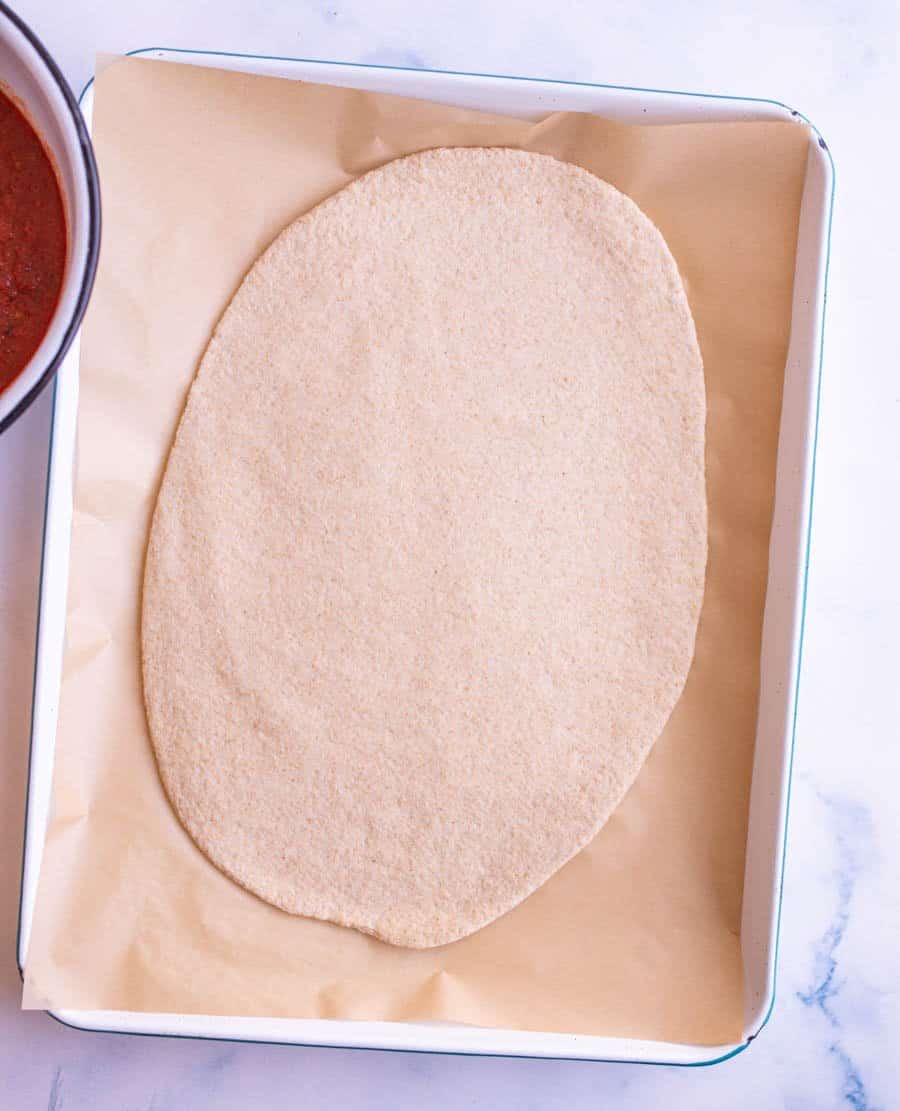
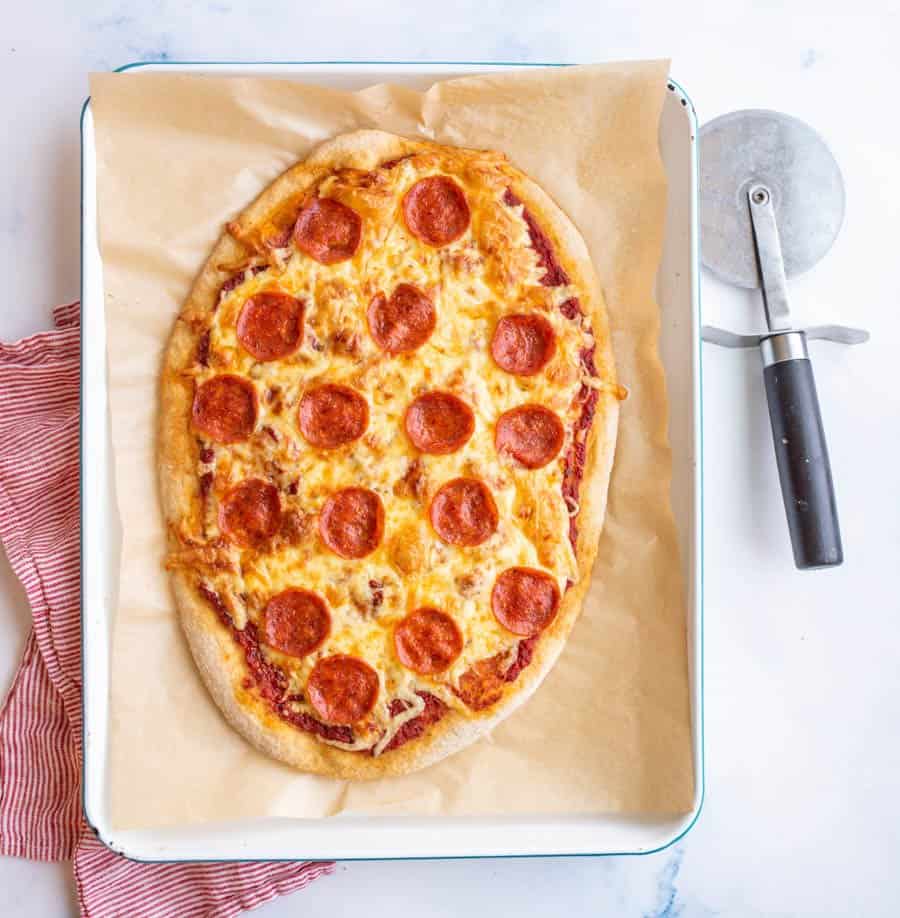
Step #3. Divide dough, roll out to desired thickness on parchment paper, and top with sauce, cheese, and toppings.
Step #4. Slide pizza onto the hot stone or sheet and bake for 10-15 minutes until bubbly and golden. Repeat with remaining dough.
Recipe FAQs
If you don’t have a stone you can turn your biggest cookie sheet upside down (so that the flat side is up) or use a rimless baking sheet. If you are using a stone let the stone heat for 30 minutes. If using a baking sheet, let it heat for 10 minutes.
If you can’t wait that long try this recipe you can make my mom’s famous pizza dough recipe (and it’s great with whole wheat flour too!)
Hot water will kill the yeast. Use lukewarm water that is about 105 degrees F. If the water is much hotter than that you can actually kill the yeast, so don’t get it too hot.
Pizza dough freezes incredibly well. Once your pizza dough has risen you can freeze the ball of dough. Simply spray the dough on all sides with non-stick spray or olive oil and store in a freezer safe bag. It will stay fresh for up to 3 months in the freezer. Let it thaw overnight in the fridge before you use it.
Expert Tips
- Using cold water in the dough slows down the yeast activity, allowing for a longer, more flavorful fermentation.
- A preheated baking stone will give your crust a better texture by evenly distributing heat.
- Rolling the dough on parchment paper makes it easier to transfer to the oven without losing shape.
- Try different dough thicknesses to find your perfect balance of crispy and chewy.
How to Serve and Store 100% Whole Wheat Pizza
A side salad like caesar, antipasto salad, or chef salad is a classic pairing with pizza, providing a fresh and tangy contrast. Garlic knots or breadsticks also add a fun side!
Store any leftover pizza in an airtight container in the refrigerator for up to 5 days. Reheat in the oven at 375°F for 5-7 minutes. Once the dough has risen you can freeze the ball of dough. Simply spray the dough on all sides with non-stick spray or olive oil and store in a freezer safe bag. It will stay fresh for up to 3 months in the freezer. Let it thaw overnight in the fridge before you use it.
More Pizza Recipes to Consider


Did you make this recipe? Leave a ⭐️ review and share it on Instagram, Facebook, or Pinterest!

100% Whole Wheat Pizza Dough
Ingredients
- 3 cups whole wheat flour
- 2 teaspoons sugar or honey
- 1 1/2 teaspoons salt
- 1/2 teaspoons instant yeast
- 1 1/3 cups cold water
- 1 tablespoon olive oil
- pizza sauce, (about 2 cups)
- fresh grated Parmesan cheese, (about 1 cup)
- mozzarella cheese, (about 3 cups)
- toppings
Instructions
- In a large mixing bowl add the flour, sugar, salt, and yeast. Mix to combine. Add the cold water and oil and mix until a soft dough forms. The dough will be sticky to the touch and a lot wetter than a traditional yeast bread dough. This is how it’s supposed to be.
- Cover the bowl with plastic wrap and refrigerate for at least 24 hours or up to 3 days. The dough will not rise much in the fridge and that’s ok.
- Pull the dough out the the fridge and let it sit at room temperature for one hour before using. While the dough is resting preheat your oven to 500 degrees.
- If you have a baking stone, put it in the oven to heat, too. I would recommend using a stone for baking this pizza. If you don’t have a stone you can turn your biggest cookie sheet upside down (so that the flat side is up) or use a rimless sheet. If you are using a stone let the stone heat for 30 minutes. If using a baking sheet, let it heat for 15 minutes.
- When the oven is hot, cut your dough in half. Place half of the dough on a piece of parchment paper that is 18 inches long. Using a rolling pin, roll the dough (on top of the parchment paper) into a 12 to 14 inch circle. The dough should be pretty thin (and the thickness of the dough determines the size of pizza in the end). I like mine very thin so I roll it out to about 1/4 inch in thickness. My husband likes a more “bready” pizza so I make one that is about 1/2 inch thick for him. The dough will rise a bit while baking and the very thin does not get crispy. I say try a few thicknesses out and see which you prefer.
- Top with 1 cup of pizza sauce, 1/4 cup grate Parmesan, 1 to 1 1/2 cups of shredded mozzarella, and toppings of your choice.
- When the pizza is all ready, slide the pizza, which is on the parchment paper, onto a rimless cookie sheet or one that is upside down. This will help you get the pizza to the oven.
- Open the oven and slide the pizza which is still on the parchment paper, from the cookie sheet onto the hot baking stone or hot cookie sheet. I just tug on the edge of the parchment paper with my hands and slide it on to the stone. BE CAREFUL! Your oven is set to 500. It’s super hot, obviously! Make sure the babies are out of the way and be careful when sliding the pizza into the oven.
- Bake for 10 to 15 minutes until the top is bubbly and the edges are starting to brown. When the pizza is done, tug the edge of the parchment paper and slide the pizza back onto the cookie sheet you used to transfer it to the oven. Again, be careful!
- Let your stone reheat for 10 minutes. While the stone is heating, repeat the whole thing with the second half of the dough and bake the same way.
- Enjoy, enjoy enjoy!
- I serve it right off of the parchment paper (which gets all dark and cooked looking) or I’ll tear off a new piece and serve it on a crisp white sheet of parchment. Very pretty!
Notes
- This pizza dough can hang out in the fridge a LONG time (up to 72 hours) and it just gets chewier with time, that being said, I’ve skimped on the resting period too and it’s worked fine. If it’s only resting for the afternoon in the fridge, it’ll work too. Don’t get too hung up on the chilling time but do know that it does improve in texture and flavor over time.
-
- Try different dough thicknesses to find your perfect balance of crispy and chewy.
- A preheated baking stone will give your crust a better texture by evenly distributing heat.
- When I let my kids pick what they want on it and then have them help me “decorate the pizza” aka add the toppings, they are much more likely to eat all the veggies. We love all the traditional vegetables – mushrooms, black olives, bell peppers, red onion, and diced tomato top our list.


Hi i have been making this pizza crust every Saturday to use on Sundays for a few months now!! My husband and sister (who also lives with us) love it!!! Although the
Dough is pretty sticky, just add flour to the area on which youre olling, and to the rolling and flip the dough over a couple of times to coat and you should be fine!! We love thinner crust and I’ve gotten so great at getting the dough thin!! I’m having a pinterest party soon and wanted to make a few different kinds of pizzas. Do you think I could roll out the dough earlier in the day to maybe refrigerate it and then just add ingredients and sauce right before the party starts to avoid some of the mess? Just curious!!
Yay! This was just the comment I needed to make my night. Thank you! If I were you I would roll out the dough on parchment paper and leave it there. Then I would roll out how ever many more I had and stack them and then put a little plastic wrap on them and stick them in the fridge. So you’d have a stack of parchment, dough, parchment dough…. And then when you are ready to make the pizza you could give them one more quick go over with the rolling pin and top. I think making them ahead of time is super smart! Let me know if you do this, I’d love to know how it works! Make-ahead pizza would be awesome.
I made the recipe last night to let it sit in the fridge over night. I haven’t taken it out of the fridge to come to room temperature to roll out yet. I want to know how come you don’t proof the yeast in a cup of warm water before adding the mixture to the dry ingredients? Why do you use cold water? Is this so it can sit over night and proof longer? I am curious because I have never made dough using your method except when i just dumped everything into a bread machine. After I followed your instructions where i added the yeast to the dry ingredients and the oil and water last. I was a little nervous because the dough wasn’t coming together, it was actually very dry. I added extra water, and extra olive oil. Then the dough came together. This might have to do with the weather and humidity where I live. I am looking forward to hearing from you and also looking forward to baking this dough! Thank you!
How did it turn out Eve? The cold water and just a little yeast are methods used often in this kind of slowly made bread. It’s almost as if you are letting it go half to sour dough by letting it rest for so long.
I just tried the pizza and I have mixed reviews. The sauce was a complete success, everyone loved it and will certainly do again. The taste of the dough was also very good. It was the cooking process that I had the most trouble with. I put my stone in the oven at 500 degrees and the stone burned! It was a disaster. I will try again at the traditional 350 degrees, and possibly precook the crust for 5-10 minutes before apply the rest of the toppings.
Is the sauce recipe for BOTH pizzas?
Yep, it’ll be enough for both. And if I have a little extra I just keep it in the fridge and throw it in my pasta sauce the next time I’m making some. Enjoy!
That was absolutely incredible!! I will make this often. Probably like every 3 weeks for a treat!
So I went to the store today. Do I use active or lightly active yeast? Do I not need to heat my liquids? And finally, so I only use half the dough! Can I half the recipe?
I like instant dry yeast but I’ve made it with traditional active dry yeast just the same. In my mind the later has a subtle flavor that I don’t like, but I might just be crazy. And yep, no need to heat the liquid, just throw it in there and making a half batch works well too! Good luck friend!
Excited to try this! I usually use 2 1/2 cups bread flour, 1/2 cup whole wheat flour, 1 cup warm water, 1 tbsp olive oil, 1 small package rapid rise yeast that come in a 3 pack (active dry yeast would work too), 1 tsp sugar and 1 tsp salt. I make 2 thin crust 14 inch pizzas. Someone asked if you can freeze the dough. Yes you can. I do it all the time and freeze mine in a ziplock freezer bag. Whenever I need dough I take it out the night before and pop it in the fridge. It will ‘cold rise’ in the fridge the longer you leave it in there. In the morning I put it in a lightly greased bowl ( 1 tbsp olive oil), cover with a damp dish towel over top and let it come to room temp to rise. I sometimes warm up my oven a little (in the winter months) and put the bowl in the oven to help the rising process.
I get so nervous about freezing dough, but I think you’ve inspired me to just give it a try! Thanks!
I LOVED this pizza dough. I made my own pizza sauce with onions and tomatoes and it tasted great.
I have had the dough in my fridge overnight and am trying this tonight. I hope it works for me! Thanks, I’ll let you know how it went 🙂
How did it go??
Not very well. I am not sure what I did wrong. The dough was very wet, so I couldn’t roll it at all. But I kind of shaped it into the desired shape and thought that it would become more dough-like once cooked.
It did become a bit more dough-like, but not very. It was a bit of a soggy mess. I followed the recipe to the letter, not sure what I did wrong. Any tips?
I think if you were to add some flour right before you are going to roll it out and make the pizza that you’d be better off if you are having issues with it being too sticky. Just knead a bit in until it feels manageable! It’ll still be delicious.
Sound like a good for weight watchers also