This post may contain affiliate links. Please read our disclosure policy.

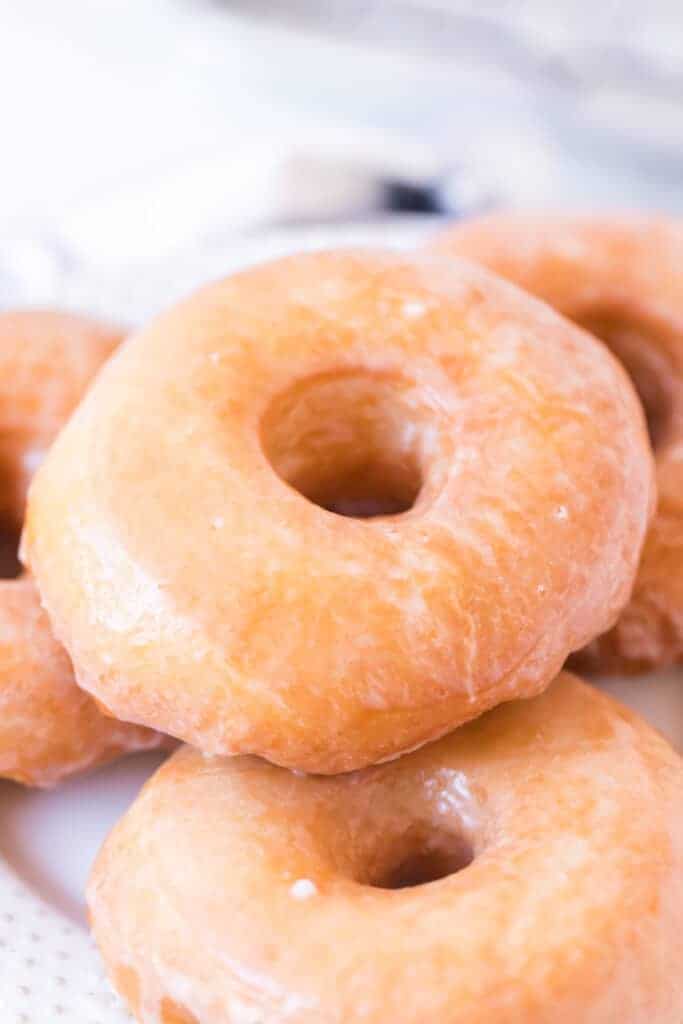
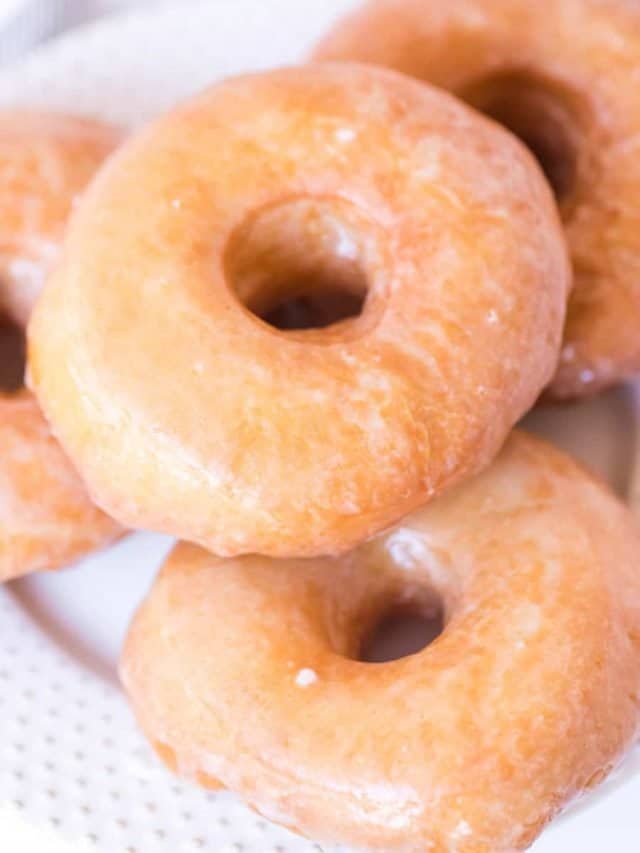
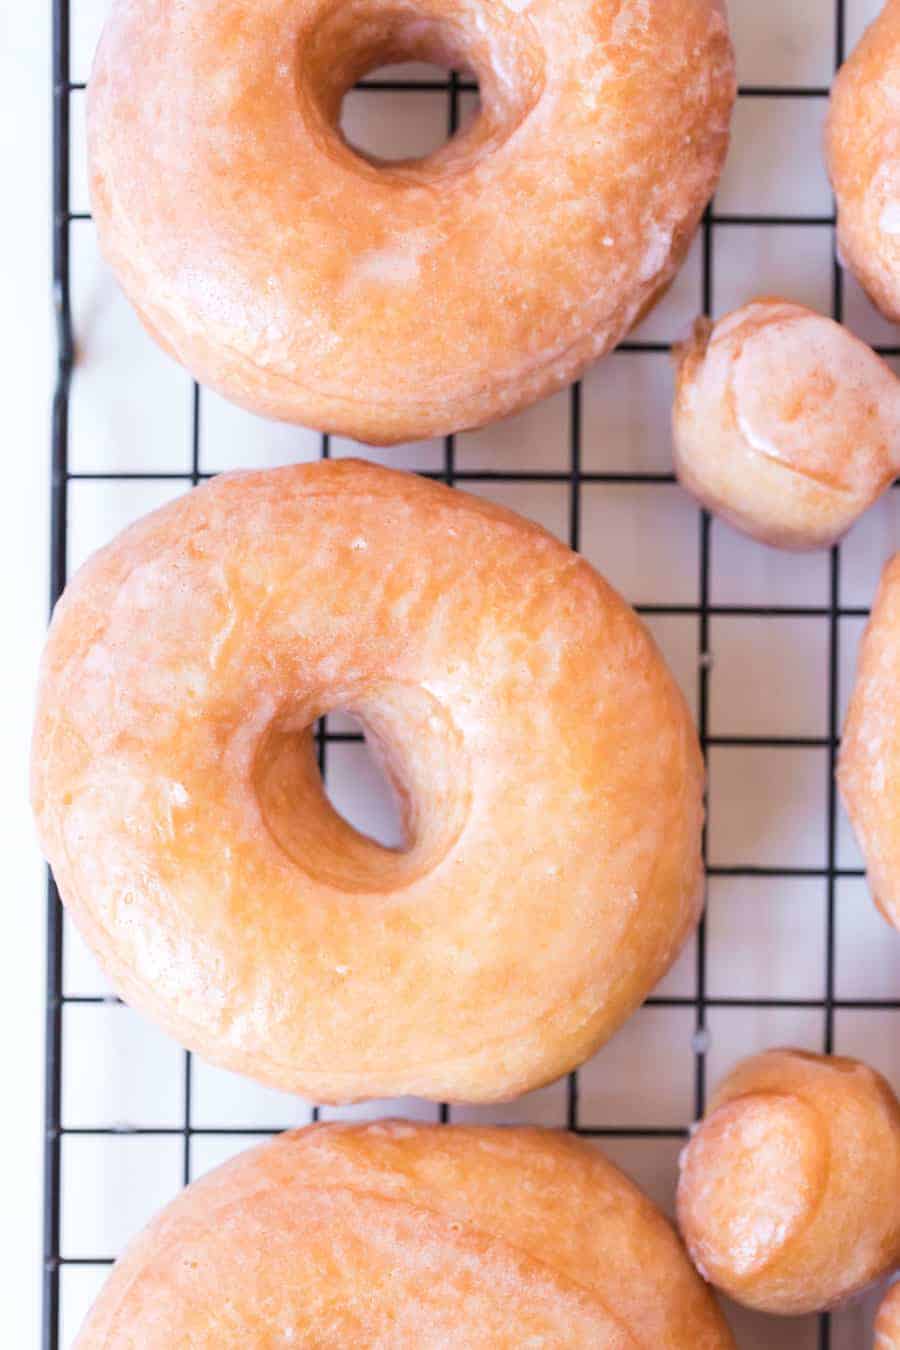
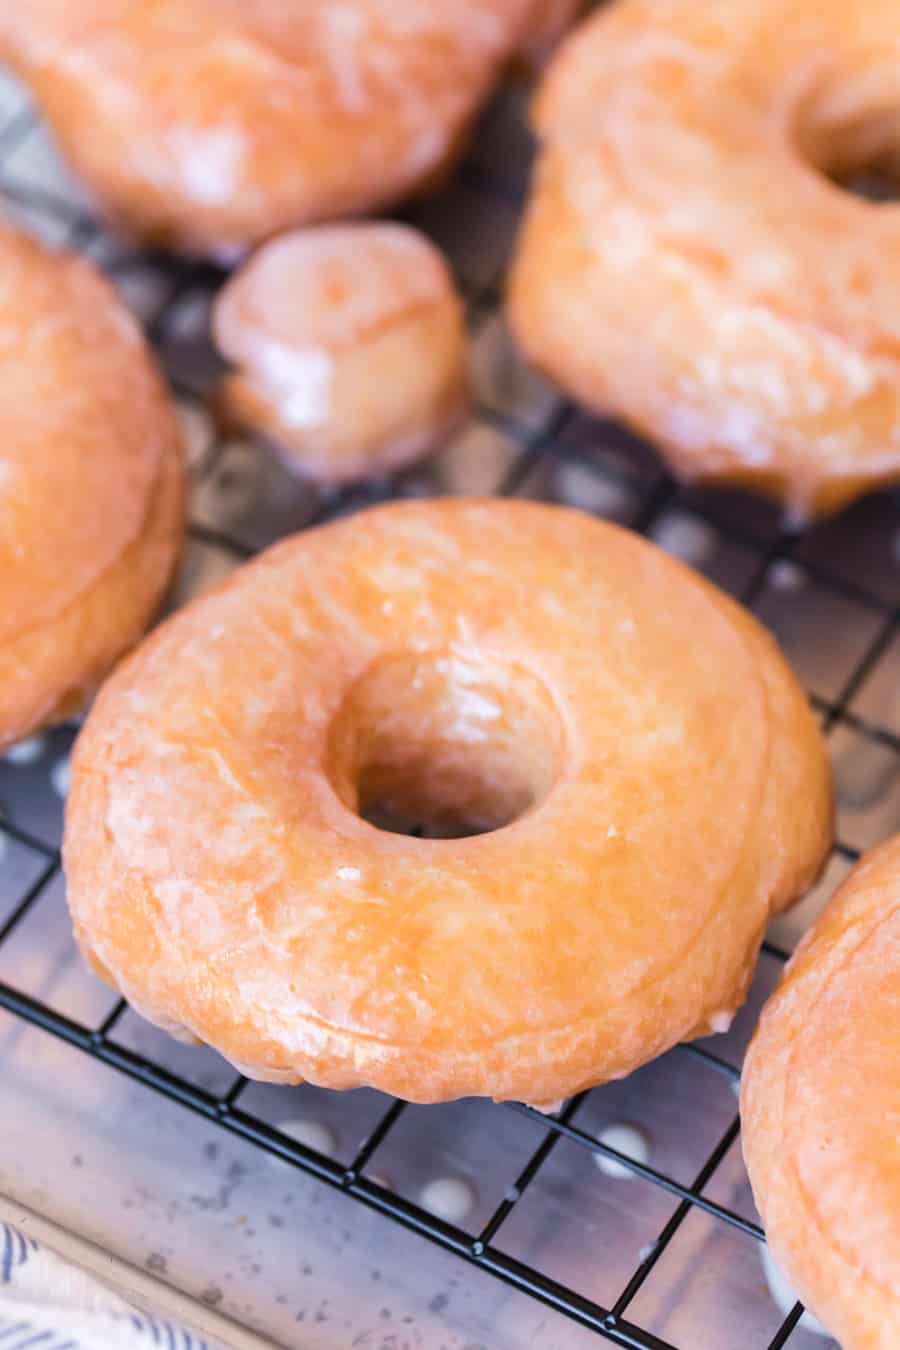
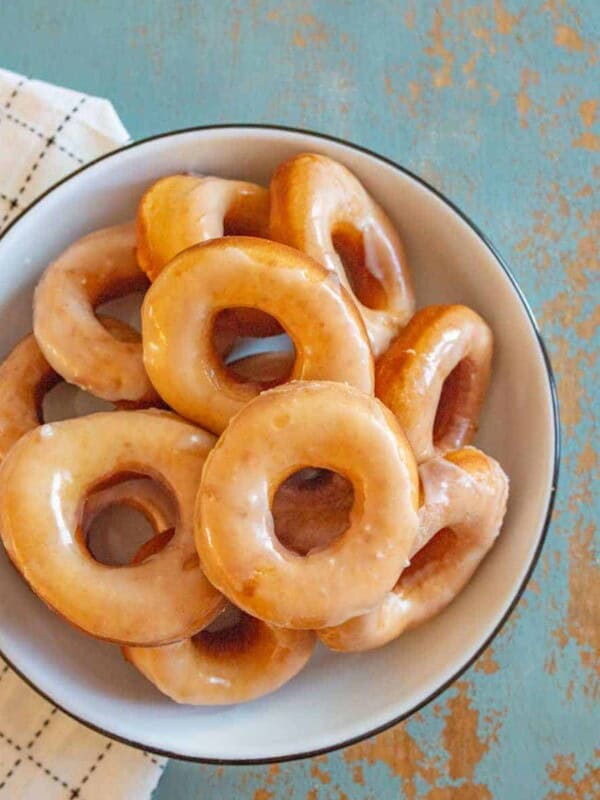
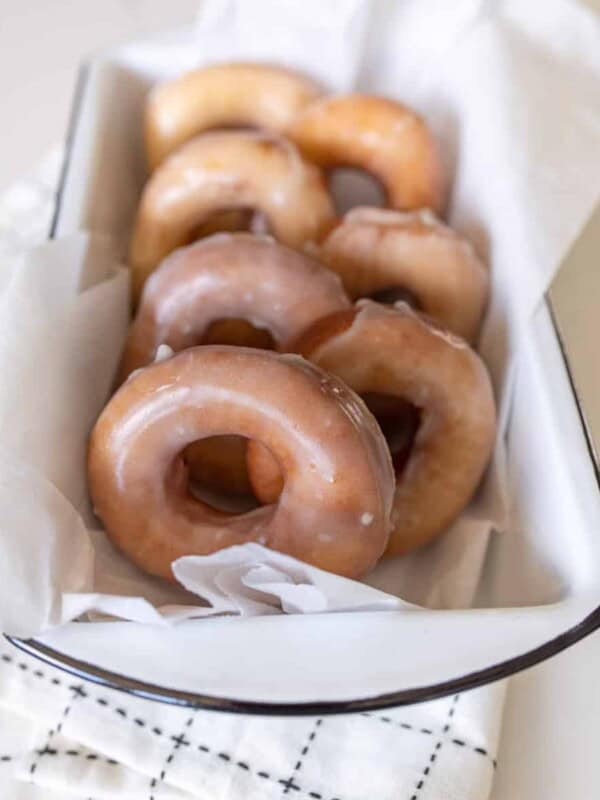
This easy Glazed Donut Recipe delivers a light, fluffy classic donut — truly the best donuts ever! This is the perfect donut recipe if you’re new to donut making or just want to make a special treat for friends or family.
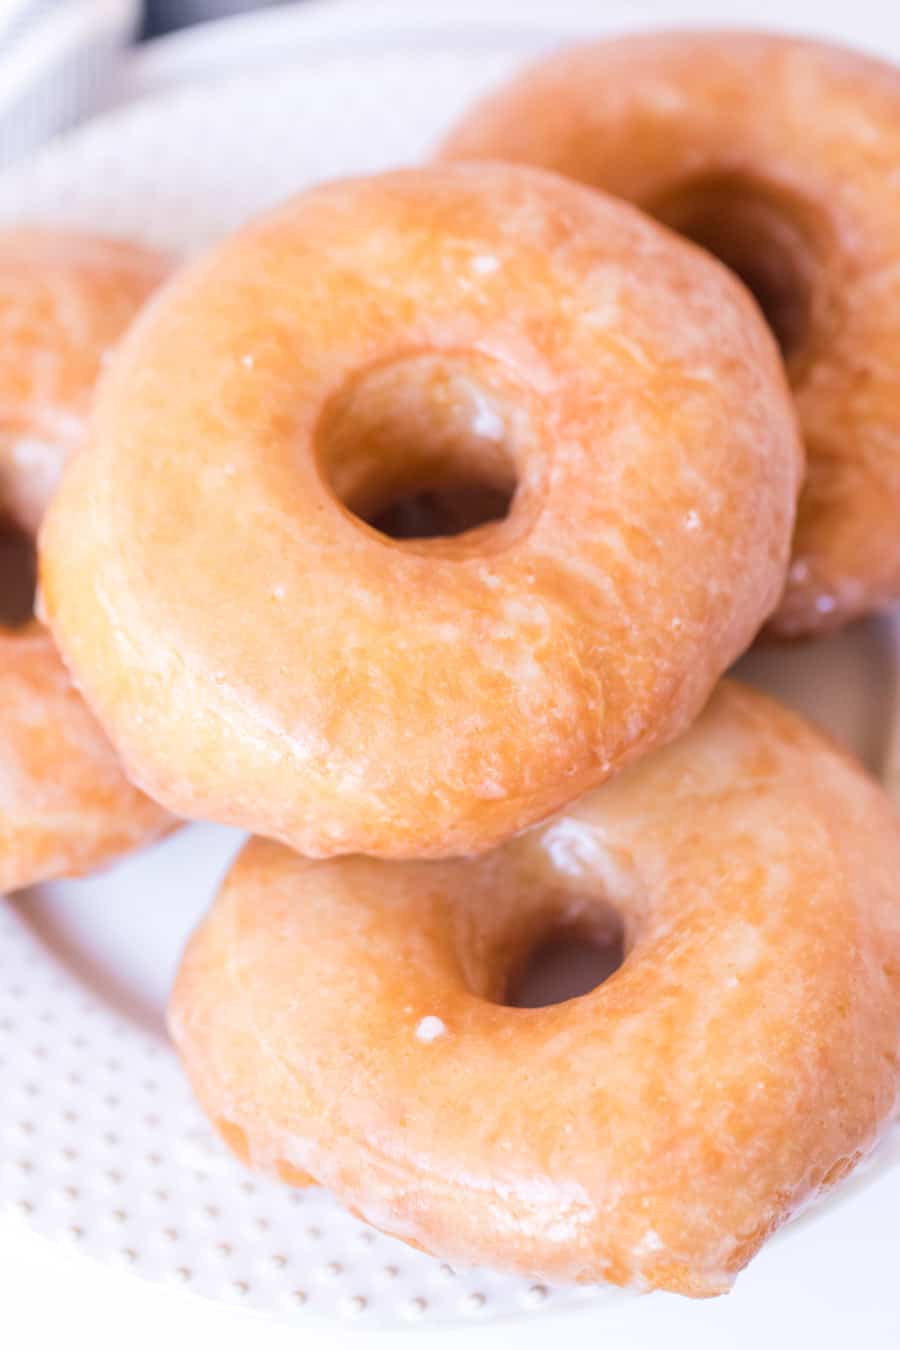
There’s just something about the fluffy and light, yet sweet richness to them that is positively addicting, in the very best way. And these donuts are actually better than any store- or bakery-bought glazed options I’ve ever tried. They are worth the effort.
The glaze for topping is the classic glaze, but it’s always fun to mix it up — I share my favorite options below!
Table of Contents
Why You’ll Love This Recipe
- Crazy Yummy: Homemade donuts are the freshest and most delicious donuts you can find.
- Flavor Variety: You can get creative with the flavor of your glaze. Try the classic, or shake it up and go for chocolate or maple!
- Thrifty Pastries: This recipe is much more affordable than buying donuts at a store or bakery.
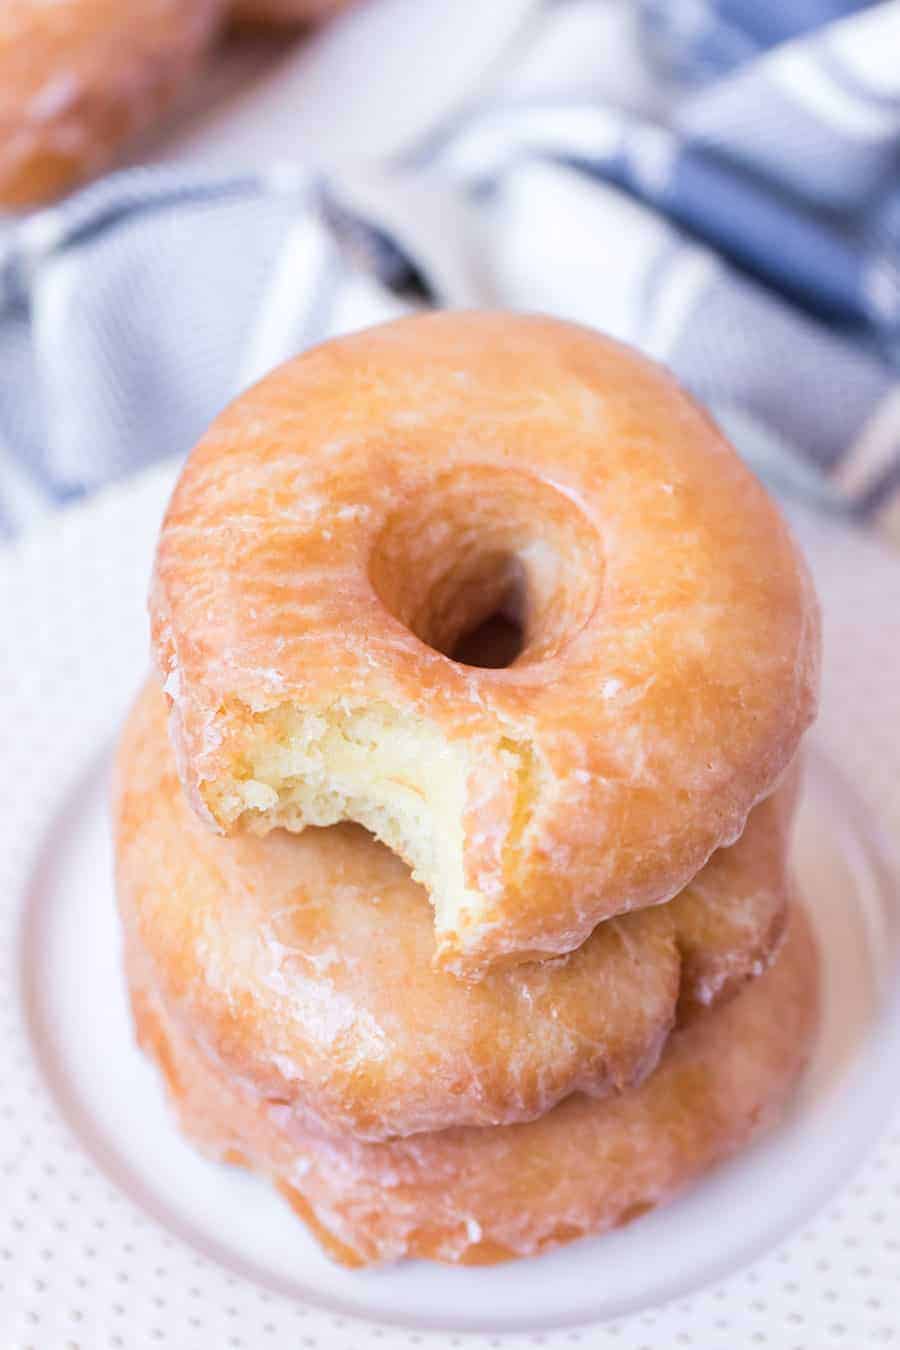
- Amazing Texture: This donut recipe create very light and fluffy donuts, which I think is the absolute perfect texture for donuts!
🍩 My kids absolutely love it when I make Aunt Beth’s light & fluffy glazed yeast donuts, so be sure to try them next!
Recipe Ingredients
For the donut dough, you’ll need:
- Whole milk
- Sugar
- Instant or active dry yeast
- Eggs
- Unsalted butter
- All-purpose flour
- Salt
- Shortening or oil for frying
For the donut glaze you’ll need:
- Butter
- Vanilla extract
- Powdered sugar
- Cream or milk
- Salt
See the recipe card below for full information on ingredients and quantities.

Easy Glazed Donut Recipe
Equipment
- mixing bowl I love these because they have lids and double as serving bowls.
- baking sheet These are a go-to that every kitchen should have.
- KitchenAid stand mixer This classic KitchenAid always gets the job done!
- 3-inch donut cutter I love using a biscuit cutter for donuts.
Video
Ingredients
For the Donuts:
- 1 1/8 cup whole milk, warm
- 1/4 cup sugar
- 2 1/4 teaspoons instant or active dry yeast, one package
- 2 whole large eggs, lightly beaten
- 1 1/4 sticks unsalted butter, a total of 10 tablespoons (1/2 cup plus 2 tablespoons), melted
- 4 cups all-purpose flour
- 1/2 teaspoon salt
- shortening or oil for frying
Glaze for hot yeast donuts:
- 1/2 cup butter, melted
- 2 teaspoons vanilla
- 4 cups powdered sugar
- enough cream or milk to thin, (about 3 tablespoons)
- dash of salt
Instructions
Make the dough:
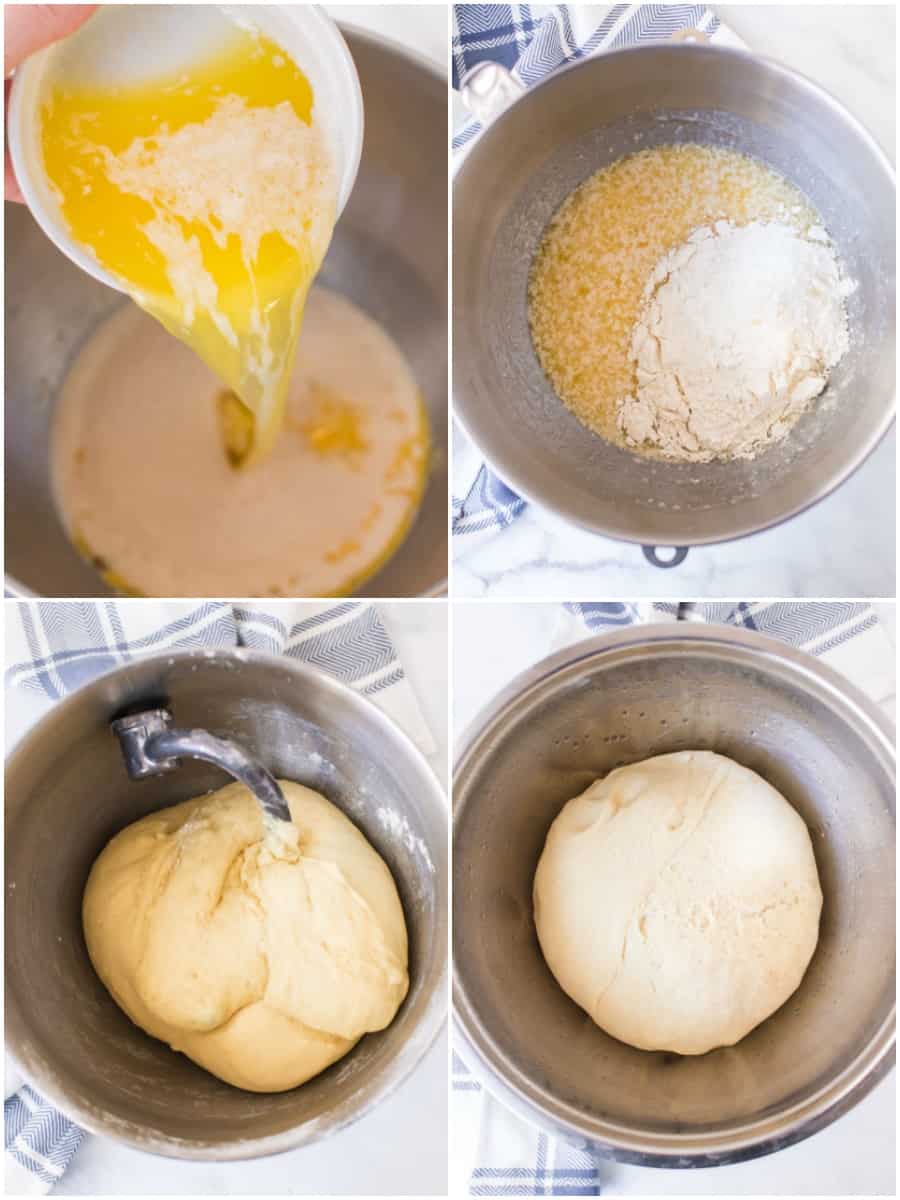
- Warm the milk until it is about 105 degrees F. Add the milk to a mixing bowl or the bowl of your stand mixer. Add the sugar and stir to dissolve. Add the yeast and stir to combine. Let the yeast rest for 5 minutes.
- Add the beaten eggs and melted butter to the bowl and stir to combine.
- While the mixer is running slowly, add the flour and salt and mix until the dough comes together. Mix for 5 minutes to work the dough well. Turn off the bowl and let the dough sit in the bowl of the mixer for 10 minutes.
- After the rest period, turn the dough out into a lightly oiled bowl, cover the bowl with plastic wrap and refrigerate the dough for at least 2 hours, but up to overnight. The goal is to get the dough cold enough to work with easily and have the butter solidify.
Form the donuts:
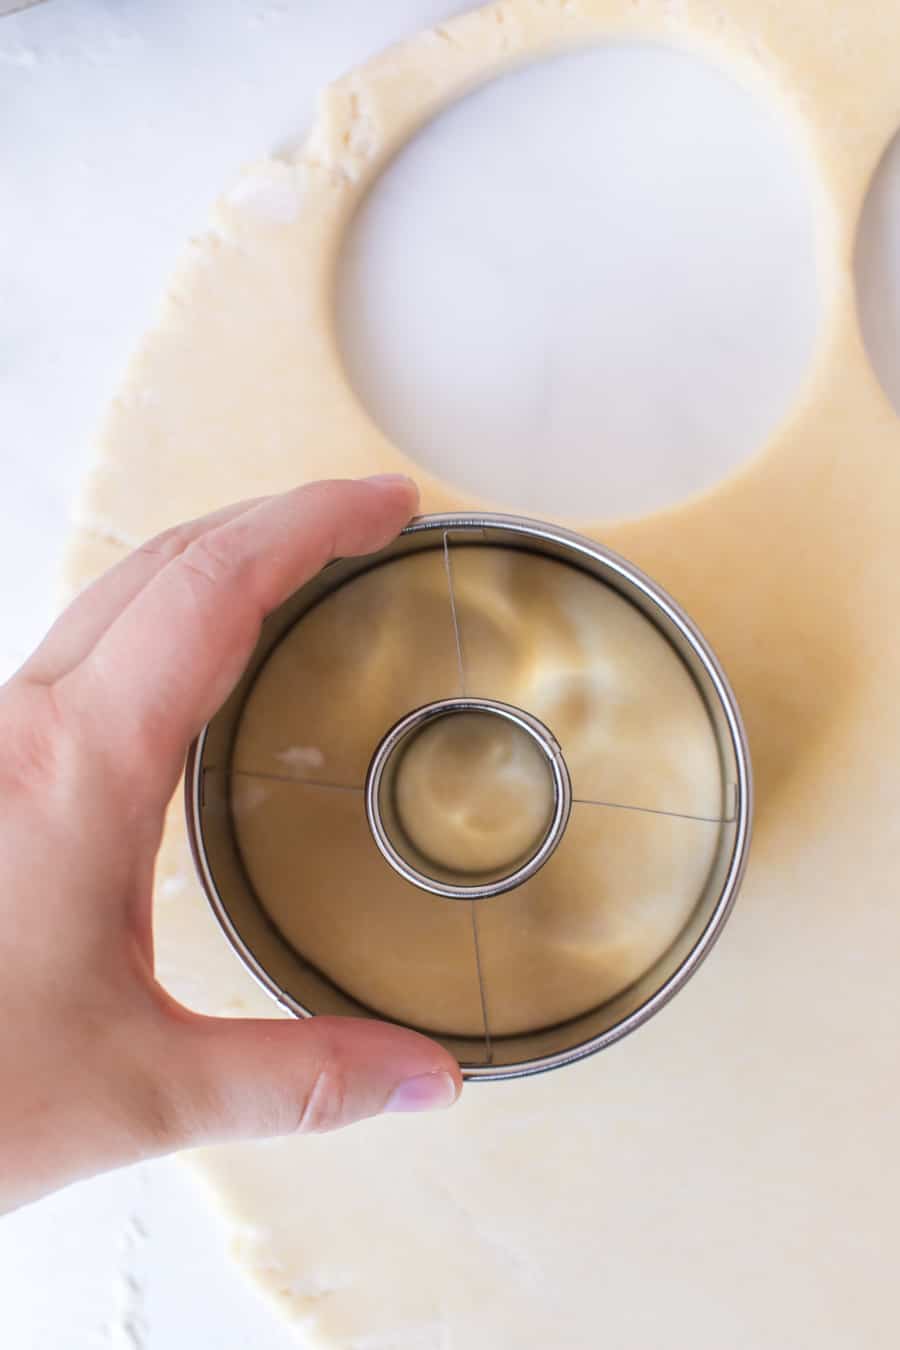
- Remove the dough from the fridge and roll it out on a lightly floured surface until it is 1/2 to 1/3 of an inch thick. Use a three-inch donut cutter to cut out the donuts.
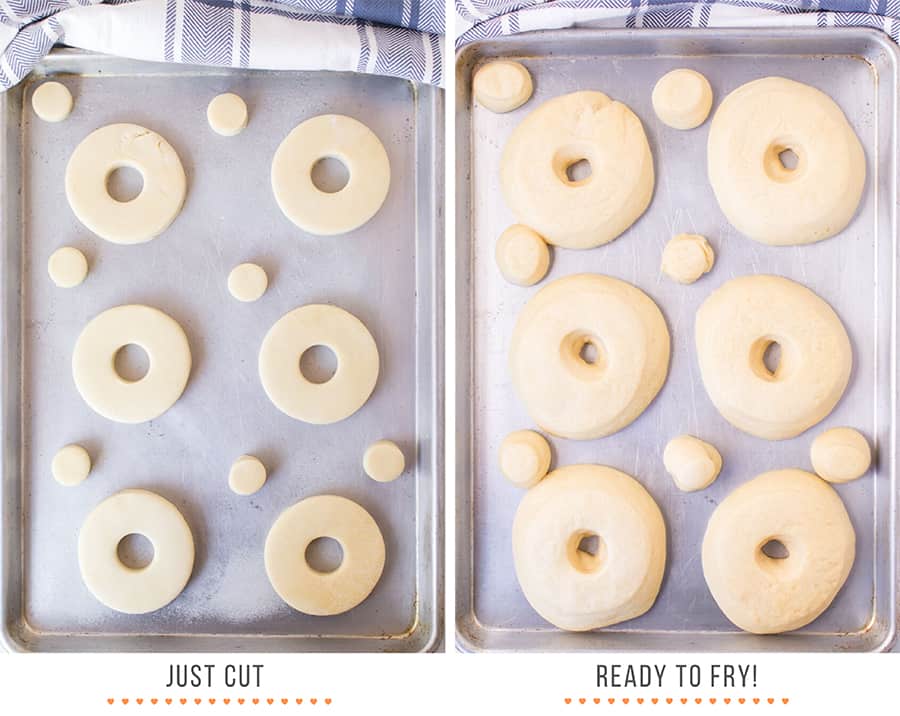
- Place the cut donuts and holes on a lightly greased baking sheet.
- Repeat with the remaining dough.
- Cover the donuts and let them rise until doubled in size, about one hour. The donuts will be very puffy and airy looking.
Fry the donuts:
- Heat a few inches of oil or shortening in a large cast iron skillet or fryer over medium heat until the oil reaches 350 to 375 degrees (use a thermometer for accuracy). Carefully add the donuts to the hot oil and fry until golden brown, about 90 seconds per side. The donut holes will only take about 30 seconds per side.
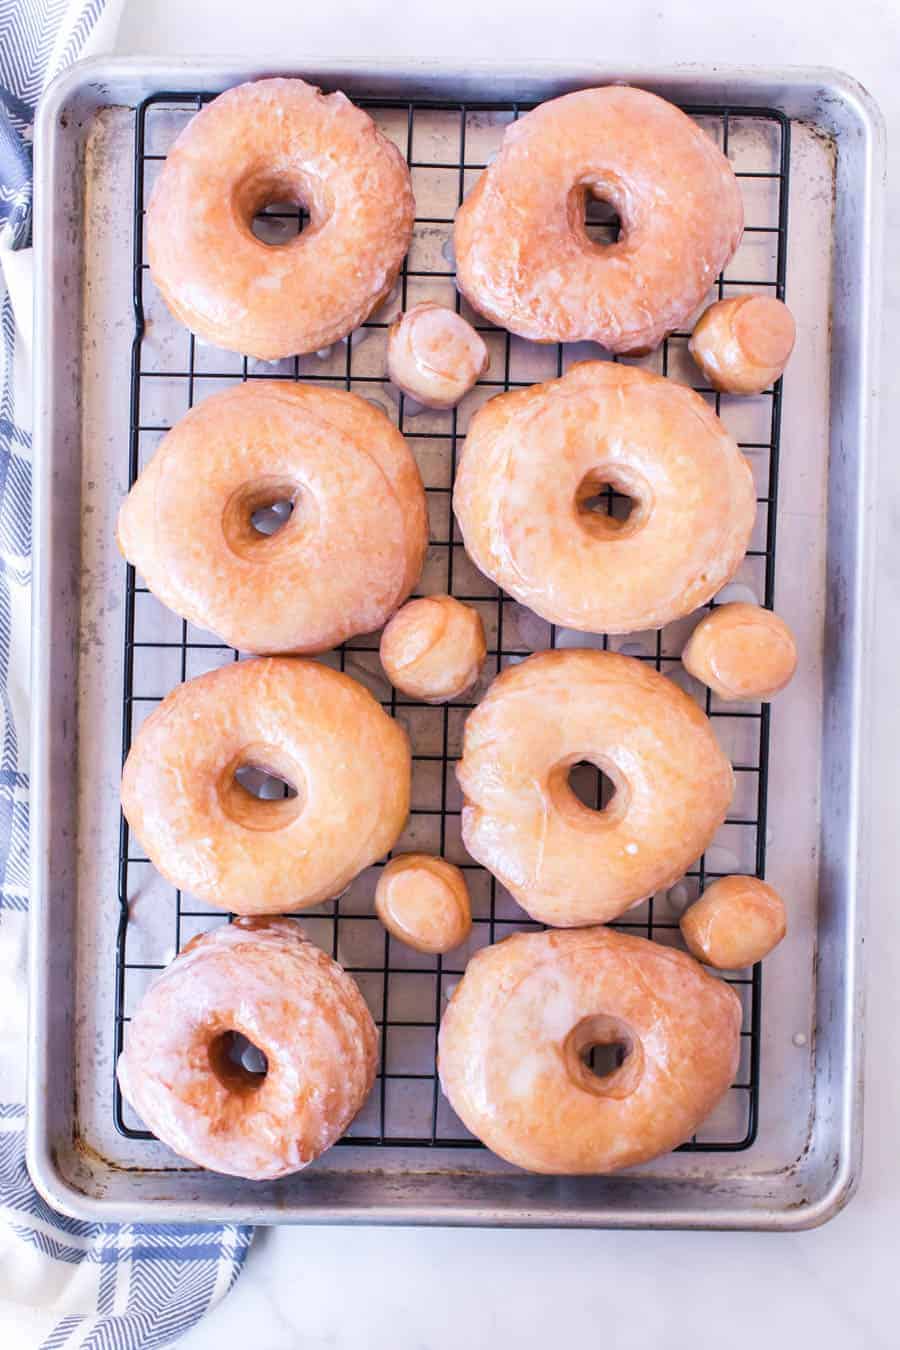
- Use a slotted spoon to remove the donuts from the hot oil and place them on a paper towel lined baking sheet to remove extra grease. Let them cool slightly. Dip the hot donuts in the glaze (I like to flip on both sides so it's fully covered) and enjoy right away.
Glaze the donuts:
- Melt the butter in a medium bowl. Add the vanilla and stir to combine. Add the powdered sugar and stir to form a thick paste. Thin out the paste with milk, one tablespoon at a time, until the mixture is about as thick as school glue.
- Dip the still warm donuts in the glaze and flip over to glaze both sides. Remove from the glaze and enjoy!
Notes
- If you don’t have time to chill the dough, make this donut recipe: Beth’s Famous Glazed Yeast Donuts. They will turn out almost just like these and don’t need the chilling time that this recipe does.
- To make chocolate glaze: Add 2-3 tablespoons of cocoa powder when you add the powdered sugar. You’ll need to increase the milk by a bit to form a smooth glaze.
- To make a maple glaze: Replace the vanilla extra in original recipes with 1/2 teaspoon maple flavoring (you can use up to 1 teaspoon, adjust to your liking).
- These donuts are much better eaten fresh. They store about as well as most grocery store donuts.
- The actual donuts are pretty plain, you need to glaze them for them to be sweet.
Nutrition
{Video} How to Make Glazed Donuts

How to Make This Glazed Donut Recipe
Step 1: Make the Donut Dough
Warm the milk until about 105°F. Yeast is alive, and if you put it in milk that is too hot, you’ll kill it, which means there will be no fluffy donuts.
Once your milk is warm, add it to your mixing bowl or the bowl of a stand mixer. Add the sugar and stir to dissolve, then add the yeast and let everything rest for 5 minutes.
Add the beaten eggs and melted butter to your yeast mixture and stir to combine. Then, with the mixer running slowly, add the flour and salt. Mix until the dough comes together. You can also do this by hand if you don’t have a mixer.
If using a stand mixer, switch to the dough hook attachment and knead the dough for 5 minutes. If you are making the dough by hand, turn it onto a floured surface and knead for 5 minutes. The dough should be thick and soft but slightly sticky.
Let the dough rest for 10 minutes, then transfer it to a lightly oiled bowl and cover it with plastic wrap. Refrigerate the dough for 2-8 hours or overnight.
Step 2: Shape the Donuts
Remove your dough from the fridge and roll it out using a rolling pin on a lightly floured surface until it is 1/2 to 1/3-inch thick. Then, use a three-inch donut cutter to cut out the rounds.
Place the cut donuts and holes on a lightly greased baking sheet. Cover them with a kitchen towel and let rise until they are doubled in size. This will take about one hour. When the donuts are ready for frying, they will look very puffy and airy.
Step 3: Fry Your Donuts
To fry the donuts, heat a few inches of oil or shortening in a large cast iron skillet, Dutch oven, or fryer over medium heat. Use a candy thermometer to monitor the temperature of the oil. When it reaches 365F to 375F, you’re ready to fry.
Line a baking sheet with a paper towel and set aside. Prepare your glaze in a medium bowl by combining all the glaze ingredients and mixing well. The glaze should have the consistency of school glue. Set aside.
Carefully add the donuts a few at a time to the oil. Do not drop them in the oil or it will splash and you can get burned. Depending on your pan size, you can probably fry 3-4 donuts at a time.
Pro Tip: Don’t overcrowd the donuts, or they will be hard to flip, and the temperature of your oil will decrease too much from the cooler dough being added.
Fry the donuts until golden brown, about 1-1/2 minutes per side. Use a metal slotted spoon or metal tongs to gently flip the donuts when ready. Once golden on each side, remove the donuts one at a time to your prepared baking sheet. The paper towel will help soak up the excess oil.
Step 4: Glaze the Donuts
Let the donuts drain and cool slightly. Move them to a plate. Put a cooling rack on top of your baking or cookie sheet lined with a paper towel.
When the donuts are just cool enough to touch, use your fingers or a fork to dip each side of each donut in the glaze. Place on your cooling rack.
Once you have glazed all your donuts, it’s time to dig in! (Unless of course your kids have already started digging in while you were glazing all those donuts – make sure to snag some for yourself!)
My Favorite Toppings
- Chocolate Donut Glaze: Add 2-3 tablespoons of cocoa powder when adding the powdered sugar. You’ll need to increase the milk to form a smooth glaze.
- Maple Donut Glaze: Replace the vanilla extract in the original recipe with 1/2 to 1 teaspoon maple flavoring, adjusted to your liking.
- Colored Donut Glaze: Simply add a few drops of food coloring to the glaze.
Recipe FAQs
The best temp is 350 to 375 degrees F. Use a candy thermometer to get the temperature right and ensure it’s calibrated so that you know it’s showing the correct temperature.
You can use a wide-mouth canning ring and anything to make the smaller hole. I also have this great set of round cookie cutters that I love and use for all kinds of things like biscuits and other pastries.
The donuts will be done when golden-brown. It will take about a minute-and-a-half per side and 30 seconds per side for donut holes.
I love a traditional buttery glaze on glazed donuts but feel free to make a maple, chocolate, or colored glaze. The possibilities are endless.
Expert Tips
- Fresh is Best: These donuts are the best eaten fresh. They store about as well as most grocery store donuts.
- Measure Well: Be sure to use accurate measurements, especially for flour and liquid ingredients, and consider using a kitchen scale for greater precision – because making donuts is a science.
- Don’t Overcrowd: Fry donuts in batches, making sure there’s enough space for them to expand and float freely in the oil.
- Chill the Dough: The chilling time is a must for these donuts. The butter needs a chance to solidify in the fridge, making the dough much less sticky than when it went in the fridge. They also keep their shape so much better, and it helps them become fluffy. Don’t skip this step!
Other Donut Recipes You’ll Love
More Sweet Baking Recipes to Try
Homemade Bread
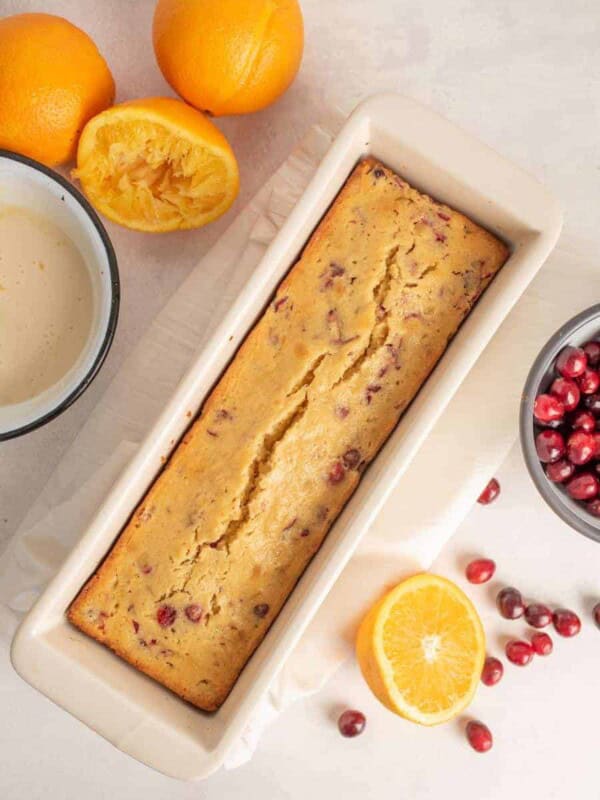
The Best Cranberry Orange Bread
Sourdough Recipes
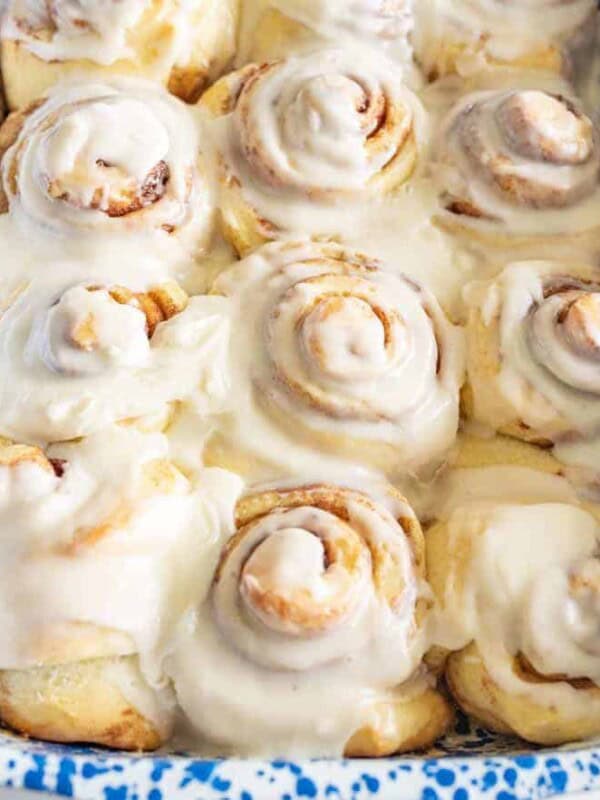
Same Day Sourdough Cinnamon Rolls
Sweet Treats
Beth’s Famous Glazed Yeast Donuts
Sourdough Recipes
Light and Fluffy Glazed Sourdough Donut Recipe
Did you make this recipe? Leave a ⭐️ review and share it on Instagram, Facebook, or Pinterest!


These were the best donuts I ever had!
I’m a culinary teacher with 50-minute classes. We typically retard the dough in the refrigerator with the first and second rise because of bell schedule. On the second day, can I have the students make them, leave out for say 45 minutes to rise, cover ad place back in refrigerator overnight, then take out the next morning and let finish rising, and then fry?
It sounds like it should with that schedule but you might want to try it at home first!
Best recipe EVER! Nailed it with this one! These doughnuts turned out perfect!
Do you have the measurements for a double and triple batch? It use to be here but I don’t see it anymore. 🙁
I don’t. I have having some issues with the calculator just not doubling or tripling one ingredient occasionally so I felt like it wasn’t worth messing with, you’ll just have to a little math on your own. Sorry about that.
Has anyone made these in an airfryer? Wondering if it’s possible.
Very tasty donuts and an easy to follow recipe. Thank you for sharing! The next time I make them (and I will make them again!) I will add a pinch of nutmeg before the overnight rise. Thanks again!
My dough when coming from the fridge looked almost like a curtain. Any idea what I did wrong?
Tell me more, I’m not sure what your curtains look like?
Perfect every time!!
Can I switch out regular flour for gluten free flour?
You could try it, I have better luck switching it out for things like cornbread that aren’t really bread but it’s worth a shot…
I made the dough and put it in the fridge around 8:00pm and would like to make them in the morning. Can you leave the dough in the fridge over 24 hrs?
I normally don’t leave them longer than 18, they don’t seem to rise as well when they come out of a really long fridge time but you can for sure try it and see how you like them.