This post may contain affiliate links. Please read our disclosure policy.
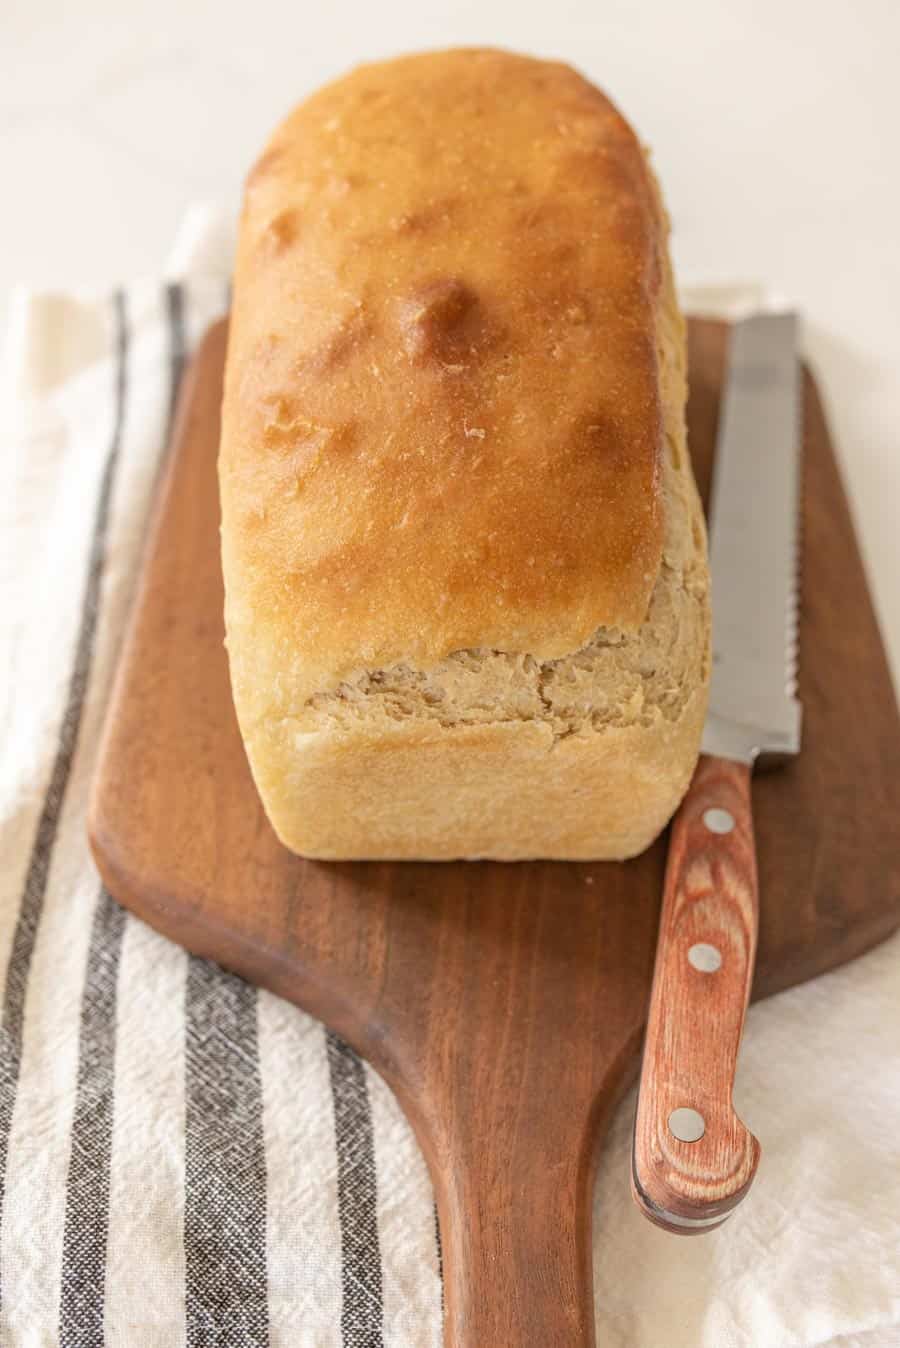
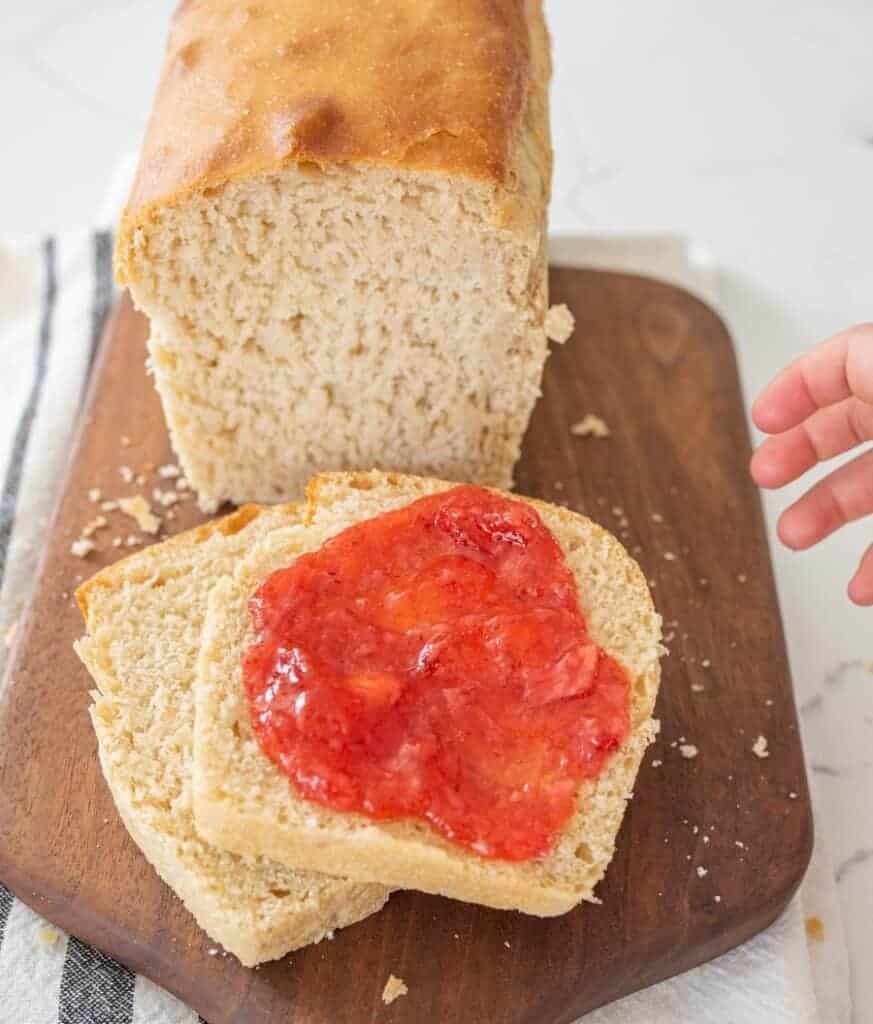
Want to bake Soft Sourdough Sandwich Bread that’s perfect to pile your favorite sammy fillings into? This fluffy bread is easier to bite into than crusty sourdough and is unbelievably delicious.
This simple soft sourdough bread recipe makes chewy, tender bread with that tart flavor you love in sourdough; it makes the best sandwiches like this Homemade Club Sandwiches and pesto grilled cheese!
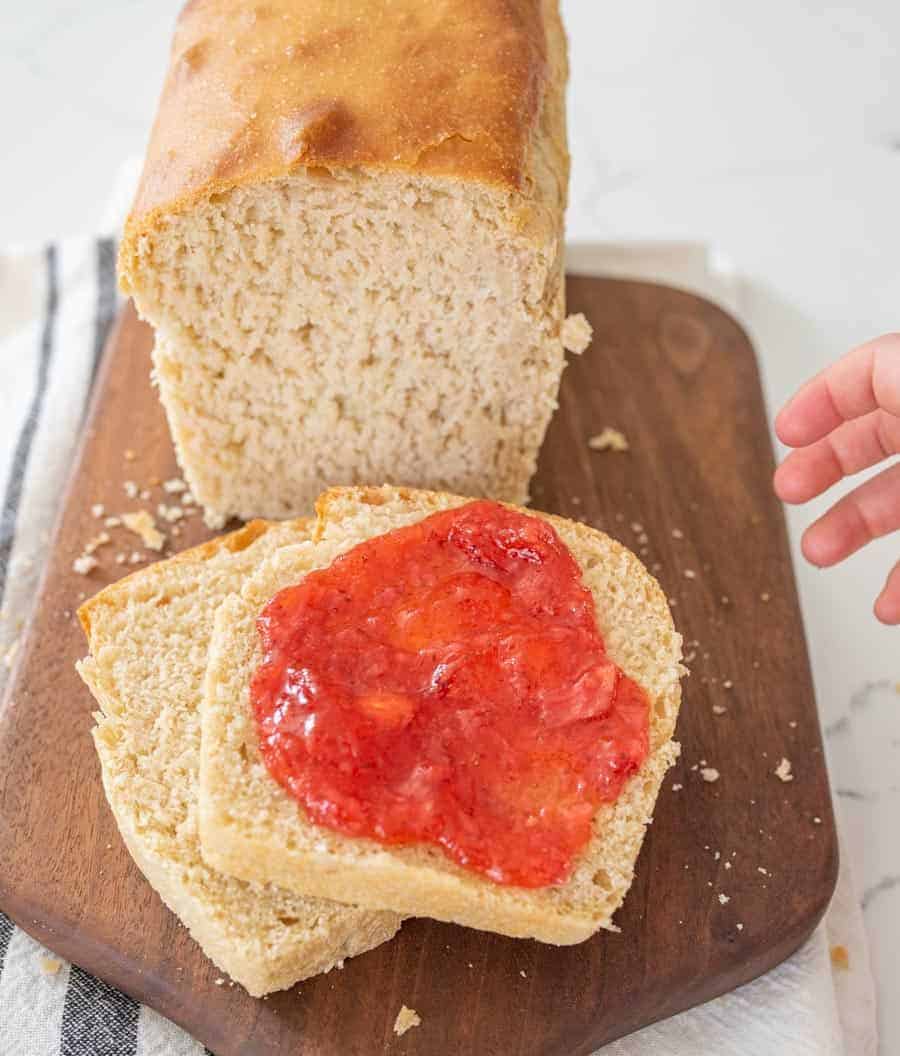
If you’ve been searching for a more kid friendly recipe for sourdough bread, look no further! My soft sandwich loaf sourdough bread is ideal for all the ham-and-cheese’s and PB&J’s your heart desires. Listen, I love a good ol’ crusty, crunchy-on-the-outside slice of sourdough, and that sort of bread certainly has its place in my heart (and on my plate). But for sandwiches? I’d go with this rendition all day. You want something soft and cushiony to bite into when making a sandwich, not crusty.
Table of Contents
🍞 18 Easy Sourdough Recipes!
Ingredients:
- Sourdough starter: Have you made bread using a sourdough starter before? It’s so easy! It just takes a few days to prep your starter, so if you want to make your own, plan accordingly. Here’s a post all about making your own sourdough starter.
- Water: The water thins the sourdough starter before adding the rest of your thick ingredients.
- Sugar: Using a little bit of sugar adds a touch of sweetness to balance the tart from the sourdough flavor.
- Light oil: Oil is what makes the bread really soft and tender.
- All-purpose flour: Flour is the essential ingredient in making bread! I like all-purpose because it’s versatile and makes a nice chewy, soft-textured bread.
- Salt: Salt adds balanced flavor to the rest of the ingredients.
See recipe card below for full information on ingredients and quantities
Frequently Asked Questions:
If the dough doesn’t rise, it may be because the room is too cool. Try moving the bowl into a warmer spot in the room to activate the natural yeast. This is the most common issue I see with sluggish bread and starters!
Using a light flour helps sourdough bread to be lighter. I like using all-purpose white flour. You can also sift your flour to make it extra light. This recipe yields a softer and fluffy bread thanks to the oil used in the ingredients, too.
Store soft sourdough loaf bread in an airtight Ziploc bag for up to 5 days.
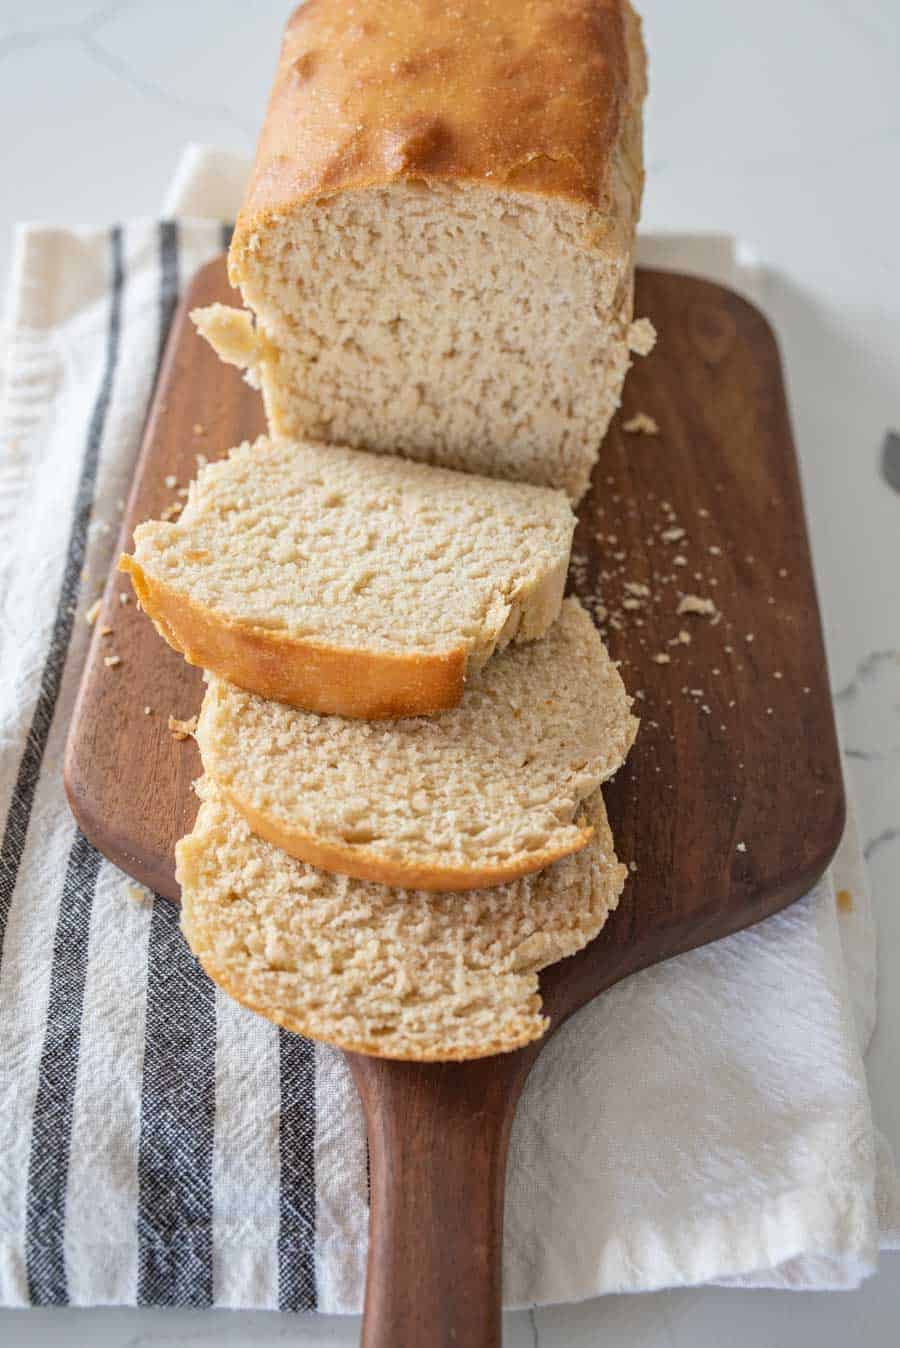
The best way to keep your bread from drying out is storing it in an airtight bag, and not slicing it until you are ready to serve it. Slicing ahead of time lets air touch more of the bread, which can make it drier and more crumbly.
Homemade sourdough sandwich bread keeps for up to 5 days in the fridge. You can also freeze an entire loaf for up to 4 months. Just thaw in the fridge overnight before you want to serve it!
Expert Tips
- I love this easy loaf so much. It’s our favorite sandwich bread and it makes great toast.
- New to sourdough? You can learn how to make a starter here.
Other Sourdough Breads To Try
These are some of my other dare-I-say amazing sourdough recipes that have become family favorites!
- No Knead Sourdough Bread {Easy Beginner’s Recipe}
- Fluffy Sourdough Rolls
- Sourdough Baguettes
- Sourdough Hamburger Buns
More Sourdough Recipes to Consider:
Sourdough Recipes
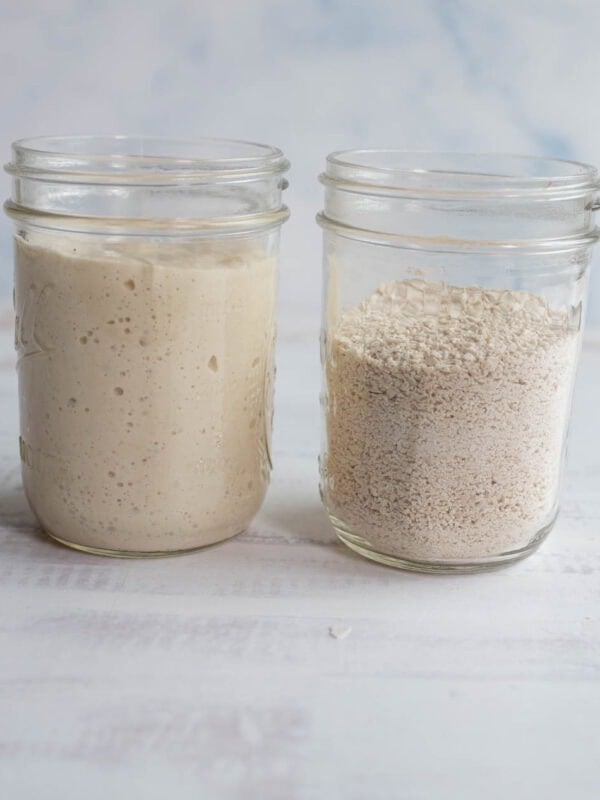
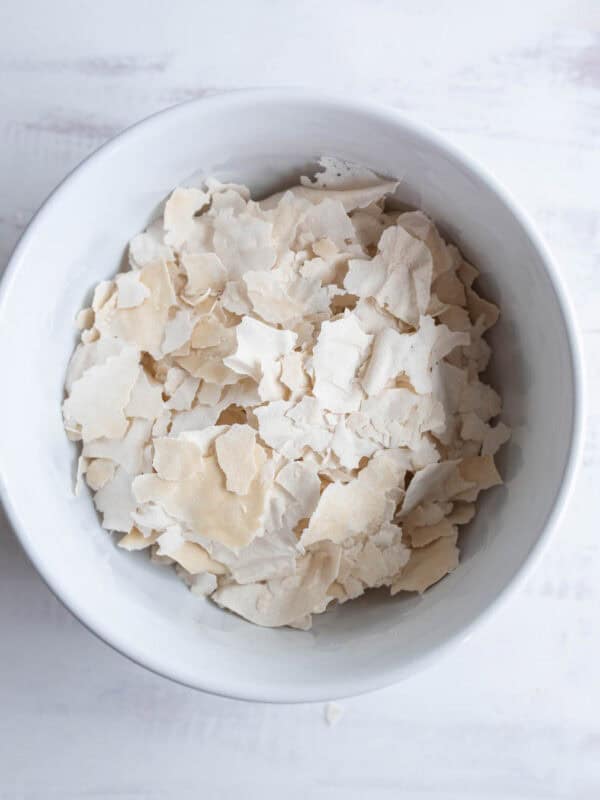
How to Rehydrate Sourdough Starter
Sourdough Recipes
How to Dehydrate Sourdough Starter
Sourdough Recipes
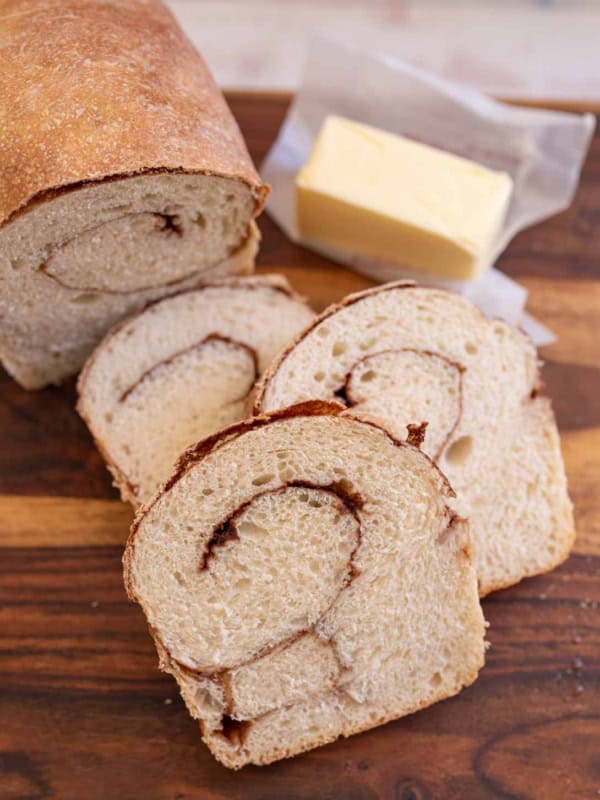
Sourdough Cinnamon Swirl Bread – A Perfect Breakfast Loaf
Sourdough Recipes
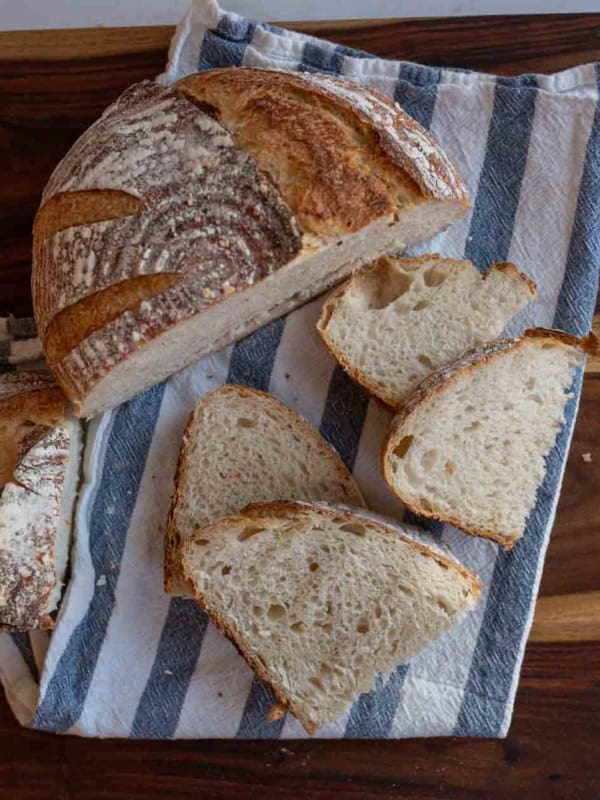
No Knead Sourdough Bread {Easy Beginner’s Recipe}
Did you make this recipe? Leave a ⭐️ review and share it on Instagram, Facebook, or Pinterest!

Soft Sandwich Loaf Sourdough Bread
Ingredients
- 75 grams active sourdough starter, (very full 1/3 cup)
- 300 grams water, (1 1/4 cup)
- 15 grams sugar, (1 tablespoon)
- 15 grams light oil, (1 tablespoon)
- 500 grams all-purpose flour, (4 cups)
- 10 grams salt, (1 1/2 teaspoons)
Instructions
- Feed your starter 12 or so hours before you plan to make the dough. The timing should be such that you are using your starter at it’s peak, so feed it so that it’s peaked when you want to make the dough, it’ll vary based on your starter and house temperature.
- When you starter is fed and has grown in size, make the dough while the starter is still tall and full, at its peak.
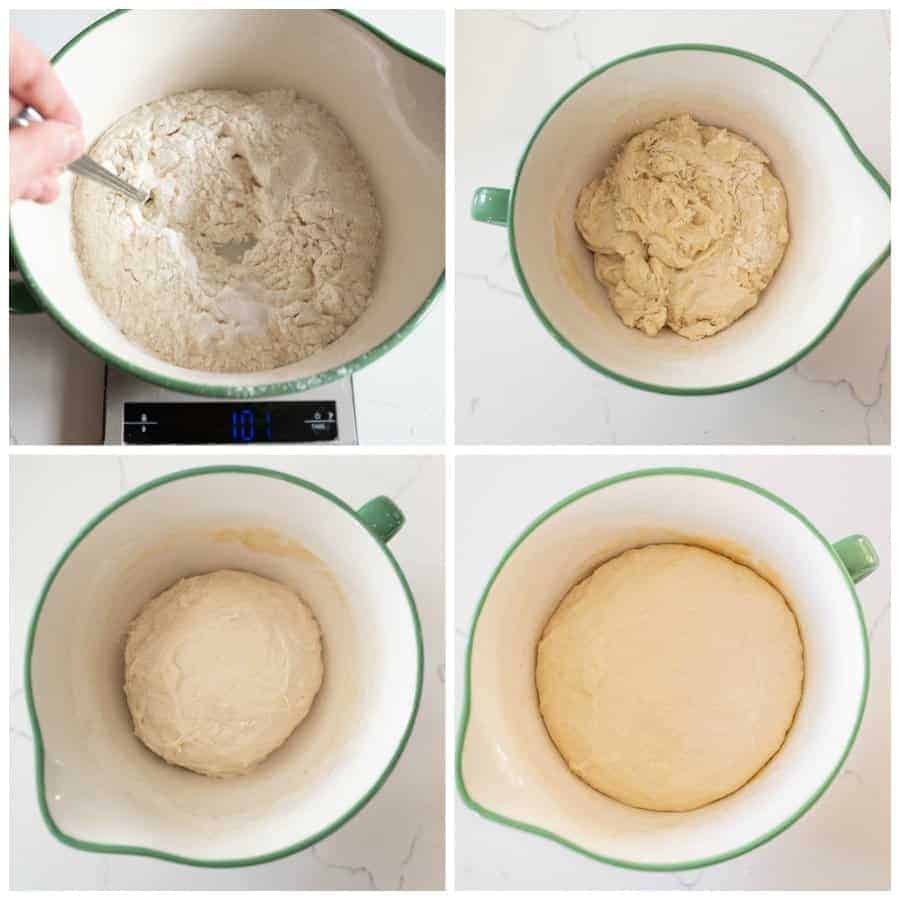
- To make the dough, measure out your starter into a medium to medium-large mixing bowl.
- Add the water, and whisk the starter and the water together until well combined.
- Add the sugar, oil, flour, and salt to the bowl.
- Use a fork to combine well; it’ll be a little stiff but just mix it up well.
- Cover the bowl with a damp clean kitchen towel, and let it rest for 1 hour.
- After an hour, come back to the bowl, and gently pull the edge of the dough in the bowl and push it into the middle. Work your way around the bowl, pushing the dough to the center each time. Do this a few times until the dough comes together in a ball. It will look more like traditional bread dough at this point.
- Cover the bowl again with a damp kitchen towel, and let the dough rest at room temperature for 8 to 12 hours, depending on your schedule.
- Prepare a loaf pan by spraying it with cooking spray or greasing well with butter.
- Turn the dough out onto a lightly floured surface. Don’t punch it down or be too rough with it — it’s worked for hours to rise — no need to deflate it on purpose.
- Roll the dough into a long log and tuck in the ends. Use your hands to gently press the loaf into an even shape, pressing along the bottom of the loaf near the work surface.
- Place the loaf into the pan, smooth side up. I like to use an 8×3 inch loaf pan for this recipe, slightly smaller than a 9×5 loaf pan as it helps the top dome up more.
- Cover with a damp towel, and allow to rise for 1 to 2 hours or until it has risen a 1/2 inch or so above the rim of the pan. How quickly it rises will depend a lot on the temperature of your house.
- While the bread is rising, preheat the oven to 375 degrees F.
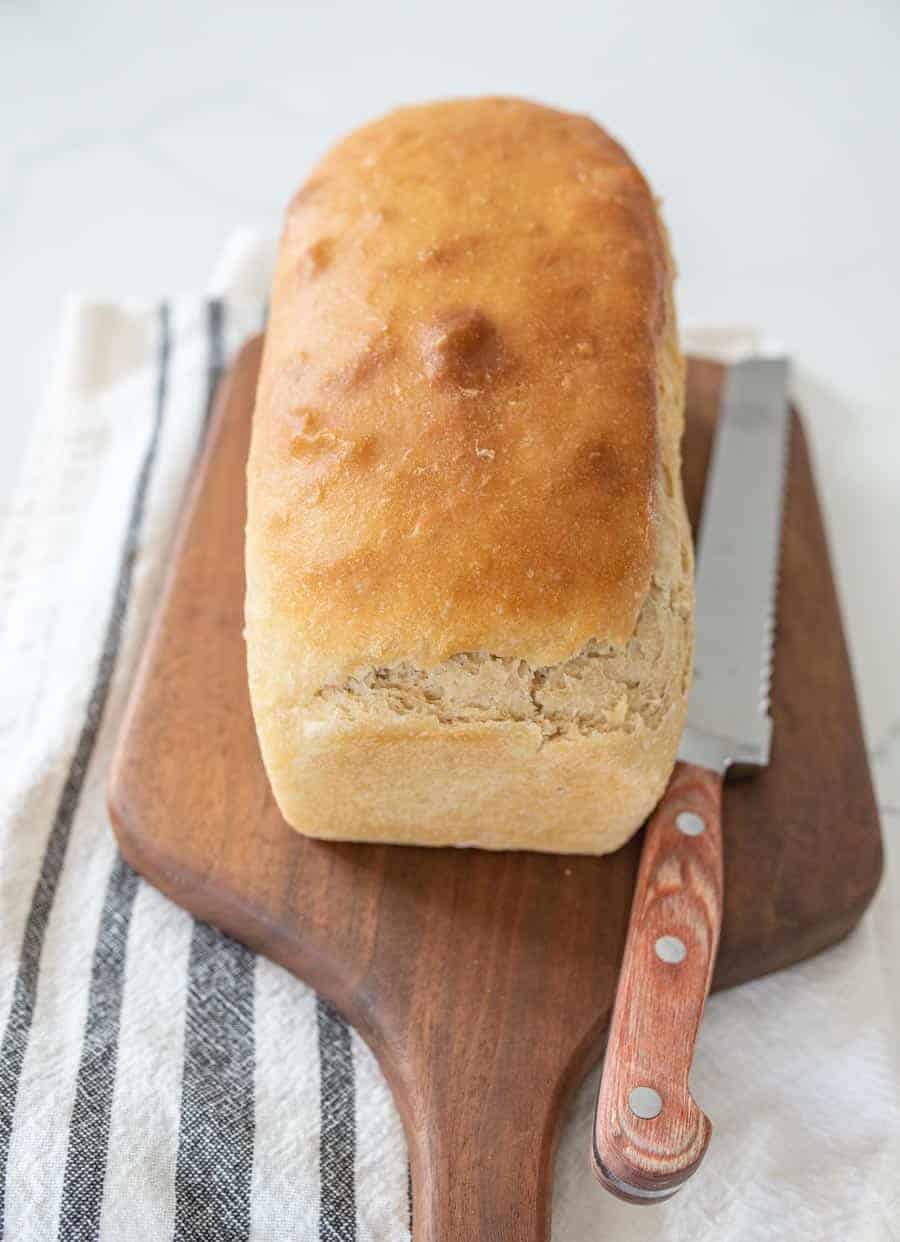
- When the dough is ready, bake it for 40 to 45 minutes. The loaf will be a deep brown color.
- Let the loaf rest 5 minutes in the pan, and then remove it and let it cool on a wire rack. Let the loaf cool at least an hour before cutting.
- Store in a plastic bag for 3 to 5 days. It will cut best once it has cooled completely.
Notes
- I love this easy loaf so much. It’s our favorite sandwich bread and it makes great toast.
- New to sourdough? You can learn how to make a starter here.



We LOVE this recipe! I have made it every week for 7 months. I make 4 loaves at a time. Freeze 3 and pull them out during the week as needed. They make the best sandwiches. We like to throw them in the toaster before using the slices. It kind of refreshes them. My kids complain when we ever eat different bread now! 😂 I like to use the 1/4 fresh ground whole wheat flour : 3/4 white bread flour ratio. Yum yum yum!!!
I LOVE this so much! Thank you for taking the time to leave a review. Question for you, do you slice it before you put it into the freezer or after?
I do not slice it before I freeze it.
Hello! If one was to add seeds (flax/chia/millet, for example), what would be the best way to incorporate it? I make this bread so much but I miss seeded bread! Was hoping I could incorporate both.
OMG this is the bomb! This is THE best bread. I started it late afternoon, folded once after the first hour and put it in the oven with the light on to proof overnight (too cool in my house). Wow…. it proofed about 90 minutes the second time in the 9×5 loaf pan and was done perfectly after baking 40 minutes. It Is so soft and fluffy. I love how easy it is to make and a great alternative to the hard crusty sourdough. Thank you!
I made this for the first time today. It turned out so delicious! I am wondering if I can use some whole wheat flour in this recipe. Thoughts?
I started this Friday night, did the hour rest and then rememberered I wasn’t going to be home on Saturday to bake it….ooops….I put the bowl in a huge ziplock and put it in the fridge. Monday morning I remembered about the bowl of bread dough. It was in the fridge for 57 hours….took it out, got it shaped, into the loaf pan and let it warm up, coveed. 6 hours later it had risen nicely. Oh is it good! A little more(not overly) sourdough flavor and the crust….soft with a slight crunch….but the interior….it may even be softer than normal. This recipe is so forgiving, so lenient, so perfect!
Hi Melissa, can you use bread flour in this recipe?
Yep, it’ll work great!
We are in the middle of moving to a different state and it was killing me to not be able to make sourdough. Finally got to bake at my sister’s and made two loaves of this. The smell is intoxicating and this bread is honestly one of the best things I have ever eaten in my life!
I love that so much!! Happy moving, it’s always nice when it’s over isn’t it?
My family LOVES this bread! I’ve tried a few different recipes and yours by far is the best. Thank you so much! It’s wonderful and simple to make!
I appreciate the compliment so much! Thank you.
This recipe worked very well for me. I used an 8×4 bread pan, and got a beautifully domed loaf that made delicious toast! I buttered the crust after removing from the pan since I wanted a soft crust. Thank you!
This bread is so tasty and so easy to make as it requires very little hands-on time!