This post may contain affiliate links. Please read our disclosure policy.
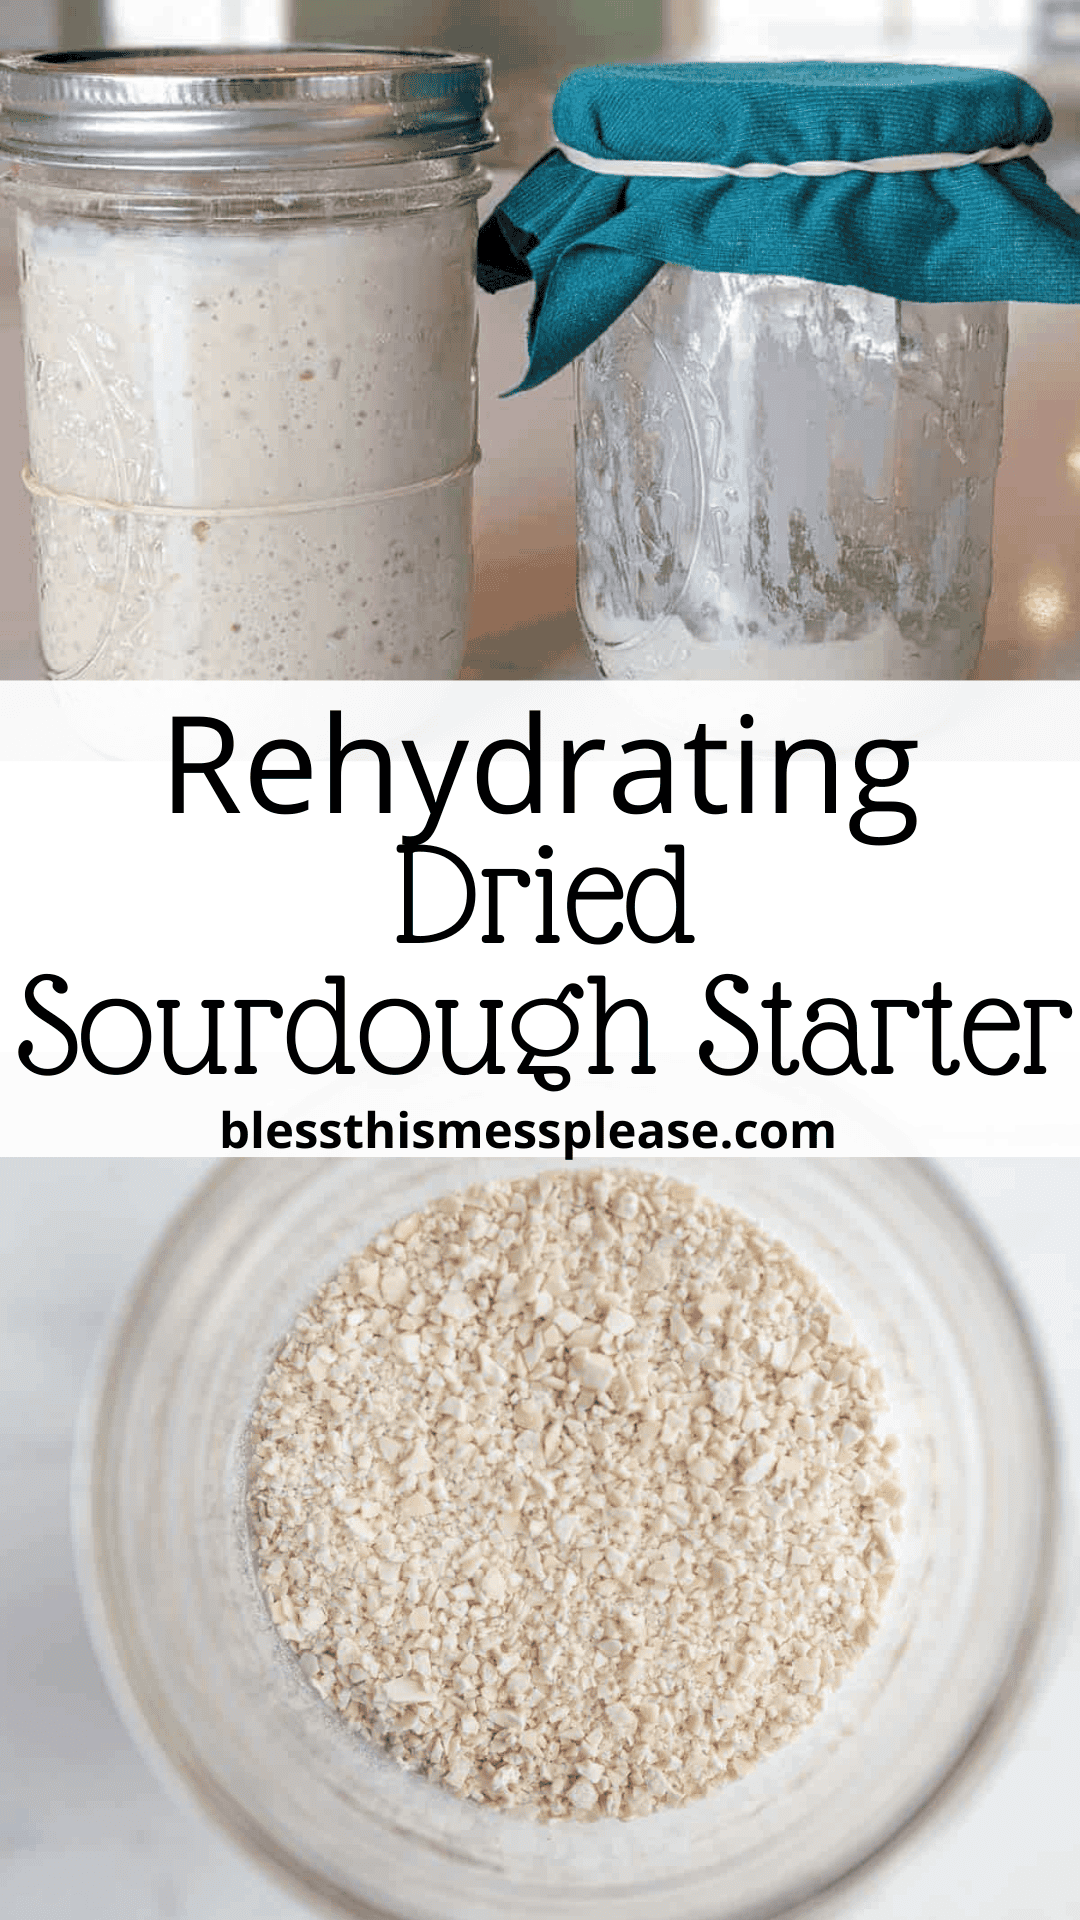

Learn how to rehydrate sourdough starter with this foolproof step-by-step guide. Transform your dried starter into an active, bubbly culture ready for baking delicious sourdough bread!
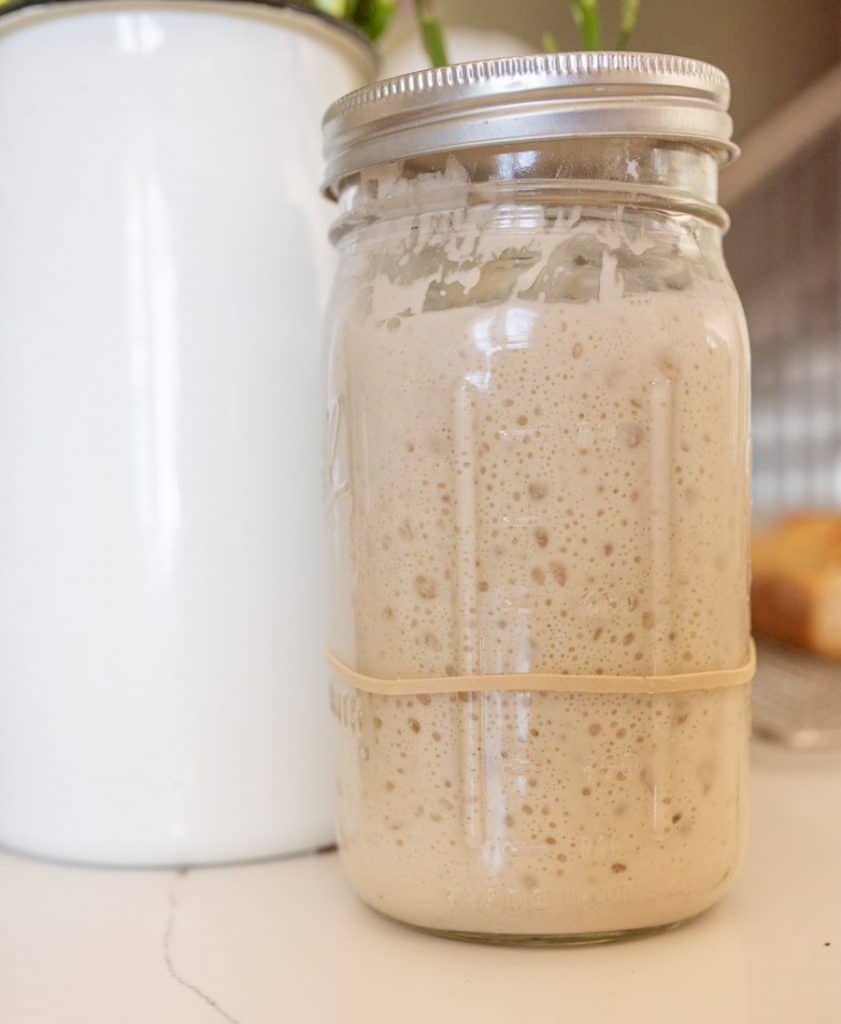
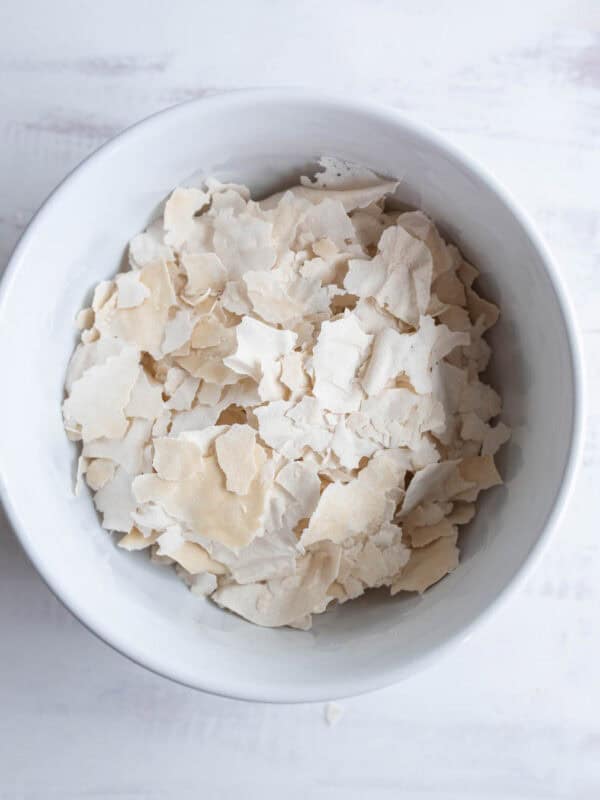
🥖 Dried sourdough starter is like a sleeping giant waiting to be awakened. Whether you’ve received dried starter from a friend, purchased it online, or dehydrated your own for storage, rehydrating it properly is the key to successful sourdough baking!
My 2 Best Tips For How to Rehydrate Sourdough Starter
Temperature Matters: Keep your starter in a consistently warm spot (75-80°F is ideal). A slightly warm oven with just the light on, the top of your refrigerator, or near a heating vent work well. Cold environments will significantly slow the rehydration process.
Use Quality Water: If your tap water is heavily chlorinated, use filtered or bottled water. Chlorine can inhibit the beneficial bacteria and wild yeasts you’re trying to revive. Room temperature or slightly warm water works best for mixing.

🩷 Melissa
This gentle rehydration process has been tested countless times and works with virtually any dried starter variety.
The gradual approach ensures your starter rebuilds its strength without shocking the dormant cultures.
While the process takes about 4-7 days, it’s very forgiving. Your starter will work around your schedule, and you don’t need to babysit it constantly.
You’ll be baking amazing sourdough breads and goodies in less than a week!
How to Rehydrate Sourdough Starter
Ingredients
- 30 grams dried sourdough starter, about 1 tablespoon
Instructions
DAY 1:
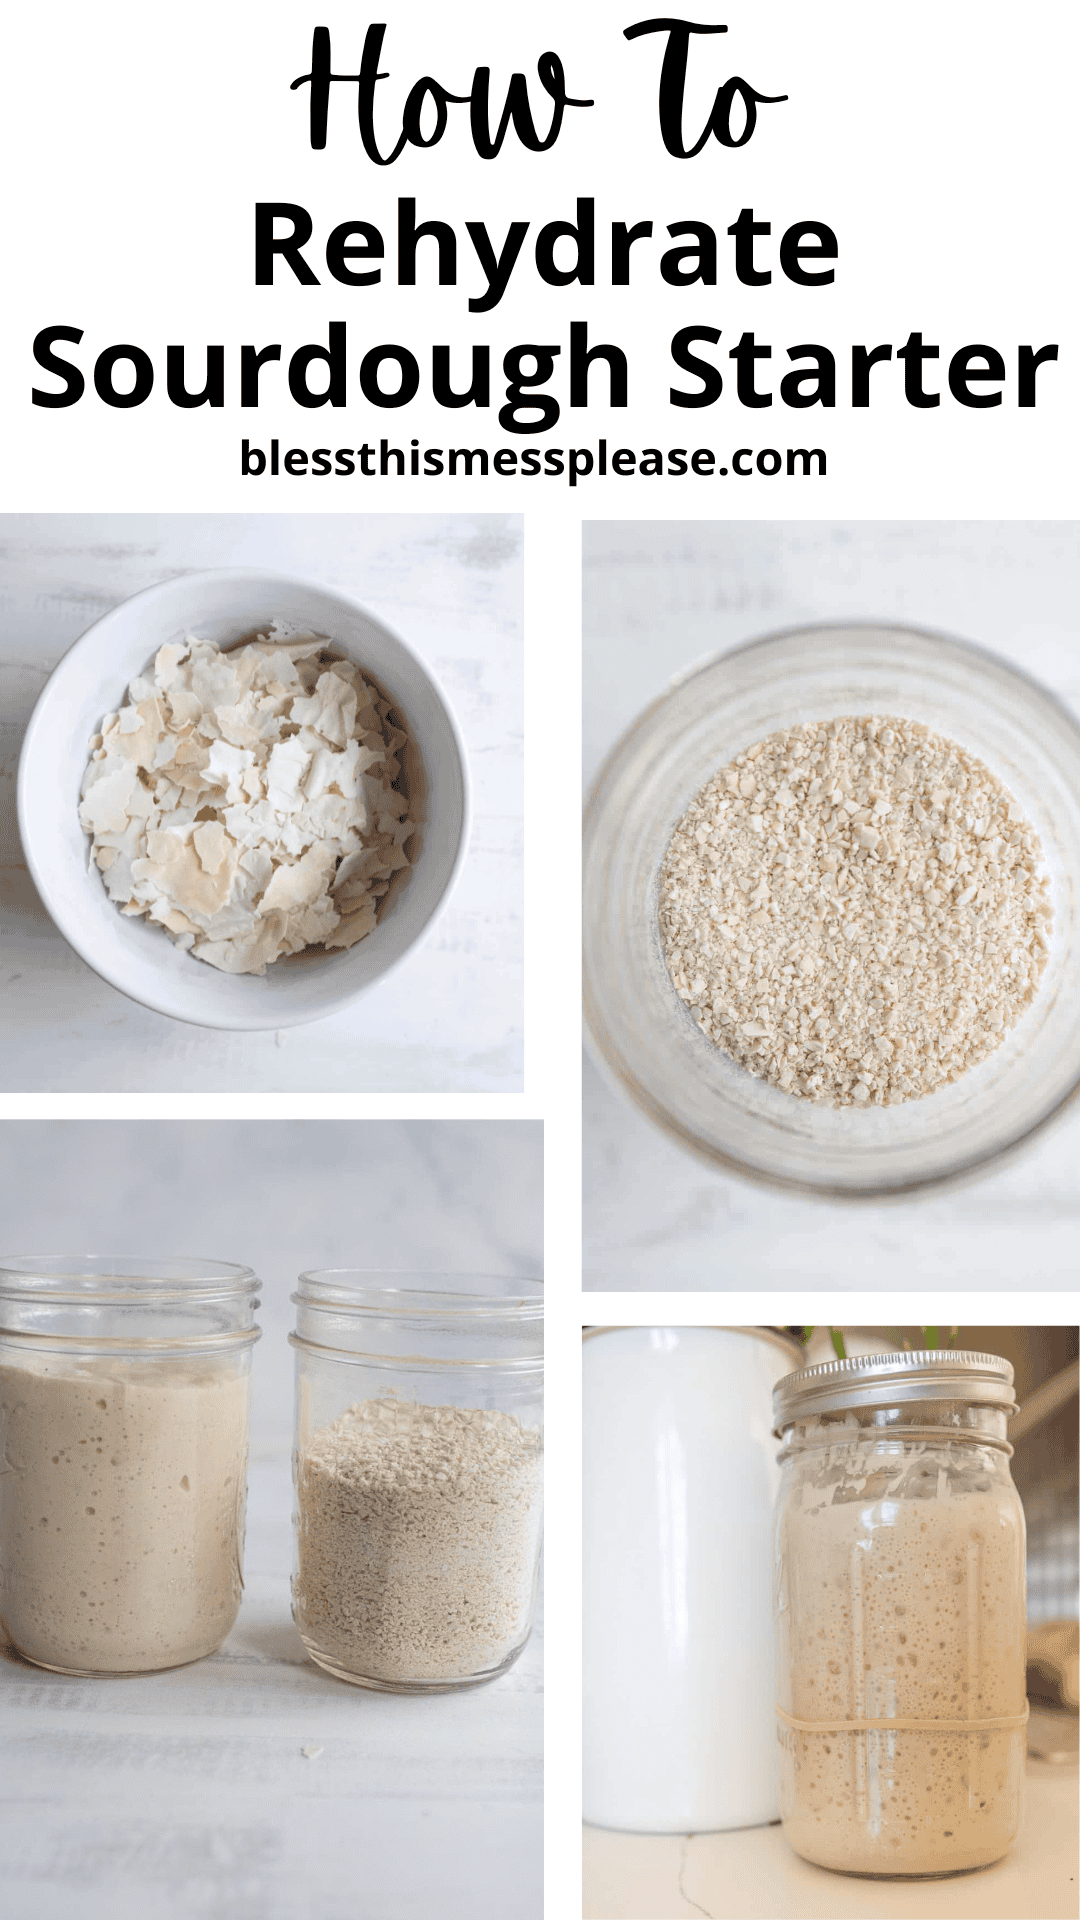
- Weigh 30g of dried starter flakes and add to a glass pint canning jar. Add 50 grams lukewarm water and try to submerge all flakes by stirring a little.
- Over the next two to three hours, stir the flakes every half hour or so. Eventually they will completely dissolve.
- Once the flakes have disappeared, stir in 30g all-purpose flour. Cover lightly with a kitchen towel, material, or off set lid (don’t tighten it down) and let it sit somewhere warm. Leave it alone for about a day.
DAY 2:
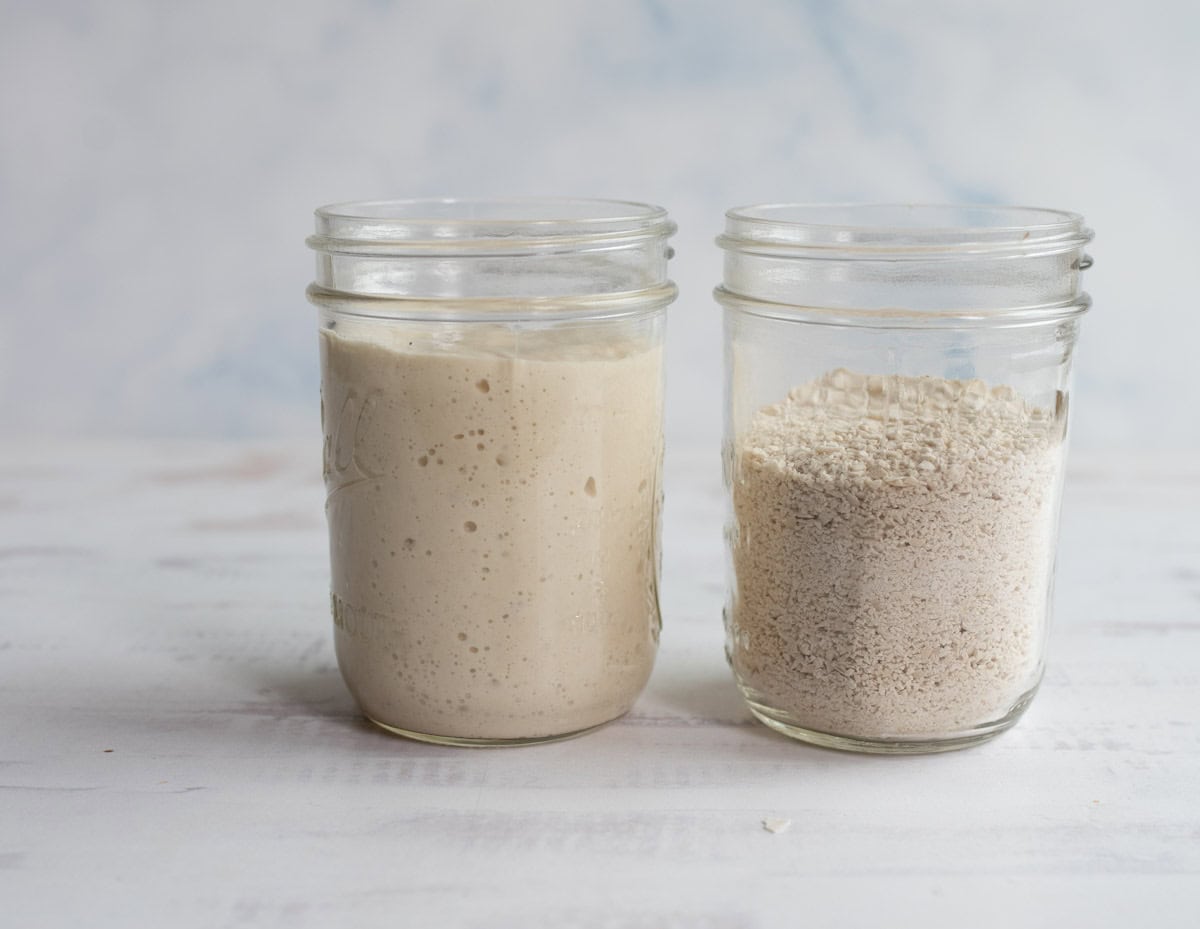
- The next day, take a look at your starter – you’re looking for small bubbles. If you see some, or lots, great! If not, no worries.
- Feed your starter with 50 grams flour and 50 grams water. Don’t discard any; it’s not ready for that yet. We’re still trying to build it up. Mix well, cover lightly (I just set a lid on the top without screwing it down) and put your starter back in its warm place. Watch for more bubble activity – this could take anywhere from six to 12 hours.
DAY 3:
- Repeat the set above the third day, cover lightly and let it rest in a warm place.
DAY 4:
- On the 4th day discard all but 50 grams of your starter. Feed it using 100 grams water, 100 grams flour. Stir to mix well. Place, covered, in your warm spot, it will double or triple in size in roughly 3-12 hours. Your starter is now alive and healthy – time to get baking!
DAY 5:
- If your starter is not doubling in 12 hours, repeat day 4 instructions on day 5 (discard and feed). It should be doubling by day 5-7. If it’s not doubling within a week, then it's time to troubleshoot! (See the notes below for more resources.)
Notes
Nutrition

How to Rehydrate A Dried Sourdough Starter
Day 1 — Initial Rehydration: Weigh 30g of dried starter flakes and add to a glass pint canning jar. Add 50 grams lukewarm water and try to submerge all flakes by stirring a little. Over the next two to three hours, stir the flakes every half hour or so. Eventually they will completely dissolve.
Once the flakes have disappeared, stir in 30g all-purpose flour. Cover lightly with a kitchen towel, material, or offset lid (don’t tighten it down) and let it sit somewhere warm. Leave it alone for about a day.
Day 2 — First Feeding: Take a look at your starter—you’re looking for small bubbles. If you see some, or lots, great! If not, no worries. Feed your starter with 50 grams flour and 50 grams water.
Don’t discard any; it’s not ready for that yet! We’re still trying to build it up. Mix well, cover lightly and put your starter back in its warm place. Watch for more bubble activity—this could take anywhere from six to 12 hours.
Day 3 — Second Feeding: Repeat the feeding from day 2, cover lightly and let it rest in a warm place.
Day 4 — Full Strength Feeding: Discard all but 50 grams of your starter. Feed it using 100 grams water and 100 grams flour. Stir to mix well. Place, covered, in your warm spot. It will double or triple in size in roughly 3-12 hours. Your starter is now alive and healthy—time to get baking!
If Needed: Days 5-7: If your starter is not doubling in 12 hours, repeat day 4 instructions (discard and feed). It should be doubling by day 5-7.
Recipe FAQs
Typically 4-7 days. Most starters show signs of life by day 2-3 and are ready for baking by day 4-5. However, some starters may take up to a week depending on the age of the dried starter, ambient temperature, and flour quality.
Don’t panic! Some dried starters take longer to wake up, especially if they’ve been stored for a long time. Continue with the feeding schedule as outlined. The microorganisms are likely still viable but need more time to multiply to visible levels.
A vinegar smell is completely normal and indicates healthy acetic acid production. This is actually a good sign that your starter is developing properly. The smell will mellow out as you continue regular feedings and the starter becomes more balanced.
More Sourdough Recipes To Try
Sourdough Recipes
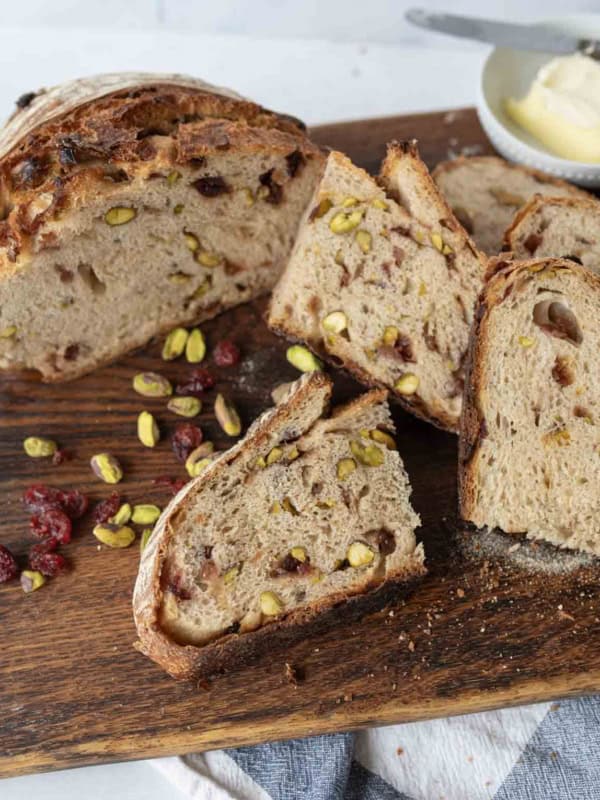
Orange Cranberry Sourdough Bread with Pistachios
French Toast Recipes
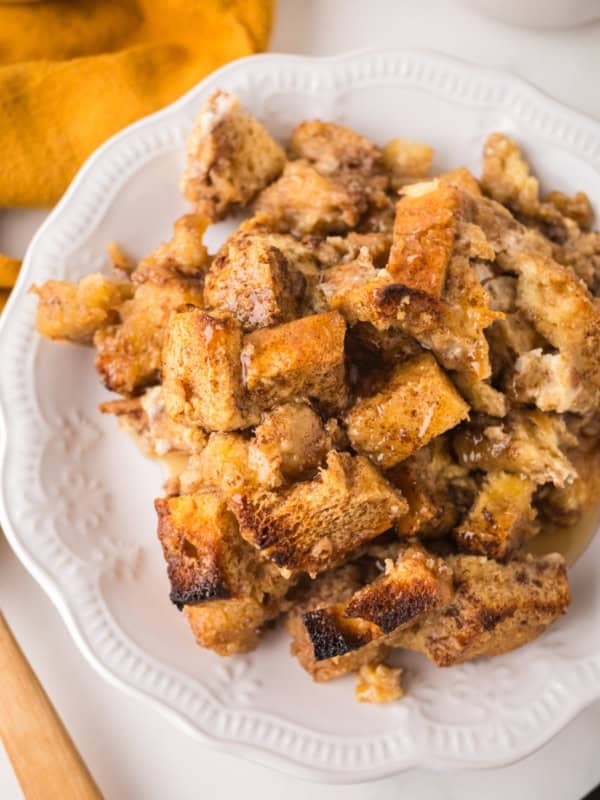
Sourdough French Toast Casserole
French Toast Recipes
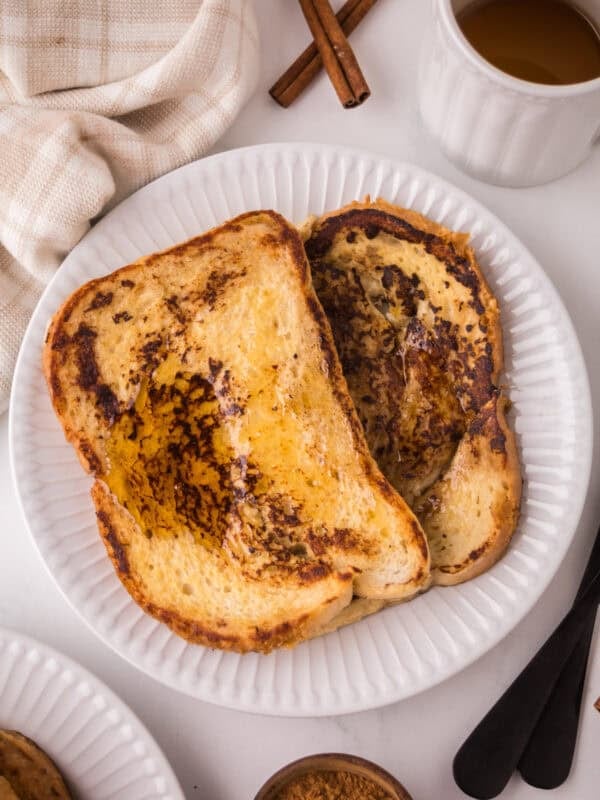
Sourdough French Toast in 15 Minutes
Sourdough Recipes
How to Dehydrate Sourdough Starter
Did you make this recipe? Leave a ⭐️ review and share it on Instagram, Facebook, or Pinterest!


I’ve made this recipe twice and it came out perfect both times. Using bread flour for the main ingredient is a MUST. I tried to use all-purpose flour once and it did not work out. Enjoy!