This post may contain affiliate links. Please read our disclosure policy.
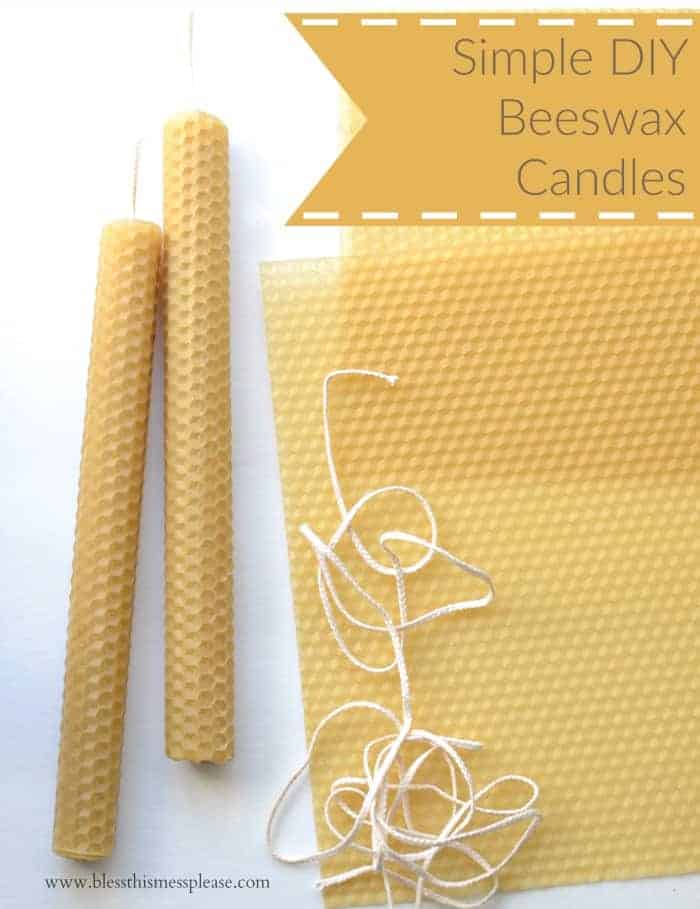
Simple DIY Beeswax Candles are easy to make, smell wonderful, and make great gifts. You only need a couple simple supplies and your hands and you can make up a few in no time!

Beeswax candles start with sheets of thin molded beeswax that have a beautiful honeycomb pattern pressed into them. You have a lot of flexibility when it comes to materials, colors, and sizes of candles, but no matter what you choose the actual candle making is very simple.
Table of Contents

Why You’ll Love This Project
- They are easy and beautiful gifts that you can make.
- Great project for younger kids.
- All ingredients are non-toxic.
- Budget-friendly – candles cost about $2 each.
- Perfect no-fail craft for non-crafty people.
Project Supplies
- Sheets of beeswax: Look for sheets that are either 8×8 or 8×16 and cut them in half.
- #1/0 candle wicks: These are a cotton square braid.
- Or, get a DIY beeswax candle kit: It comes in a ton of colors. I used the natural kit here. It makes about 20 8-inch candles.

How to Make Simple DIY Beeswax Candles
- Step #1. Cut the beeswax sheet in half with a small knife if you are using a sheet that’s 8 x 16 inches so that you end up with about an 8 inch square.
- Step #2. Cut a piece of wick that’s 9 to 10 inches (or an inch or two longer than the candle).
- Step #3. Lay the wick very close to one end of the candle and use your finger to press it into the wax so that it stays where you push it.
- Step #4. Fold over the beeswax sheet so that it is covering the wick.
- Step #5. Gently but firmly start to roll the beeswax up. Press firmly but not so hard that you crush the honeycomb design. Roll the candle all the way up.
- Step #6. Where the beeswax sheet ended, use your thumb to gently press the edge of the sheet into the candle. The heat from your hand will help to adhere the beeswax to itself.
- Step #7. Trim the wick to about ¼ to ½ inch before burning.
Project FAQs
Yes. The DIY beeswax candle kit I used comes in a ton of colors. Or, you can get kits that come in many different colors. I loved this kit of muted bright colors and this pastel beeswax kit would also be beautiful.
It will depend on the size of the sheet of beeswax and how tightly you roll the candles. The ones I made here are 8 inches tall and about an inch wide.
Yes! You can also use DIY beeswax candles as Hanukkah candles. I’d recommend using a smaller sheet of beeswax. You can either cut a bigger sheet down or get a beeswax candle kit that’s intended for making birthday and Hanukkah candles.

Expert Tips
- The tighter you roll the candle, the slower and longer it will burn.
- You can skip the cutting step by using a square beeswax sheet that is 8 x 8 inches.
- If the beeswax tears when you start rolling your candles, it’s ok because it won’t matter in the end.
- Be sure that the beeswax is at room temperature because it will be too brittle to roll if the beeswax is cold. If your house is chilly, set it in a warm area to warm up for a minute or two before making your candles.
- You can change the height of your candle by cutting the beeswax sheet however tall you want it and then roll it up on the side that is 8 inches long (so that the thickness is consistent).
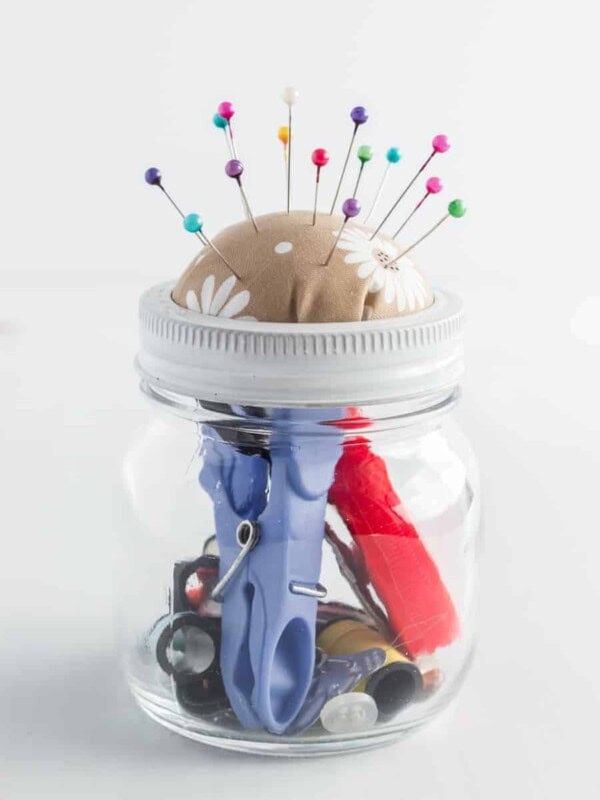
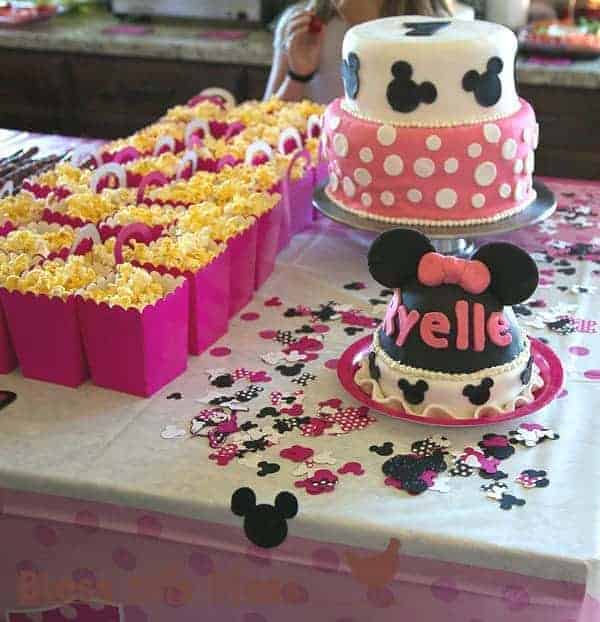
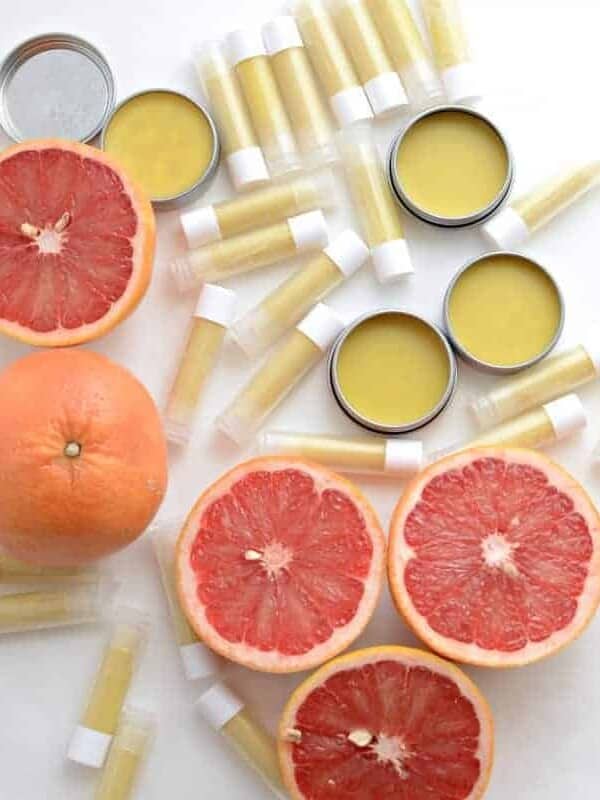
More DIY Projects to Consider

Did you make this recipe? Leave a ⭐️ review and share it on Instagram, Facebook, or Pinterest!


Thank you so much for this! My 8 and 6 y/o girls made some of these this afternoon and are giving them away as Christmas gifts. They are SO beautiful. 🙂 Also, ordered the beeswax sheets through your link a couple of weeks ago, so hopefully, you’ll receive a small kickback through that. I’ve read your blog off and on for a few months now, but have never said hi. So HI! 🙂 Your family is precious and congrats on your wee one. We were given a new wee one as well a few weeks ago. Hope you have a wonderful and Merry Christmas! And thank you for your inspiring blog!
Hooray! I love feedback! Thank you for taking the time to write a comment. It’s lovely to meet you Audra (love the name!). Didn’t you just love the smell of the beeswax! Merry Christmas friend!
Nice, I have never seen this before. I ike it!