
This post may contain affiliate links. Please read our disclosure policy.
Browned butter is essentially regular butter that has been heated until the milk solids in the butter start to brown, giving it a unique nutty flavor and aroma. It is a versatile ingredient that can be used in various culinary applications, such as sauces, baked goods, vegetables, and even as a drizzle over pasta or seafood.
Browned butter has a nutty aroma and rich, golden-brown color add depth and complexity to both sweet and savory recipes. Learning how to brown butter is a culinary skill that every home cook should have in their repertoire.
How to Brown Butter
Browning butter is a technique that goes beyond simply melting butter. It adds complexity, depth, and an appealing aroma to your dishes, making them more flavorful and visually appealing. Whether you’re preparing savory or sweet recipes, learning how to brown butter can open up a world of culinary possibilities and elevate your cooking to a new level.
The basic process involves melting butter and allowing it to cook until it reaches the desired level of browning. While the steps are simple, there are a few key points to keep in mind:
Watch Closely: Browning can happen quickly, so it’s important to keep a close eye on the butter as it cooks. Once it starts to brown, it can go from perfect to burnt in a matter of seconds.
Use Unsalted Butter: Using unsalted butter is recommended because it allows you to have better control over the final seasoning of your dish. If you use salted butter, the salt content can become too concentrated as the water evaporates, leading to an overly salty result.
Stir Gently: Stir the butter gently as it melts and begins to brown. This helps distribute heat evenly and prevents burning or uneven browning.
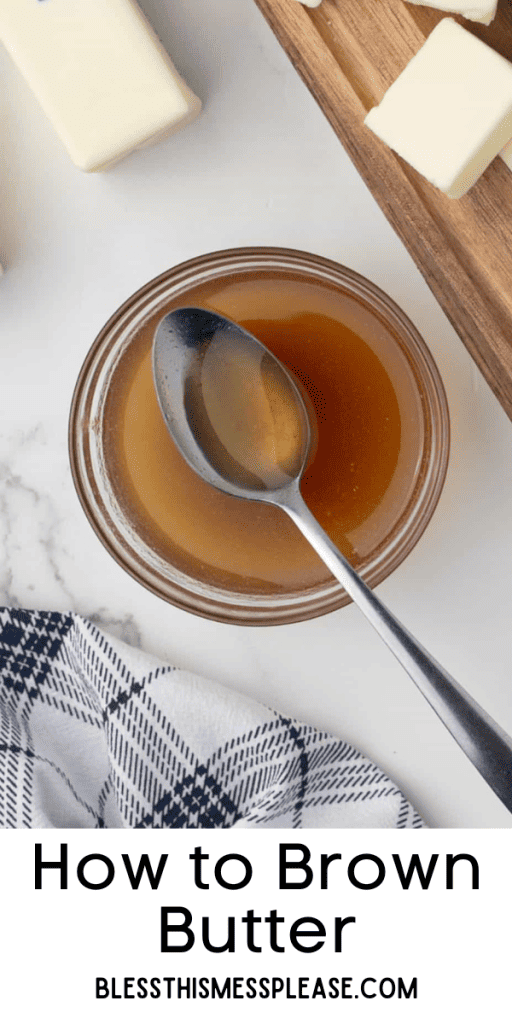
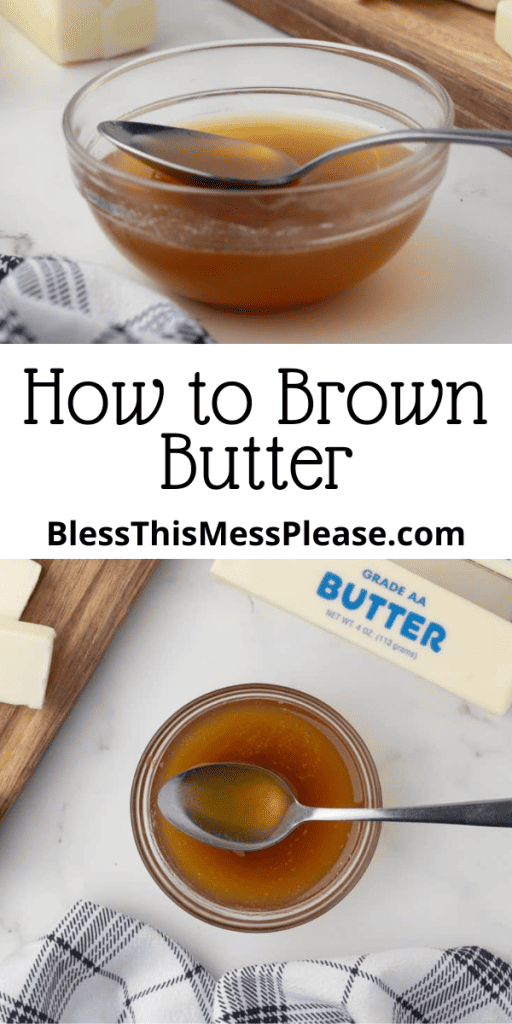
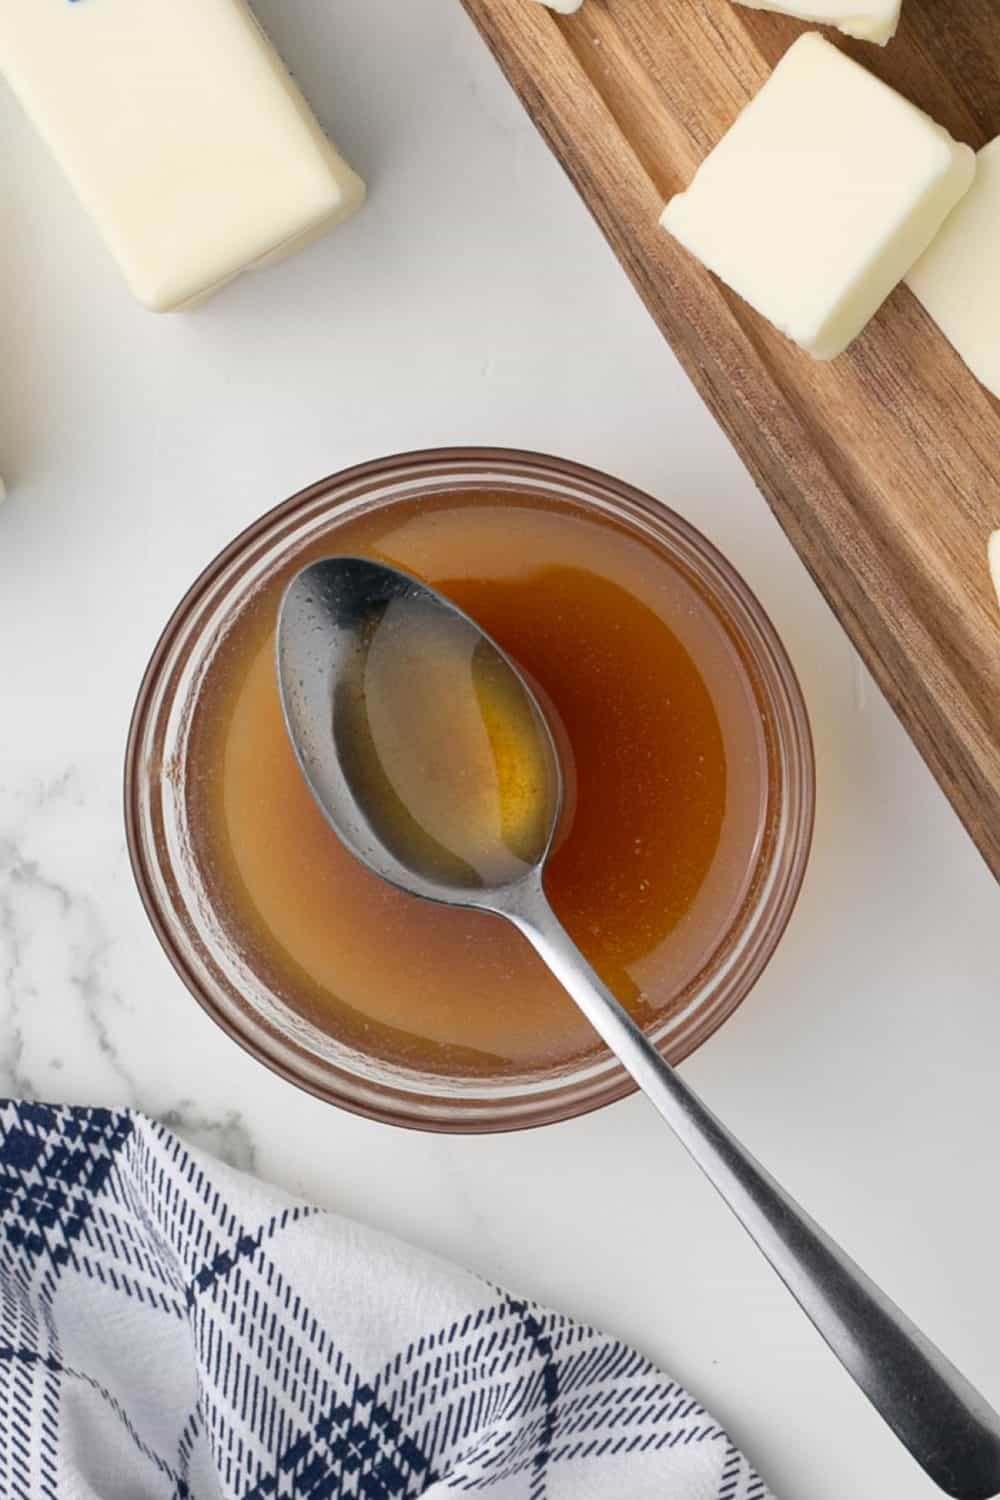
Transfer Promptly: As soon as the butter reaches your desired level of browning, remove it from the heat and transfer it to a heatproof container. This step is crucial to prevent the butter from continuing to cook in the hot pan.
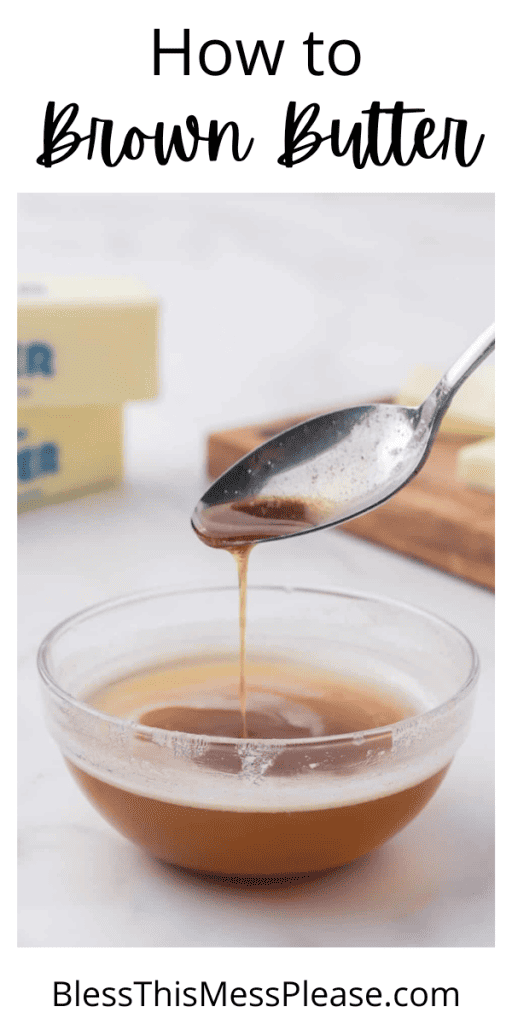
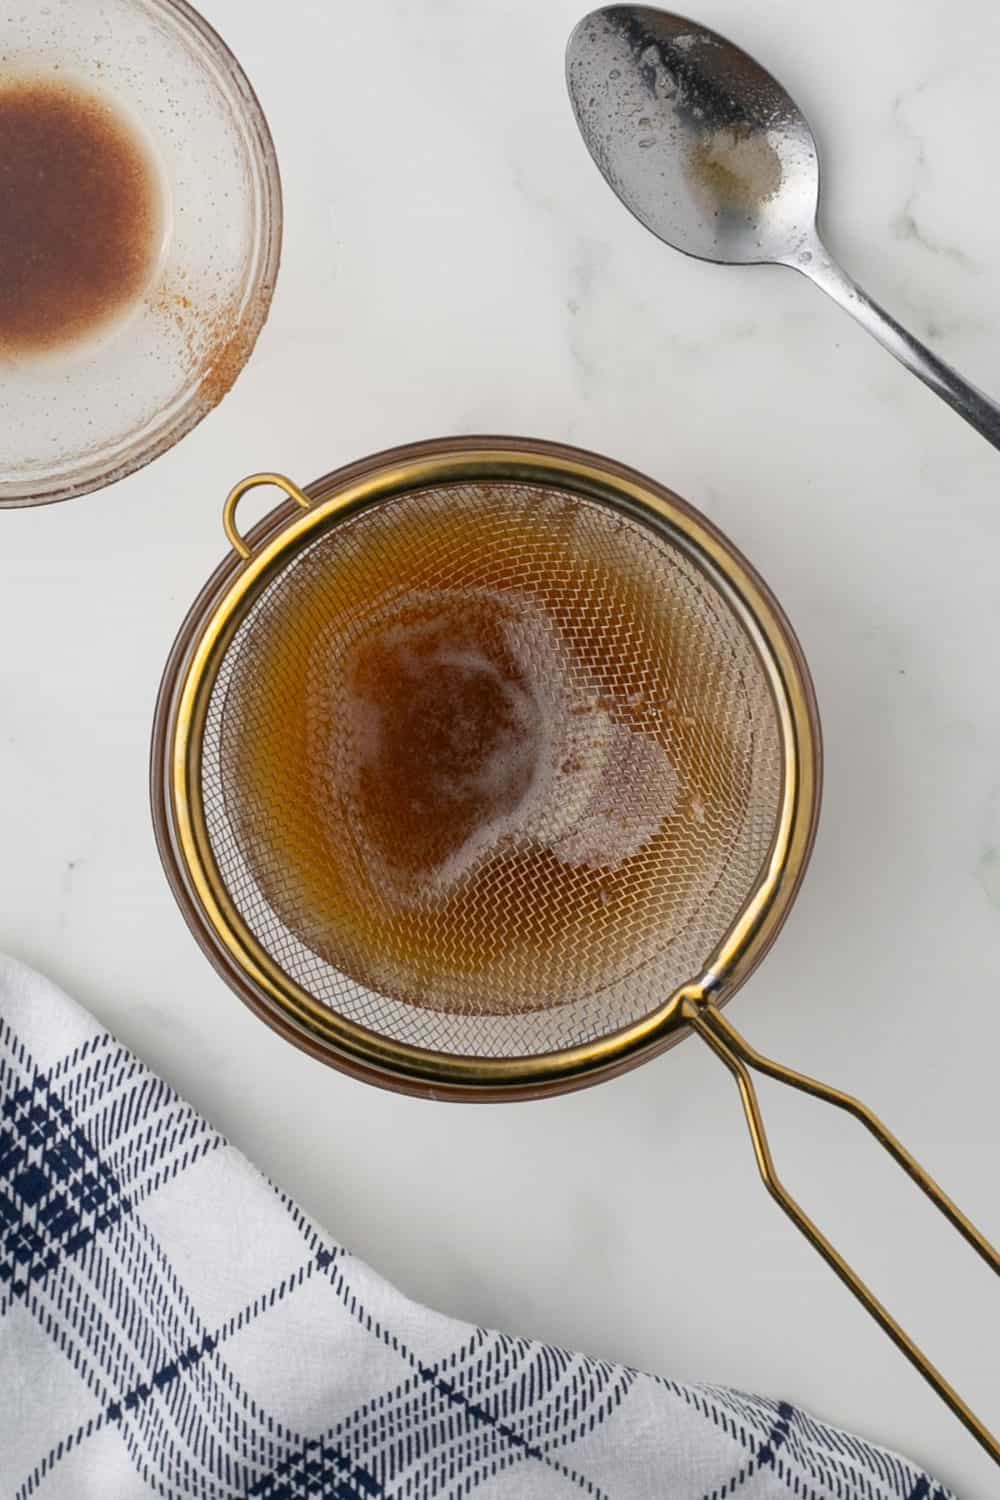
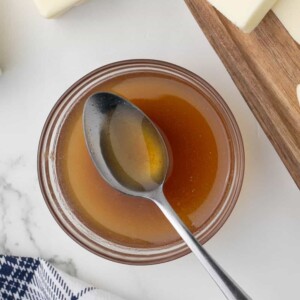
Straining:To get a smoother finish, you can strain the browned butter through a fine-mesh strainer to remove the browned milk solids. However, this step is entirely optional and depends on your preference.
Ingredients and Equipment Needed
- Unsalted butter
- Light colored Heavy-bottomed saucepan
- Wooden spoon or wire whisk
- Fine mesh strainer
- Heatproof bowl
Recipe Instructions
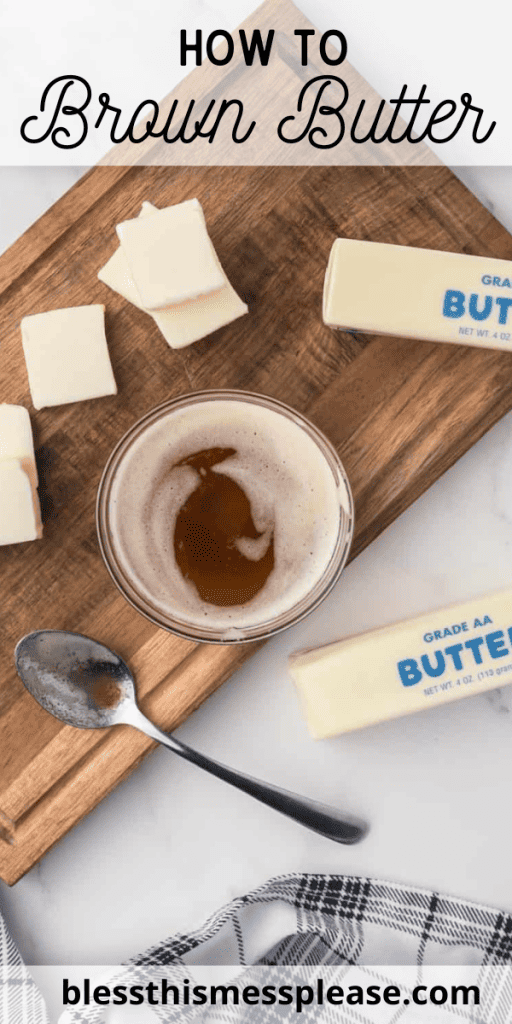
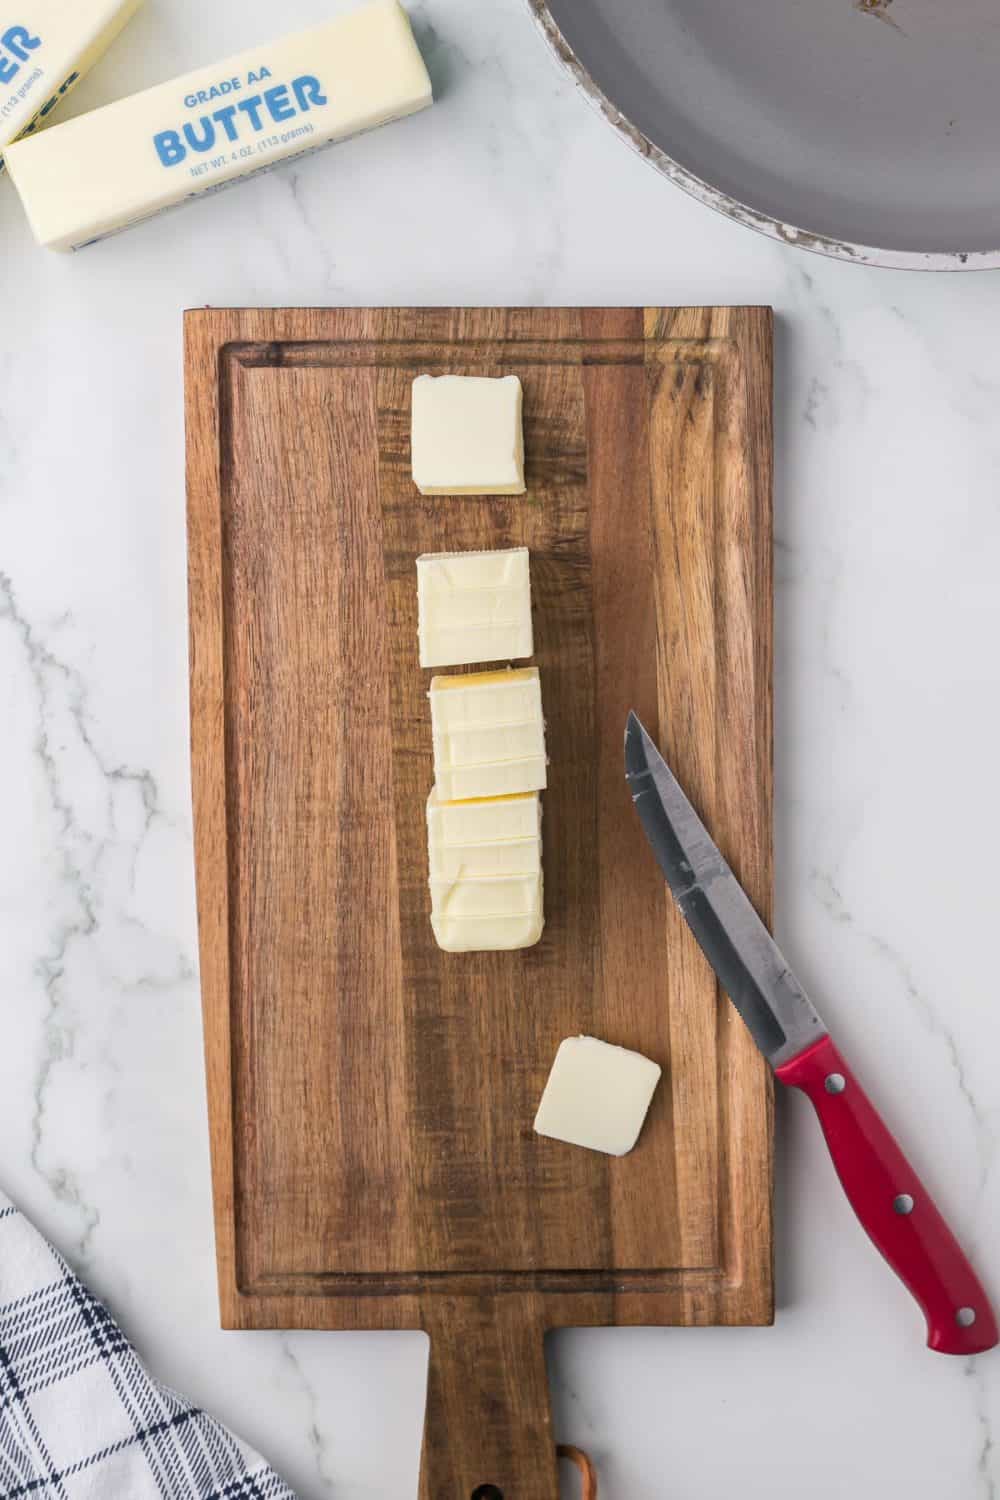
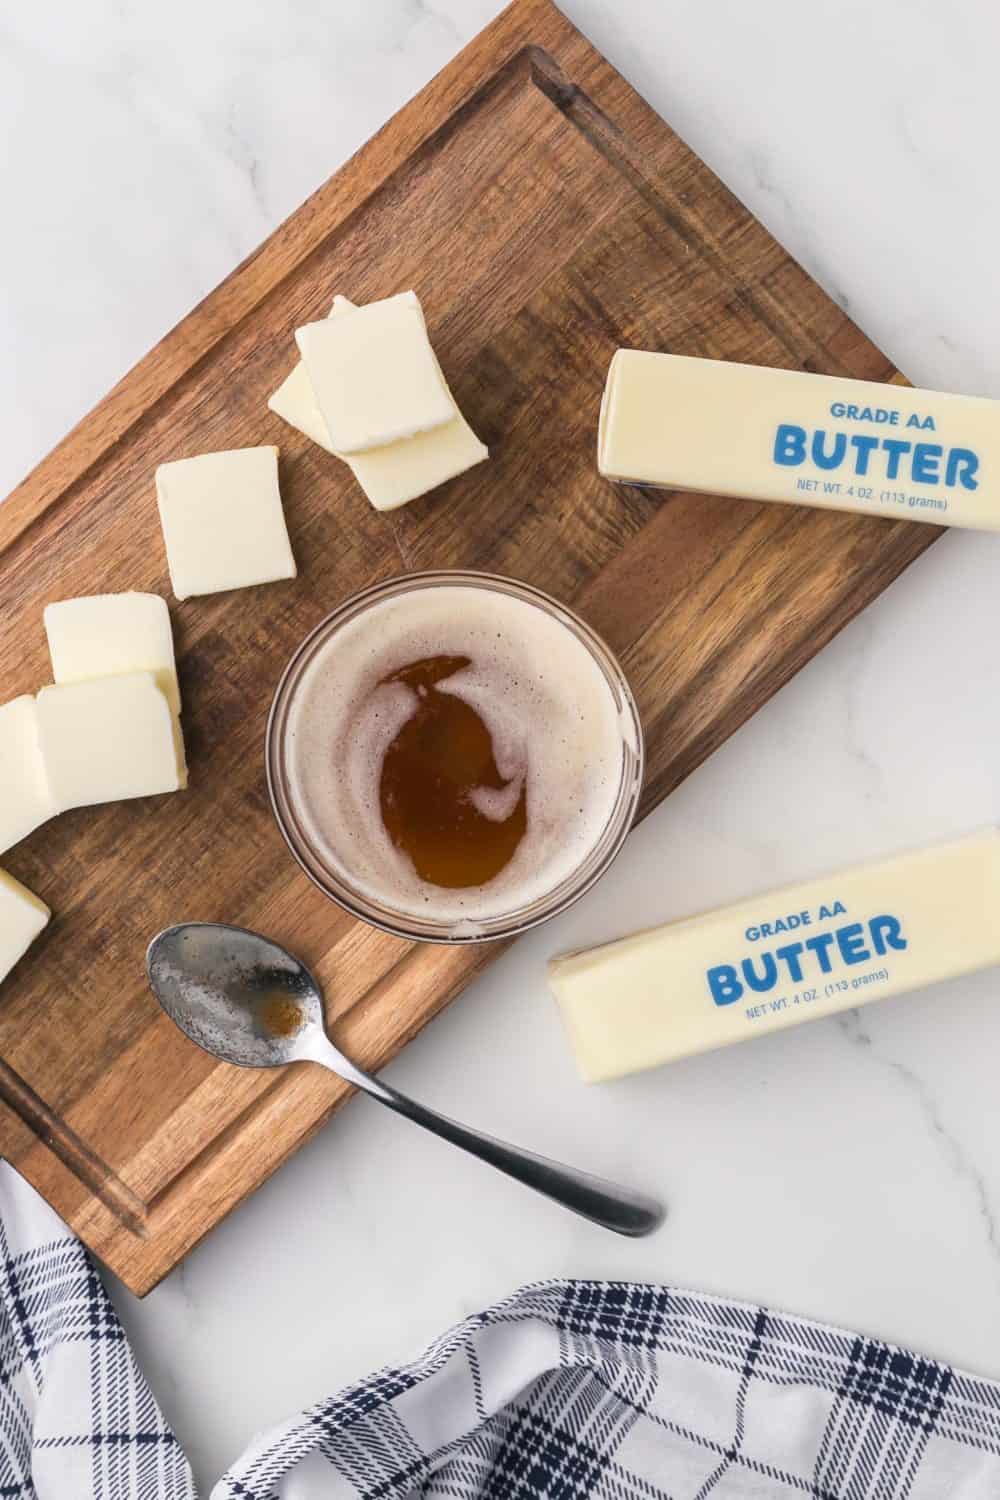
- Prep the Butter: Cut the unsalted butter into tablespoon-sized chunks for even melting.
- Melt and Monitor: Place the butter chunks in a saucepan over medium heat. As it melts, it will foam due to water evaporation. Stir occasionally.
- Browning Begins: After the foaming stops (usually in about 5-7 minutes), the butter at the bottom will turn golden brown, emitting a nutty aroma.
- Remove and Cool: Once the butter reaches your desired amber hue, remove it from heat and transfer it to a heat-safe bowl to prevent burning.
- Straining: If you prefer, strain the browned butter through a fine mesh strainer to remove darkened solids.
- Cool and Store: Let the browned butter cool slightly before using it. Store any extra in an airtight container in the fridge for up to two weeks. Use it in sauces, on vegetables, or in baking for added flavor.
Frequently Asked Questions
While you can use salted butter, it’s best to use unsalted butter to have more control over the final seasoning of your dishes.
Straining the butter removes the milk solids that have browned during the process. This results in a smoother, more refined flavor and appearance.
Keep a close watch on the color and aroma. When the butter turns a rich golden brown and emits a nutty scent, it’s ready.
Absolutely! Browned butter adds an incredible depth to baked goods. Try it in cookies, cakes, and muffins for a delightful twist.
Yes, you can gently reheat browned butter on low heat. Be cautious not to overheat it, as it can quickly go from browned to burnt.
More Recipes
- Hershey Kiss Cookies
- Marble Cake
- Banana Bread Muffins
- Peanut Butter Nutella Cookies
- Whole Wheat Pumpkin Muffins
If you’ve tried this How to Brown Butter recipe or any other recipe on Bless This Mess, then don’t forget to rate the recipe and leave me a comment below! I would love to hear about your experience making it. And if you snapped some pictures of it, share it with me on Instagram so I can repost on my stories.
How to Brown Butter
Equipment
- Light colored Heavy-bottomed saucepan
- Wooden spoon or wire whisk
- Fine mesh strainer
- Heatproof bowl
Ingredients
- 2 cups unsalted butter,, equivalent to 4 standard sticks
Instructions
- Cut the unsalted butter into tablespoon-sized chunks. This allows for even melting.
- Place the butter chunks in the saucepan and set the heat to medium.
- As the butter melts, it will start to foam. This is due to the water content evaporating. Stir occasionally to ensure even heating.
- Once the foaming subsides, the butterfat solids at the bottom will begin to turn a beautiful golden brown. The aroma will become nutty and inviting. This process usually takes about 5-7 minutes, so keep an eye on it.
- Once the butter reaches your desired amber hue, immediately remove it from the heat and pour in to a heat safe bowl to prevent burning.
- Carefully strain the browned butter through the fine mesh strainer, This will remove any darkened solids.
- Let the browned butter cool slightly before using it in your recipes. You can store it in an airtight container in the fridge for up to two weeks. Use it as a drizzle over roasted vegetables, a base for sauces, or to upgrade your baked goods.
Notes
- Browned butter adds an incredible depth to baked goods. Try it in cookies, cakes, and muffins for a delightful twist.
- If you are making your own brown butter swaps in baking (it’s not called for in the recipe, you just want to use it), then add an extra tablespoon of butter to the pan per each half cups of butter needed to account for some of the volume loss when preparing the brown butter. So if you want to swap 1/2 cup of normal butter for 1/2 cups of brown butter in a recipe, cook 1/2 cup AND 1 tablespoon of butter into brown butter.
- If the recipes calls for brown butter you won’t need to do this because they will have adjusted the recipe to suit the amount of brown butter in the recipe.
- I often don’t strain the darkened milk solids in the brown butter. I like how they look and how they taste so you can see what your opinion is.
Nutrition
Browning Butter is a simple yet transformative culinary technique that can enhance the flavor and aroma of a wide range of dishes. Whether you use it in savory sauces, sweet baked goods, or drizzled over vegetables, the nutty richness of browned butter adds a delicious dimension to your cooking. It’s a versatile skill that every home cook should have in their repertoire, elevating dishes from ordinary to extraordinary with ease.


