This post may contain affiliate links. Please read our disclosure policy.
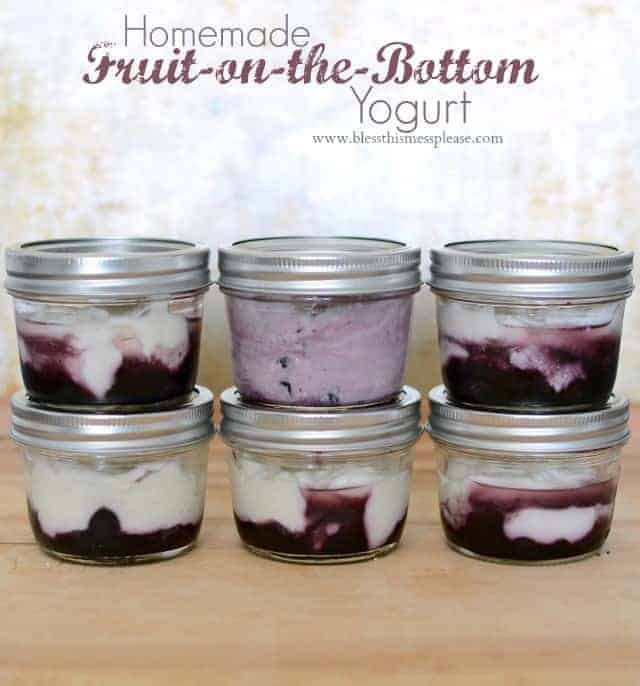
Homemade fruit on the bottom yogurt cups made with blueberries, maple syrup and Greek yogurt.
Homemade fruit on the bottom yogurt cups
Today’s recipe for homemade fruit on the bottom yogurt cups is so much fun. I often find that I’m super hungry after being out and busy and if I don’t have something done and ready to eat then I don’t make the best choices. And prepping it all ahead of time on Monday means that I’m not stuck in the kitchen all week trying to figure out what to eat.
Here’s another plug for prepping your healthy snacks ahead of time – if you are like me you don’t like to waste. So if you have all of this food ready and waiting, you might just eat it so that it doesn’t go bad. Sometimes I have other options for lunch and snacks but then I think about the salad-in-a-jar that might be getting old. I’ll end up eating it just so that it doesn’t become chicken food.
Trust me on this one. If you have delicious healthy things in your house ready to be enjoyed then you’ll find yourself doing just that!
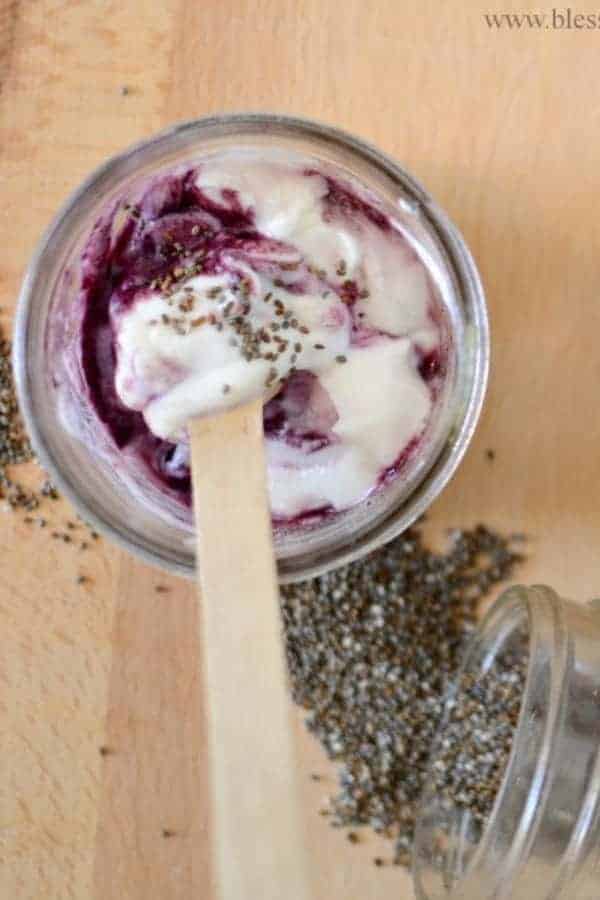
These fruit on the bottom yogurt cups are so much fun to mix together and enjoy with some chia on top (extra nutrition that’s easy enough to enjoy if you ask me). Just simmer blueberries in a little bit of maple syrup to make a sweet fruity layer and then top with plain yogurt. When the two are mixed together you have yourself one delicious and naturally sweetened snack that’s full of protein and healthy fat.
My kids love to eat these so I’ll normally double the recipe and make 12 jars. They stack great in the fridge. Plus, the lids are easy enough for my 2 year old to manage. When he needs a snack and I’m busy with the baby, he’s able to get in the fridge, get himself one of these, and enjoy it on his own without any help from me. That’s a big plus for me and he likes to be independent too.
How do I make homemade yogurt?
Here’s a great recipe for making yogurt in the crock pot. I’ve been making yogurt like this for about 3 years and it works so well! You’ll be shocked at how easy and inexpensive making your own yogurt is; no special equipment needed.
How long does homemade yogurt last?
Homemade yogurt is usually good for up to 2 weeks, when stored in the refrigerator.
What are the health benefits of chia seeds?
These tiny seeds pack a punch. Chia seeds are full of nutrients. They are a great source of omega-3 fatty acids, rich in antioxidants, and they provide fiber, iron, and calcium.

Homemade Fruit on the Bottom Yogurt Cups
Ingredients
- 1 1/2 cups fresh or frozen berries
- 3 Tablespoons pure maple syrup
- 6 cups Plain greek yogurt -OR- Homemade Yogurt
Instructions
- In a small sauce pan add the berries and the maple syrup. Heat the mixture over medium heat. Let the mixture simmer, stirring often, until the liquid reduces by about half. This should take 10-12 minutes.
- If you are using fresh berries mash them a bit in the beginning so that they release their juice and don’t burn.
- Divide the berry mixture evenly into 6 1-cup (half pint) wide mouth mason jars. Add yogurt to the jars so that it is on top of the berries (I put on 3/4 of a cup of yogurt in each jar – you could add between 1/2 cup and 1 cup depending on what you want for a serving size and how fruity you like your yogurt). Place on a lid (the flat and the ring), and store in the fridge.
- When you are ready to eat just stir the fruit and yogurt together and enjoy it right out of the jar.
Notes
Nutrition
Here are a few more recipes that I prep ahead so I can just grab and go:
- 6 Salads in a Jar
- My Favorite Fruit Dip
- Honey Cinnamon Granola
- No-Bake Pumpkin Oatmeal Energy Balls
- Make Ahead Omelet in a Jar
- Homemade Vanilla Pudding Cups
- Extra Protein Oatmeal Bites
- No Bake Peanut Butter Chocolate Chip Oatmeal Energy Balls
- Blueberry Muffin Date Balls (healthy, no-bake treat)
- 10 Healthy Snacks You Can Prep in Advance
Give these Homemade fruit on the bottom yogurt cups a try and happy snacking!


I’ve been making whole milk yogurt for the past year in my instant pot. This was so easy to make and so delicious added to my yogurt! My kids gobbled it down! Now I need some of those cute little jars 🙂
Hi, Melissa. I had great success with making homemade yogurt and am now wanting to make the cups w/ fruit on the bottom! My question is, about how long does the yogurt last? And does the expiration vary if you add the fruit on the bottom? Thanks!!
It lasts 7-10 days for me most of the time and then it’ll start to mold. You’re safe to keep them a week for sure!
Is it at all possible that these are the 4 ounce jars and not the 8 ounce jars? Those are all I could find at my grocery, but they look just like this!
Nope, these are 8 ounce jars, I just bought another case a few weeks ago! Here’s what they’ll look like : https://www.amazon.com/Jarden-Home-Brands-Mouth-Canning/dp/B0000BYD0F/ref=sr_1_1?s=home-garden&ie=UTF8&qid=1413315280&sr=1-1&keywords=canning+jars+8+oz+wide+mouth Good luck finding them!
Did you let the fruit cool first?
Great question. I did let it cool a minute. It was still warm but not boiling. Thanks for asking.
What’s that sprinkled on top?
Chia seeds! They are a “superfood” that my kids call sprinkles. Easy way to add a little nutrition.
Can you make other fruits too with the maple syrup or will the maple make other types taste funny? I hope that makes sense.
Anything would work! And if you think the maple would be too strong try honey… you’ll love both!
I use Greek yogurt starter and a cup of powered milk. Mine is nice and thick.
I’m trying this! Thanks
I want a super thick yogurt and not a ton of it. Do you think I could modify this recipe with a quart of half and half and still get the desired result? I also have a smaller crockpot, not sure how much a difference that makes…
I think it would help but the key for thick yogurt it straining out the way after it is done. I think that will give you the result you are looking for. I another comment I talked about temp. for the yogurt… I’d use a thermometer if were you since your small crock might heat a lot faster! Did that help?! Good luck!
love love love this idea – I don’t make yogurt nearly enough