This post may contain affiliate links. Please read our disclosure policy.
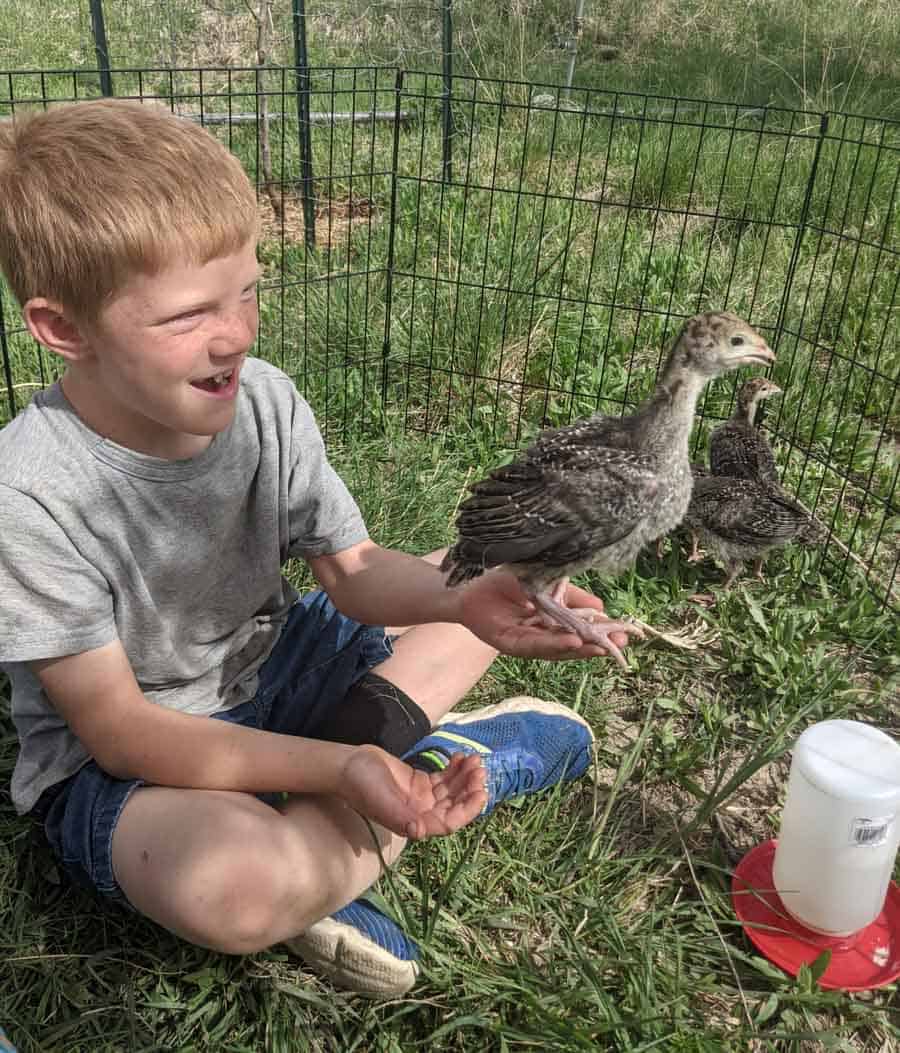
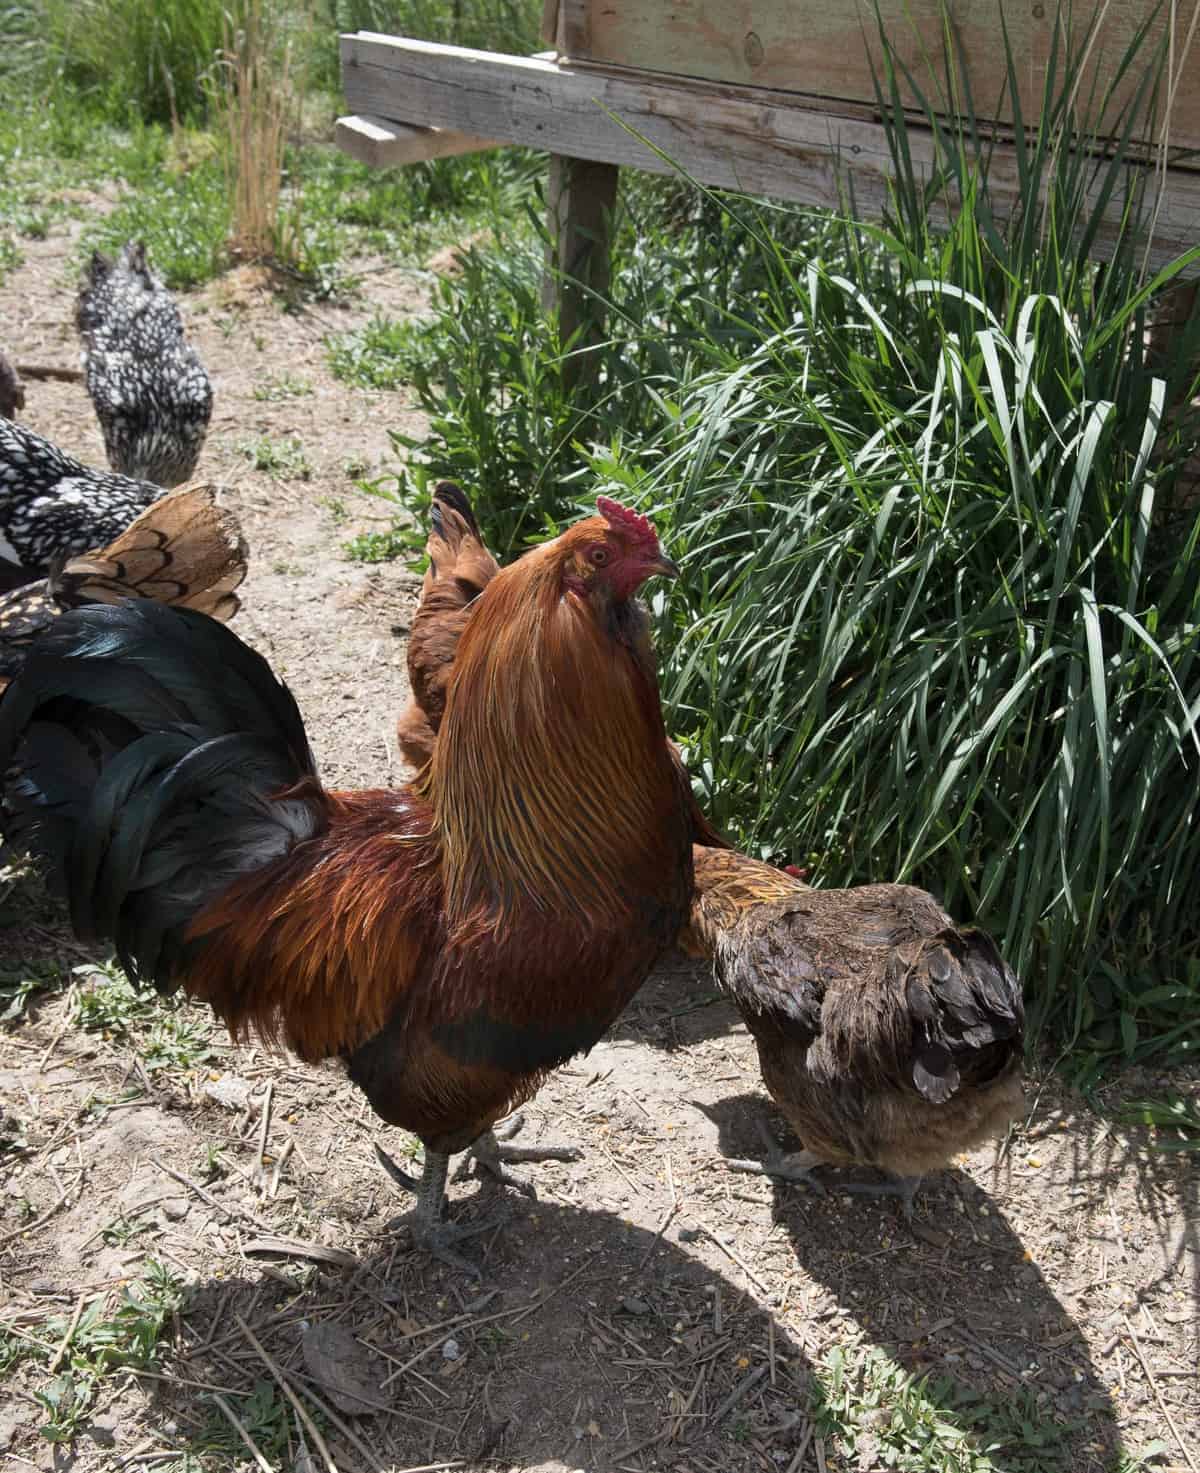
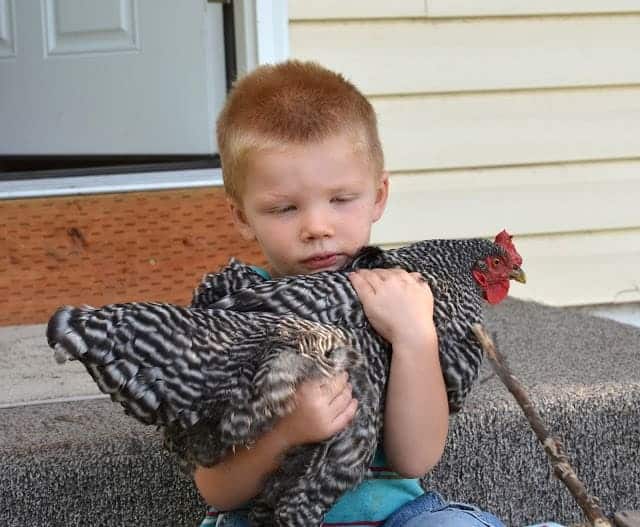
Spring is in the air, so it’s time to start preparing for backyard chickens! I will tell you everything you have ever wanted to know about Chicken Waterers and feeders and how to DIY your own from a 5-gallon bucket.

Providing animals with water to drink seems like a no-brainer, but there are many factors that go into watering chickens. For instance, how much water do chickens need, what type/material of waterer is best, how to keep the water clean, and how to DIY a simple and cost-efficient chicken waterer.
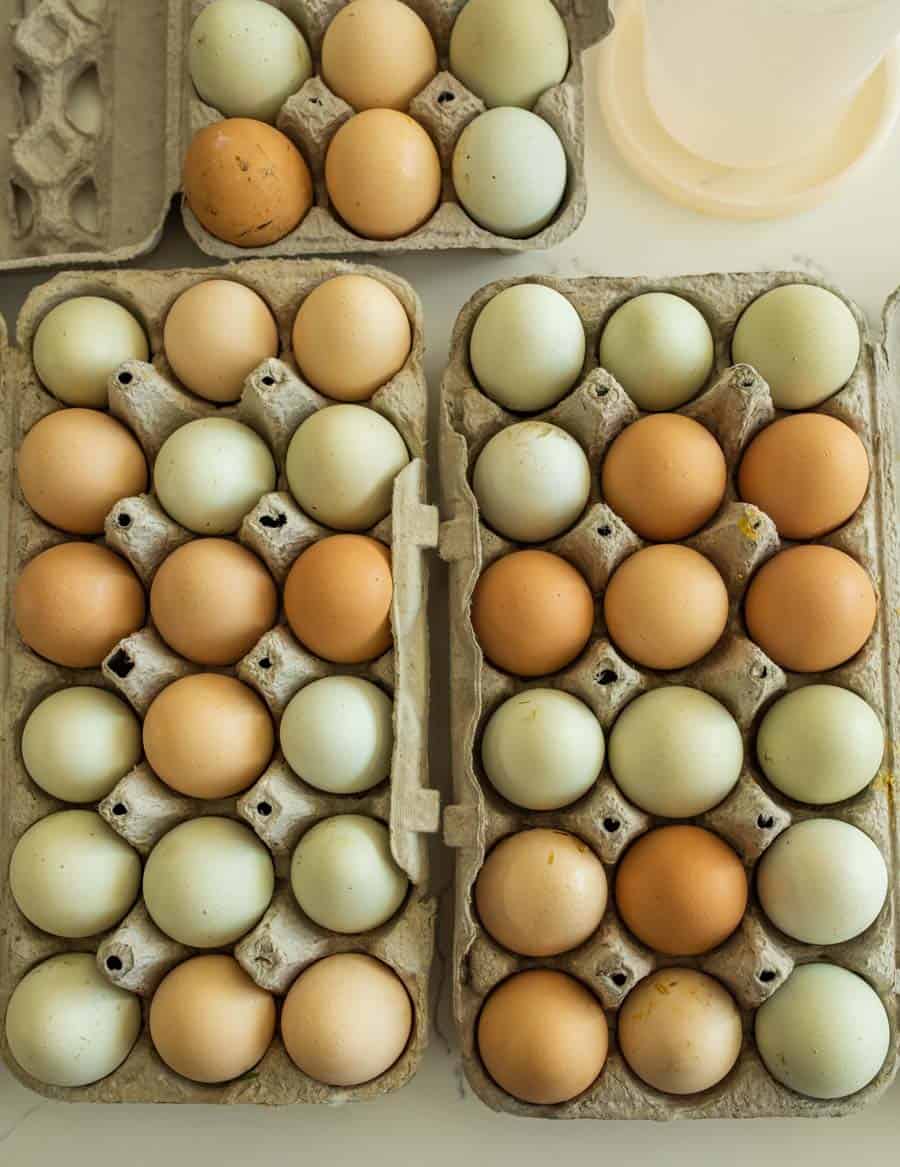
Appropriate access to clean water drastically influences how healthy a chicken is and how well it produces. If a chicken does not have ample water, they will stop laying eggs! Water also aids in the digestive process and helps a chicken eliminate waste.
When sufficiently hydrated, chickens can more effectively regulate their body temperature. A chicken that drinks clean, cool water also has a healthy brain. This will keep the animal in tip-top shape and its mind sharper to watch for predators.
And if they’re well-hydrated, they’ll keep laying those beautiful eggs for delicious meals like an egg and potato casserole, perfect for breakfast, lunch, or dinner.
Table of Contents
How Much Water Chickens Drink Per Day
It doesn’t seem like chickens drink much water because they just take small sips throughout the day. However, on average, a single chicken will drink about 1 pint of water daily. They will drink more if the temperature is hot.
Cool and Fresh Water, Please!
They also like cool, fresh water. If the water has been sitting out in the sun too long, hasn’t been refreshed regularly, or starts to get dirty from the chicken’s own doing, they may stop drinking. You don’t want a chicken that isn’t drinking, so remedy the issue quickly.
The process of chickens drinking water is fun to watch. Chickens use their tongue to push food to the back of their mouth to be swallowed, but that method doesn’t work for drinking.
If a chicken wants to drink water you will see them dip their beak into the water and rapidly tilt their head back to let the water drip down their throat. So you can imagine they can’t drink a whole bunch of water at once.
Tips for Keeping Chicken Water Fresh and Clean
Keeping the water you feed your chickens clean is essential.
- You should refresh their water daily to prevent bacteria buildup and algae forming.
- Sanitize the waterer at least weekly. Clean it with dish soap, a brush, or a diluted bleach solution.
- Place the water containers in shaded areas to prevent overheating and algae growth.
- Elevate the water containers off the ground to prevent dirt and droppings from getting into the water.
Project FAQs
Chickens typically do not need water at night. They sleep on their roosts until morning.
You want to place your waterers without direct sunlight to keep the water as cool as possible.
I plan for one large waterer per 6-8 chickens. Remember that each chicken will drink about 1 pint daily, so plan accordingly.
The general rule is that if it is safe enough for you to drink, your chickens can also drink it.
You will want to remedy the situation quickly if a chicken is dehydrated. When a chicken isn’t getting enough water, its egg-laying will slow down or stop completely. It will become lethargic, and you may notice it panting or having a pale comb.
DIY Chicken Waterer and Feeder From 5-Gallon Buckets
Chicken waterers can come in various shapes, sizes, and dollar amounts and can be constructed from various materials. In my experience, you don’t need to break the bank to provide water for chickens. Your chickens will thrive if they have clean, fresh water and lots of it.
We have used this DIY version for chicken waterers for years and have found great success.
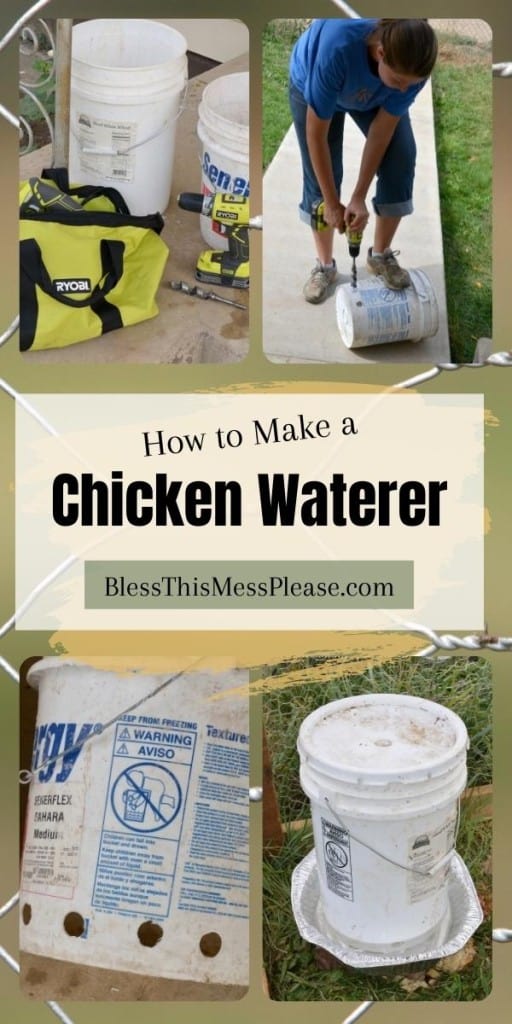
Materials Needed for Chicken Feeder and Waterer
- Two 5-gallon buckets with lids
- Drill
- 1-inch standard drill bit or paddle drill bit
- Two large foil roasting pans
Where to Get Materials
Buckets: Find a free source for the buckets. They are everywhere, really! Just ask your local sandwich shop to save you a few that the pickles come in. Bakeries are also a good source for free buckets.
Pans: Pick them up at the dollar store for a few bucks, or get these large feed pans.
How to Make the DIY Chicken Feeder
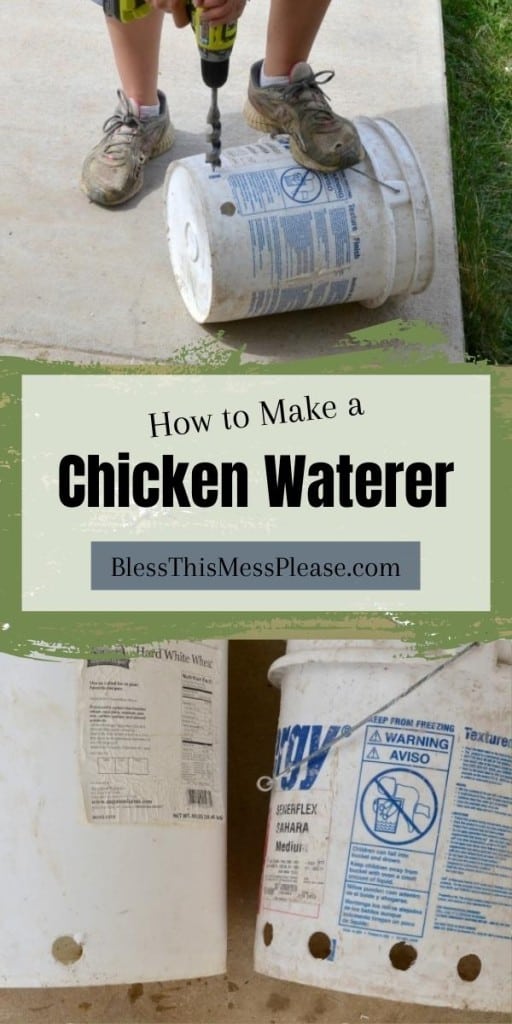
- Clean and empty a bucket
- Drill 1-inch holes around the bottom edge, spacing the holes about 2 inches apart.
- Place the bucket inside the pan, right-side-up (holes in the pan), and then fill it with chicken feed. The feed will pour through the holes into the pan, and as the chicken eats, more will come out.
- Replace the lid to the bucket so the chickens can’t get to the food from the top. Easy!
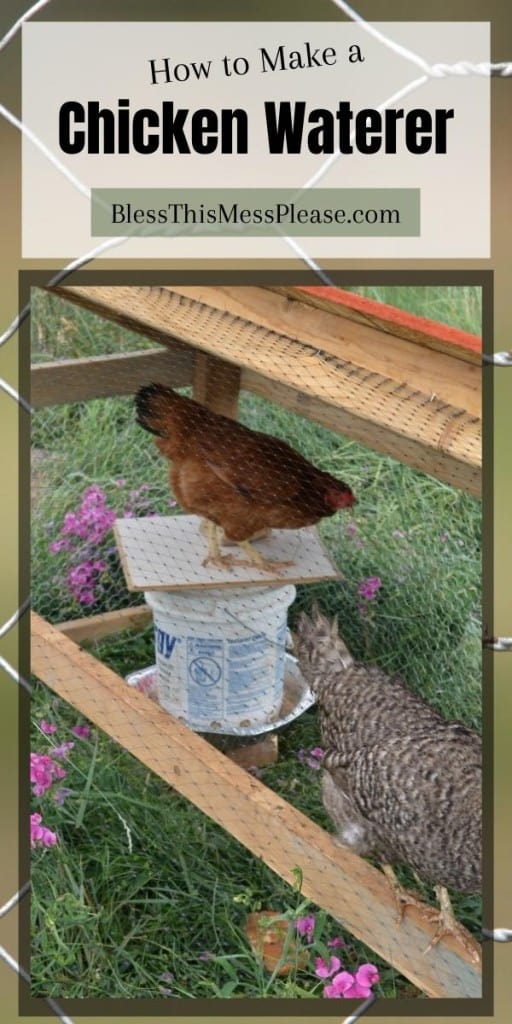
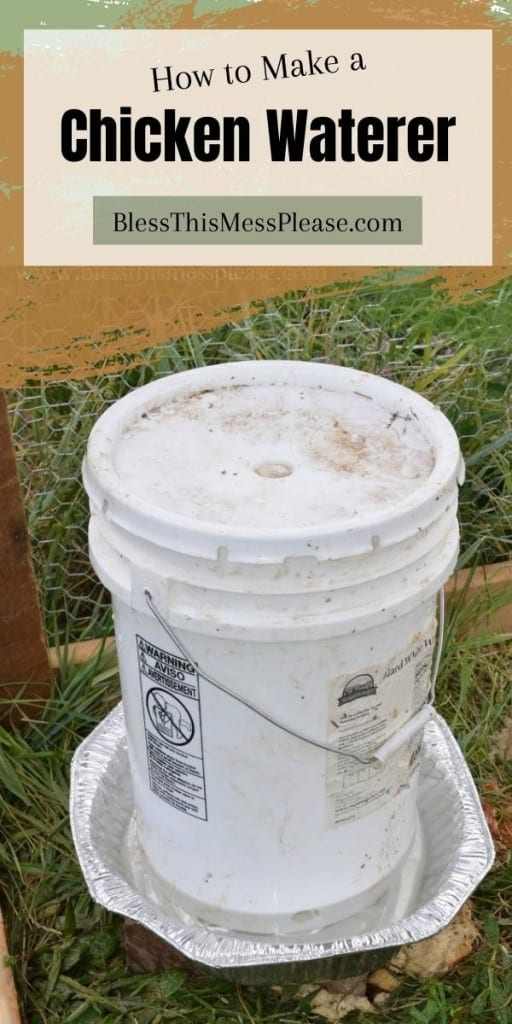
How to Make the DIY Chicken Waterer
- Clean and empty the 5-gallon bucket.
- Along the bottom edge of the bucket, drill two 1-inch holes opposite of each other.
- Place the bucket inside the pan, right-side-up (holes in the pan), and then fill it with water.
- Replace the lid and make sure that it has an airtight seal.
This seal is key!! The water will stop coming out of the holes once the water covers the holes completely if the lid is airtight.
If there isn’t a good seal, the water will keep running out of the bucket and overflow the pan. It’s a hydrodynamics thing—just ask my water engineer husband; he’d gladly explain it to you!
How to Make a DIY Chicken Feeder and Waterer – Picture Tutorial


Sometimes life on the farm can be much simpler than we think, and this DIY chicken waterer and feeder from 5-gallon buckets is the perfect example. An easy and cheap way to provide an effective and reliable feed and watering system for your chickens.
If you’ve been bitten by the DIY spirit, you might try your hand at building a chicken coop for the little egg factory in your backyard. I believe happy chickens make more eggs!
Update: October 2017
I have been using these same buckets as a DIY chicken waterer and feeder for over 4 years, though I have upgraded from the foil turkey roaster pans. Those pans lasted about 6 weeks, but I was in it for the long haul.
I picked up some large (about 16 inches wide and 4 inches deep) round metal pans from our hardware store to replace the pans in these pictures. Similar pans are available on Amazon.
They cost me less than $10 each and have lasted 4 years. So for $20 total, instead of $2, I have a large feeder and waterer that I’ve used for years. They work great and I still highly recommend making these.
More Farm Fun!
Did you try this project? Share it on Instagram, Facebook, and Pinterest!


Maybe you already covered this option and I missed it, but for the waterer, if you drill the holes at the top, you can carry the water and turn it upside down to create the waterer……….
I cannot get the food to pour out of my holes. I ended up drilling a extra holes but it still isn’t working. Do they need to just be bigger holes, you think
Hmmm. That’s so weird. I’ve been using my for over a year now with no issues. I would try bigger holes!
Instead of foil containers which the chickens can peck holes in I just used very large glass roasting dishes, they’re way too thick and heavy for chickens to break, are relatively cheap to buy second hand, and best of all can be bleached/disinfected without any worries about tainting for future use. And if you have chicks, you only need put a small amt in the bottom (water) and the chicks and drink (with mum) with no worries about them being tipped over or chicks drowning.
This is a great idea! I was also going to mention that for the bottom of the pans, you could use round plastic plant trays. They sell them separately at Wal-Mart.
How do you get the board to stick on top of the waterer? Is it nailed down?
I ended up just keeping a board with a big flat-bottomed rock on top of both the food and the water. It really helps to keep the food and water clean and the hens like to perch on the rock 🙂
You can also modify the board with a couple of magnets (I use the ones I salvage out of old computer hard drives and a piece of steel (like a bean can cut open and laid out flat. The magnets hold the board on to the top of the bucket, but can be easily removed to clean the board and refill the bucket. E-Z-CHEEZ-E
Seriously great idea!
I just have a quick question… How do you refill the waterer without losing the proper seal? As I am picturing it in my head… The water would go all over, and I wasn’t sure if I was misunderstanding the design? My husband attempted to make one of them for me using an old milk can, but we couldn’t get the seal correct so we scrapped it for ice cream pails until I came up with another option.
These look really good! I plan to make them up as soon as I convince my hubby to come out from his nice warm blankets! LOL
Have a good day & congratulations on the new baby!
You can hammer the lid back on or I just stick the end of the hose in the hole that I drilled (with the bucket upside down), fill it up and then flip it over into the water container when I get it to the coop. Does that make sense? It is SO nice to have a full 5 gallons of water for the hens and I think you’ll love it!
Can you drill a hole in bottom for filling, or I wonder about drilling hole around top so you still have use of the handle, would I still need lid if open end is in pan. And how hard would it be to flip over without getting wet.
We just stick the hose in the holes at the bottom and then flip it over… not super easy but we can do it fine. If you drip holes in the top though it won’t make the suction that it needs to hold the water in the pan. Those crazy hydrodynamics!
I love your baby blue eggs! Reminds me of grandma’s. .. You are awesome at what you do Melissa, keep it up! I love reading what cool things you are up to!
This is awesome- thanks so much for the idea. I was worried about having to spend the money on a new waterer as my galvanized one has finally worn out. Thanks so much!
Erin
Yellow Birch Hobby Farm
https://yellowbirchhobbyfarm.blogspot.com
Erin-
So glad you found me (and left your blog too so I can check you out!!) just so you know… I ended up buying big metal pans to replace the turkey roasters after about 6 weeks. The pans were $6 each at the farm supply store (near the buckets) so my price is now at $12 for the two. Still great but not as cheap as $2. I need to update that on the post! Thanks for stopping by. M.
yes that is right. when the chickens get older they drink more and the metal pan holds up better. Could you drill less holes? The bucket is hard to turn over for my daughter. Do you have any other ideas >
This is awesome and totally timely for me since my flock went from 9 to 23 and those gals are drinking more than my waterer will hold! You can buy steel feed pans @ Murdoch’s for $6. I’m going to make the waterer this weekend. Thanks!
You could probably find suitable pans in a thrift shop?
Good plastic long lasting pans at the $Tree!
Good tip, thank you! I’ll have to take a look for them there!
Not sure why my waterer didnt work. Water just keeps coming over the side of my pan
Hydrodynamics! You haven’t created a vacuum seal which means that there is air coming in the top of your bucket. So you’ll need that top lid to be airtight or it won’t work and the water will just keep coming out. Hope that helps!
I’m planning on making these tomorrow after I go get the plastic pans from the dollar tree. Instead of turning the bucket over to fill I’m going to try putting a cork in the holes, then fill the bucket replace the lid and then remove the corks. We’ll see how it works.
I’d LOVE to hear how the cork goes, that sounds like a great idea! Keep us posted! I’m years in using my buckets and still love them.
Aww! Look at my adorable pregnant friend drillin’ those bucket holes! This is so great! Totally pinning to keep 🙂
Instead of the roasting pans I got the large round plastic tray that goes under potted plants! Same difference works great.