This post may contain affiliate links. Please read our disclosure policy.
It’s so easy to make silky smooth Slow Cooker Yogurt at home with just two ingredients and prep time of only 5 minutes! This simple recipe saves money, reduces waste, and delivers fresh yogurt without any additives or preservatives.
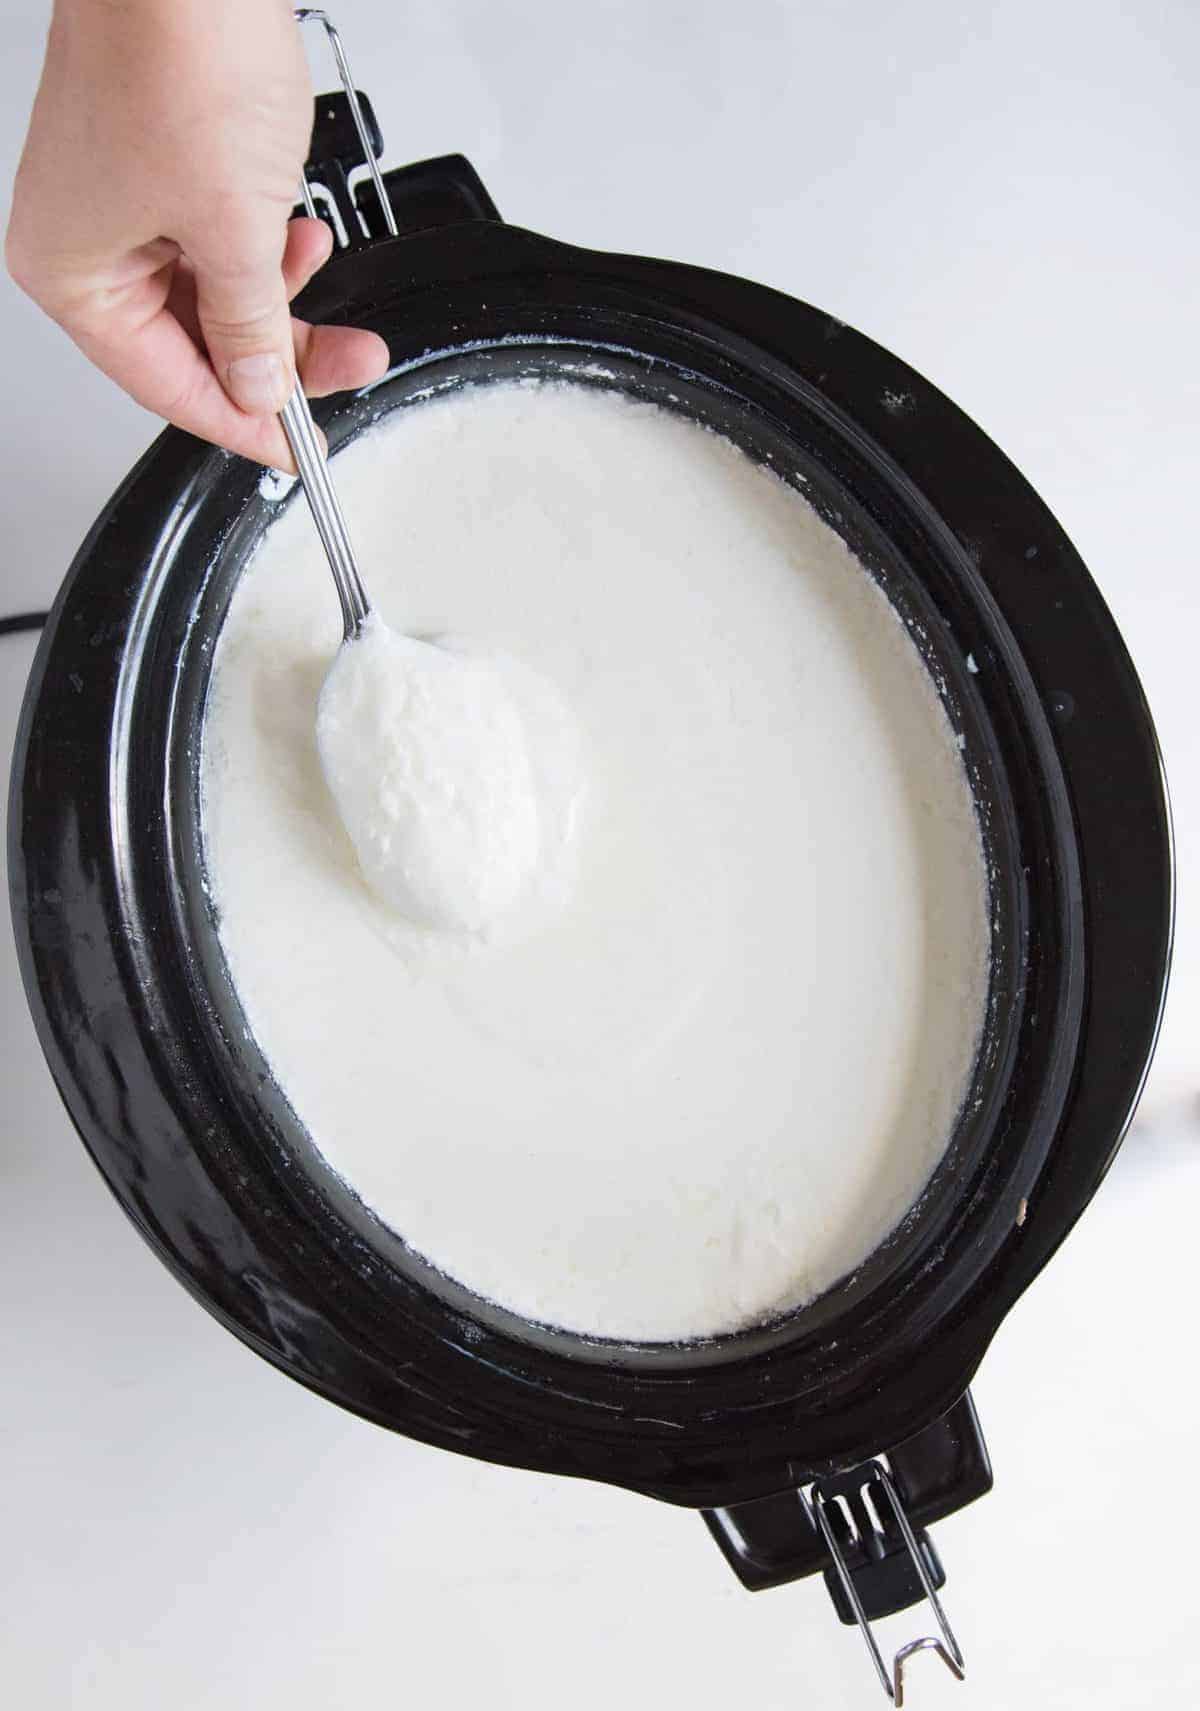
🥛Just 5 minutes of prep, and then slow cooker does the rest while you sleep. Such an easy way to get another option for homemade breakfast or snacks into your meal rotation!
My 2 Best Tips For Making Slow Cooker Yogurt
- Temperature Matters: The first time you make this recipe, use a thermometer to verify your slow cooker’s heating pattern. The ideal temperature for yogurt cultures is 110-115°F (43-46°C). Too hot and you’ll kill the cultures; too cool and they won’t activate properly.
- Quality Starters Make Quality Yogurt: Choose a high-quality plain yogurt with live active cultures for your beginning starter. Brands like Mountain High, Fage, or Chobani work well. Then you can start saving your own starter from each of your homemade batches. After a few batches, you may notice your yogurt becoming less thick—this is the time to introduce a fresh commercial starter.

🩷 Melissa
I like to start this in the afternoon so that it’s ready to sit for its long 8-12 hour warm resting period overnight. We then wake up to fresh yogurt, and I’ll serve it with fresh fruit and some homemade granola.
This is a great way to to get organic yogurt on the cheap. You can buy a carton of organic milk and turn it into yogurt for about half the price of organic yogurt.
It is plain yogurt, but you can add honey, jams, fresh fruit, and just about anything else you like. I also use it in place of sour cream in most recipes.
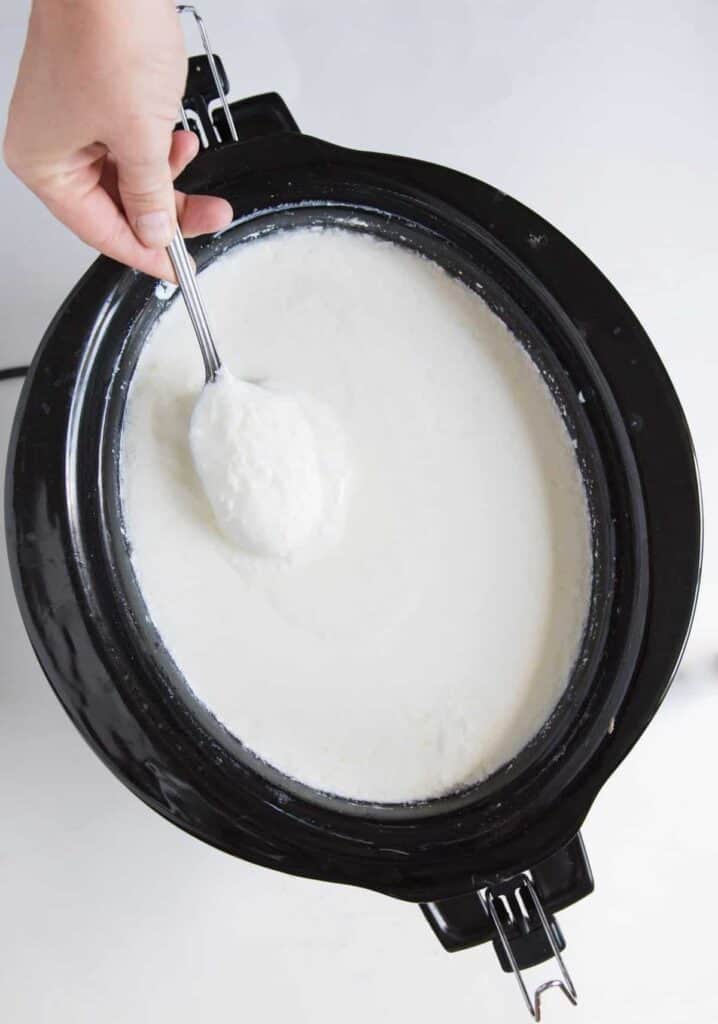
Slow Cooker Yogurt
Ingredients
- 1/2 gallon (8 cups) whole milk (you'll get a thinner product with a lower fat content milk)
- 1/2 cup commercial plain yogurt that says “Live and Active Cultures” on the tub, I have great success with Mountain High yogurt for my culture.
Instructions
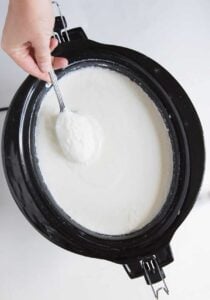
- In a large crock pot, add the milk. Add the lid. Turn it on low for around 2 ½ hours.
- After that time has passed, unplug the crock pot and let it sit for 3 hours. I always set a timer for these or I don’t remember.
- After the 3 hours has passed, stir in the ½ cup of yogurt. Replace the lid of the crock pot and cover with two big towels or a blanket. Let rest for 8 to 12 hours (overnight works well). In the morning you'll have yogurt!

- Place it in a half-gallon mason jar and refrigerate for a few hours before serving. It will thicken up in the fridge. Keep a ½ cup of this yogurt for your next batch and say goodbye to buying yogurt!
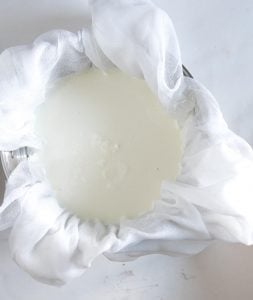
- You can also let the yogurt strain in cheese cloth in the fridge for a few hours and you'll get a thicker Greek yogurt.

Video
Notes
- I highly recommend getting a little instant-read thermometer to make homemade yogurt since it’s all about the temperature.
- The goal is to scald the milk which takes place around 180°F. Check it with a thermometer the first time to see if the “warm” setting is warm enough or if maybe an hour and 45 minutes would work on low. Once you figure it out, I don’t think you would have to use the thermometer every time.
- After the milk is scalded, the waiting time is meant to bring the milk down to around 110-115°F so it’s still warm but won’t kill your yogurt culture.
- Serve with fresh fruit and granola
- Make yogurt bowls: 5 Easy Healthy Yogurt Bowl Ideas
- Homemade Fruit on the Bottom Yogurt Cups
- 4 Ingredient Healthy Strawberry Frozen Yogurt (5 minute recipe!)
- It also goes great in smoothies like my Key Lime Pie Smoothie, Strawberry Kiwi Smoothie, or Avocado Smoothie.
- Or try it in these amazing Soft and Puffy Greek Yogurt Sugar Cookies!
Nutrition
Recipe FAQs
Homemade yogurt typically stays fresh in the refrigerator for 1-2 weeks when stored in an airtight container. The flavor may become more tart over time as the cultures continue to slowly develop.
Several factors can affect thickness: using ultra-pasteurized milk, milk with lower fat content, culture that wasn’t active enough, or temperature issues during incubation. For thicker yogurt, try using whole milk, ensuring proper temperatures are maintained, or strain the finished yogurt through cheesecloth.
After your yogurt is made, simply line a fine-mesh strainer with cheesecloth, place it over a bowl, and pour in your finished yogurt. Allow it to drain in the refrigerator for 2-4 hours for a thicker Greek-style yogurt. The longer it strains, the thicker it becomes.
More Healthy Snack Recipes to Consider
Dip Recipes
Lemon Garlic Hummus Recipe Without Tahini
Healthy Snacks
Medjool Date Protein Bites: No-Bake Sweet Treat
Healthy Snacks
Chocolate Peanut Butter Protein Balls
Did you make this recipe? Leave a ⭐️ review and share it on Instagram, Facebook, or Pinterest!





Thank you so much for this recipe! After several failed attempts using other methods (and lots of wasted milk) I found your recipe and have had success every time! The yogurt is delicious and you’ve saved me from having to purchase an expensive single-use appliance as well!
Wasted milk is the worst, I’m so glad it worked so well for you!
I used whole milk and the yogurt as specified but I got really liquidy yogurt. It looks like yogurt and tastes like yogurt but more like smoothie yogurt. I wasn’t exact on the time and temp is that the problem? It got close to 180 but maybe not there and then I don’t know what the temp was when I added the cultures because something came up and I was away from the house. Tastes great and I’m looking forward to making it again
I would just let it sit longer. I think your issues are either that you didn’t sure a good “starter” or at least one that wasn’t very strong (didn’t have many bacteria/live culture present) or that it didn’t have a long enough time to inoculate the milk. What did you end up doing with it? I bet if you strained it it would get thicker too!
Hi! I haven’t made yogurt yet with this method but our steamer had a yogurt function so we’ve been making our own for some years. It does often come out quite runny. To thicken it: you can strain it through a cheesecloth (annoying, and wastes wey if you don’t use it elsewhere), or you can let the yogurt just keep culturing outside the fridge for another 8 or 12 hours. It’s not going to spoil, that’s the point of making the milk into yogurt : ) one friend extended the warmth for super long ferment times by wrapping their pot (or in this case, crock) in towels and then putting it in a cooler. The texture will also improve if you whisk it (gets lumps out), but while smoother may be a touch thinner. We found that using good quality organic whole milk in the paper cartons made thicker tastier yogurt than the same brand in clear plastic gallons, so perhaps there’s something to the idea that light denatures milk somewhat.
Thank you for the tips and tricks! You sounds like a yogurt pro!
So easy! Thank you for sharing this recipe! After wrapping the crock pot in a towel I placed the whole thing in an insulated food bag over night. It turned out perfect!
Ohhhh that’s a great idea!!! I’m going to have to hunt one of those down!
This was like magic! I’m so excited to share my yogurt with my family! It turned out creamy and delicious and it was very easy. I’m also thrilled that I can use an appliance I already own to make amazing yogurt.
Perfect description! I thought it was pretty magical too! Happy yogurt making Martha.
Good clear directions
Reminding the cook to use Common Sense
and experimentation
Fantastic recipe – very simple process and the hints and tips really help. I’ve been making goat’s milk kefir for many years and I like that with this recipe I can make a larger batch all at once.
I use raw organic Nubian goat’s milk which has a nice fat content and makes for a very creamy yogurt. I did strain through cheesecloth, so yielded 6 generous cups of yogurt when finished.
One question I haven’t seen addressed is how to deal with the skin on the milk after it’s been scalded? For my first batch I just pulled it out with a spatula and tossed it. Just starting my second batch now and this time I will try whisking the milk to keep a skin from forming.
SO glad you are loving it as much as we have. I normally just stir that little film/skin in with no issues, but I think stirring or removing it is great too. Whatever works best for you.
All I got was MILK! Can I save it or do I need to start all over again? Thank you!!
How disappointing! I’d warm it up the temp it needs to be and add the culture (yogurt) again. Normally if it didn’t work your milk was too hot and it killed your culture. That’s the issues 99% of the time. Or your culture/yogurt didn’t have any like cultures/bacteria in it to start with. Did you use a thermometer to check the temps before adding the yogurt?
I’ve finally turned my family on to yogurt, specifically Greek & French Yogurt. My wife was the hardest to convince because she’s NEVER liked yogurt of any kind. My only problem now? Money! Everybody loves it so much (my wife especially since she’ll only eat the “OUI” yogurts from Yoplait) that each time I go grocery shopping my heart breaks when calculating the price. I decided to look up recipes and since I have a slow cooker (my favorite multi use kitchen gadget), I went with this one. Just made my first batch and it is gorgeous! The yogurty smell is amazing and the taste is beyond true deliciousness. I made a no-flavor, no sugar batch so that everyone can make it to their own preference. Thank you for posting your recipe. I now can provide my family with a healthy (I know what is in it, no preservatives or excess sugar) and delicious snack or breakfast everyday without breaking the bank.
I LOVE comments like this! It’s so exciting to see you succeed in feeding your family. I hope you love it for years to come.
Guess what?! A little over a week and I’m making my second batch with my oldest daughter now. That first batch FLEW! I decided to make a full gallon this time. I also bought some fruits and two bottles of Naked juice to do some experimenting. Let’s see what happens. 🙂
I made this recipe. I was surprised at how easy it was to make yogurt. My grandson loves it. No more buying yogurt for this family.
Hooray! It’s not fussy once you do it a time or two and realize there isn’t a whole lot to the recipe. SO glad it turned out and thank you for coming back to leave a review!
I am a bit confused! I scald the milk then let it sit for 3 hours or so til it reaches 110 degrees. I then stir 1/2 cup yogurt into 2 cups warm milk and stir back into warm milk. I replace the lid, cover with towels and let sit for 8-12 hours or overnight. Do i then strain it with cheesecloth or put in the frig first? Sorry for my confusion? Thanks!
You got it! As far as the cheesecloth goes, you can use it to strain it after the 8-12 hours if you like a thicker yogurt or you can skip that step and put it straight in the fridge if you like a thinner yogurt. It’s an optional step depending on how thick you like your yogurt. Happy yogurt making!
What brand and model slow cooker do you use? I’m asking because your first picture with the black crock pot looks like my Hamilton Beach 33250, but the picture with the green crock pot looks like my Rival model 3755. I haven’t tried your recipe yet, but I plan to!
Yes and yes! I have those two and then a Kitchen Aid one too https://amzn.to/2Mk0P4B LOL right!? I tested this recipe in both the Hamilton Beach and the Rival (which I got for my wedding over a 13 years ago!).