Easy Family Recipes, Canning, Sourdough Recipes, Meal Prep and More!
Cooking from scratch can be simple and enjoyable! At Bless this Mess I share nourishing, simple, recipes for busy families so that meal time can be enjoyable for everyone! You’ll find a recipe for every day here.
Sourdough Recipes
Easy Sourdough Recipes
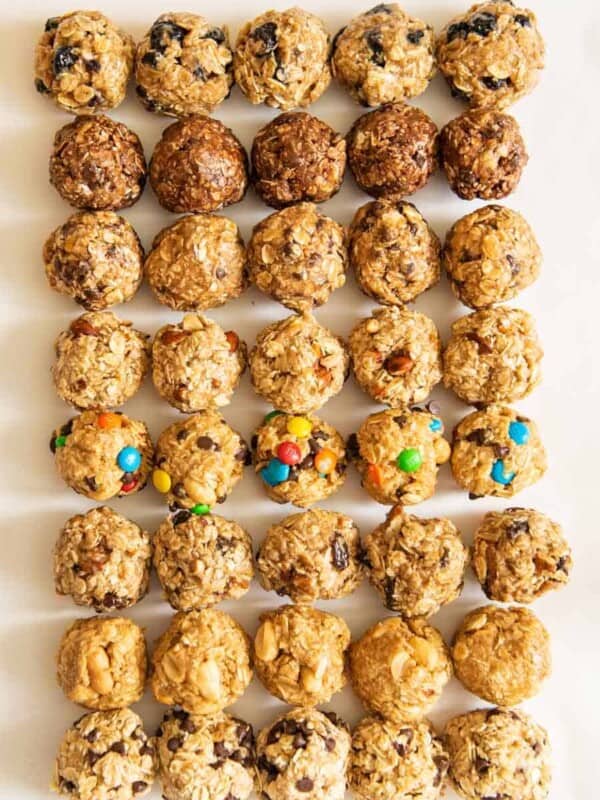
Healthy Snacks
8 Delicious No-Bake Oatmeal Energy Balls for Snacking
My TOP 10 Recipes!
Start here! Thousands of home cooks have made these recipes and you’ll love them too!

Cornbread Recipes
Best Homemade Cornbread Recipe – Simple & Easy (With Video!)
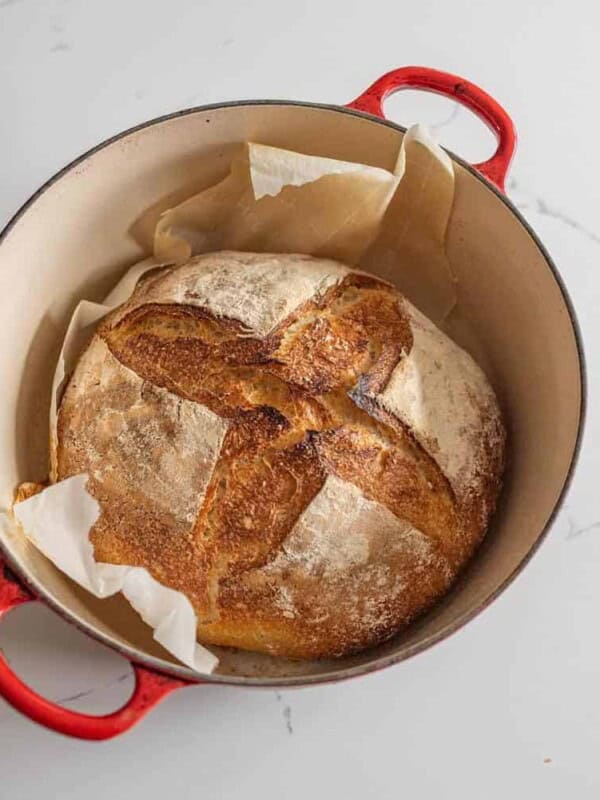
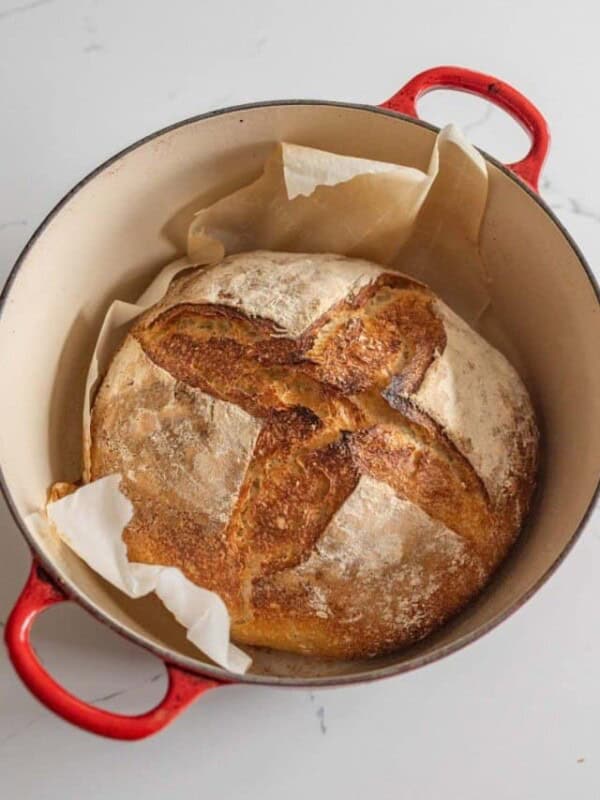
Sourdough Recipes
My Favorite Simple & Easy Sourdough Bread Recipe
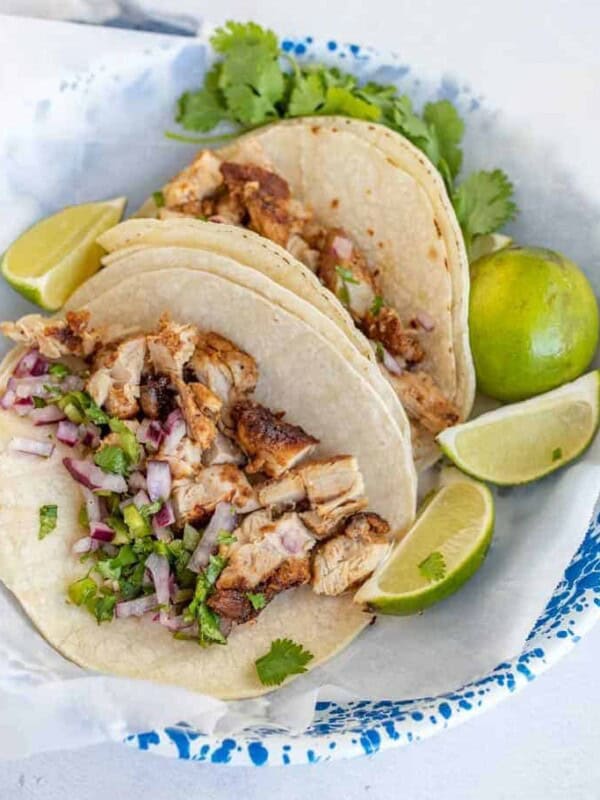
Chicken Recipes
The Best Chicken Tacos Recipe Ever
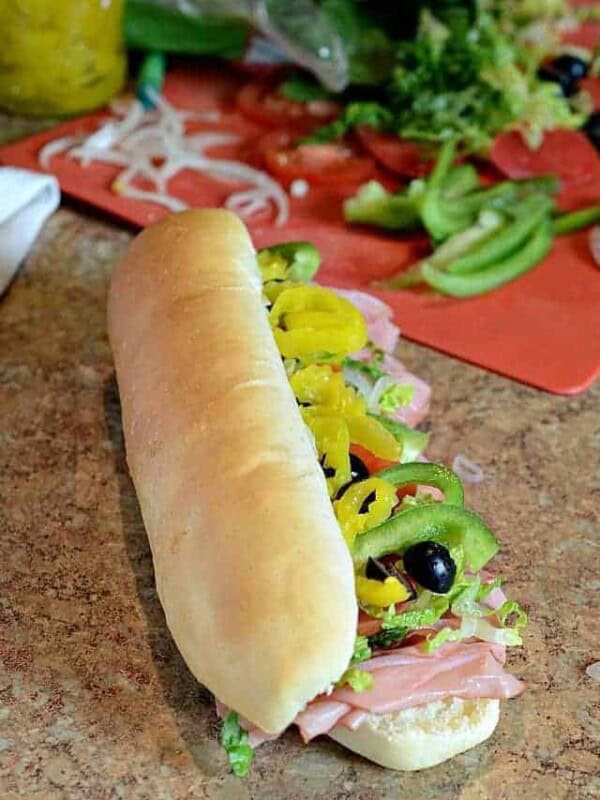
Bread Loaf Recipes
Homemade Subway Bread Recipe
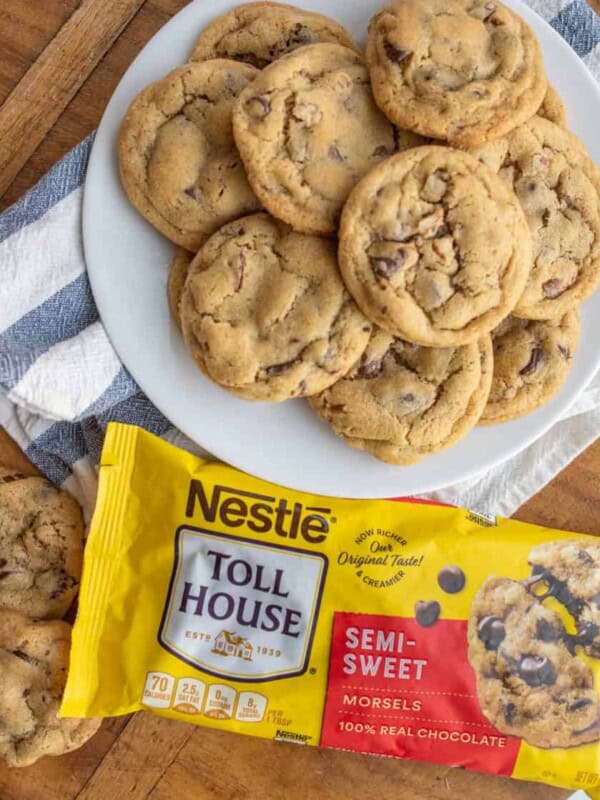
Chocolate Chip Cookies
The Original Nestle Toll House Cookie Recipe
Breakfast Recipes
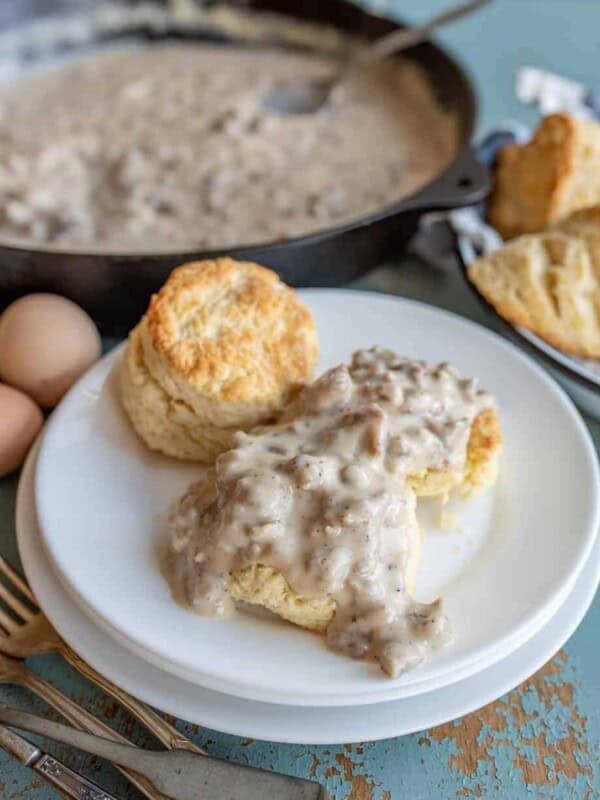
Homemade Biscuits and Gravy
Healthy Snacks
8 Delicious No-Bake Oatmeal Energy Balls for Snacking
Sweet Treats
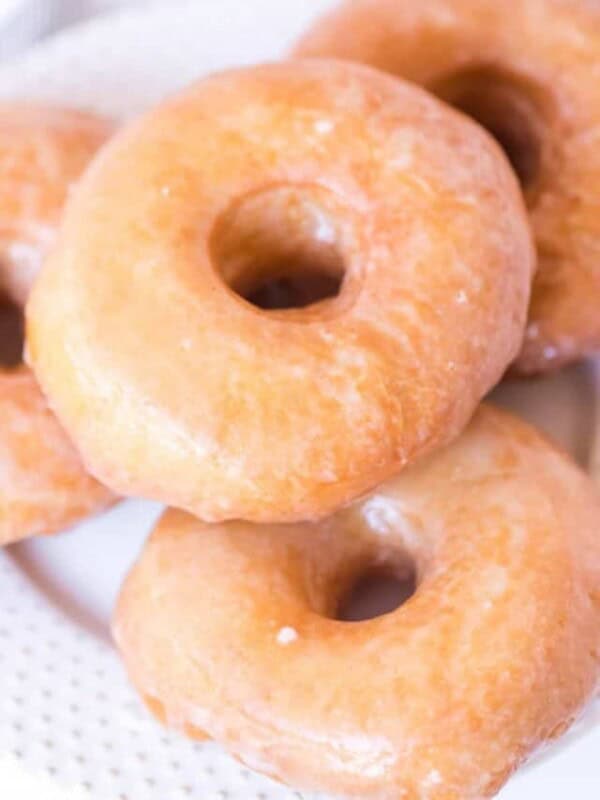
Easy Glazed Donut Recipe {Light & Fluffy}
Pies, Crisps & Tarts
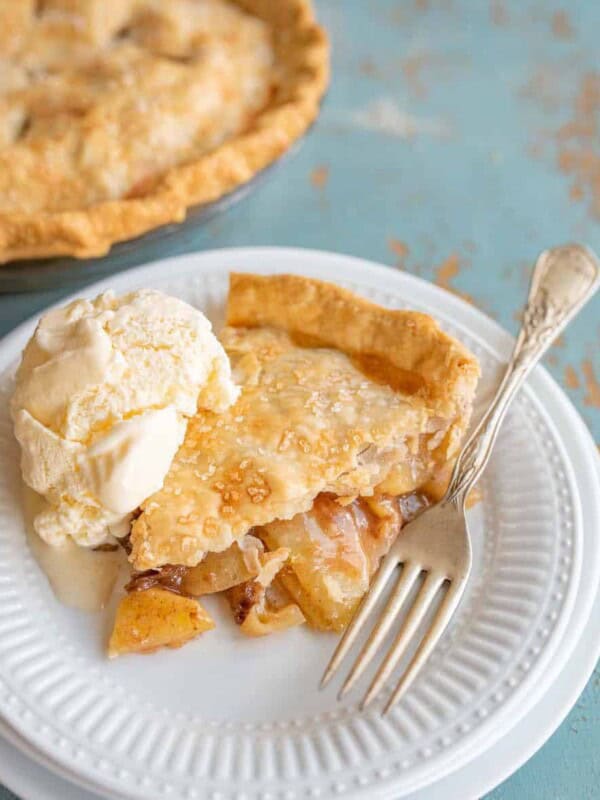
Easy Apple Pie Recipe Using Fresh Apples – With Video!
Find the best recipes
Looking for something specific? Enter keywords to find the perfect recipe!
Or narrow by:
Easy Grilling Recipes

Seafood Recipes
Grilling Fish on the BBQ | Perfect Grilled Fish Recipe
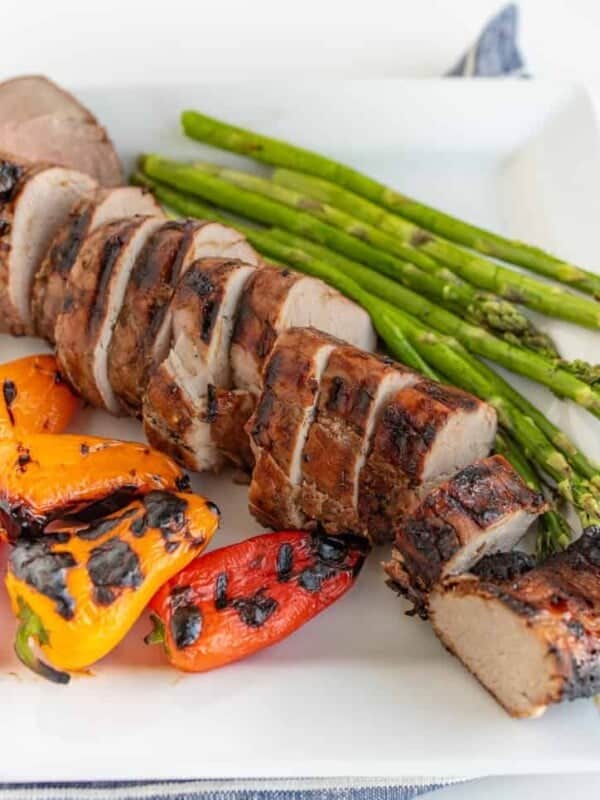
Pork Recipes
Brown Sugar and Garlic Grilled Pork Tenderloin
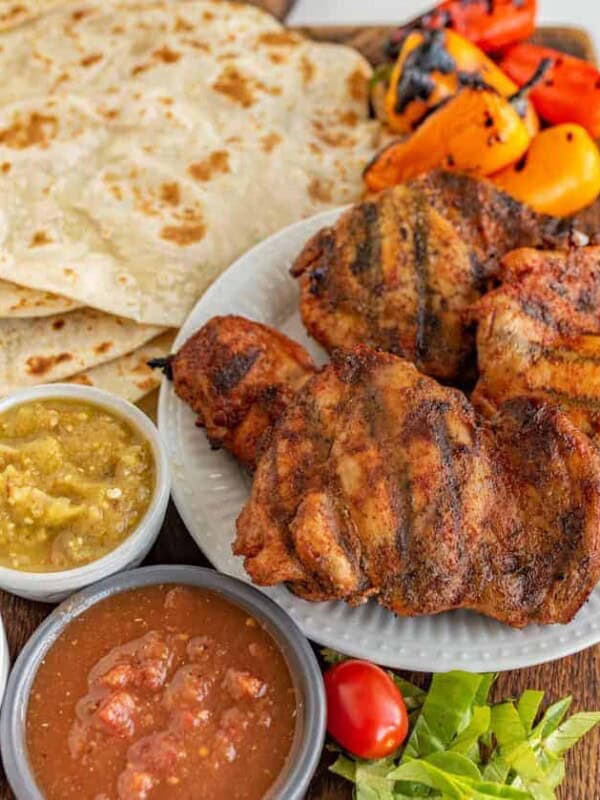
Chicken Recipes
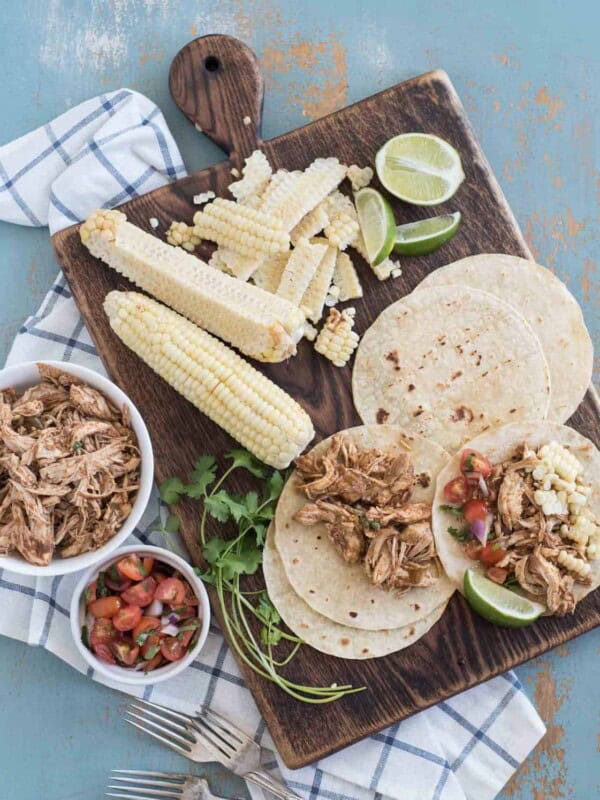
Grilled Chicken Tacos
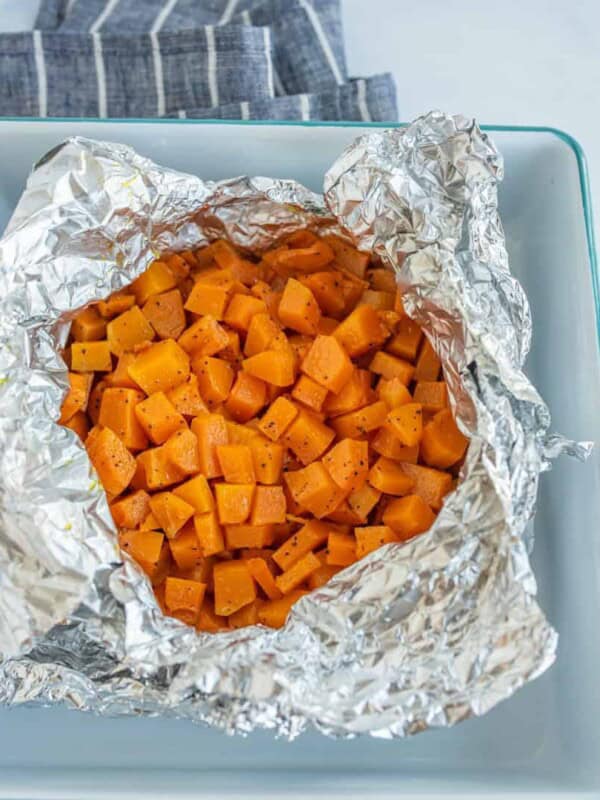
Vegetable Sides
Grilled Butternut Squash in a Foil Packet

The Most Recent Recipes
From Scratch Recipes
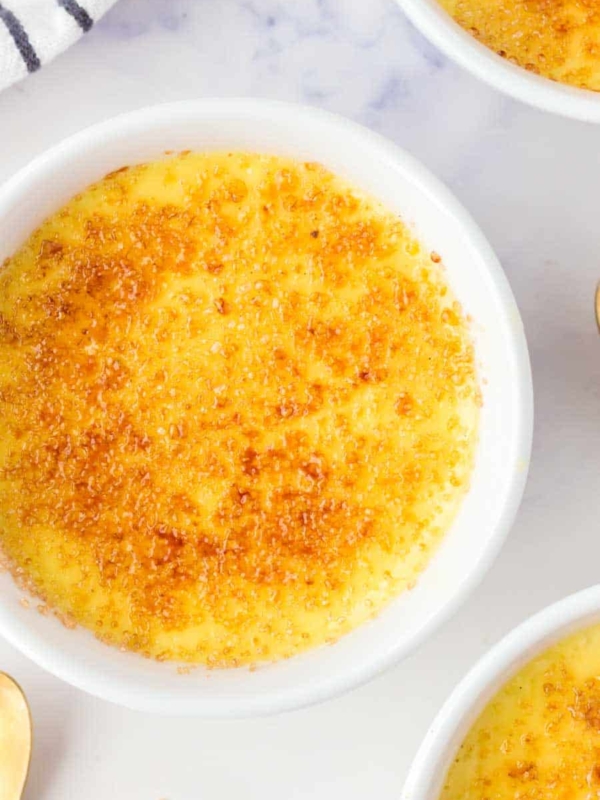
Simple Homemade Creme Brulee Recipe
From Scratch Recipes
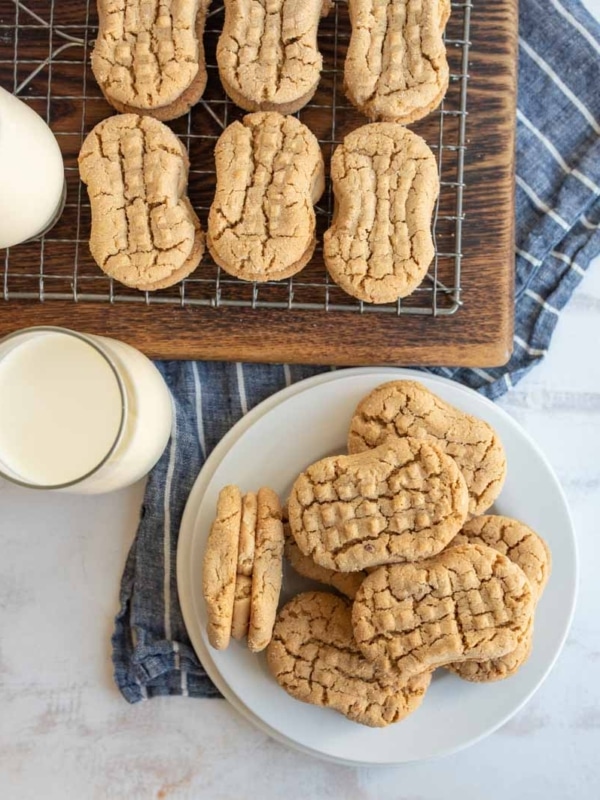
Easy Homemade Nutter Butter Cookies
From Scratch Recipes
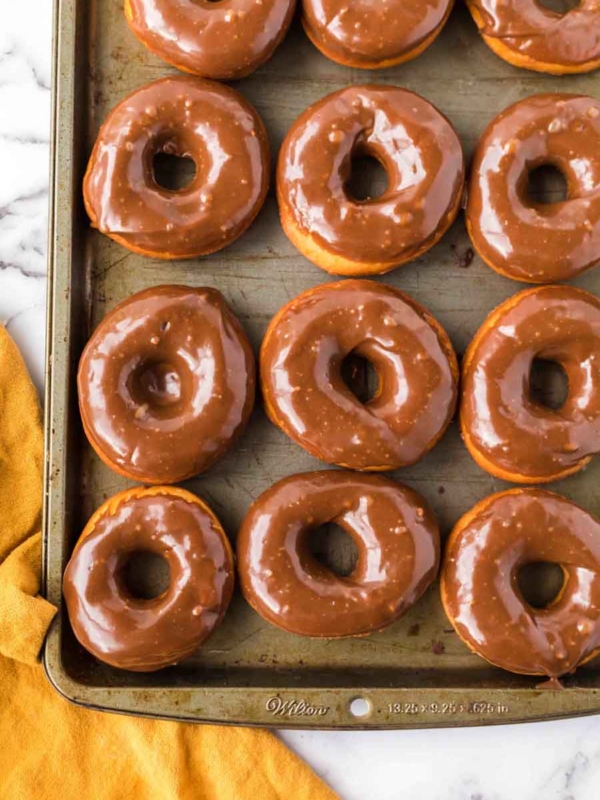
Best Fried Chocolate Glazed Donuts (Classic Yeast Recipe)

From Scratch Recipes
Easy Round Steak Beef and Noodles Recipe
Meal Prep Recipes
Chicken Recipes
Instant Pot Chipotle Chicken Taco Meat
Healthy Snacks
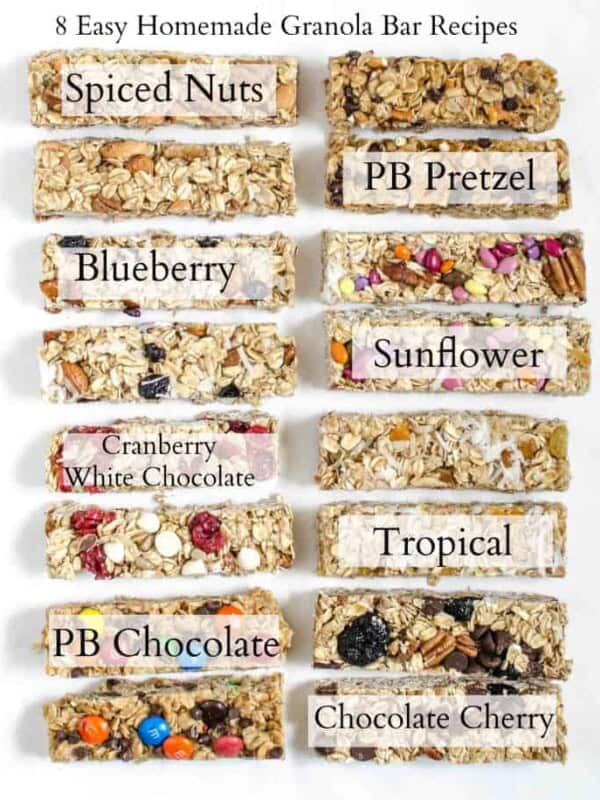
8 Easy Granola Bar Recipes
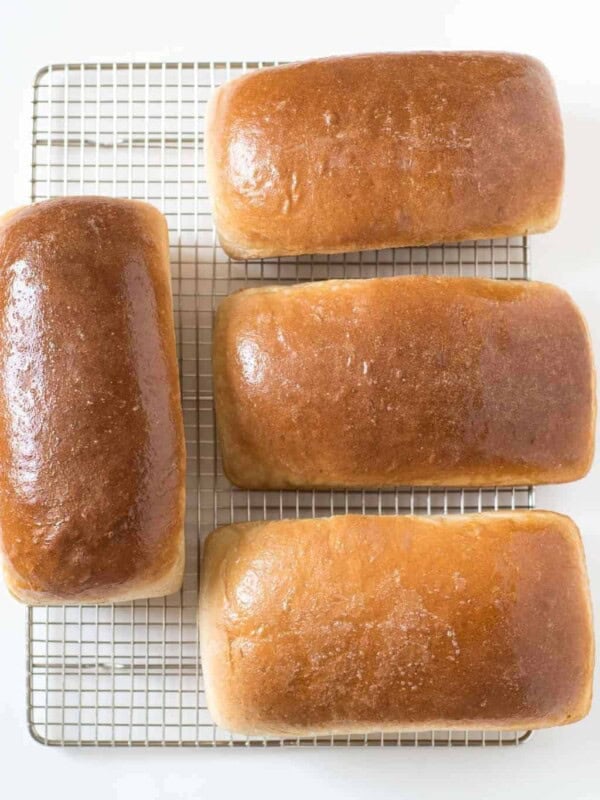
Homemade Bread
Mom’s 4 Loaf Wheat Bread Recipe
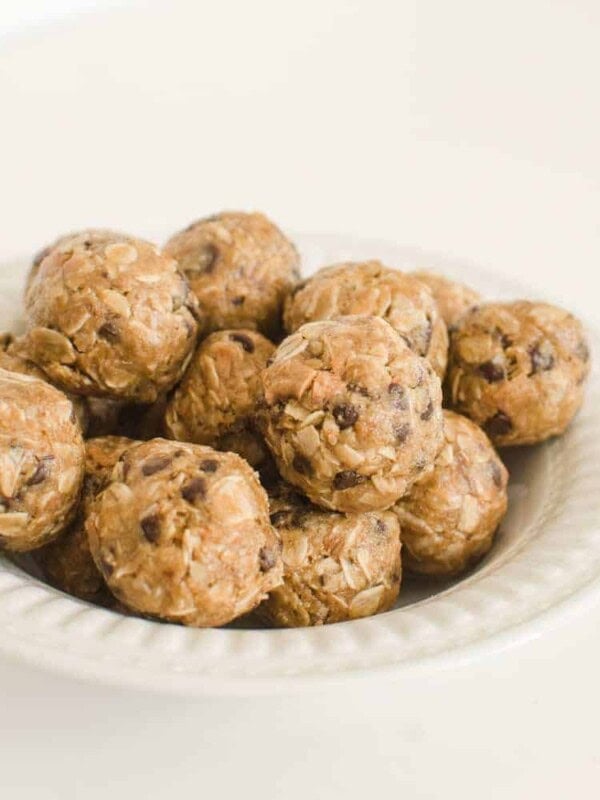
Healthy Snacks
No-Bake Peanut Butter Protein Balls
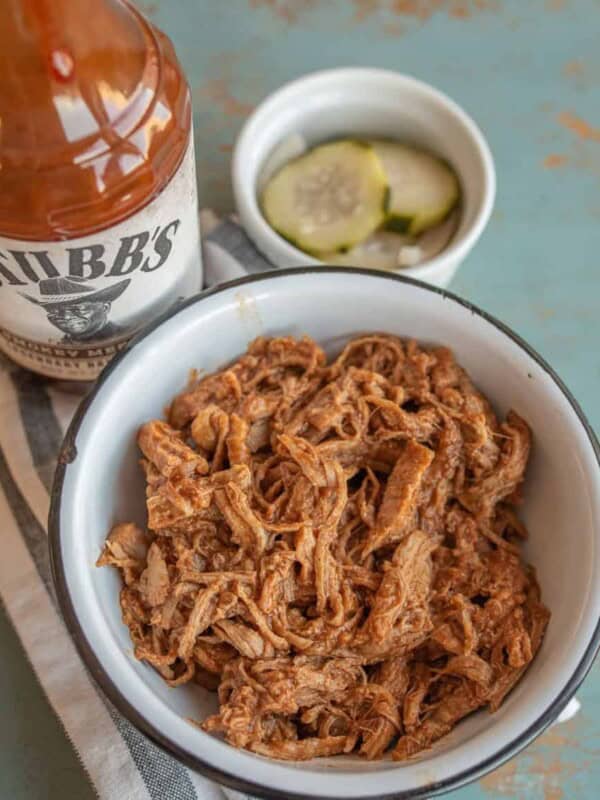
Pork Recipes
Best Slow Cooker Pulled Pork Tenderloin Recipe
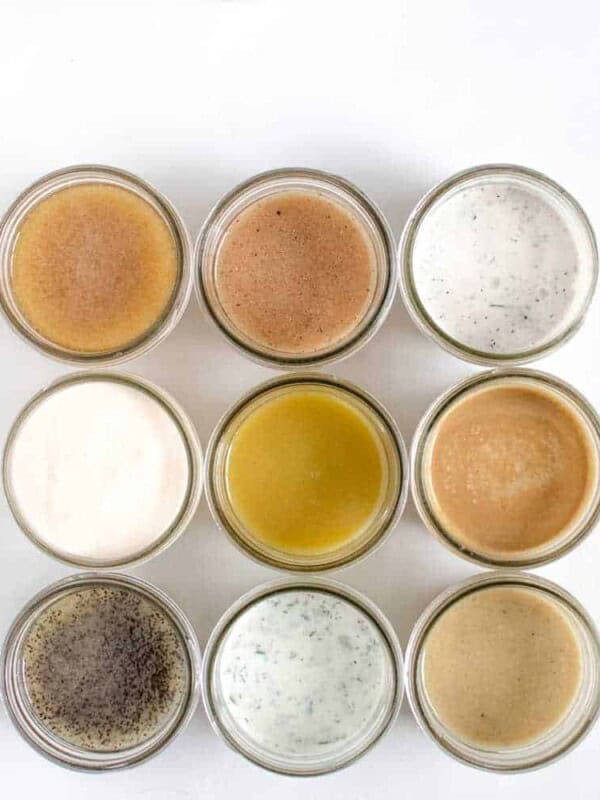
Condiments, Marinades & Spreads
9 Easy Homemade Salad Dressing Recipes
Reader Favorites
Cornbread Recipes
Best Homemade Cornbread Recipe – Simple & Easy (With Video!)
Breakfast Recipes
Homemade Biscuits and Gravy
Chocolate Chip Cookies
The Original Nestle Toll House Cookie Recipe
Sourdough Recipes
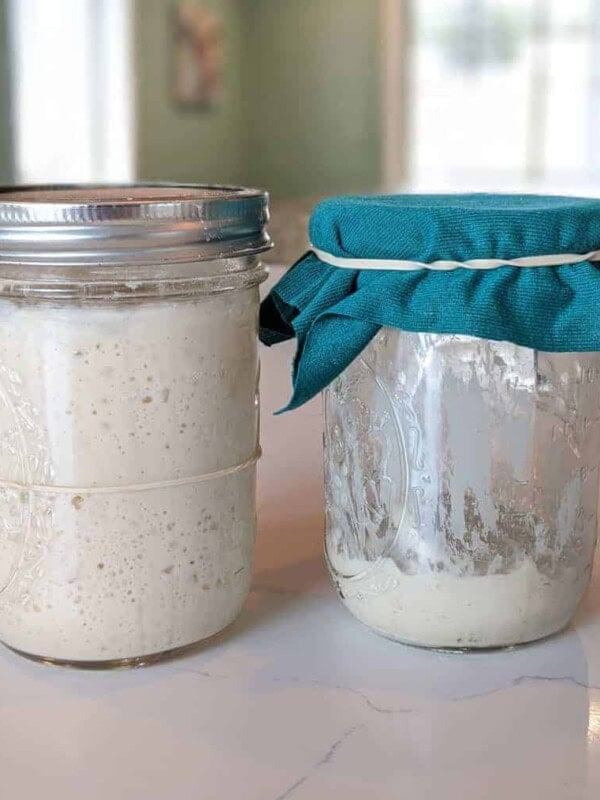
Homemade Bread
How to Make a Sourdough Starter
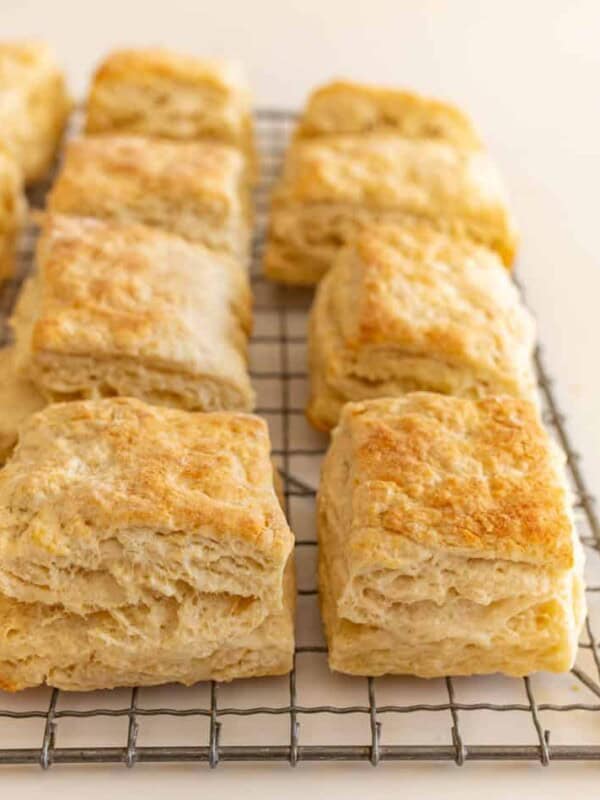
Sourdough Recipes
Quick & Easy Sourdough Biscuit Recipe
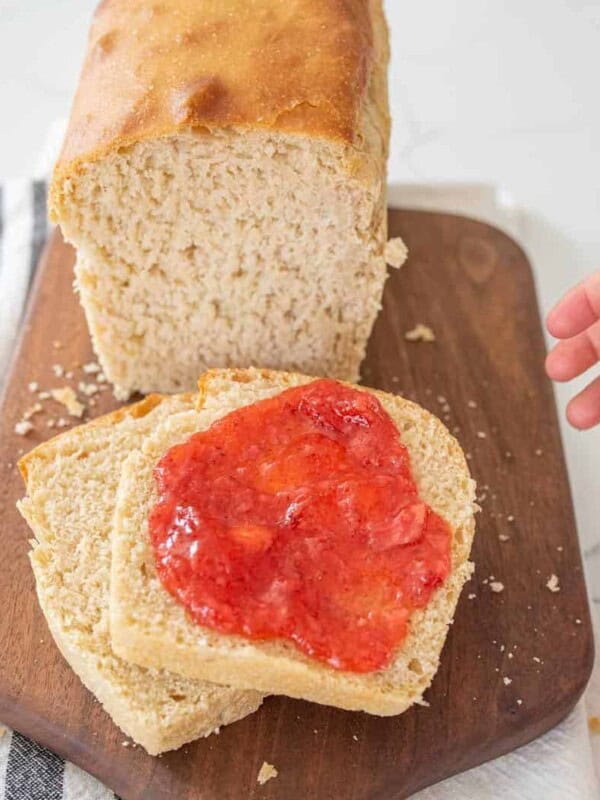
Sourdough Recipes
Soft Sourdough Sandwich Bread
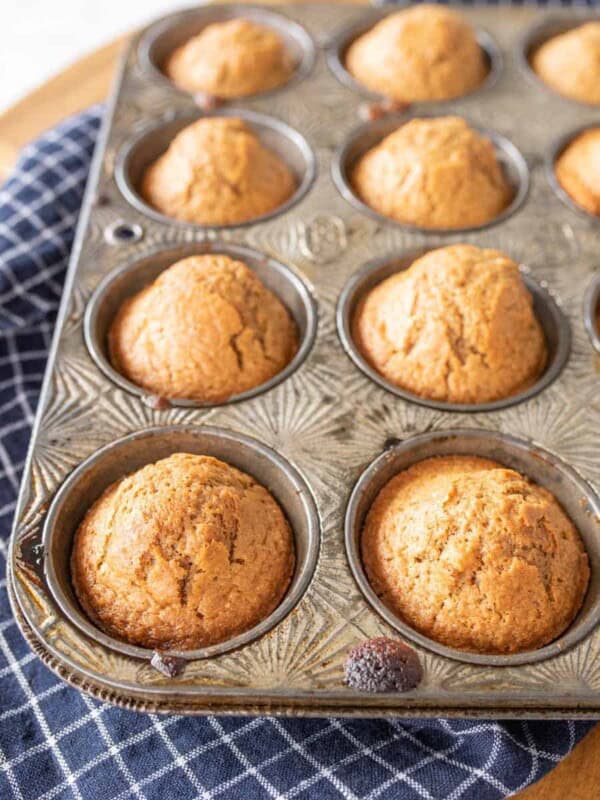
From Scratch Recipes
Overnight Sourdough Muffins

Sourdough Recipes
Same Day Sourdough Pizza Crust

Sourdough Recipes
Same Day Sourdough Cinnamon Rolls
Family Favorite Easy Dinners

Dinner Ideas
Homemade Spaghetti O’s
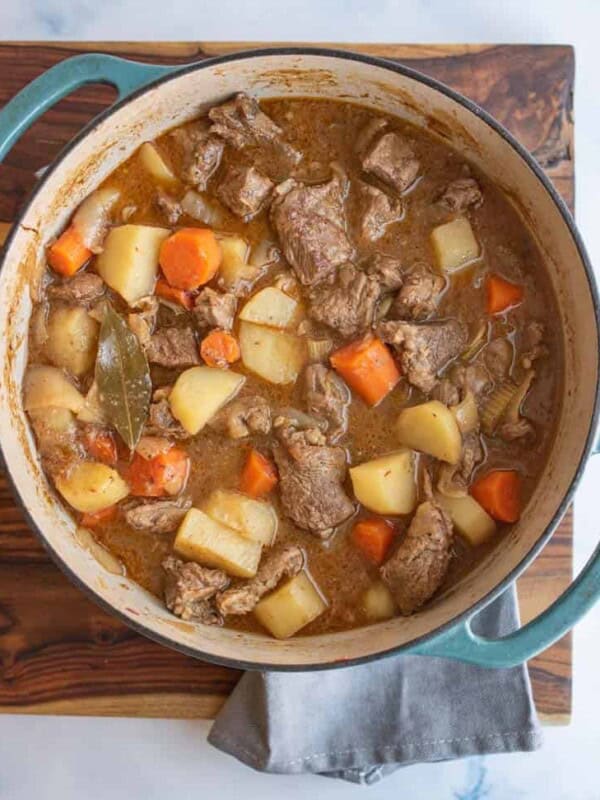
Side Dishes and Salads
What to Serve with Beef Stew: Best Side Dishes
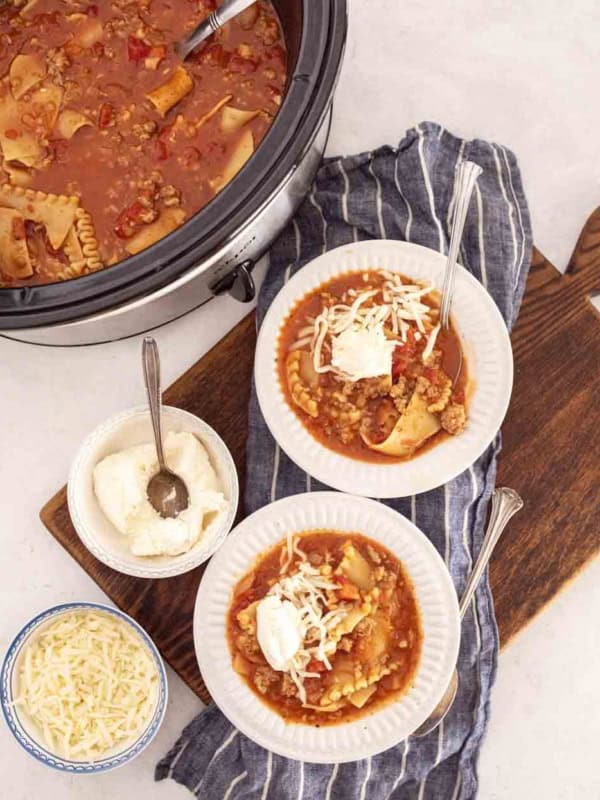
Soups, Stews & Chowders
Lasagna Soup in Slow Cooker Recipe

Preserving Recipes
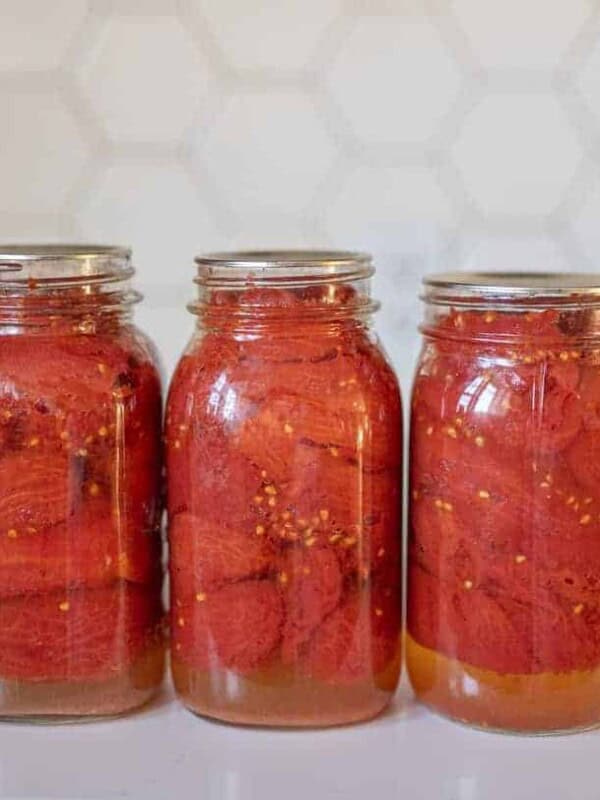
Canning and Preserving
Canning Tomatoes in Water Bath Canner | Safe & Easy Method
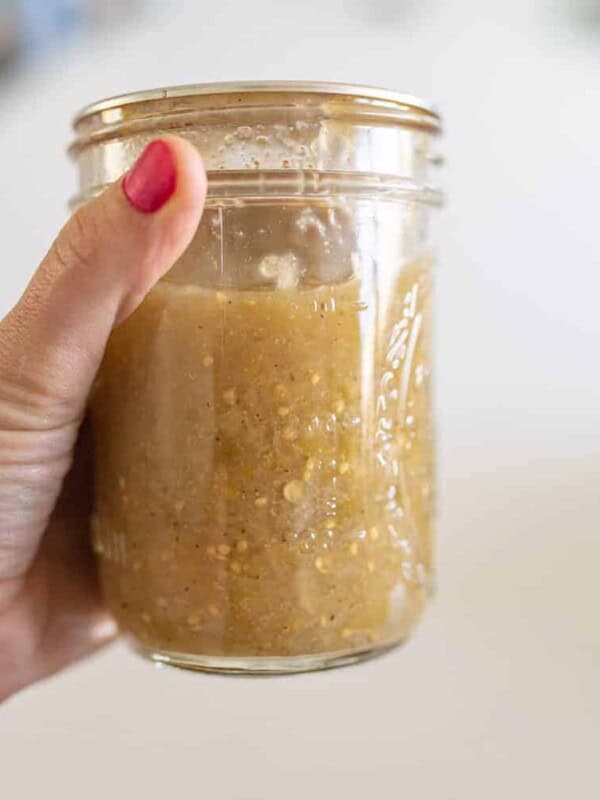
Canning and Preserving
Tomatillo Salsa Recipe for Canning
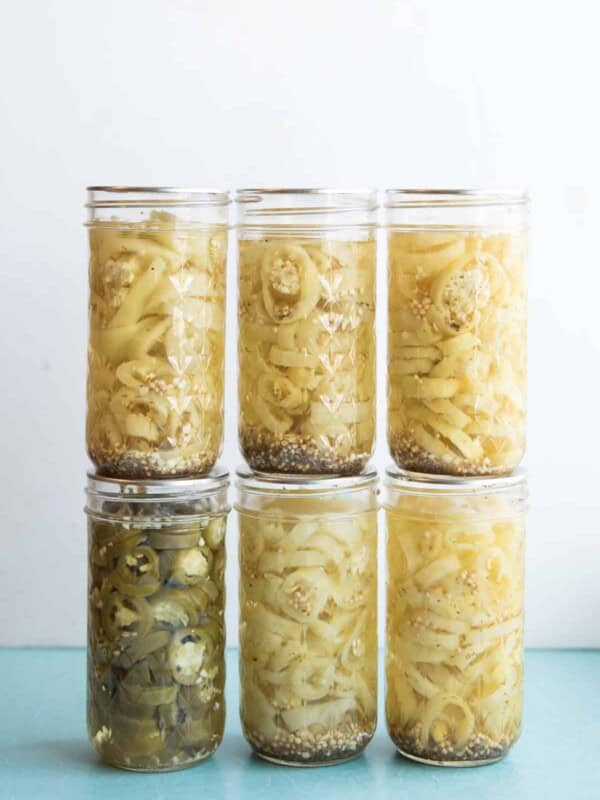
Condiments, Marinades & Spreads
How To Pickle Peppers (Hot Water Bath Canning Method)
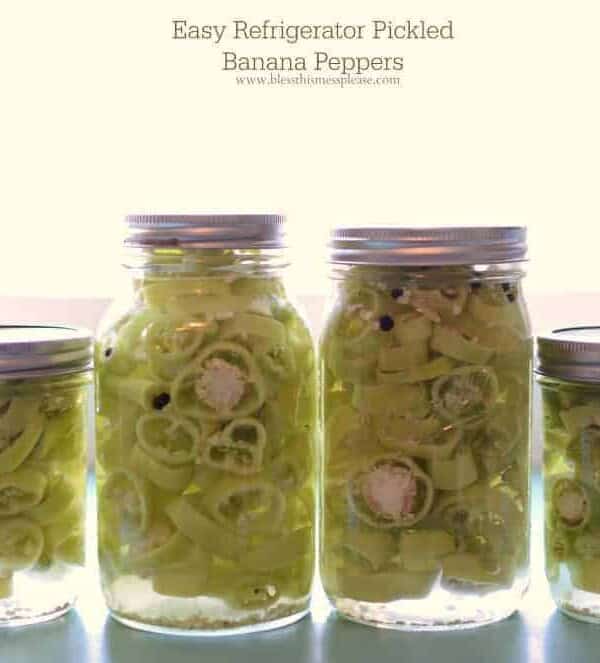
From Scratch Recipes
Quick and Easy Refrigerator Pickled Banana Peppers
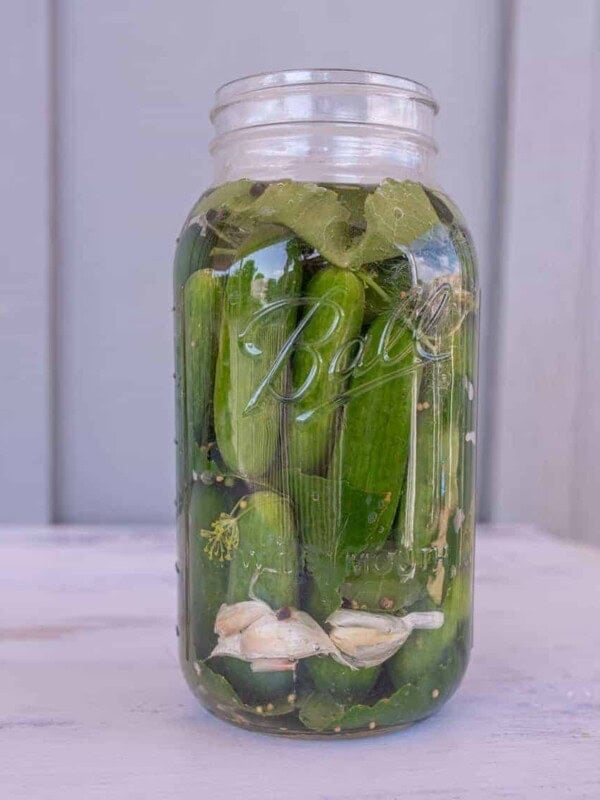
Fermented Foods
Grandma-Approved Easy Fermented Pickles Recipe
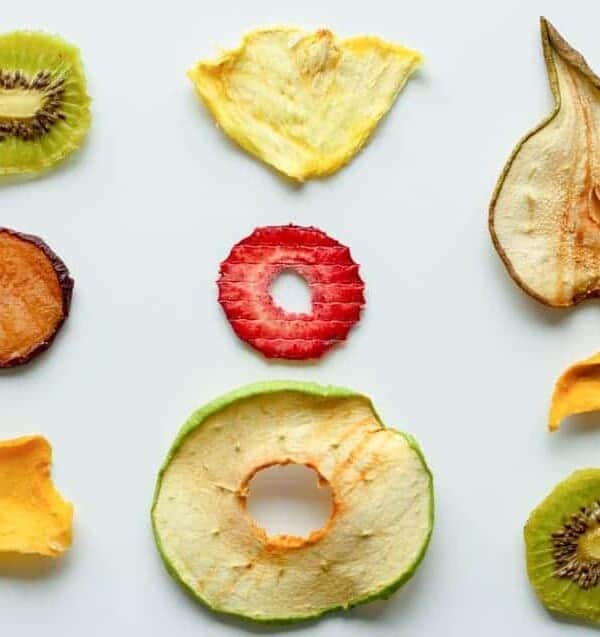
Preserving Food
How to Dehydrate Fruits and Vegetables
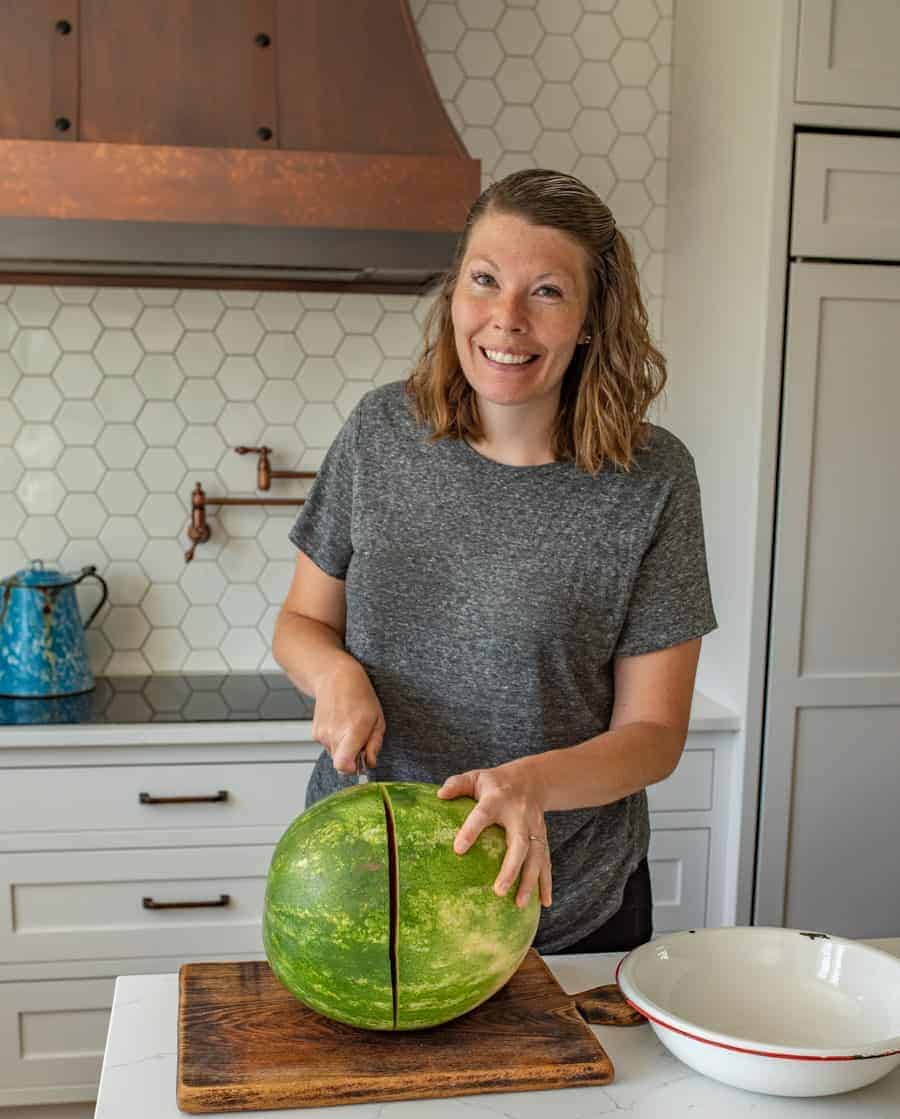
Hi, I’m Melissa, and I’m going to help you feed your family.
As a hobby farmer, business owner, and mom of five, I’m all about keeping it simple in the kitchen. I’m here to help you make mealtimes a breeze. Let’s work together to find something for your table.
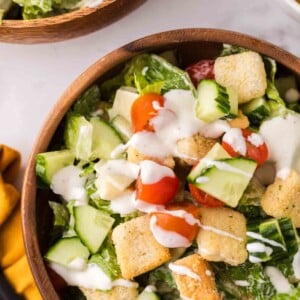
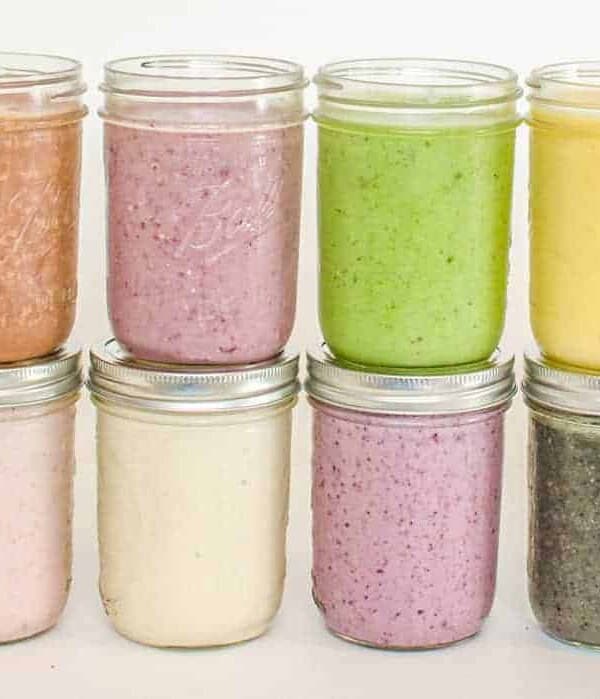
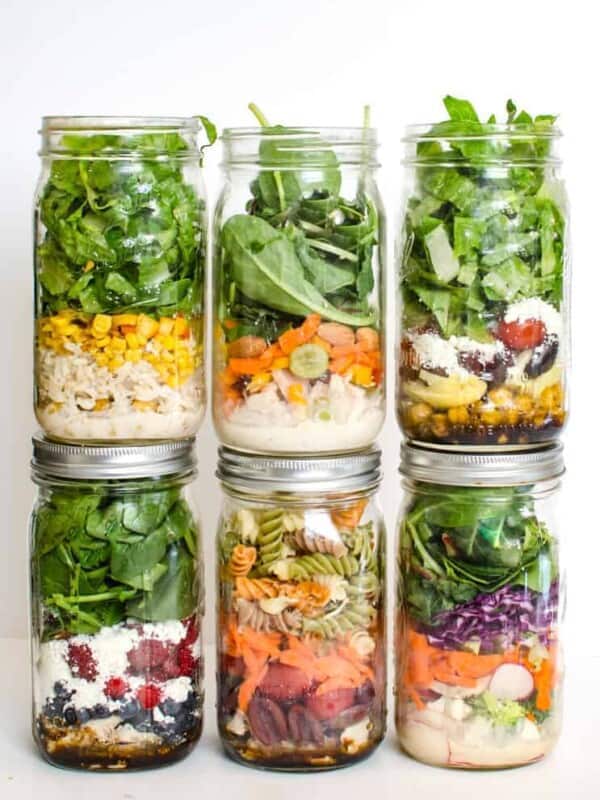
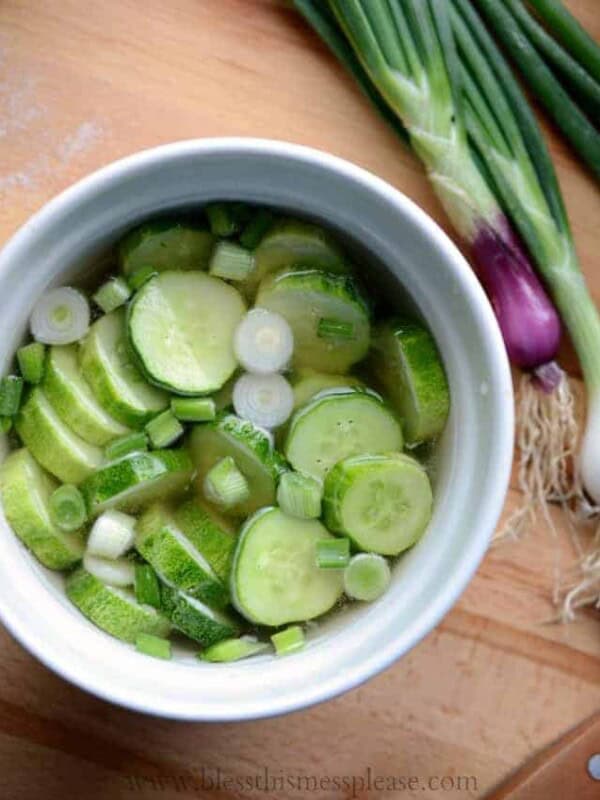
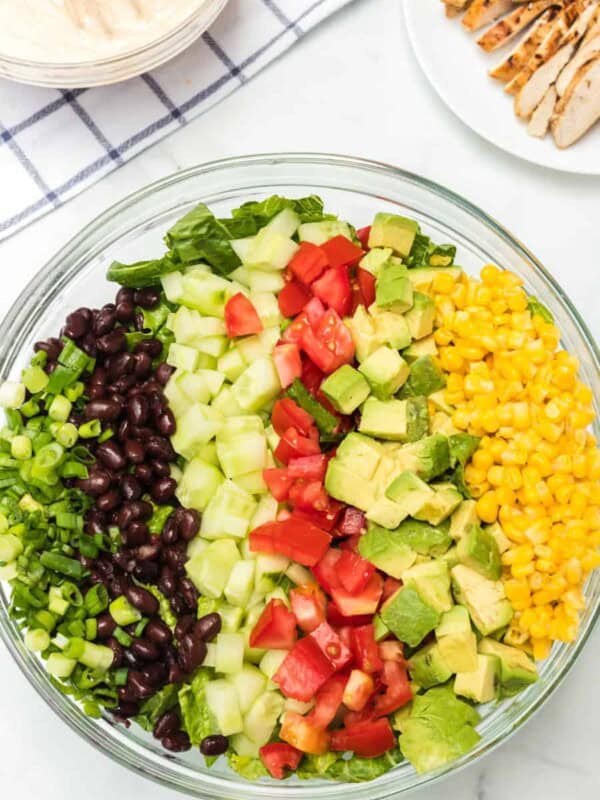
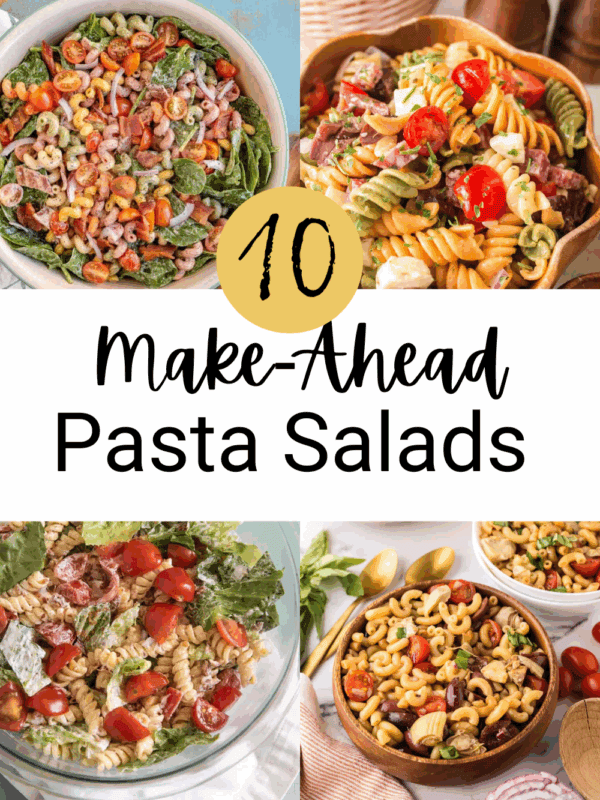
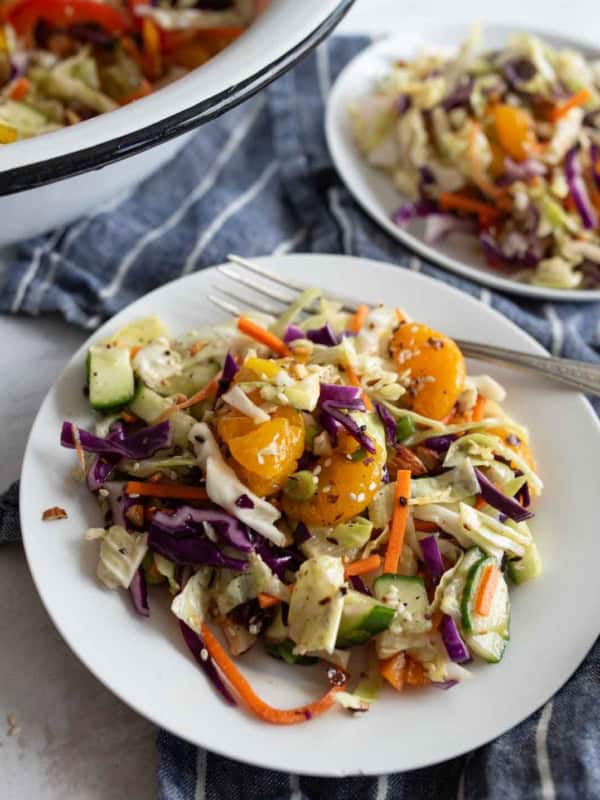
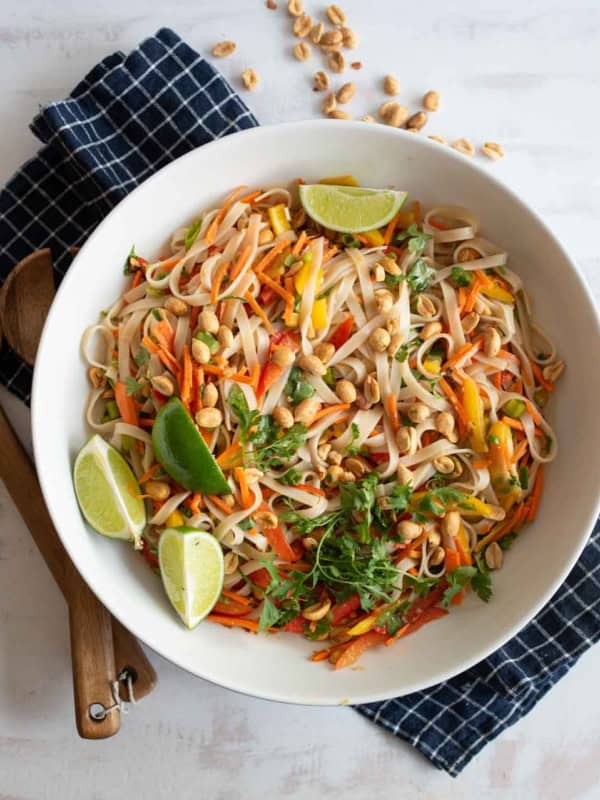
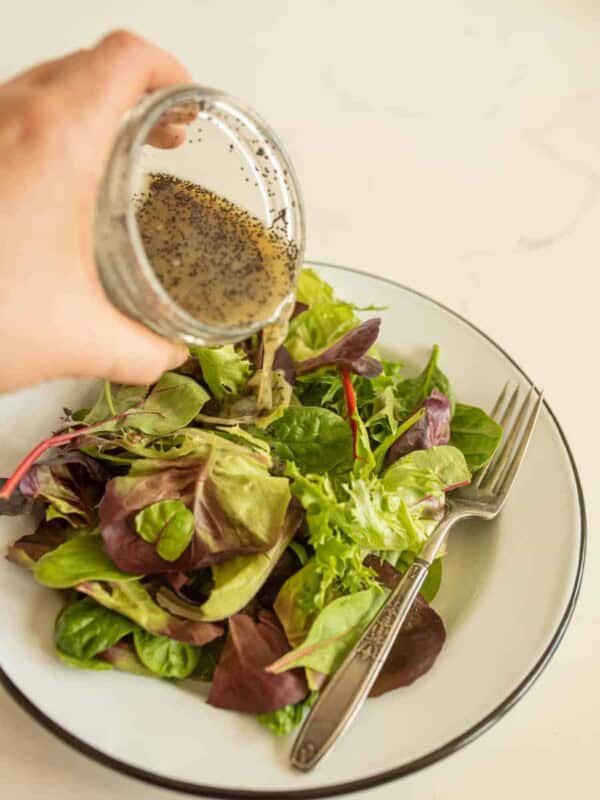
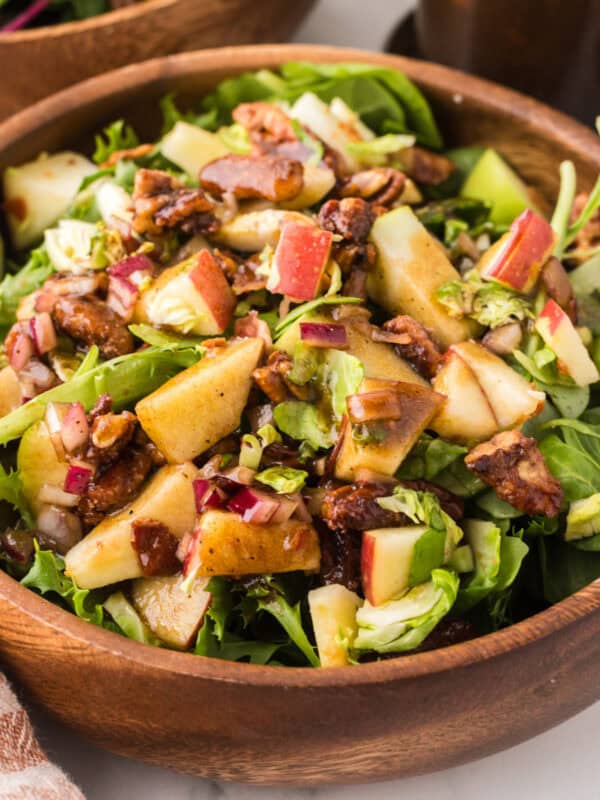
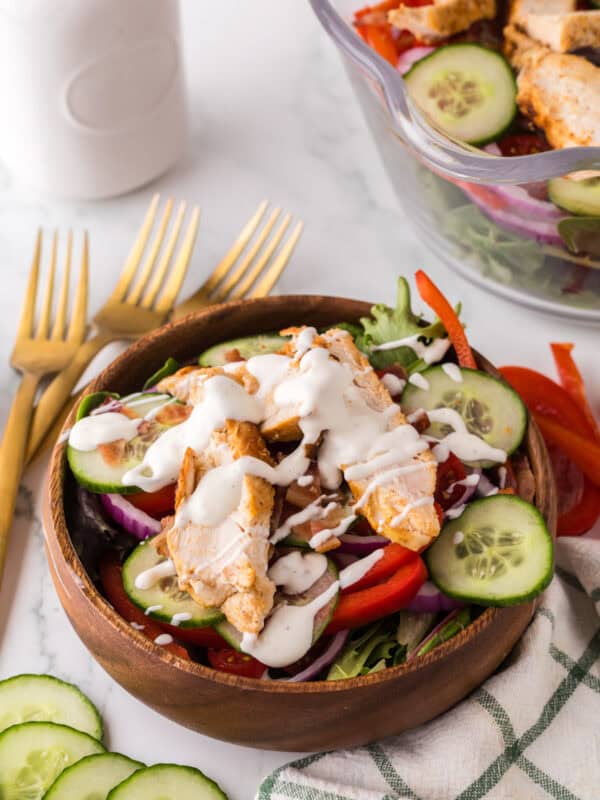
Summer Salad Recipes
Best No-Bake Dessert Recipes
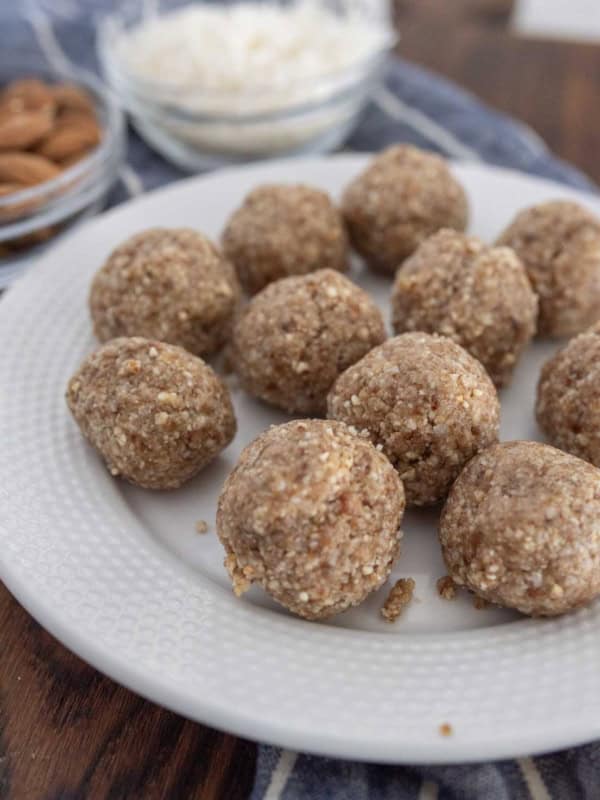
Healthy Snacks
Easy Coconut Date Nut Balls
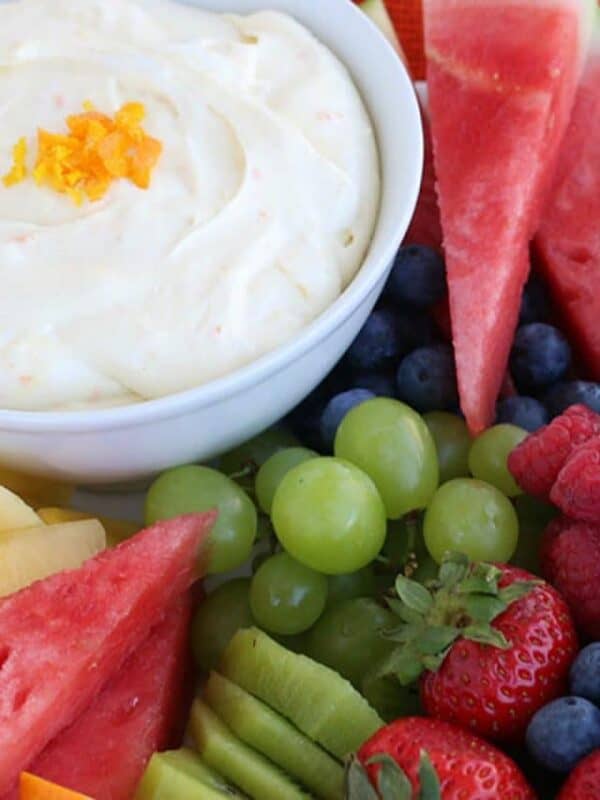
Dip Recipes
Orange Marshmallow Fruit Dip Recipe
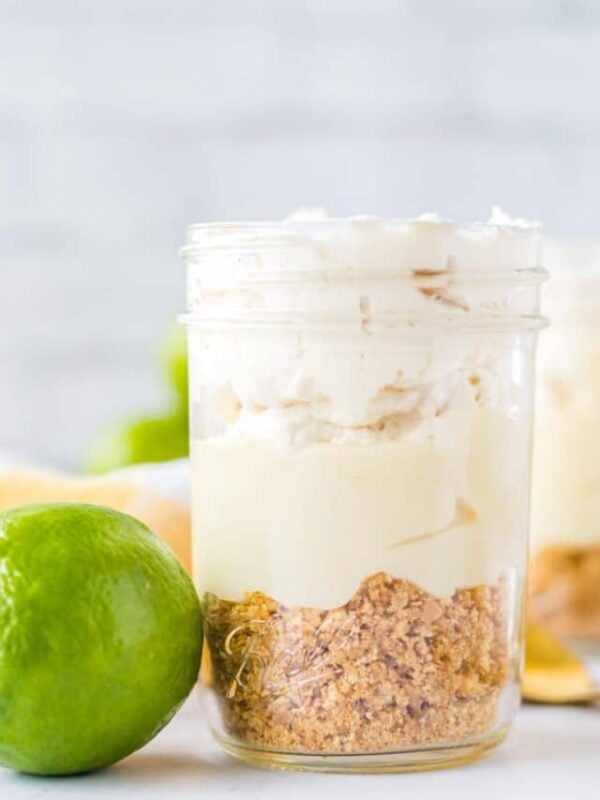
No Bake Desserts
Key Lime Mousse {Key Lime Pie In A Jar}
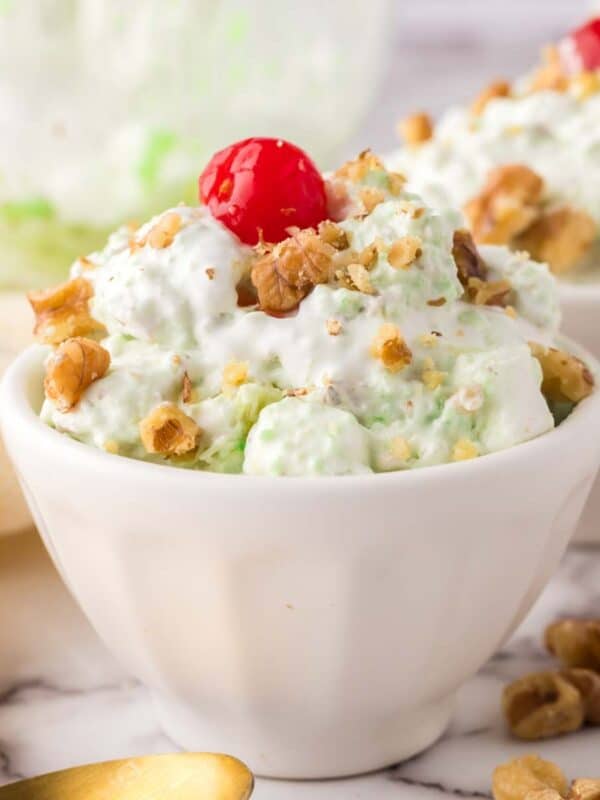
No Bake Desserts