Quick & Easy Recipes for the Entire Family!


Easy recipes for your entire family. From quick breakfast & dinner ideas to the best collections of simple sides and snacks! You’ll love the desserts, bread, and sourdough recipes as well!
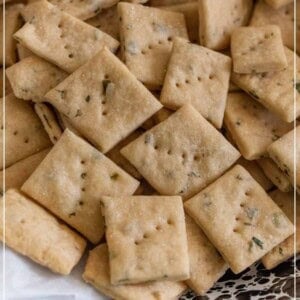
Easy Snack Recipes
Healthy Snacks
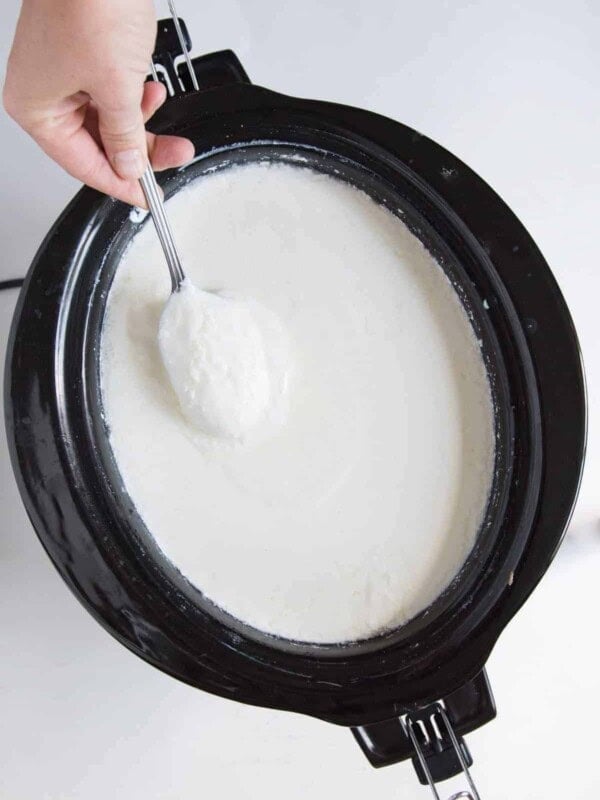
Crock Pot or Slow Cooker Yogurt
Healthy Snacks
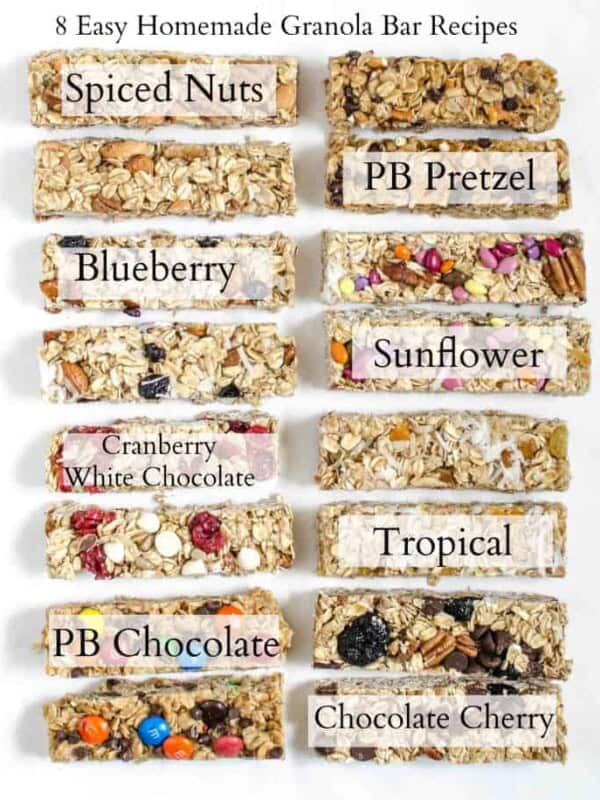
8 Easy Granola Bar Recipes
Healthy Snacks
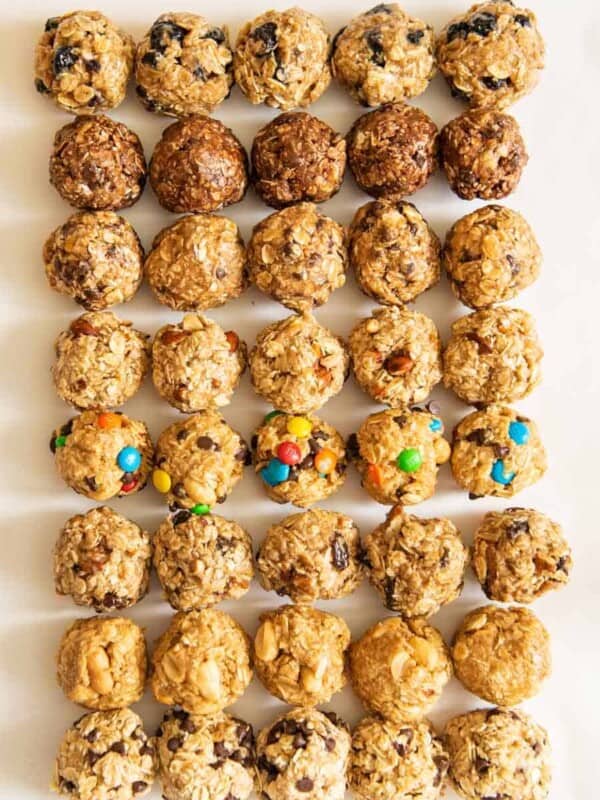
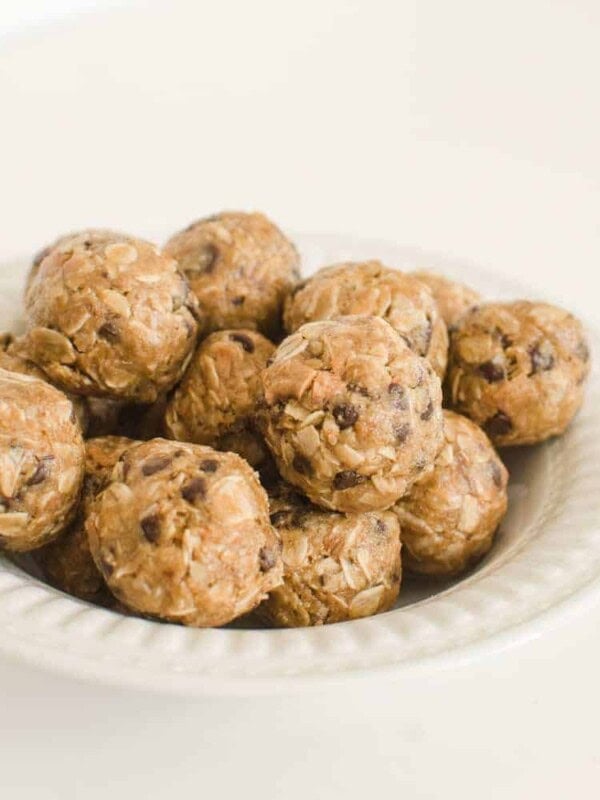
8 Delicious No-Bake Oatmeal Energy Balls for Snacking
Healthy Snacks
No-Bake Peanut Butter Protein Balls
Healthy Snacks
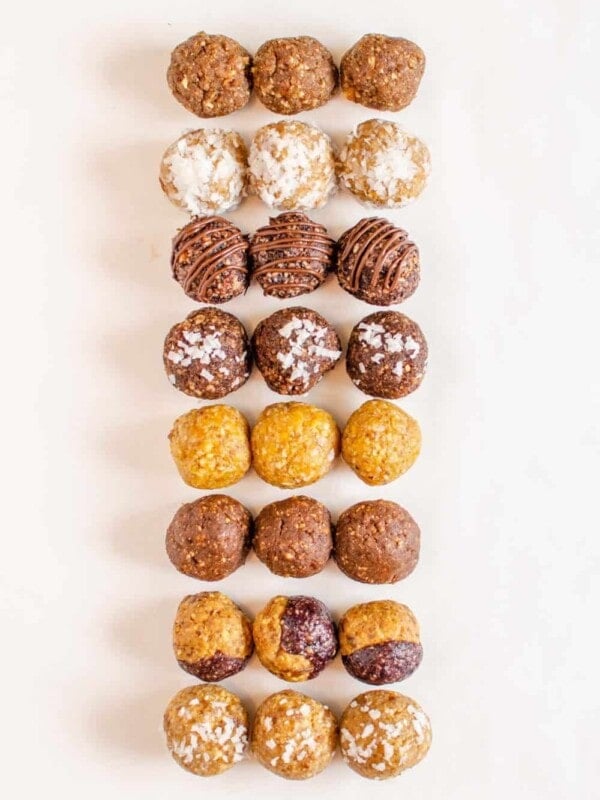
Energy Bites With Dates: 8 Easy Energy Balls
The Latest Recipes
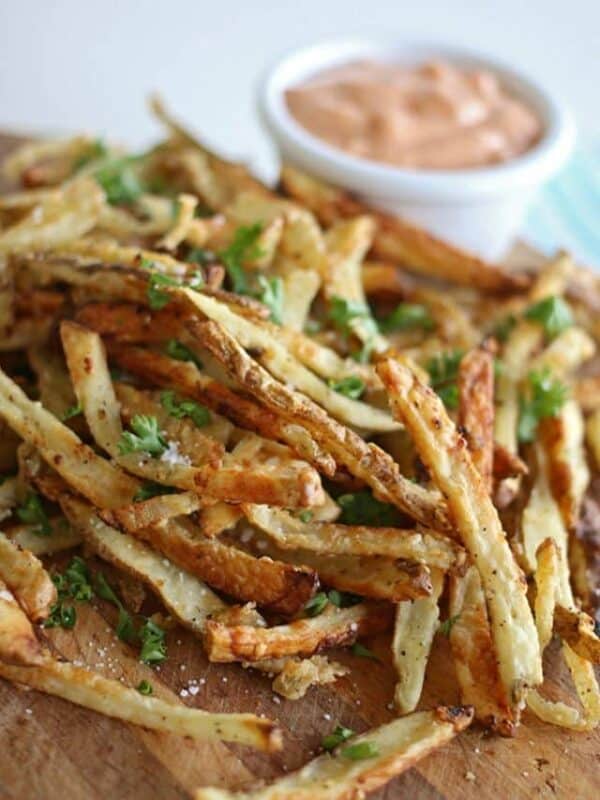
Vegetable Sides
Air Fryer Garlic Parmesan French Fries
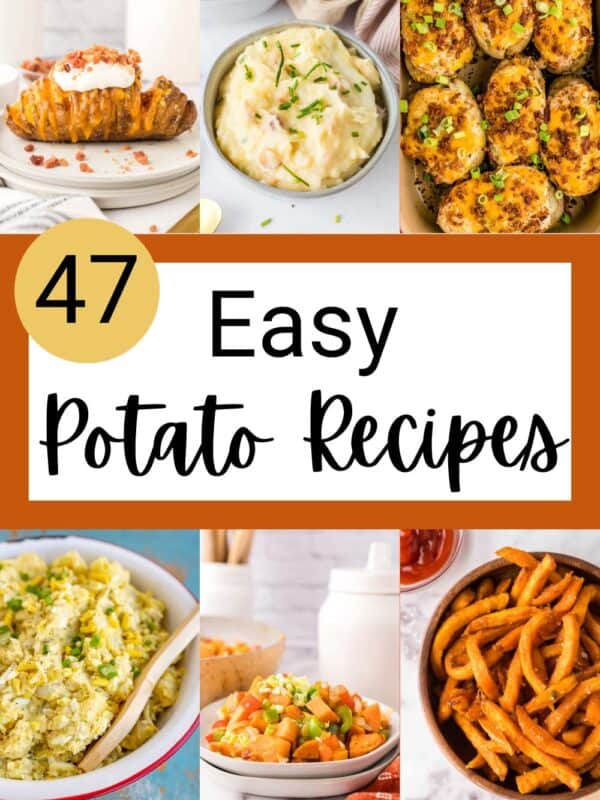
Side Dishes and Salads
47 Easy Potato Recipes
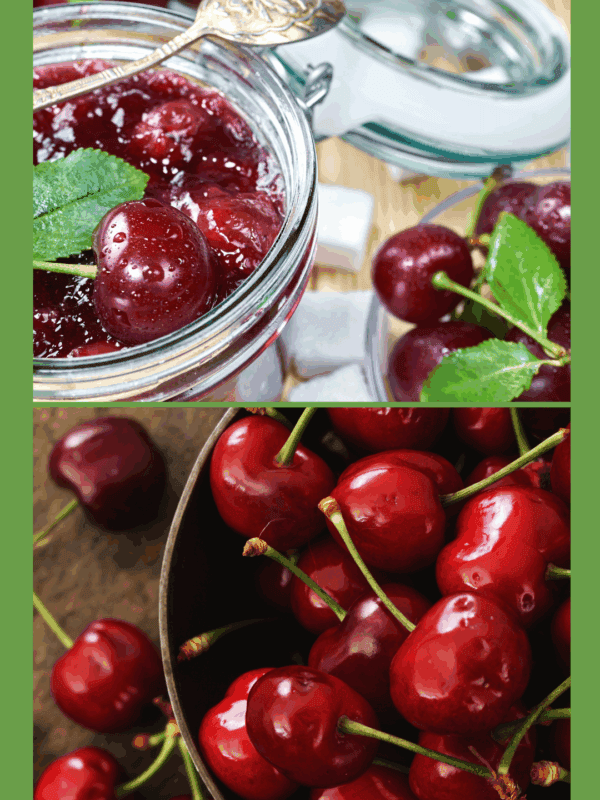
Preserving Guide
How To Preserve Cherries
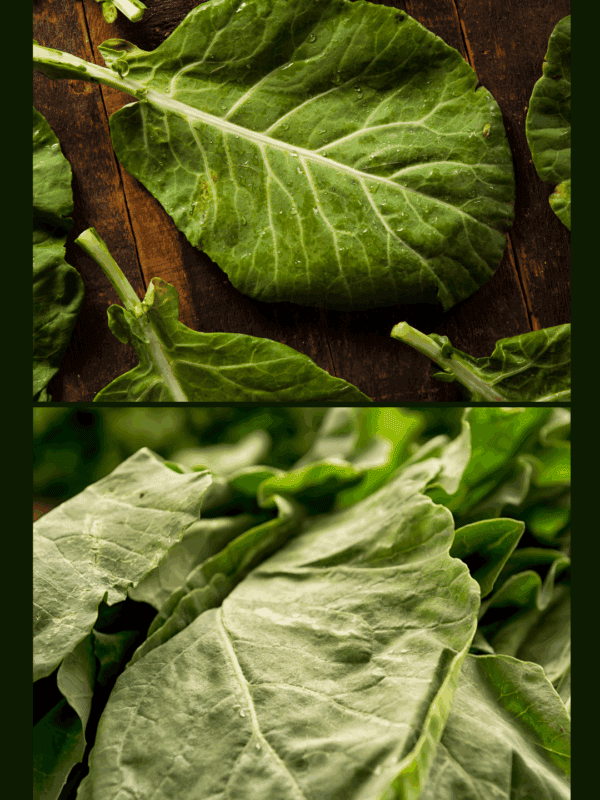
Preserving Guide
How To Preserve Collard Greens
Reader Favorites

Cornbread Recipes
Best Homemade Cornbread Recipe – Simple & Easy (With Video!)
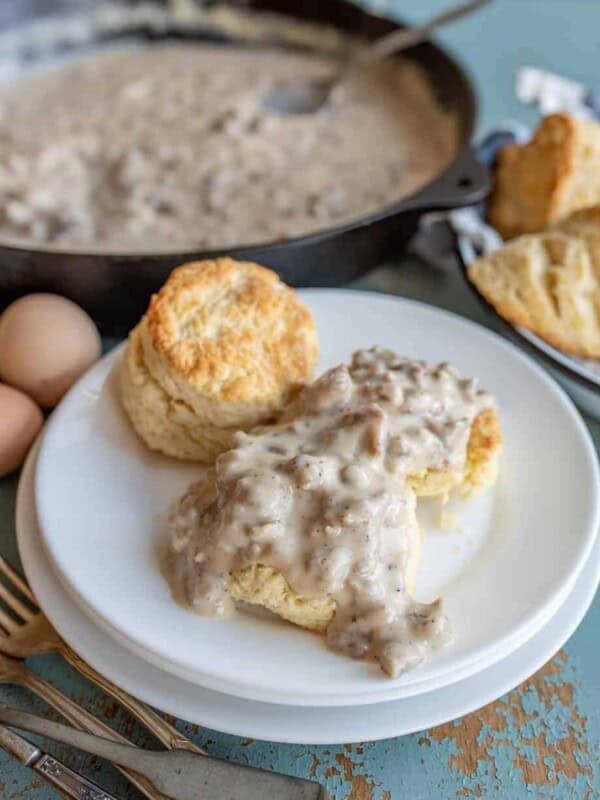
Breakfast Recipes
Homemade Biscuits and Gravy
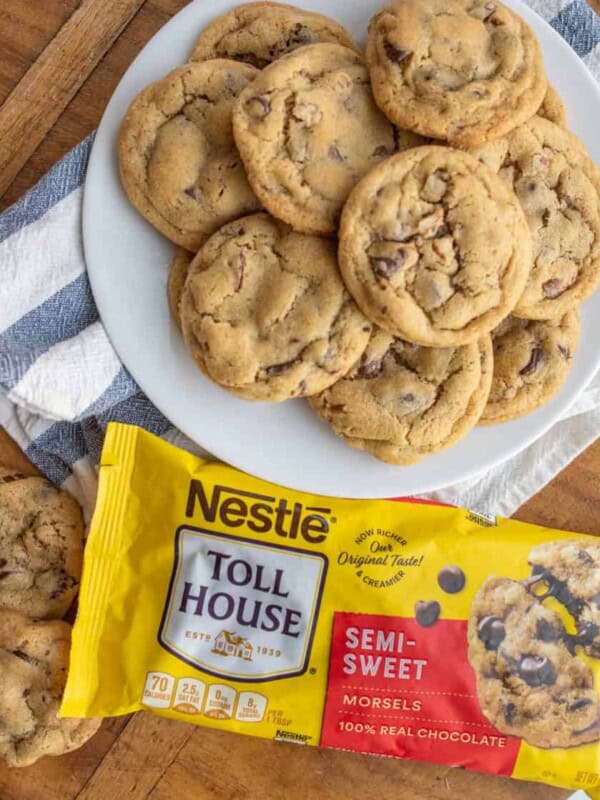
Chocolate Chip Cookies
The Original Nestle Toll House Cookie Recipe
No-Bake Desserts
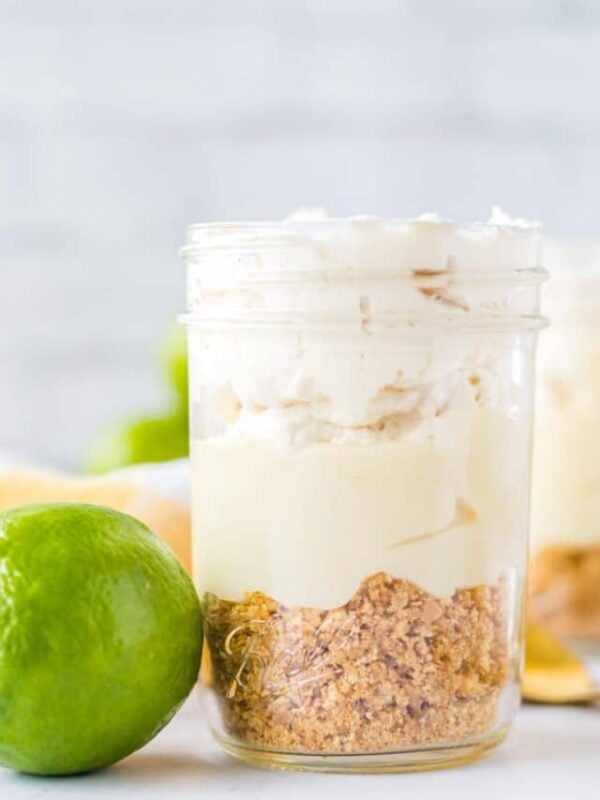
No Bake Desserts
Key Lime Mousse {Key Lime Pie In A Jar}
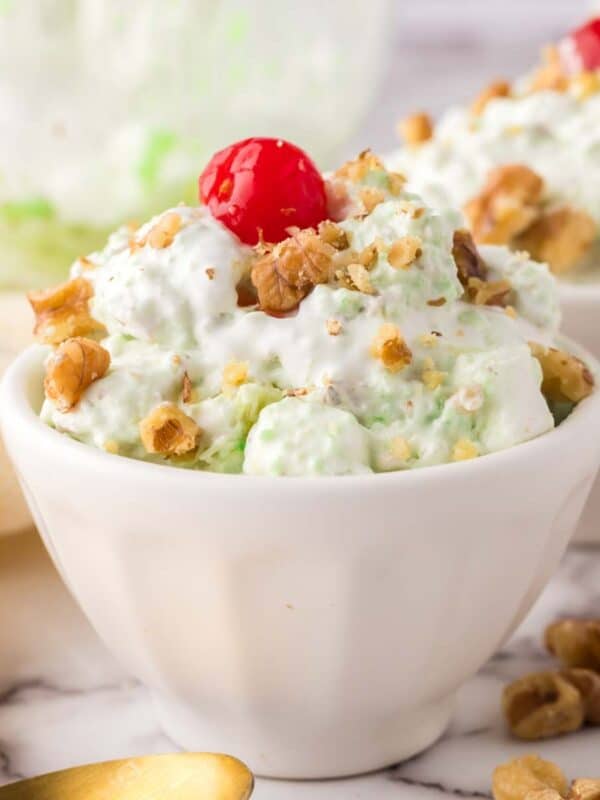
No Bake Desserts
Watergate Salad Recipe
No Bake Desserts
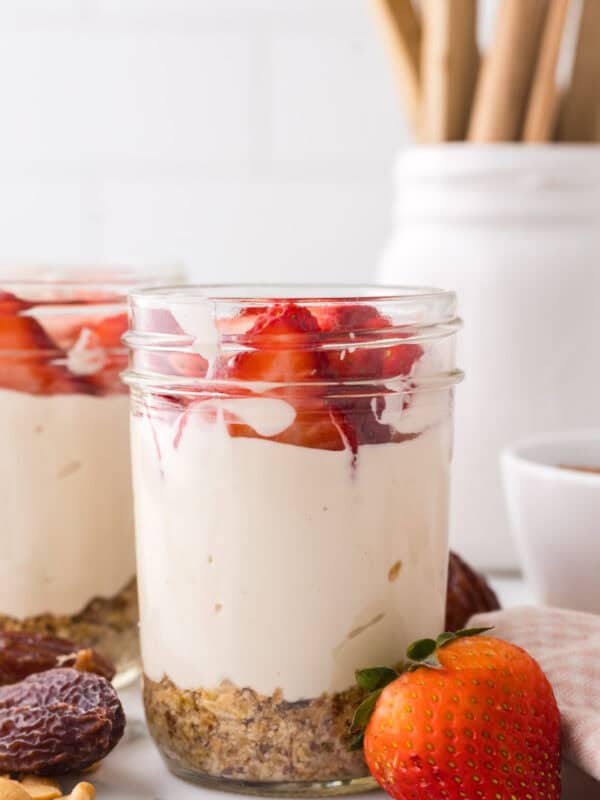
Healthy No-Bake Cheesecake
No Bake Desserts
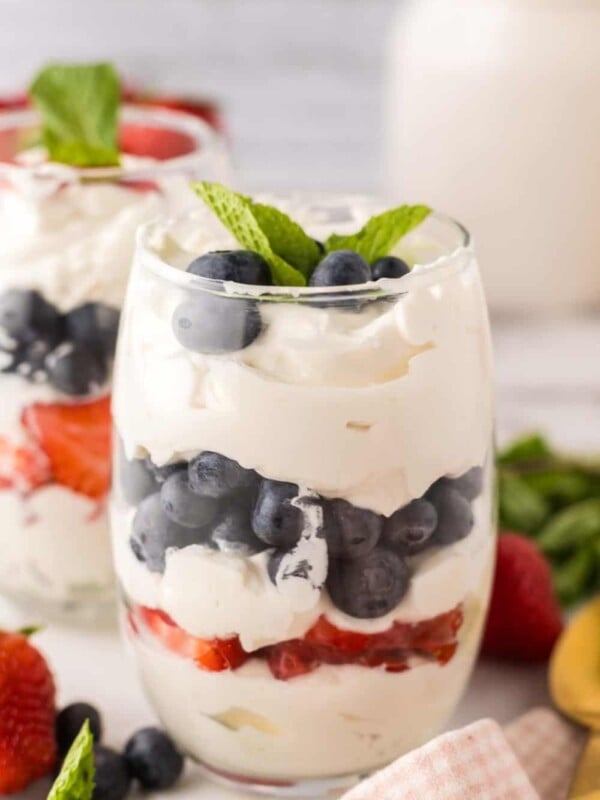
Berries and Cream
Dessert Recipes
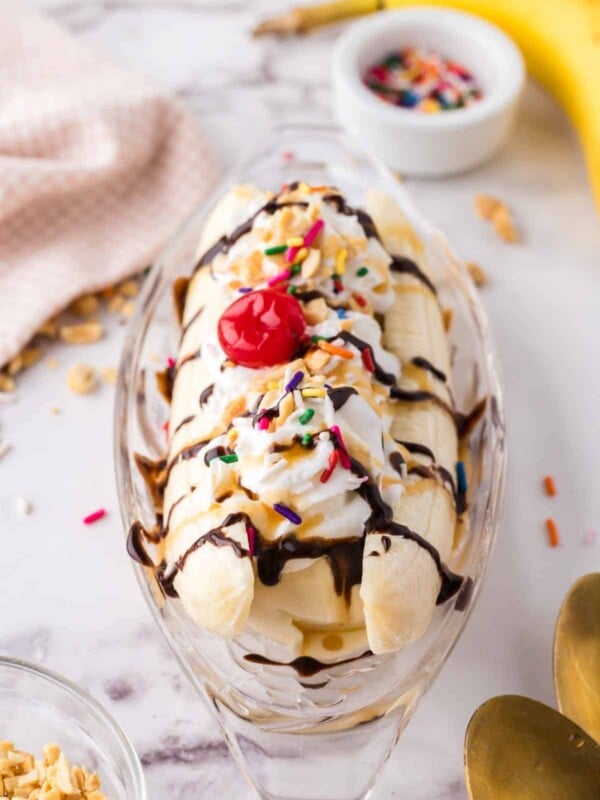
Banana Split
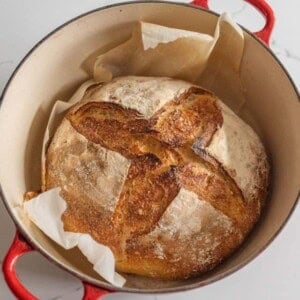
Sourdough Recipes
Sourdough Recipes
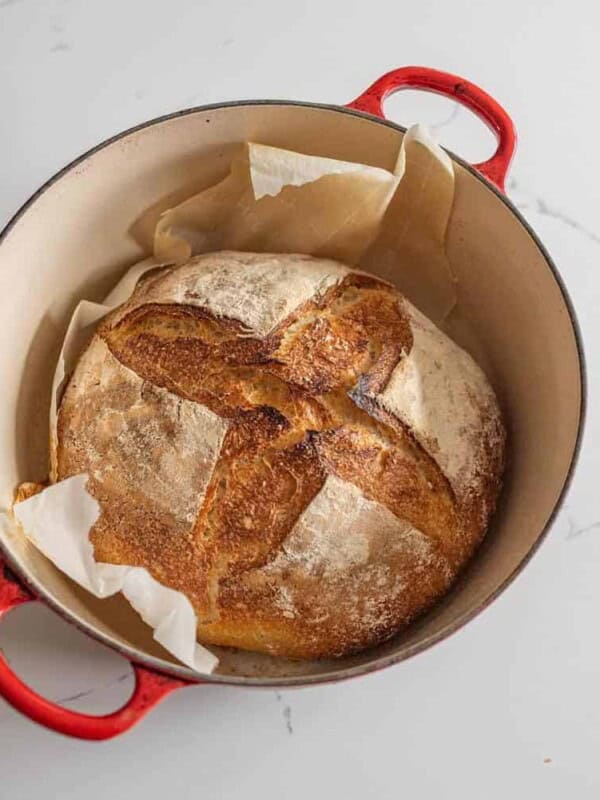
My Favorite Simple & Easy Sourdough Bread Recipe
Homemade Bread
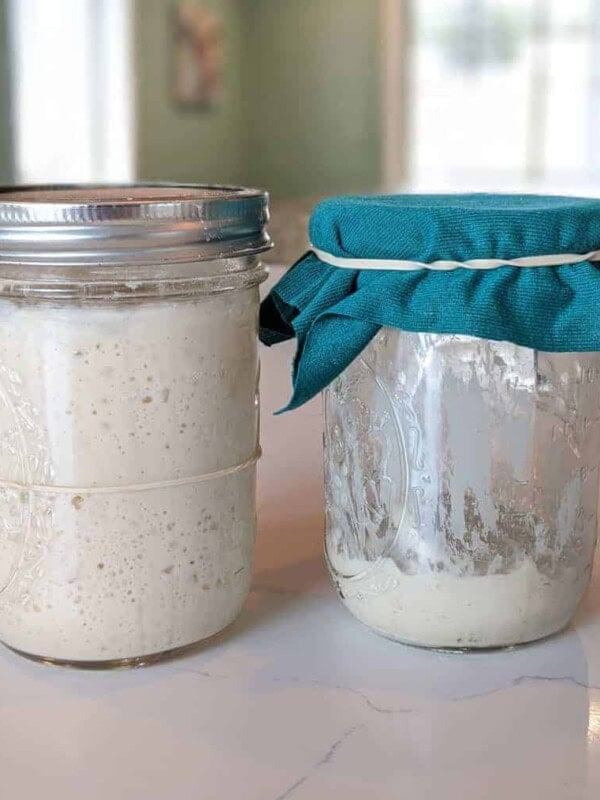
How to Make a Sourdough Starter
Sourdough Recipes
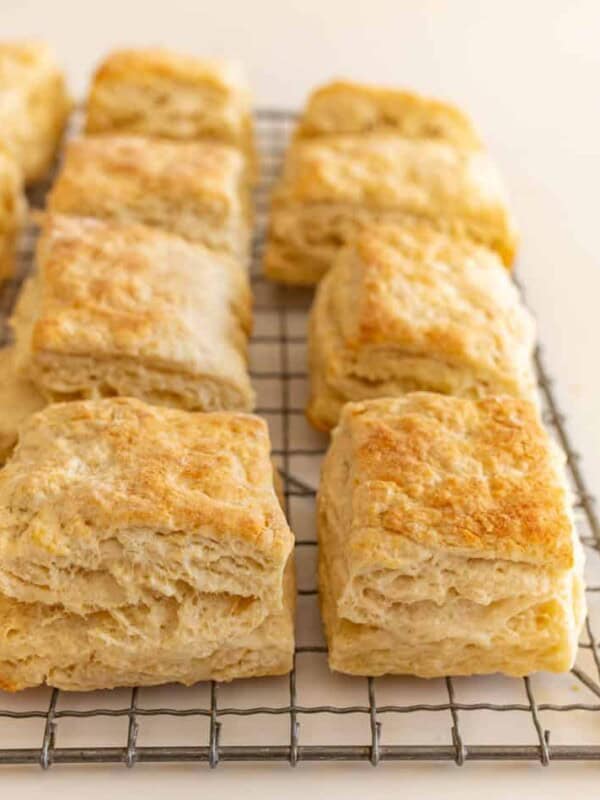
Quick & Easy Sourdough Biscuit Recipe
Sourdough Recipes
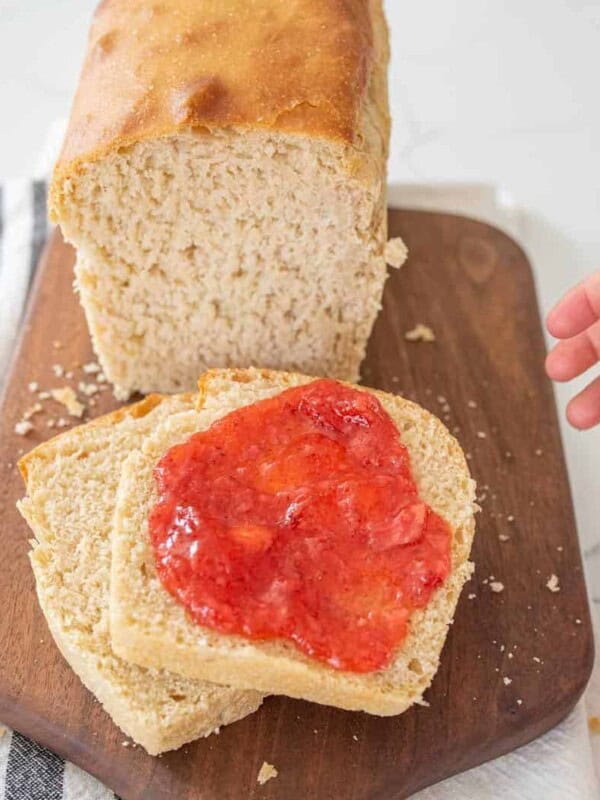
Soft Sourdough Sandwich Bread
Find the best recipes
Looking for something specific? Enter keywords to find the perfect recipe!
Or narrow by:
Family Favorite Easy Dinners
Seafood Recipes
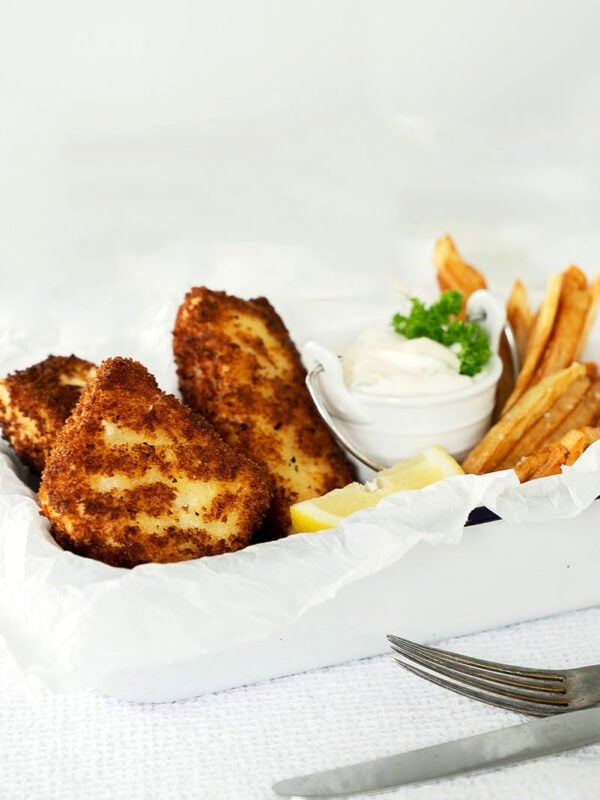
Crispy Halibut Fish And Chips
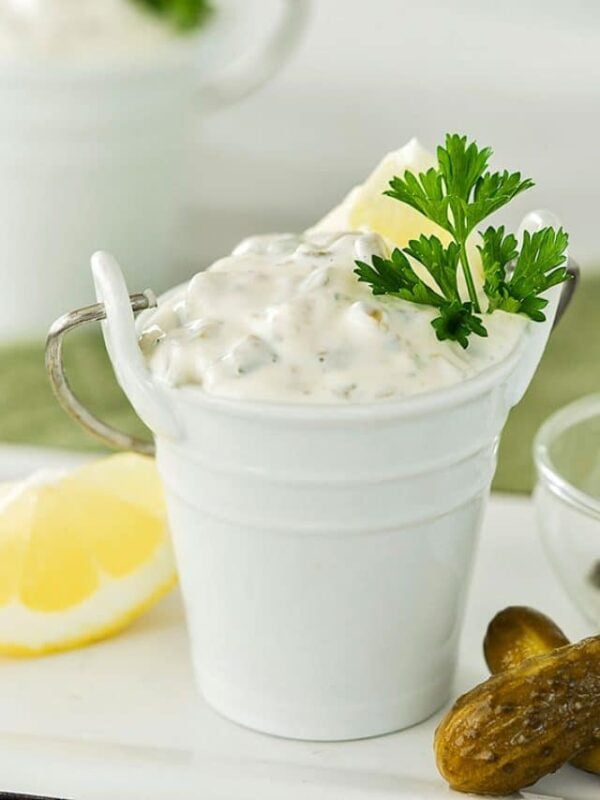
Condiments, Marinades & Spreads
Easy Tartar Sauce Recipe

Recipe Collections
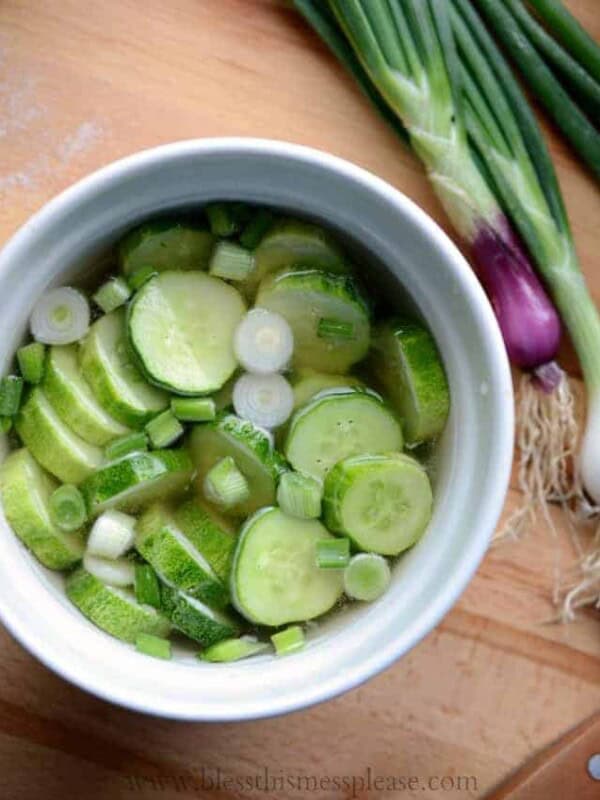
Zucchini Recipes
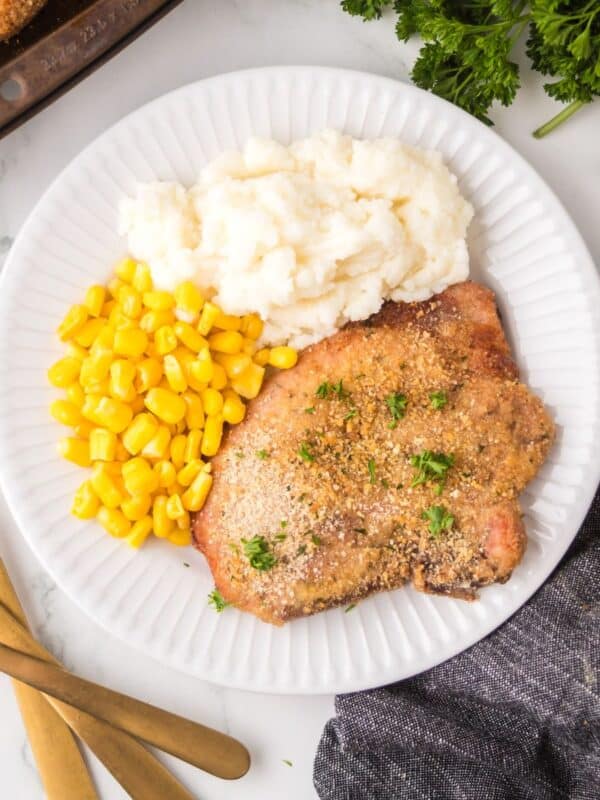
Pork Recipes
Easy Shake and Bake Pork Chops

Hi, I’m Melissa, and I’m going to help you feed your family.
As a hobby farmer, business owner, and mom of five, I’m all about keeping it simple in the kitchen. I’m here to help you make meal times a breeze. Let’s work together to find something for your table.
Canning and Preserving Recipes
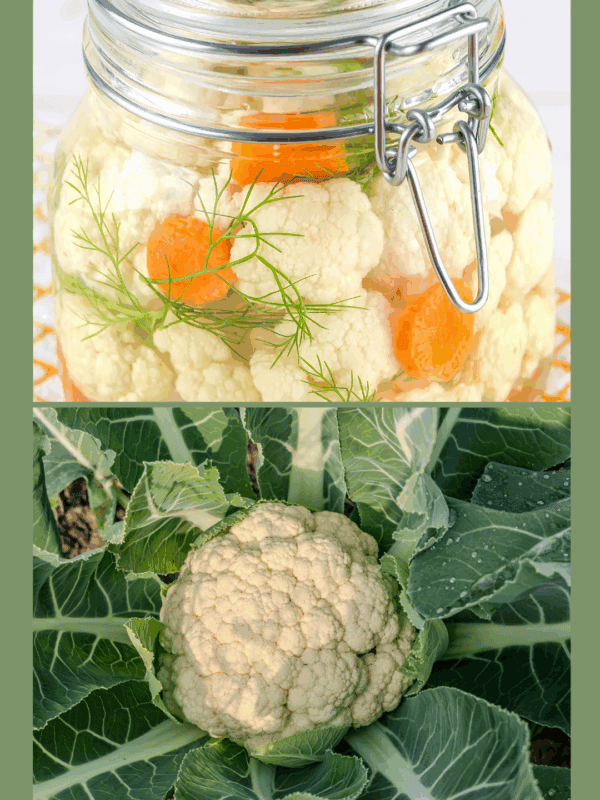
Preserving Guide
How To Preserve Cauliflower
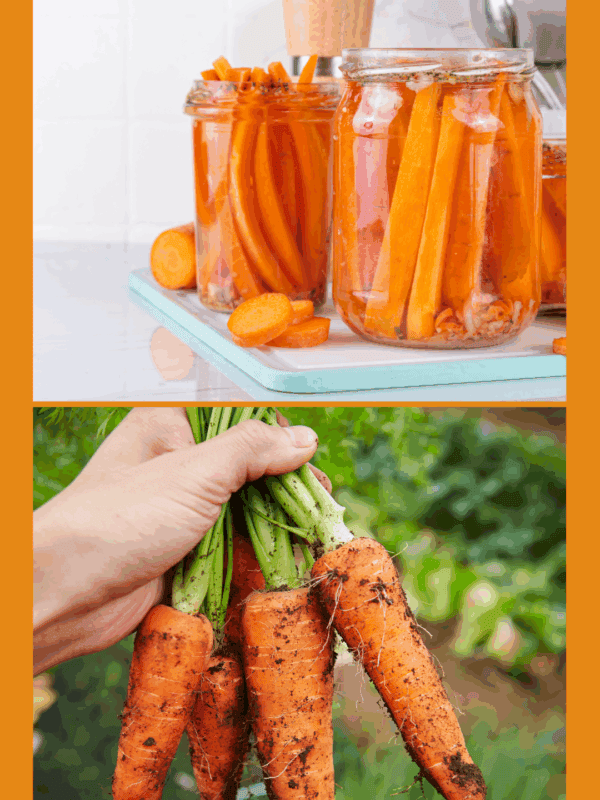
Preserving Food
How To Preserve Carrots
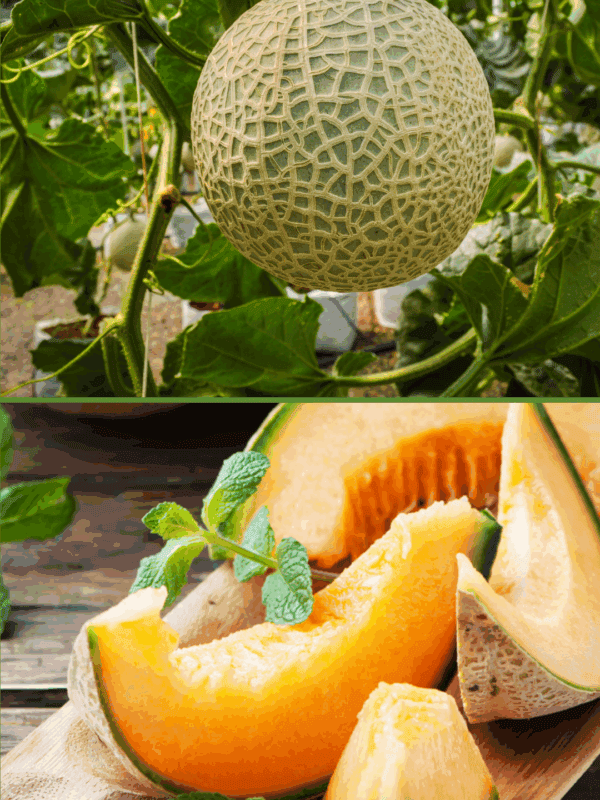
Preserving Guide
How To Preserve Cantaloupe
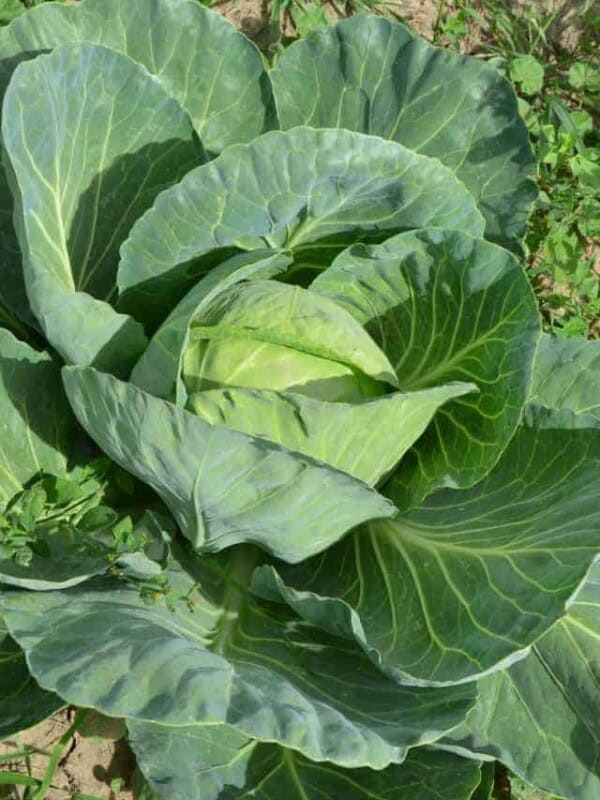
Preserving Guide
How To Preserve Cabbage
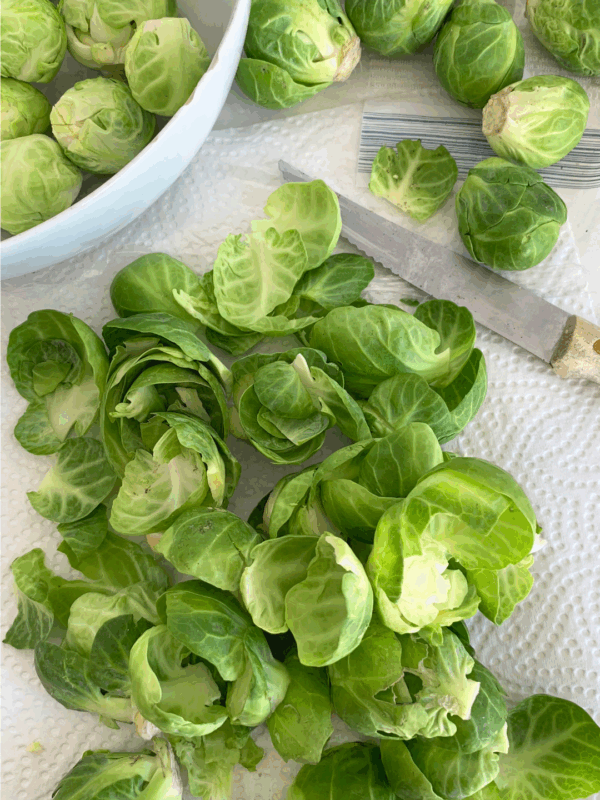
Preserving Guide
How To Preserve Brussels Sprouts
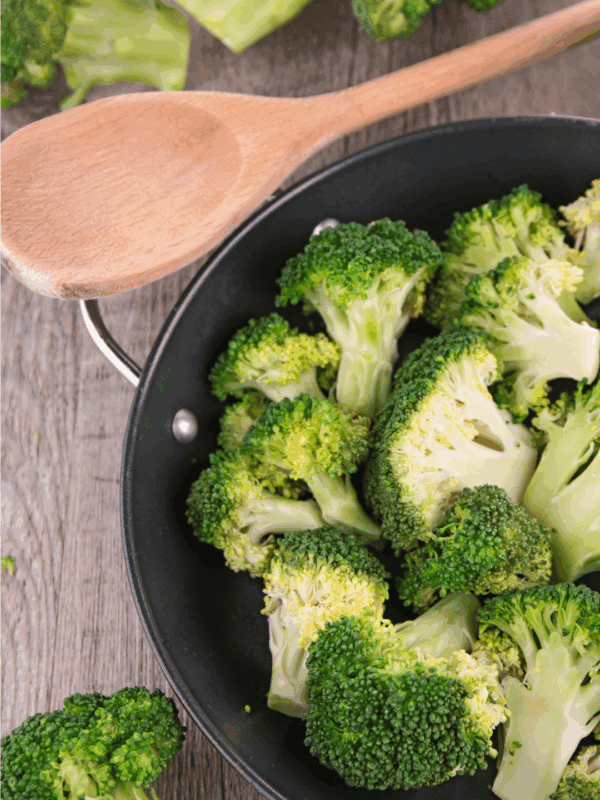
Preserving Guide
How To Preserve Broccoli
Ice Cream Recipes
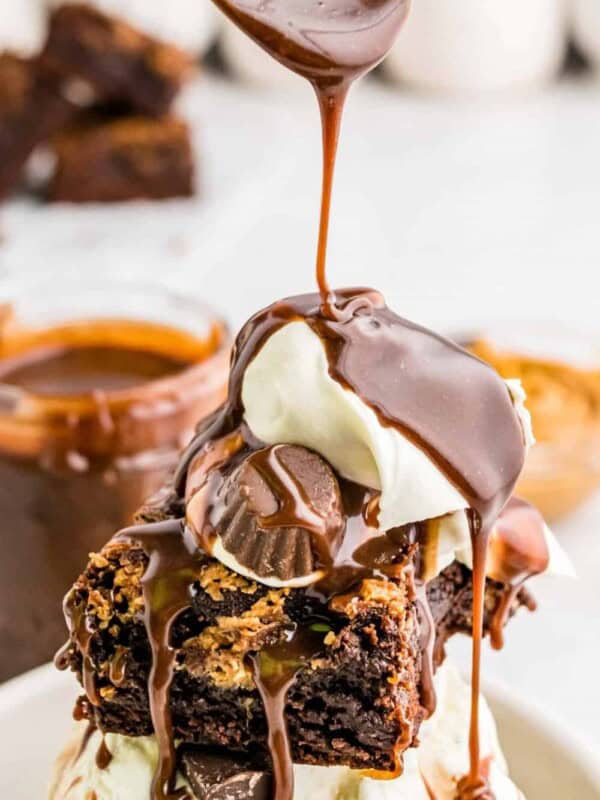
Dessert Recipes
The Ultimate Chocolate Peanut Butter Brownie Sundaes
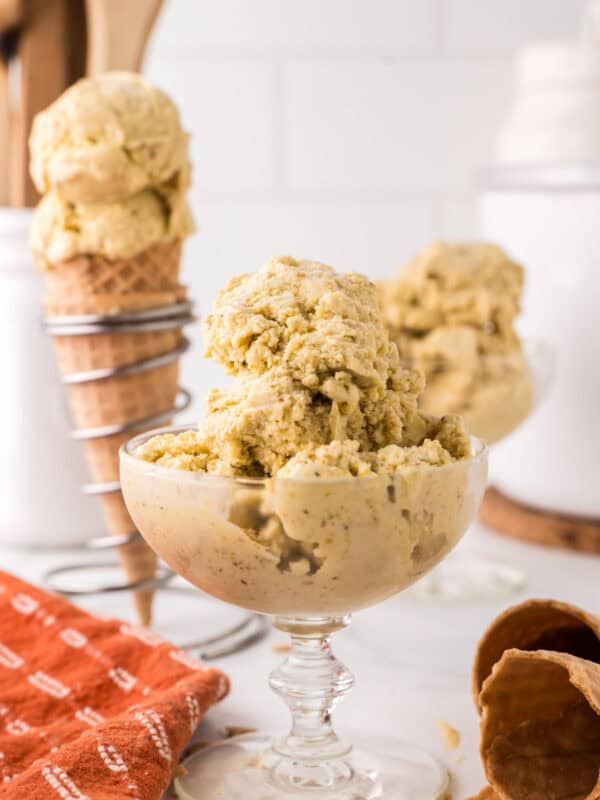
Ice Cream
Pistachio Gelato

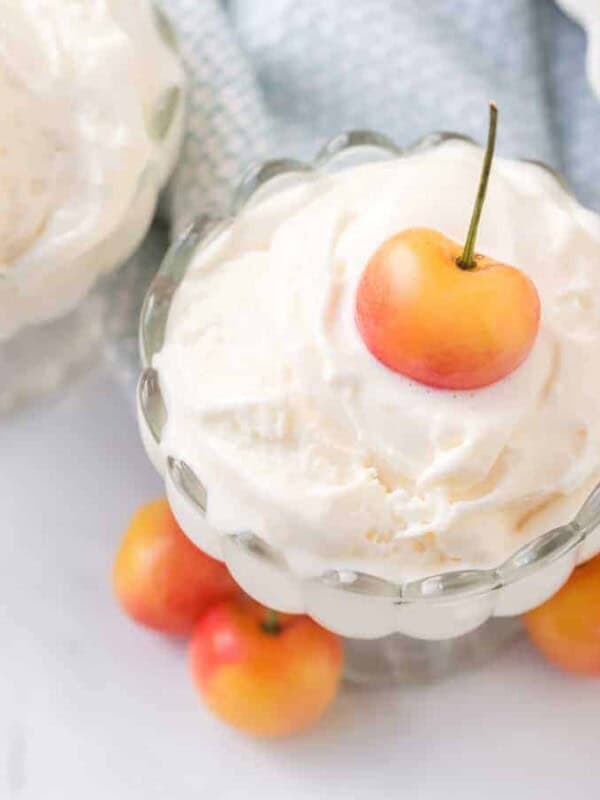
Ice Cream
Easy Snow Ice Cream Recipe
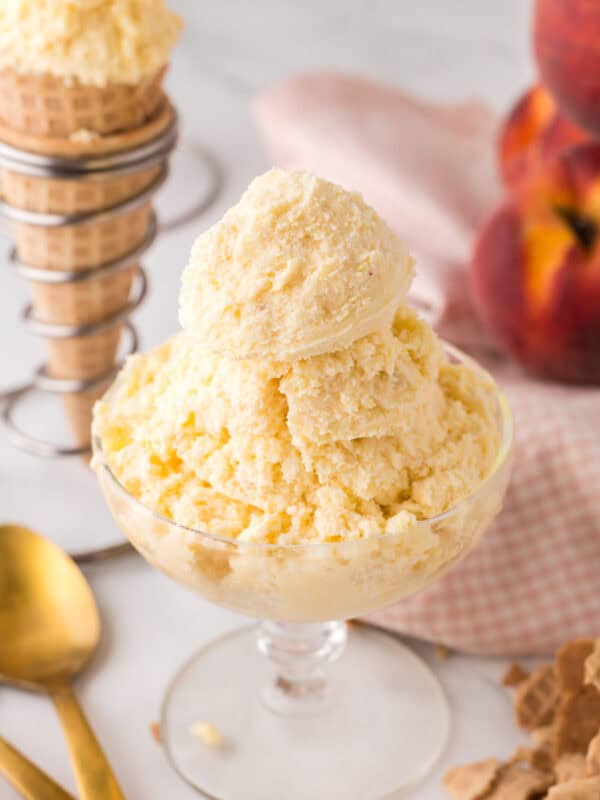
Ice Cream
Fresh Peach Ice Cream
Ice Cream