This post may contain affiliate links. Please read our disclosure policy.


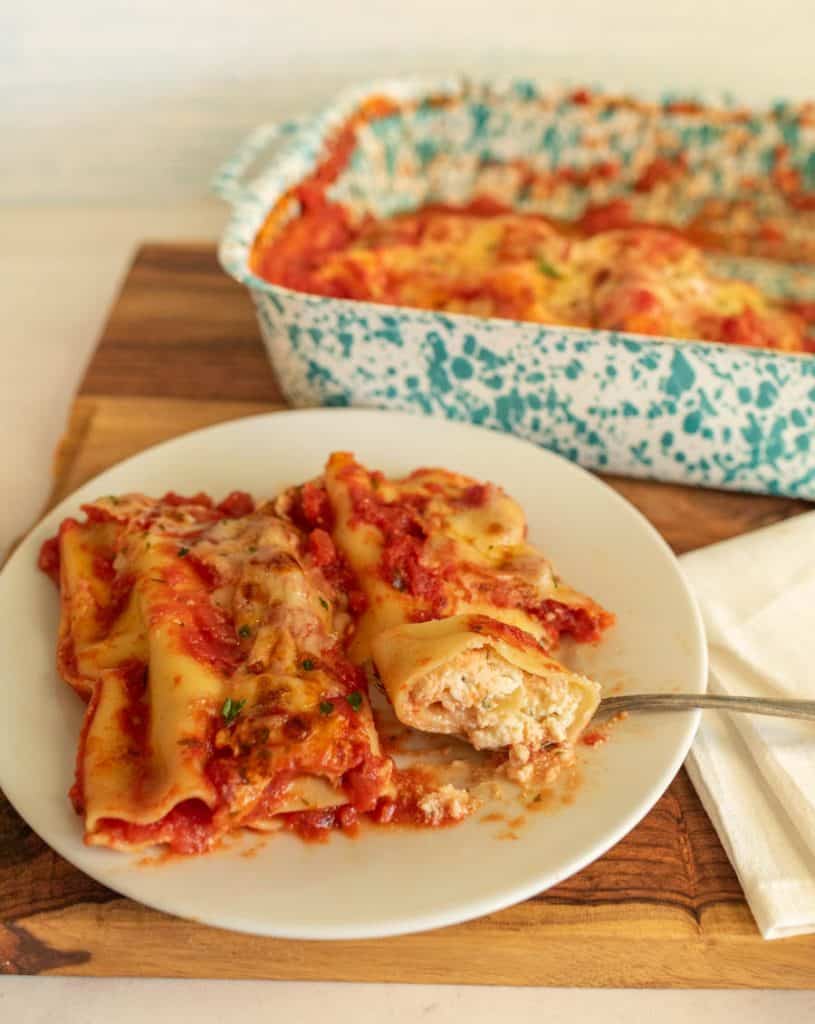
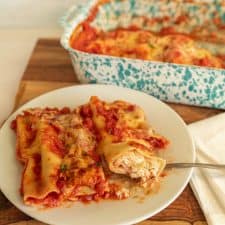
Pasta lovers unite! This stuffed Manicotti dish has all of the flavors you know and love (think cheesy, savory, delicious!), but it so much easier than your typical manicotti recipe.

Not all Manicotti recipes are created equal. No more struggling with traditional manicotti recipes that demand a lot of effort. This genius twist on a classic dish ditches the shell stuffing, making it an absolute breeze to prepare. Trust us, once you try this method, there’s no going back! That is why it is the EASIEST Manicotti Recipe ever!
Instead of laboriously stuffing manicotti shells, you’ll simply soften no-boil lasagna noodles in hot water for a few minutes and then roll up the manicotti. The magic lies in the rolling, not the stuffing! Create a full Italian feast pairing this recipe with my easy sourdough focaccia bread and a arugula salad.
Table of Contents
Why You’ll Love This Recipe
- Using no-boil lasagna noodles and rolling them into tubes simplifies the assembly process, making it much easier than filling traditional manicotti noodles.
- The blend of ricotta, mozzarella, and Parmesan cheeses ensures every bite is loaded with creamy, melty cheesy goodness.
- This dish can be prepared ahead of time and baked when needed, making it perfect for busy weeknights or entertaining guests.
Recipe Ingredients
- Crushed tomatoes – canned
- No-boil lasagna noodles
- Cheese – I use a mixture of ricotta, mozzarella, and parmesan cheese
- Eggs
- Olive oil
- Garlic cloves
- Herbs – Fresh basil and parsley
- Red pepper flakes – Optional
- Spices – Salt and pepper
See the recipe card below for full information on ingredients and quantities
How to Make The Easiest Manicotti Recipe
Step 1. Cook garlic and red pepper flakes in olive oil until golden. Add crushed tomatoes, salt, and simmer until slightly thickened. Stir in basil and set aside.
Step 2. Mix ricotta, mozzarella, 1 cup Parmesan, eggs, parsley, basil, salt, and pepper in a bowl.
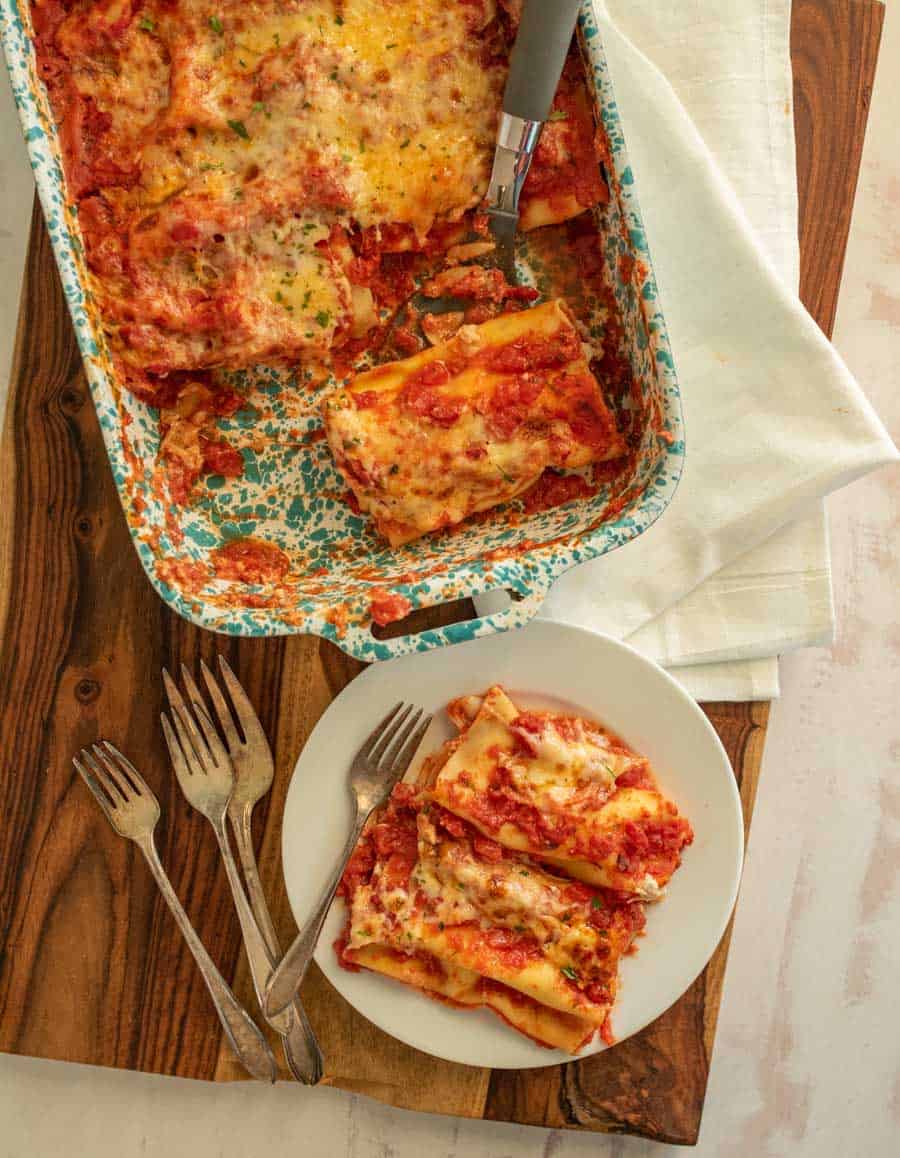
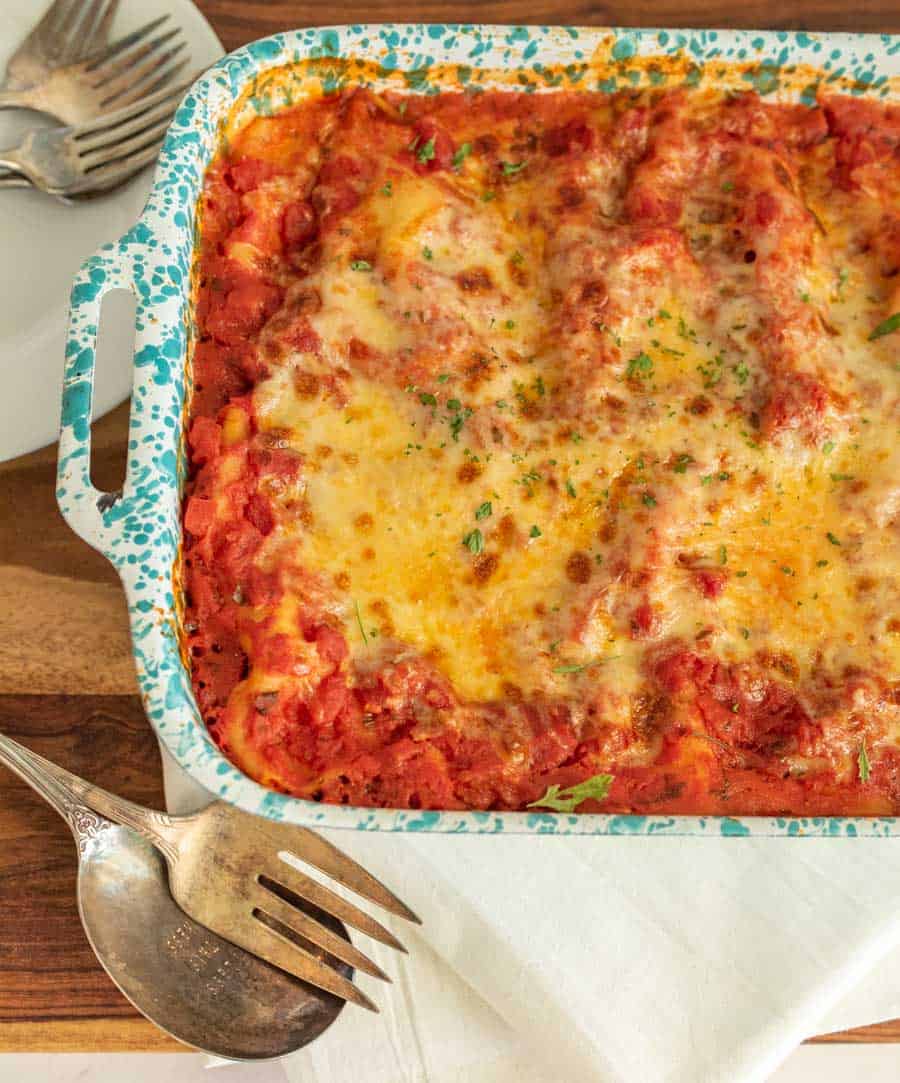
Step 3. Preheat oven to 375°F. Soak no-boil lasagna noodles in boiling water until pliable. Spread sauce in a baking dish. Spread cheese filling on noodles, roll up, and place seam-side down in the dish. Cover with remaining sauce.
Step 4. Cover with foil and bake for 40 minutes. Remove foil, sprinkle remaining Parmesan, and broil until cheese is golden. Let cool before serving.
Recipe FAQs
In Italian manicotti means “little sleeve.” Manicotti noodles are traditionally stuffed like a tube and baked similar to lasagna.
Yes! It is much simpler to prepare this dish like that. I use Barilla no-boil lasagna for this recipe and it gets five stars every time.
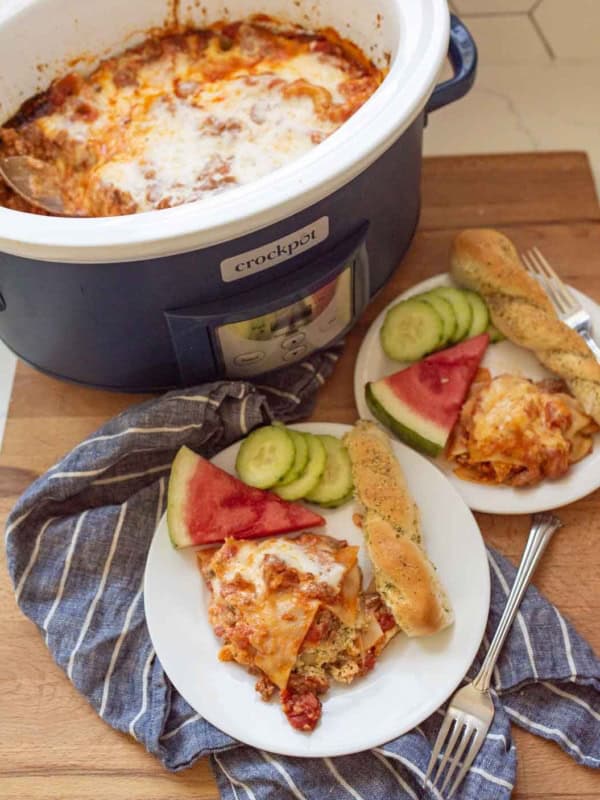
Manicotti is a great meal to freeze. I prefer to freeze before baking. This is also a great meal to take to a new mom or a sick friend because they can eat it right away or tuck away in the freezer for later.
Absolutely! You can use your favorite store-bought pasta marinara sauce for manicotti, making the recipe even more convenient and time-saving. For this recipe, two 24 ounce jars will work out nicely. Enjoy!
Definitely! Just assemble the dish as instructed, cover tightly with plastic wrap, and refrigerate for up to 24 hours before baking. When you’re ready to bake, remove the wrap, and follow the baking instructions. This make-ahead option is perfect for those busy days or when hosting guests!
Expert Tips
- Gently but firmly roll the lasagna noodles to prevent tearing while keeping the filling snug and secure.
- Place the rolled manicotti seam-side down in the baking dish to keep them from unrolling during baking.
- Ensure the manicotti is fully covered with sauce to prevent the noodles from drying out and becoming tough.
- Cover the dish with aluminum foil during the initial baking to keep the manicotti moist and tender.
- Assemble the manicotti a day in advance and store it in the refrigerator to save time on busy days.
- Fresh basil and parsley enhance the flavor of both the sauce and cheese filling. If you only have dried herbs, use about one-third of the amount called for fresh.
How to Serve and Store The EASIEST Manicotti Recipe
No pasta dish is complete without a bread to soak up the sauce! Try my buttery garlic knots, easy breadsticks, Bosco sticks or sourdough bread recipe. For a fresh appetizer, try my cucumber and tomato salad or baked brie.
Allow the manicotti to cool completely before covering the baking dish with plastic wrap or transfer leftovers to an airtight container. Store in the refrigerator for up to 3 days. To freeze, assemble the manicotti but do not bake. Wrap the entire baking dish tightly with plastic wrap and then with aluminum foil. Label and date it, and freeze for up to 3 months. When ready to use, thaw in the refrigerator overnight and bake as directed, adding an extra 10-15 minutes to the covered baking time if needed.
More Pasta Dishes to Consider

Dinner Ideas
Homemade Spaghetti O’s
Pasta Dishes
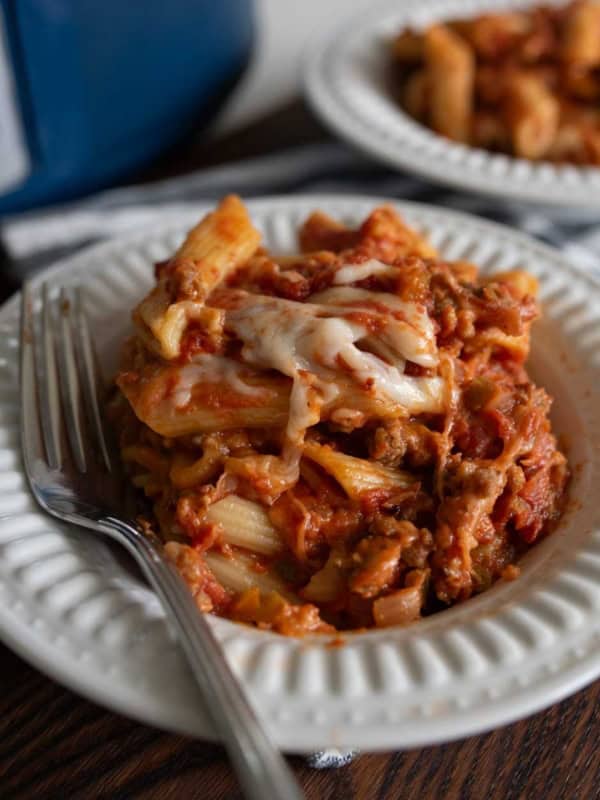
Easy Cheesy Slow Cooker Lasagna
Beef Recipes
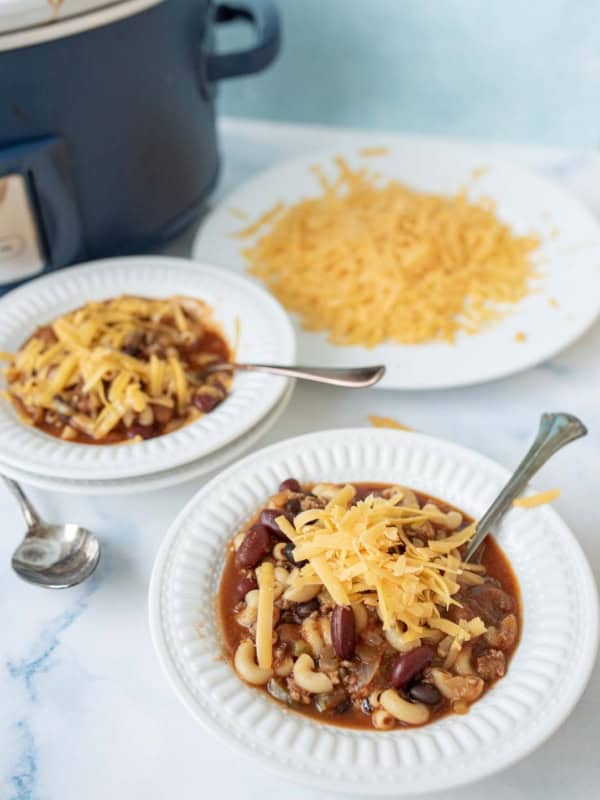
Slow Cooker Chili Mac
Pasta Dishes
Slow Cooker Sausage and Peppers With Pasta
Did you make this recipe? Leave a ⭐️ review and share it on Instagram, Facebook, or Pinterest!
The EASIEST Manicotti Recipe
Ingredients
For the Tomato Sauce:
- 2 cans crushed tomatoes, (28 ounces each)
- 2 tablespoons olive oil
- 3 garlic cloves, minced
- ½ teaspoon red pepper flakes, optional
- ½ teaspoon salt
- 2 tablespoons fresh basil, chopped
Cheese Filling:
- 24 ounces ricotta cheese, (3 cups)
- 2 cups mozzarella cheese
- 2 cups grated parmesan cheese, separated
- 2 large eggs
- 2 tablespoons fresh parsley, chopped
- 2 tablespoons fresh basil, chopped
- ¾ teaspoon salt
- ½ teaspoon pepper
For Assembly:
- 16 no-boil lasagna noodles
Instructions
For the Tomato Sauce:
- In a large saucepan over medium heat, heat oil, garlic, and pepper flakes. Cook about 3 minutes until golden brown, stirring often.
- Stir in tomatoes and salt and bring to a simmer.
- Cook for about 5-10 minutes, until thickened slightly.
- Stir in basil and set aside.
For Cheese Filling:
- Combine ricotta, mozzarella, 1 cup Parmesan, eggs, parsley, basil, salt, and pepper in a bowl.
To Assemble:
- Adjust oven rack to middle position and preheat the oven to 375℉.
- In a 9×13-inch baking dish, pour 2 inches of boiling water. Place noodles into water, one at a time, and soak about 10-12 minutes until pliable. Separate noodles with the tip of a sharp knife to prevent sticking. Remove noodles from the water and place in a single layer on clean dish towels. Discard water and dry baking dish.
- Spread 1 ½ cups sauce evenly over the bottom of the dish.
- On the bottom three-quarters of each noodle, spread ¼ cup cheese mixture, leaving the top quarter of the noodle exposed.
- Roll noodles into a tube shape and place atop the tomato sauce in the baking dish with the seam side down.
- Top with the remaining sauce, making sure that the noodles are completely covered.
- Cover the baking dish with foil and bake for 40 minutes.
- Remove the dish from the oven and remove the foil. Adjust oven rack to be 6 inches from broiler element. Sprinkle remaining 1 cup Parmesan over the manicotti. Broil for about 4 to 6 minutes until the cheese is spotty brown.
- Let cool for 10 minutes before serving.
Notes
- Gently but firmly roll the lasagna noodles to prevent tearing while keeping the filling snug and secure.
- Fresh basil and parsley enhance the flavor of both the sauce and cheese filling. If you only have dried herbs, use about one-third of the amount called for fresh
- Ensure the manicotti is fully covered with sauce to prevent the noodles from drying out and becoming tough.
- Cover the dish with aluminum foil during the initial baking to keep the manicotti moist and tender.
- Place the rolled manicotti seam-side down in the baking dish to keep them from unrolling during baking.


