This post may contain affiliate links. Please read our disclosure policy.

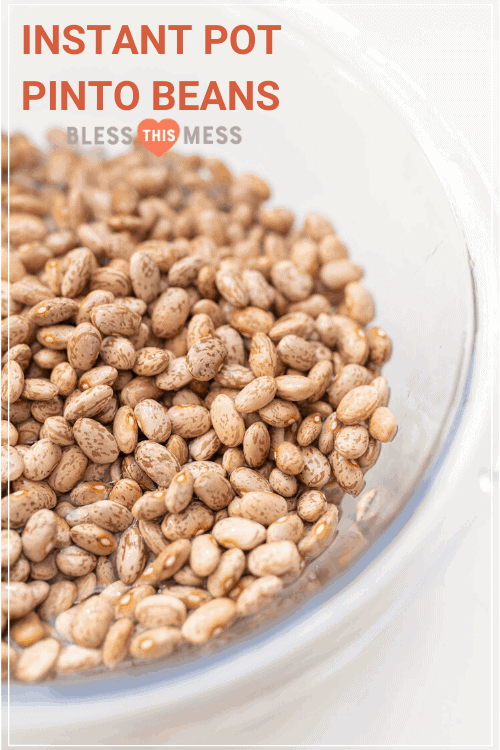
Instant Pot pinto beans is such an easy and great recipe to know! Using your instant pot takes away a lot of the lengthiness of cooking dry beans from scratch because you don’t need to soak them and they can be done after just 35 minutes of cooking.
This is such a great recipe to have on hand if you have an Instant Pot! Making pinto beans from scratch — or any beans for that matter — is often timely and involves an hours-long soaking period, but this is a no soak recipe which makes it so much faster and easier. I gave the option in the recipe card to include bay leaves, garlic, and onion in your Instant Pot if you are making the beans to enjoy as a side dish. This gives them a nice subtle Southern flavor profile, but if you are just using beans inside of another dish (like chili or a burrito), then feel free to skip these add-ins.
Table of Contents:
Table of Contents
Ingredients:
- Pinto beans: dried beans of any kind could be made using this recipe.
- Water: to soak and cook the beans.
- Neutral oil: just a teaspoon, to ensure the beans don’t stick to each other or the pot.
- Salt: to taste.
- Optional bay leaves, garlic, and onion: for added flavor.
See recipe card below for full information on ingredients and quantities
Tips for the best pinto beans
For added flavor: be sure to include the bay leaves, garlic, and onion.
For the best texture: cook them for 35 minutes, low pressure, and do a natural pressure release. This yields the best tender beans that keep their shape the best, but it’s slow (natural pressure release can take over and hour in itself). They tend to be a bit creamier in the centers too but don’t fall apart. If you have time, this is my favorite bean cooking method (works well for all the kinds of beans I have tried).
For best leftovers: freeze them if you plan on storing longer than 3 days. They get a “funky” smell if refrigerated longer, even if they haven’t gone bad.
Frequently Asked Questions:
You can serve pinto beans as a nutrient-rich and protein packed side dish They go well with barbecued meats, Mexican dishes, burgers and hot dogs, and inside of chilis, and soups!
Store cooked pinto beans in an airtight container in the fridge for up to 3 days. They will get a “funky” smell even if they’re fresh in the fridge so don’t rely on smelling them!
Yes! Store them in a freezer safe Ziploc bag, or airtight container for up to 4 months in the freezer. Reheat the beans in a saucepan over medium heat until warmed through.
Other Veggie Side Dishes to Consider:

Vegetable Sides
Air Fryer Garlic Parmesan French Fries

Side Dishes and Salads
47 Easy Potato Recipes


Side Dishes and Salads
Easy Creamy Cheesy Potatoes
Did you make this recipe? Leave a ⭐️ review and share it on Instagram, Facebook, or Pinterest!

How to Cook Pinto Beans in the Instant Pot
Ingredients
- 1 pound about 2.5 cups dried pinto beans
- 8 cups of water
- 1 teaspoon neutral oil
- 3 bay leaves, 2 cloves garlic, 1/2 medium onion , (all optional)
- Salt, to taste
Instructions
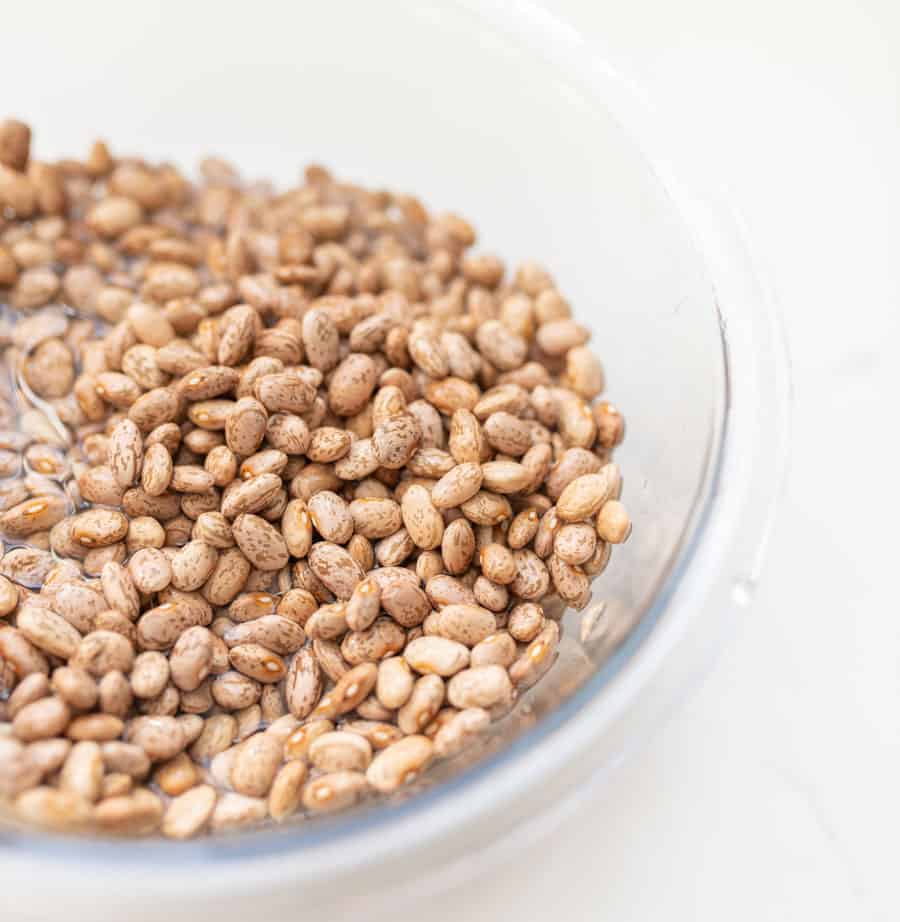
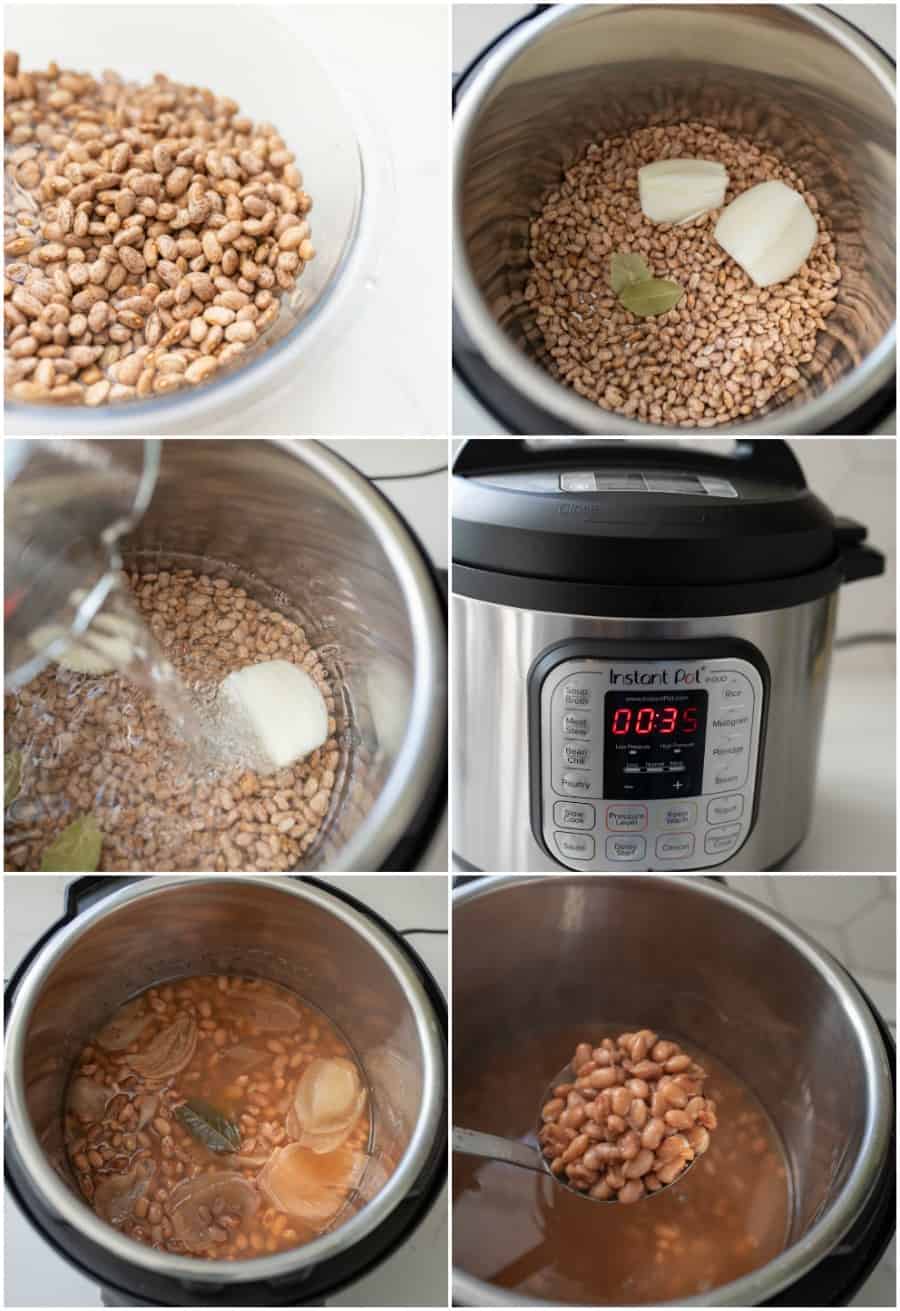
- Rinse and sort your pinto beans (this means make sure there aren’t any weird beans or rocks in the package).
- Add the beans to the insert of your pressure cooker. You do NOT need to soak your beans before cooking.
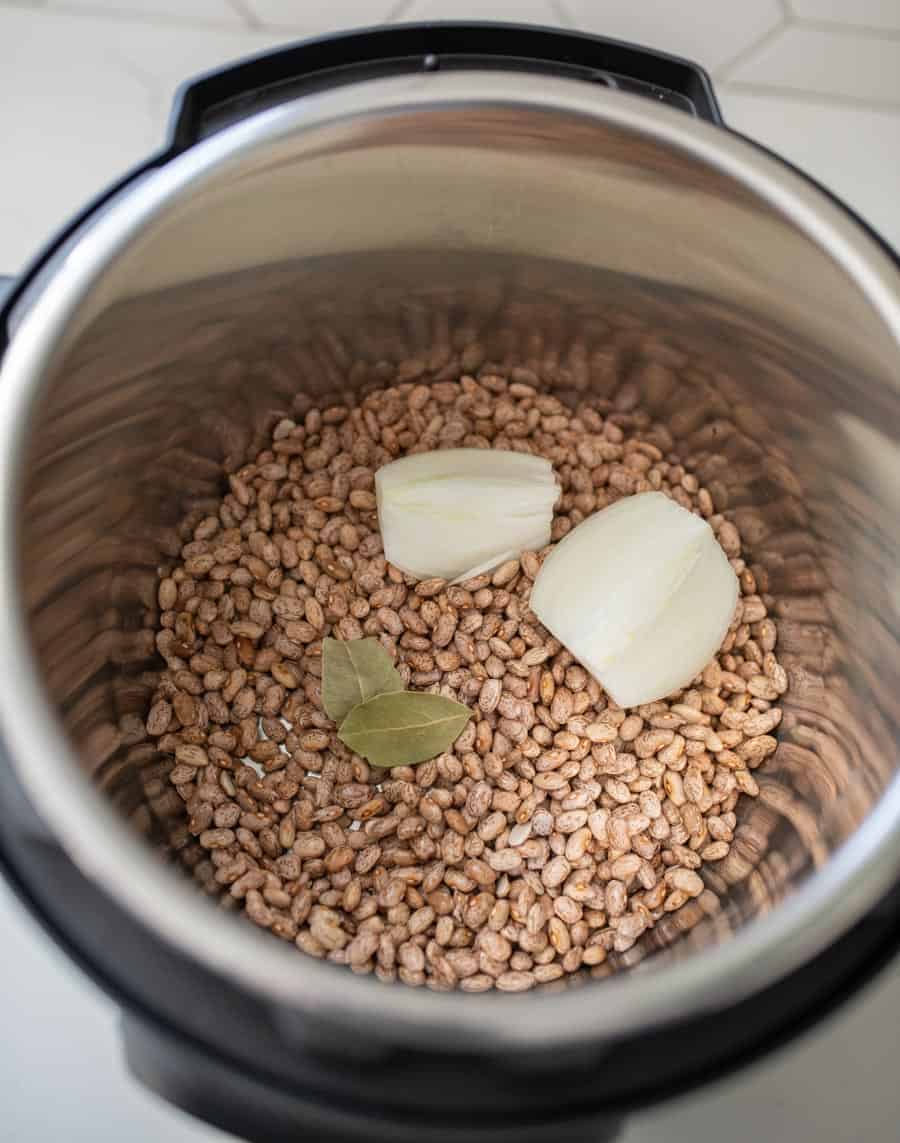
- Add the water and the oil.
- You can add an optional 3 bay leaves, 2 cloves of garlic (no need to peel), and a 1/2 an onion if you’d like. These will add more flavor — great if you are eating these beans as a side. If you are just adding them to something like chili, you don’t really need to add the extras. It’s up to you. Just place them on top of the beans.
- Place the lid onto the pressure cooker, and move the valve to sealing. Adjust the pressure cooker to low pressure and set the timer for 35 minutes*.
- Once the cook time has elapsed, let the pressure cooker do a natural pressure release.
- After the pressure cooker comes down from pressure, remove the lid. If you used the bay leaves, garlic, and onion, use a small spoon or tongs to carefully remove them, and discard.
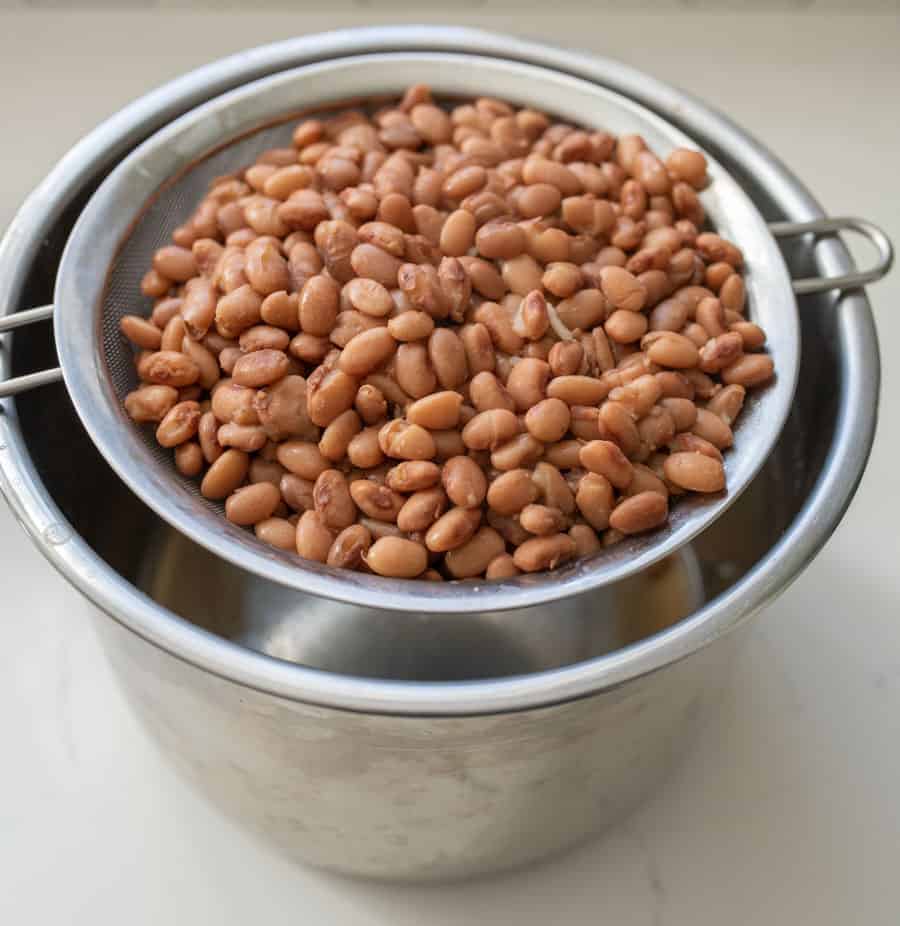
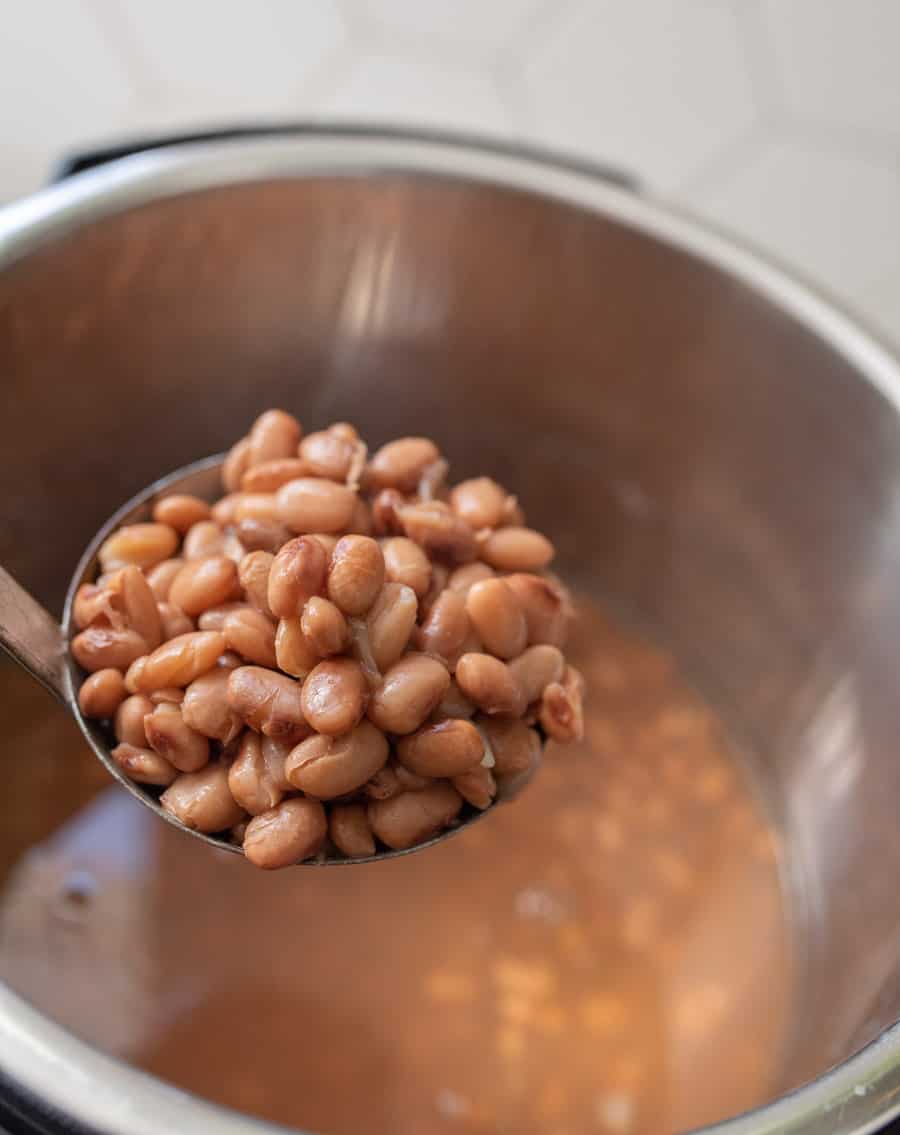
- Drain the extra water off the beans (I dump them into a colander or strainer and let them sit a minute so the extra water drains off well).
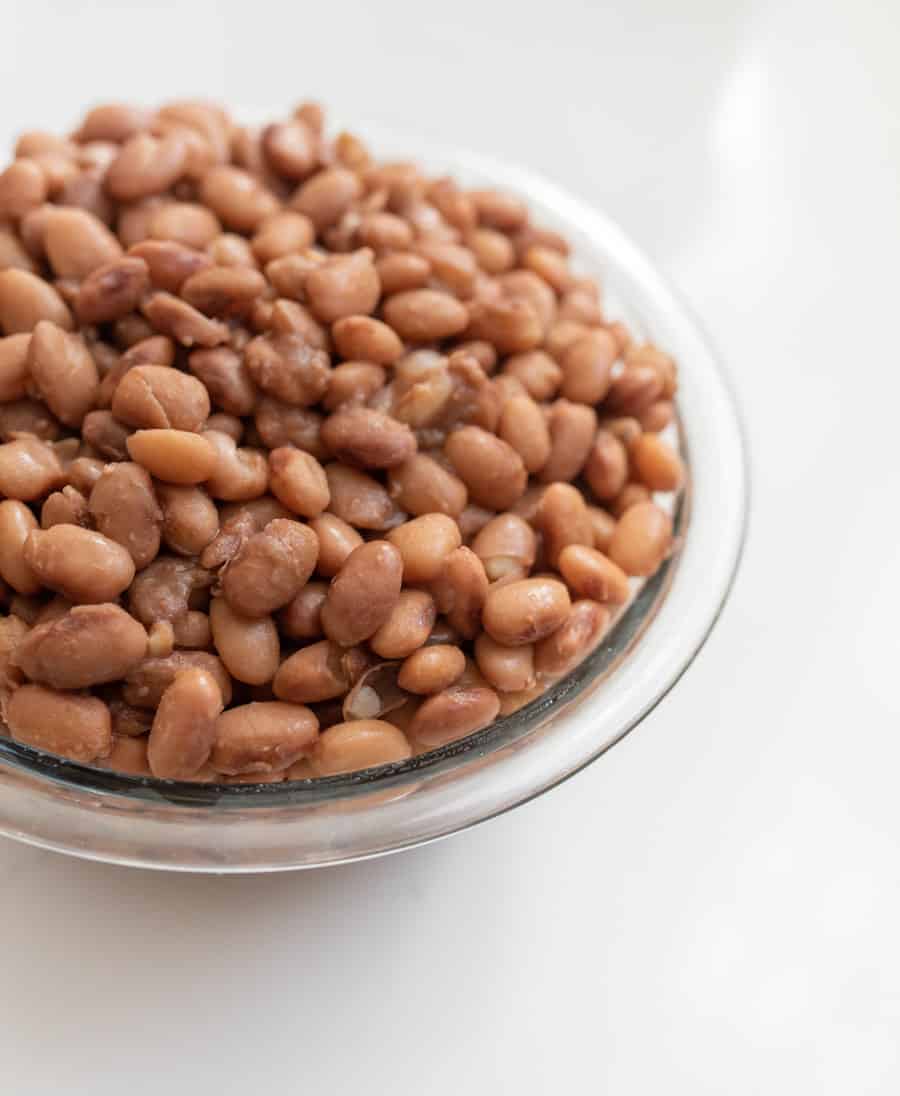
- Add salt to taste if you’d like, and serve warm or use in your favorite recipes that call for canned beans. A scant 2 cups of beans is close to a 15-ounce can.
- Store in an airtight container in the fridge for up to 3 days or in the freezer for much longer.
Notes
- In the picture, I quartered my onion, but it fell apart and was hard to get back out of the beans after they cooked. I would recommend not removing the root end of the onion, cutting it through root to stem, and leaving the half of the onion still all together (root end still attached). You’ll be able to remove it from the pot after cooking much easier.
- *I feel like you have three cooking time options when it comes to beans in the Instant pot. First, you can cook them for 35 minutes, low pressure, and do a natural pressure release. This yields the best tender beans that keep their shape the best, but it’s slow (natural pressure release can take over and hour in itself). They tend to be a bit creamier in the centers too but don’t fall apart. If you have time, this is my favorite bean cooking method (works well for all the kinds of beans I have tried). Two, you can cook the beans for 50 minutes at low pressure and do a quick pressure release. This is faster and the beans are still tender and hold their shape. The third option is to cook them for 35 minutes on high pressure and do a quick pressure release. This is the fastest way, but you end up with a few beans that “blow out,” or split when cooking, and lose some of their shape. I feel like the end result is a little less consistent too, you’ll have a few over-cooked beans and a few barely under cooked beans. Great for making chili or refried beans, but my least favorite way to cook them when eating them as a side.
- I don’t like to soak my beans before putting them in the Instant Pot. They tend to split and fall apart when I soak them first.
- There’s something about beans — they don’t store in the fridge well. They seem to get “the funk” really quickly. You can store beans in the fridge for up to 3 days, but after that use them or move them to the freezer for longer storage. I portion out my beans into 1 to 2 cup servings and freeze them. Then I can pull them out as needed. They thaw and reheat well.


Why does the recipe say that it will take 2 hours but looks like even with low pressure slow release option the most it would take is 40-45 minutes.? Am I missing something?
I just checked on that and you are right, I think my 8 quart would take closer to an hour so I put that. I think about 10 minutes to come to pressure, 35 to cook and another 15 to naturally release sounds closer than the 2 hours I had written down. Thanks for asking Chyloe!
I finally took the plunge and decided that I would cook dry beans in my Instant Pot instead of using canned chili beans. I was worried that I would not be able to pull off the flavor profile but now I wish I hadn’t waited so long to do this. I like it so much better, and it will save me so much money. My beans didn’t hold their shape as well as yours seem to have so I will try a few minutes less next time, but it was perfect for my chili. I am already thinking of what I might try next. Thanks for the great recipe and encouragement for all of us “messy mommas”. Bless this mess indeed lol
Next time I cook some beans I will try the low pressure method….I’ve always done various beans on high pressure. Blow outs happen! Once cooled, I spread a single layer onto a cookie sheet and freeze for 4-6 hours. Now frozen, I can bag them up and store them in the freezer…..by freezing a layer at a time, the beans stay loose in the bag so its easy to scoop out what I need for recipes down the road. No more canned beans in this house!