This post may contain affiliate links. Please read our disclosure policy.
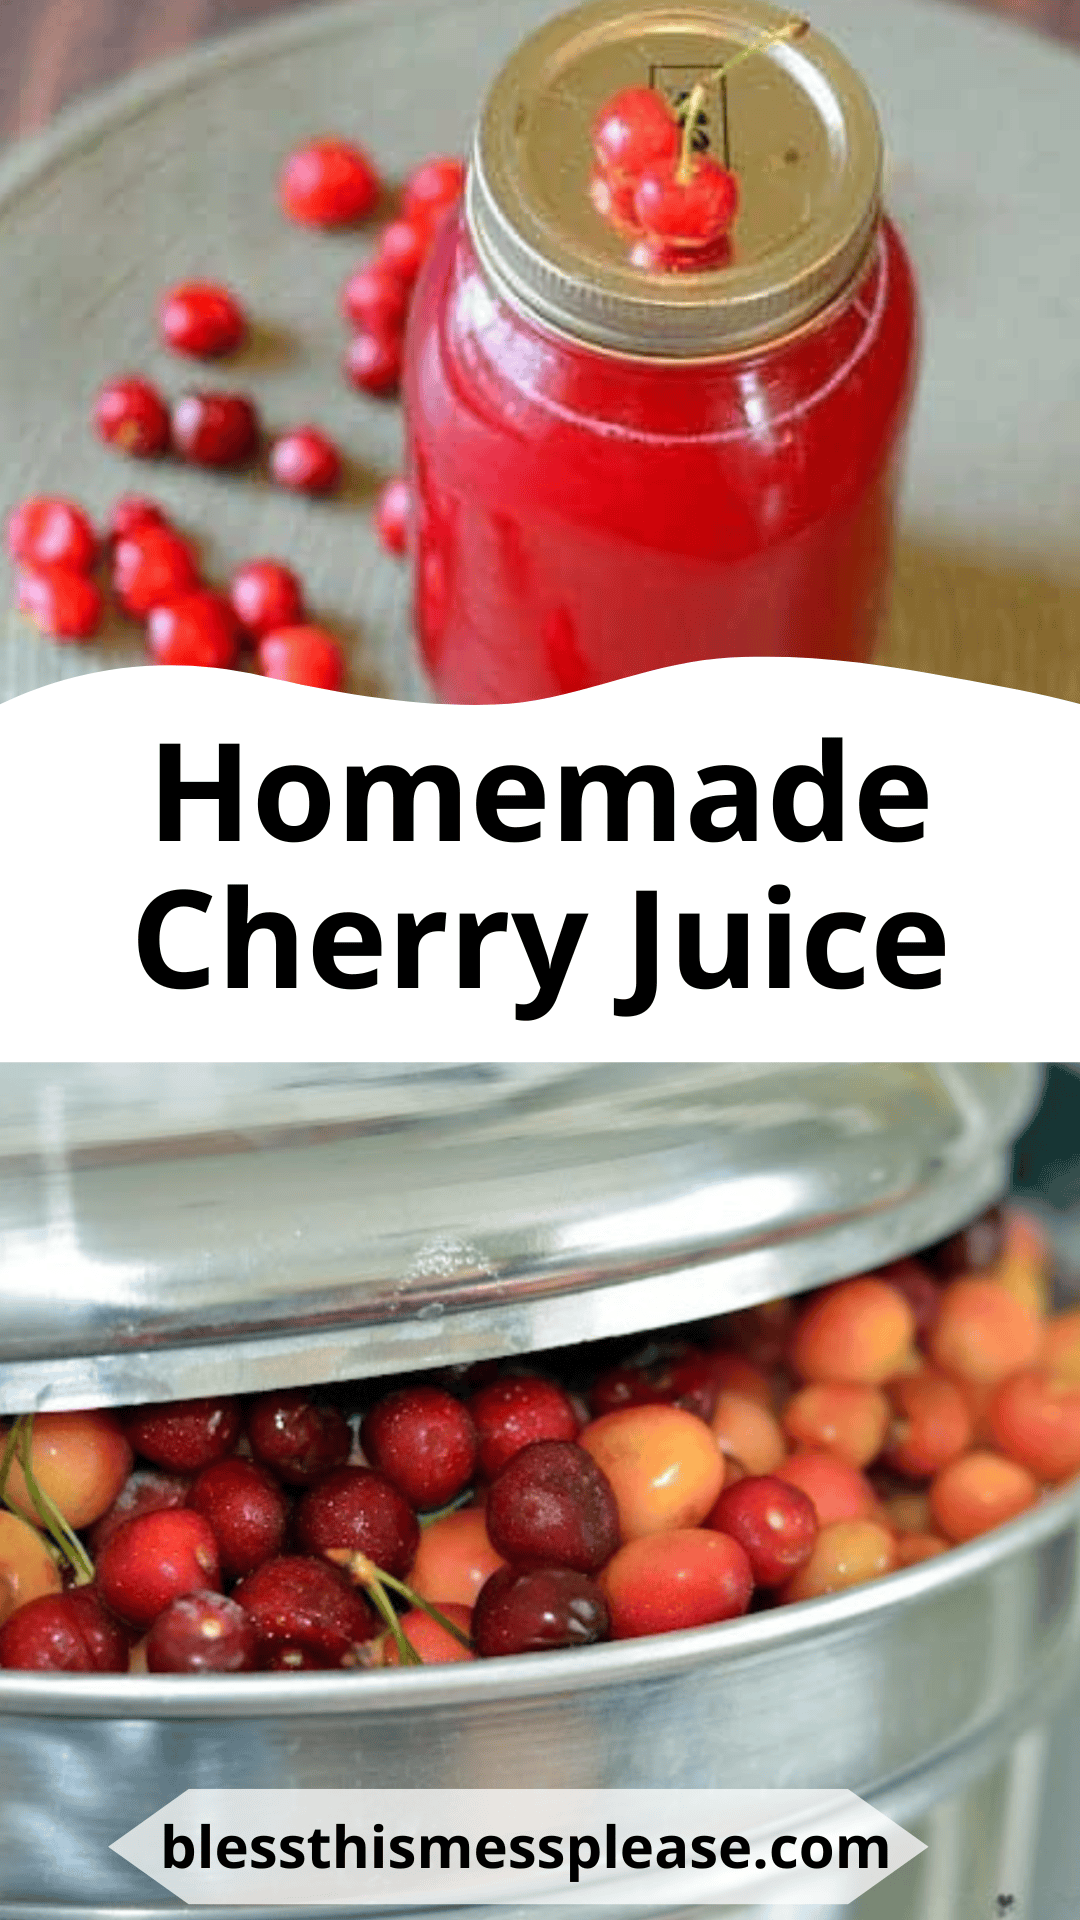
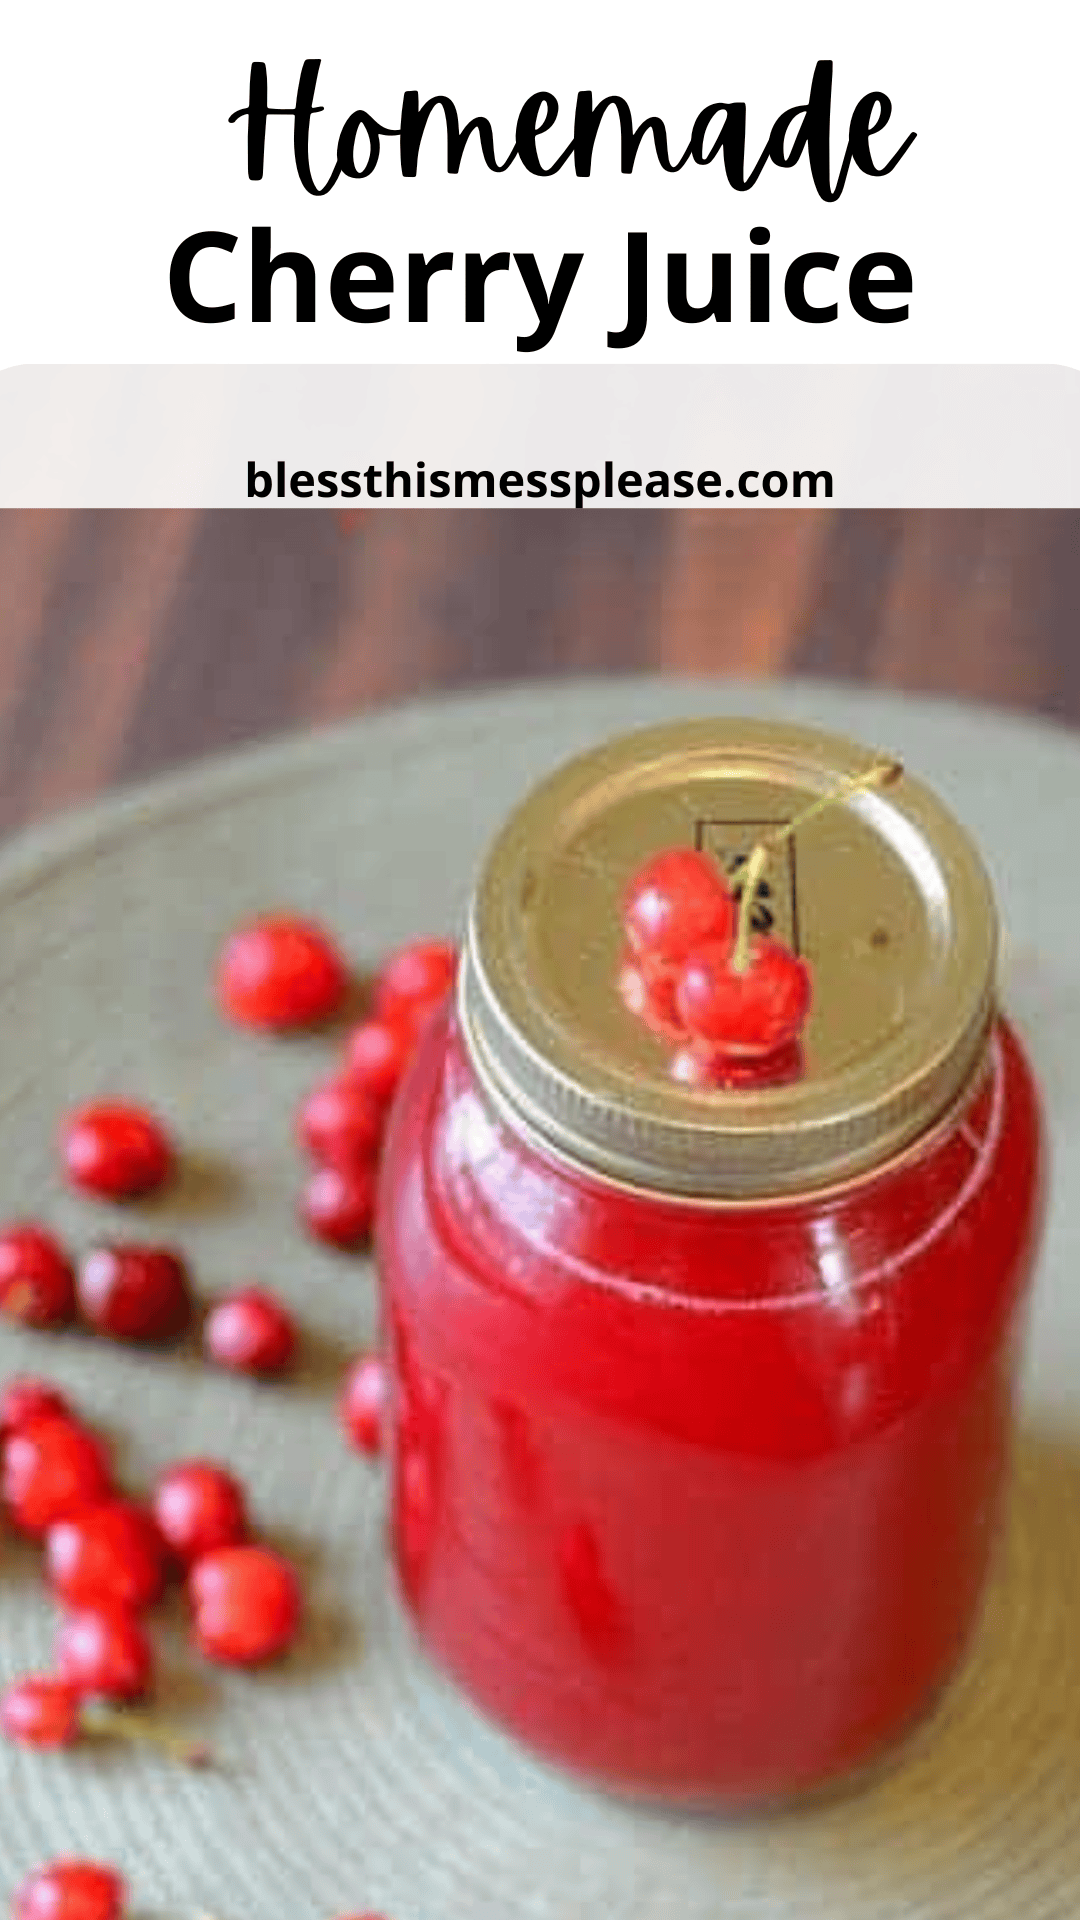
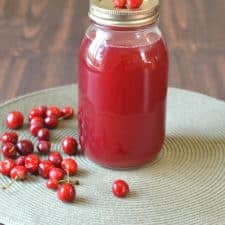
This is a quick and easy tutorial on how to make a homemade Cherry Juice Recipe with a steam juicer. We love this healthy cherry juice made from real cherries, and use it all winter long. It’s a great way to use up the excess harvest and keep your whole foods pantry stocked with no-sugar-added juice!

Whenever we have a bumper crop of cherries I dry some, make preserves and jelly with others, and usually still have gallons and gallons left. I’ve found that one of the easiest ways to use up the cherry harvest is to juice them!
There is very little work involved with steam juicing; you don’t even have to remove the pits! The juicer is totally worth the monetary investment of a steam juicer if you own a cherry tree or grape vines. We love making homemade cherry juice and homemade grape juice with out steam juicer each year.
I love cherries and they are great in a variety of dishes such as my crumbles, energy bites, and waffles. I even use this to make homemade kombucha, and it’s such a great treat mixed in with some lemon-lime soda!
Table of Contents

Why You’ll Love This Cherry Juice Recipe
- Abundant Harvest: Making juice with a steam juicer is a very quick and easy way to use up any extra cherries.
- Stock The Pantry: You’ll have more than enough cherry juice to last all winter long. Nothing tastes better than opening a bottle of summer in the cold of winter!
- So Easy: Juicing in a steamer is seriously easy. Pitting the cherries is not required, and you can do a large batch at once.
- Multiple Uses: Cherry juice, like other fruit juices, has so many uses, such as making syrups and jam, flavoring other foods like cakes and kombucha, and even drinking straight from the jar!
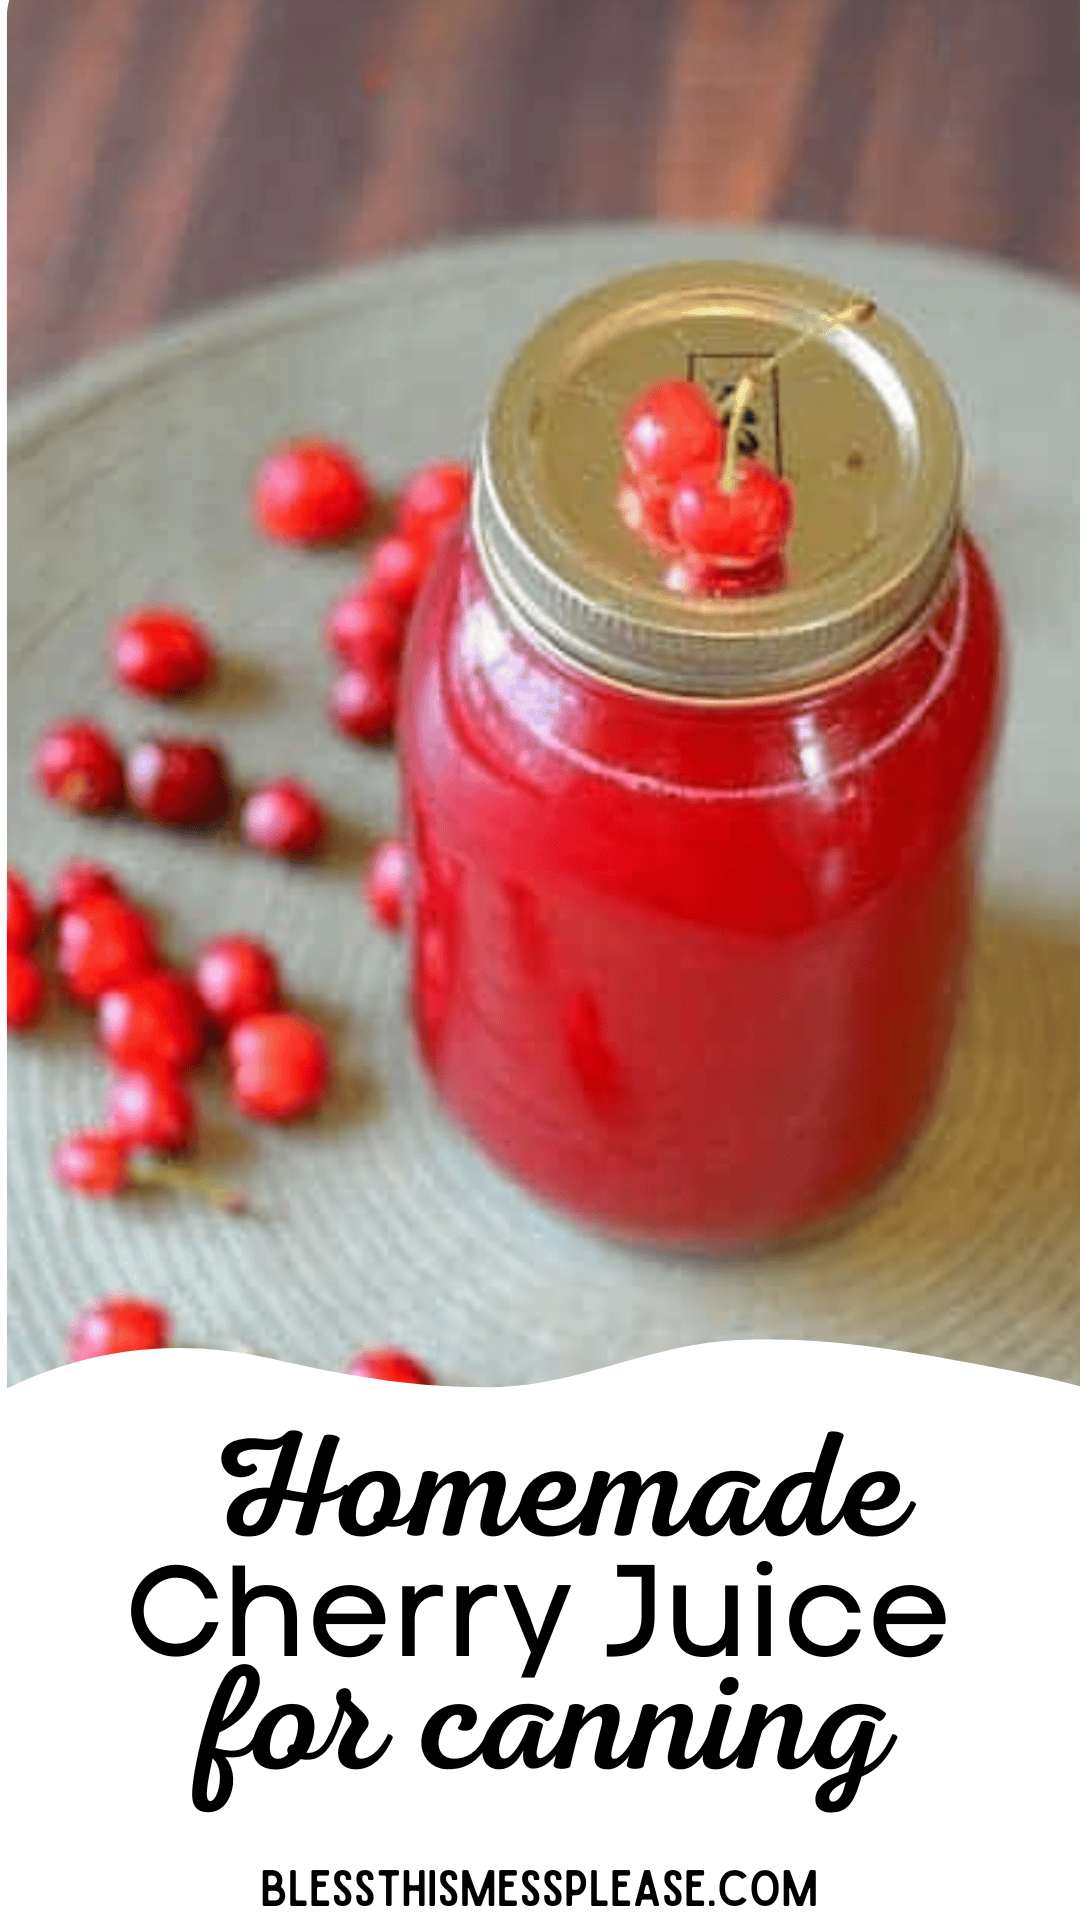
🫙 I highly encourage you to try your hand at canning — a well-stocked pantry with home-canned foods is such a treat!
Recipe Ingredients
- Cherries — at least 1 gallon
- Steam juicer
See the recipe card below for full information on ingredients and quantities
How to Make Cherry Juice With A Steam Juicer
Step 1: Wash and sort the cherries, removing any rotten ones and leaves. No need to pit or remove stems.
Step 2: Set up your steam juicer according to instructions and fill the hopper with cherries.
Step 3: Steam the cherries for about an hour, ensuring the steamer has enough water. Discard the steamed cherries and repeat with more cherries if needed.
Step 4: Process the juice in a hot water bath to seal.
Recipe FAQs
If you’ve never seen or used a steam juicer, then I’ll enlighten you. They are amazing things that are easy to use, clean, and a great way to use lots of fruit. I suggest getting a stainless steel steamer, as it will likely last a lot longer and there’s some interesting reading on how the use of aluminum in cooking might affect your health. That’s my two cents, but I have used both aluminum and stainless steel and they both work great.
Boiling water on the bottom comes up through a hole and then goes through lots of little holes in the basket the fruit sits in. The steam releases the juice that collects (where #3 is pointed) and it runs out a tube.
Really any cherries will work! If you want a naturally sweet juice, then sweet cherries like Bing are best. For a tarter juice, use cherries that are less sweet. I think the best cherry juice is made by mixing different varieties so the sweet and tart balances out!


Expert Tips
- Balanced Flavor: Mix different cherry varieties to achieve a more balanced juice flavor. The sweeter cherries will balance out the super tart juice.
- Water Level: Regularly check the steamer’s water level to prevent it from drying out. Add more water as needed.
- Sweet If Needed: If you prefer sweeter juice, add sugar to taste after steaming.
- Multiple Uses: While you can drink cherry juice simply as juice, it can also be used in other recipes like jelly or syrup for added versatility.

Some Of My Favorite Canning Recipes For A Stocked Pantry
Having home canned jars in my pantry makes me feel very accomplished and is such a great way to use up any abundance of fruits and vegetables.
- Canning Basics: Once you know the basics of canning it will be a skill that you can use and teach to others for the rest of your life.
- Pickling Peppers: This comprehensive guide will help you create delicious, shelf-stable pickled peppers perfect for enjoying throughout the year.
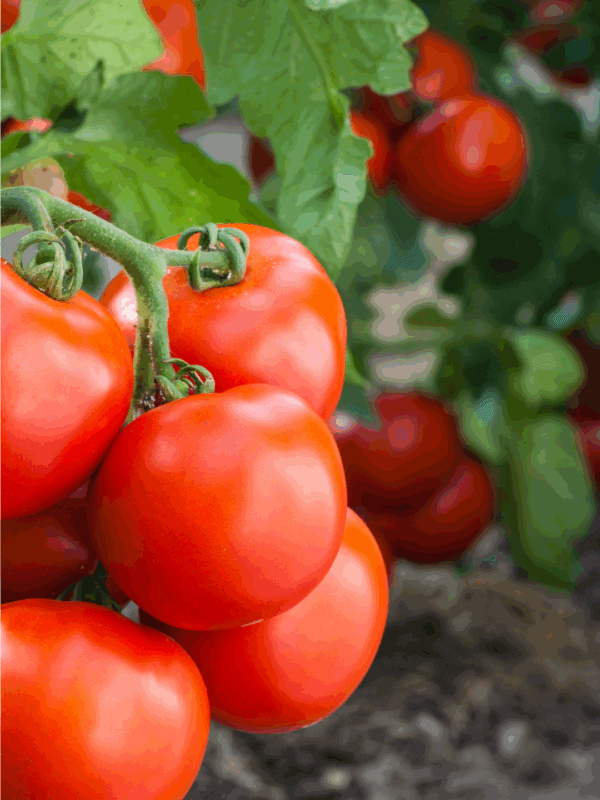
- Home Canned Tomatoes: A taste of summer all winter long by home canning tomatoes at the peak of their season!
More Preserving Recipes to Consider
Preserving Guide
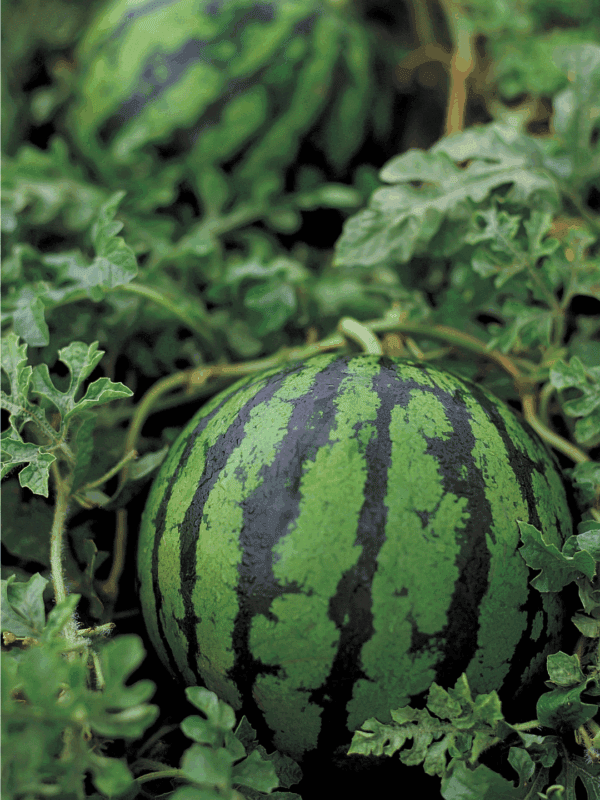
How To Preserve Watermelon
Preserving Guide
How To Preserve Tomatoes

Preserving Guide
How To Preserve Sweet Potatoes
Preserving Guide
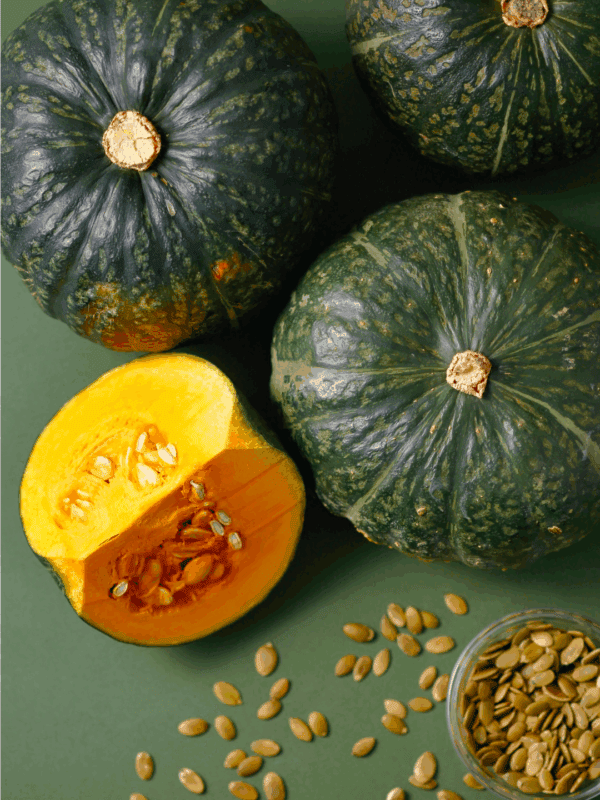
How To Preserve Winter Squash
Did you make this recipe? Leave a ⭐️ review and share it on Instagram, Facebook, or Pinterest!
Homemade Cherry Juice Recipe
Equipment
Ingredients
- Lots of cherries, at least 1 gallon
Instructions
- Wash and sort your cherries, no need to pit or remove stems. I do like to pick out the ones that are rotten and any leaves that might get mixed in.
- Get the steam juicer washed and set up according to instructions. Fill the hopper with your cherries. If you are using more than one type, mix them as you add them to get a more consistent juice flavor.
- Let them steam for an hour, making sure the bottom of the steamer doesn’t run out of water. The hopper full of cherries produces about four quarts of juice. If you have more cherries to do, throw out (compost or feed it to your chickens) the steamed cherries before doing your next batch.
- Process the juice in a hot water bath for 15 minutes (for quarts) for us high elevations and 10 minutes for you low-lyers.
Notes
- Sugar can be added to the juice to make it sweeter; just do that to taste.
- I used the juice for jelly and cherry syrup and to add to other drinks for flavoring.
- This juice is so good with lemon-lime pop and is well-received at any type of party or get-together.
- Be sure to watch the water level of your steamer and add more as needed.


I have a Victorio Steam Juicer and a thicket/hedgerow of Dwarf Sour Cherries with a crop of hundreds of pounds. This recipe has been a real help in processing them. Thankyou!
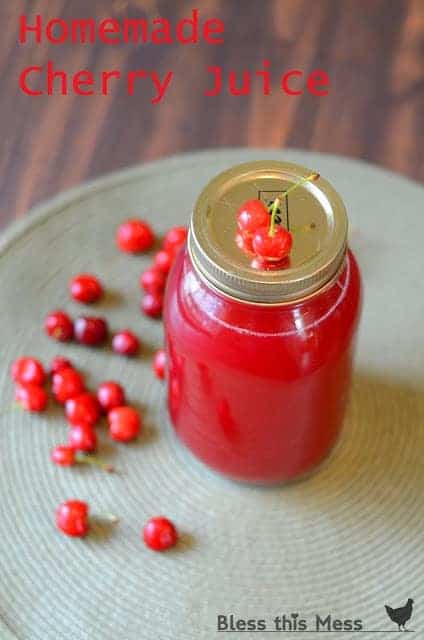
And isn’t the juice lovely??
We have Romeo and Juliet cherries and we were so glad to find these instructions for juice.
CAN U FREEZE THE CHERRY JUICE IN PLASTIC CONTAINERS INSTEAD OF BATHING THEM IN GLASS BOTTLES???
Yep that should work great!