This post may contain affiliate links. Please read our disclosure policy.
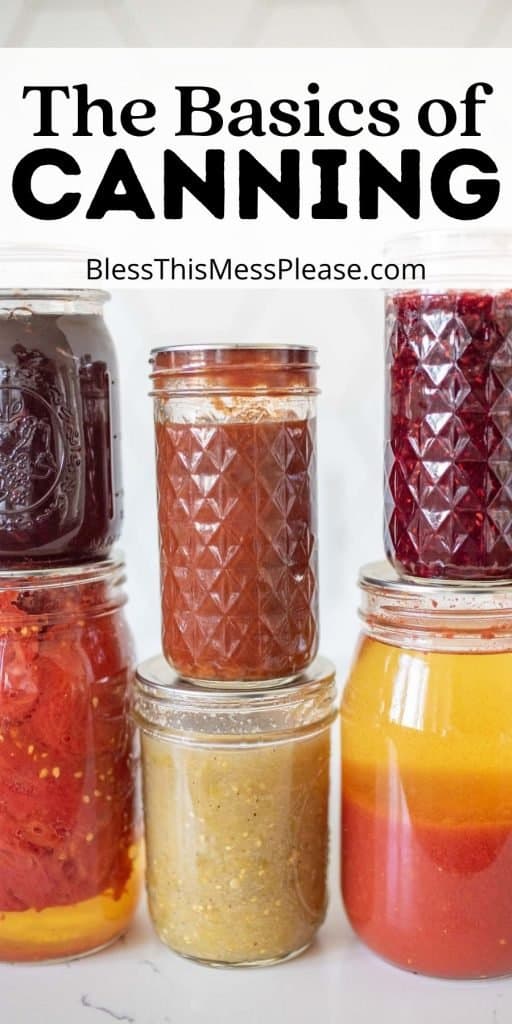

Are you someone who hears the word “canning” and goes running?! I know tons of people that have never tried to can food because they think the learning curve is too steep and that it’s too advanced for them. I’m here to tell you- EVERYONE can learn to can food! I’m going to teach you the basics of How to Can Food.

Once you know the basics of canning it will be a skill that you can use and teach to others for the rest of your life. I think the person that said, “Give a man a fish and you feed him for a day; teach a man to fish and you feed him for a lifetime” was also referring to canning.
Table of Contents
Why You’ll Love This Recipe
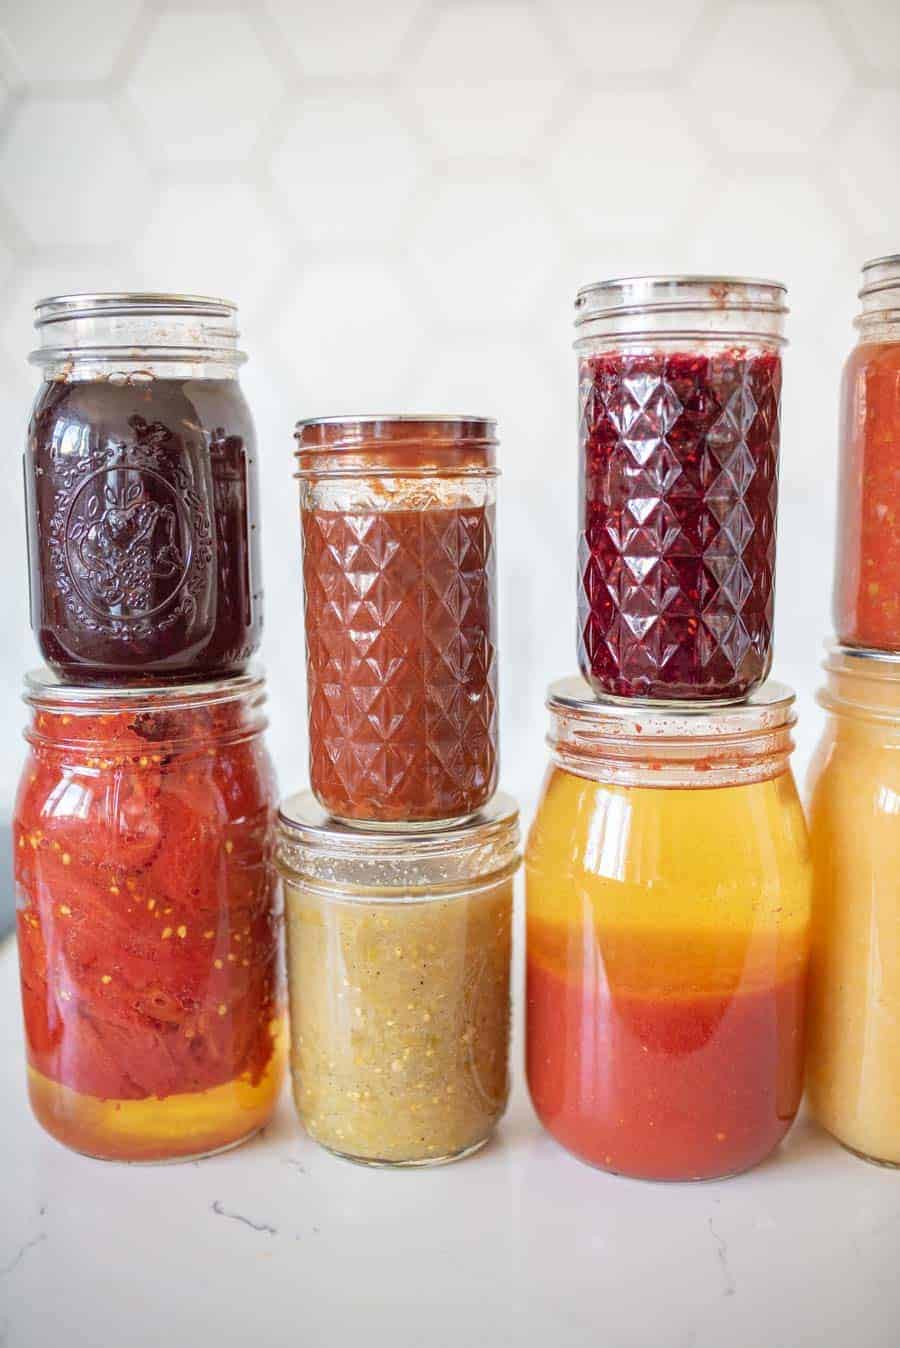
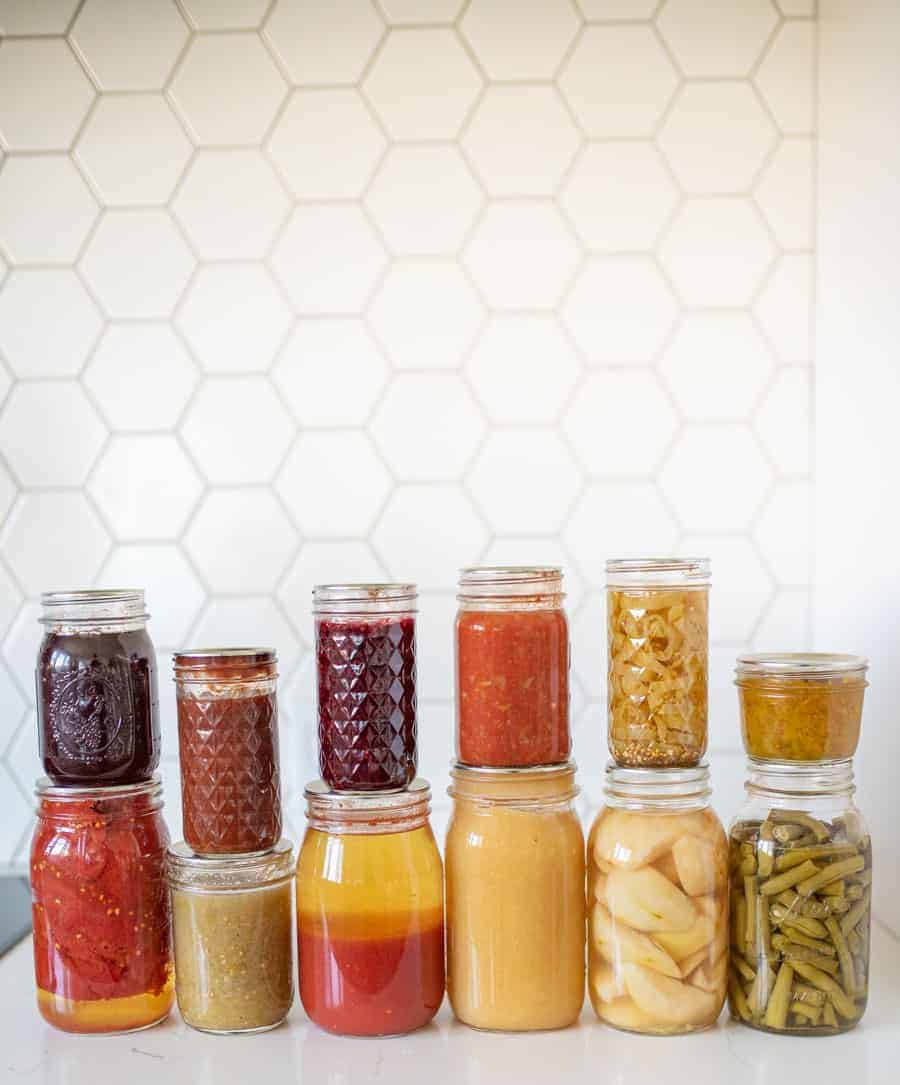
- Empowerment: It is so satisfying to preserve food then look at it sitting there and think “I did that!”
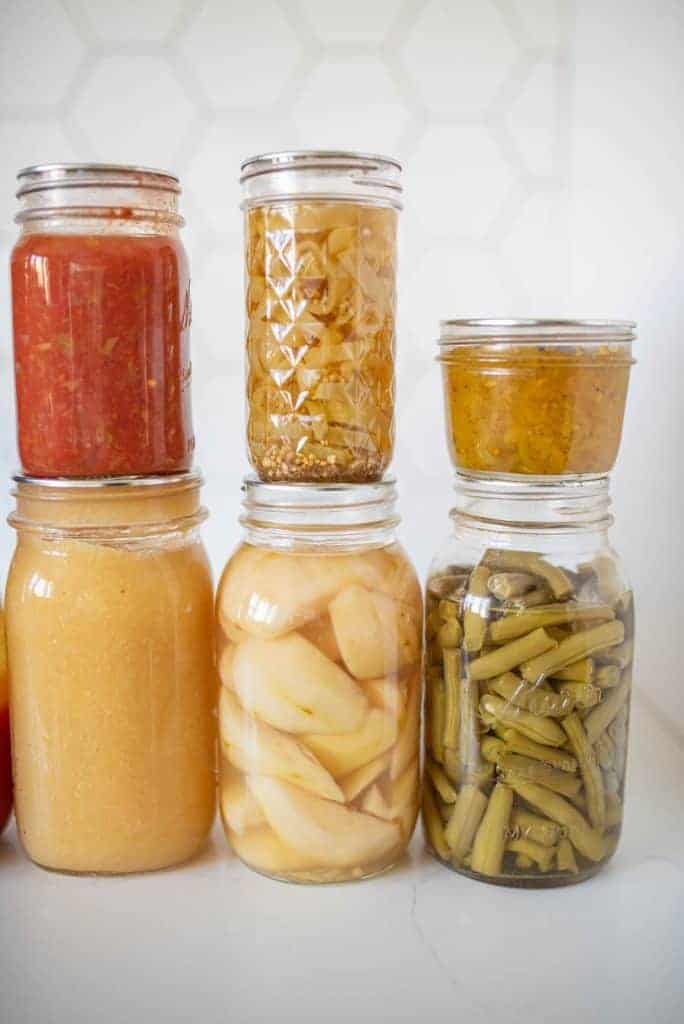
- Flavor Preservation: Canning helps preserve the flavor and texture, so you can enjoy the taste of summer fruits and vegetables even in the middle of winter.
- Customization: When you can your own food, you can customize recipes to suit you and your family’s taste preferences and dietary needs.
What types of canning are there?
The main two types of canning are water bath canning and pressure canning. Water bath consists of low temperature canning for high acidic foods. Water bath canning is good for fruit, jam, salsa, tomatoes, pickles, vinegar and condiments among other things. Basically, it is a process of using high temperature for a specific amount of time to create a vacuum seal so that you food is preserved. With this method you need no special equipment besides cans.
Pressure canning is a method to preserve low acidic food such as meat and vegetables. In this process, you use a special pressure canner (no, not the same thing as a pressure cooker).
I’m going to focus on water bath canning for this basic tutorial.
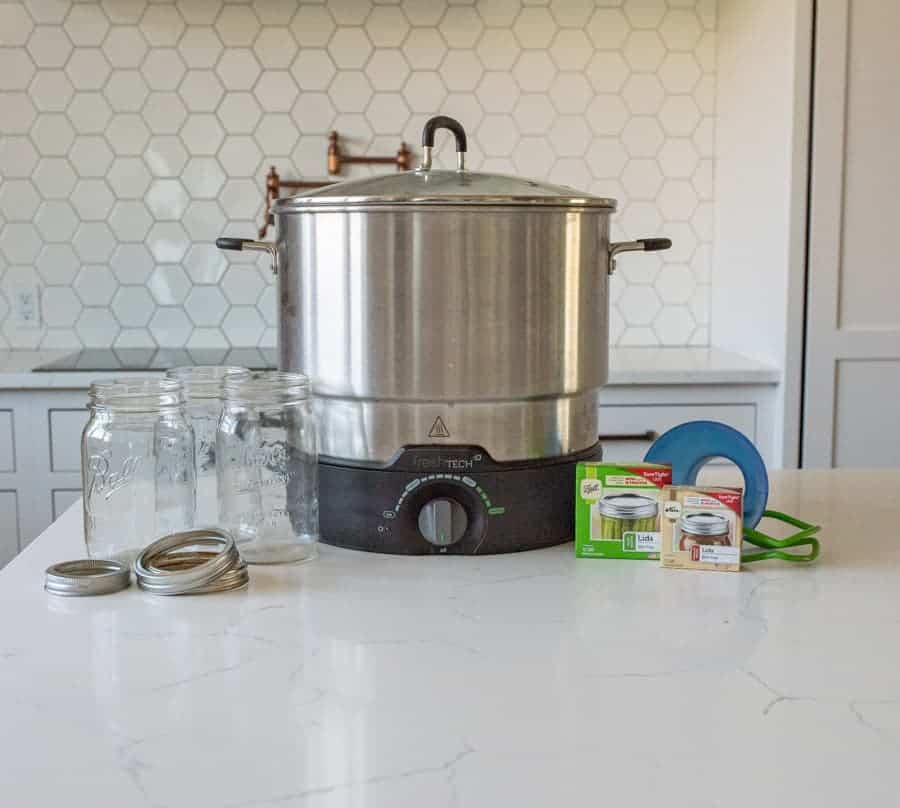
Supplies for Water Bath Canning
There aren’t many specialty items needed for this type of canning, which is great! You probably have most of it in your kitchen already.
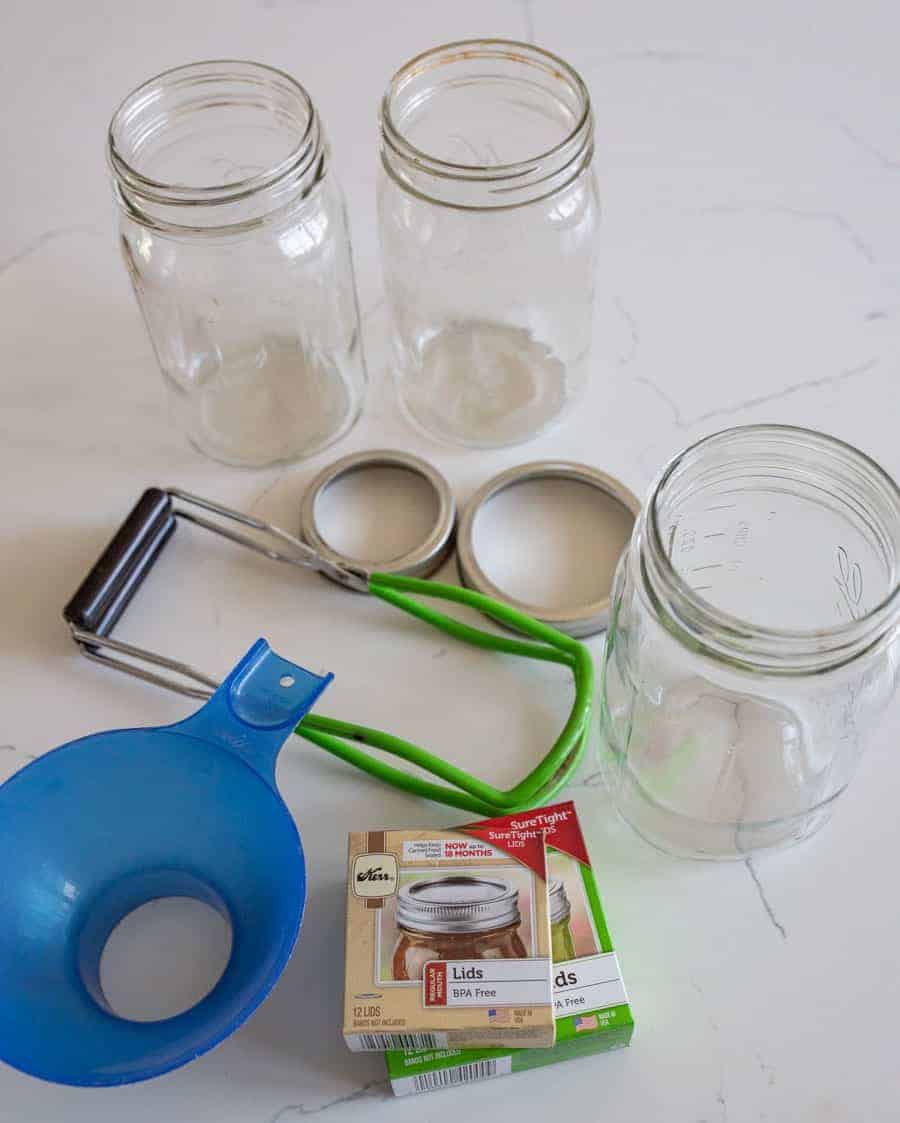
Jars: These might be tricky to find right now, but you can usually find jars at most big box stores. They are fairly inexpensive and super easy to use. Most recipes use pint or quart sized jars.
Two Piece Canning Lids: Your jars should come with the lid and ring but you can also purchase these separately if you are reusing old jars.
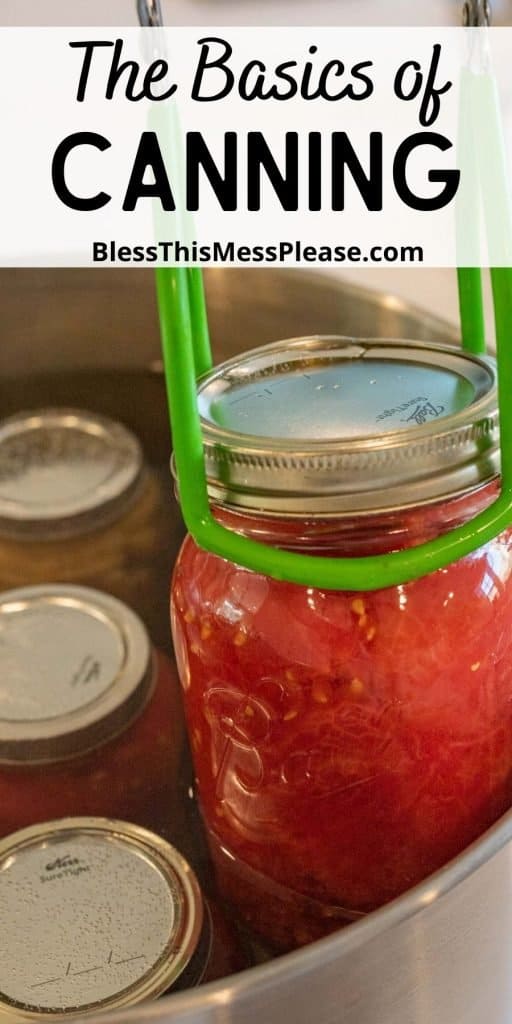
Jar lifter: This jar lifter is another essential item. This makes getting the wet jars out of boiling water soooo much easier.
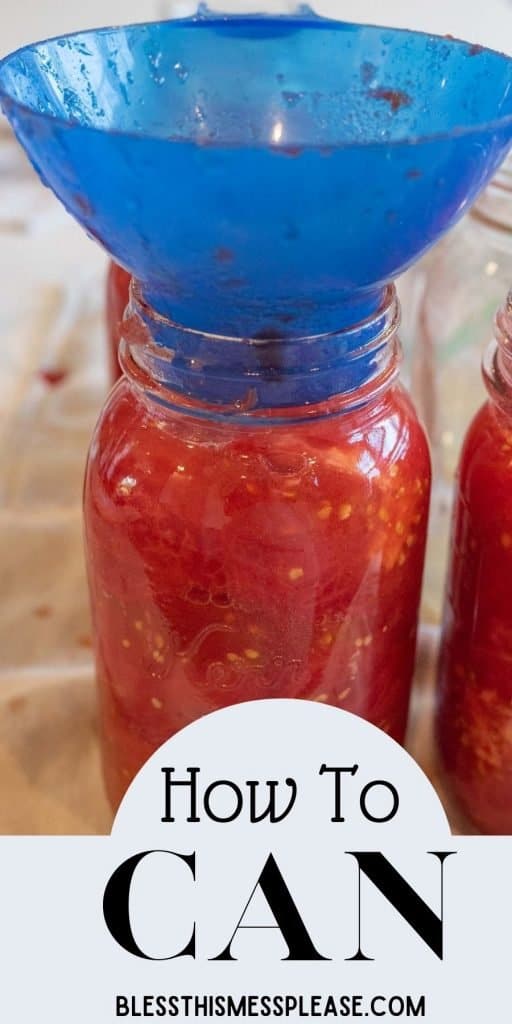
Funnel: Using a canning funnel will make your project a lot less messy. It will make transfer food to the jars really streamlined.
Big Pot or Canner: You will need a large sized pot with a lid. Make sure it is big enough to fit your canning jars while leaving some room for water to cover them. You also need a canning wrack which is a wire rack for the bottom of the pot that keeps the jars from touching the bottom of the canner/pot (this helps the jars to not break while processing). You can almost always find a big canner at the thrift store or by asking around on Facebook!
You will also need a knife, towels, bowls, cutting board– things you already have, for whatever you are canning.
Now that you are fully equipped, let’s go over the steps!
Here’s how to can!
Step 1. Wash you jars thoroughly with hot soapy water, rinse, and set aside.
Step 2. Next step is to put the canning rack in the bottom of a water bath canner. Fill the canner/pot half full with warm water.
Step 3. Fill your jars up with hot tap water (no need to add a lid), use the jar lifters to set the jars in the canner. This step sterilizes the jars and warms them up. Make sure the jars are covered by 1 to 2 inches of water, adding warm water to the pot as needed. Turn on the heat to low- medium. We don’t want the water boiling yet.
Step 4. Now it’s time to prepare the food you are canning. This could include mashing, peeling or coring and chopping depending on what you are canning. If you are new to canning get a book! The Ball Blue Book is my go to canning guide for basic recipes. There’s a few different editions, the 2004 is my favorite one. You can also visit the National Center for Home Food Preservation website. It’s full of the basic recipes you need for canning.
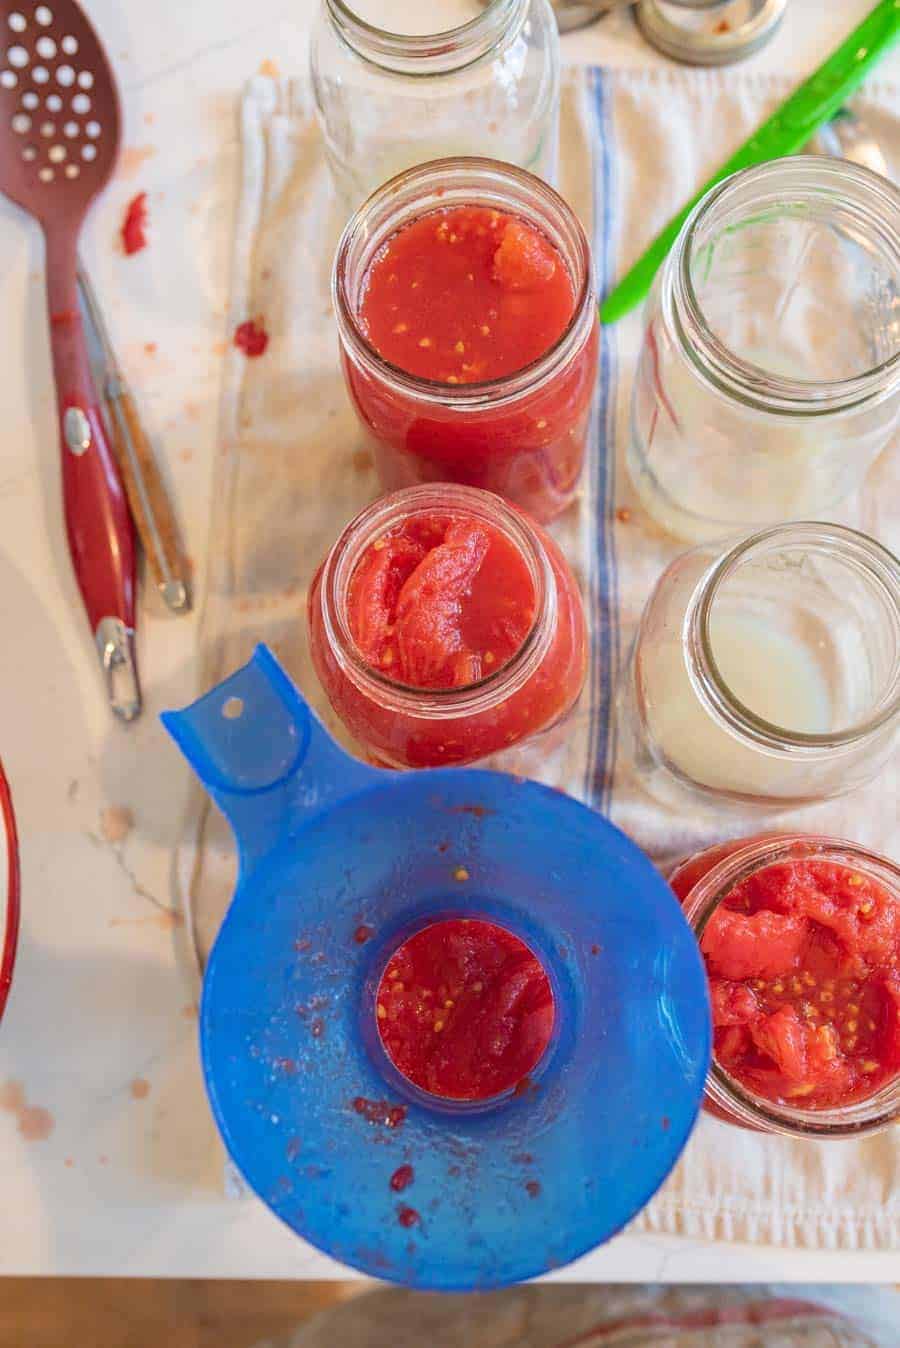
Step 5. Once your recipes/food is ready, it’s time to fill those jars up using the approved recipes. Using the jar lifter, take one jar out of of the warm water, pour the warm water back into the canning pot, and put the warm jar down on a clean dish towel.
Step 6. Use your canning funnel and a ladle your food in the jar.

Step 7. It’s time to check for the headspace now. The headspace is the amount of space between the food and the top of the jar. This is an important step in preserving food. Remove the funnel and take a peak at how much space there is between the top of the food in the jar and the top of the jar. There should be about 1/2 inch of space at the time but all recipes vary, so be aware of that.
Step 8. Once the jar is filled properly, wipe down the mouth of the jar with a paper towel or damp cloth. If you leave some residue, this could make the lids not seal.
Step 9. Next, place a clean flat lid piece on the jar and screw on the ring (just wash the lids in the hot soapy water you washed the jars in). Be sure not to over tighten because this could ruin the seal as well, just tighten without adding too much pressure.
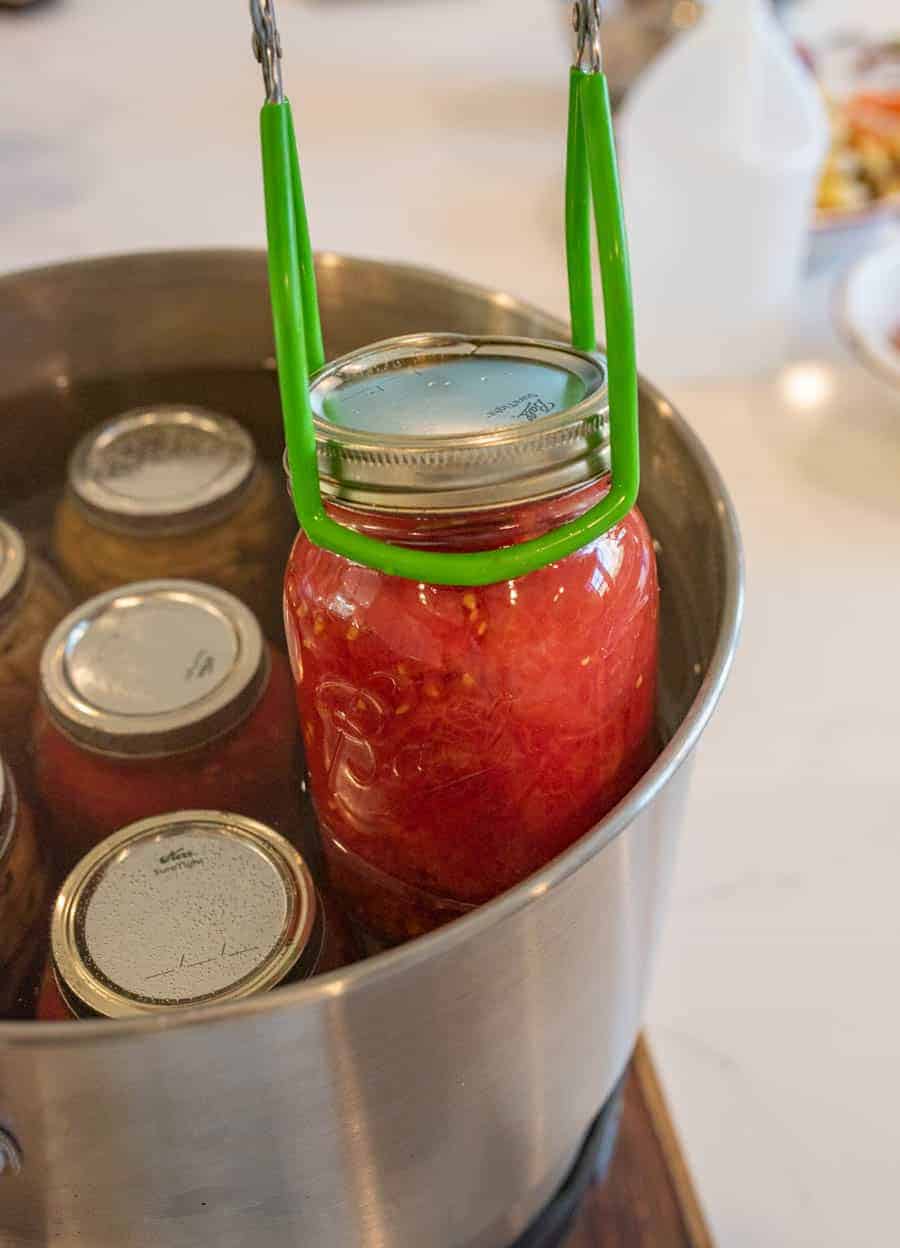
Step 10. Once the lid is on, use the jar lifter to lower back into the canner/pot. Continue until all of you jars are filled.
Step 11. We’ve made it to the processing step. Now that all of your jars are in the canner, put the lid on top and bring the water to a vigorous boil. Each recipe will tell you a specific processing time so follow that. Processing time does not start until the water is at a rolling boil.
Step 12. When the timer goes off for the recommended boiling time, turn off the heat and remove the canner lid. Wait 5 minutes before removing the jars.
Step 13. Now it’s safe to move the jars to a thick towel or a cutting board. Use the jar lifter and place the jars a few inches apart so they can cool at an even rate. The rings may not be as tight but don’t tighten them just yet.
Step 14. This is sometimes the stressful step-waiting for the cooling jars to make the “pop” sound indicating that they are sealed. The jars will be full cooled within 6 or so hours, but sometimes they’ll seal within 30 minutes. You can check each jar to make sure it is properly vacuumed sealed by pressing on the center of the lid after a few hours. If the lid flexes at all, it is not properly sealed. You can still use that food but if won’t be shelf stable. Put any unsealed jars in the fridge and use those first.
Step 15. Store: Wipe off any remaining residue, label and then store the sealed jars in a cool, dry place.
Frequently Asked Questions
Well, let me tell you a few of my favorite reasons:
It is a healthy option to feed my family. I know exactly what is going into the food that I’m preserving. You never really know what is in that store bought can of tomatoes!
Financially speaking, canning makes sense. Growing your own food or buying locally then preserving it is a great way to fill your pantry while keeping costs low.
Taste is another big reason to can your food. There is nothing like a homegrown tomato or homemade jam on a slice bread fresh out of the oven. Canning your own food just tastes so much better.
I also love to give the gift of canning to friends or neighbors. It is an inexpensive way to show how much someone means to you.
So many possibilities with canning: fruits, pie filling, vegetables, chicken, salsa, jelly- the list is really long!
The National Center for Home Food Preservation recommends that canned food should be used within 1 year of original canning date. Using canned food in that time frame will ensure that your food tastes the best.
You want to go to trusted sources. There are lots of recipes out there but not all of them are safe. Here are some good ones:
National Center for Home Food Preservation
Clemson University Home and Garden Information Center
Ball Blue Book Guide to Preserving
USDA Complete Guide to Home Canning
More Canning Recipes to Consider
Preserving Guide
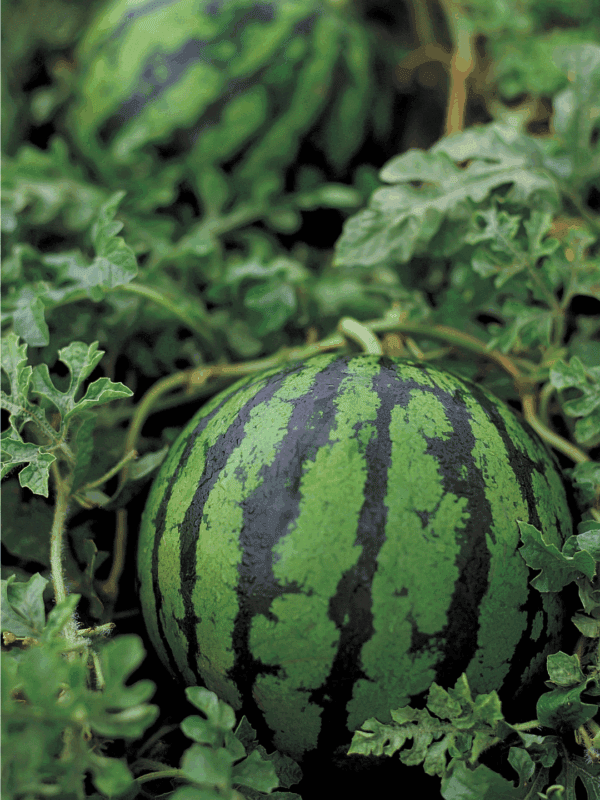
How To Preserve Watermelon
Preserving Guide
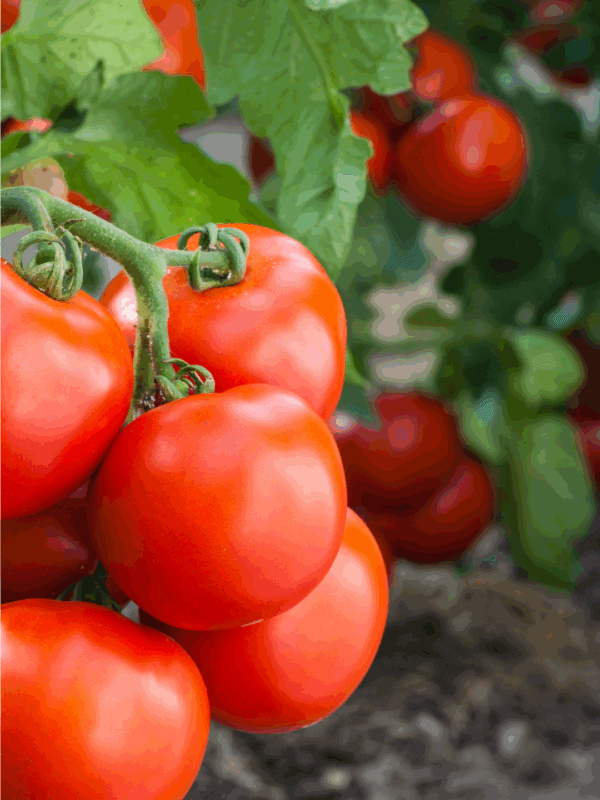
How To Preserve Tomatoes
Preserving Guide
How To Preserve Sweet Potatoes
Preserving Guide
How To Preserve Winter Squash
Did you make this recipe? Leave a ⭐️ review and share it on Instagram, Facebook, or Pinterest!
How to Can Food: Learn the Basics
Ingredients
- Anything from the recipe! This is for water bath canning, (so it's great for jams, jellies, fruit, tomato products, water bath salsa recipes, pickles and more!)
- Use approved recipes, (see notes for details)
Instructions
- Wash you jars thoroughly with hot soapy water, rinse, and set aside.
- Next step is to put the canning rack in the bottom of a water bath canner. Fill the canner/pot half full with warm water.
- Fill your jars up with hot tap water (no need to add a lid), use the jar lifters to set the jars in the canner. This step sterilizes the jars and warms them up. Make sure the jars are covered by 1 to 2 inches of water, adding warm water to the pot as needed. Turn on the heat to low- medium. We don’t want the water boiling yet.
- Now it’s time to prepare the food you are canning. This could include mashing, peeling or coring and chopping depending on what you are canning. If you are new to canning get a book! The Ball Blue Book is my go to canning guide for basic recipes. There’s a few different editions, the 2004 is my favorite one. You can also visit the National Center for Home Food Preservation website. It’s full of the basic recipes you need for canning.
- Once your recipes/food is ready, it’s time to fill those jars up using the approved recipes. Using the jar lifter, take one jar out of of the warm water, pour the warm water back into the canning pot, and put the warm jar down on a clean dish towel.
- Use your canning funnel and a ladle your food in the jar.
- It’s time to check for the headspace now. The headspace is the amount of space between the food and the top of the jar. This is an important step in preserving food. Remove the funnel and take a peak at how much space there is between the top of the food in the jar and the top of the jar. There should be about 1/2 inch of space at the time but all recipes vary, so be aware of that.
- Once the jar is filled properly, wipe down the mouth of the jar with a paper towel or damp cloth. If you leave some residue, this could make the lids not seal.
- Next, place a clean flat lid piece on the jar and screw on the ring (just wash the lids in the hot soapy water you washed the jars in). Be sure not to over tighten because this could ruin the seal as well, just tighten without adding too much pressure.
- Once the lid is on, use the jar lifter to lower back into the canner/pot. Continue until all of you jars are filled.
- We’ve made it to the processing step. Now that all of your jars are in the canner, put the lid on top and bring the water to a vigorous boil. Each recipe will tell you a specific processing time so follow that. Processing time does not start until the water is at a rolling boil.
- When the timer goes off for the recommended boiling time, turn off the heat and remove the canner lid. Wait 5 minutes before removing the jars.
- Now it’s safe to move the jars to a thick towel or a cutting board. Use the jar lifter and place the jars a few inches apart so they can cool at an even rate. The rings may not be as tight but don’t tighten them just yet.
- This is sometimes the stressful step-waiting for the cooling jars to make the “pop” sound indicating that they are sealed. The jars will be full cooled within 6 or so hours, but sometimes they’ll seal within 30 minutes. You can check each jar to make sure it is properly vacuumed sealed by pressing on the center of the lid after a few hours. If the lid flexes at all, it is not properly sealed. You can still use that food but if won’t be shelf stable. Put any unsealed jars in the fridge and use those first.
- Store: Wipe off any remaining residue, label and then store the sealed jars in a cool, dry place.
Notes
- The Ball Blue Book is my go to canning guide for basic recipes. There’s a few different editions, the 2004 is my favorite one. You can also visit the National Center for Home Food Preservation website. It’s full of the basic recipes you need for canning.
- Water bath canning is for jams, jellies, fruit, tomato products, water bath salsa recipes, pickles and more! These are high acid foods. Water bath canning is not for low acid foods or mixed foods like green beans, potatoes, soups, meat, or broths.
- Canning is so fun but it is also a skill that you’ll get better at as you go. Don’t be afraid to start with a small batch of something to help you get more comfortable.
- If you live at high altitude, make sure you follow the processing guidelines for your area. If the recipes don’t show high altitude directions, your local university’s extension office will be a great resource.


I wash the jars. Put them in oven at 275°. When it’s ready just put the canning stuff in the hot jars and steam for 15 to 20 minutes
I love that you are introducing canning to more people! Just a few tips: you do not have to sterilize your jars (according to the NCFHP). Just clean, hot jars are needed to begin if you will be processing at least ten minutes.
Number two, watch your headspace. Jams and jellies need just 1/4” head space, for instance. If your food is too low in the jar, you are more likely to lose the seal or get discoloration of your beautiful product.
Never touch your jars before 24 hours! They can seal any time in that time frame, so don’t mess with them after only a few hours. You’re more likely to interfere with the seal if you do it too soon.
I personally don’t sterilize my jars either, so thank you for pointing that out!