
This post may contain affiliate links. Please read our disclosure policy.
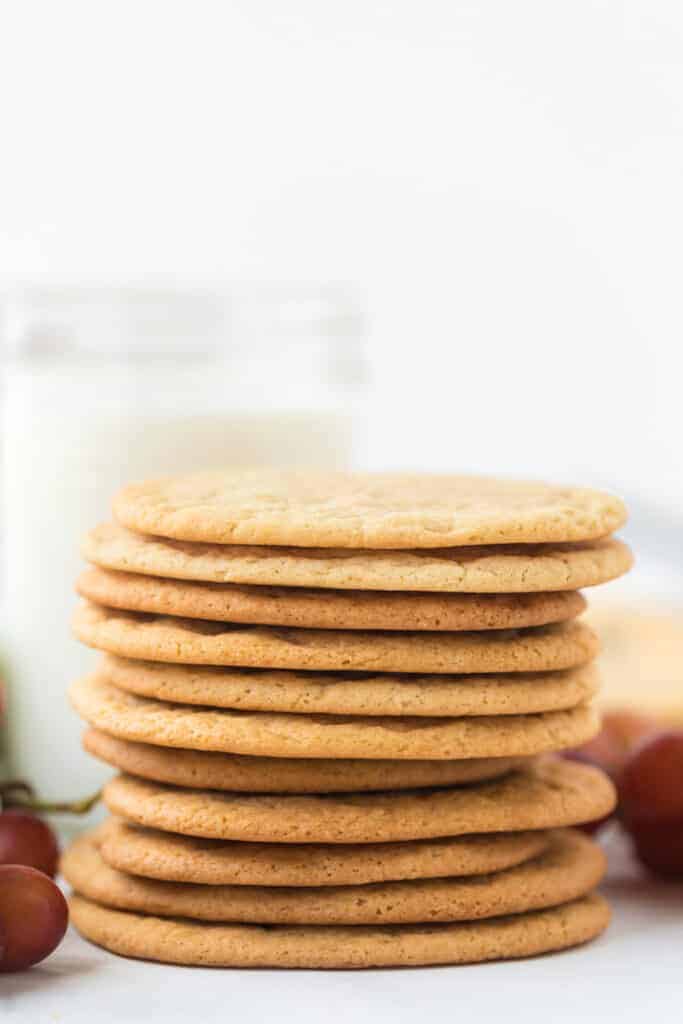
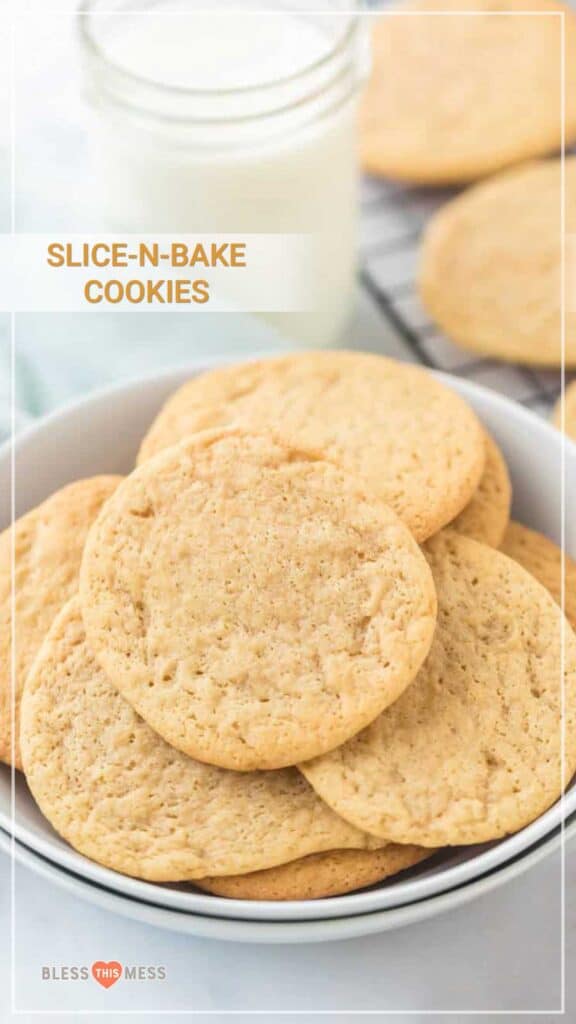
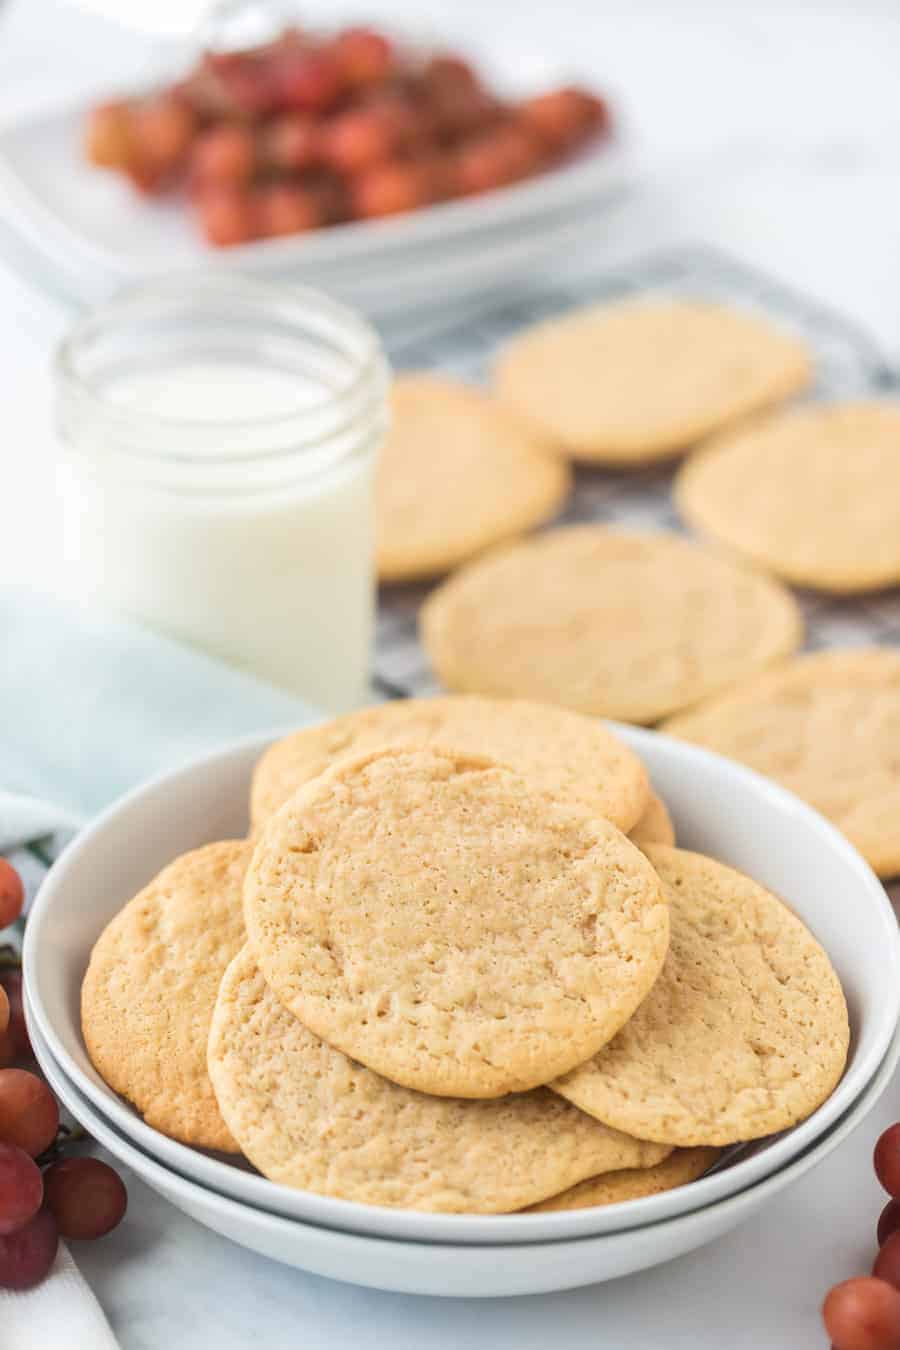
These rich and buttery slice-and-bake cookies are super easy to make—just put the dough together, slice it, and bake it! We love having a batch of this cookie dough on hand for a quick dessert—freshly baked cookies are always a good idea!

Growing up in southern Indiana definitely played a big role in my personal cooking style, which transplanted to southern Utah. I’ve been baking and canning with my mom since I was young, and those hours in the kitchen planted deep seeds. In many ways, it led to the career I have now that I love so dearly.
This cookie recipe comes from my great-grandma Mary, who also had the joy of living in southern Indiana. I don’t know much about the woman, but this recipe has always tied me to her. Food has a way of doing that, doesn’t it? This is a perfect recipe for fall and winter. With school and holidays, this is an easy way to have hot cookies ready when you need (or want!) them, with no more effort than turning the oven on.
Table of Contents

Why You’ll Love This Recipe
- You’ll love having this delicious dough on hand to make up as a quick thank you to a friend or for a family member you are thinking of.
- If you like this easy cookie recipe, you’ll also like these sugar cookies and these gingerbread cookies!
- With this simple yet rich buttery dough in the fridge, you’ll never refuse a cookie request again. I have a feeling you and your kids will thank me for this one!
Recipe Ingredients
- Sugar – brown and white
- Butter
- Eggs
- Vanilla
- Flour
- Baking soda
- Cream of tartar
See the recipe card below for full information on ingredients and quantities.

How to Make Slice and Bake Cookies
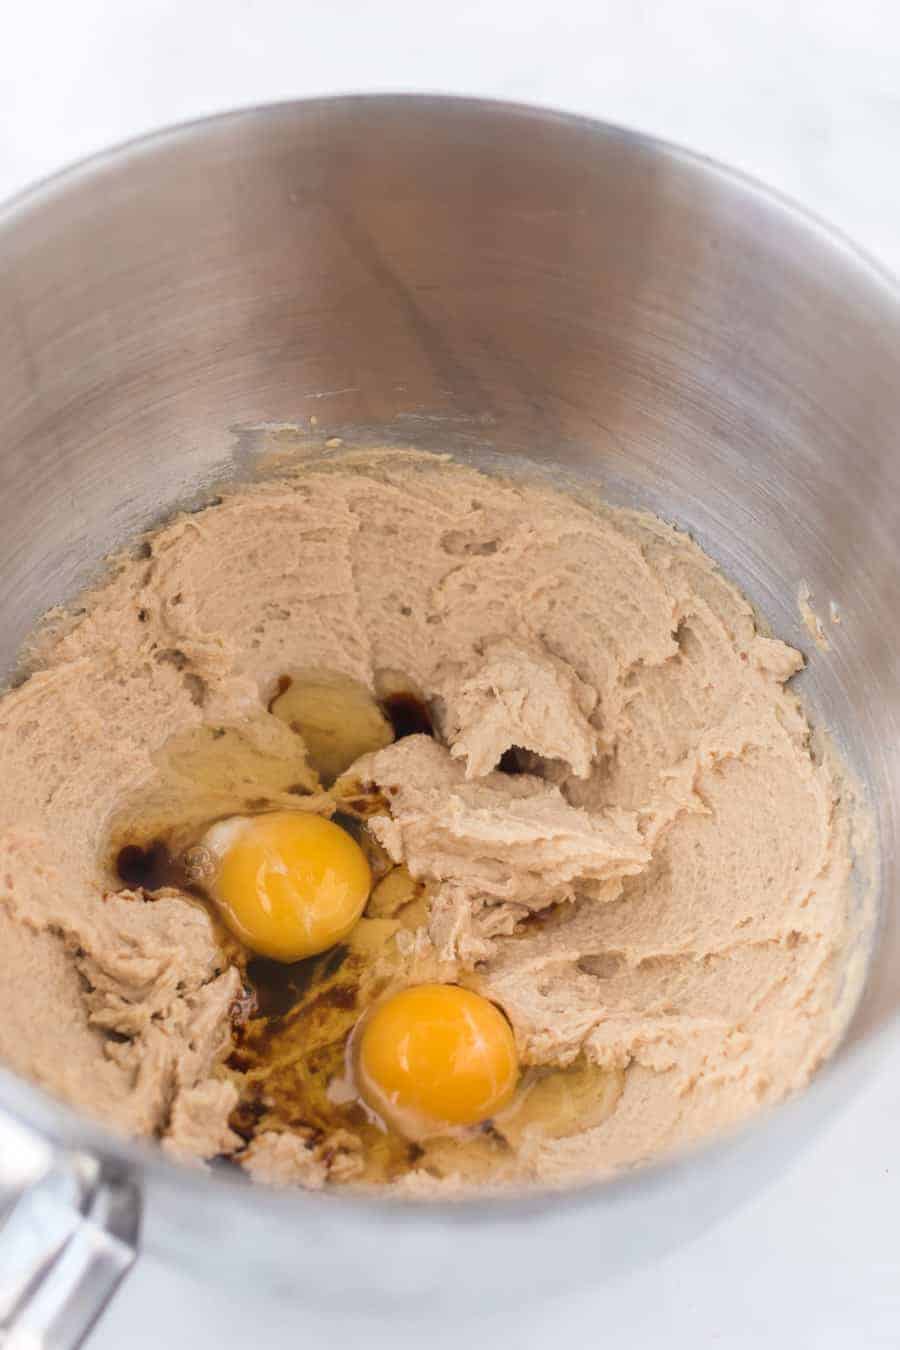

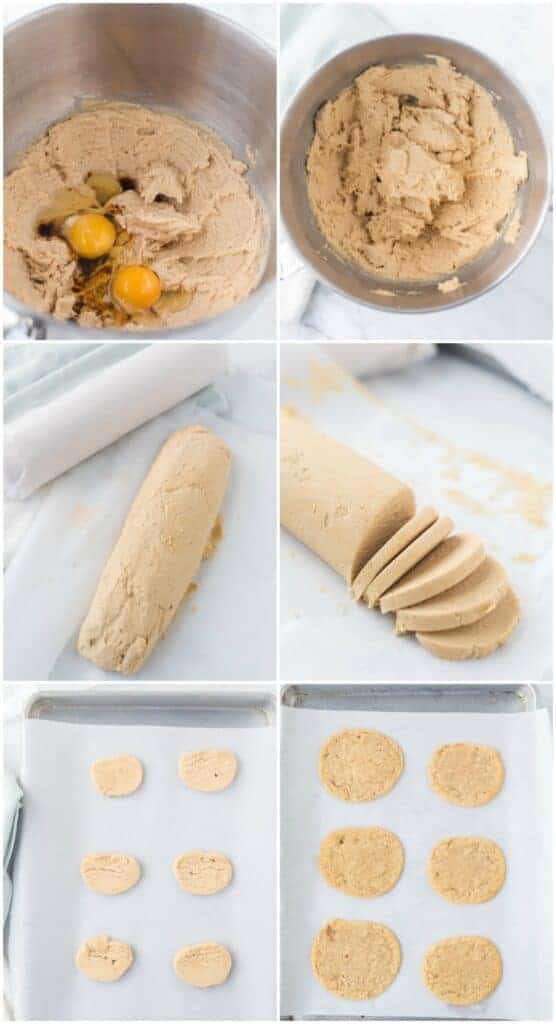
Step 1: Cream together sugars, butter, eggs, and vanilla.
Step 2: Sprinkle dry ingredients in and mix.
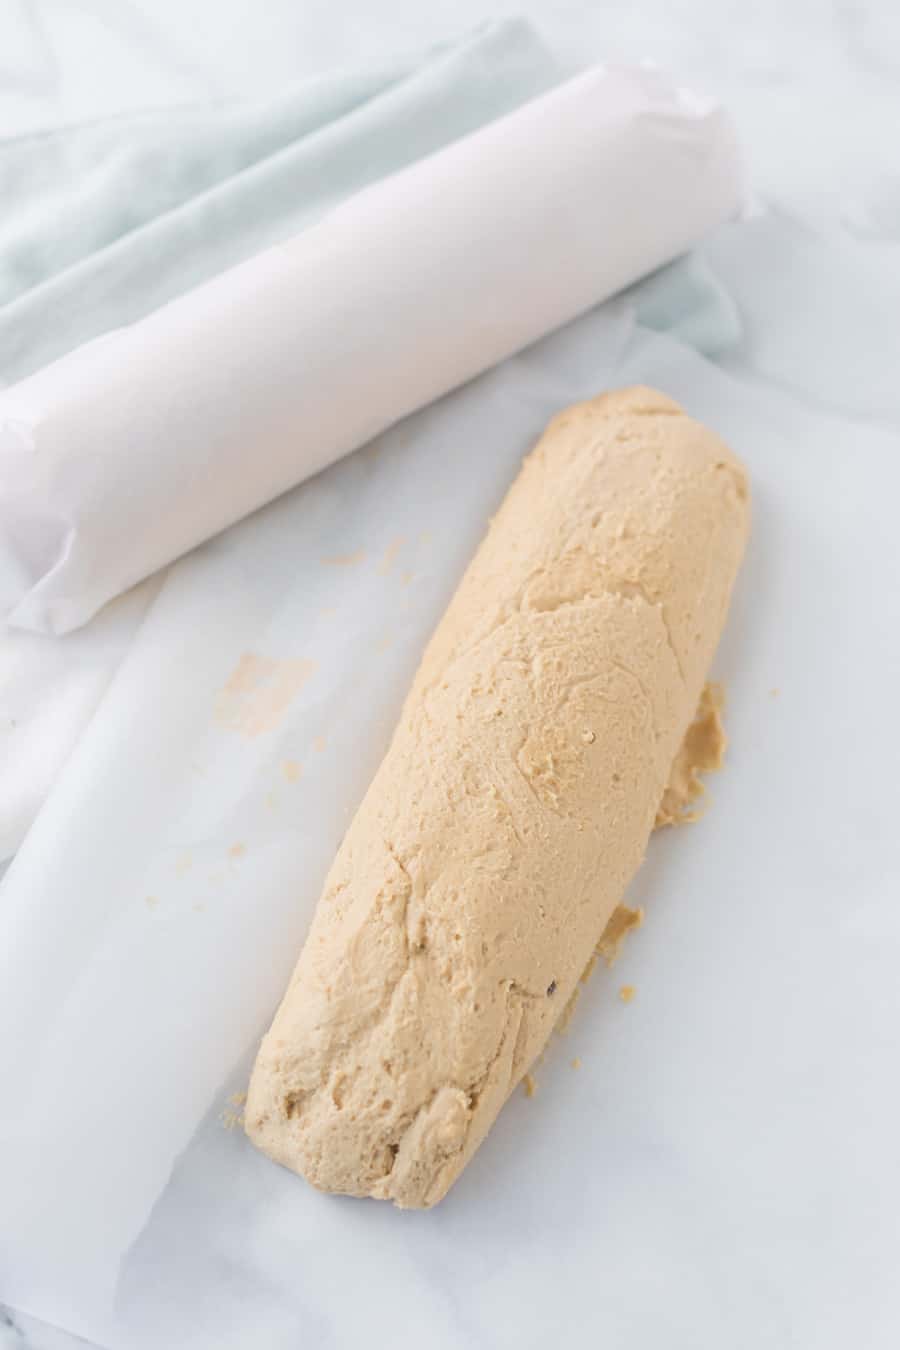
Step 3: Form into long logs wrapped in wax paper and refrigerate until firm.
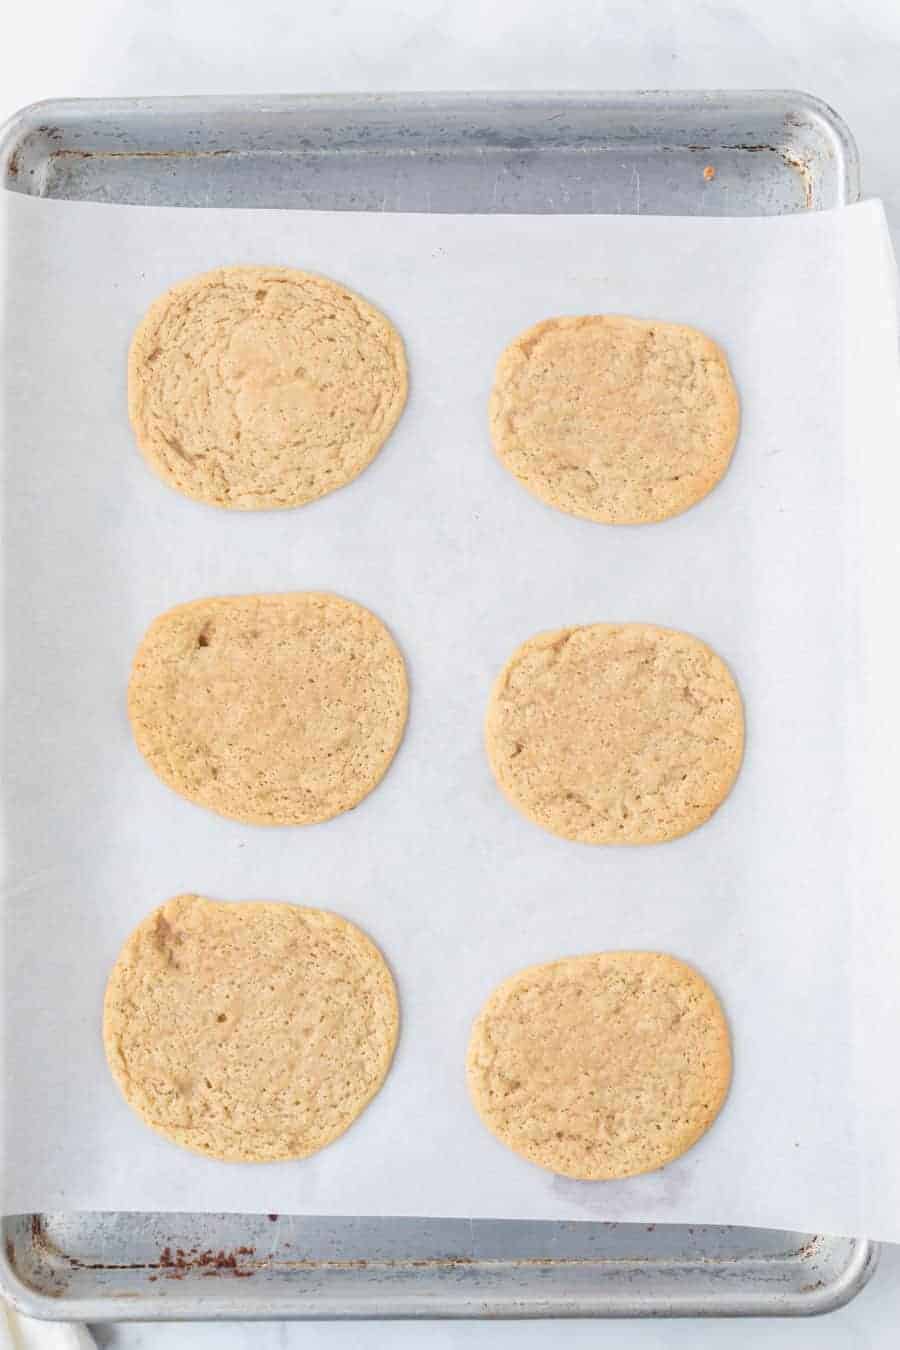
Step 4: Slice the dough log and bake for delicious cookies!
Recipe FAQs
These cookies spread a bit when they bake, so I wouldn’t recommend rolling out the dough to make shapes because I’m not sure how well the shapes would hold. Plus, it’s so easy to make regular round cookies with slice and bake dough! You don’t need to make this one more complicated than it should be.
Yes! You can store slice and bake cookies in a sealed container in the fridge for up to a week or in the freezer for much longer. I’ve also had luck storing the dough itself in the fridge for up to 2 weeks and in the freezer for a few months. When you’re ready to bake, let the dough thaw in the fridge before slicing it into cookies.
This dough is pretty malleable, just use your hands (coated with some flour to avoid sticking) to form a log 2 inches in diameter, then wrap it in wax paper and seal the ends twisted shut. Place it in the fridge until the dough firms up or until you’re ready to bake your cookies.
Expert Tips
- You can store this slice and bake cookie dough in the fridge for up to 2 weeks.
- Feel free to half the recipe OR store half the dough in the freezer. Let it thaw in the fridge before baking.
- The diameter of the log will determine the size of the baked cookie. A circle around 2 inches across makes a nice-sized cookie when sliced and baked.
More Cookie Recipes to Consider

From Scratch Recipes
Easy Monster Cookies Recipe (Thick & Chewy)

From Scratch Recipes
Best Fudgy Carmelitas Cookie Bars
From Scratch Recipes
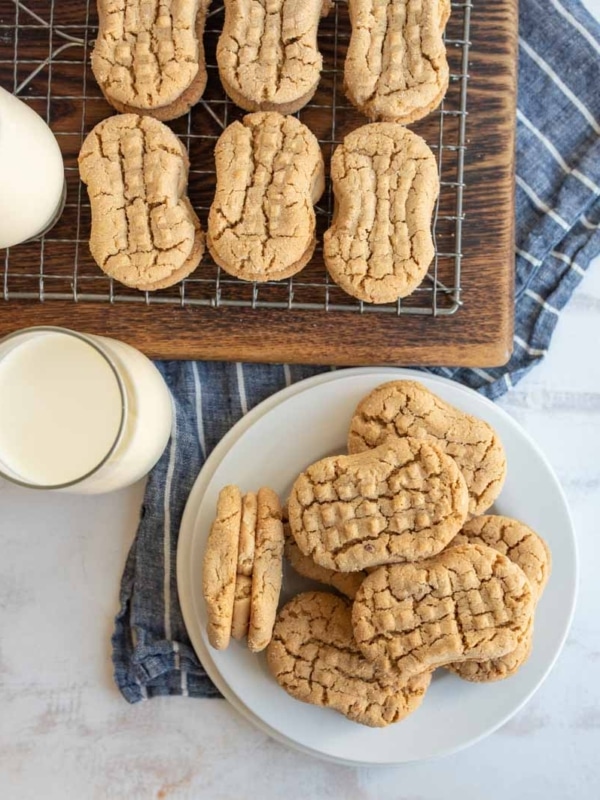
Easy Homemade Nutter Butter Cookies
Christmas Cookies
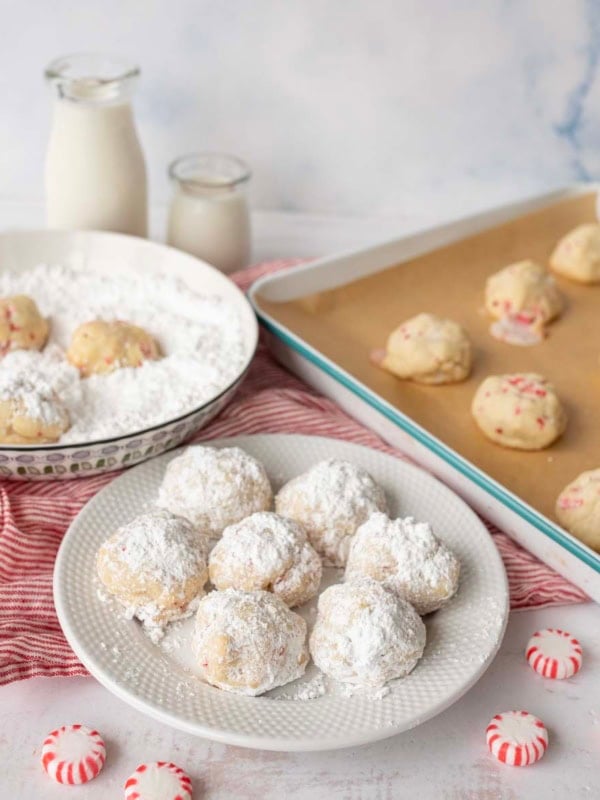
Easy Peppermint Snowball Cookies Recipe
Did you make this recipe? Leave a ⭐️ review and share it on Instagram, Facebook, or Pinterest!

Grandma’s Slice-n-Bake Cookies
Ingredients
- 3 cups brown sugar
- 1 cup white sugar
- 2 cups butter
- 4 eggs
- 1 tablespoon vanilla
- 6 cups flour
- 1 tablespoon baking soda
- 1 tablespoon cream of tartar
- 1 teaspoon salt
Instructions
- In a large bowl (or using a stand mixer, hand mixer, or by hand), cream together the sugars and butter until light and fluffy, about 3 minutes.
- Add the eggs and vanilla, and beat for another minute.
- Sprinkle the flour on top of the butter mixture, and then sprinkle the baking soda, cream of tartar, and salt on top of the flour. Mix until well combined. The dough will be tacky but not overly sticky.
- Form into long logs, wrap in wax paper, twist the ends to close, and refrigerate until firm or you are ready to bake. I like to make three logs that are about 2 inches in diameter.
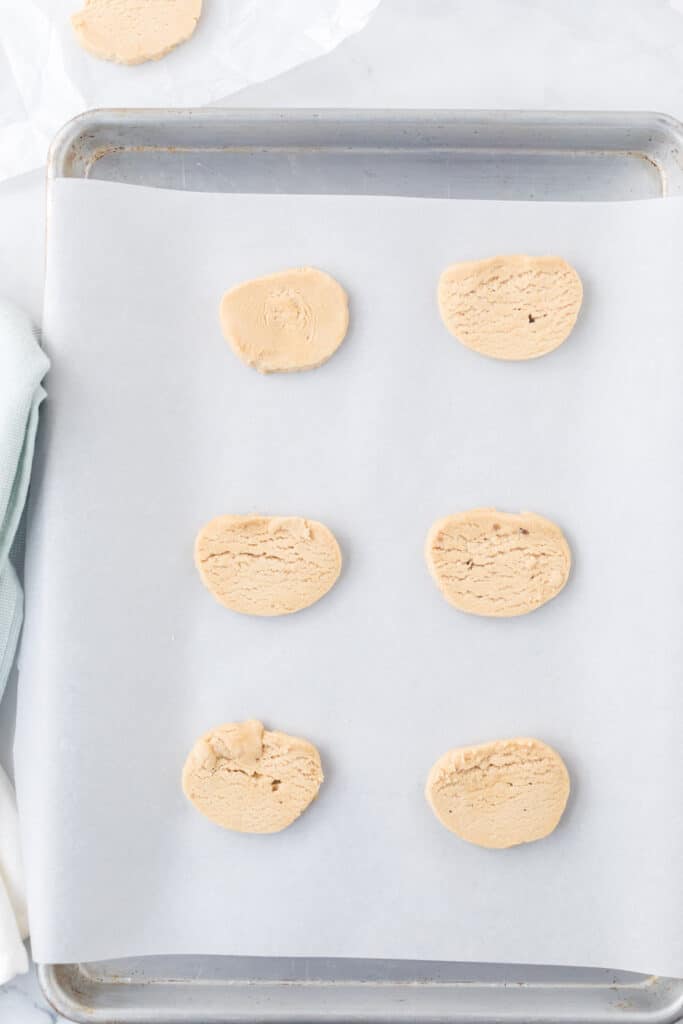
- When you are ready to bake cookies, slice 1/2-inch thick slices off the cookie dough log and place them on a parchment lined baking sheet. Bake at 350 degrees F. for 8 to 11 minutes. Store unused dough in the fridge until you are ready for another round of hot cookies.
Notes
- The diameter of the log will determine the size of the baked cookie. A circle around 2 inches across makes a nice-sized cookie when sliced and baked.
- This dough has lasted over two weeks in my fridge before. To keep the dough from drying out, I usually wrap the logs in plastic wrap in addition to the waxed paper.
- I love having dough on hand. One morning, I sent a bag of hot cookies to my neighbor after he brought my chickens back home. They had wandered into his yard and couldn’t figure out how to get home. I also used them as a quick dessert when I made dinner for a family from church. You’ll love having this delicious dough on hand!
- This is a large batch. You can either halve the recipe or store half the dough in the freezer. Thaw in the fridge before baking.


I needed to do some baking today but somehow got a much later start than I planned on. I made a half batch and tossed in some toffee bits and chopped pecans. I didnt have time to roll and wrap and chill for long so I ended up just putting the whole bowl in the fridge while I cooked dinner. When we were done eating I just used my cookie scoop and dropped them on the sheets. They turned out soo yummy I’m now regretting only making a half batch lol
This dough will not last in my refrigerator or my freezer…I have a major weakness for cookie dough….I know its not good to eat the eggs and flour in their raw state but I can’t help it….I have no self control….I know this dough must taste amazing because of the butter too! I’m going to pretend I didn’t see this recipe tonight 🙂
LOL this is why we are friends!
Is this recipe good to keep in the freezer? Do the cookies spread when baked?
This is great for the freezer, just freeze wrapped well and in the log, let it thaw for a bit before slicing. When sliced and cooked cold, the cookies spread a bit. Not a lot, but I wouldn’t use the recipe for a cookie cutter recipe. Enjoy!
Just found your blog. My mom, who is 88, use to make ice box butterscotch cookies from one of her grandmother’s recipes.
This looks slightly familiar! 🙂 Can’t wait to hear your news!