This post may contain affiliate links. Please read our disclosure policy.
Yep, you can make homemade cottage cheese. It’s super simple, fresh, and delicious! One of my favorite easy cheeses to make and a fun introduction to cheese making that doesn’t require any special ingredients or tools.
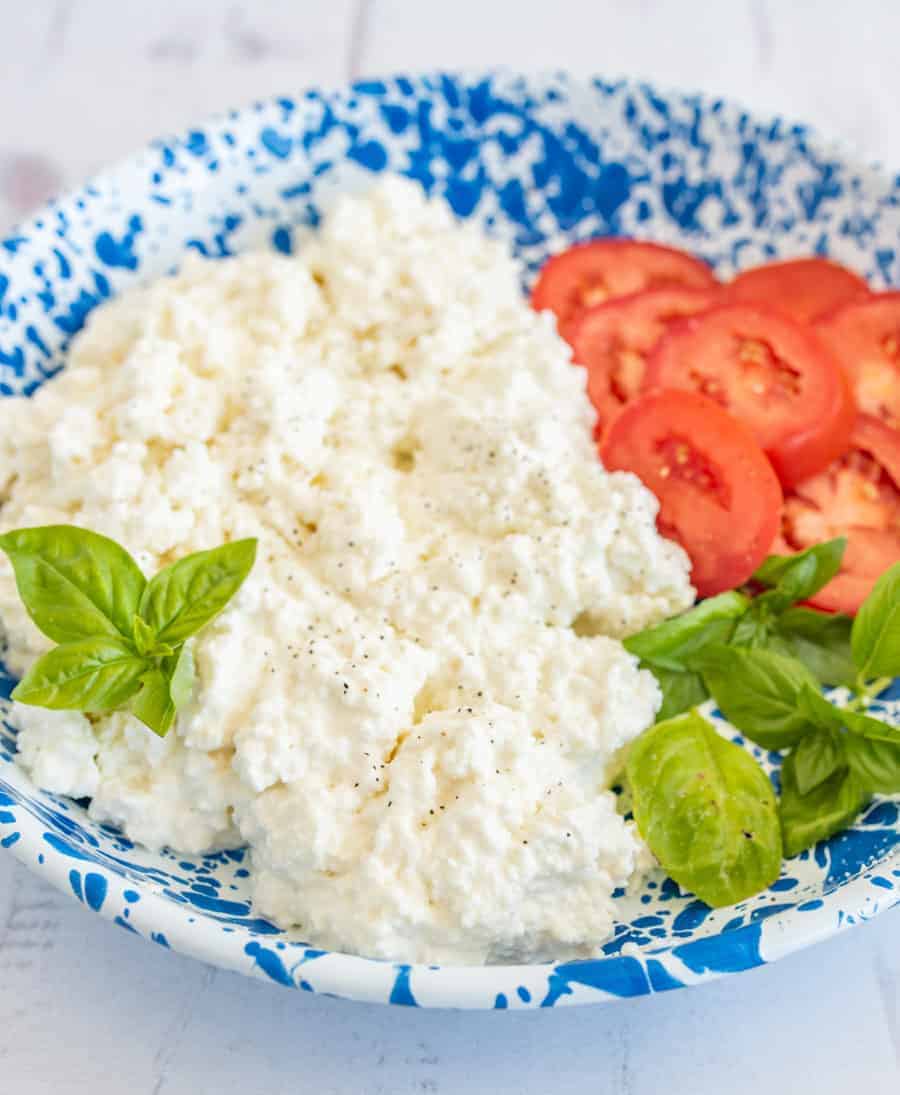
Cottage cheese…YUM. We like cottage cheese around here, that’s for sure. The store bought-stuff has a HUGE list of ingredients. Have you ever taken a look? It’s just a bunch of stuff no one wants to eat. The solution: whip some up yourself. I promise you’ll be able to name everything in it, and it’s super easy, requiring only about 10 minutes of hands-on time and 45 minutes total.
The first time I did this, I was shocked at how good this was. I love when I can create a recipe that’s simple and pleasantly surprising! It brings me so much joy and affirmation in my line of work. I’m nudging you to try it just so you can say you made cottage cheese — and then fall in love with the end result like we did!
Table of Contents
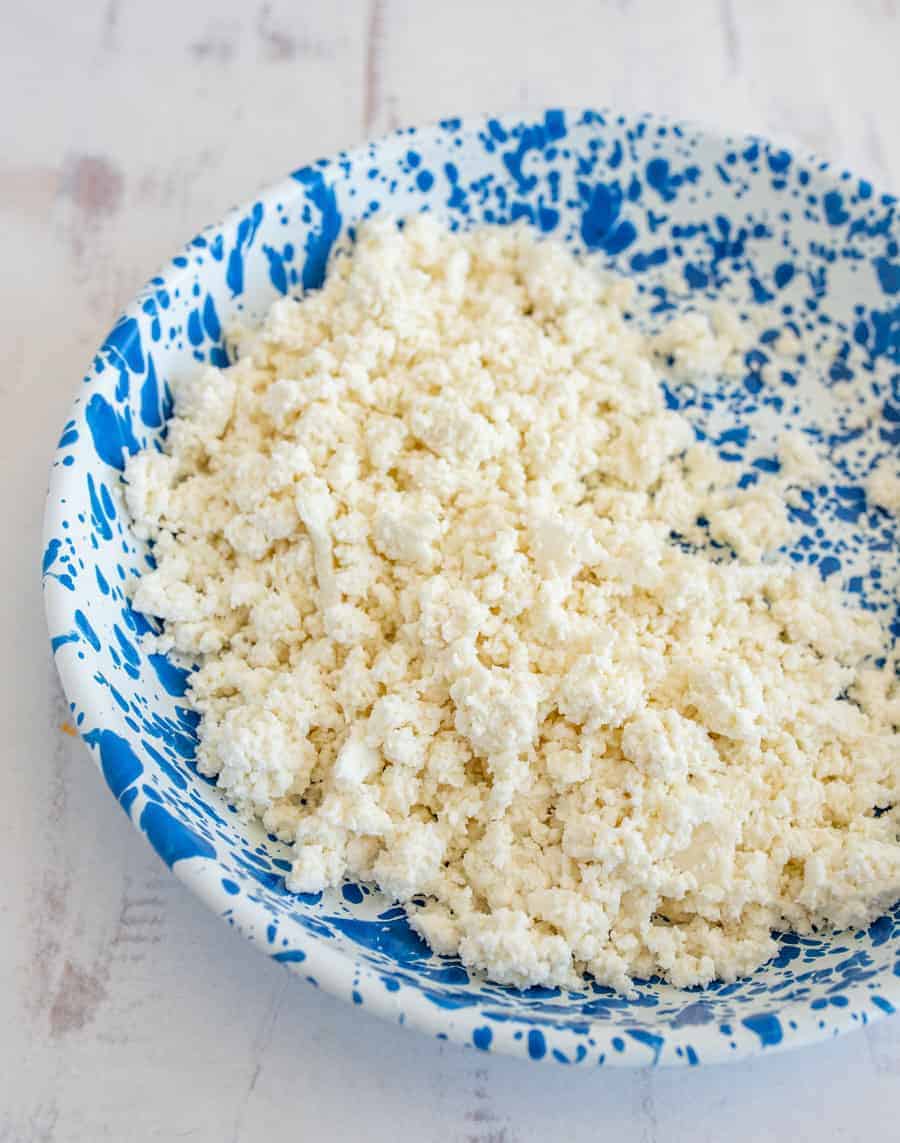
Why You’ll Love This Recipe
- I just love this homemade cottage cheese recipe because it’s easy to make and only requires 4 simple ingredients!
- If you buy cottage cheese from the store, you might see ingredients like potassium sorbate or guar gum, but I think we should be able to eat things that have ingredients we recognize! My homemade cottage cheese is made with skim milk, white vinegar, coarse Kosher salt, and cream.
- This cottage cheese is about 10X better than the store-bought brands, and we really like the taste of store-bought (even if I’m not a fan of the ingredient list). It’s REALLY tasty!
Recipe Ingredients
- Skim milk
- White vinegar
- Kosher salt
- Cream – sometimes called heavy cream or whipping cream
See the recipe card below for full information on ingredients and quantities.

How to Make Cottage Cheese
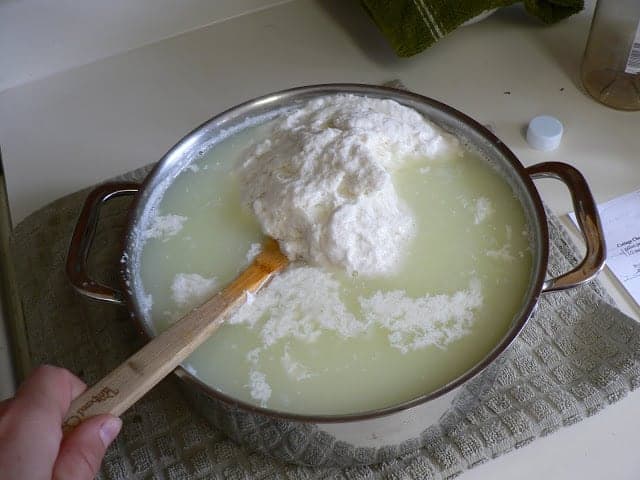
- Heat the milk to 120 degrees F. Remove it from the stove and stir in vinegar.
- Cover and let sit for 30 minutes, and then drain into a colander
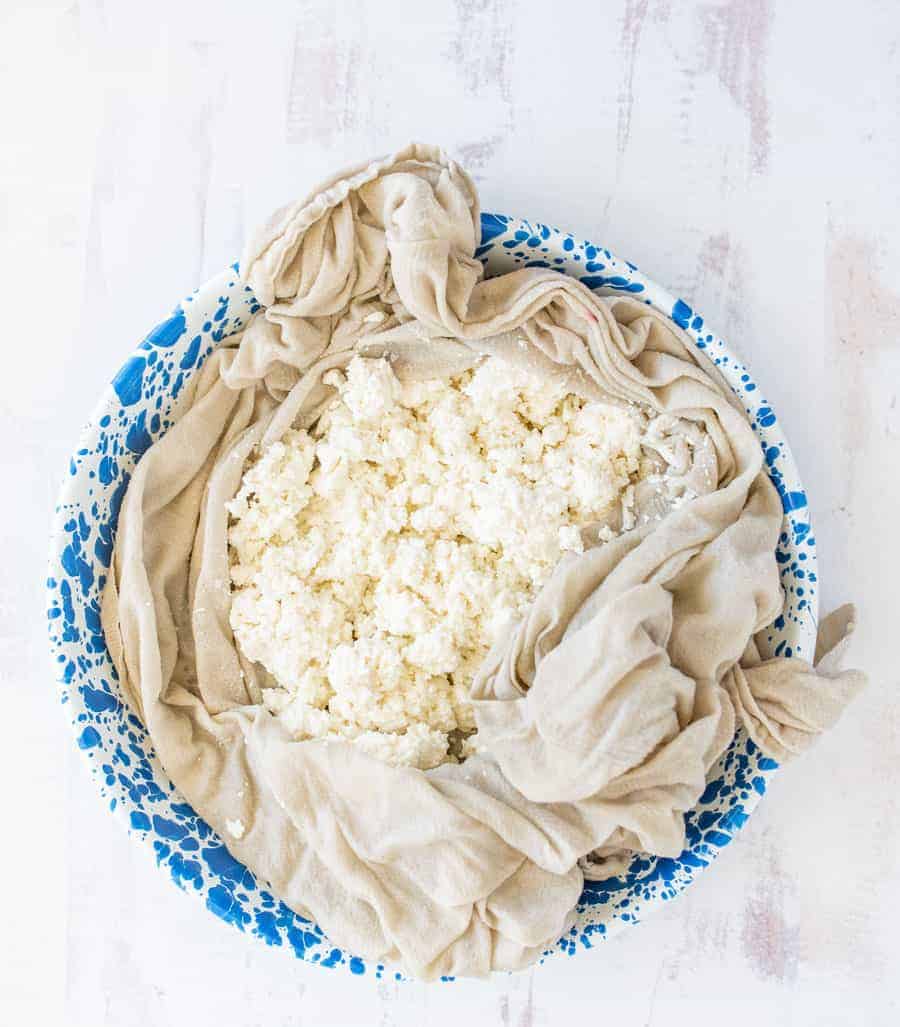
- Wrap in a thin towel and run under water, massaging the curd.
- Squeeze excess water from the towel and curd, and it’s ready to serve!
Recipe FAQs
Cottage cheese is delicious plain or on toast or in a salad with fruits and veggies like crushed pineapple, berries, melon, peaches, apple and cinnamon, celery, or carrots. It is so good no matter how you eat it!
Yes! It’s high in calcium, which is important for building and maintaining strong bones. It also contains some protein.
I used skim milk for a lower fat cottage cheese, but whole milk can also be used. It will be a richer and creamier texture, though it will have more fat also. Avoid ultra-pasteurized milk as it may not curdle properly.

Expert Tips
- Be generous with the salt; it’s an important part of this recipe.
- For other homemade creamy recipes, check out my Crock-Pot or Slow Cooker Yogurt, 4 Ingredient Healthy Strawberry Frozen Yogurt, and Cheesecake Ice Cream Recipe!
- Whole milk can also be used if you don’t mind a higher fat content in your cottage cheese, but don’t use ultra-pasteurized milk as it may not curdle properly.
More Quick & Easy Side Dish Recipes to Consider
Seasoning Mixes
Garlic Parmesan Seasoning – Perfect for Breadsticks
Side Dishes and Salads
Easy Creamy Cheesy Potatoes
Did you make this recipe? Leave a ⭐️ review and share it on Instagram, Facebook, or Pinterest!
Homemade Cottage Cheese
Ingredients
- 1 gallon skim milk
- 3/4 cup white vinegar
- coarse Kosher salt
- 1/2 cup cream
Instructions
- Place milk in a large pan, and bring up to 120 degrees F. over medium heat.
- When milk reaches 120 degrees F., take it off the heat and slowly pour in vinegar while stirring. A big ole’ curd will form. Cover the pot, and allow the milk/giant curd to sit for 30 minutes.
- After the time has passed, place a cotton tea towel in a colander, and drain the curd from the whey.
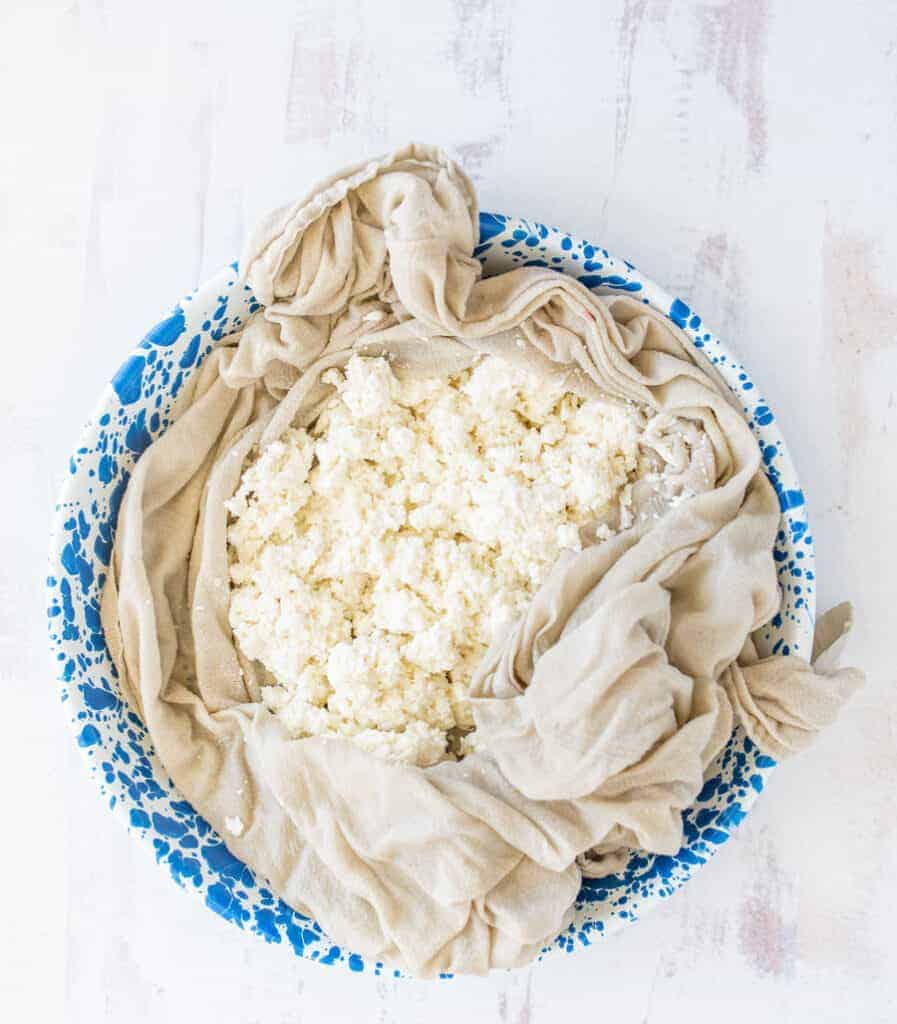
- Once the curd is in the towel, gather up all of the corners of the towel and wash the curd, under cold water, for 5 minutes. You are going to have this big chunk of curd inside the towel. Hold onto towel and future cheese under the water, and massage the curd to wash it until the water runs clear.
- After you are done washing, squeeze all of the extra water through the towel. You will end up with small, dry curd when you are done.
- Place curd in a bowl, and add the cream and salt (to taste) to the curd right before you serve it. If you are only going to eat half, only add half the cream to half the curd.
- Store leftover curds and cream separately in the fridge until you are ready to serve.
Notes
- Be generous with the salt; it’s an important part of this recipe.
- Whole milk can be used instead of skim milk, but the cottage cheese will be higher in fat.
- Don’t use ultra-pasteurized milk because it won’t curdle as needed.
- A thin towel, such as a flour sack towel, or cheesecloth can be used to wrap and rinse the cheese curd.

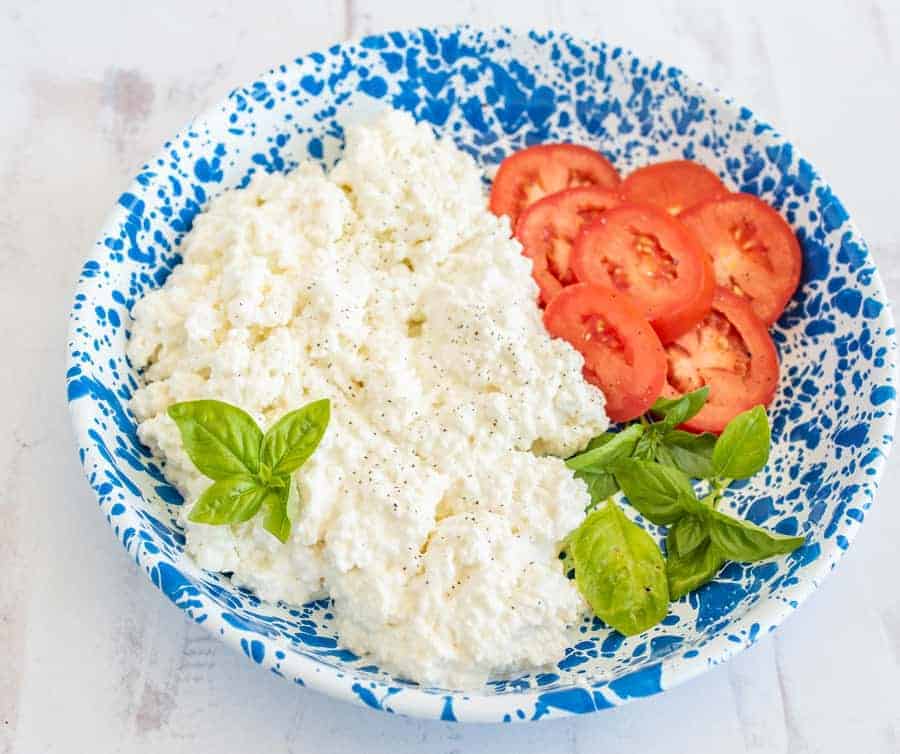
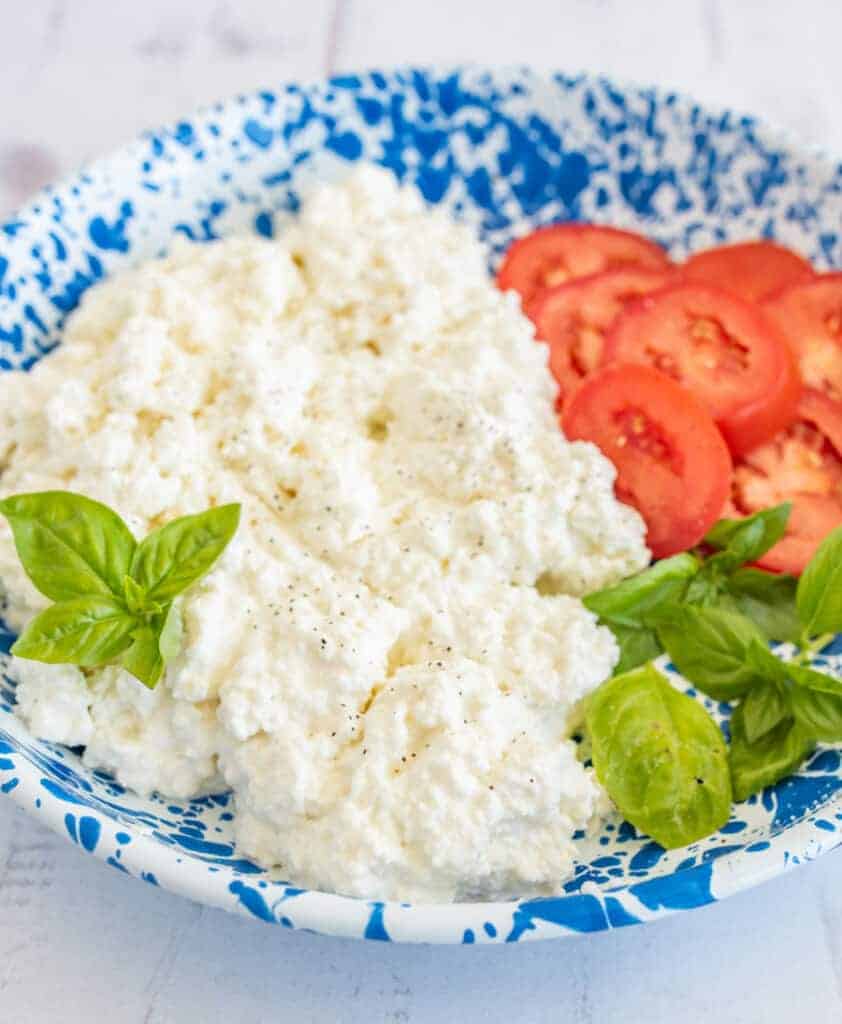




Maybe a weird question, but how do you get the big curd into small curds like you have in the photo? Mine isn’t the same texture as yours
I honestly don’t know enough about cheese making to answer that questions. I’ve just made this and some mozzarella so while I enjoy the process I’m no expert. I did a little research but didn’t see anything that really felt like it answered the questions well. Sorry about that Cassie.
Wondering if you HAVE to wash the curds…dont know anything about cheese making…would it ruin the cheese if you didnt wash it? I have veiwed several cottage cheese recipes and your is by far the easiest! I want to make it for my hubby and daughter who both like cottage cheese. Also, do you save the whey for use in other recipes? I have seen some ideas to use it to soak things and use in making oatmeal. I can use it for oatmeal but what else?
The cottage cheese will be sour tasting (like sour cream or plain yougurt) if you don’t rinse it. I would recommend not skipping that step. It’s nice when it is sweet creamy and not sour creamy. Am I making sense? And you can add whey to smoothies, use it in bread, and who knows what else. I only use it for soaking grains and the other two suggestions. I would google it 🙂 Good luck and let me know how it turns out! It’s so tasty 🙂
Wow! You are AMAZING! I am so glad you do this blog! I am impressed and learn so much by it!
-Shan
I’m so glad you posted this! I have been wanting to buy cottage cheese but I don’t want to buy the low-fat kind so I wanted to make it myself. I’m excited to try it!