This post may contain affiliate links. Please read our disclosure policy.

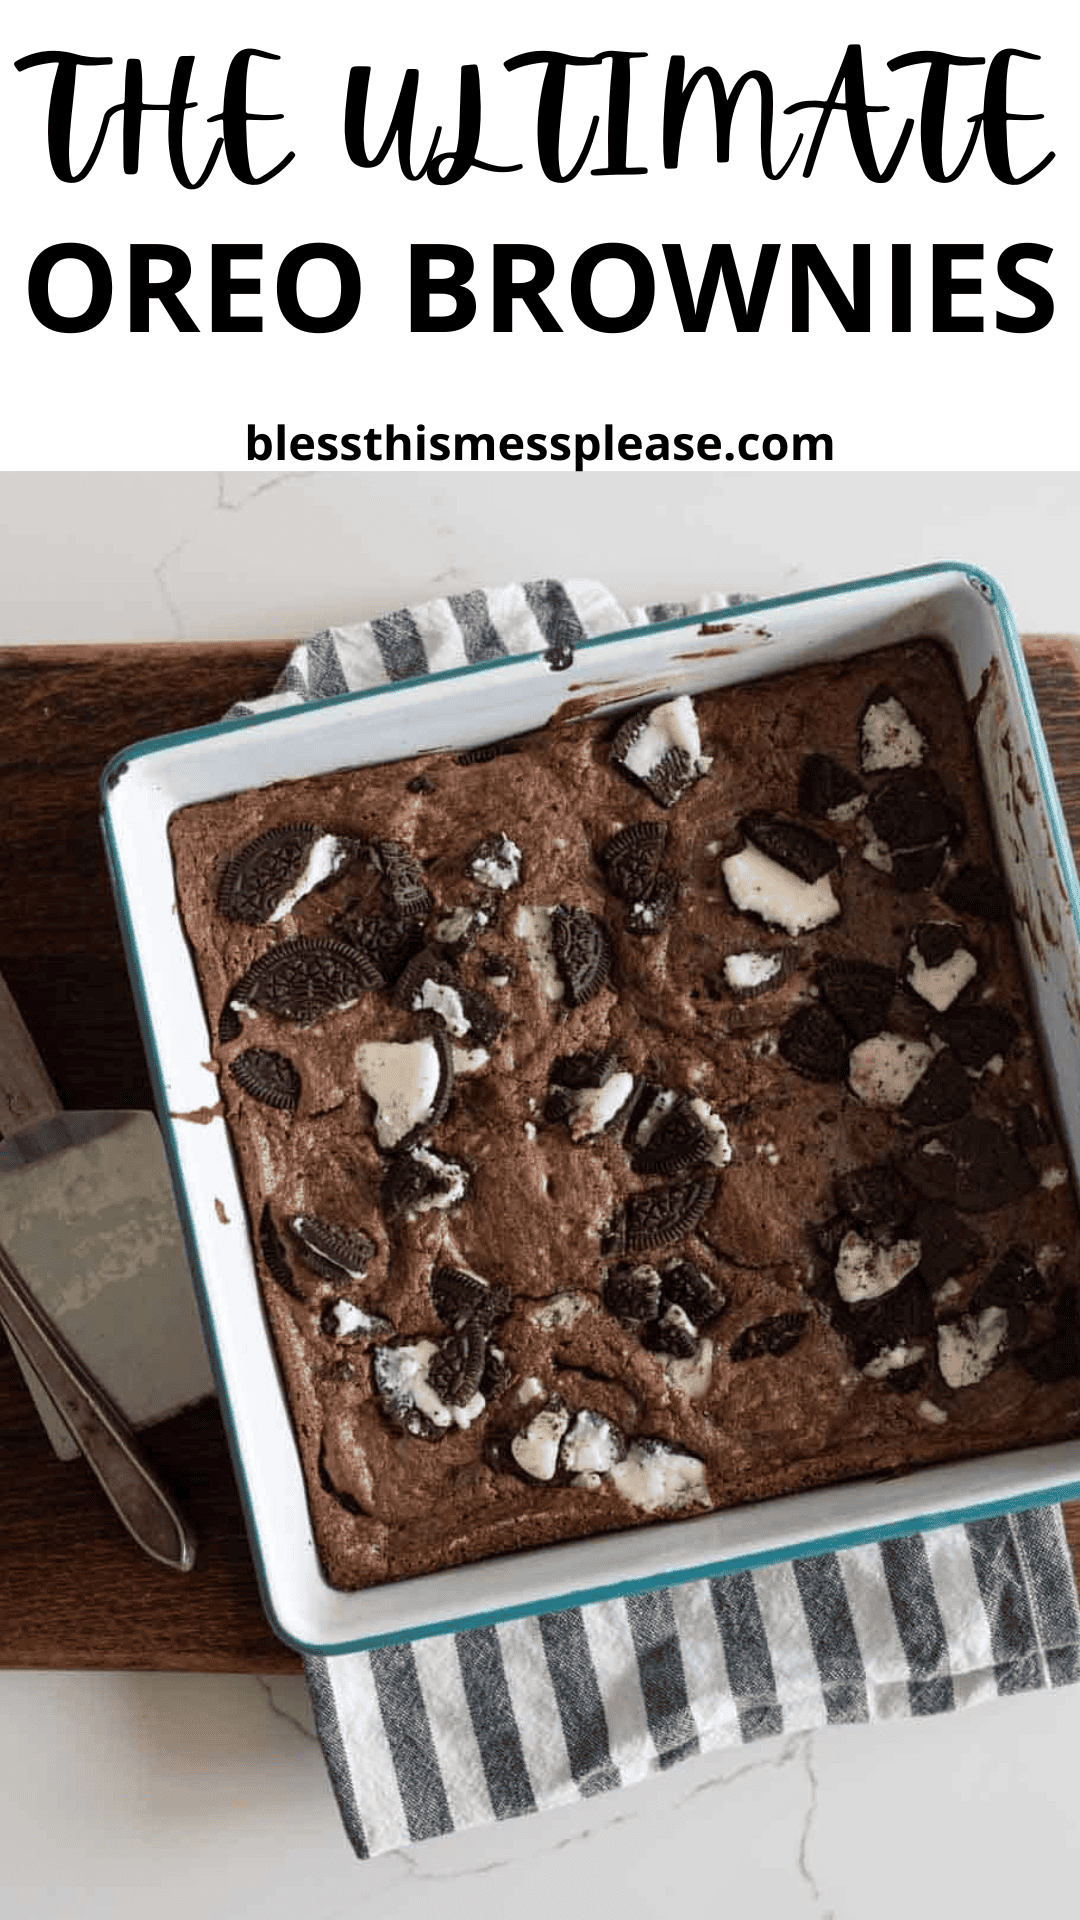
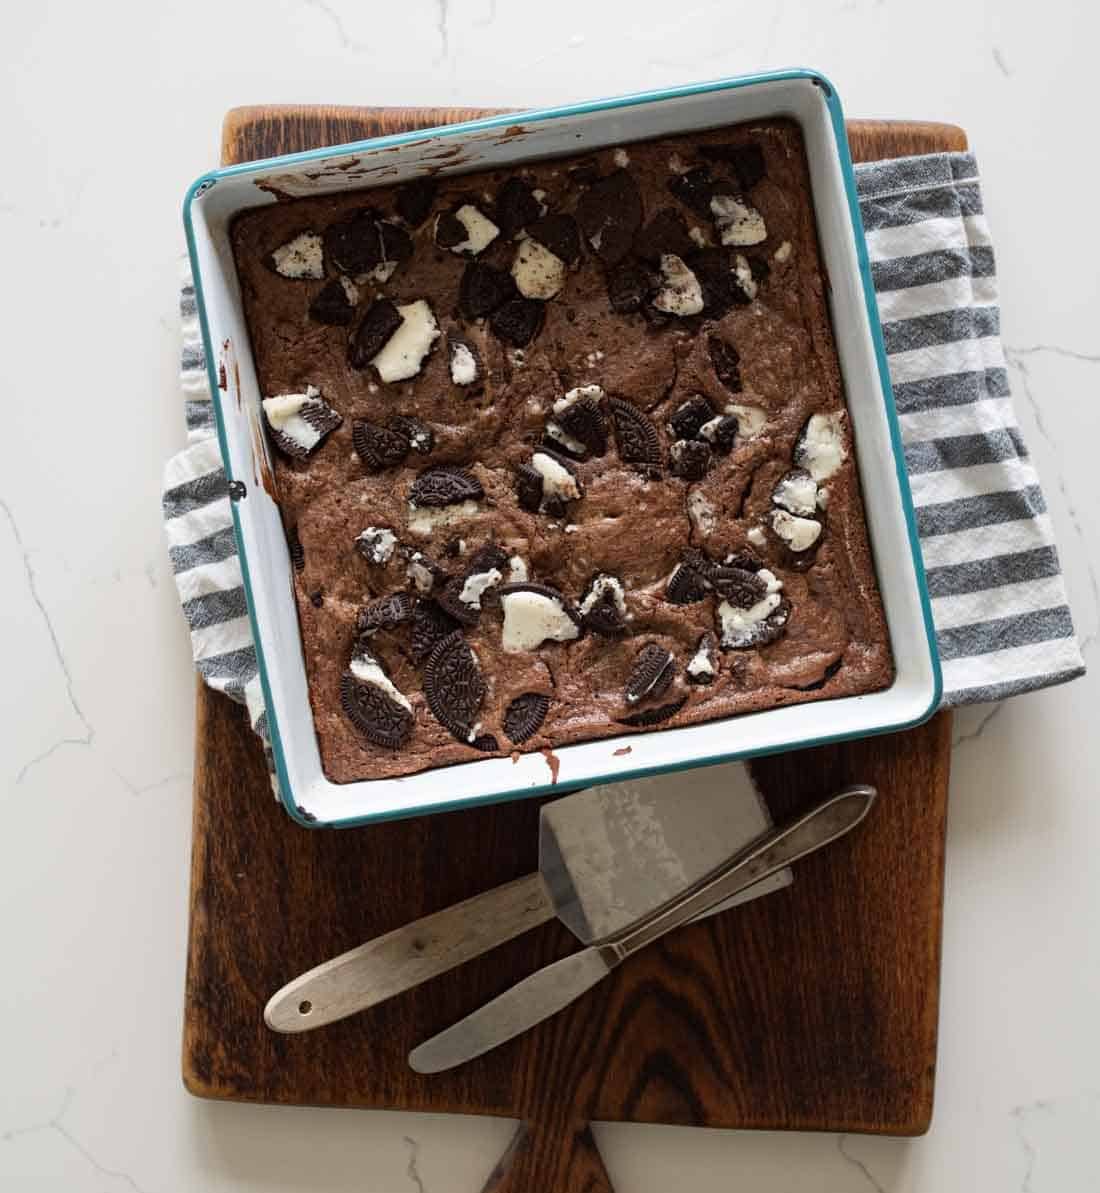
A true meet-cute of the classic fudge brownie and cream-stuffed Oreos, this is truly the ultimate Oreo Brownies recipe! With layers of fudgy chocolate and crunchy Oreo cookies, this treat is easy to make, perfectly chewy, and absolutely irresistible for any chocolate lover.
👩🍳 These Oreo brownies deliver the best of both worlds with their fudgy brownie base and crunchy Oreo cookies. The contrast between the smooth chocolate and the crispy cookie pieces creates an incredibly satisfying bite every time!
My 2 Best Tips For Making Oreo Brownies
Don’t Skip the Cooling Time: Resist the urge to cut into your oreo brownies immediately after baking! Letting them cool for at least 15 minutes allows the structure to set properly, preventing crumbling and ensuring clean cuts. For the cleanest cuts, cool completely or even chill briefly.
Perfectly Baked Brownies: Baking time may vary slightly depending on your oven, so start checking the brownies after about 18 minutes to avoid over-baking. To check, insert a toothpick into the center of the brownies. It should come out with just a few moist crumbs clinging to it.

🩷 Melissa
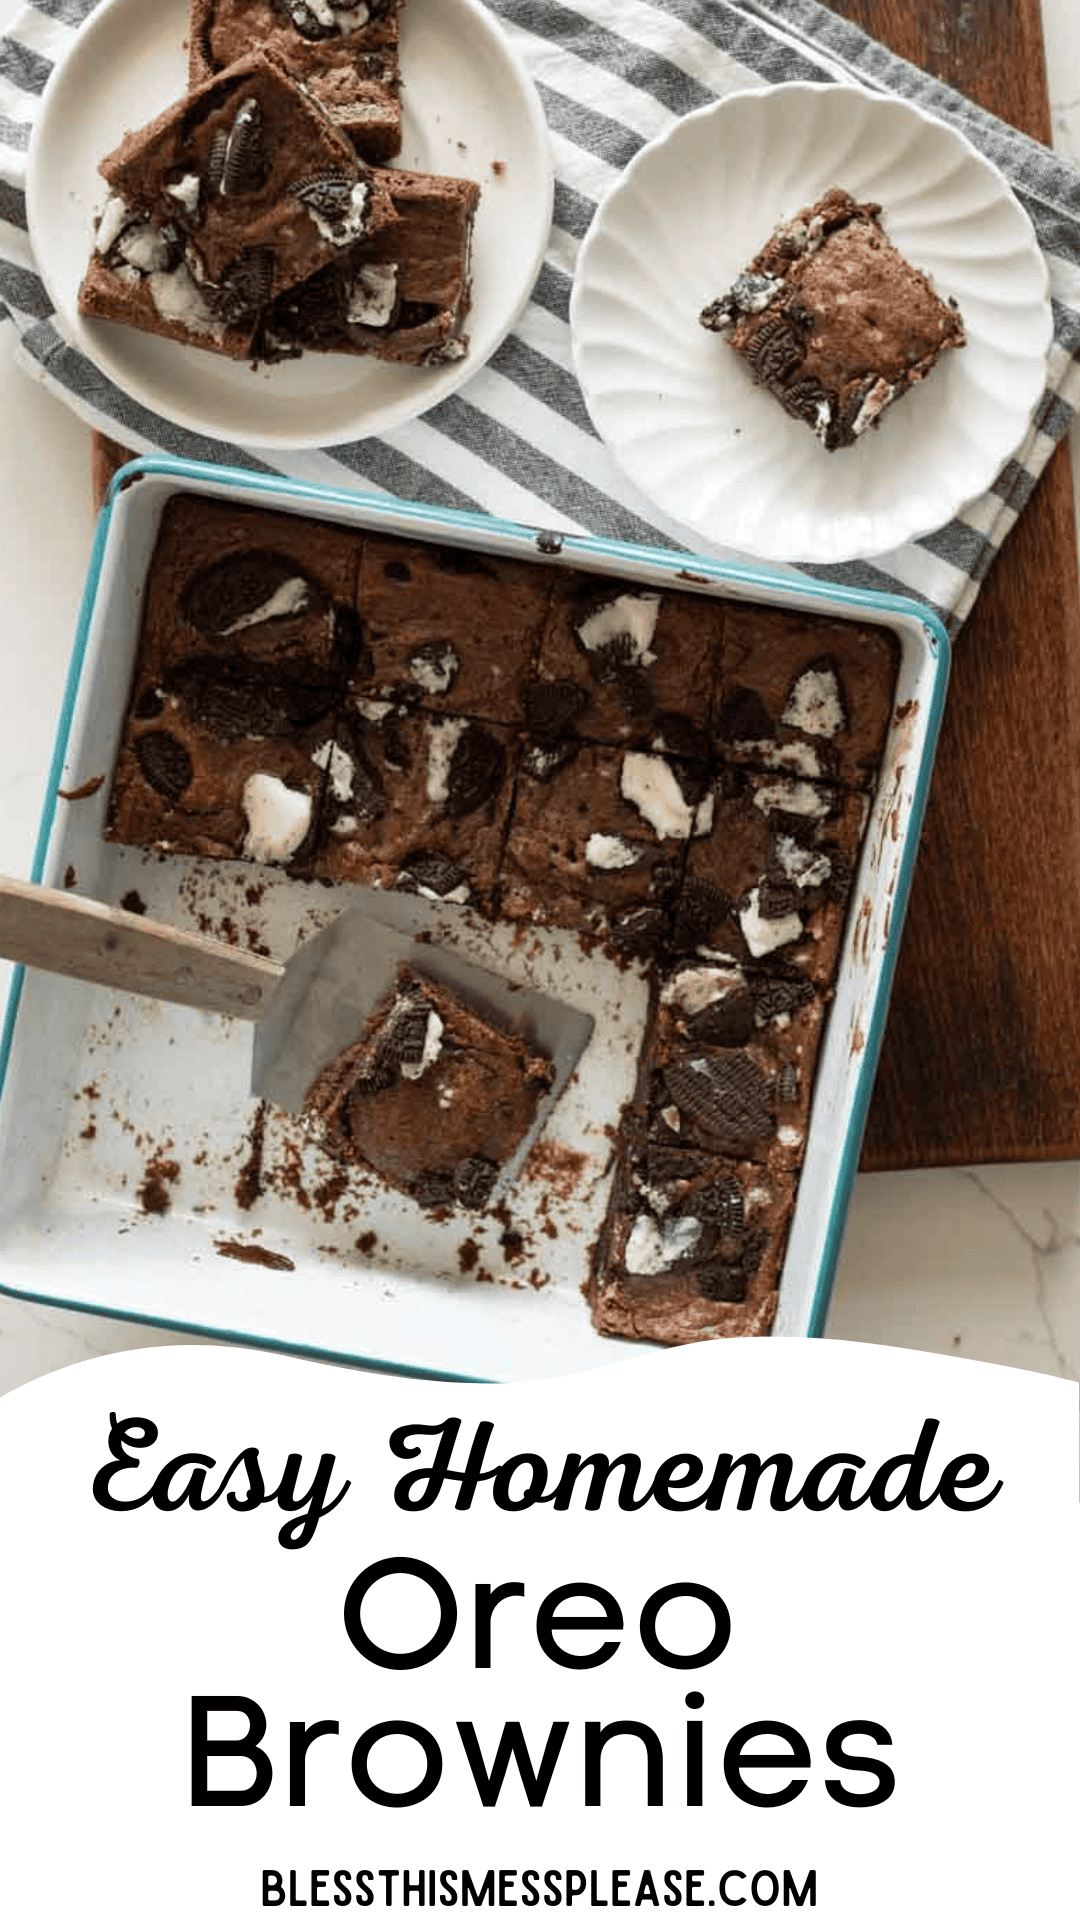
Whether you’re bringing dessert to a potluck, celebrating a birthday, or just treating yourself after a long day, these oreo brownies are always a crowd-pleaser! They’re impressive enough for special occasions yet simple enough for everyday.
You don’t need fancy or hard-to-find ingredients to make these show-stopping brownies. With basic pantry staples and a package of Oreos.
You can easily switch up the flavor by using different Oreo varieties like mint, peanut butter, or golden Oreos. Double Stuf Oreos add extra creaminess that cookie lovers (ME!) will adore.
Oreo Brownies
Ingredients
- 2 ounces unsweetened chocolate, baking chocolate
- ½ cup butter, salted or unsalted
- 1 cup sugar, granulated
- 2 eggs, large
- 1 teaspoon vanilla
- ½ cup all-purpose flour
- ¼ teaspoon salt
- 22 Oreo cookies
Instructions
- Prepare a 8×8 inch square baking pan by greasing it generously. You can use a bit of butter, oil, or a non-stick spray for this. (You could also line the pan with parchment paper, leaving an overhang on two opposite sides. This will allow you to lift the brownies out of the pan more easily after baking.)
- Take a 2-quart saucepan and add in the 2 ounces of unsweetened chocolate and ½ cup of butter. Place the saucepan over low heat. Stir the mixture constantly just until the butter and chocolate are both completely melted.
- Once the chocolate and butter have melted, remove the saucepan from the heat.
- Stir in the sugar until fully incorporated. Stir in the eggs, one at a time, until fully incorporated. Stir in the vanilla. Whisk this mixture well until is is glossy, about 1 minute.
- Next, add in the flour and salt. Stir until well combined.
- Pour 1/2 of your brownie batter into the prepared pan. Use a spatula to level the batter evenly throughout the pan. Place 16 Oreo cookies evenly in the pan on top of the batter.
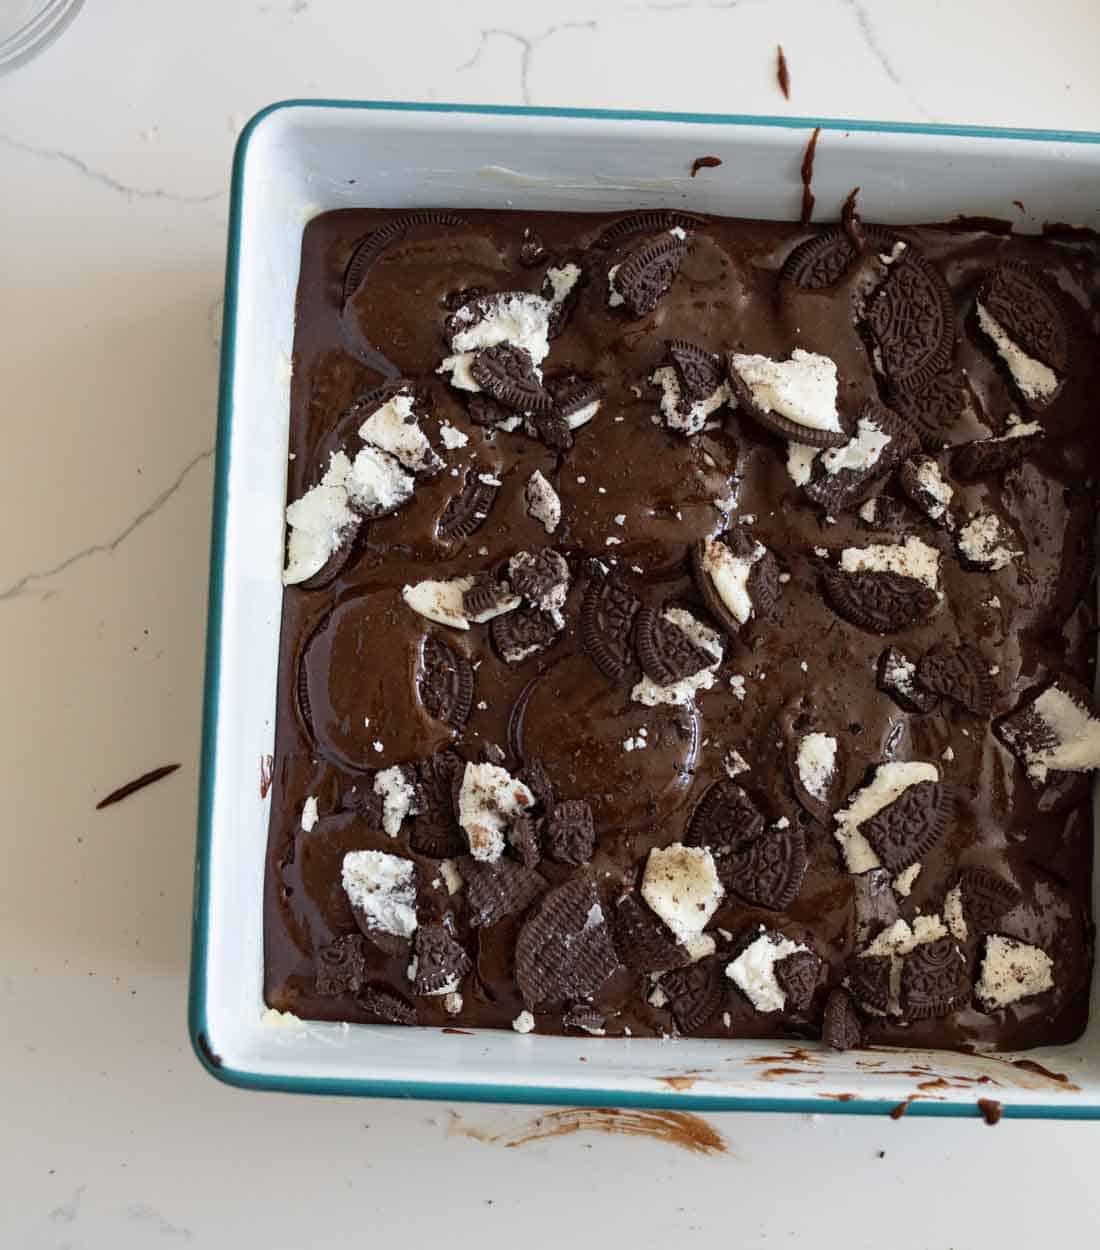
- Cover Oreos with the remaining half of the brownie batter. Gently spread it as needed to cover the cookies.
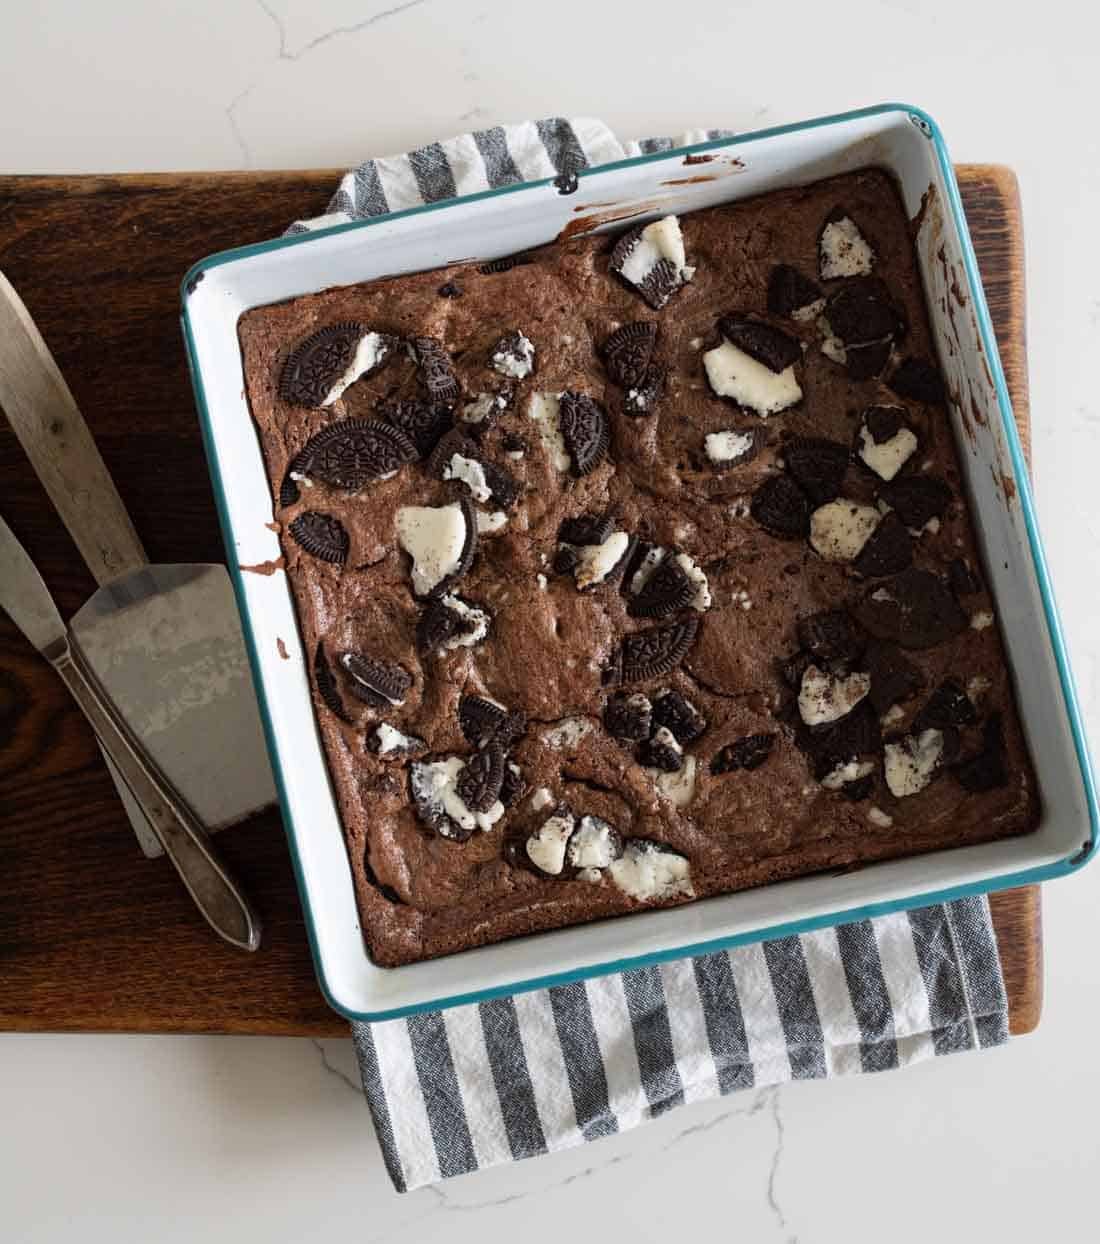
- Break the remaining Oreos into pieces and distribute them evenly on top of the brownie batter.
- Put the pan in your preheated oven and bake for approximately 20-25 minutes. To check if your brownies are done, insert a toothpick in the center. If it comes out clean or with a few moist crumbs (not wet batter), your brownies are ready.
- Remove the brownies from the oven and let them cool in the pan for at least 15 minutes before cutting into squares.
Notes
- You can easily change up the flavor of these brownies by changing the type of Oreo cookies you use. They are great with mint or peanut butter Oreos!
- The cream filling is my favorite part of the Oreo so I think these are really great with Double Stuf Oreos.
- If you don’t have unsweetened chocolate, you can use a bittersweet or semi-sweet as well.
- And if you don’t have baker’s chocolate, you can use chocolate chips!
- Baking time may vary slightly depending on your oven, so start checking the brownies after about 18 minutes to avoid over-baking.
- If you prefer your brownies more fudgy, you can slightly under-bake them by a couple of minutes.
- Let the brownies cool completely before cutting.
- Use a sharp knife wiped clean between cuts
- Or for extra clean lines, chill the brownies in the refrigerator for 30 minutes before cutting.
- Lining your pan with parchment paper also makes removal and cutting much easier.
- Once completely cooled, these brownies can be stored in an airtight container at room temperature for up to 4 days, or refrigerated for a week.
- They can also be frozen for up to three months.
- If you live in a humid climate, consider storing them in the refrigerator to prevent the Oreos from becoming soggy.
- Let refrigerated brownies come to room temperature for the best flavor and texture.
Nutrition
How To Make Oreo Brownies
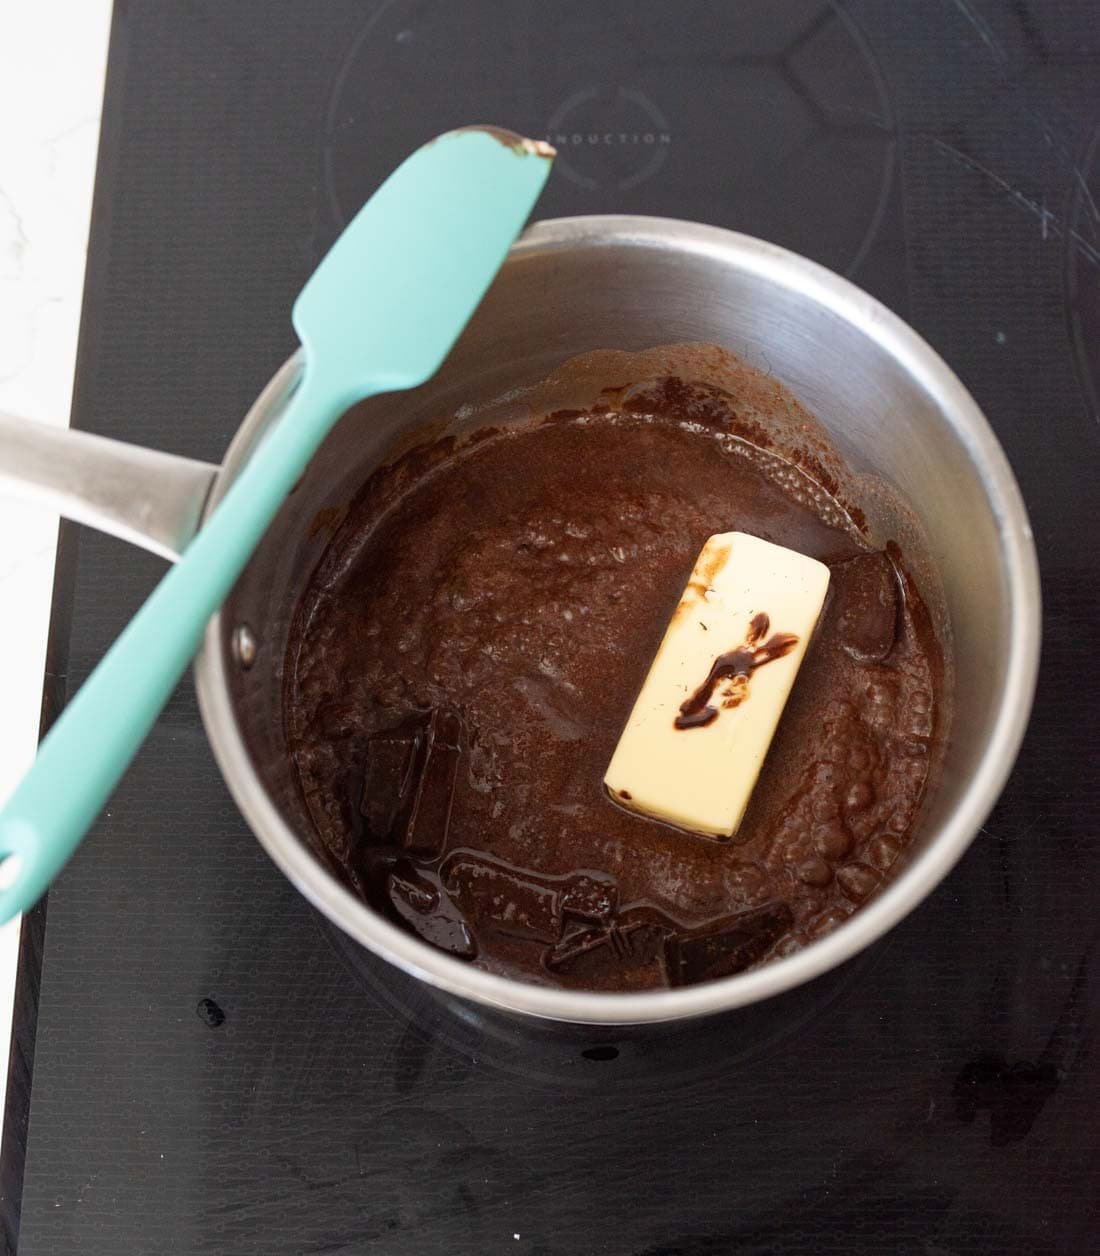
Step 1: Melt chocolate and butter in a saucepan over low heat.
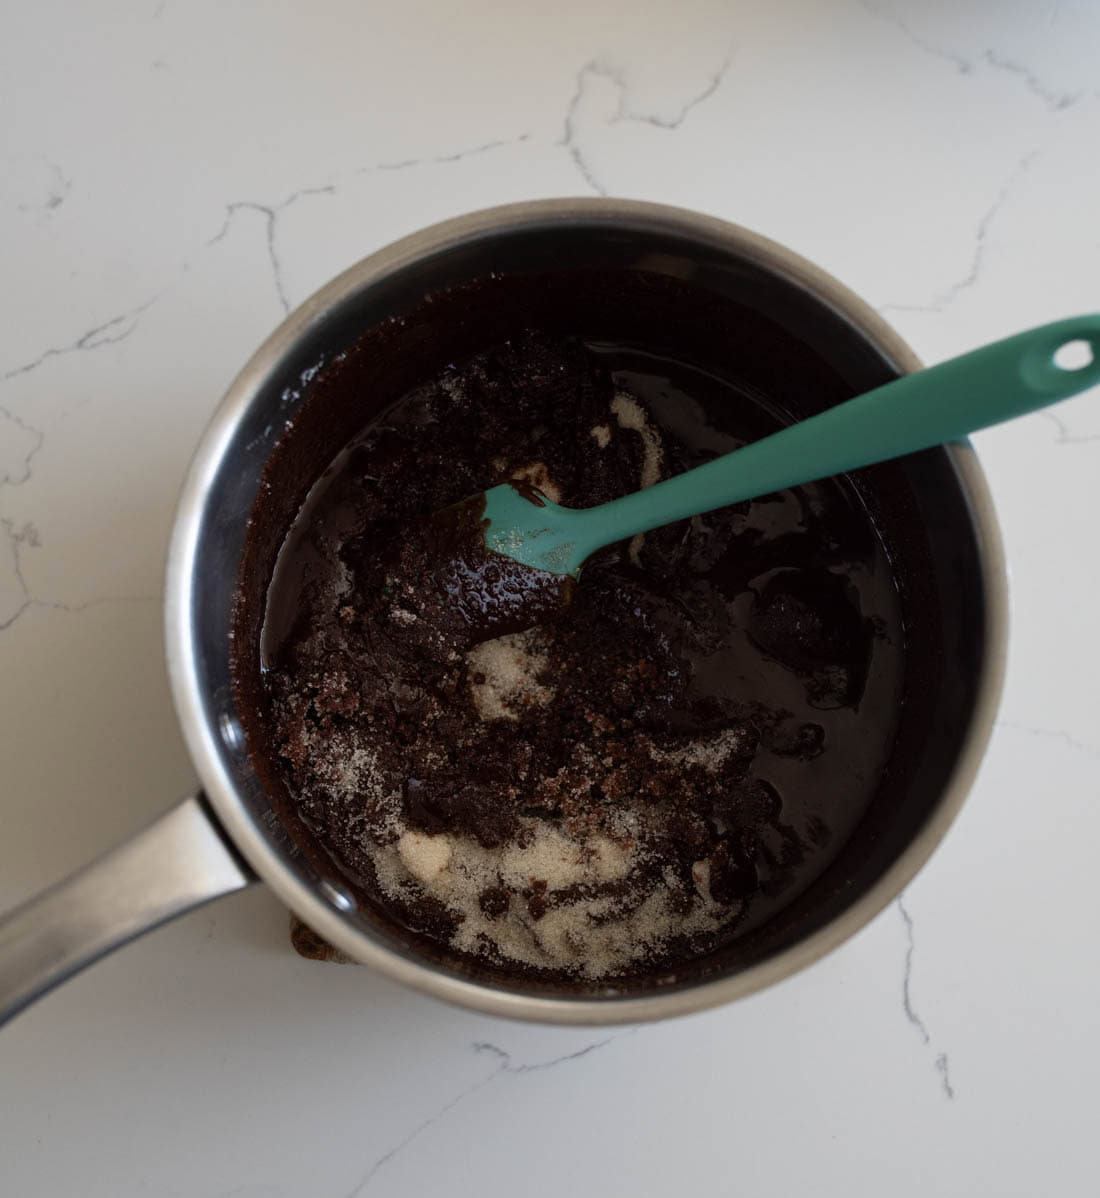
Step 2: Stir in the sugar until fully incorporated.
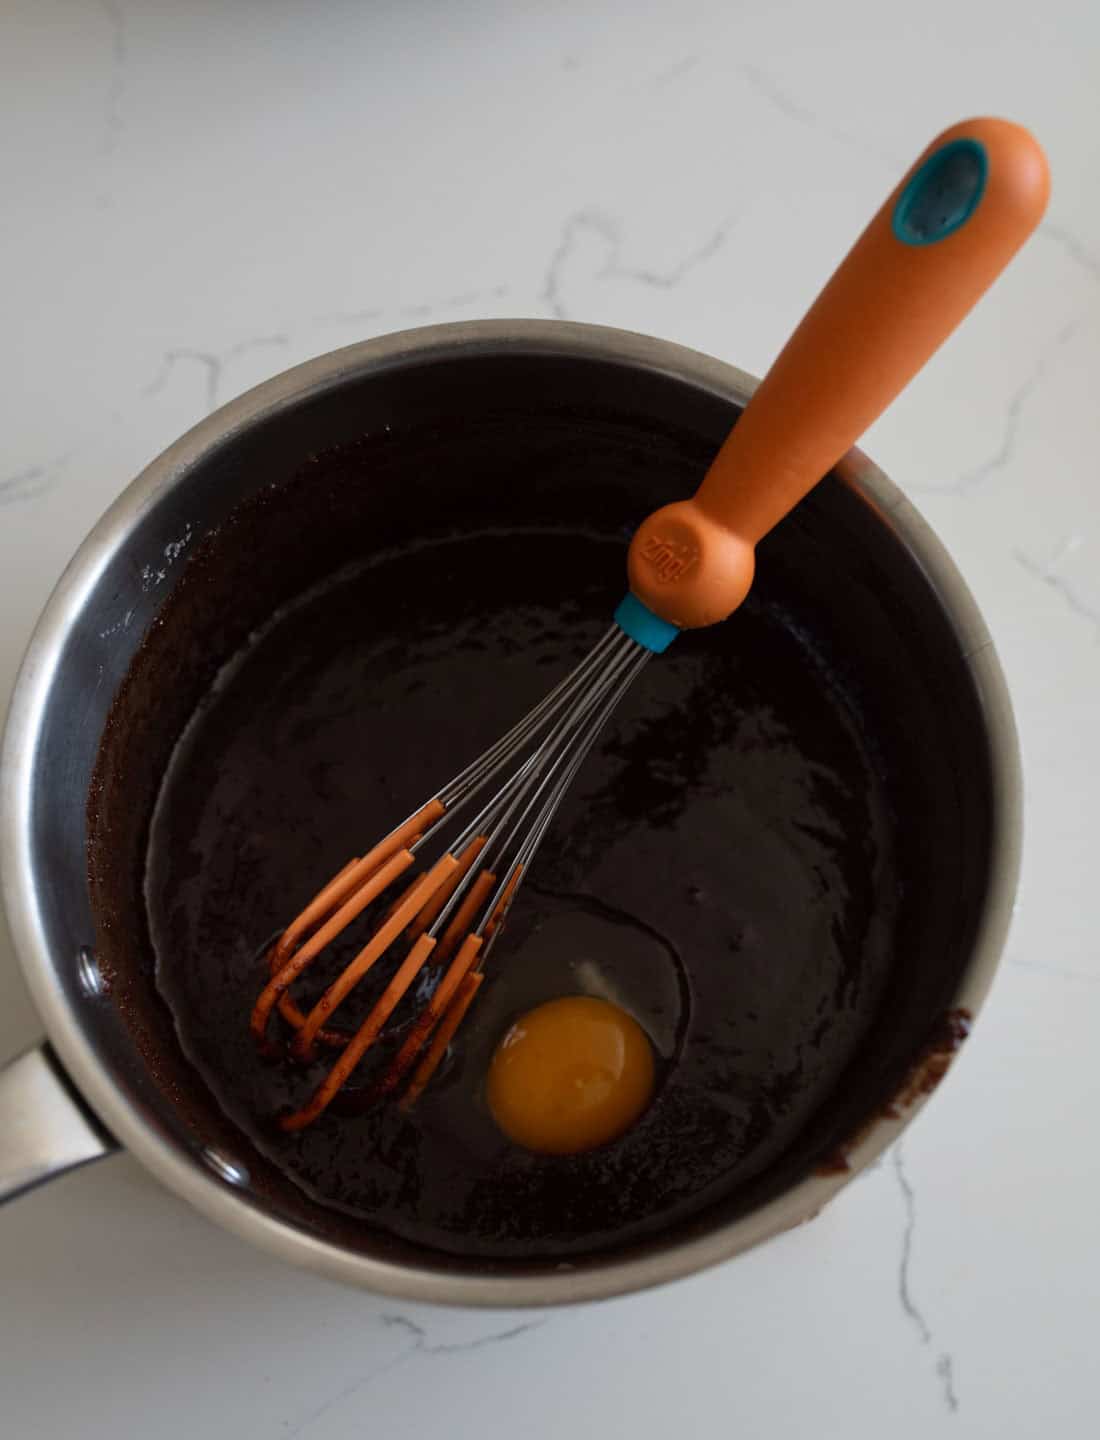
Step 3: Stir in the eggs, one at a time, until fully incorporated. Stir in the vanilla. Whisk this mixture well until is is glossy. Add the flour and salt and mix well.
Step 4: Pour half of the batter into the prepared pan, using a spatula to level the batter evenly. Place 16 Oreo cookies evenly in the bottom of the pan. Cover Oreos with the remaining half of the brownie batter, gently spreading to cover the Oreos.
Step 5: Break the remaining Oreos into pieces and distribute them evenly on top of the brownie batter. Put the pan in your preheated oven and bake for approximately 20-25 minutes.
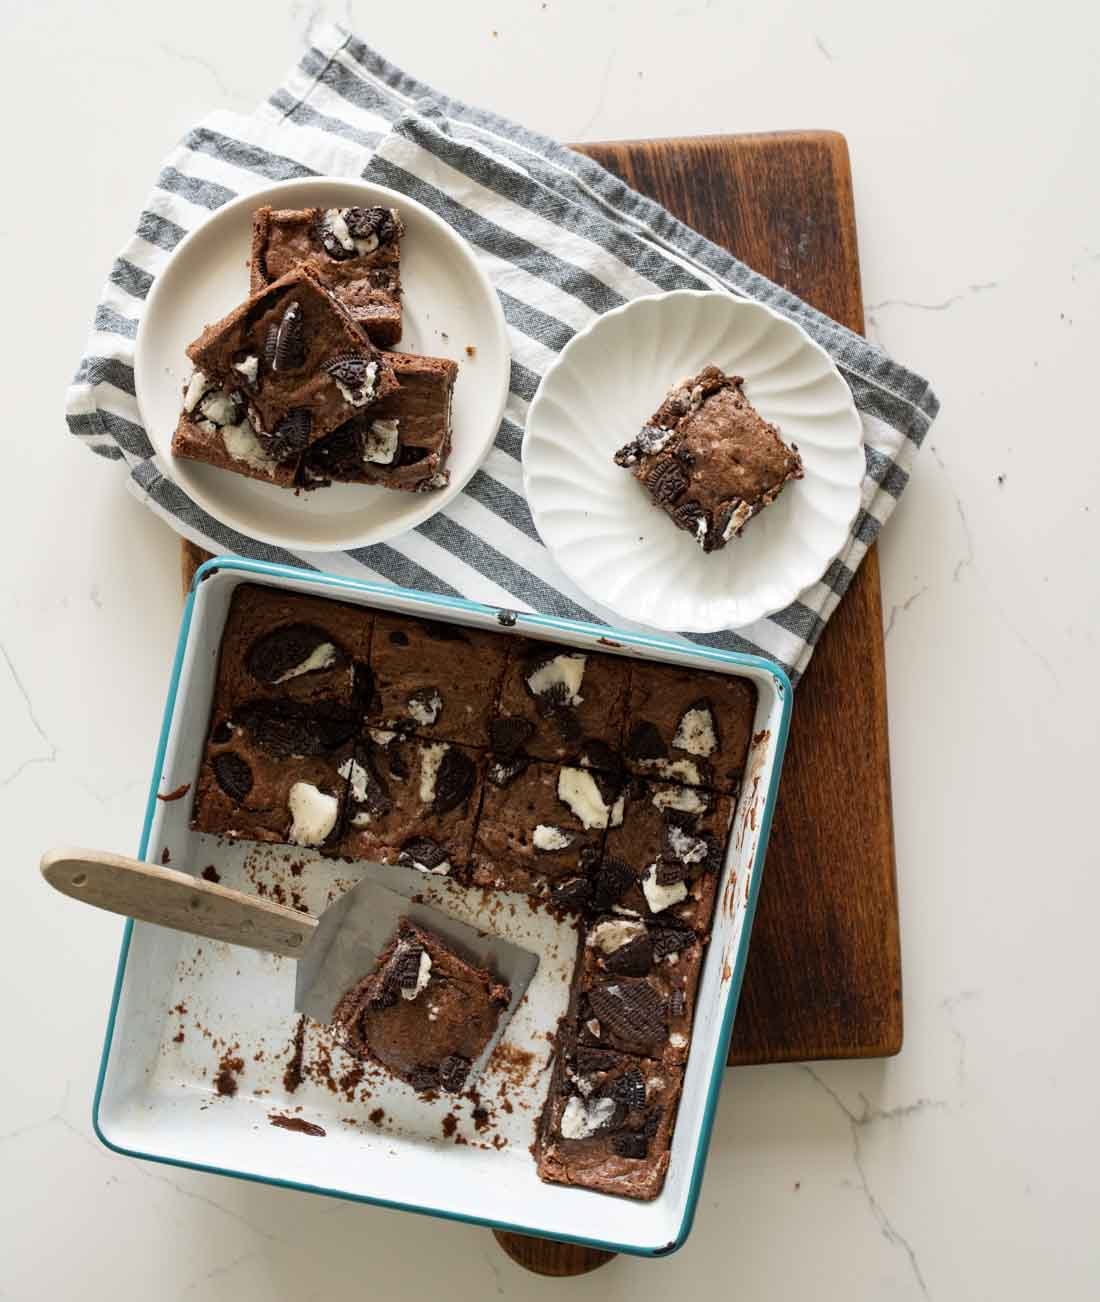
Step 6: Remove the brownies from the oven and let them cool in the pan for at least 15 minutes before cutting into squares.
Recipe FAQs
You can use a 9×9 inch pan for slightly thinner brownies. Reduce the baking time by 2-3 minutes and watch carefully to avoid overbaking. For a 9×13 inch pan, you’ll need to double the recipe.
Insert a toothpick into the center of the brownies. It should come out with just a few moist crumbs clinging to it, not wet batter. The top should look set but still slightly glossy. Remember, they’ll continue cooking slightly as they cool.
Yes! You can use bittersweet or semi-sweet chocolate instead, though the brownies will be slightly sweeter. You can also substitute with chocolate chips if you don’t have baking chocolate on hand. The texture will be nearly identical.
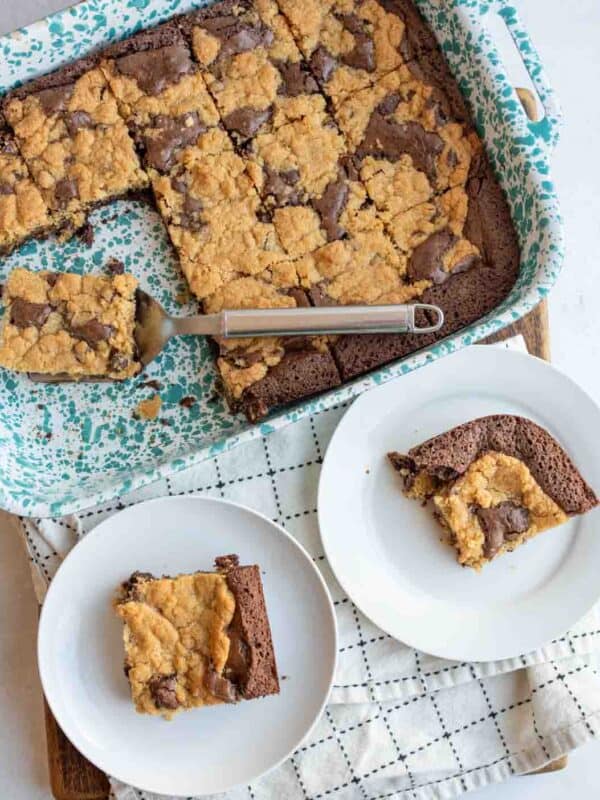
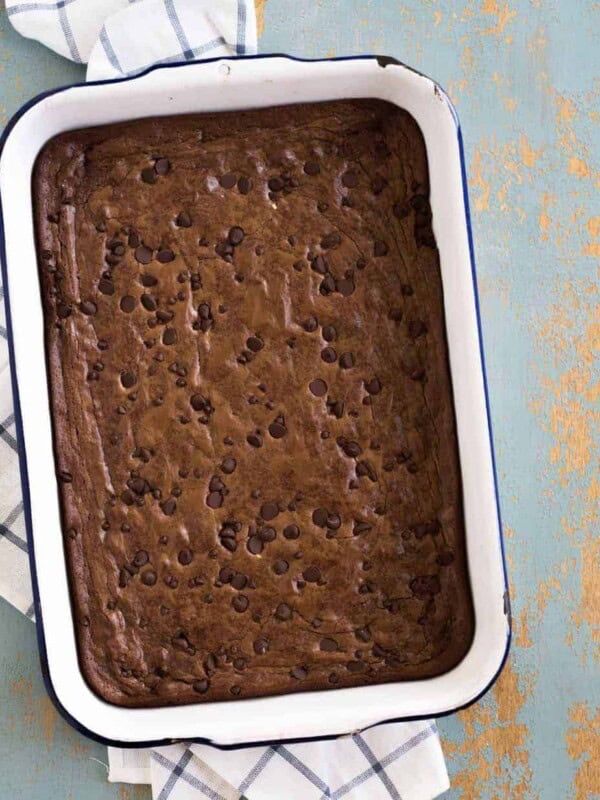
More Decadent Brownie Recipes To Try

Did you make this recipe? Leave a ⭐️ review and share it on Instagram, Facebook, or Pinterest!


These were so good! We loved the crunch of the Oreos bedded in the soft brownies. Nice twist on a classic. 😋
Go glad you liked them Emily! Thank you for taking the time to leave a review!