

This post may contain affiliate links. Please read our disclosure policy.
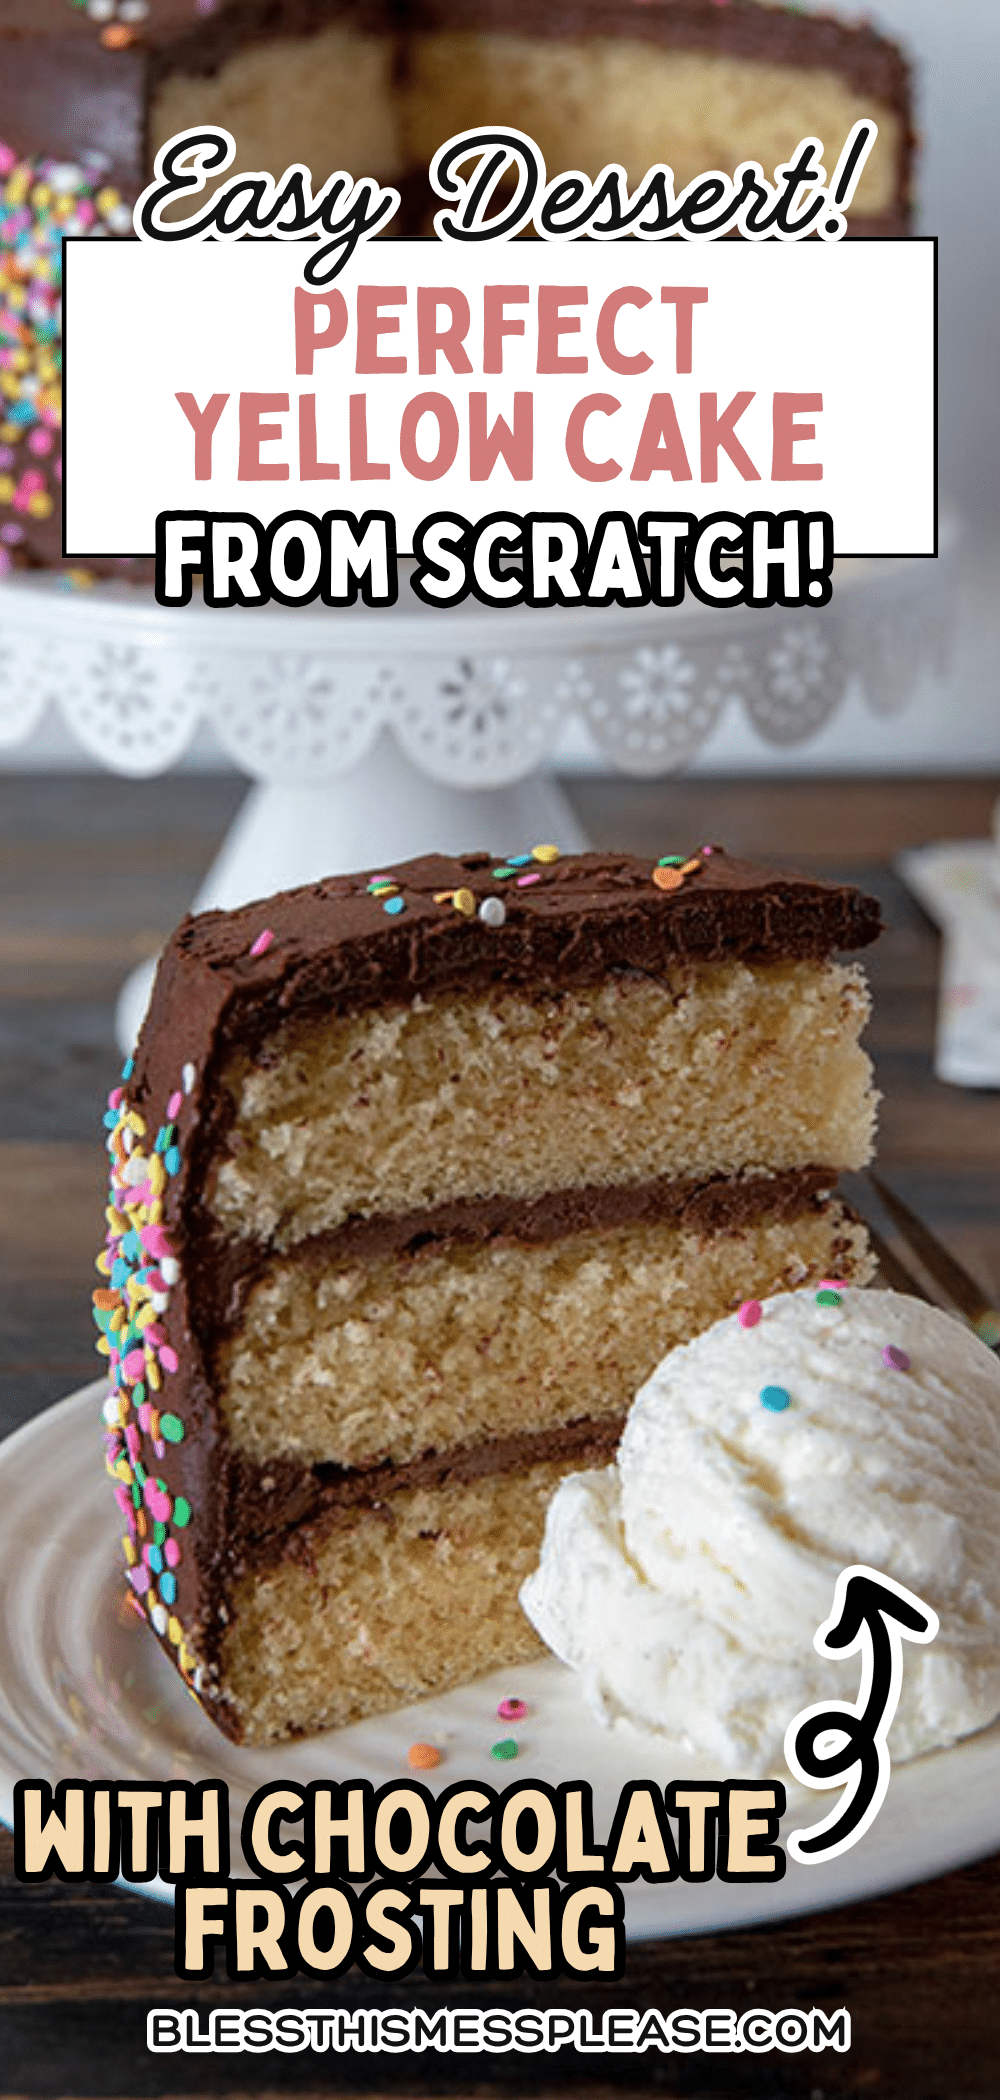
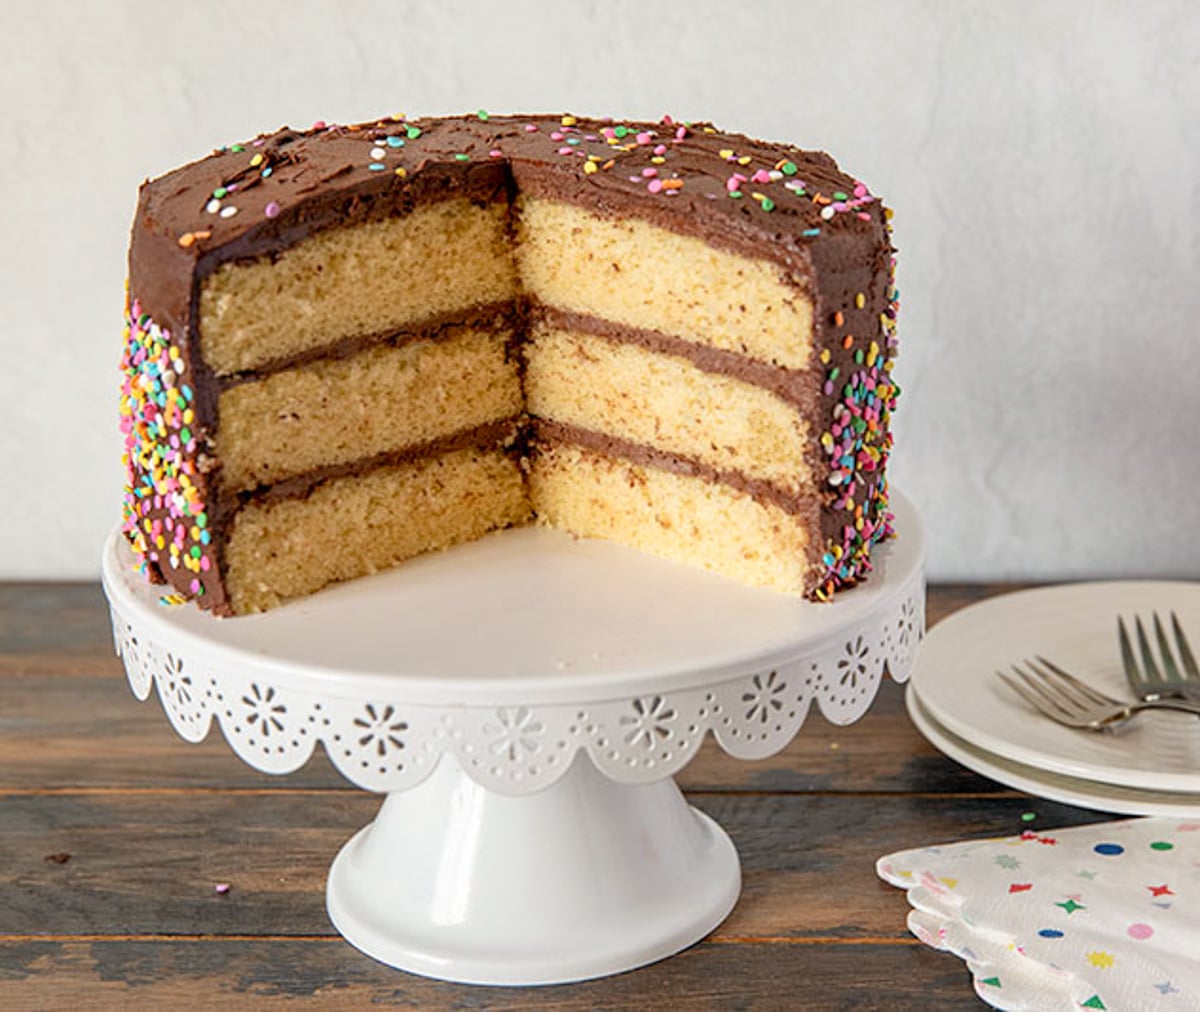
For birthdays, potlucks, or just a weekday that needs a little celebration, this yellow cake with chocolate frosting is the recipe you’ll want on repeat. It’s a classic for a reason; after all, a soft, buttery yellow cake layered with rich, fluffy chocolate frosting is perfection. It tastes like it came straight from the bakery, but comes together right in your own kitchen.
I’ve made this cake more times than I can count, and it’s honestly never once let me down. The batter comes together with simple pantry staples, and the frosting whips up thick and glossy every time. If you’ve ever had a boxed cake mix disappoint you, this homemade version will soon become your new go-to recipe.
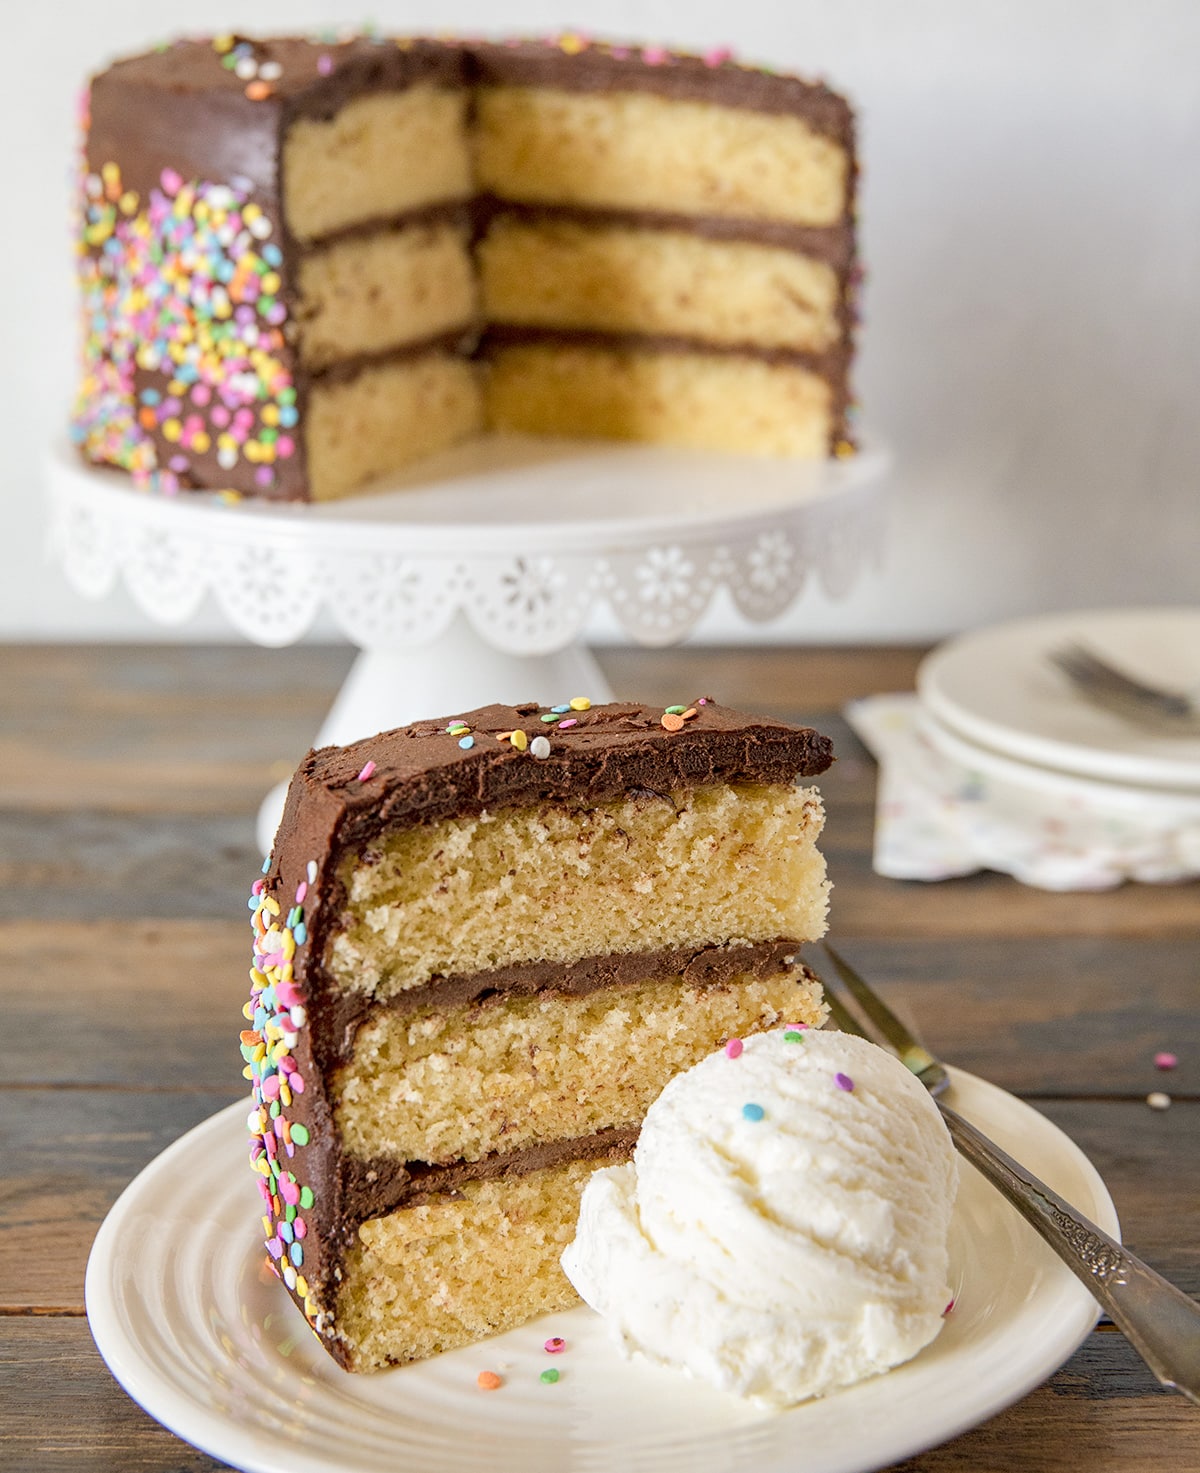
Table of Contents
- What is Yellow Cake with Chocolate Frosting?
- Key Takeaways
- Ingredient Notes
- How to Make Yellow Cake with Chocolate Frosting
- Pro Tips for the Best Yellow Cake with Chocolate Frosting
- Variations and Substitutions
- Frequently Asked Questions
- What to Serve with Yellow Cake
- Storage and Reheating
- More Easy Cake Recipes
- Simple Yellow Cake with Chocolate Frosting Recipe
What is Yellow Cake with Chocolate Frosting?
Yellow cake with chocolate frosting is a classic layered cake made with eggs, butter, and vanilla for a rich, tender crumb, topped with a fluffy homemade chocolate buttercream. It’s one of the most beloved birthday cake combinations because the buttery sweetness of the cake pairs perfectly with the deep, slightly bittersweet chocolate frosting.
Key Takeaways
- Makes a 2 to 3 layer cake, depending on the pan size.
- Ready in just about an hour, plus the cooling time.
- Made with simple, pantry-style ingredients.
- Rich, fluffy homemade buttercream chocolate frosting.
- Perfect for birthdays, holidays, or celebrations.
Ingredient Notes
Unbleached All-Purpose Flour: Gives the cake structure; measure carefully for the best texture.
Salt: Balances the sweetness of the cake. It’s also used to balance the frosting as well.
Baking Powder: Helps the cake rise into tall, tender layers.
Eggs: Room-temperature eggs whip up lighter and incorporate more evenly into the batter.
Granulated Sugar: Sweetens the cake and helps create a soft, tender crumb.
Vanilla Extract: Adds warmth and depth to the cake’s flavor, and it’s used again in the buttercream frosting to enhance the flavor.
Almond Extract: A small addition that enhances the cake’s overall flavor without tasting like an almond.
Whole Milk: Adds moisture and richness to the batter.
Butter: Adds richness and helps create a tender, buttery crumb. Also used in the frosting to create the fluffy buttercream texture.
Vegetable oil: Works alongside the butter to keep the cake moist for days.
Cocoa Powder: The base of the chocolate flavor; sifting it helps prevent lumps.
Confectioners’ Sugar: Sweetens and thickens the frosting into a spreadable buttercream.
Hot Water: Helps dissolve the cocoa powder for a smooth base.
How to Make Yellow Cake with Chocolate Frosting
Cake Instructions
- Preheat the oven to 350°F with a rack in the center. Spray three 8” x 2” or two 9” x 2” round cake pans with non-stick cooking spray; line the bottom of the pans with parchment rounds and spray the parchment, optional.
- In a small bowl, combine the flour, salt, and baking powder. Set aside.
- In a large mixing bowl, either using an electric hand mixer or a stand mixer with a whisk attachment, beat the eggs, sugar, vanilla, and almond extract, if using, until thickened and light gold in color, about 2 minutes at medium-high speed. If your stand mixer doesn’t have a whisk attachment, beat for 5 minutes using the paddle attachment. The batter should fall in thick ribbons from the beaters, whisk, or paddle.
- Add the dry ingredients to the mixture in the bowl and mix by hand or on low speed of a mixer, just enough to combine. Scrape the bottom and sides of the bowl, then mix again briefly to fully incorporate any residual flour or sticky bits.
- In a saucepan set over medium heat or in the microwave, bring the milk just to a simmer. Remove the pan from the heat and add the butter and oil, stirring by hand until the butter has melted.
- Slowly mix the hot milk-butter-oil mixture into the batter, stirring on low speed of a mixer until everything is well combined. Scrape the bowl and mix briefly, just until smooth.
Assembly for Baking
- Divide the batter evenly between the pans. You’ll use about 2 ¾ cups (about 580g) for each pan if you’re using two pans and slightly more than 1 ¾ cup (390 grams) for each pan if you’re using three pans.
- Bake the cakes until a toothpick inserted into the center comes out clean and the top feels set, 21 to 26 minutes for two 9” pans, or 18 to 22 minutes for three 8” pans; a digital thermometer inserted into the center of the cakes should read 205°F. Remove the cakes from the oven, carefully loosen the edges, and allow them to cool for 15 minutes in the pans. Then turn them out of the pans and transfer them to a rack, right-side up, to cool to room temperature.
Chocolate Frosting Instructions
- In a large mixing bowl or the bowl of your stand mixer, stir together, by hand or mixer, the cocoa powder, 1 cup (113g) of the confectioners’ sugar, and the salt. Stir in the water and vanilla, scraping the bowl if necessary.
- Add the butter and remaining confectioners’ sugar, stirring to combine. Using an electric hand mixer or a stand mixer with paddle attachment, beat the frosting at medium-high speed for 1 to 2 minutes, until lightened in color and fluffy, stopping halfway through to scrape the bottom and sides of the bowl.
Assembly Instructions
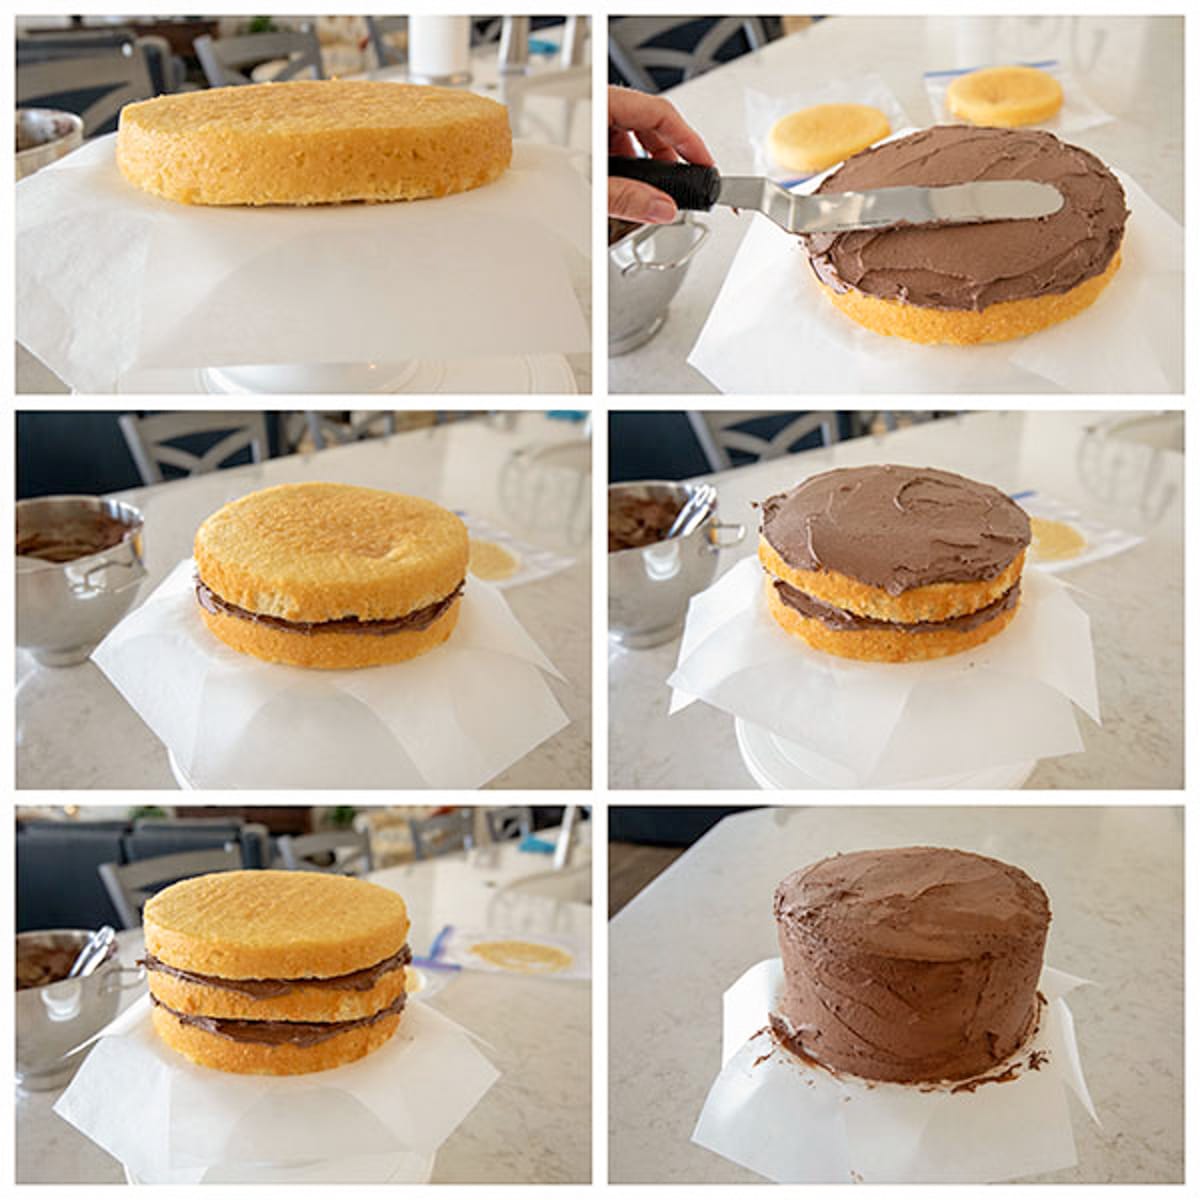
- Place one of the cake layers on a serving plate; tuck pieces of waxed or parchment paper underneath the edge of the cake to keep the plate clean. Spread the bottom layer with about 1 cup of frosting, enough to make a ¼”-thick layer. Center the second layer bottom-side up (for a flat top) over the frosted layer and press gently to set it in place. Repeat with the third layer if using.
- If your schedule permits, place the cake in the refrigerator or freezer, uncovered, for at least 30 minutes (or up to 2 hours) to firm it up. This will make the layers less likely to slide around as you work, and the cake won’t shed crumbs as you frost. If you’re pressed for time, you can skip this step.
- For the best-looking cake, do the frosting in two steps. First, spread a very thin layer of frosting around the sides and across the top; this is called a crumb coat. You should be able to see the cake through the frosting in spots; it’s that thin. Refrigerate the cake for 20 minutes to let this layer set. Again, skip this step if time is a factor.
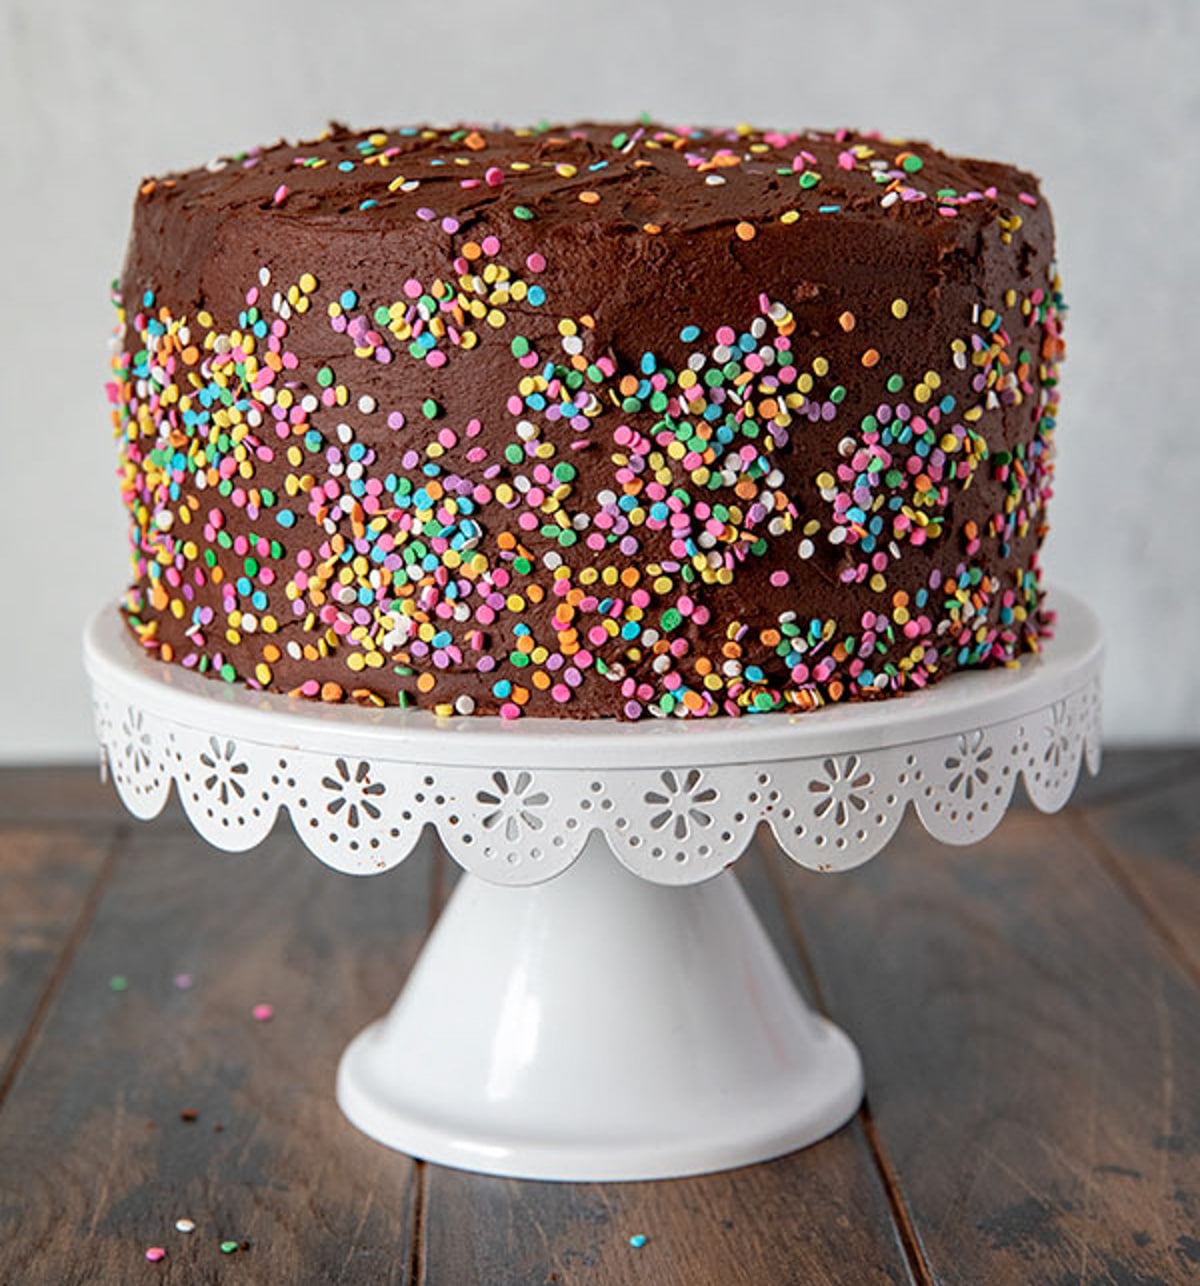
- Once the cake is chilled, use the remaining frosting to coat it thoroughly and evenly.
Pro Tips for the Best Yellow Cake with Chocolate Frosting
- Use room temperature eggs. These will whip up lighter and help create the thick, ribbon-like batter.
- Don’t skip the crumb coat. A thin first layer of frosting locks in the crumbs so your final coat is clean and smooth.
- Chill the cake between coats if you have time. This will help the frosting go on more easily and prevent the layers from sliding.
- Check for doneness with a digital thermometer. Use a digital food thermometer to check the internal temperature; it should read at least 205°F to be considered done.
- Reduce cocoa slightly for a milder frosting. If you’re not a huge dark chocolate fan, cut back a bit on the cocoa powder for a milder frosting.
Variations and Substitutions
- Pan Swap: Use two 9-inch pans for a taller two-layer cake, or 3 8-inch pans for a classic three-layer cake.
- Flavor Swap: Skip the almond extract if you prefer purely vanilla flavor.
- Frosting Swap: Use the same chocolate frosting on cupcakes, brownies, or a sheet cake version of this recipe.
- Sheet Cake Version: Bake the batter in a 9×13 pan instead of round layers.
Frequently Asked Questions
Yes. This cake can be baked a day ahead and then stored at room temperature for up to 3 days. Be sure the cake is wrapped in plastic wrap.
The finished cake freezes well; it can be wrapped tightly and stored in the freezer for up to 1 month.
Beating the butter and sugar mixture for the full 1 to 2 minutes is the key to a light and fluffy texture; do not rush this step.
This chocolate frosting works beautifully on cupcakes, brownies, or even cookie filling.
What to Serve with Yellow Cake
- Fresh Berries
- Cold Milk
- Chantilly Cream
- Hot Chocolate
- Vanilla Ice Cream
Storage and Reheating
Refrigerator
Store the covered cake in the fridge for up to 1 week; let it come to room temperature before serving.
Room Temperature
Store the cake covered at room temperature for up to 3 days.
Freezer
Wrap well and store in the freezer for up to 1 month. The cake can be thawed at room temperature before serving.
More Easy Cake Recipes
From Scratch Recipes
Easy Lemon Blueberry Layer Cake
Simple Gingerbread Recipes
Gingerbread Coffee Cake
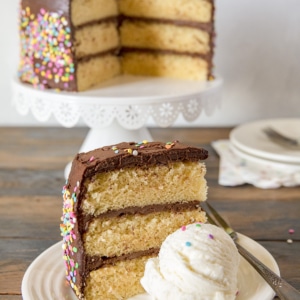
This yellow cake with chocolate frosting is the perfect treat for a birthday party or family celebration without being overcomplicated or intimidating. With a few pantry staples and a little bit of patience, you’ll have a cake that beats any box mix and will be requested time and time again!
Simple Yellow Cake with Chocolate Frosting
Ingredients
Cake Instructions
- 2 cups plus 2 tablespoons Unbleached All-Purpose Flour
- 1 ¼ teaspoons salt
- 1 ½ teaspoons baking powder
- 4 large eggs at room temperature
- 2 cups minus 2 tablespoons granulated sugar
- 1 tablespoon vanilla extract
- ⅛ teaspoon almond extract; optional for enhanced flavor
- 1 cup plus 3 tablespoons whole milk
- 4 tablespoons butter , cut into pats
- ⅓ cup vegetable oil
Chocolate Frosting
- 1 ¼ cups natural cocoa powder , sifted *
- 1 cup confectioners’ sugar, (sifted if lumpy)
- ¼ teaspoon salt
- ⅓ cup hot water
- 1 tablespoon vanilla extract
- 1 cup butter, softened
Instructions
Cake Instructions
- Preheat the oven to 350°F with a rack in the center. Spray three 8” x 2” or two 9” x 2” round cake pans with non-stick cooking spray; line the bottom of the pans with parchment rounds and spray the parchment, optional.
- In a small bowl, combine the flour, salt, and baking powder. Set aside.
- In a large mixing bowl, either using an electric hand mixer or a stand mixer with whisk attachment, beat the eggs, sugar, vanilla, and almond extract, if using, until thickened and light gold in color, about 2 minutes at medium-high speed. If your stand mixer doesn’t have a whisk attachment, beat for 5 minutes using the paddle attachment. The batter should fall in thick ribbons from the beaters, whisk, or paddle.
- Add the dry ingredients to the mixture in the bowl and mix, by hand or on low speed of a mixer, just enough to combine. Scrape the bottom and sides of the bowl, then mix again briefly, to fully incorporate any residual flour or sticky bits.
- In a saucepan set over medium heat or in the microwave, bring the milk just to a simmer. Remove the pan from the heat and add the butter and oil, stirring by hand until the butter has melted.
- Slowly mix the hot milk-butter-oil mixture into the batter, stirring on low speed of a mixer until everything is well combined. Scrape the bowl and mix briefly, just until smooth.
- Divide the batter evenly between the pans. You’ll use about 2 ¾ cups (about 580g) for each pan if you’re using two pans and slightly more than 1 ¾ cup (390 grams) for each pan if you’re using three pans.
- Bake the cakes until a toothpick inserted into the center comes out clean and the top feels set, 21 to 26 minutes for two 9” pans, or 18 to 22 minutes for three 8” pans; a digital thermometer inserted into the center of the cakes should read 205°F. Remove the cakes from the oven, carefully loosen the edges, and allow them to cool for 15 minutes in the pans. Then turn them out of the pans and transfer them to a rack, right-side up, to cool to room temperature.
Chocolate Frosting Instructions
- In a large mixing bowl or the bowl of your stand mixer, stir together, by hand or mixer, the cocoa powder, 1 cup (113g) of the confectioners’ sugar, and the salt. Stir in the water and vanilla, scraping the bowl if necessary.
- Add the butter and remaining confectioners’ sugar, stirring to combine. Using an electric hand mixer or a stand mixer with paddle attachment, beat the frosting at medium-high speed for 1 to 2 minutes, until lightened in color and fluffy, stopping halfway through to scrape the bottom and sides of the bowl.
Assembly Instructions
- Place one of the cake layers on a serving plate; tuck pieces of waxed or parchment paper underneath the edge of the cake to keep the plate clean. Spread the bottom layer with about 1 cup of frosting, enough to make a ¼”-thick layer. Center the second layer bottom-side up (for a flat top) over the frosted layer and press gently to set it in place. Repeat with third layer if using.
- If your schedule permits, place the cake in the refrigerator or freezer, uncovered, for at least 30 minutes (or up to 2 hours) to firm it up. This will make the layers less likely to slide around as you work, and the cake won’t shed crumbs as you frost. If you’re pressed for time, you can skip this step.
- For the best-looking cake, do the frosting in two steps. First, spread a very thin layer of frosting around the sides and across the top; this is called a crumb coat. You should be able to see the cake through the frosting in spots, it’s that thin. Refrigerate the cake for 20 minutes to let this layer set. Again, skip this step if time is a factor.
- Once the cake is chilled, use the remaining frosting to coat it thoroughly and evenly.
Storage Instructions
- Store the cake, covered, at room temperature, or in the refrigerator if your kitchen is hot. Let it come to room temperature before serving.
- The cake will keep at room temperature, covered with a cake cover, for up to three days; in the refrigerator, covered, for up to one week, or in the freezer, well wrapped, for up to one month.