This post may contain affiliate links. Please read our disclosure policy.

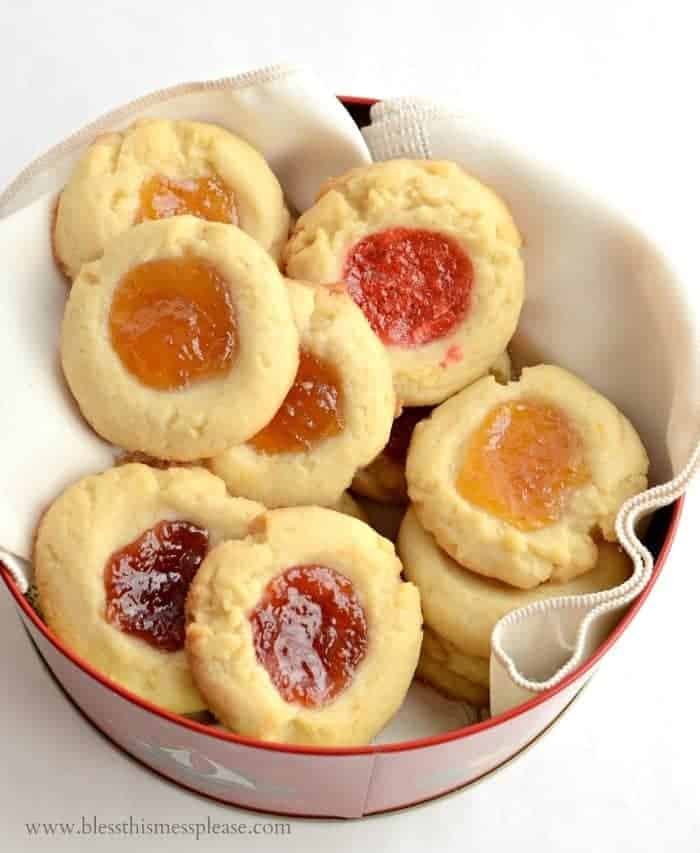
These Shortbread Jam Thumbprint Cookies have a tender, buttery base and a bit of jam in the center. An easy cookie recipe that tastes delicious!
Ah, the holiday season! It’s that magical time of the year when we come together with family and friends, sharing laughter, love, and of course, food. Among the platters of festive delights, there’s one cookie that never fails to steal the show: the jam shortbread cookie, affectionately known as the thumbprint cookie.
What’s In A Name?
“Why thumbprint?”, you might ask. The name originates from the technique used in crafting these cookies. Balls of the shortbread dough are rolled and then gently pressed with the thumb to create a well. This indentation is what holds the delicious jewel of jam that characterizes the cookie. Thus, “thumbprint” cookies!
Holiday Favorites
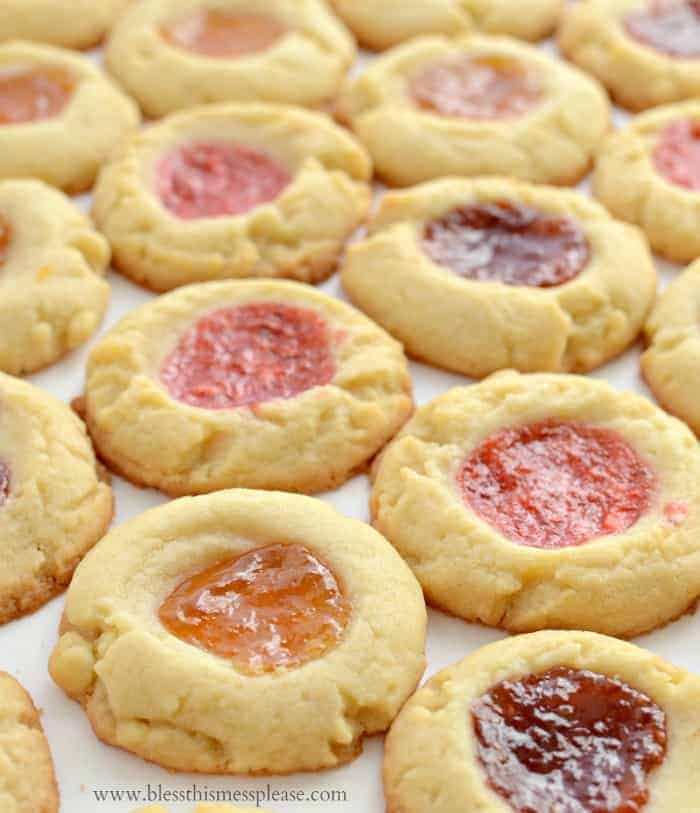
There’s something inherently festive about these cookies. Perhaps it’s the glistening jam center that reminds us of ornaments on a tree, or maybe it’s just the combination of textures and flavors that dance delightfully on the palate. Whatever the reason, thumbprint cookies have become synonymous with the holiday season for many.
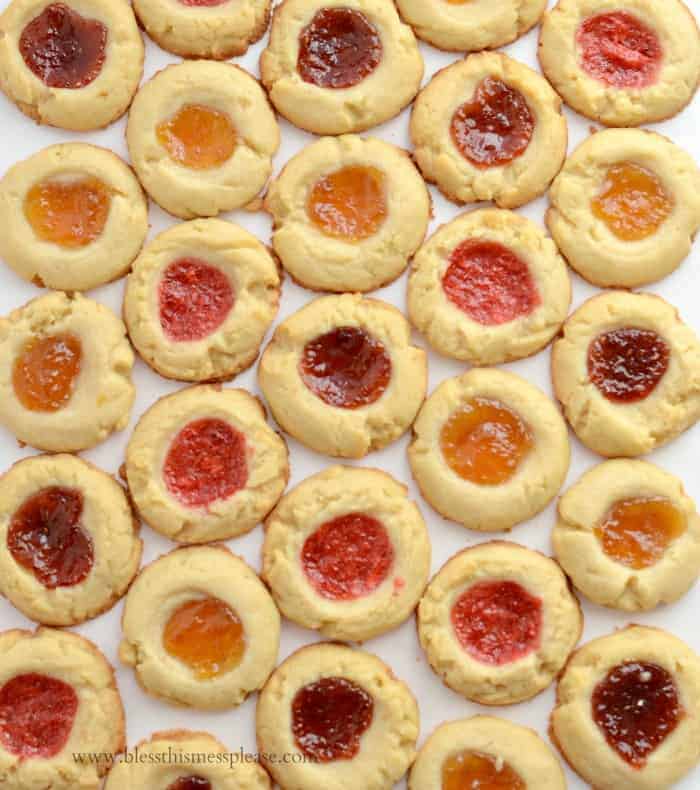
Not only are they delicious, but they also add a pop of color to any cookie tray, making them visually appealing as well. Plus, making them can be a fun family activity. Kids especially love the process of making the thumbprint indentation and filling it with their favorite jam.

Frequently Asked Questions about Jam Shortbread Cookies
- Can I use salted butter instead of unsalted butter? Yes, you can use salted butter. However, you might want to reduce or omit the added salt in the recipe to avoid overly salty cookies.
- What type of jam works best for this recipe? You can use any jam or jelly of your preference. Popular options include raspberry jam, peach jelly, and strawberry freezer jam, but feel free to get creative.
- Can I freeze the dough for later use? Absolutely! You can scoop and indent the dough balls, then freeze them on a baking sheet. Once frozen, transfer them to a freezer bag. When ready to bake, add jam and bake directly from the freezer, adding a couple of minutes to the baking time.
- Why is my dough too crumbly? It’s possible the flour was over-measured. Always spoon the flour into your measuring cup and level it off, rather than packing it down. If it’s too crumbly, you can add a touch more heavy cream to bring it together.
- Can I double the recipe? Certainly! This recipe can easily be doubled for larger batches.
- Why is chilling the dough so important? Chilling the dough prevents the cookies from spreading too much in the oven, resulting in a more defined shape and texture.
- How do I know the cookies are fully baked? You’ll know the cookies are done when the bottom edges start to brown slightly.
More cookie recipes:
- My Favorite Sugar Cookie Recipe
- Gingersnap Cookies
- Soft Gingerbread Cookies
- Extra Buttery Spritz Cookies
If you’ve tried this thumbprint cookies recipe or any other recipe on Bless This Mess, then don’t forget to rate the recipe and leave me a comment below! I would love to hear about your experience making it. And if you snapped some pictures of it, share it with me on Instagram so I can repost on my stories.
Thumbprint Cookies
Ingredients
- 1 large egg yolk
- 1 tablespoon heavy cream
- 1 teaspoon vanilla extract
- 1 cup unsalted butter, softened
- ⅔ cup granulated sugar
- ¼ teaspoon salt
- 2 cups all-purpose flour
- ½ cup jam or jelly
Instructions
- Preheat your oven 375 degrees and line a large baking sheet with parchment or a baking mat. Set aside.
- In a small bowl add the egg yolk, heavy cream, and vanilla. Beat with a fork until combined.
- In the bowl of a stand mixer add the butter and granulated sugar. Beat on medium speed until the mixture is light and fluffy, about 3 minutes. Add the yolk mixture and beat to combine, about 30 seconds. Scrape down the sides of the bowl as needed. Add the salt and flour and mix until the dough comes together.
- Using a tablespoon scoop, scoop out a ball of dough and place it on the sheet. Place the cookies about 1 ½ inches apart. Use your thumb or a rounded measuring spoon to make an indent in the center of the cookies. Press gently with your thumb until the indent in the cookie ball is about an inch across, repeat this step with each cookie dough ball.
- Add ¼ to ½ teaspoon of jam to each indent. Put the prepared cookie sheets in the fridge and let the cookies chill for 15 to 20 minutes.
- Bake the cookies for 10-12 minutes until the bottom edges start to brown. Remove from the oven and allow the cookies to cool on the pan for 10 minutes. Remove and let them finish cooling on a wire rack. Store extra cookies in an airtight container for up to 5 days.
Notes
- You can use just about any jam or jelly you like. I used homemade raspberry jam, peach jelly, and strawberry freezer jam. They all worked great and they all tasted great too. Use your favorite and feel free to use a variety.
- The key to the crisp and tender cookie is chilling the dough before baking it. This butter-heavy dough will spread really bad and the cookies will look ugly if you don’t chill them before baking.
- Don’t limit yourself to one jam or jelly! Feel free to use a variety or even create a rainbow of flavors on one baking sheet for a colorful treat.
-
- While these cookies taste best fresh, they can be stored in an airtight container for up to 5 days. If you notice them softening, you can re-crisp them in a low oven for a few minutes.
- It cannot be stressed enough how essential it is to chill the dough. This step ensures a crisp, tender cookie. Skip this step, and you risk having cookies that spread too much and lose their shape.
Nutrition
The dough base for these jam thumbprint cookies is adapted from America’s Test Kitchen’s Family Baking Cookbook. It’s a great cookbook!
You could add lots of things to the middle of this shortbread dough. I think chocolate, nuts, and caramel might be a fun direction to head in too! You really can’t go wrong with a recipe that calls for a cup of butter.


I rarely leave comments unless the recipe is amazing and this cookie recipe was that! I followed the recipe exact and they came out PERFECT! I will say I did use a tablespoon scoop and was able to get 32 cookies not 36 but I only needed 24 so I still got to enjoy the extras to myself! Highly recommend these they taste 10x better then the knotts ones
Can you freeze the dough with the jam?
I freeze the dough before I shape it and add the jam, I haven’t tried it that far into the process but if you do I’d love to know how it worked!
I don’t have a stand up mixer. I am sure a hand mixer will do just fine as well?
Yes, that will work great!
Also excellent with a dash of anise in the mix. I’ve made this recipe several times with great results, except the time I let the butter get too soft, which made the cookies spread too much – still delicious but too crumbly.
Adding anise sounds so so good. Thank you for the tip! What’s your favorite jam with them?
Could I use preserves instead of jam or jelly? TY
Yes, anything like that will work great!
Awesome recipe! My wife and kids loved them so much, I had to make another batch. Thank you!
Now you have me wanting a batch! What jam do you like best in them?
Argh, I should’ve used this recipe for my cookie swap this weekend. I made creamcheese thumbprints and they were SO BLAND. Even the jam and powered sugar dusting couldn’t make those suckers very tasty. I’ll be making these next time!
Delicious with raspberry jam
Agreed, that’s my favorite jam to use too because I love raspberries!
Thank you for the nice recipe.
Ah! These thumbprint cookies look so darn tasty! <3 I need to try making them when I have a kitchen again! :]!