This post may contain affiliate links. Please read our disclosure policy.
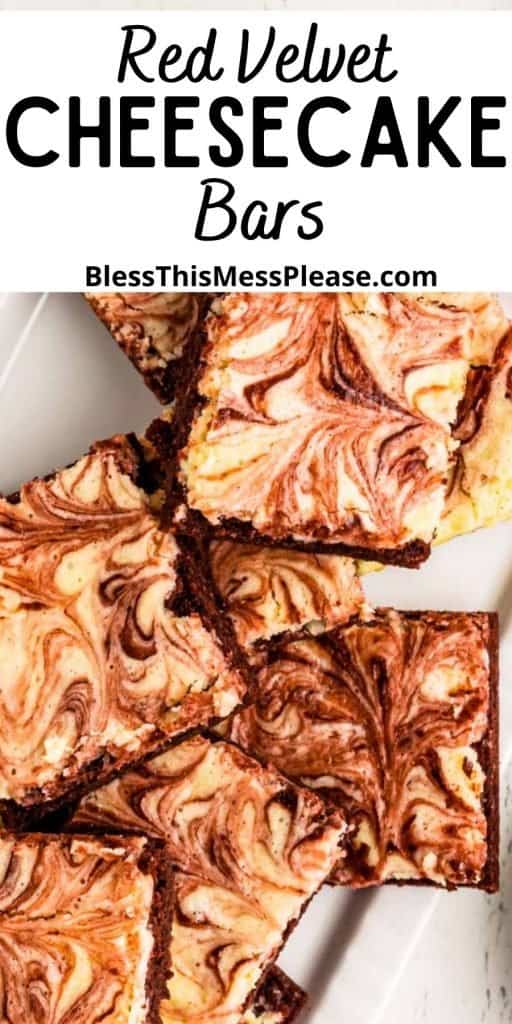
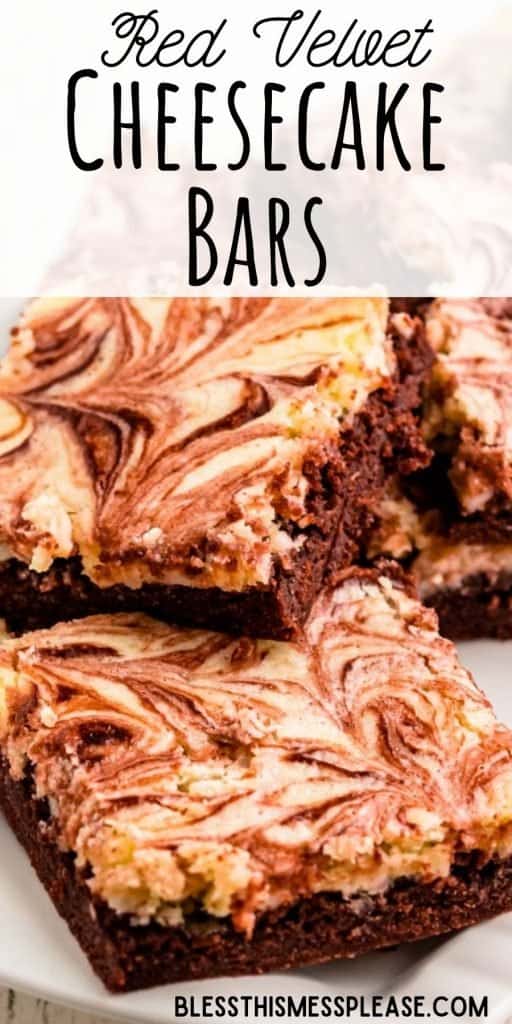
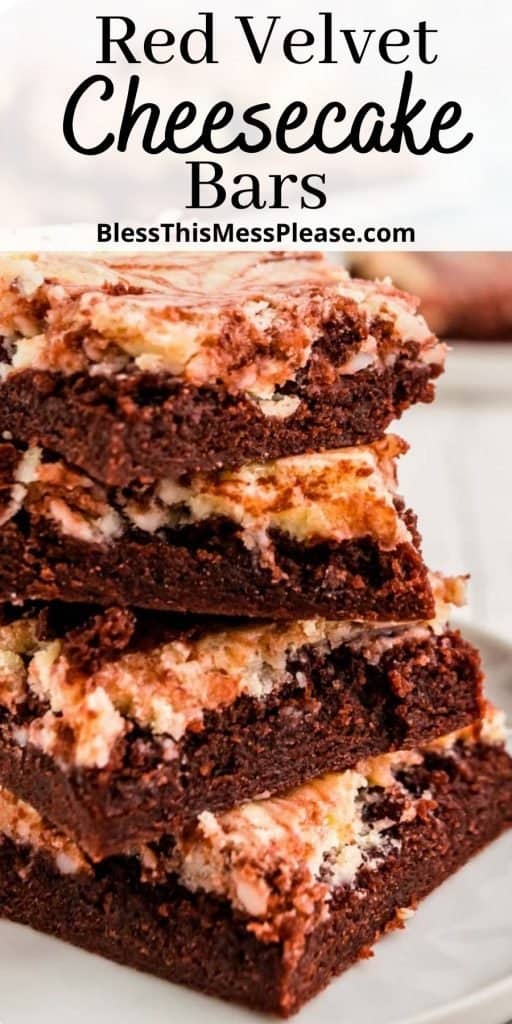
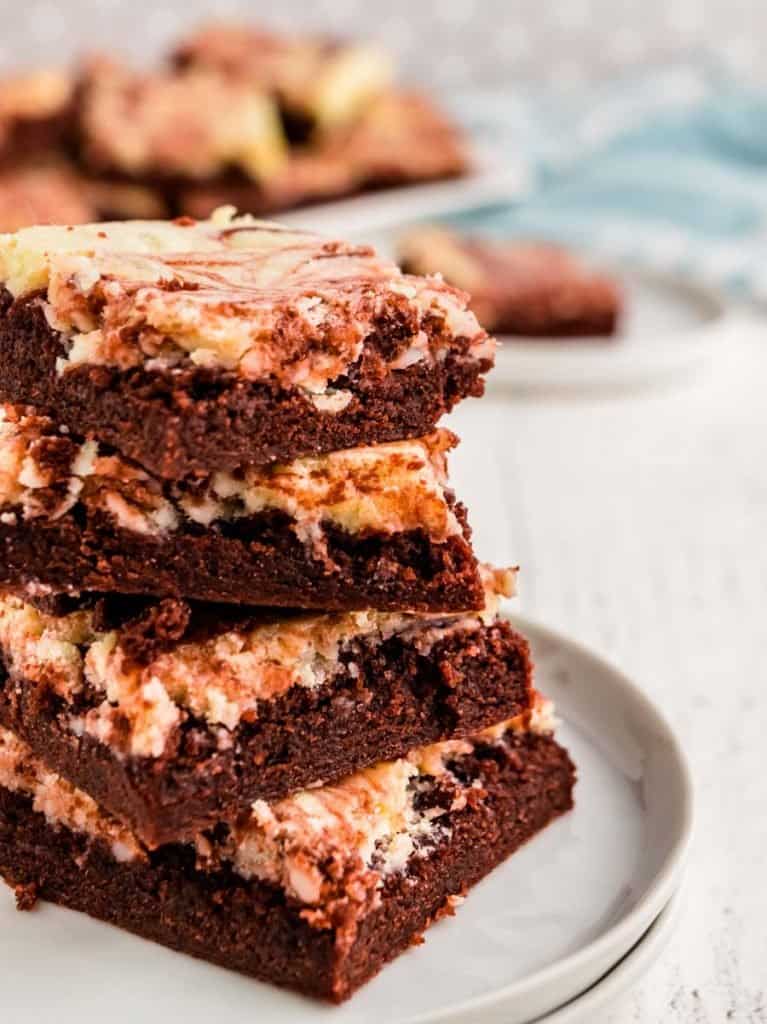
Red Velvet Cheesecake Bars are what you get when you combine two popular desserts! They are elegant-looking and so delicious.
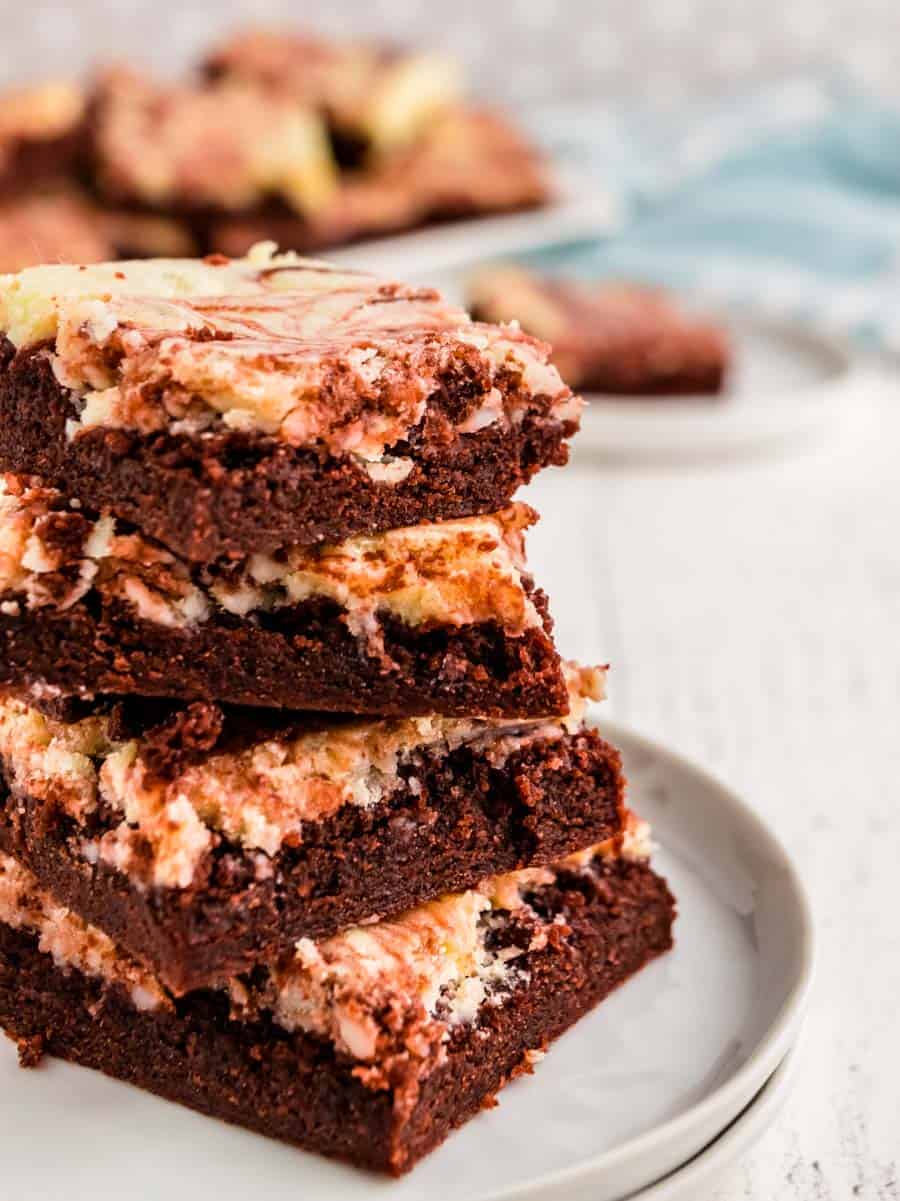
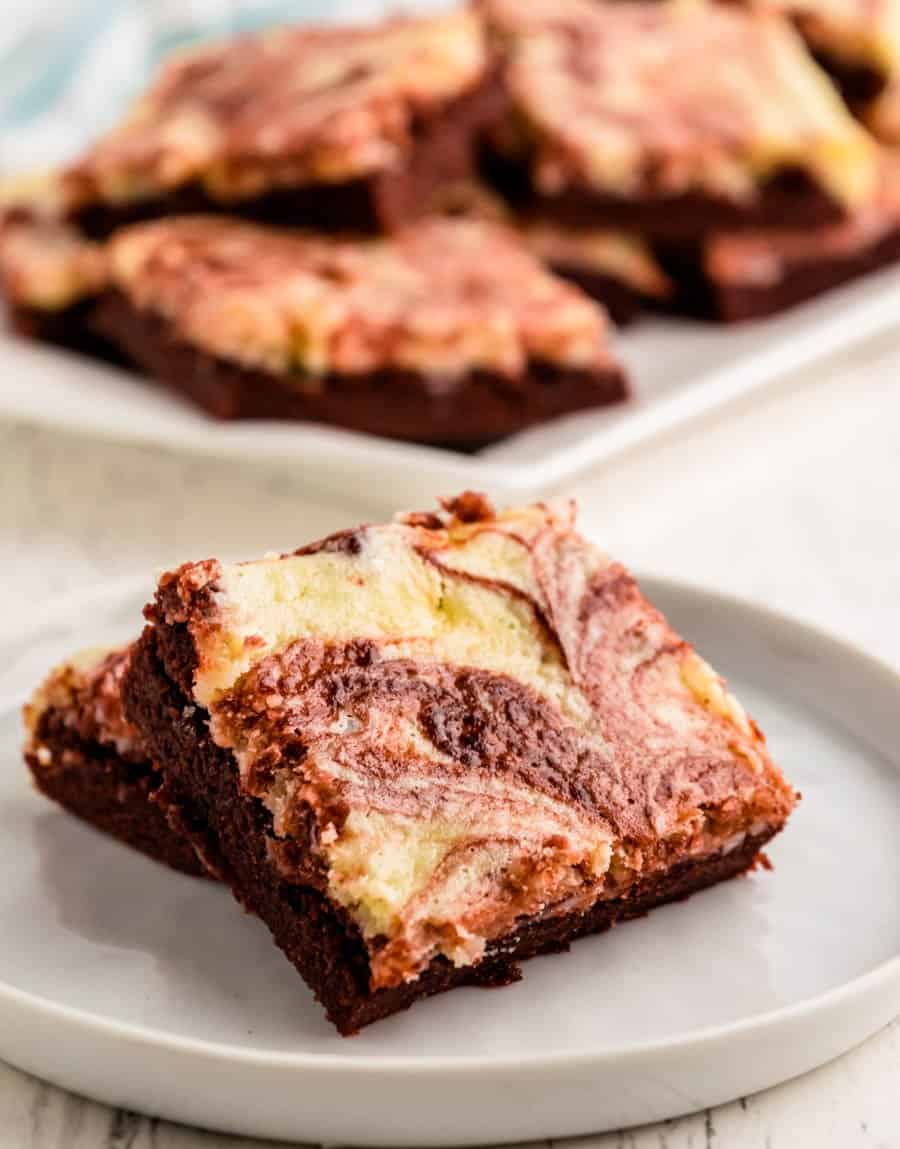
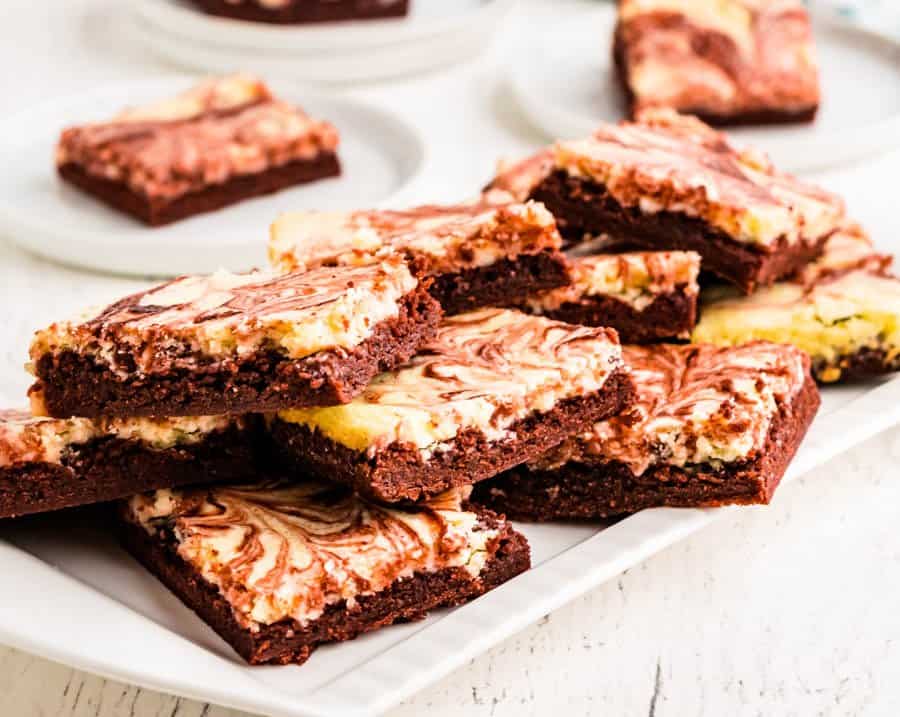
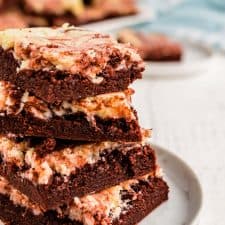
This is one of the best recipes I’ve made in a long time. Red velvet cheesecake bars are dense and soft but still completely sturdy. They are the perfect dessert to transport because they hold up so nicely. This dessert is one that looks extra fancy but it incredibly simple to make. Whenever I make these bars, they are devoured in no time flat.
Each bite combines the flavors of cheesecake, red velvet, and brownie. What more could you want?!
Table of Contents
Why You’ll Love This Recipe
- Delicious Flavor Combination: Cheesecake plus red velvet cake is an amazing combo.
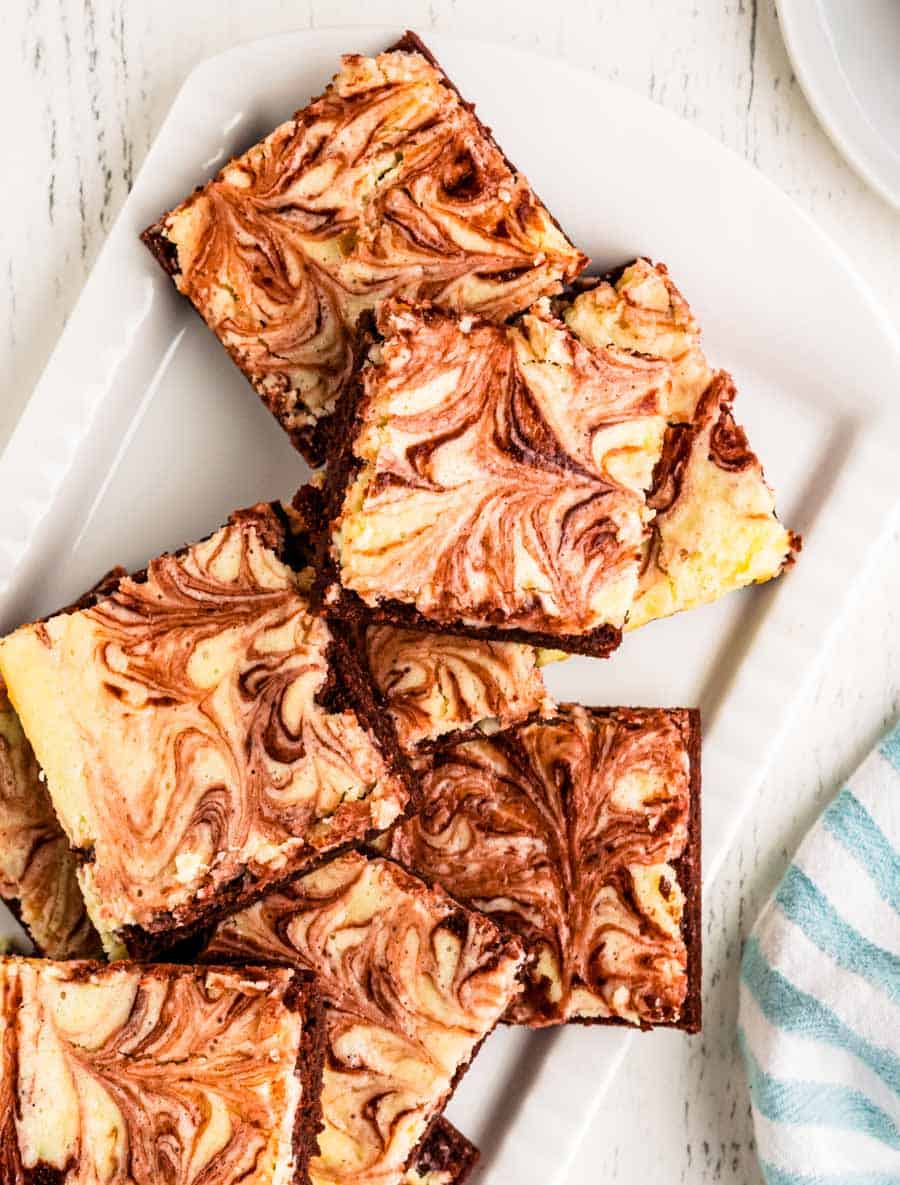
- Visually Stunning: The red cake against the white cheesecake makes for a gorgeous dessert.
- Elegant Dessert: There’s just something about a swirled dessert that looks fancy but in this case, they are surprisingly simple.
- Easy to Serve: These bars are so easy to cut, dish, and serve.
Ingredients
Red Velvet Layer
- Flour
- Granulated Sugar
- Cocoa Powder
- Salt
- Baking Powder
- Eggs
- Vegetable Oil
- Milk
- Vanilla Extract
- Red Food Coloring
- White Vinegar
Cheesecake Layer
- Cream Cheese
- Granulated Sugar
- Eggs
- Vanilla
See the recipe card below for full information on ingredients and quantities
How to Make Red Velvet Cheesecake Bars
Step #1. Preheat the oven. Grease a jelly roll pan and set aside.
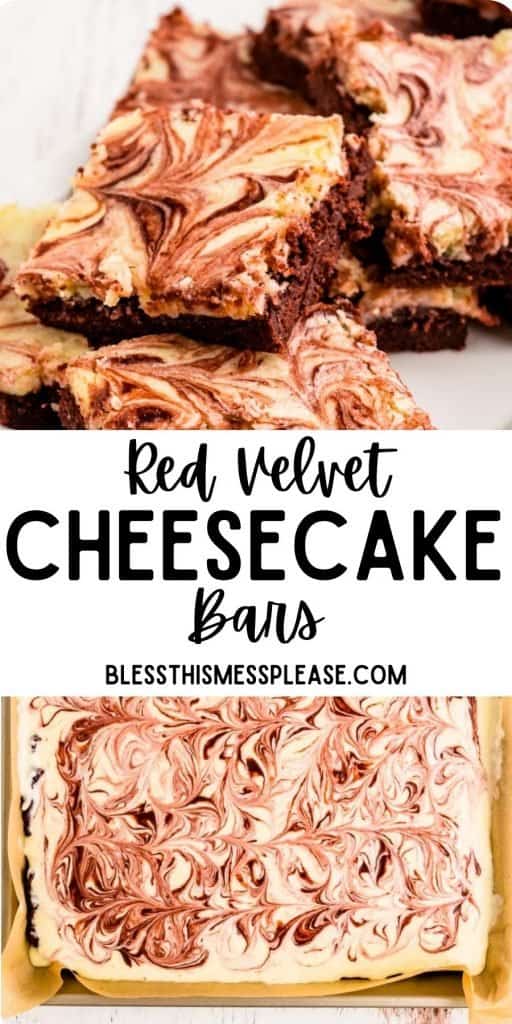
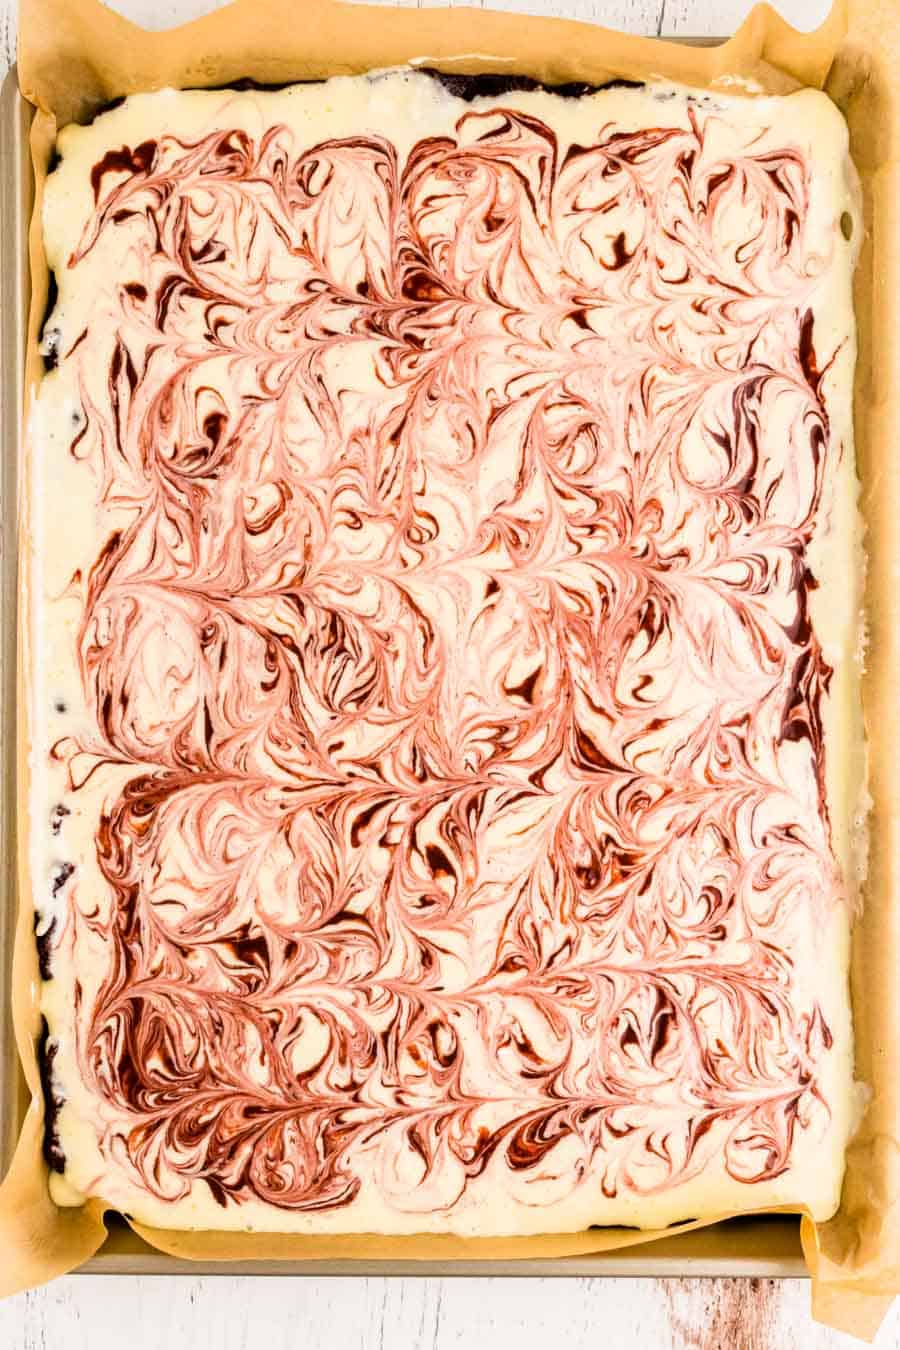
Step #3. Make the cheesecake batter. Spread it evenly over the red velvet batter. Thin the remaining red velvet batter with the remaining milk, then drop as desired over the cheesecake layer and marble with a toothpick.
Step #2. In a large bowl, make the red velvet batter. Set 3/4 cup of the aside. Spread the rest into the prepared jelly roll pan.
Step #4. Bake for 28-30 minutes. Let cool 20 minutes before serving. Store any leftovers in the refrigerator.
Yep, with a cheesecake layer included they need to be stuck in the fridge after you make them. No issues with letting them come to room temperature before serving.
A tried and true way of testing to see if your brownies are done is to insert a toothpick into the center of the pan. If the toothpick comes out clean, it is done baking.
This is the fun part. Simply pull the toothpick across the top of the dessert with a bit of a swirling motion. Do this until it is marbled as much as you like.
Of course! The frozen bars can be stored in the freezer for up to 3 months.
Expert Tips
- Gel food coloring will give you a more intense red than the liquid dropper kind.
- The red food coloring just adds color so if you have an aversion to using it, you can easily leave it out and the recipe will still taste great – it will just be brownie colored instead of red.
- Be careful not to over-swirl the batter. This is one case where less is definitely more.
More Dessert Recipes to Consider
Dessert Recipes
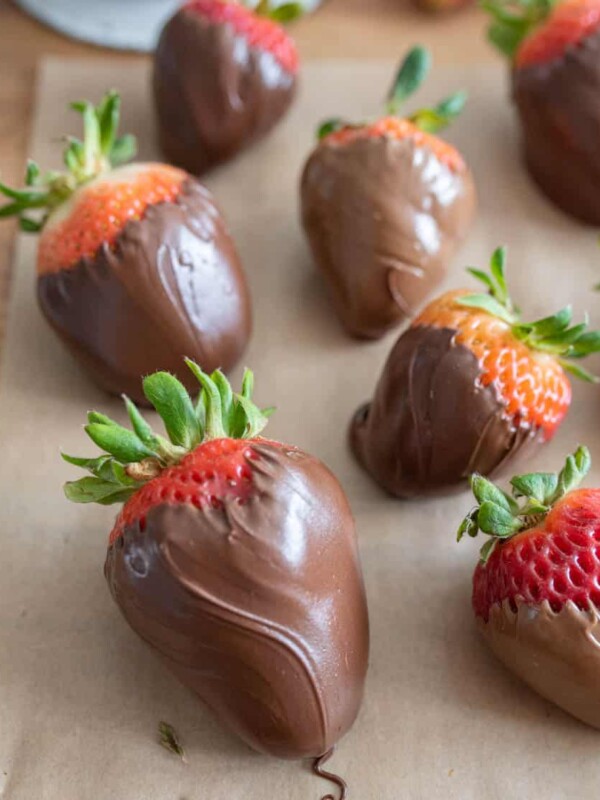
Chocolate Covered Strawberries
Did you make this recipe? Leave a ⭐️ review and share it on Instagram, Facebook, or Pinterest!
Red Velvet Cheesecake Bars
Ingredients
Red Velvet Layer:
- 3 1/4 cups flour
- 2 1/4 cups granulated sugar
- 3 tablespoons cocoa powder
- 1 teaspoon salt
- 1/2 teaspoon baking powder
- 3 large eggs
- 1 cup vegetable oil
- 4 tablespoons milk, divided
- 1 tablespoon vanilla extract
- 1 tablespoon red food coloring
- 2 teaspoons white vinegar
Cheesecake Layer:
- 2 8- ounce packages cream cheese, softened
- 3/4 cup granulated sugar
- 2 large eggs
- 2 teaspoons vanilla
Instructions
- Preheat the oven to 350 degrees. Grease with butter or cooking spray a 13×18 jelly roll pan and set aside.
- In a large bowl, or the bowl of your stand mixer, add the flour, sugar, cocoa powder, salt, and baking powder. Stir to combine. In a small bowl add the eggs, oil, 2 tablespoons of milk, vanilla, food coloring, and white vinegar. Whisk the wet ingredient to combine. Make a well in the center of the dry ingredient and pour the wet ingredients into the center. Mix until well combine or with the cookie paddle attached, mix on medium-low speed until well combined. The batter will be very thick.
- Remove about 3/4 of a cup of the batter and put it in a small bowl (or the bowl the wet ingredients just came out of) and set aside. Spread the rest of the batter in the bottom of the jelly roll pan.
- To make the cheesecake layer combine the cream cheese and sugar in the bowl of your stand mixer and beat on medium speed until well combined and fluffy, about 3 minutes. Add the eggs and vanilla and beat another minute until well combined. Spread the cheesecake layer evenly on top of the red velvet layer in the pan.
- Add the remaining 2 tablespoons of milk to the batter that you saved in the small bowl. Use a fork to whisk and combine it well. Drop the now thinned batter by small spoonfuls over the cheesecake layer and then use a toothpick to marble the cheesecake and thinned batter together. You just pull the toothpick across the top of the dessert with a bit of a swirling motion. Do this until it is marbled as much as you like.
- -OR-
- You can make little hearts on top! Do this by adding the thinned batter to a pastry bag with a small circle tip or in a ziplock bag (and you’ll cut off a little tip of the corner). Drop the icing in small circles onto the top of the cheesecake layer. You have to work kind of fast because the batter is thin enough that it just drips out of the bag if you aren’t moving pretty quick. Leave a little space in between the circles and it’ll be easier to make the hearts if the circles are in a line. The size of the dots ranged from dime-sized to about half that. Pull the end of a toothpick from the top of the circle to the bottom to make a heart. The hearts will look best if you don’t pick up the toothpick in between circles, just drag down the line.
- Bake the bars for 28-30 minutes, rotating the pan half way through baking. Let the bars cool in the pan for 20 minutes before cutting. Store leftovers in an air-tight container in the fridge.
- Notes: You don’t have to cut it into hearts. It would make a lot of cute little squares.
Notes
- Be careful not to over-swirl the layers. It will be more delicate looking the less you do.
- The bars will be easier to cut if you chill them before serving.
- The cheesecake mixture will be easier to mix together if the cream cheese is room temperature.
- Store the bars tightly covered in the refrigerator.


made these for vday & my hubby LOVED them!
These are super cute! I love the heart pattern.
Thanks! It was a stroke of genius wasn’t it LOL 🙂 I’m sure someone else could do it better but I sure had fun…
These are gorgeous and they sound SO delicious! I’m brainstorming what dessert to make for Valentine’s Day… these just might be it. Yum!
mmmm..yes, please!
Forget Valentine’s Day–I know what I’m making TOMORROW!
Doooooooooooo IT! And then tell me how much you loved them. 🙂
Definitely just saw this on my friend’s wall and immediately went to make them. It’s been a rough day – it was this or send my husband to the store for ice cream. But they are cooling right now and smell insanely delicious.
Don’t wait for them to cool… pick at them now 🙂 I totally had that day too! And lucky for me the husband had a dozen extra glazed donuts from his Scouts activity tonight. Oh the joy a donut brings me.