This post may contain affiliate links. Please read our disclosure policy.
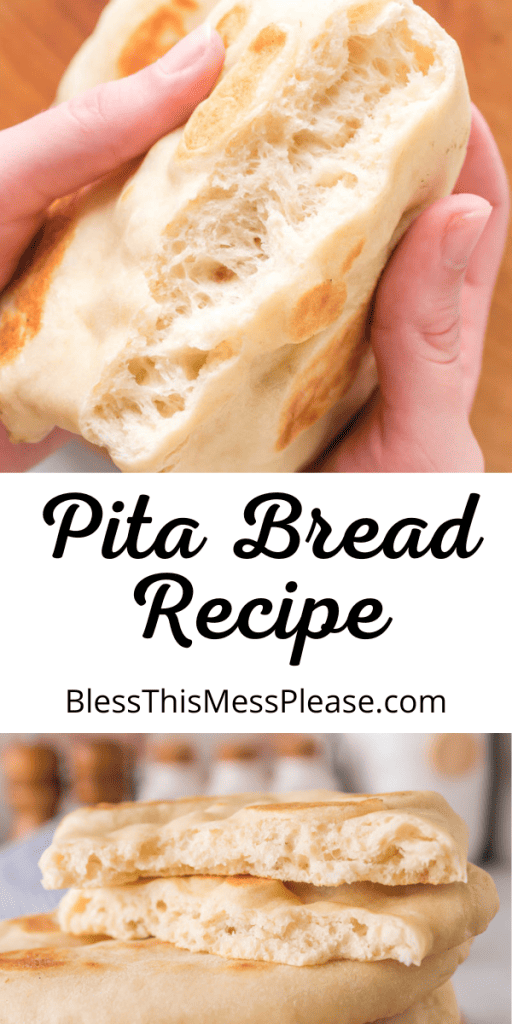
Picture this: warm, fluffy pockets of bread, just waiting to be filled with your favorite ingredients. Yes, we’re talking about Pita Bread – a versatile and beloved staple in many cuisines around the world.
While it may seem daunting to make your own, fear not! With just a handful of ingredients and a bit of kitchen magic, you can create homemade pita bread that will have your taste buds dancing.

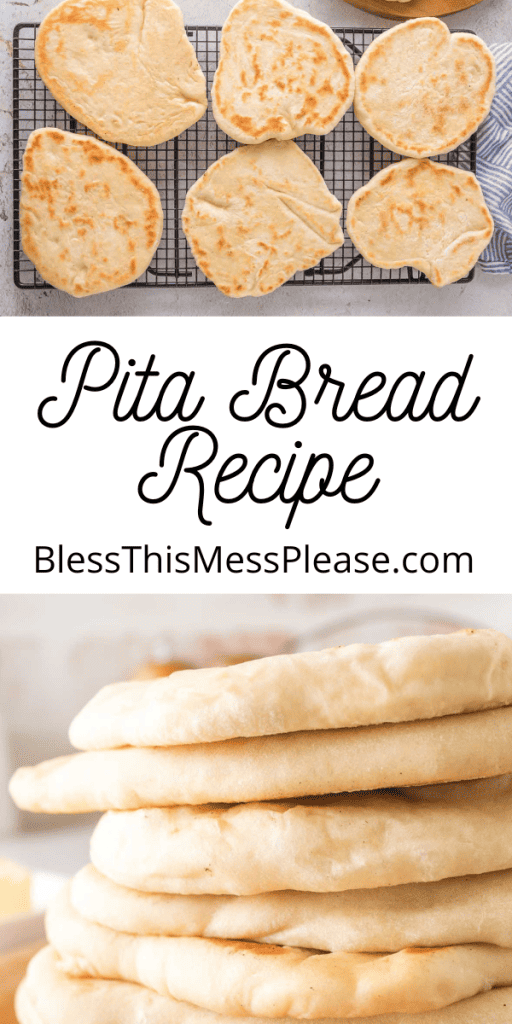
Pita Bread
One of the main reasons people love pita bread is its versatility. Its pocket-like structure makes it ideal for stuffing with a wide range of ingredients, from savory fillings like falafel, kebabs, to fresh vegetables, spreads, and dips. Pita bread can be enjoyed as part of a meal or as a standalone snack, making it suitable for various culinary creations.
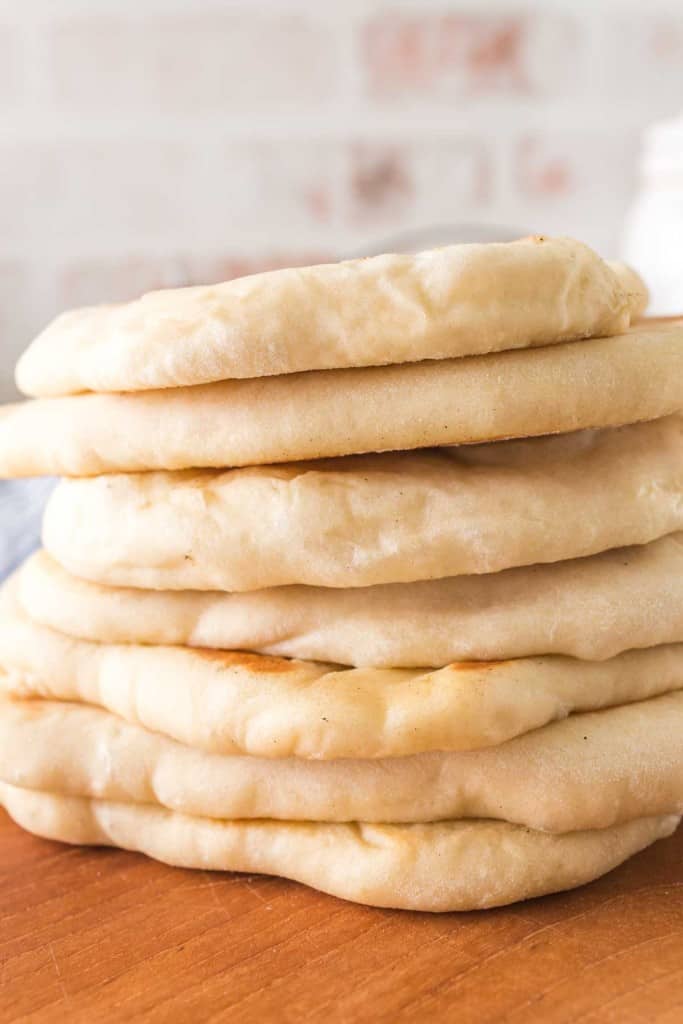
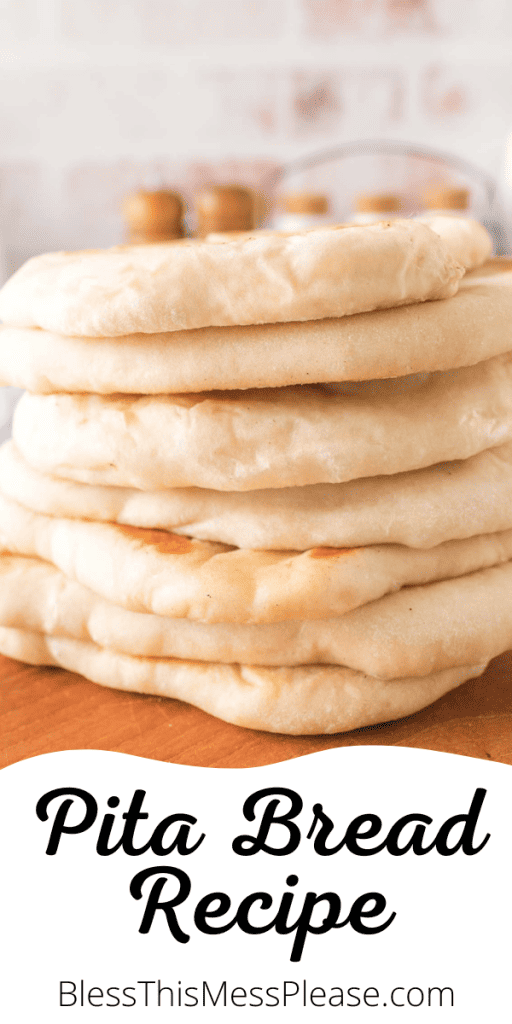
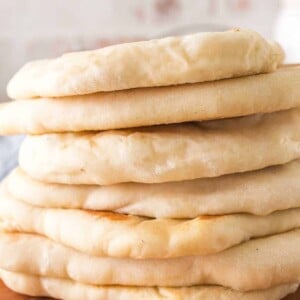
Pita bread has a unique texture that people find highly satisfying. It is soft and chewy, yet sturdy enough to hold fillings without falling apart. The slight char and air pockets that form during baking add an extra layer of delight to the eating experience.
Pita bread is incredibly easy to use. Its pocket design allows for effortless filling and eating without the need for utensils. Whether you’re enjoying a quick lunch on the go or hosting a casual gathering, pita bread provides a convenient and fuss-free way to enjoy a wide range of flavors.
Ingredients
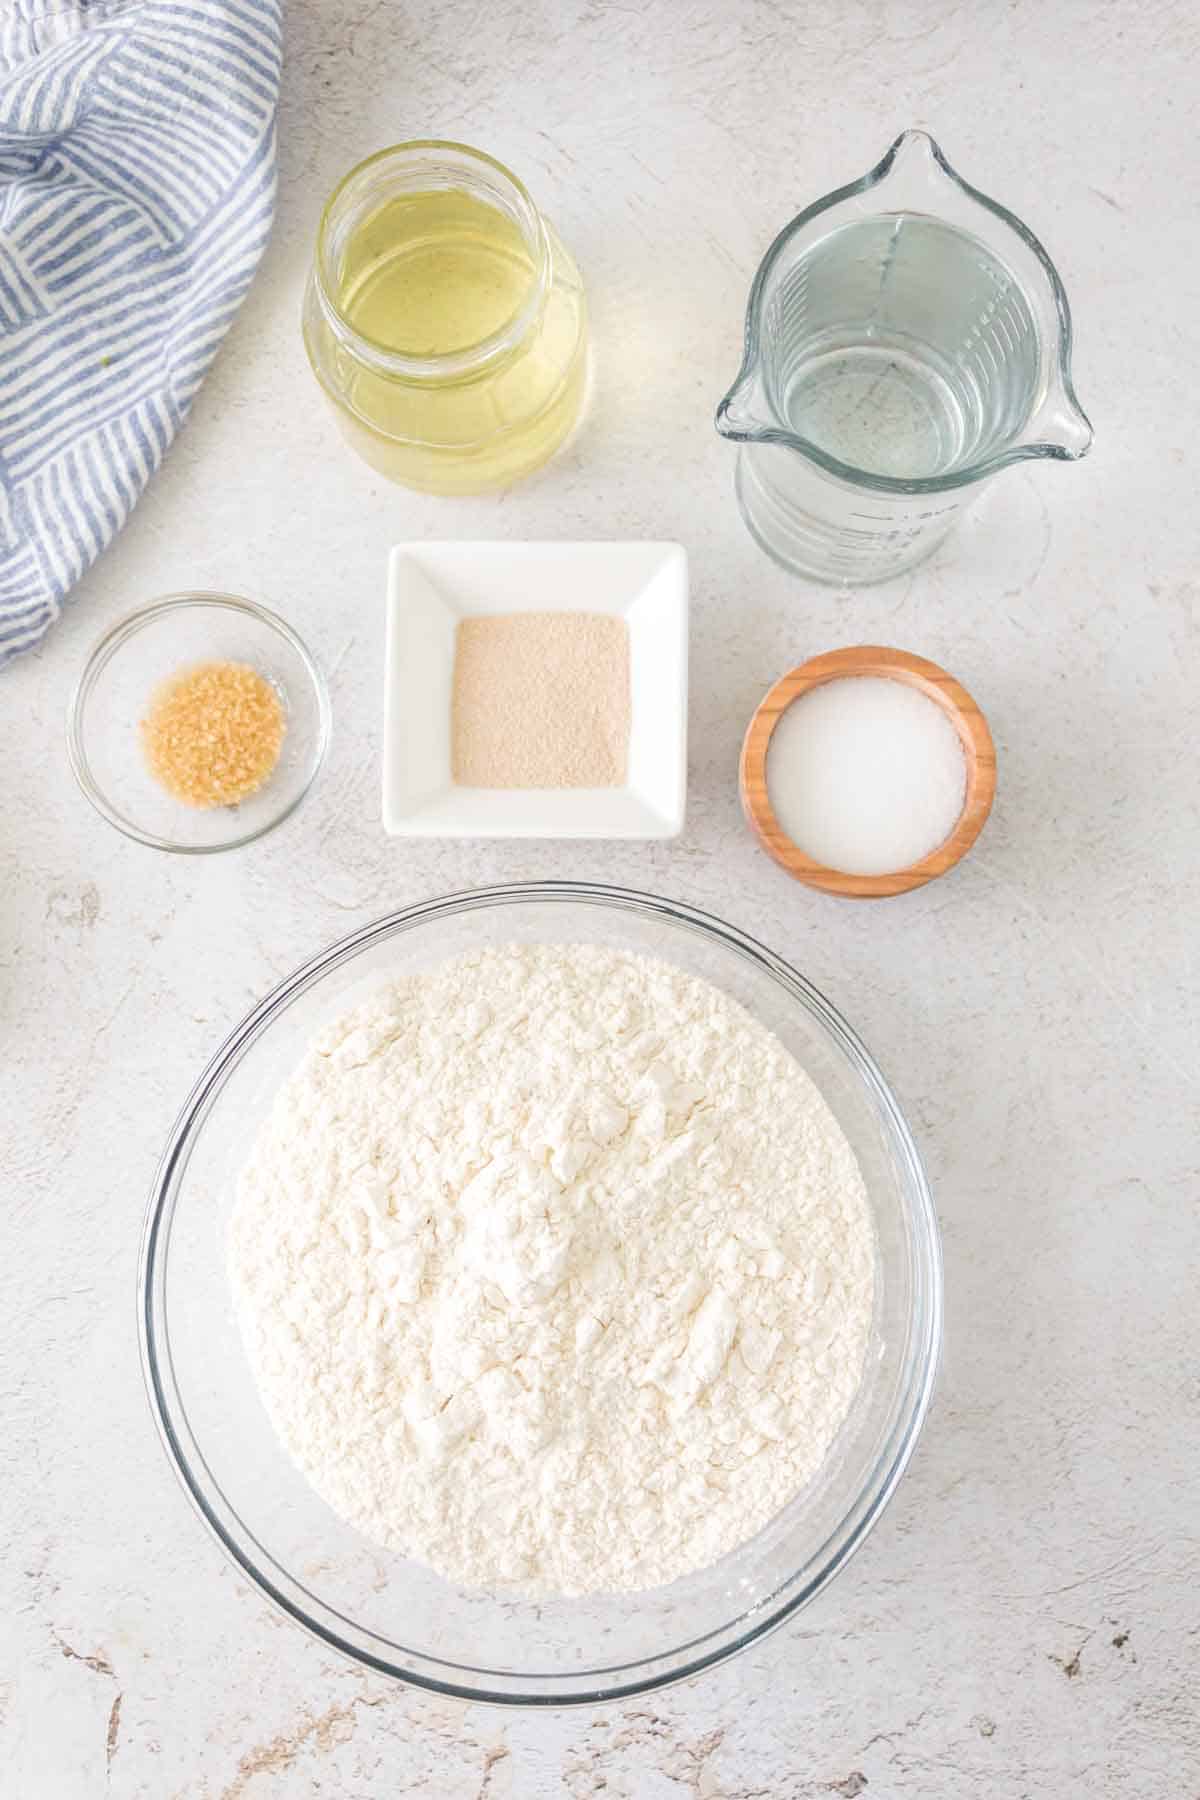
- Warm water
- Active dry yeast
- Sugar
- Olive oil
- Salt
- All-purpose flour
Keep scrolling to find a full, printable recipe with a detailed ingredient list.
Recipe Instructions
- This is a summary, full printable recipe below!
- In a large mixing bowl, combine water, yeast, and sugar. Let it stand for 5 minutes.
- Add oil and salt to the mixture.
- Add half of the flour. Mix until almost combined.
- Add the remaining flour. The mixture will be tacky. Knead the dough with your hands until it becomes smooth. You can knead it on a lightly floured surface or directly in the bowl.
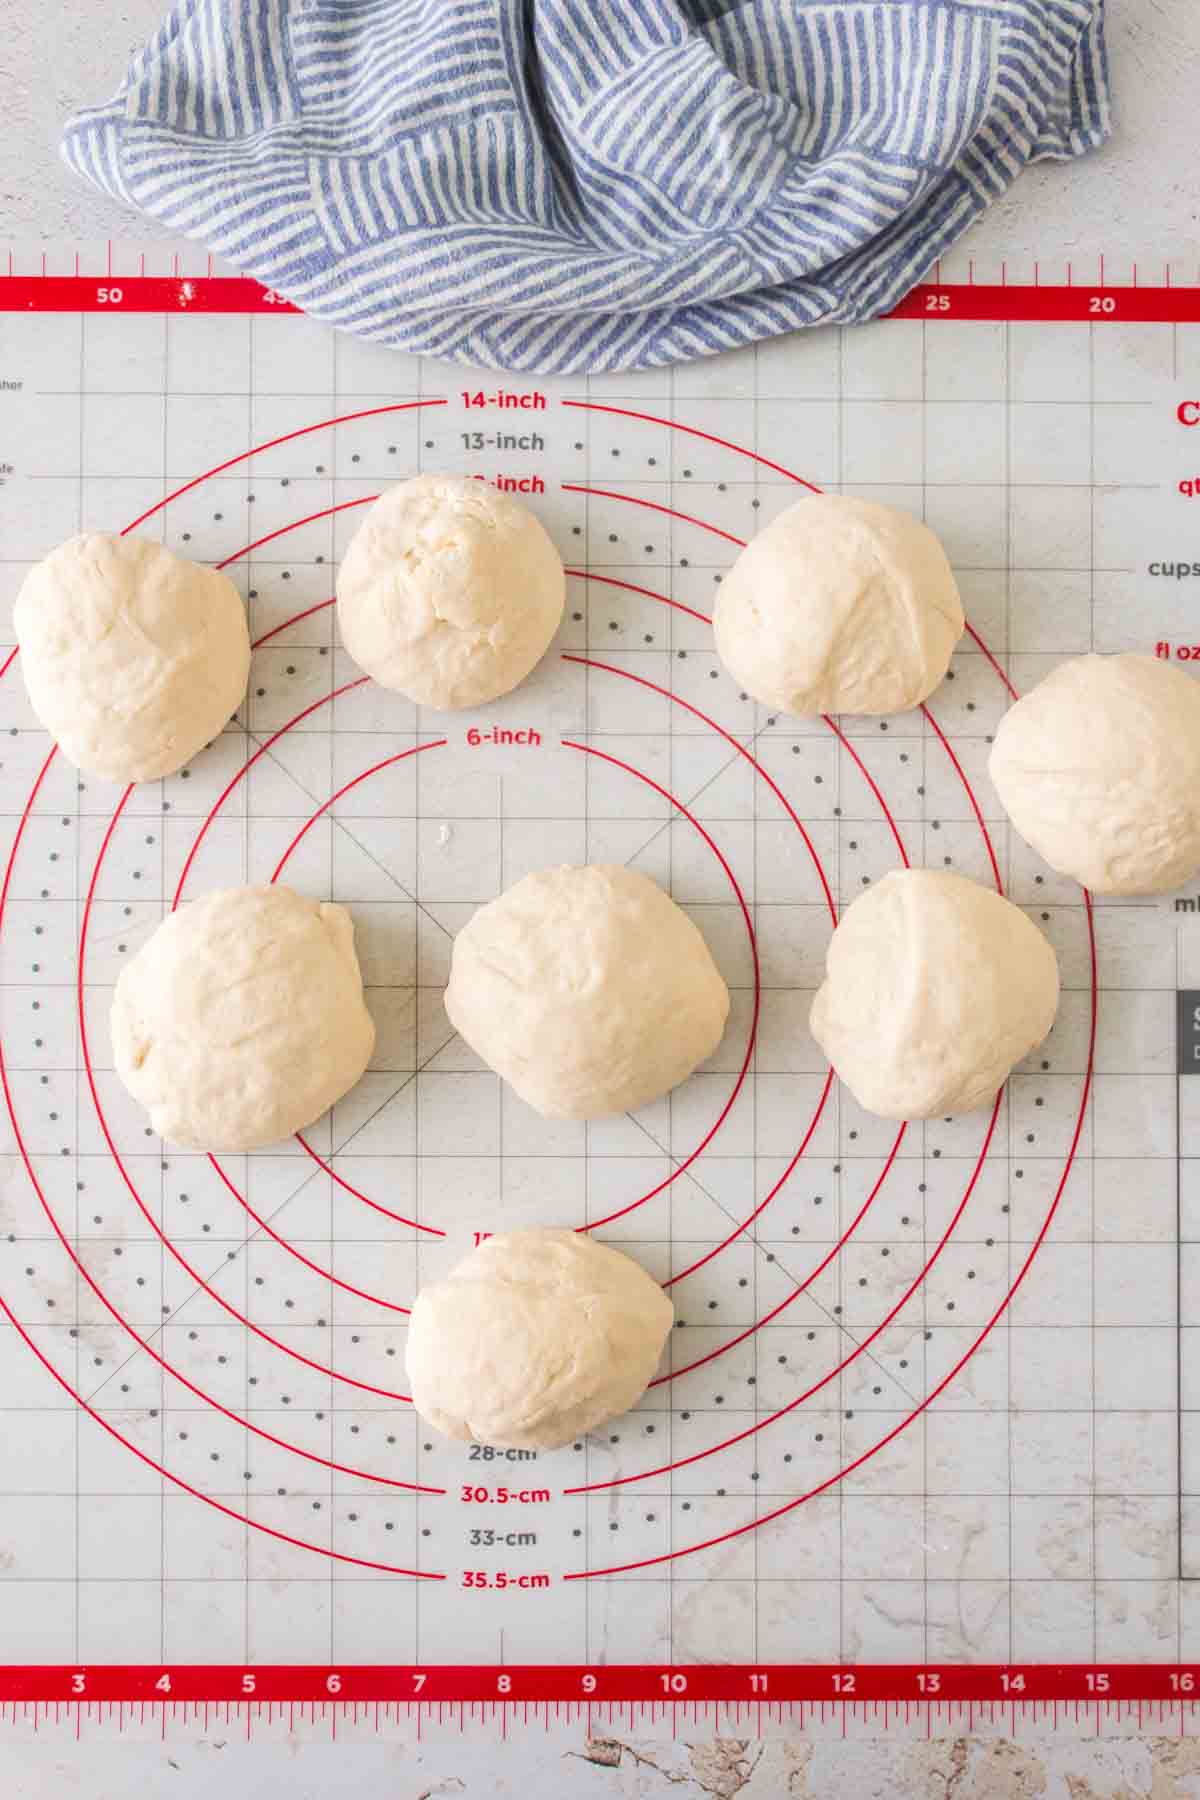
- Let dough rise, divide into 8 pieces, flatten each dough ball into a 7-inch disc.
- Cover the flattened dough with damp towels for 10 minutes.
- Preheat a cast iron skillet to medium-high heat or a griddle to around 400 degrees F.
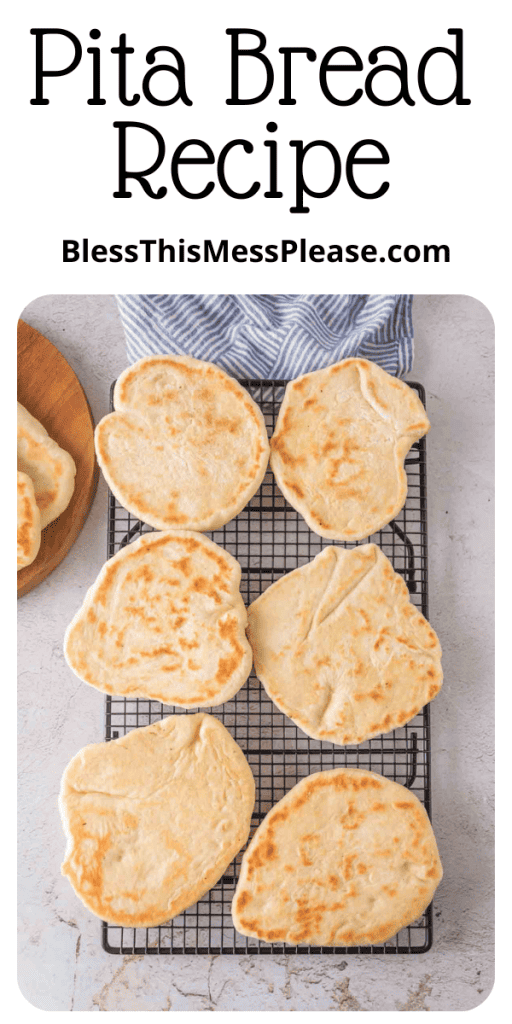
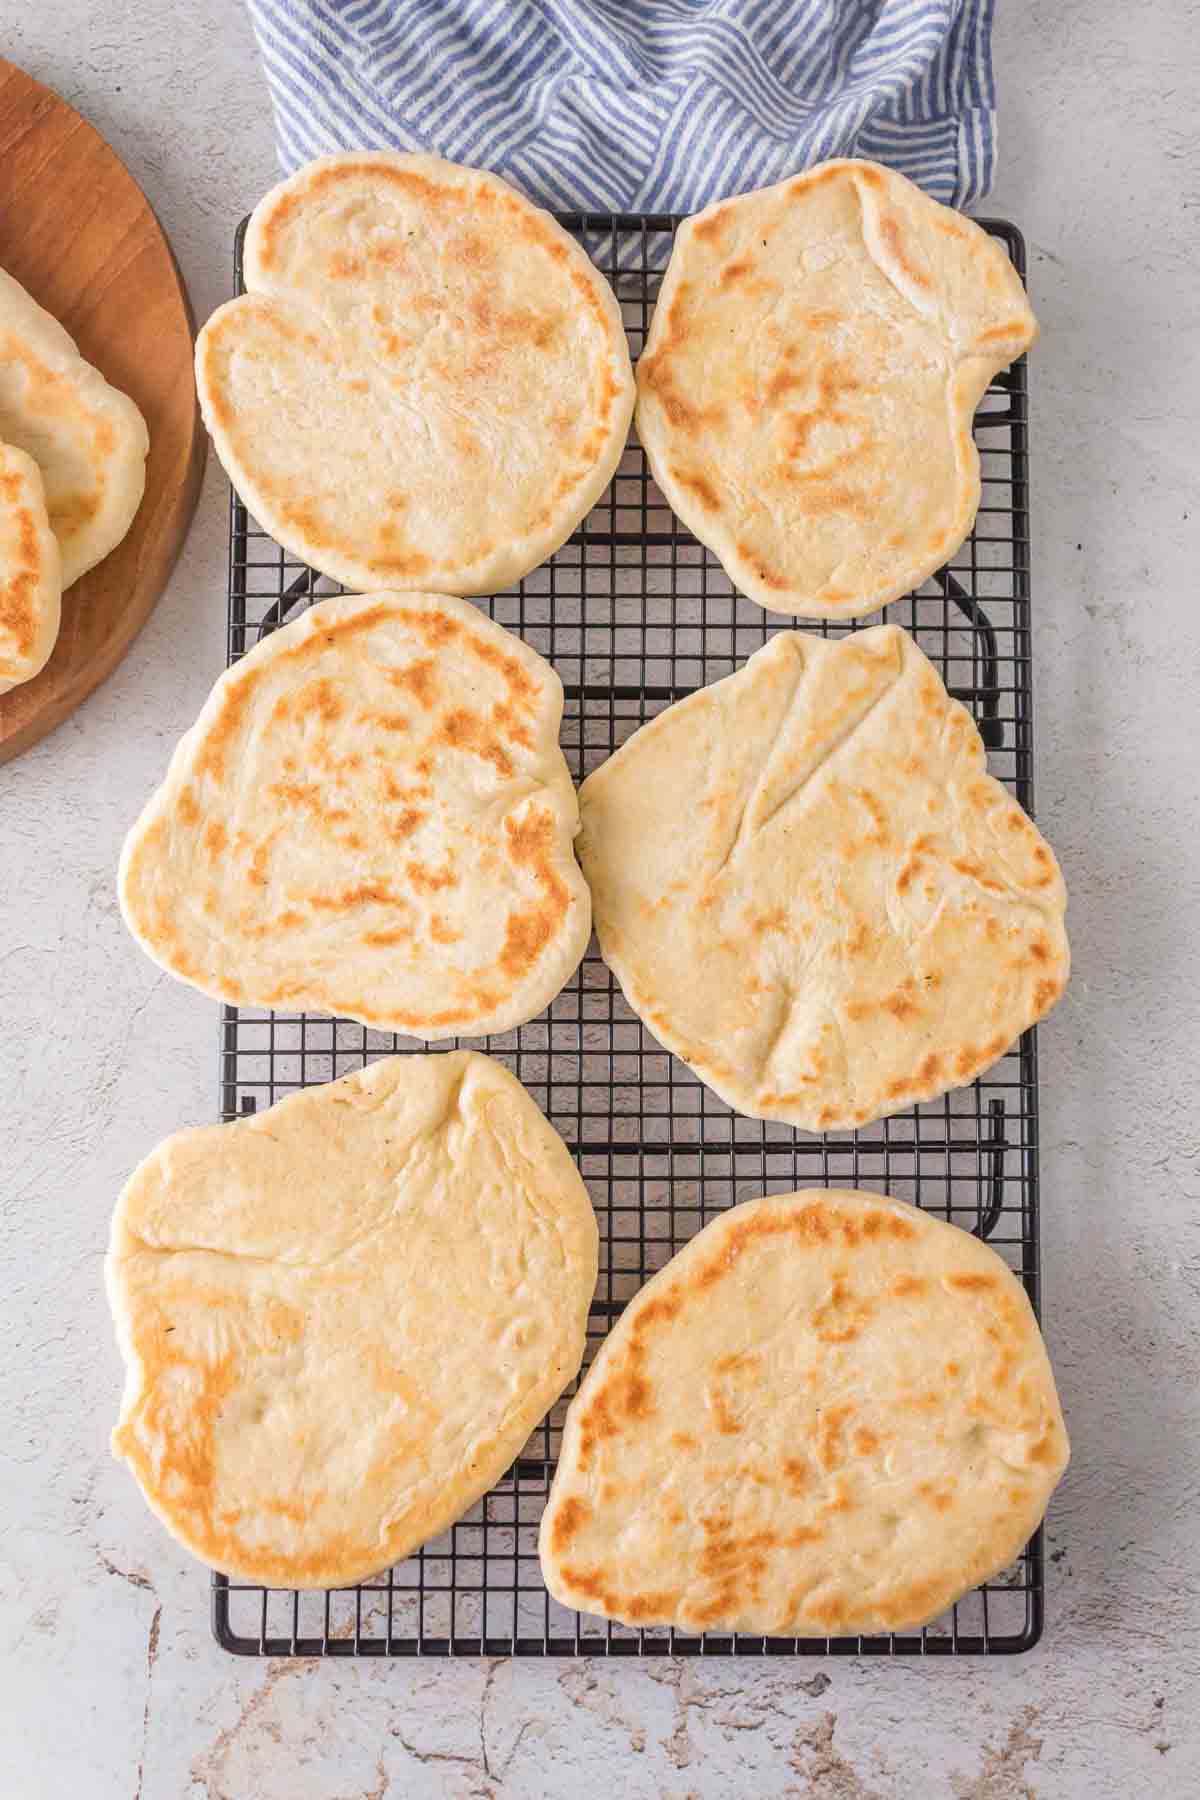
- Cook each pita on the skillet for 2 minutes, then flip and cook for another 2 minutes.
- Finally, serve and enjoy your homemade pitas!
Frequently Asked Questions
Yes, you can substitute instant yeast for active dry yeast in this recipe. However, you may need to adjust the quantities slightly. Instant yeast can be added directly to the dry ingredients without proofing in warm water. Use approximately 25% less instant yeast compared to active dry yeast called for in the recipe.
Yes, you can use whole wheat flour in place of all-purpose flour for a healthier and nuttier variation of pita bread. However, note that whole wheat flour may result in a denser texture compared to all-purpose flour. You might need to adjust the amount of water used, as whole wheat flour tends to absorb more moisture.
Once the pita bread has cooled completely, store it in an airtight container or zip-top bag at room temperature for up to 2-3 days. If you want to keep it for a longer period, you can freeze the pita bread. Place them in a freezer-safe bag, and they can be frozen for up to 3 months. To thaw, simply leave them at room temperature or reheat them in a toaster, oven, or microwave.
Absolutely! The recipe can be adjusted to make mini-sized or larger-sized pita bread. For mini-sized pitas, divide the dough into smaller portions, and adjust the cooking time accordingly. If you prefer larger-sized pitas, divide the dough into fewer portions and shape them accordingly. Keep in mind that cooking times may vary, so monitor them closely to avoid over or undercooking.
More Recipes
If you’ve tried this Pita Bread recipe or any other recipe on Bless This Mess, then don’t forget to rate the recipe and leave me a comment below! I would love to hear about your experience making it. And if you snapped some pictures of it, share it with me on Instagram so I can repost on my stories.
Pita Bread
Ingredients
- 1 ¼ cup warm water
- 1 packet,, (2 ¼ teaspoons active dry yeast)
- 1 teaspoon sugar
- 2 tablespoons olive oil
- 2 teaspoons salt
- 3 cups unbleached all-purpose flour
Instructions
- In a large mixing bowl, add the water, yeast, and sugar. Mix and let it stand for 5 minutes.
- Add the oil and the salt.
- If mixing by hand, Danish whisk, add half of the flour, and mix until almost all combined.
- Add the remaining flour. The mixture will be tacky. Use your hands to knead until you have a smooth dough. You can knead on a clean surface lightly floured (about 1 tablespoon flour) or directly in the bowl.
- Place the kneaded dough into the bowl and cover with plastic wrap.
- Let it rise in a warm, draft-free place for 90 minutes or until it has doubled.
- After rising, place the dough on a clean surface and divide it into 8 pieces. Cover with a damp towel. 15 minutes.
- Flatten each dough ball into a flat disc, about 7 inches.
- Cover with damp towels for 10 minutes.
- Warm up a cast iron skillet to medium-high heat or a griddle to about 400 degrees F.
- Place the pit on the skillet and cook for 2 minutes, flip, and 2 more minutes.
- Let them cool on a cooling rack.
- Serve and Enjoy!
Notes
- You can mix the dough with a Danish whisk or a wooden spoon, I wouldn’t recommend a regular whisk as the dough will stick in the middle.
- You can also mix with a stand-up mixer.
- Use the pita bread for a sandwich, make butter garlic bread, cut it into wedges, and eat it with a soup or salad.
- Storage: Store in a zip lock bag at room temperature for up to 4 days or in the fridge for up to 7 days, or freeze for up to 3 months
- Re-warm: Re-warm in an air fryer at 350 degrees F for 2 to 3 minutes.
Nutrition
Homemade pita bread offers a delightful combination of versatility, texture, and customization, making it a beloved favorite for enjoying a wide range of delicious fillings and flavors.


Can you use half all purpose flour and half whole wheat flour for the pita bread!
Yep, you might need to add a little more liquid if they are a little dry because of the whole wheat flour (or just use a tablespoon less or so of the whole wheat flour) but it should come together!