This post may contain affiliate links. Please read our disclosure policy.


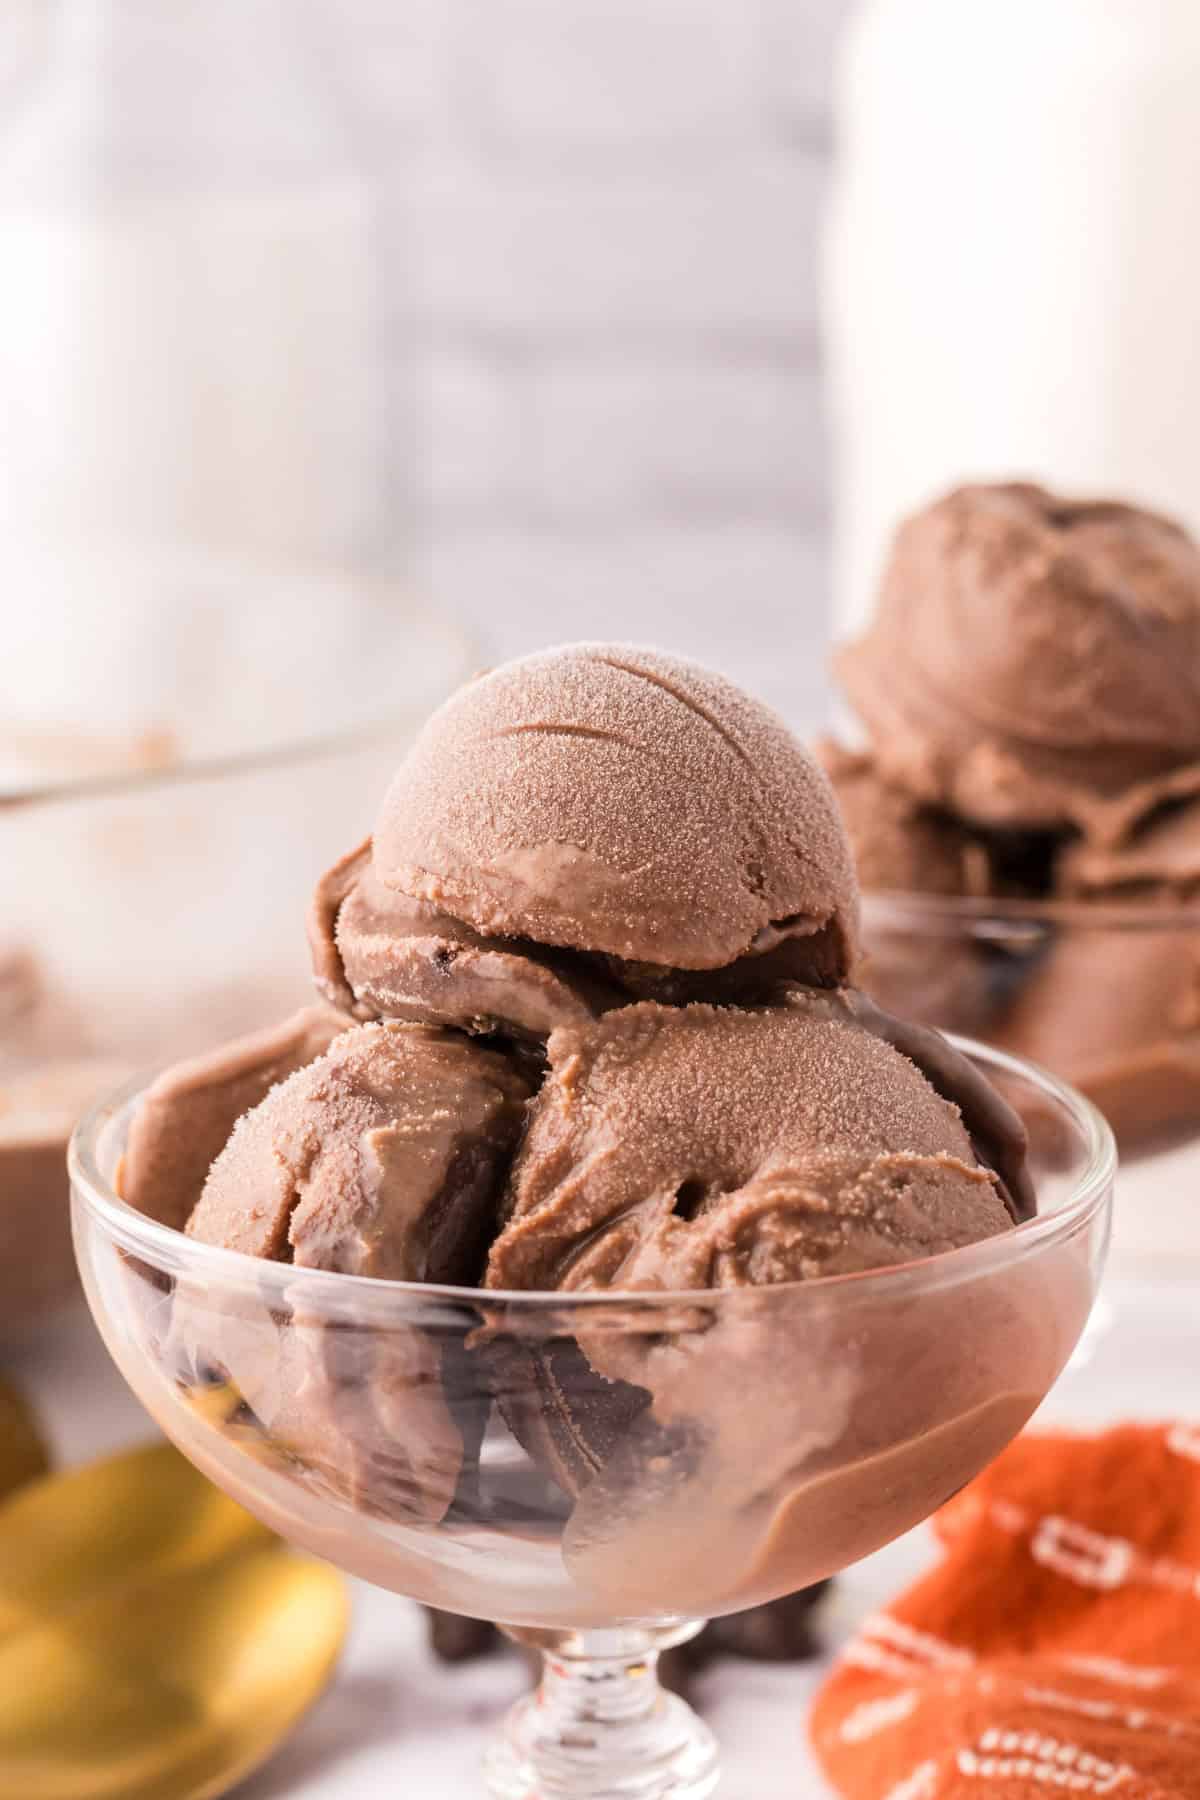
Dive into a creamy, rich, and decadent treat with this easy Chocolate Truffle Ice Cream. Made from scratch and with no equipment needed, this ice cream is absolutely divine!
Whether you have never made ice cream before, or you have made it dozens of times, this recipe is perfect for you. It’s as easy to make as a Homemade Strawberry Milkshake—combine all of the ingredients and then let it chill and freeze until it has set, with no ice cream machine needed!
The texture of this ice cream is creamy and fluffy, with a sweet and fudgy flavor that tastes exactly like you’re biting into a rich truffle. I love that you can add your favorite toppings or serve it alongside other desserts. This ice cream will always be a big hit in my home. A recipe this easy is hard not to love!
Table of Contents
Why You’ll Love This Recipe
- The texture is rich, creamy, and deliciously smooth!
- You don’t need any special equipment, and no churning involved.
- The chocolate flavor is just the right amount of sweet.
Recipe Ingredients
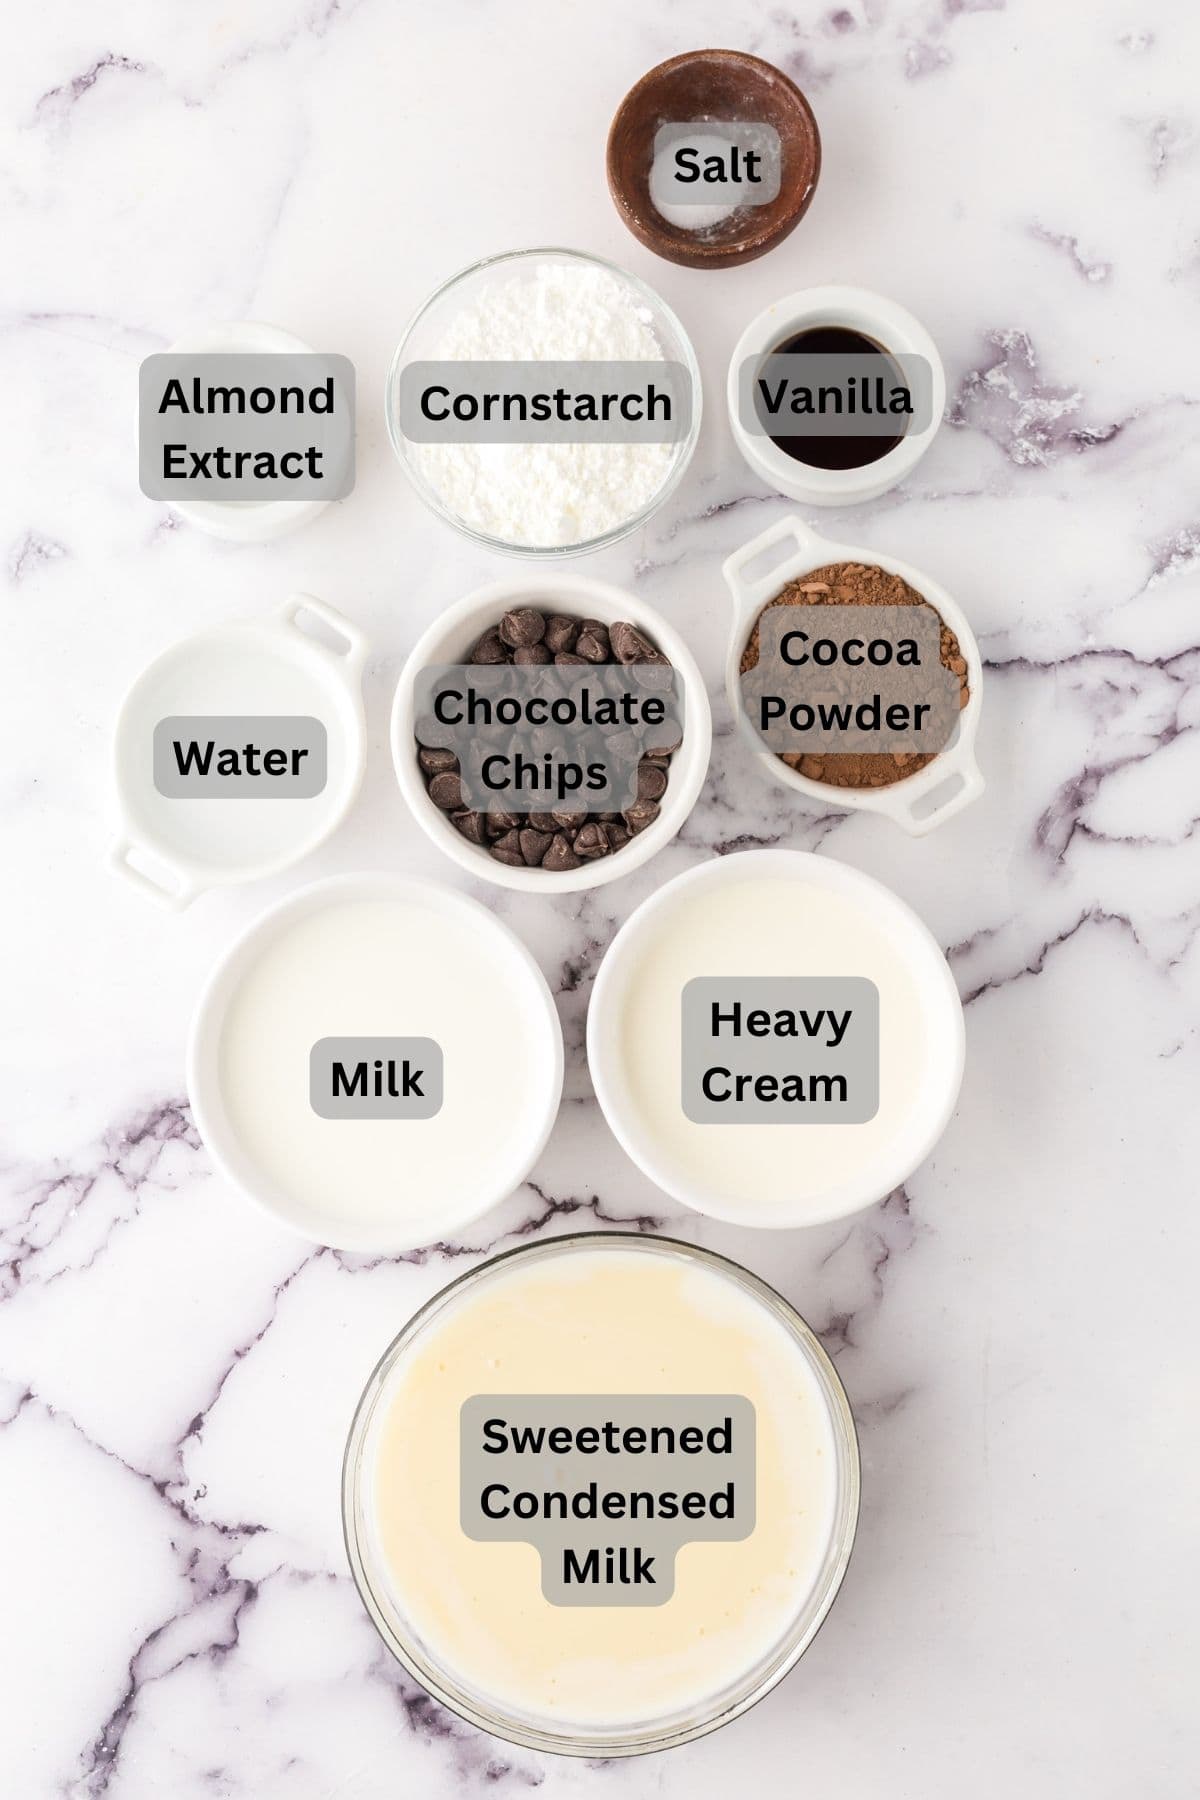
- Sweetened Condensed Milk—To keep the ice cream soft and smooth.
- Heavy Cream—For a nice rich consistency!
- Whole Milk—The milk fat content will help improve the texture.
- Chocolate—Semisweet or bittersweet are both great options.
- Cocoa Powder—Unsweetened, and sifted to avoid lumps!
- Cornstarch—This will thicken the base.
- Water—To mix with the cornstarch for a slurry.
- Vanilla and Almond Extract—Work together to compliment the flavor of the cocoa.
- Salt—For an extra depth of flavor.
See the recipe card for full information on ingredients and quantities.
How to Make Chocolate Truffle Ice Cream
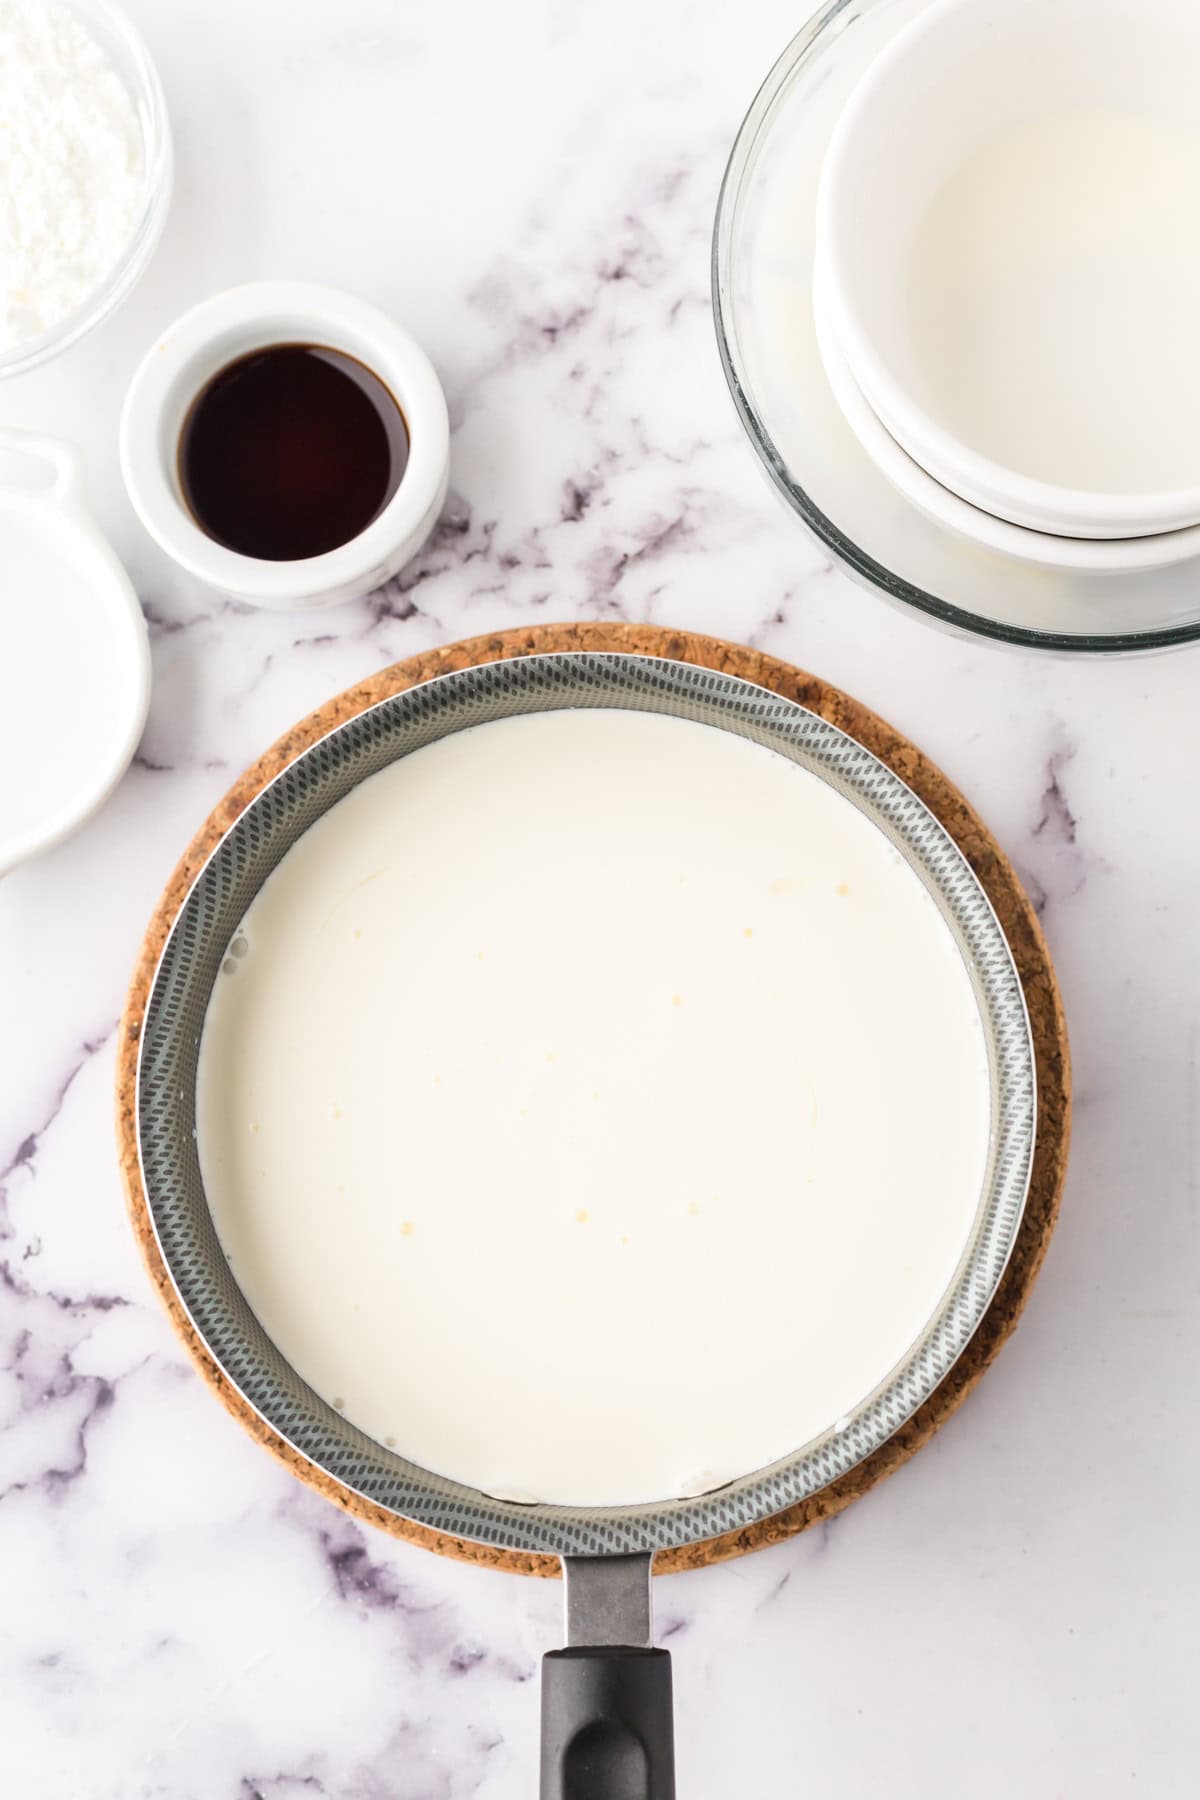
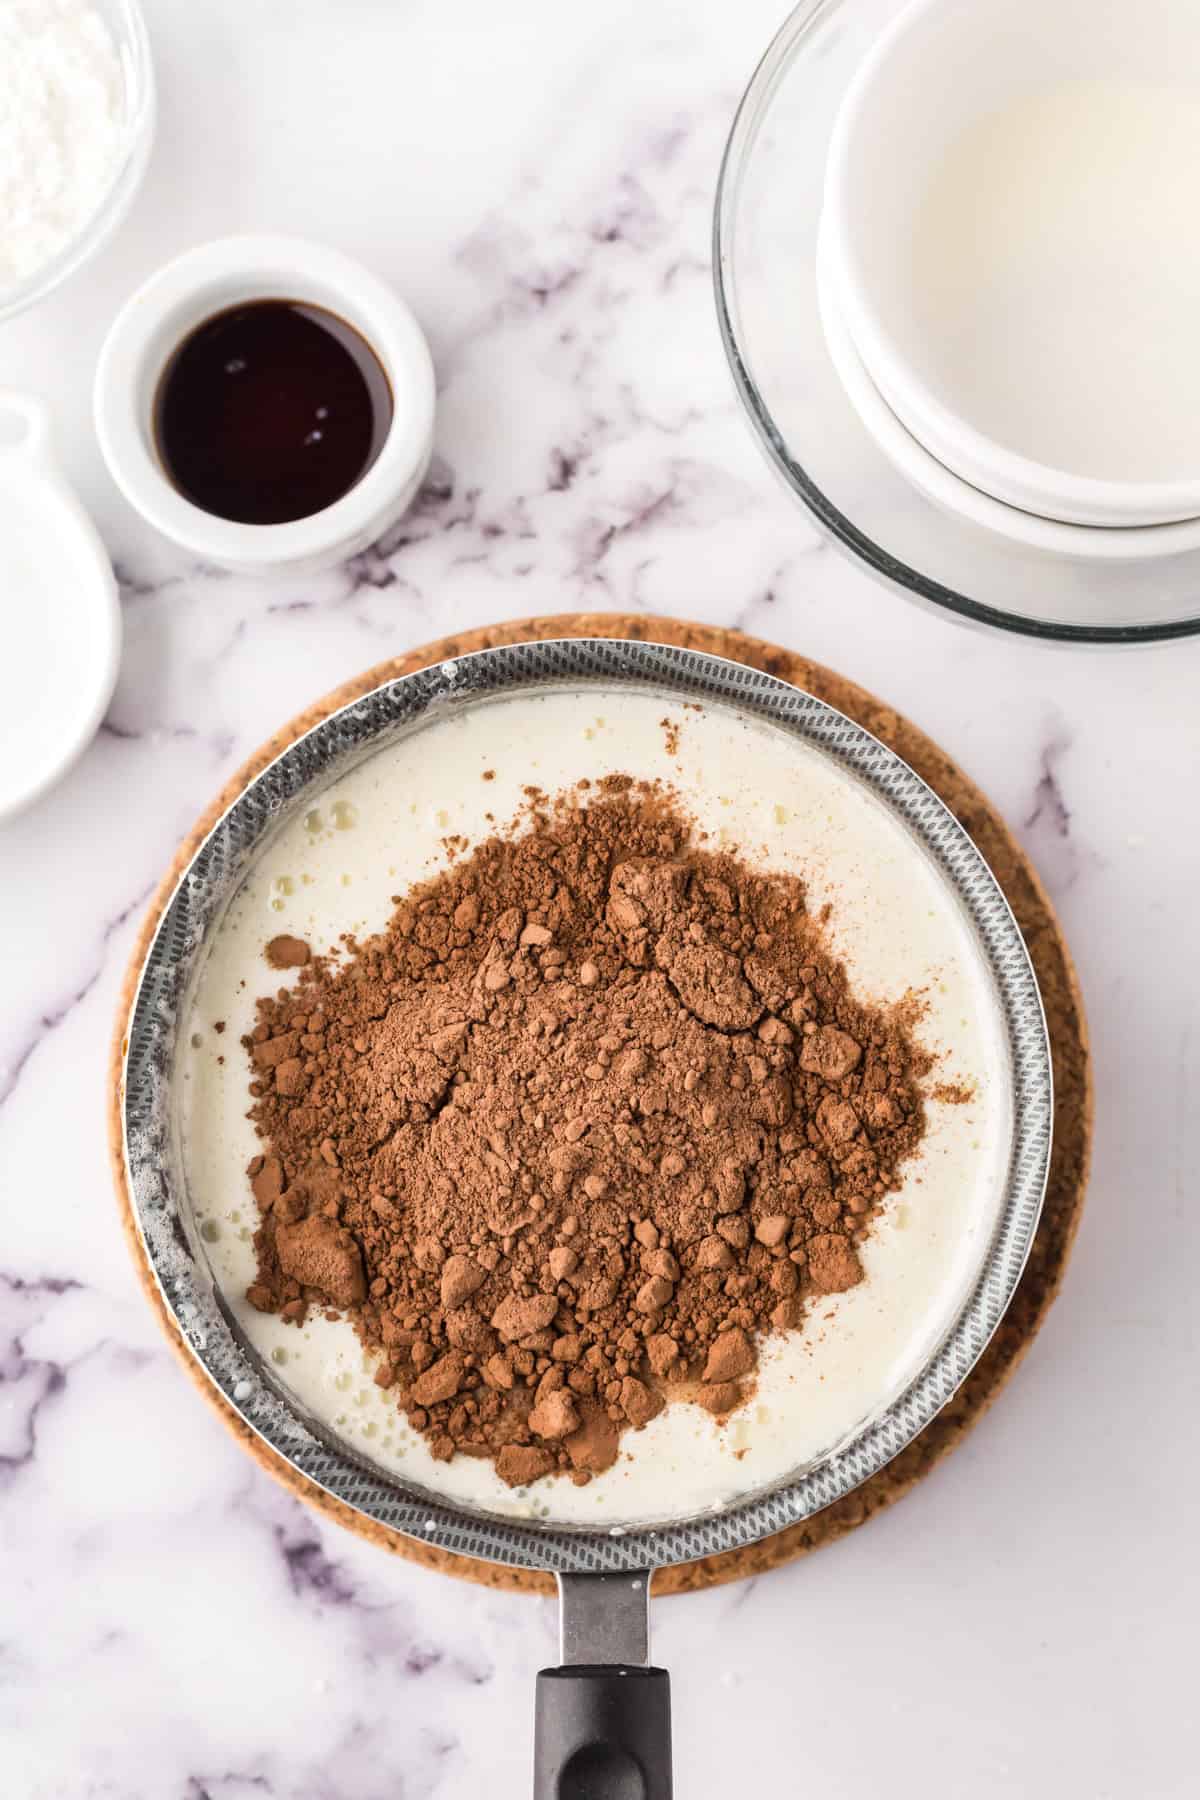
Step #1. In a saucepan, whisk together sweetened condensed milk, cream, and whole milk. Whisking often, bring the mixture to a boil and remove from heat.
Step #2. Immediately stir in chocolate and cocoa powder, then whisk until very smooth.
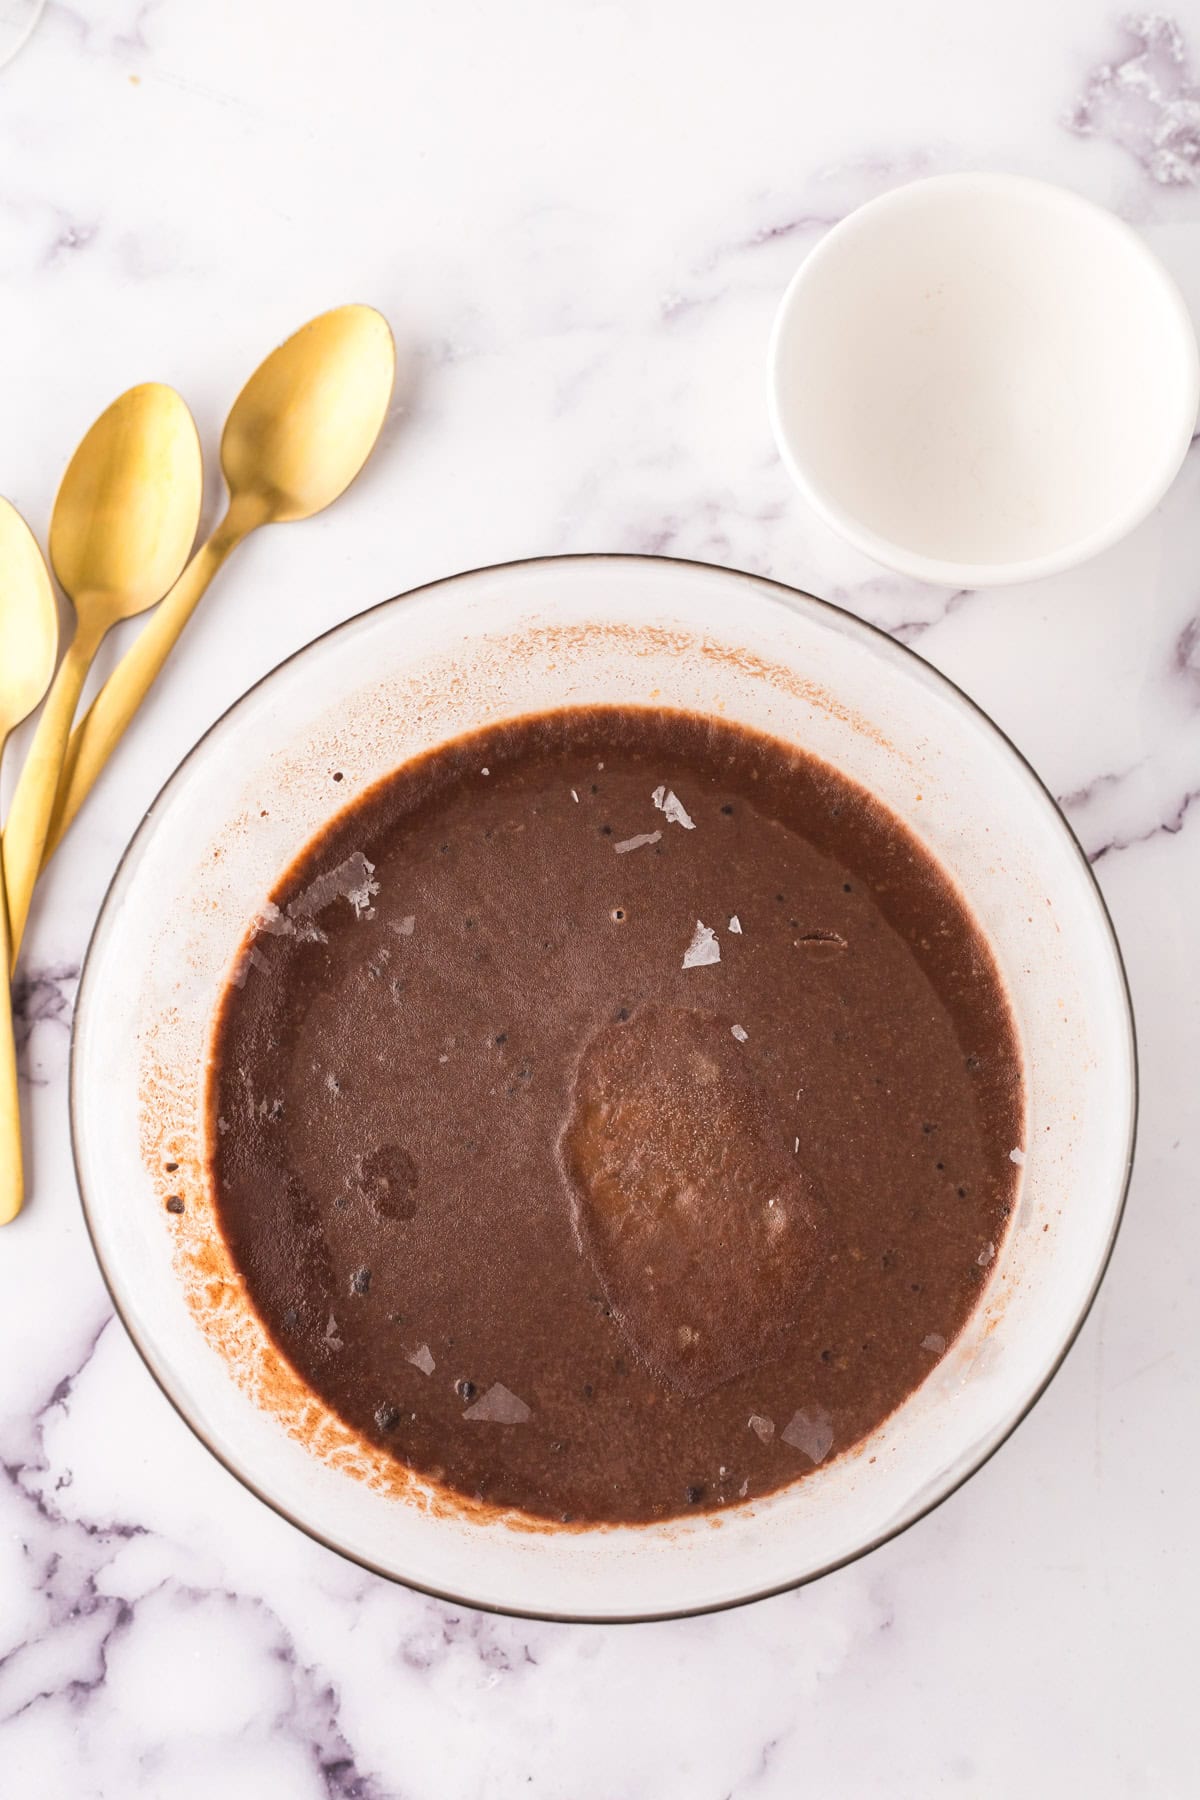
Step #3. In a small bowl, whisk together cornstarch and water, then pour into the chocolate mixture. Return saucepan to heat and bring to a simmer, stirring almost constantly until the mixture has thickened. Remove from heat and stir in vanilla, almond extract, and salt.
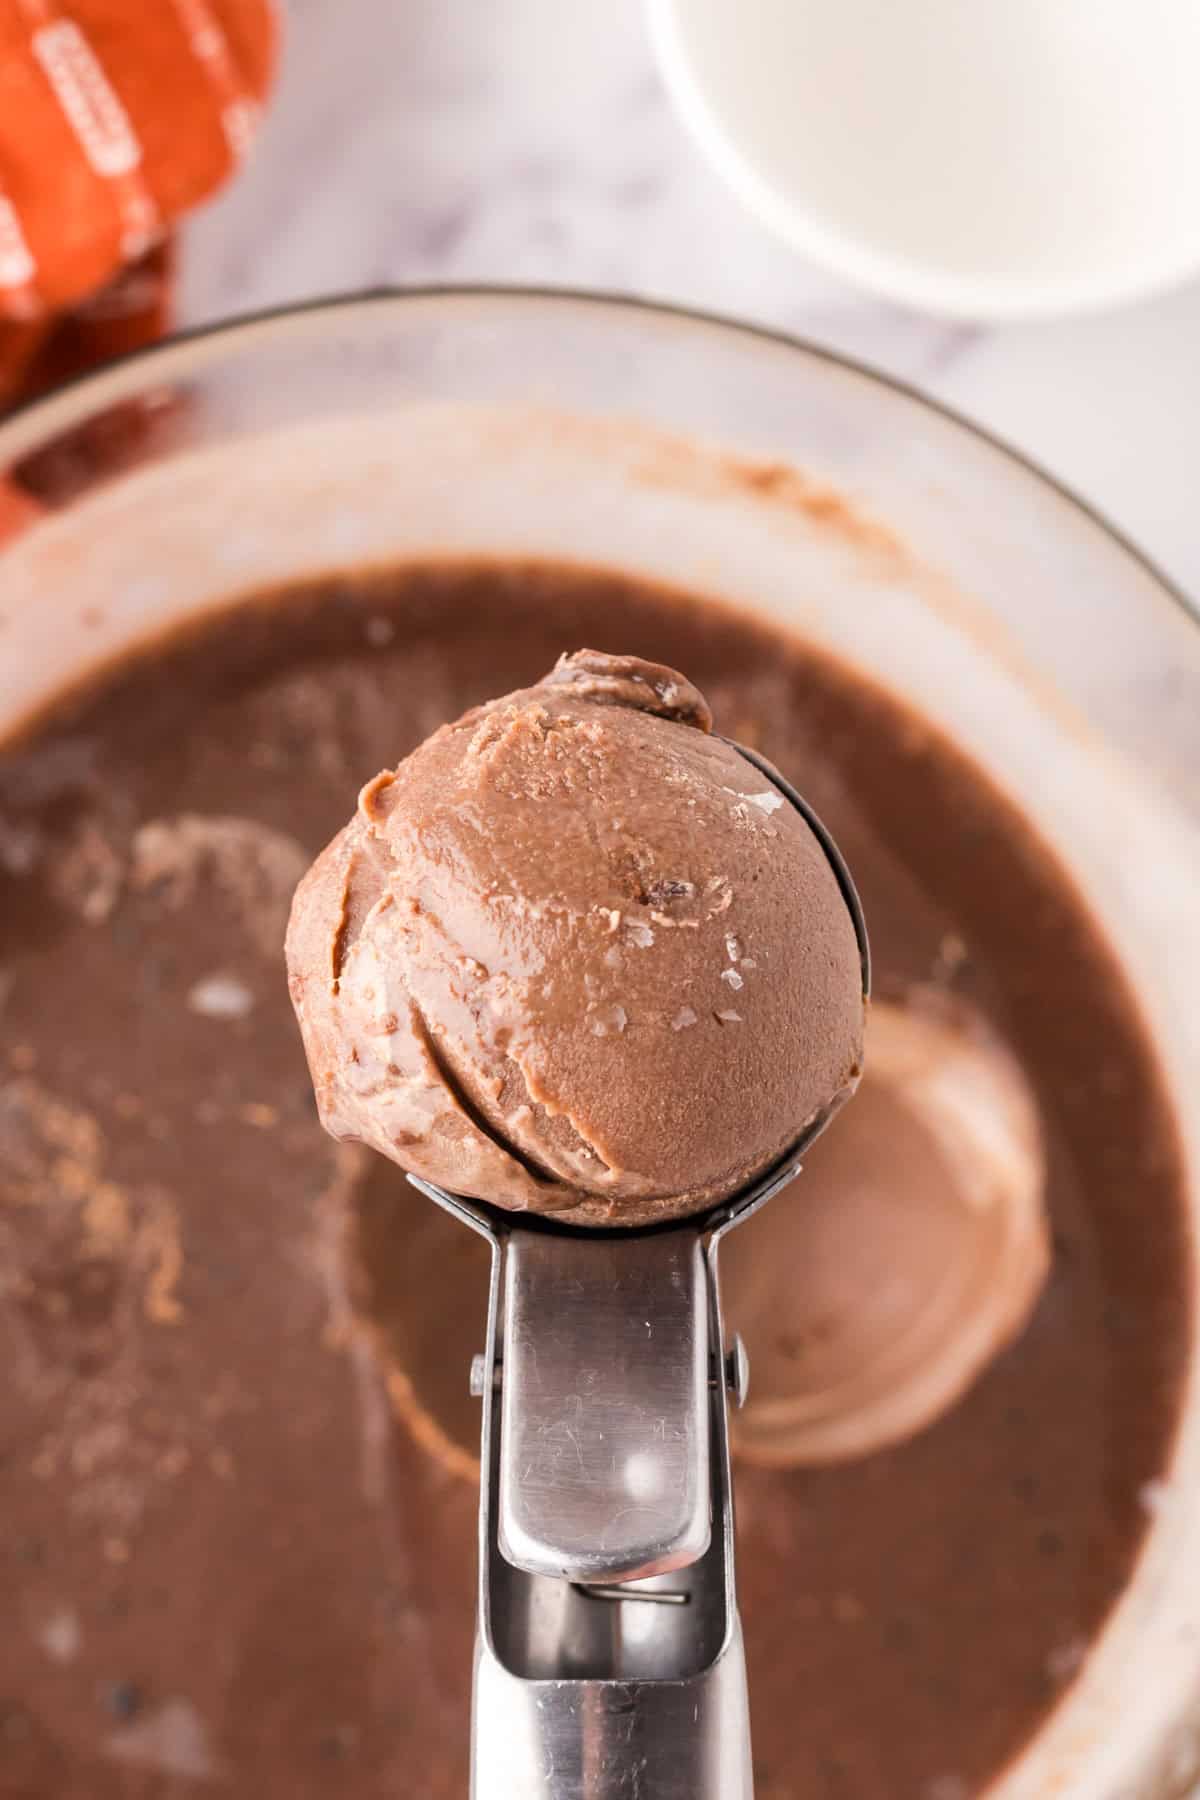
Step #4. Pour the mixture into a bowl. Let cool and then cover with plastic wrap. Chill in the refrigerator. Transfer the chilled chocolate mixture into an airtight container. Freeze until it is firm enough to scoop.
Recipe FAQs
Surprisingly no! This recipe contains ingredients that are naturally sweet and will give your ice cream the perfect flavor. Adding sugar would overpower the ice cream and make it too sweet. The sweetened condensed milk and chocolate work together to create a flavor that is beautifully sweet, but still balanced by the bitter cocoa powder.
Grainy ice cream could be for a variety of reasons but most commonly this is caused by a fluctuation of moisture or temperature. If moisture is lost and then recrystallizes, it can create a grainy texture. Additionally, melting and refreezing the ice cream repeatedly will cause problems as well. Try to avoid this by placing the ice cream directly in the freezer after it has cooled, and getting it back in there as quickly as possible once you serve it! Don’t let it stay out for long periods of time.
This ice cream is usually ready to serve within 3-4 hours, but you can also make the ice cream days in advance if you need to. You will want to give it enough time to set and become scoopable, so try not to rush the process.

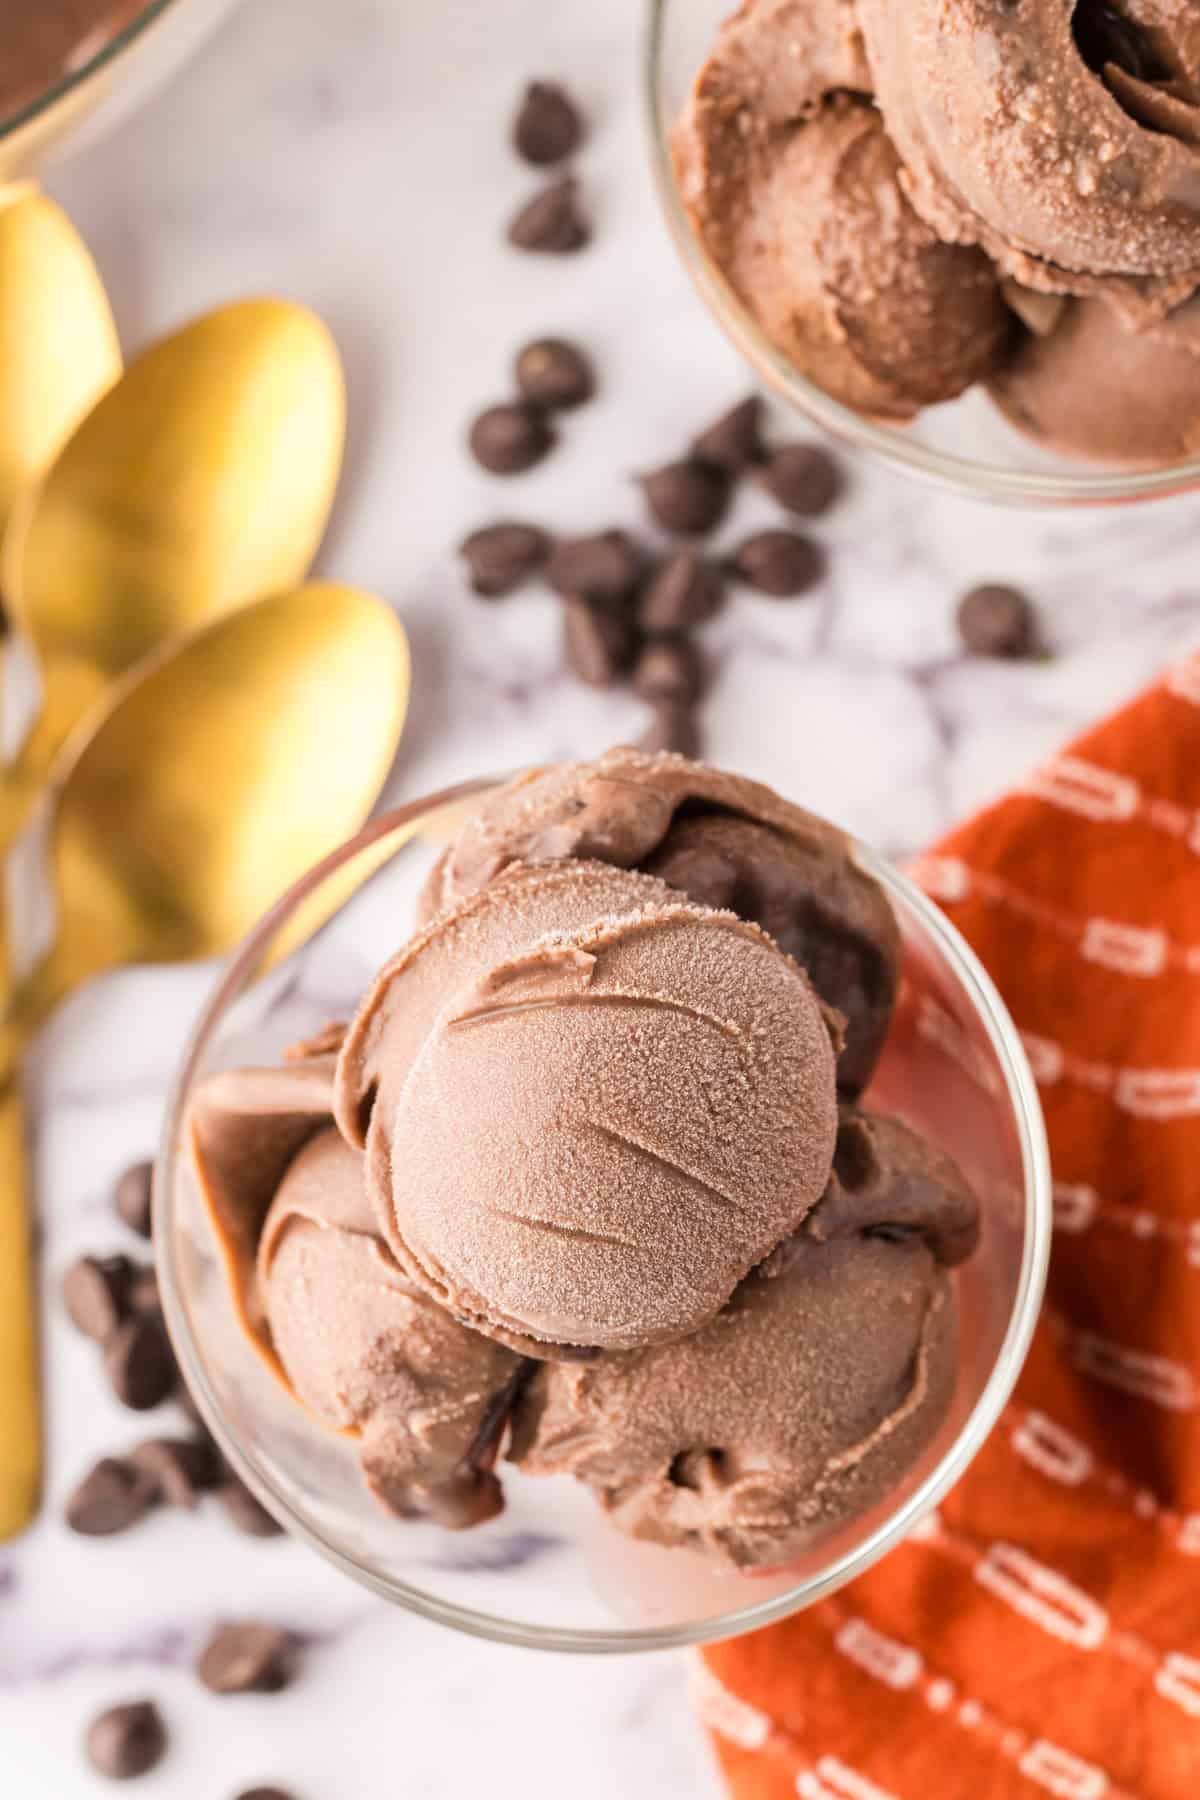
Best Chocolate Ice Cream Toppings
Chocolate truffle ice cream never has to be served on its own! You can add a wide variety of sweet or sour toppings to contrast the rich flavor of chocolate. Set out these toppings buffet style and let everyone make their own bowl. The possibilities are endless but here are some ideas:
- Syrups— Double up on the chocolate with chocolate syrup! Alternatively, you can use caramel, strawberry, or butterscotch syrup.
- Fruit— Fresh fruit like bananas, raspberries, strawberries, and cherries all pair wonderfully with the rich chocolate flavor of the ice cream.
- Chopped Nuts— A sprinkle of chopped nuts can add a nice texture to your ice cream. We like to use peanuts or almonds.
- Other— Some of our other favorite toppings to add to this ice cream include gummy bears, sprinkles, crushed Oreos, whipped cream, etc. You really can’t go wrong!
How to Store Chocolate Truffle Ice Cream
You can store your chocolate truffle ice cream in the freezer for up to 2-3 months. Be sure to keep the ice cream in a freezer safe container. Before putting on the lid, place a piece of plastic wrap on the surface of the ice cream and press down to keep it in place. This will protect it from getting freezer burn. Seal it with a lid and you are all set!
Expert Tips
- For the chocolate, you can use a chopped up chocolate bar or chocolate chips, either will work great!
- Once the ice cream mixture has cooled a few minutes, before you place it in the fridge you can stir in extra chunks of chocolate, brownie pieces, or some frozen fruit for added texture and flavor.
- This recipe can easily be doubled for large groups or gifted to friends, as long as you have enough containers to freeze all of the ice cream!
- It is important to whisk your sweetened condensed milk and whole milk while it is on the stove so that the mixture does not burn and stick to the bottom of the pan. This can ruin the texture of your ice cream.
More Ice Cream Recipes To Consider

Ice Cream
Simple Homemade Ice Cream Recipes
Simple Gingerbread Recipes
Homemade Gingerbread Syrup: Cozy Holiday in a Bottle
Ice Cream
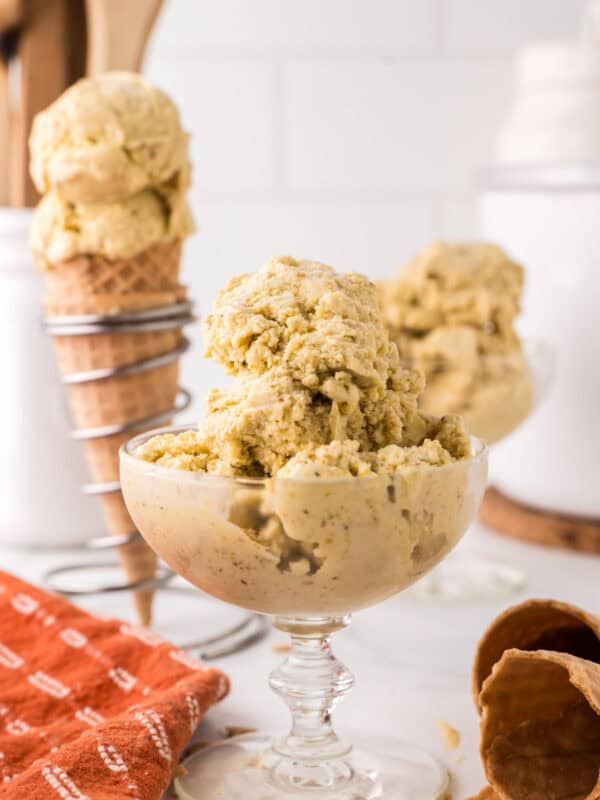
Pistachio Gelato
Ice Cream
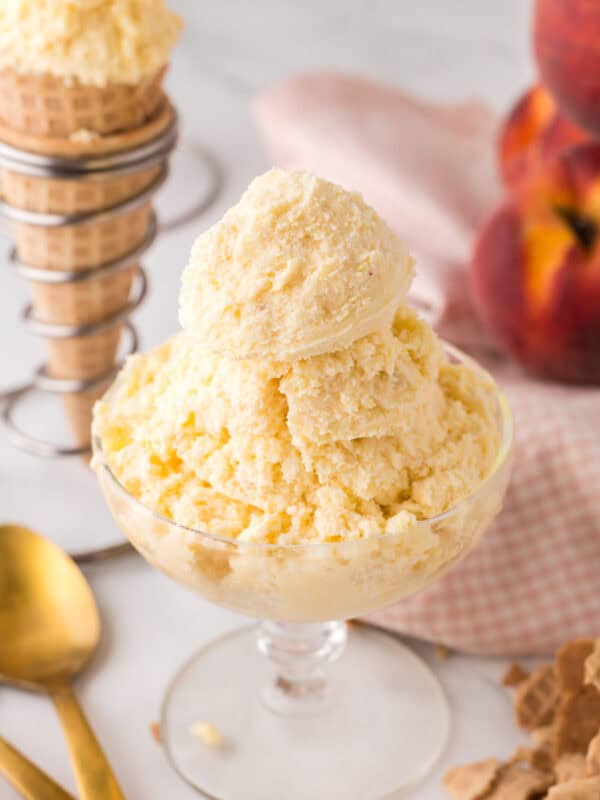
Fresh Peach Ice Cream
Did you make this recipe? Leave a ⭐️ review and share it on Instagram, Facebook, or Pinterest!
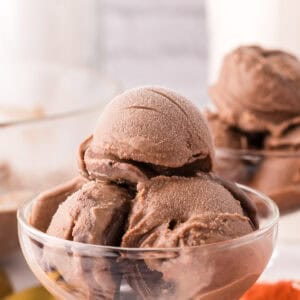
No Machine Chocolate Truffle Ice Cream
Ingredients
- 1 can sweetened condensed milk, (14 oz)
- 3/4 cup heavy cream
- 3/4 cup whole milk
- 6 oz semisweet or bittersweet chocolate, chopped (or chocolate chips are fine)
- 1/4 cup unsweetened cocoa powder, sifted to avoid lumps
- 5 teaspoon cornstarch
- 2 tablespoons water
- 1 tsp vanilla extract
- 1/4 teaspoon almond extract
- 1/4 teaspoon salt
Instructions
- In a medium saucepan, whisk together sweetened condensed milk, cream, and whole milk over medium heat. Whisking often, bring mixture to a boil over medium heat. Remove from heat.
- Immediately, stir in chocolate and cocoa powder and whisk until very smooth. In a small bowl, whisk together cornstarch and water, then pour into chocolate mixture.
- Return saucepan to medium heat and bring to a simmer, stirring almost constantly, until mixture has thickened, about 5 minutes. Remove from heat and stir in vanilla, almond extract, and salt.
- Pour mixture into a glass or metal bowl. Let cool about 5 minutes before covering with plastic wrap. Chill in the refrigerator until completely cooled, several hours or overnight. Mixture will be very thick.
- To freeze, transfer chilled chocolate mixture into an airtight container. Press plastic wrap onto the surface, then seal with a lid. Freeze several hours until firm enough to scoop (this should only take about 2 hours, but you can do it up to a day before serving).
- Remove from freezer 5-10 minutes before scooping. A little goes a long way!


Where’s the truffle part in this chocolate truffle ice cream?
I like it, creamy, and rich in flavor. My ice cream freezes some of time, and others not so much. I’m glad we won’t need it!
This sounds heavenly!