This post may contain affiliate links. Please read our disclosure policy.
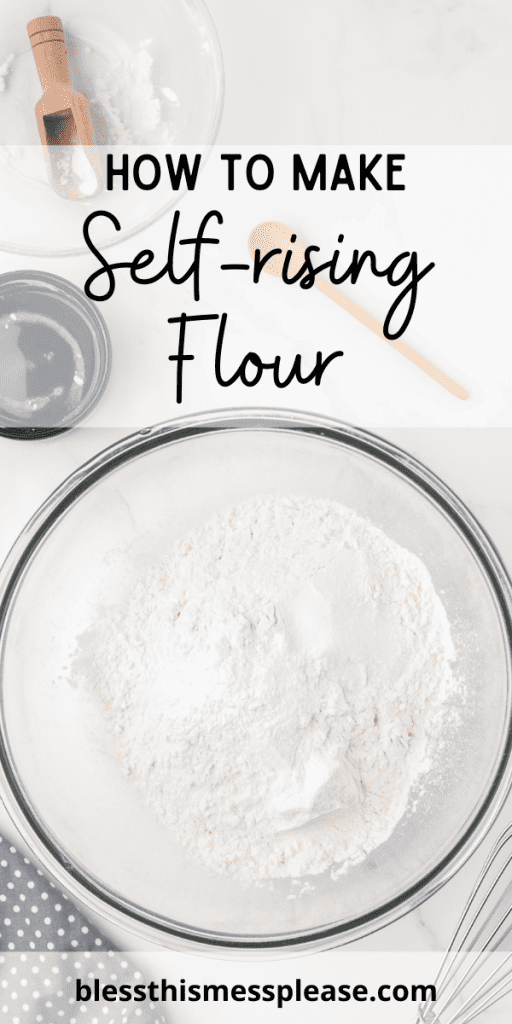
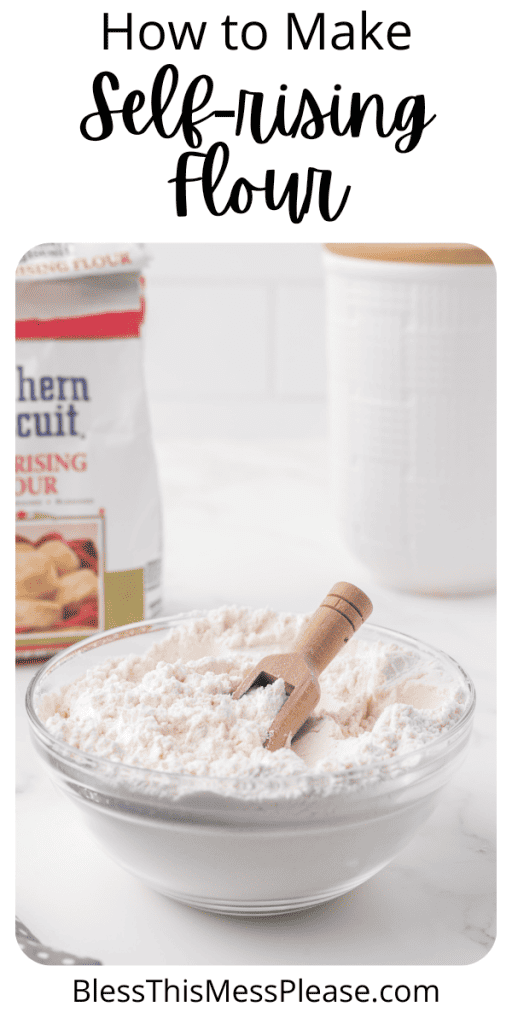
If you’ve ever dabbled in baking, you might have come across recipes that ask for self-rising flour. But what if you don’t have any on hand? No worries! With just a few simple ingredients, you can whip up your very own batch. Let’s dive in and learn How to Make Self Rising Flour.
Imagine you’re in the middle of preparing a recipe, and you suddenly realize you’re out of self-rising flour. Instead of abandoning your baking endeavors or rushing to the store, making your own batch can save both time and hassle. Having the know-how to craft your own self-rising flour ensures that you’re always ready, even when faced with unexpected ingredient shortages.
Creating self-rising flour at home allows for customization. Store-bought versions might contain additives or preservatives that some bakers prefer to avoid. By making it yourself, you gain full control over its components. Whether you’re catering to dietary restrictions, like reducing sodium, or just aiming for a purer ingredient list, DIY self-rising flour grants you that flexibility.
Table of Contents
Why You’ll Love This Recipe
- Super Easy: With just 3 ingredients, you’re good to go.
- Budget-Friendly: No need to buy a separate type of flour!
- Adaptable: Use it in pancakes, muffins, biscuits, and more.
- Customizable: Adjust the recipe to your needs.
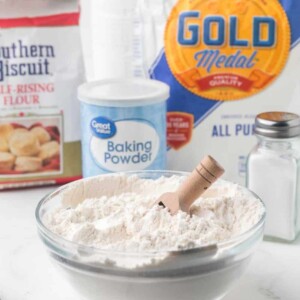
Recipe Ingredients
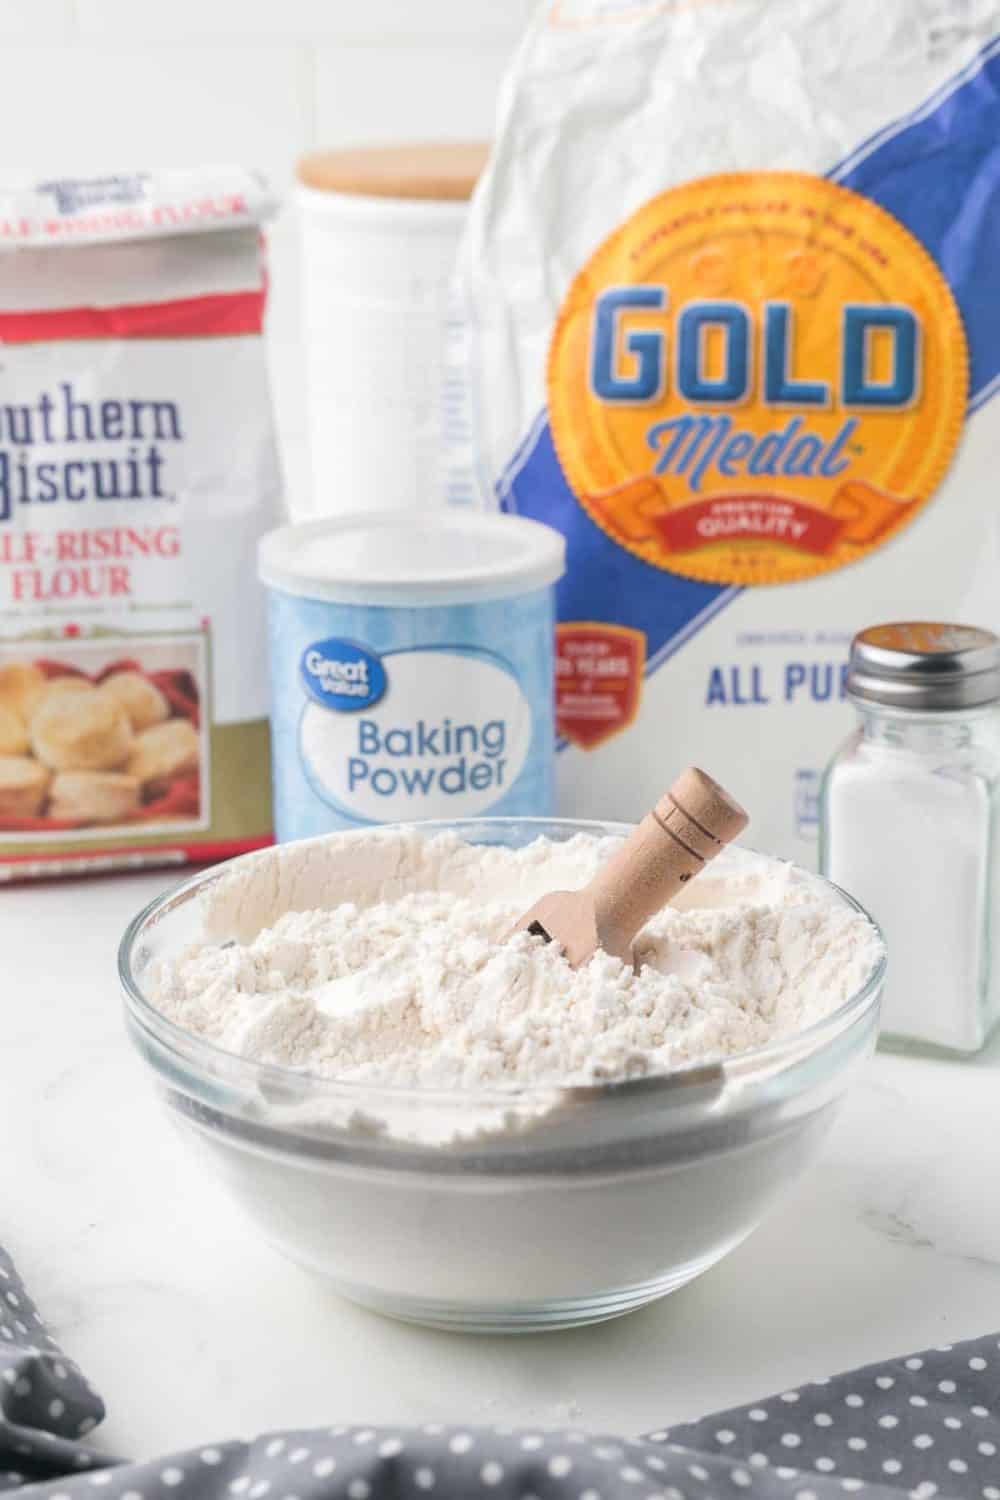
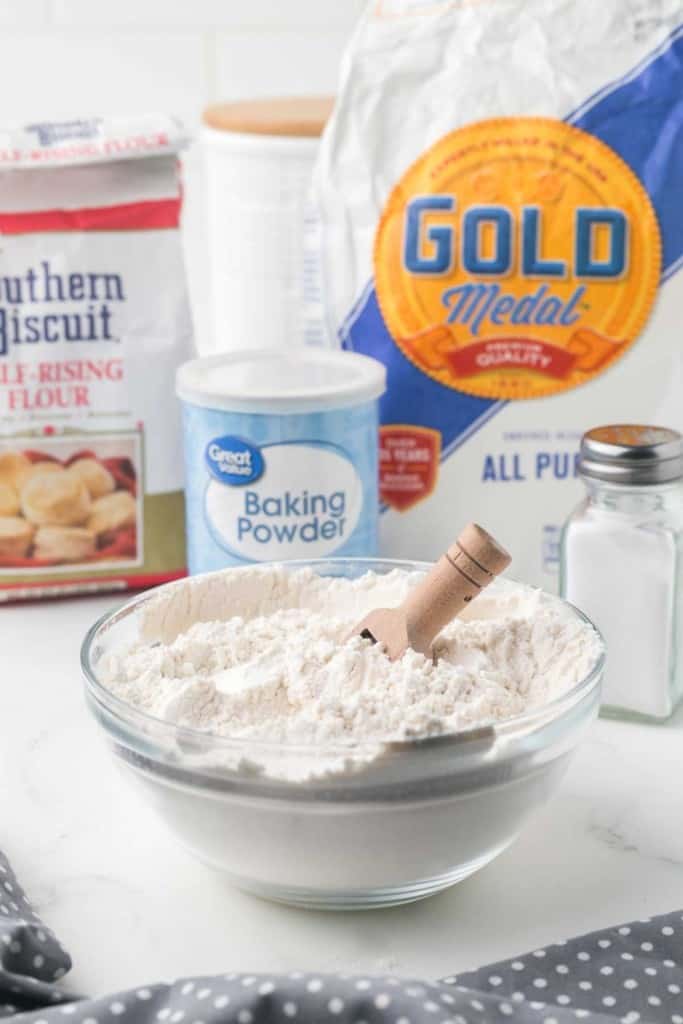
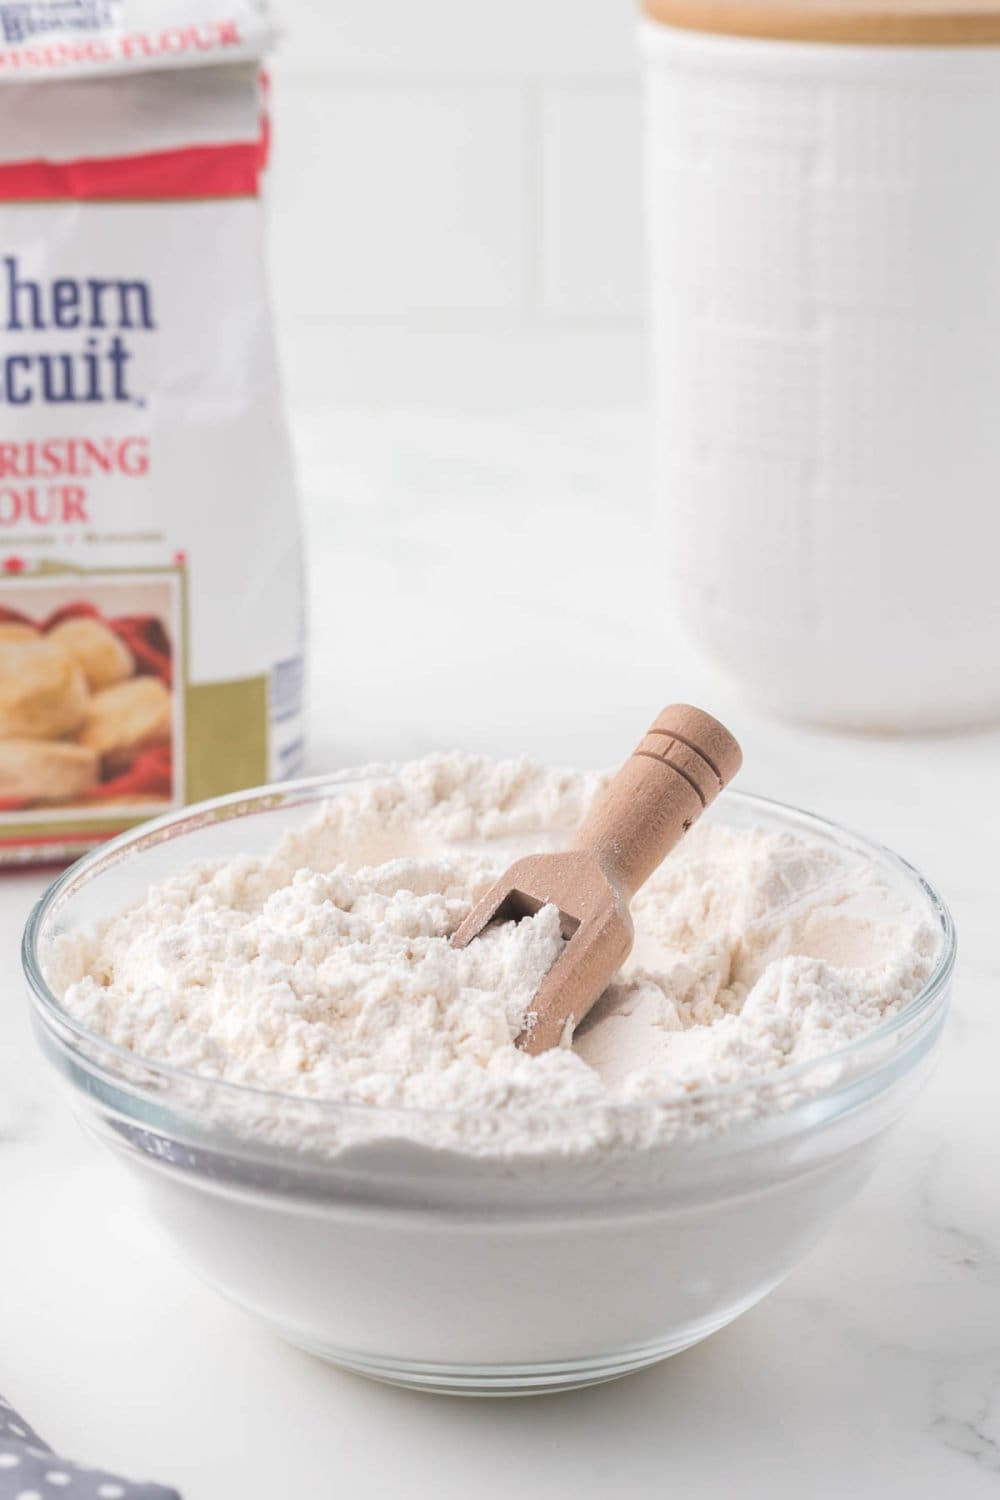
- All-purpose flour: The foundational backbone of countless recipes, all-purpose flour provides structure and substance to our favorite baked goods.
- Baking powder: This little leavening agent packs a punch! Baking powder gives our treats the rise and fluffiness we crave.
- Salt: A pinch of this essential mineral enhances flavor, highlighting the sweetness and depth.
See the recipe card for full information on ingredients and quantities.
Popular Substitutions and Variations
Whole Wheat Self-Rising Flour: Use whole wheat flour instead of all-purpose. Note: This will have a denser texture and a nuttier flavor.
Gluten-Free Self-Rising Flour: Swap out the all-purpose flour for a gluten-free blend. Make sure the blend doesn’t already contain any rising agents!
Lower Sodium: If you’re watching your salt intake, you can reduce the salt or omit it entirely. Just remember, this might slightly change the taste of your baked goods.
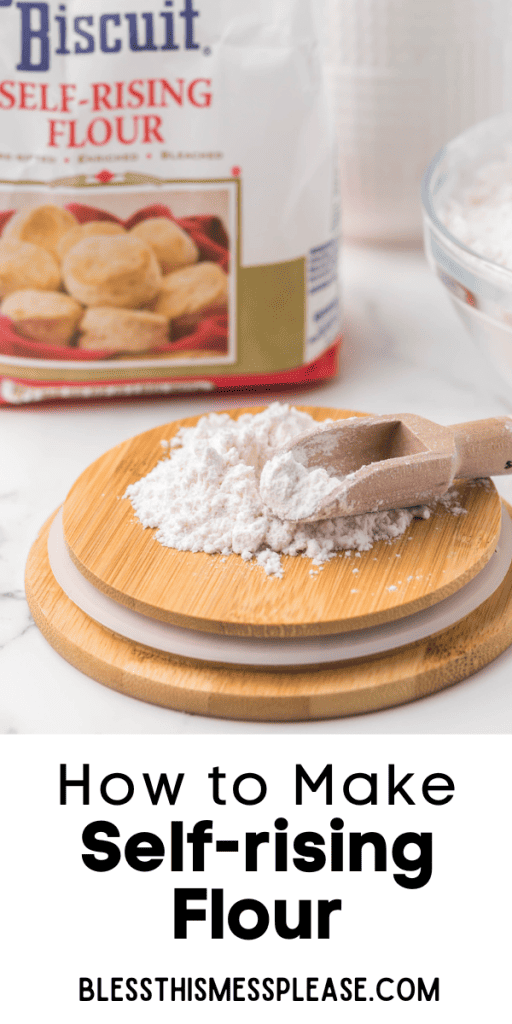
How To Make Self Rising Flour
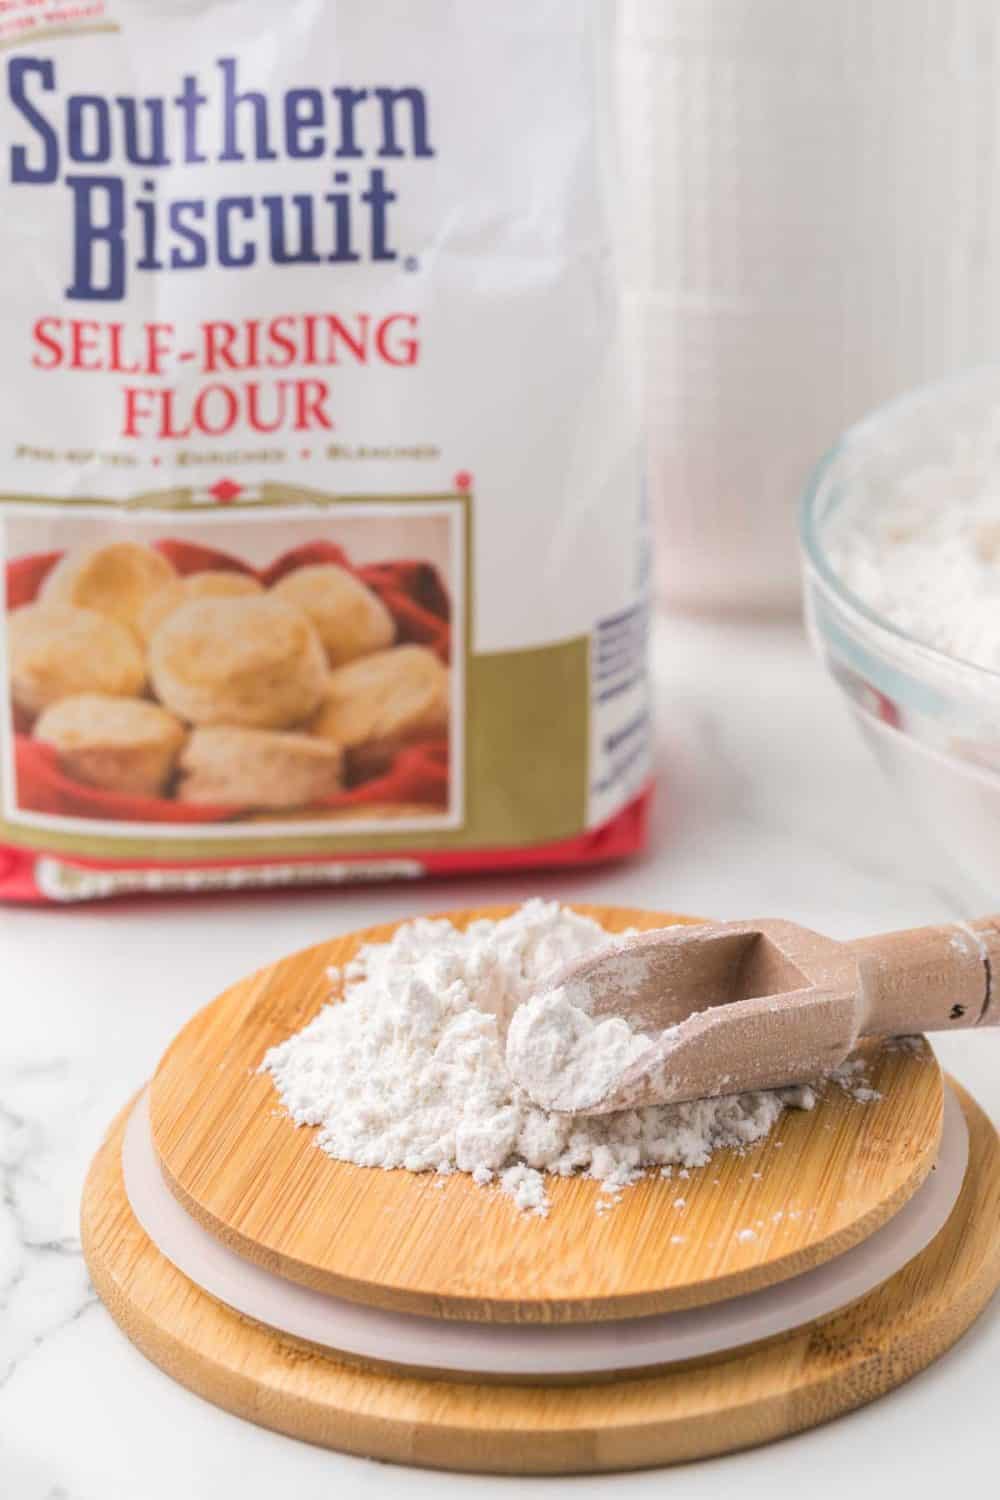
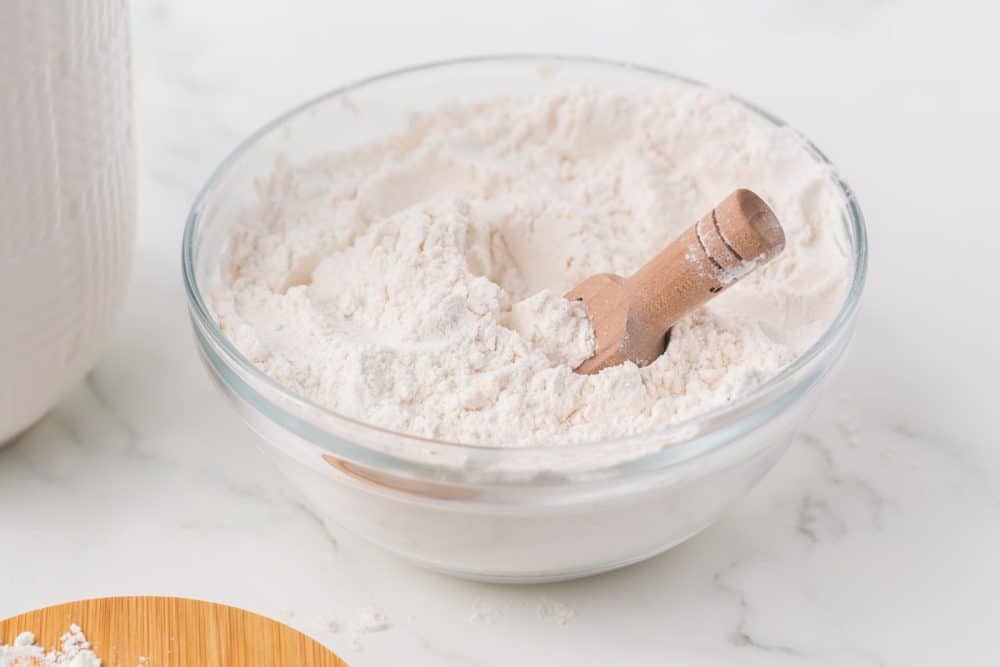
Step #1. Gather all of the necessary ingredients.
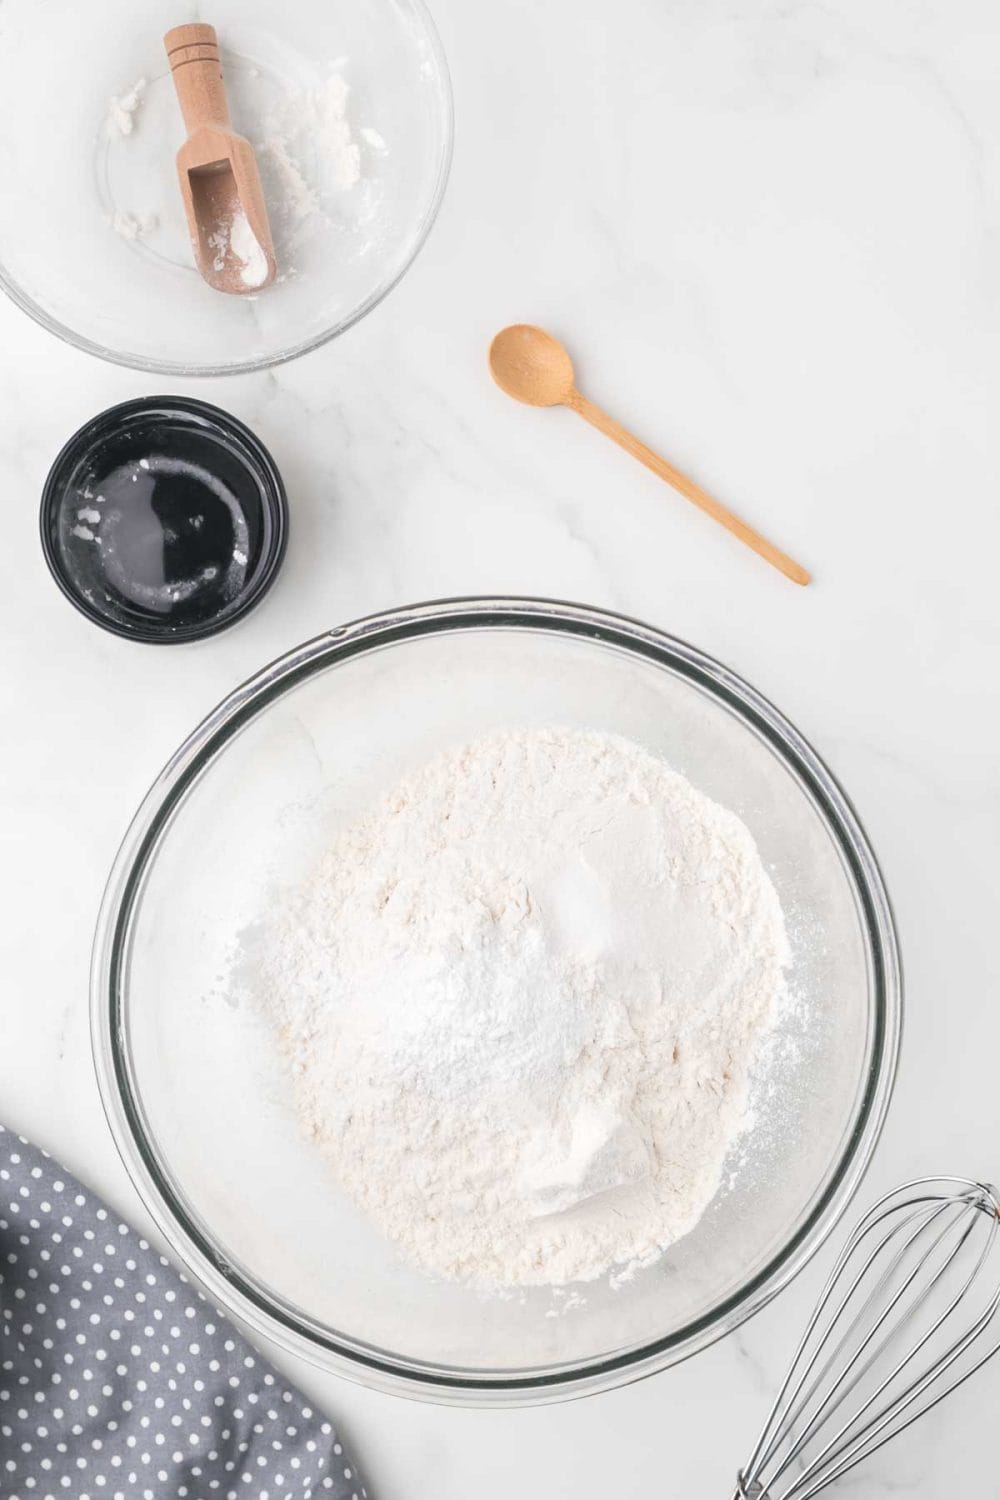
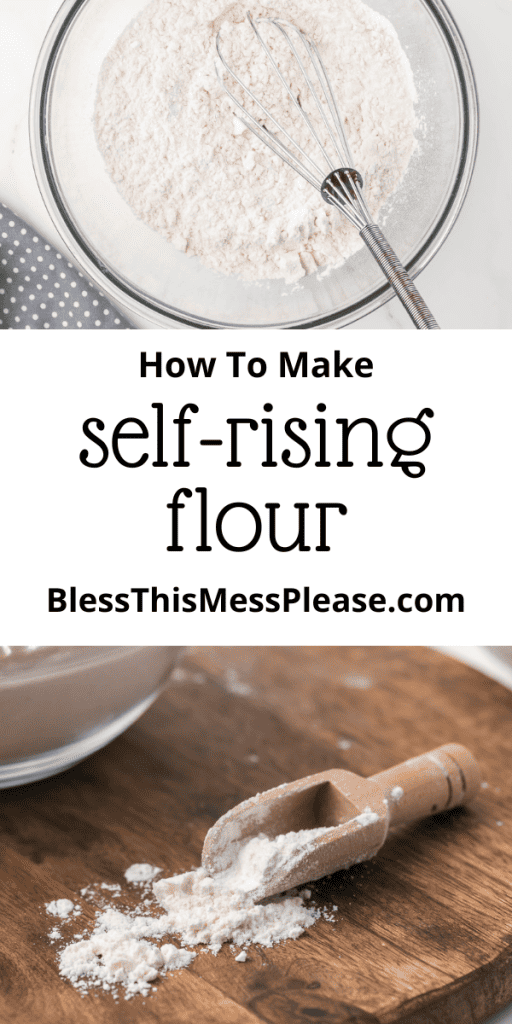
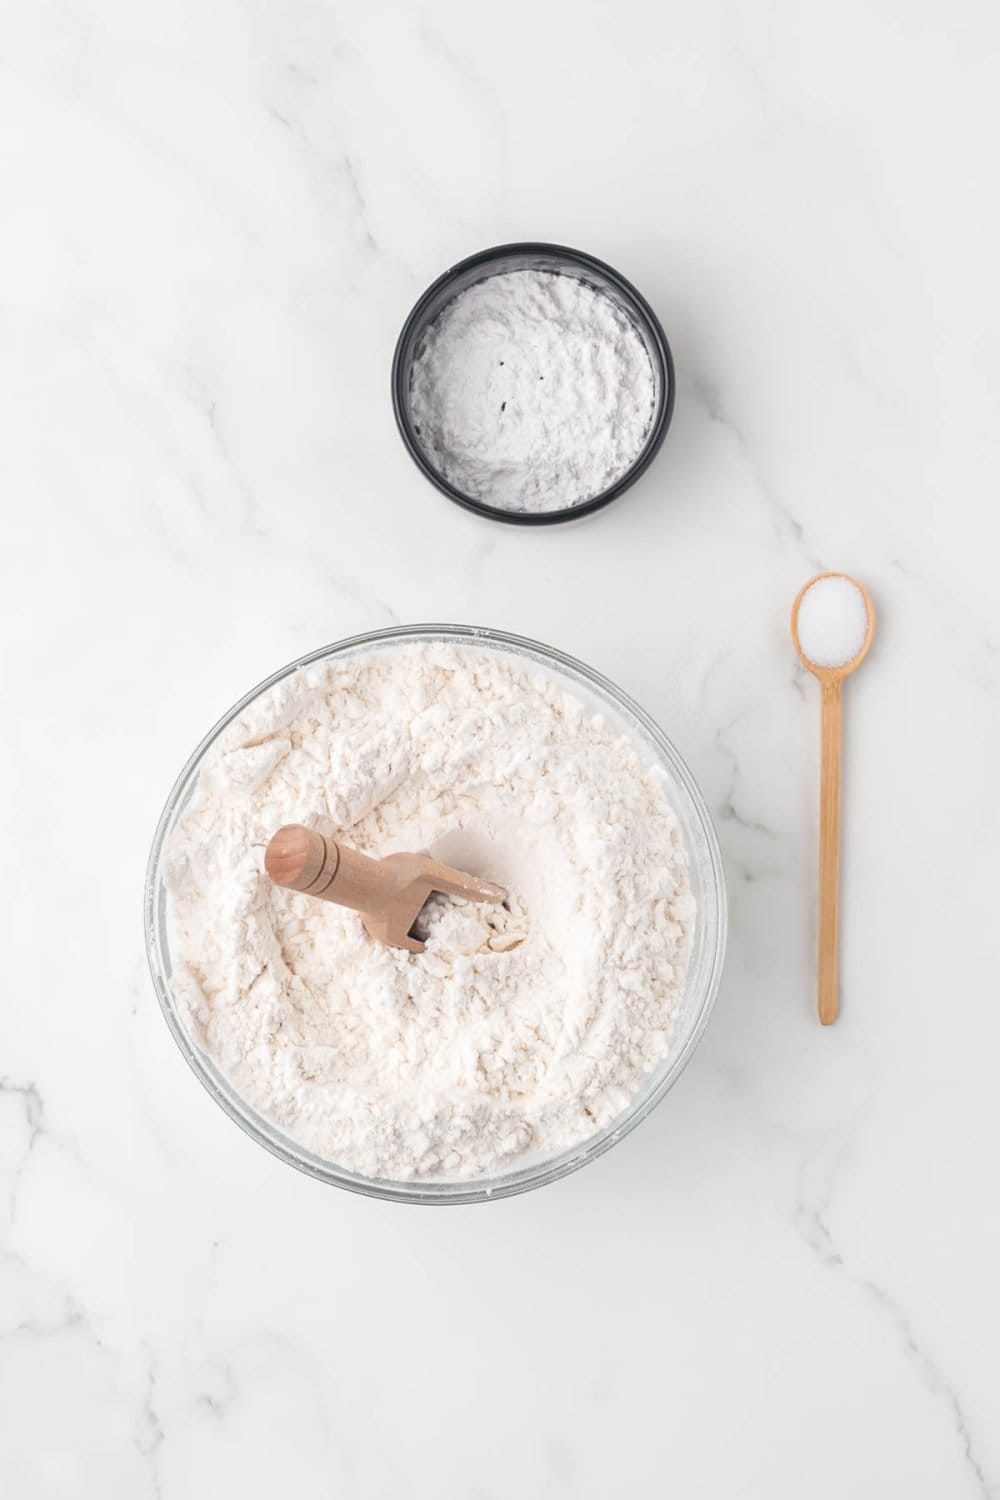
Step #2. In a medium sized mixing bowl, combine the all-purpose flour, baking powder, and salt.
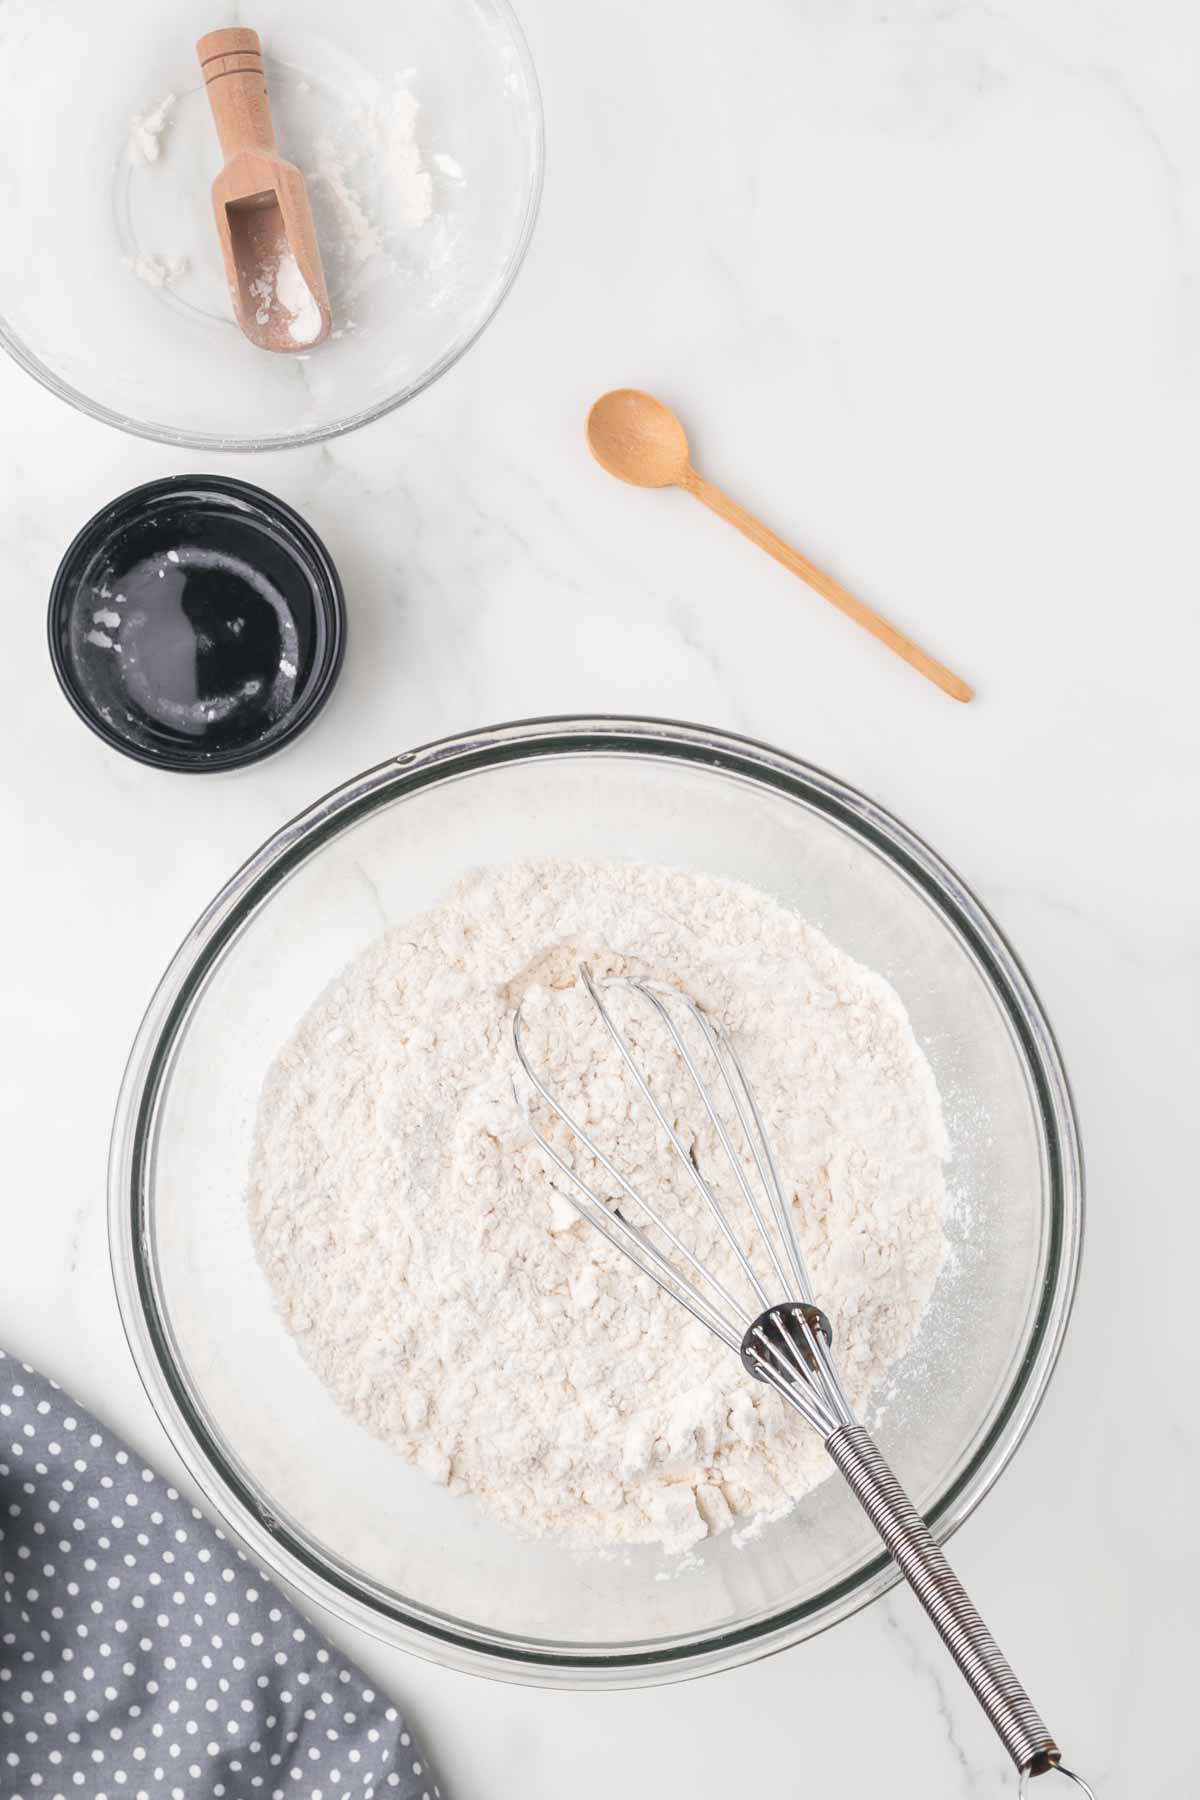
Step #3. Whisk or sift the ingredients together thoroughly to ensure even distribution.
Step #4.Your homemade self-rising flour is now ready to use in your favorite recipes that call for self-rising flour.
Recipe FAQs
Absolutely! Just maintain the same ratio: 1 cup of all-purpose flour to 1 1/2 teaspoons of baking powder and 1/4 teaspoon of salt. Scale up as needed.
Yes, you can use whole wheat flour to make self-rising flour. The ratio remains the same.
If your recipe calls for unsalted self-rising flour, you can omit the salt when making your homemade version. However, be sure to adjust the overall salt content in your recipe accordingly.
Expert Tips
- Sift the flour before using it in your recipes. This will help to make your baked goods even fluffier.
- Keep your self-rising flour in a cool, dry place to maintain its rising power.
- For accurate results in your baking, always measure your ingredients correctly. Level off the flour with a straight edge.
- The rising power comes from the baking powder. Make sure it’s fresh for the best results!
What Can I Use Self-Rising Flour For?
Self-rising flour is commonly used in recipes for biscuits, pancakes, homemade waffles, and some types of quick bread. It’s a handy ingredient when you want a leavening agent (baking powder) and a bit of salt already included in your flour.
How Should I Store Homemade Self-Rising Flour?
Store it in an airtight container in a cool, dry place, just like regular flour. It should stay fresh for several months.
More Bread Recipes To Consider

Cornbread Recipes
Best Homemade Cornbread Recipe – Simple & Easy (With Video!)

Sweet Treats
Easy Glazed Donut Recipe {Light & Fluffy}

Bread Loaf Recipes
Homemade Subway Bread Recipe
Sourdough Recipes
My Favorite Simple & Easy Sourdough Bread Recipe
Did you make this recipe? Leave a ⭐️ review and share it on Instagram, Facebook, or Pinterest!
How to Make Self Rising Flour
Ingredients
- 1 cup all-purpose flour
- 1 1/2 teaspoons baking powder
- 1/4 teaspoon salt
Instructions
- In a medium sized mixing bowl, combine the all-purpose flour, baking powder, and salt.
- Whisk or sift the ingredients together thoroughly to ensure even distribution.
- Your homemade self-rising flour is now ready to use in your favorite recipes that call for self-rising flour.
Notes
- Use this amount of flour for 1 cup or self rising flour in your recipe. Scales this recipe up to meet your needs.
- This homemade version is a great substitute when you don’t have commercial self-rising flour on hand. It’s a quick and easy solution that can be made with staple kitchen ingredients.
- You can make a larger batch of self-rising flour and store it in an airtight container in a cool, dry place for up to six months. Just scale up the recipe according to your needs.
- Sifting is especially crucial as it not only combines the ingredients but also aerates the flour, resulting in lighter, fluffier baked goods.
- Use this homemade self-rising flour immediately, or store it as noted for future use. Be mindful of the added leavening agents when using this in recipes.


