This post may contain affiliate links. Please read our disclosure policy.
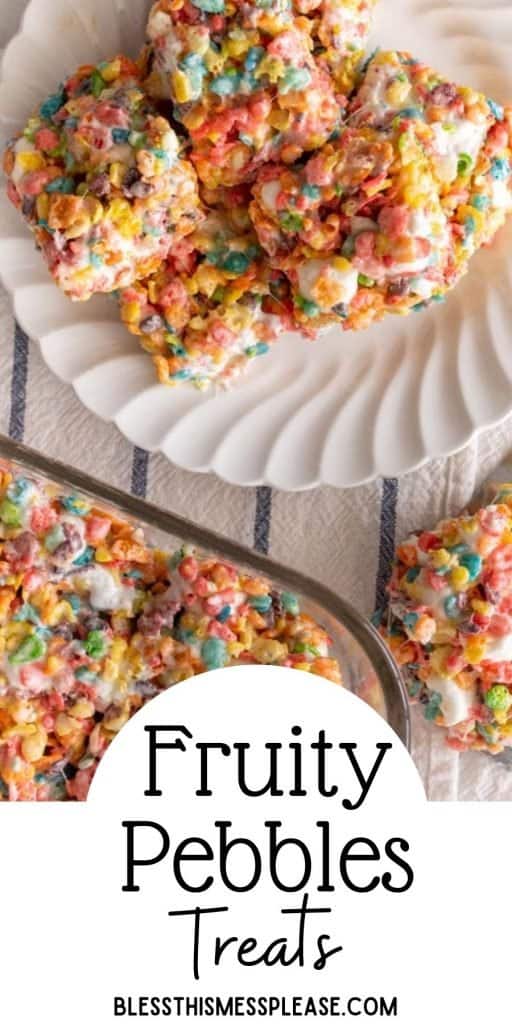
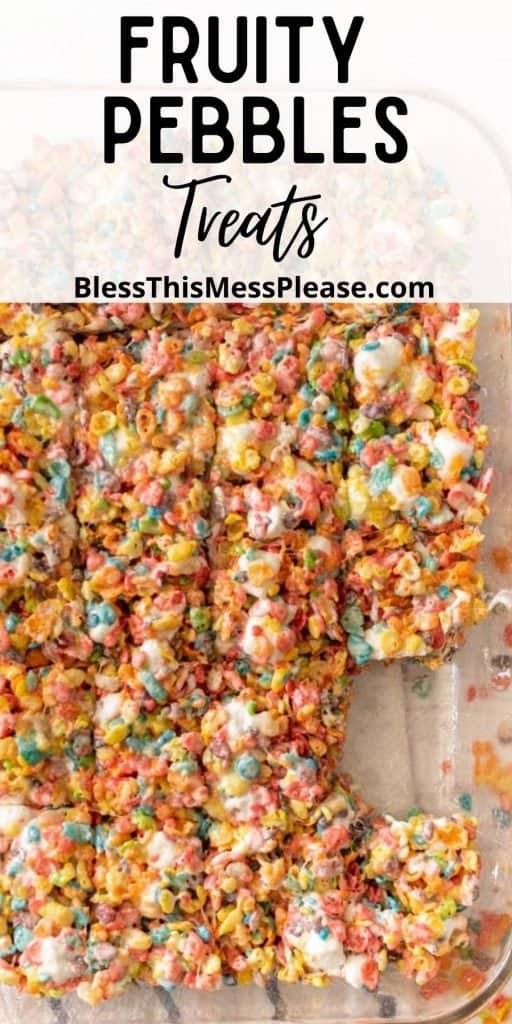
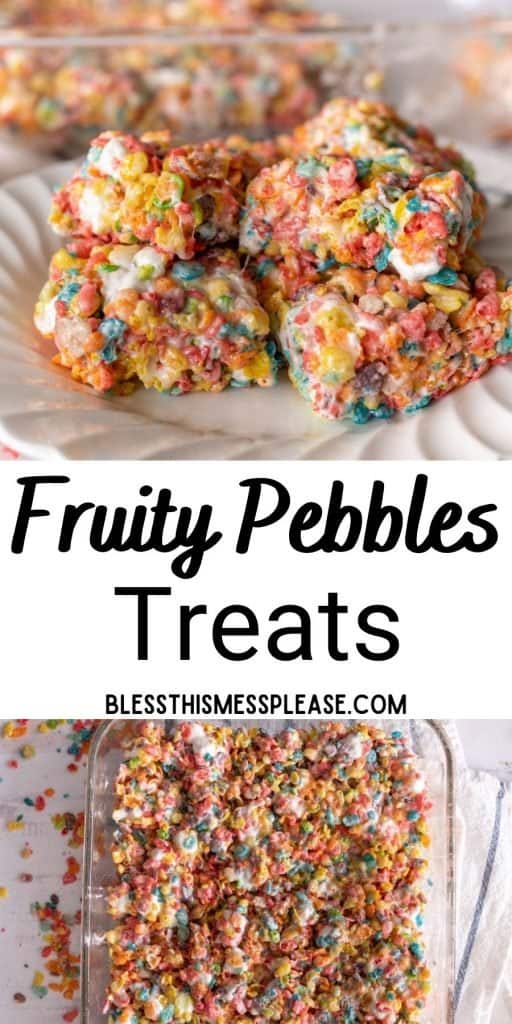
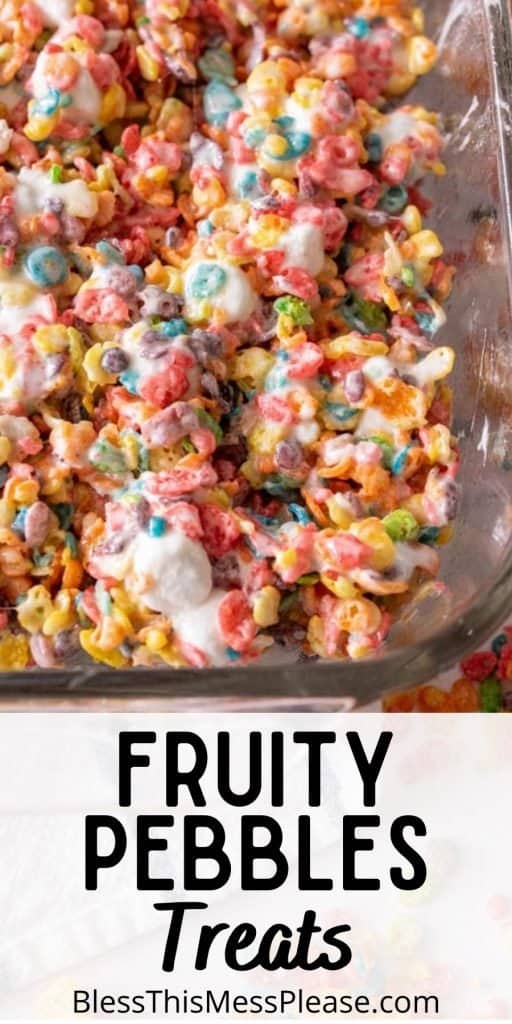
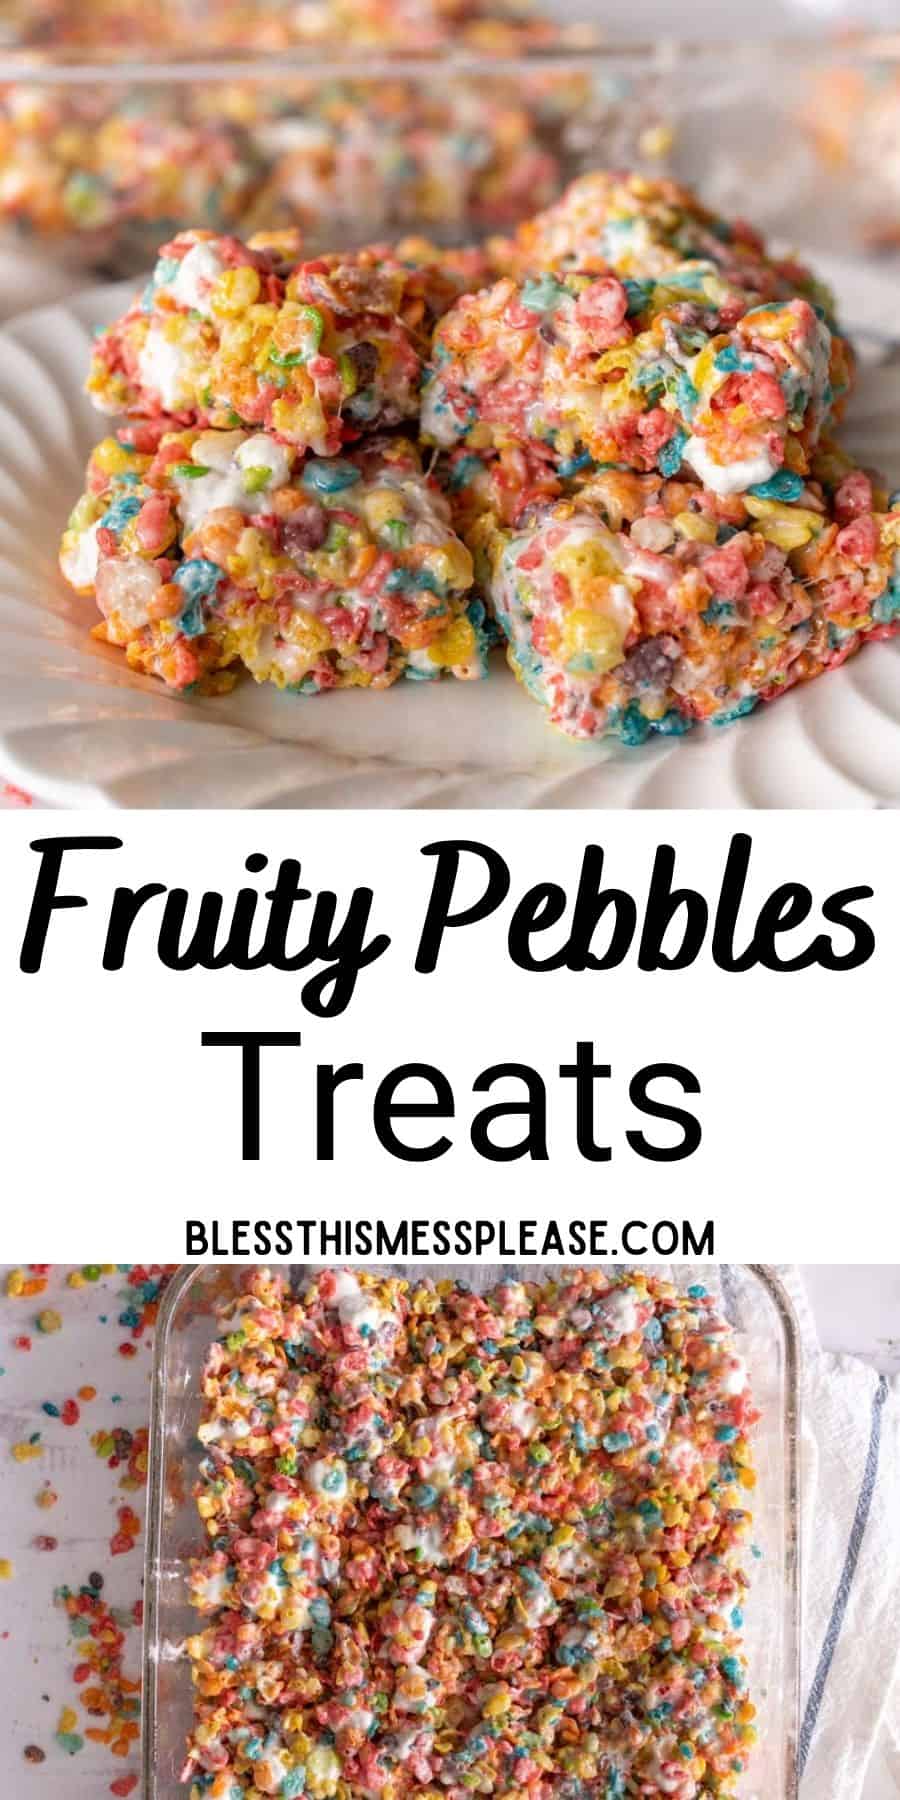
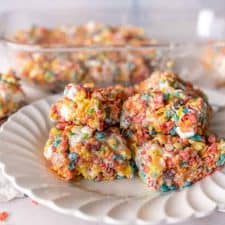
I know you have tried rice crispy treats but have you heard of Fruity Pebbles Treats?! This recipe is easy, and no oven required plus they taste amazing!
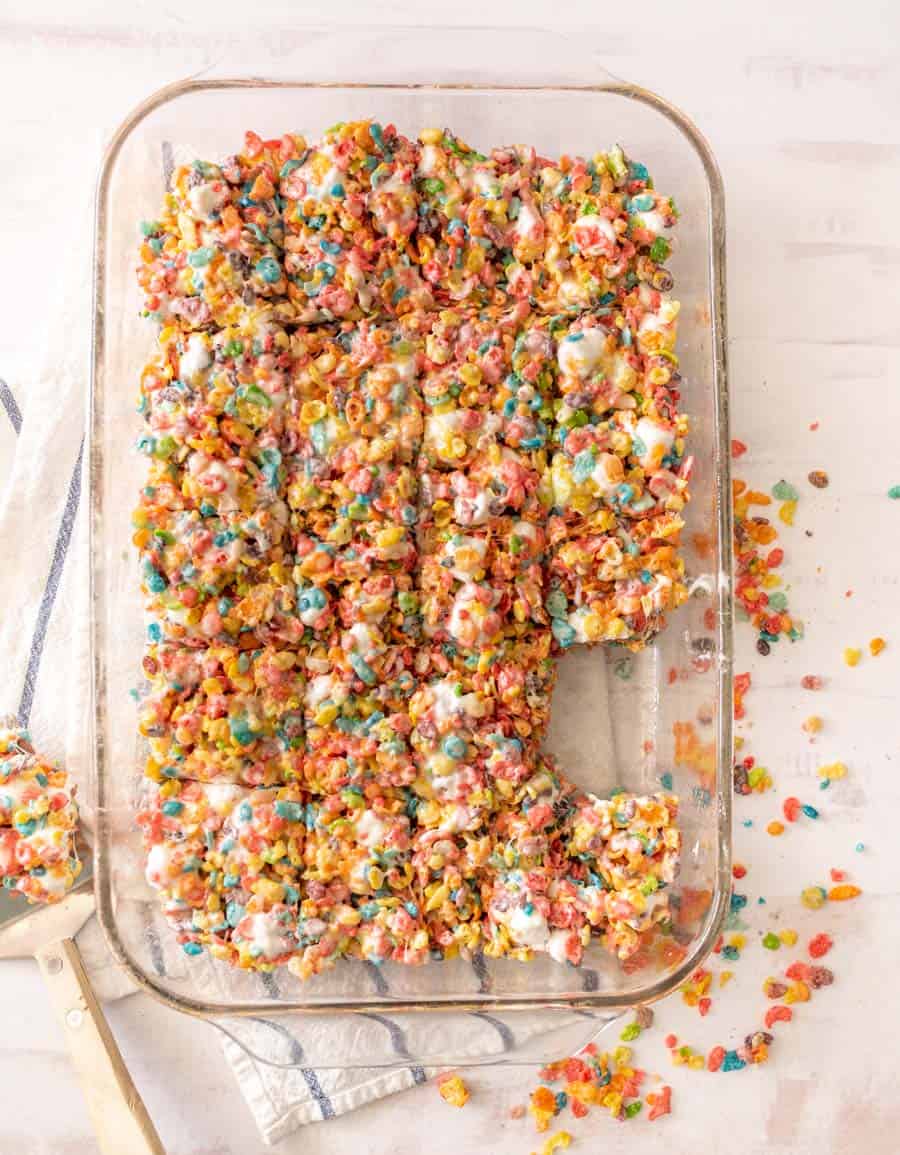
Fruity pebbles treats are the fun, exciting cousin to rice crispy treats. They are bursting with flavor, yet still have that delicious, gooey marshmallow goodness we all know and love.
I am HERE for a good rice crispy treat remix. Fruity pebble treats combine one of my favorite cereals with a classic dessert and kicks up the flavor in such a good way. They’re bright in color, simple to make, and you don’t have to turn on the oven. Total win.
Table of Contents
Why You’ll Love This Recipe
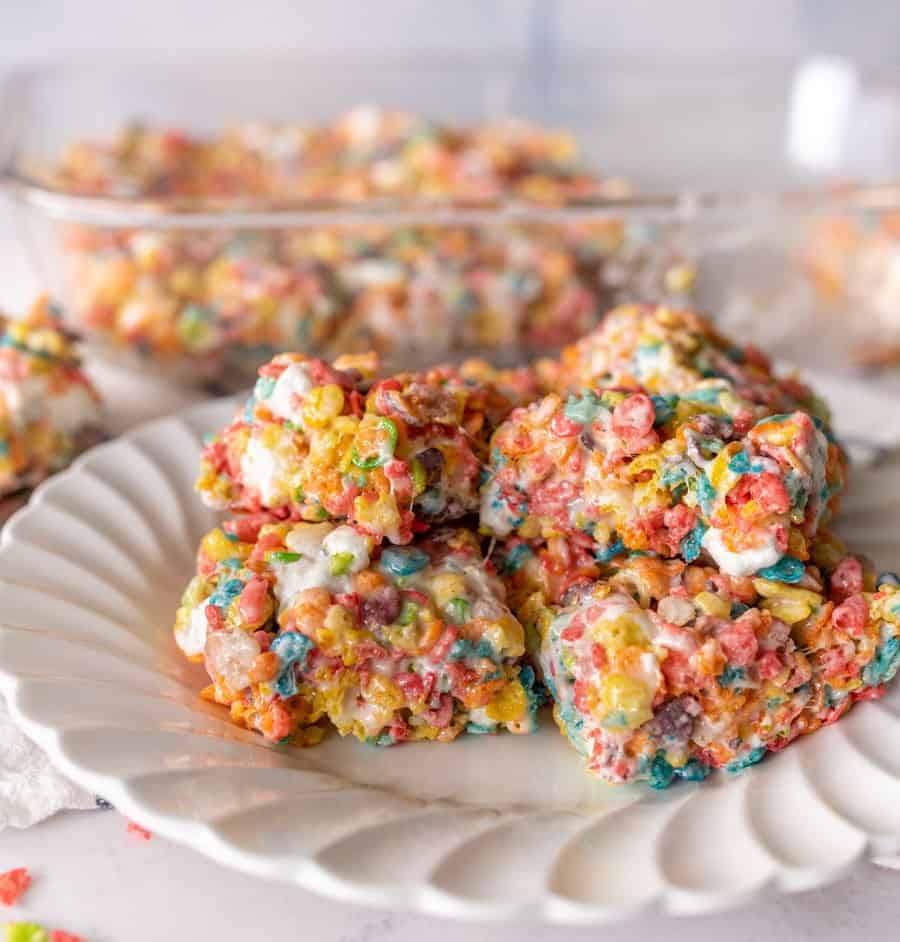
- Colorful: They are bright and colorful making these treats perfect for a birthday party or an afternoon pick-me-up.
- Kid-Friendly: Children love the sweet, fruity flavor and the bright colors AND it’s easy enough for your budding chef to make.
- Perfect Sweetness: If you love the original recipe, you will love the combination of the fruit flavor and sweet marshmallows.
- Gluten Free: Fruity Pebbles are naturally gluten free. Just double check your marshmallows (not all brands are glute free) and you have a fun treat that everyone can enjoy together.
Ingredients
- Butter
- Mini Marshmallows
- Vanilla Extract
- Fruit Pebbles Crispy Cereal: they don’t have to be the famous brand, any of “copy cat” brands work just fine
See the recipe card below for full information on ingredients and quantities
How to Make Fruity Pebbles Treats
Step #1. Grease a 9 inch square pan well with butter and set it aside. In a large saucepan, melt the butter over medium heat.
Step #3. Remove from heat and stir in remaining marshmallows and the Fruity Pebbles. Stir until the cereal is coated and there are no dry pockets.
Step #2. Set aside 1 cup of marshmallows. Add the rest to the butter and reduce the heat to low. Stir constantly until they are all melted.
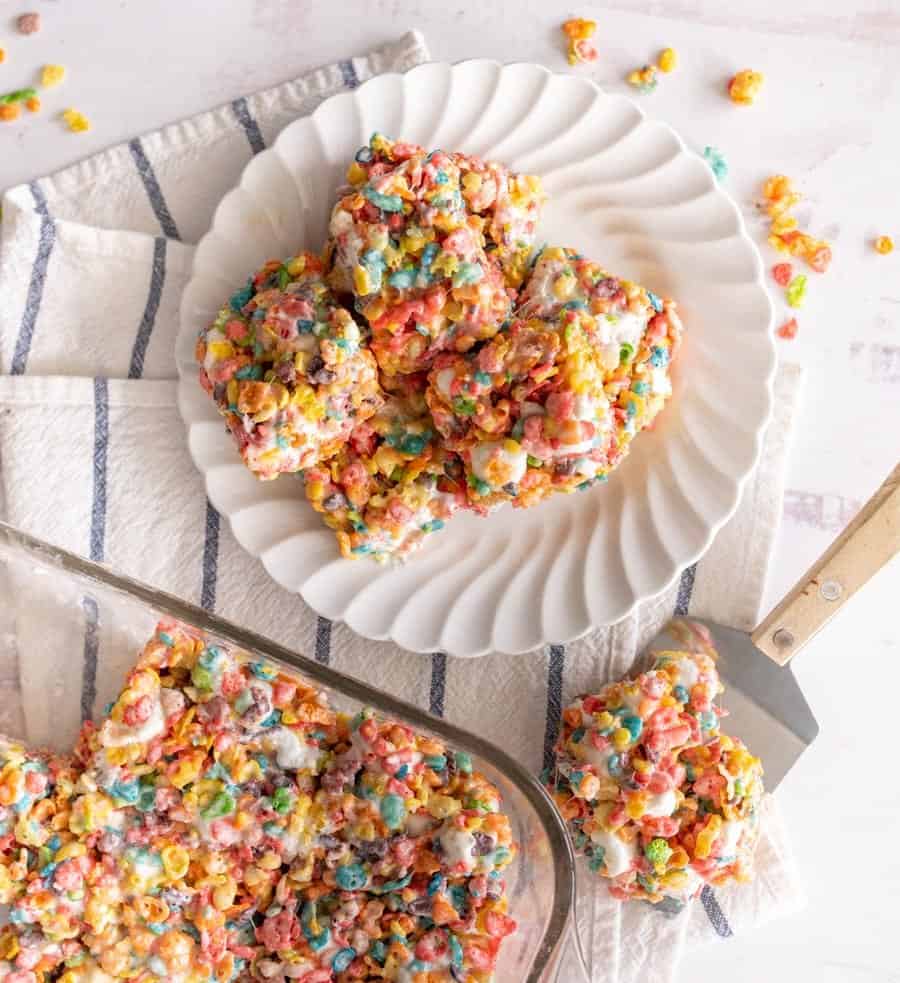
Step #4. Transfer the mixture to the prepared pan and spread out with the spatula, a buttered measuring cup bottom, or wet hands, taking care to not mash it in so it stays fluffy. Let cool 30 minutes then serve.
Recipe FAQs
I like to use mini marshmallows. If you only have large ones- they will work but using mini marshmallows helps to spread out the flavor more.
Working with marshmallows is super sticky. I like to spray everything down with non-stick cooking spray. This includes spraying the pan, spatula, mixing bowl, and my hands!
Fruity pebbles treats store really well. If you are wanting to freeze a batch for later, just make sure they are completely cooled and stored in an airtight container before placing in the freezer.
This could be caused by a couple of culprits. 1. Make sure to use fresh marshmallows to optimize freshness and prevent hard treats. 2. Melt the marshmallows and butter on low heat. If you are melting at a rapid pace, they have the tendency to turn too hard.
Expert Tips
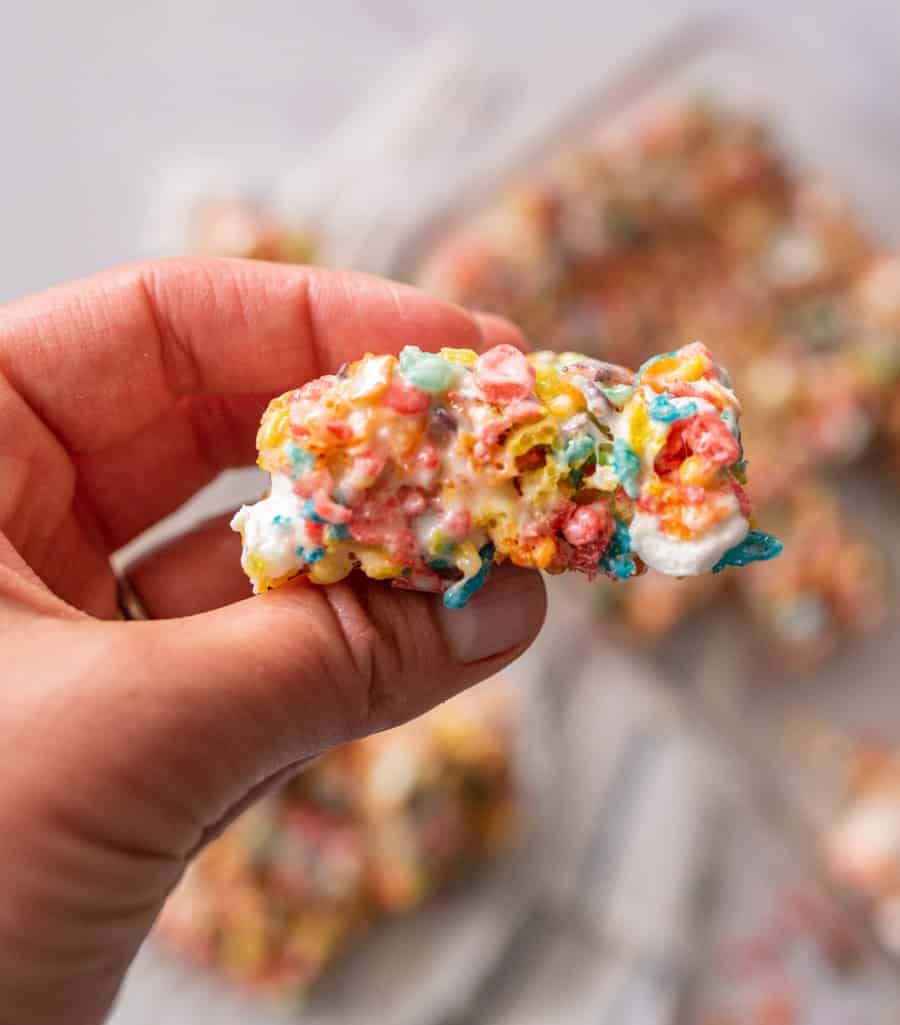
- Use fresh marshmallows. Stale ones will still melt but your treats won’t be as gooey.
- To cut your squares more easily, spray your knife with non-stick spray.
- This recipe works with just about any kind of cereal. Try some of your favorites!
More No-Bake Dessert Recipes to Consider
No Bake Desserts
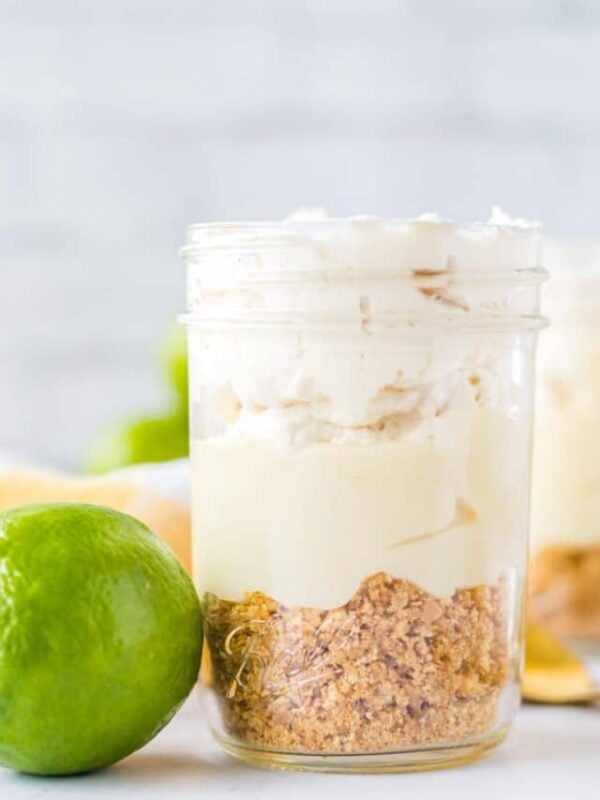
Key Lime Mousse {Key Lime Pie In A Jar}
No Bake Desserts
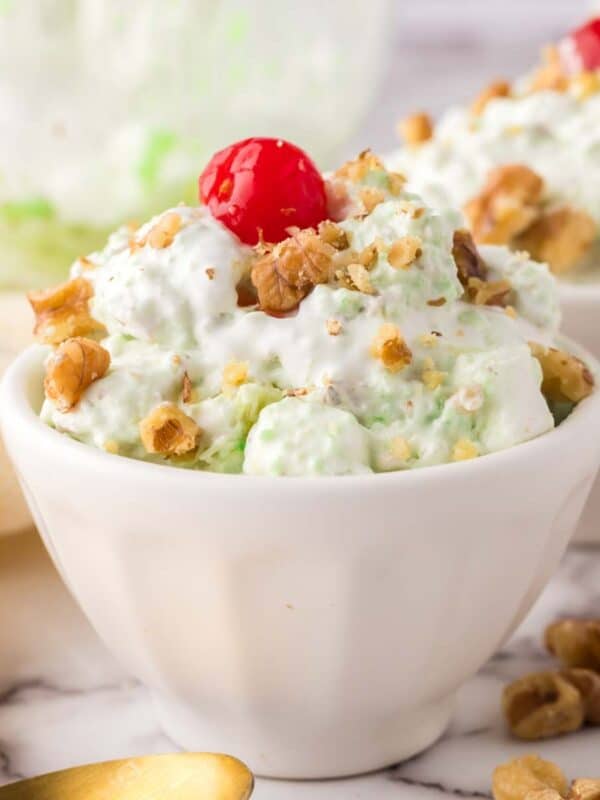
Watergate Salad Recipe
No Bake Desserts
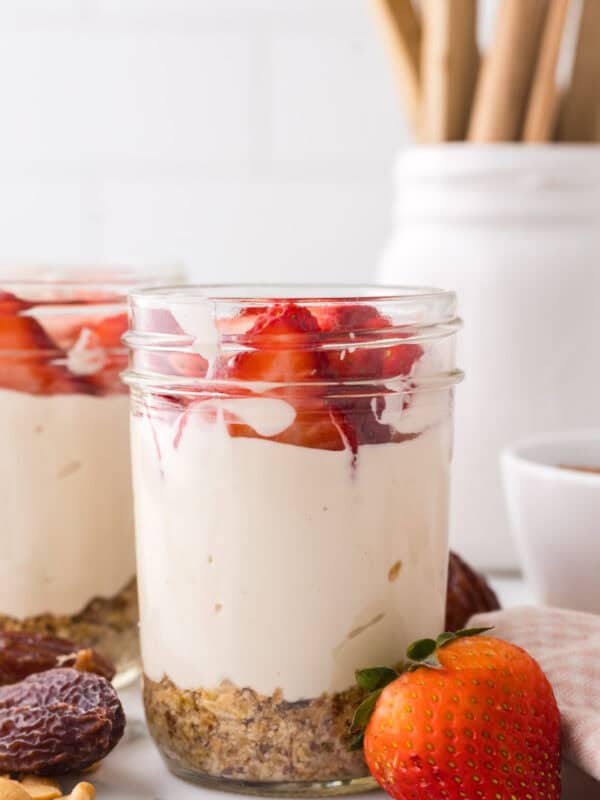
Healthy No-Bake Cheesecake
No Bake Desserts
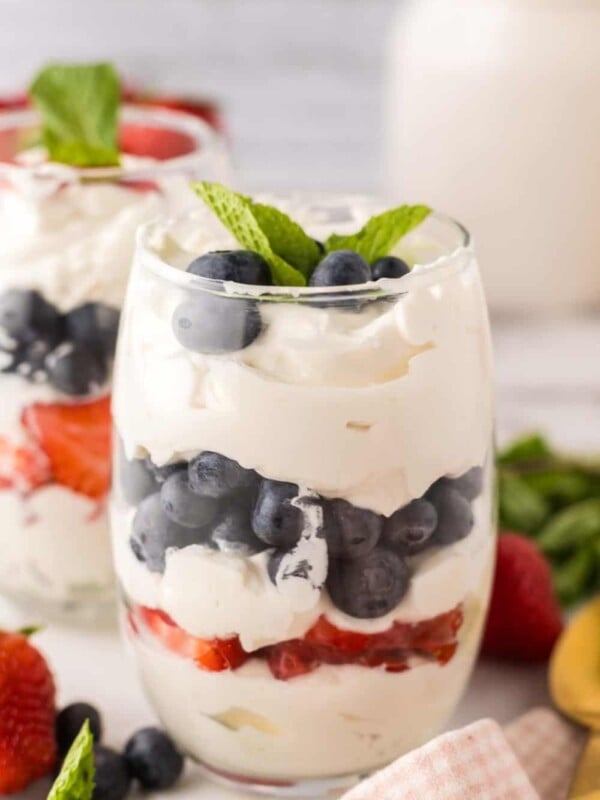
Berries and Cream
Did you make this recipe? Leave a ⭐️ review and share it on Instagram, Facebook, or Pinterest!
Fruity Pebbles Treats
Ingredients
- 8 tablespoons butter, 1/2 cup or 1 stick
- 16 ounces mini marshmallows, divided
- 1 teaspoon vanilla extract
- 7 cups Fruit Pebbles crispy cereal
Instructions
- Prepare a 9-inch square baking pan by greasing it well with butter.
- In a large pan on the stove, melt the butter over medium heat.
- Reduce the heat to medium-low; add all of the marshmallows EXCEPT for 1 cup.
- Stir constantly, until the marshmallows are melted.
- Remove from the heat, and stir in the vanilla.
- Add the Fruit Pebble crispy cereal and the remaining one cup of mini mallows, and stir to combine well, making sure there are no dry pockets of cereal.
- Add the cereal to the prepared pan, and use a spatula to spread it out to an even layer, taking care not to press or smash it down. If a spatula isn’t cutting it, get your hands lightly damp, and gently press out the cereal. A buttered bottom of a measuring cup also works well.
- Let the rice crispy treats cool for 30 minutes before serving.
Notes
- Melt your marshmallows at a low temperature.
- Use fresh marshmallows and stick to the mini ones. They melt more easily and the cup of them thrown in with the cereal looks so cute.
- Don’t push the mixture too firmly into the pan. You want them to be light and airy so gently spread them but don’t smash it down.
- This recipe works with all kinds of cereals. Give some of your favorites a try.

