This post may contain affiliate links. Please read our disclosure policy.
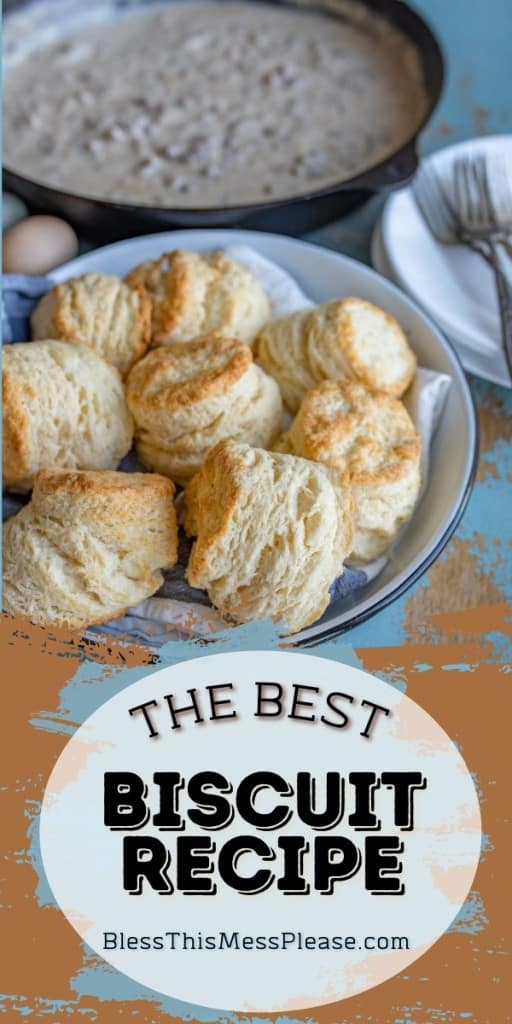
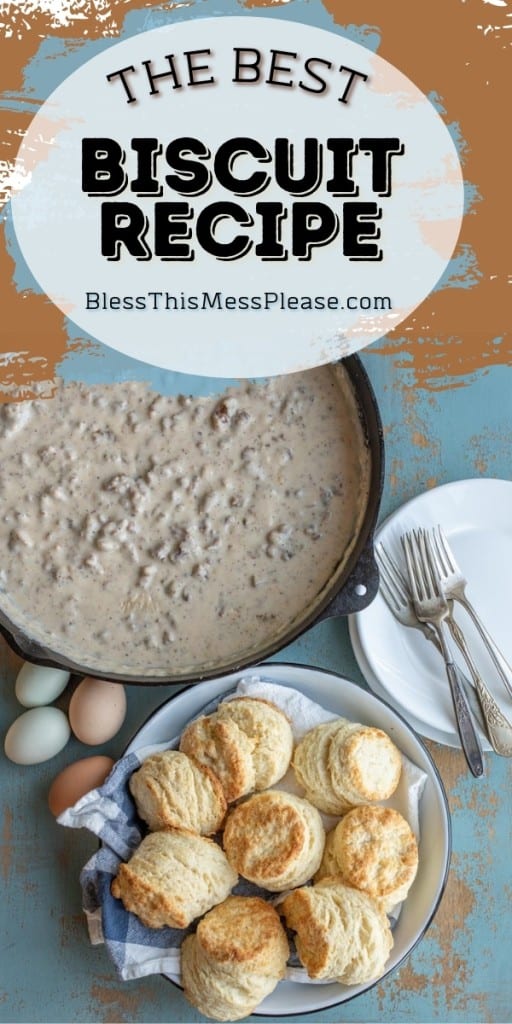

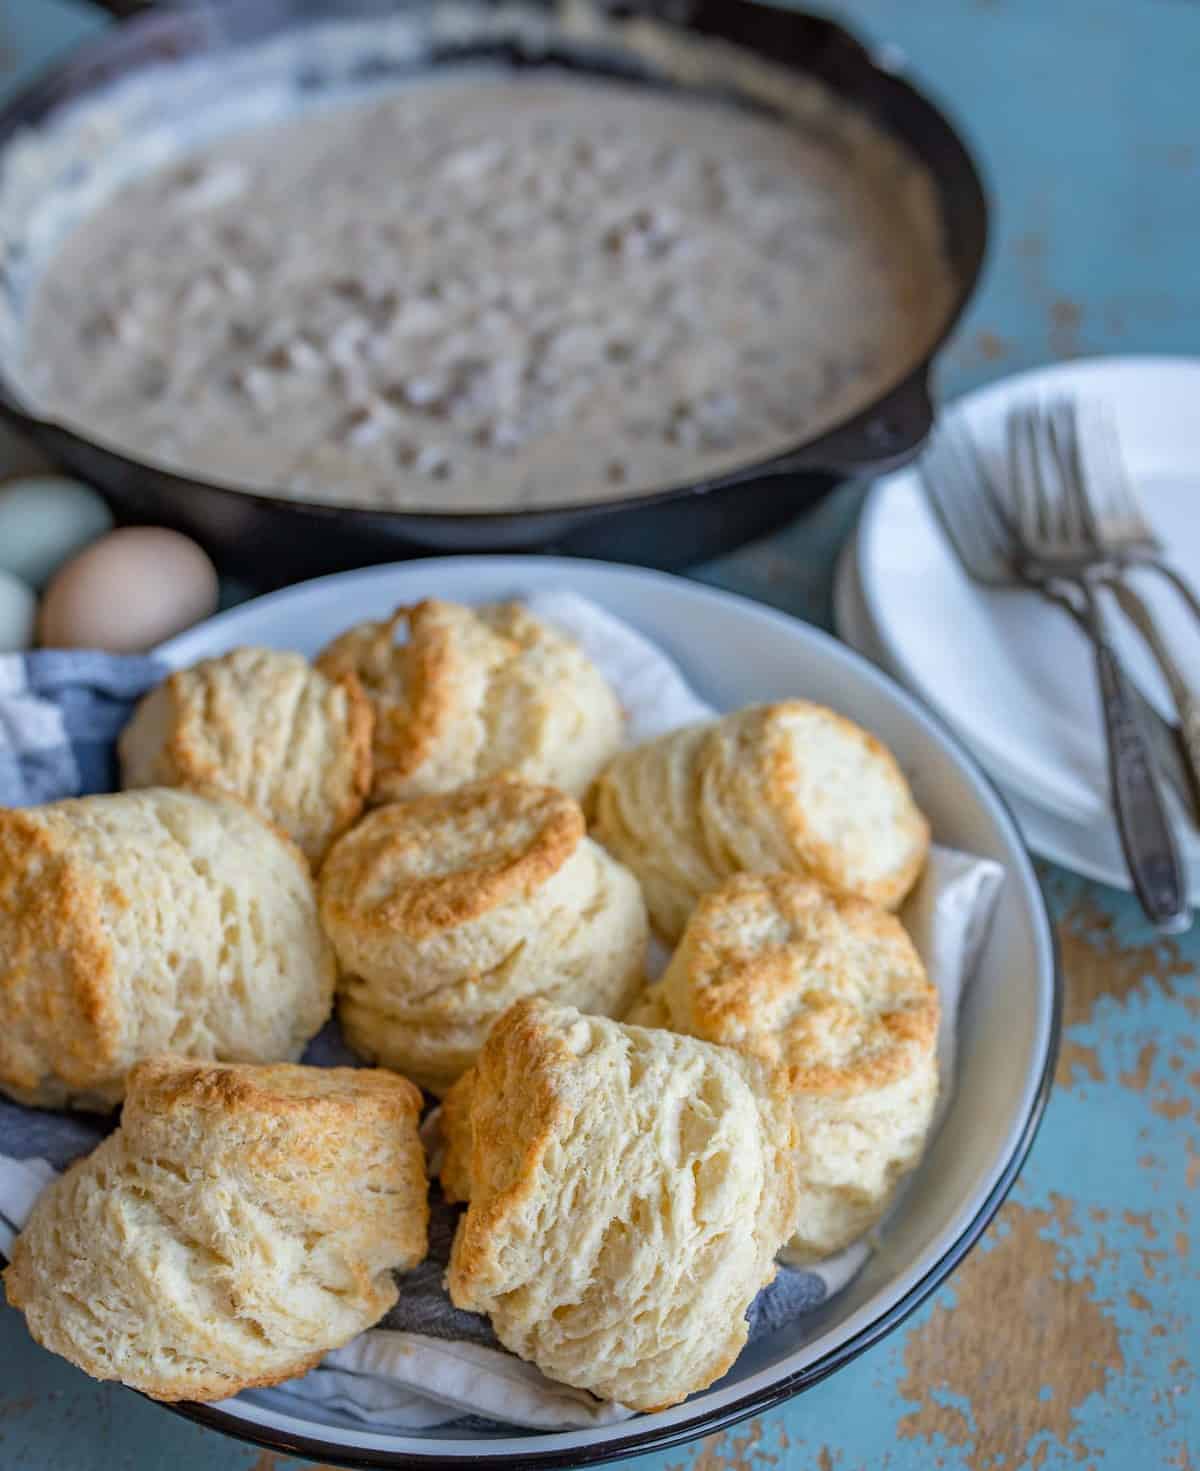
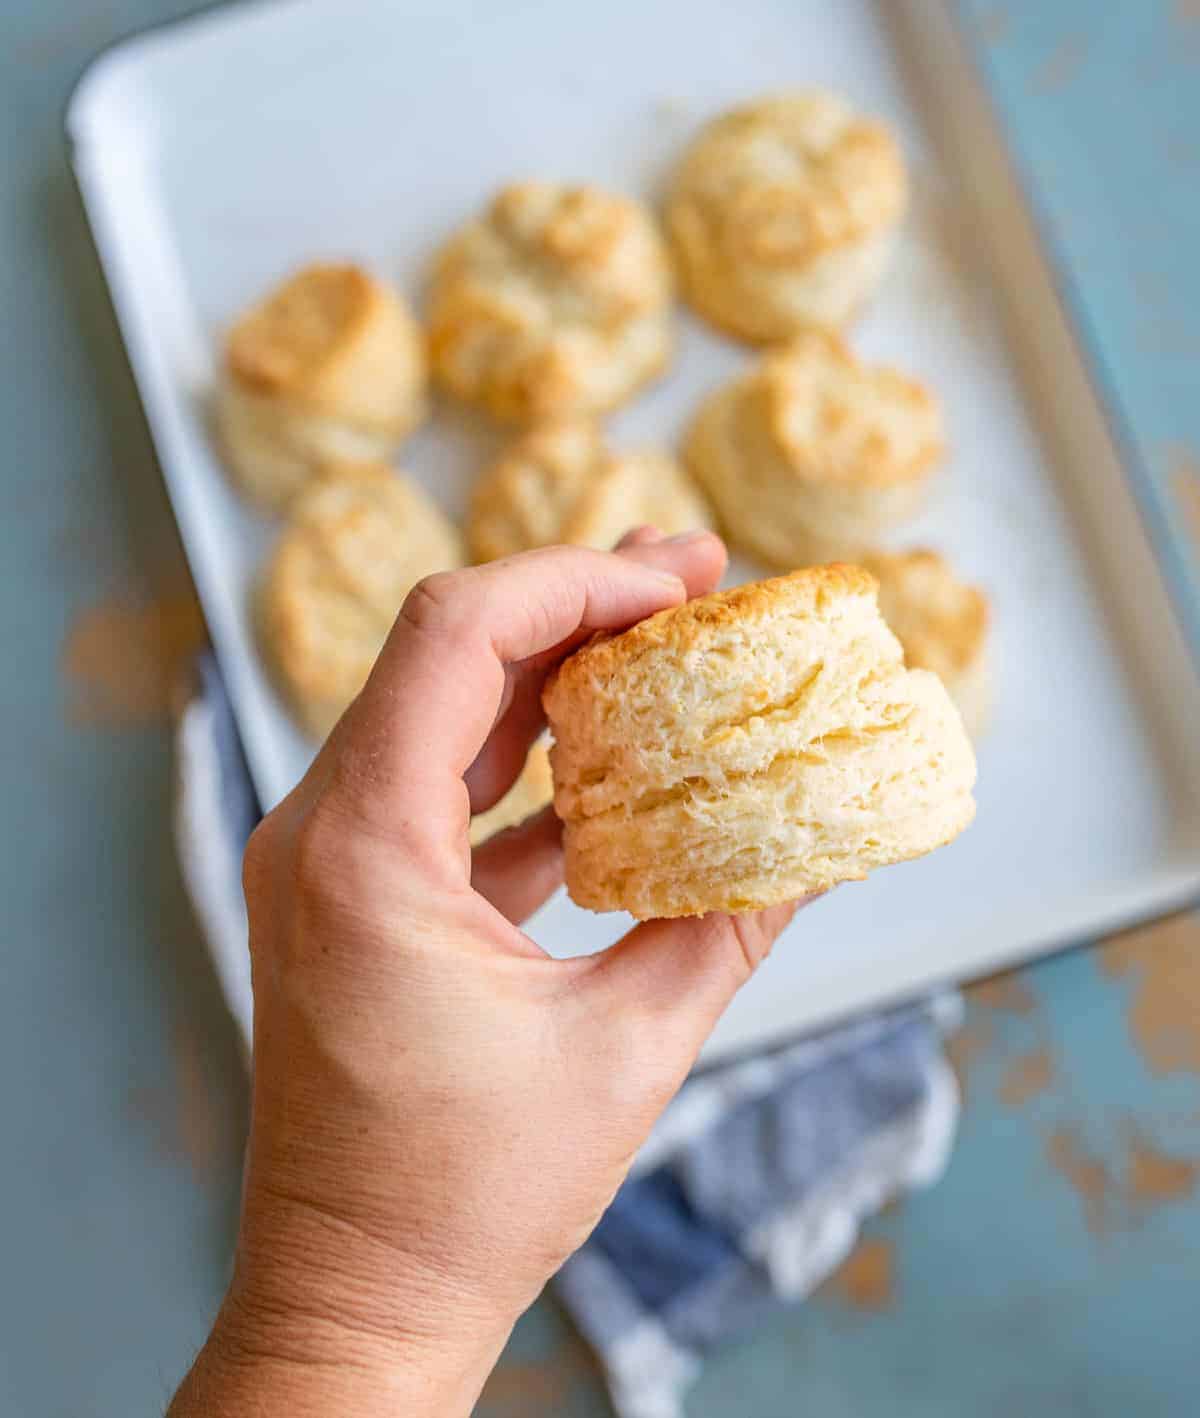
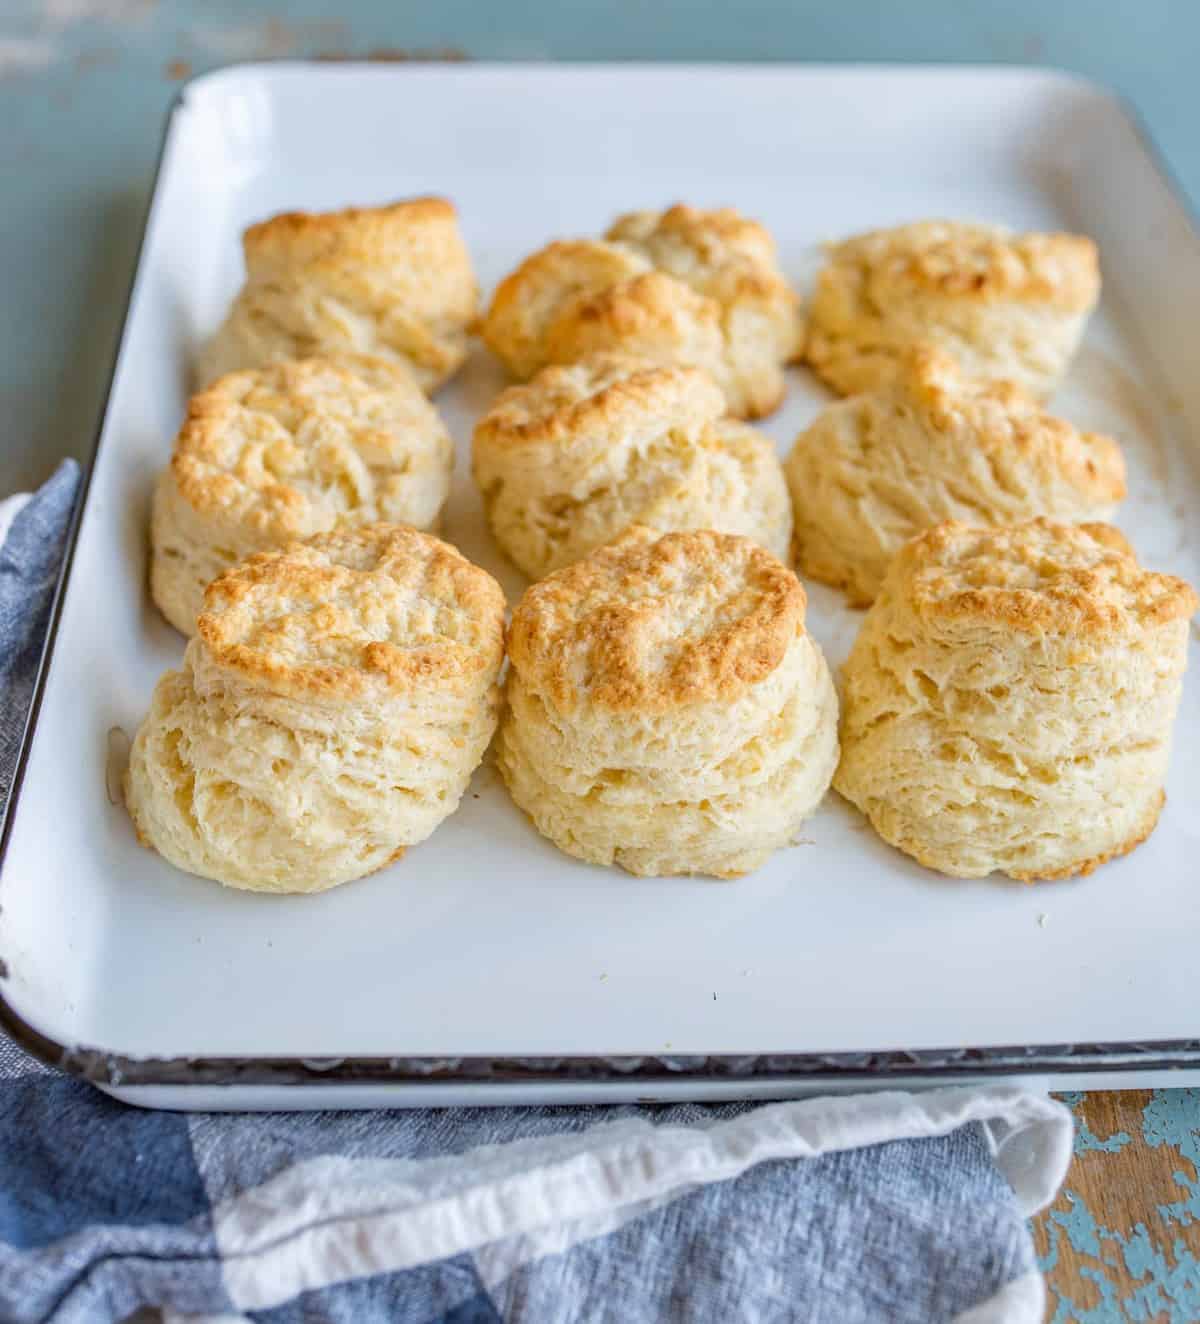
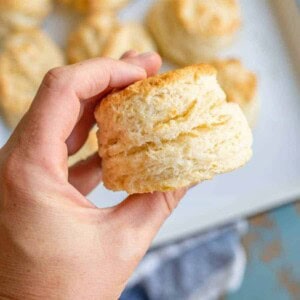
This is the best recipe for extra tall, flaky, and fluffy Buttermilk Biscuits. They taste amazing on their own or piled high with sausage gravy, butter, or jam! This is the only biscuit recipe you need!
I have a tried-and-true butter biscuit recipe that I use all the time. I use it so often that I have it memorized. That being said, I was on the hunt for a traditional buttermilk biscuit recipe. That’s the funny thing about loving to cook and bake – you’re always looking for the next best recipe.
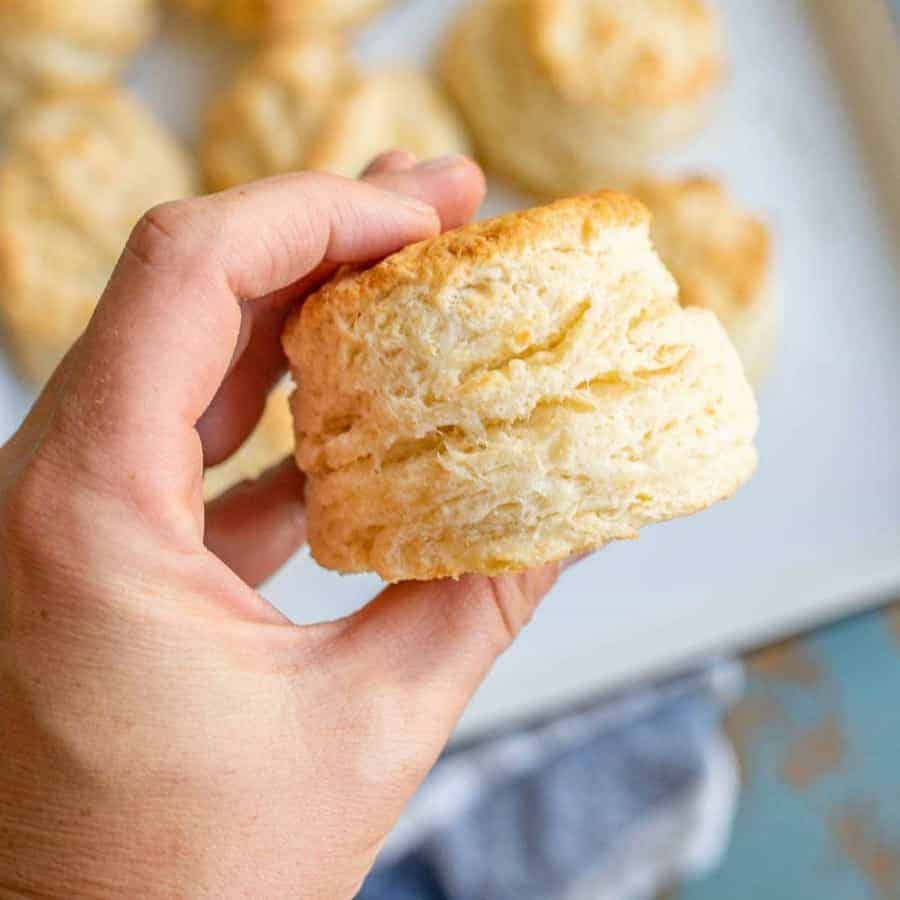
Why use buttermilk in a biscuit, you might ask? Well, the acid from the buttermilk reacts more prevalently with the baking powder, and it lends to extra tall and fluffy biscuits. This recipe is also unique because there’s an egg in it. Yes friends, an egg in a biscuit recipe. It made the dough nice to work with and made the biscuits extra tender.
Table of Contents
Why You’ll Love This Recipe
- Taste: Buttermilk gives a tangy flavor and tender texture.
- Comfort: Associated with home and tradition, offering a sense of warmth.
- Ease of Making: Simple ingredients and quick preparation make them accessible to bakers of all levels.
Recipe Ingredients
- All-purpose flour: no special flour here, just a basic go-to flour is needed
- Sugar: a little to add and balance
- Baking powder: to react with the buttermilk for extra height
- Salt: for balance and flavor *you may not need it if you use salted butter!
- Butter: must be cold butter so it can make flaky layers in the biscuits
- Egg: not traditional in biscuits, but this helps everything come together
- Buttermilk: the magical ingredient for flakiness and tenderness *it’s best to use real authentic buttermilk here, but in a pinch, try a buttermilk substitute
See the recipe card below for full information on ingredients and quantities.
How To Make Buttermilk Biscuits
- Mix together dry ingredients.
- Grate the butter into the dry mixture.
- Add the egg and buttermilk and stir until it all comes together.
- Turn onto a lightly floured surface, roll out, and cut with a biscuit cutter.
- Bake, serve, and enjoy!
Frequently Asked Questions:
I prefer to use a biscuit cutter. However, if you don’t have one, simply use a knife and cut the dough into squares. A sharp edge when cutting biscuits keeps the flaky layers from getting mashed together.
Using cold butter helps to form the flaky layers in the biscuits. Pro Tip: Use a cheese grater to grate cold or even frozen butter into the flour mixture. Then you can finish working it in with a fork or pastry blender. It speeds up biscuit making a ton.
If you over-mix or overwork the biscuit dough, it will become tough and the biscuits won’t be as tall. Mix the ingredients just until combined. If the dough is still a bit crumbly, then you know that you haven’t over-mixed the dough, and you are good to go!
One of the best parts about buttermilk is that you can make it at home and substitute it for so many things.
Expert Tips
- Use a biscuit cutter. No biscuit cutter? Use a knife and cut the dough into squares. A sharp edge when cutting biscuits keeps the flaky layers from getting mashed together.
- Make sure your baking powder is fresh. Baking powder plays a big role in this recipe. If you don’t cook much, check the expiration date before adding it to the biscuits.
- Use cold butter and cold buttermilk. The cold helps to form the flaky layers.
- This recipe makes very large biscuits. You can make smaller biscuits by rolling out the dough to 1 to 1-1/2 inches thick before cutting, getting almost double the number of biscuits. Adjust baking time as needed.
Delicious Uses for Biscuits
These are great on their own, but here are a few other ways to serve biscuits that will be sure to make the whole family happy.
- Serve biscuits warm with butter and jam or butter and honey
- Use homemade biscuits to make breakfast sandwiches
- Comforting biscuits and gravy can be served for any meal at any time of the year
- Biscuits can even be used for desserts like strawberry shortcake
- Make an easy Chicken and Biscuits Casserole for dinner
How To Store Leftovers
These are best stored in an airtight container at room temperature for 1-2 days or in the fridge for 3-5 days. Reheat them gently in the oven or serve them at room temperature. They also freeze very well!
More Breakfast Recipes to Consider
From Scratch Recipes
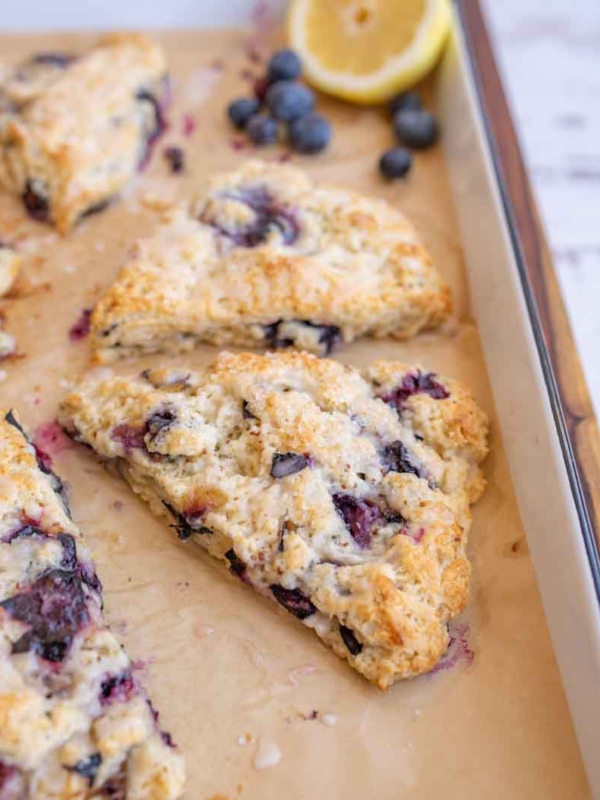
Lemon Blueberry Cream Scones
Homemade Bread
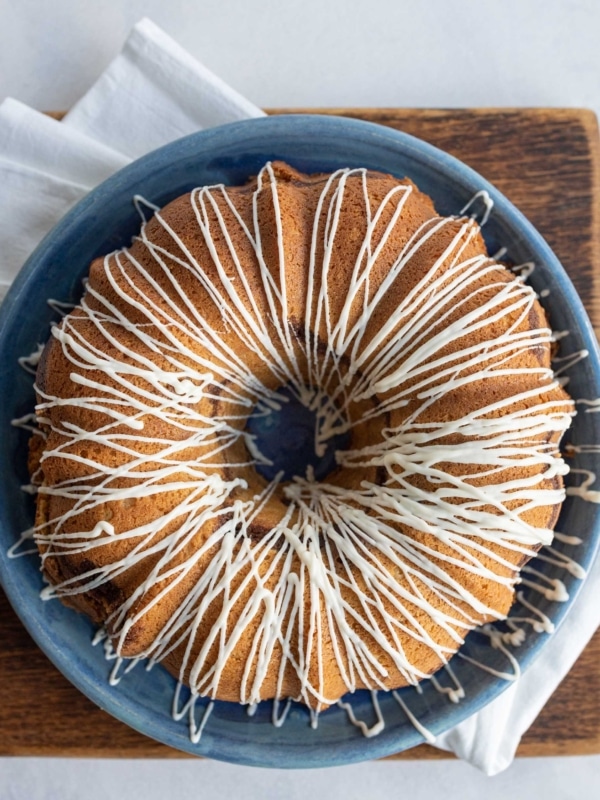
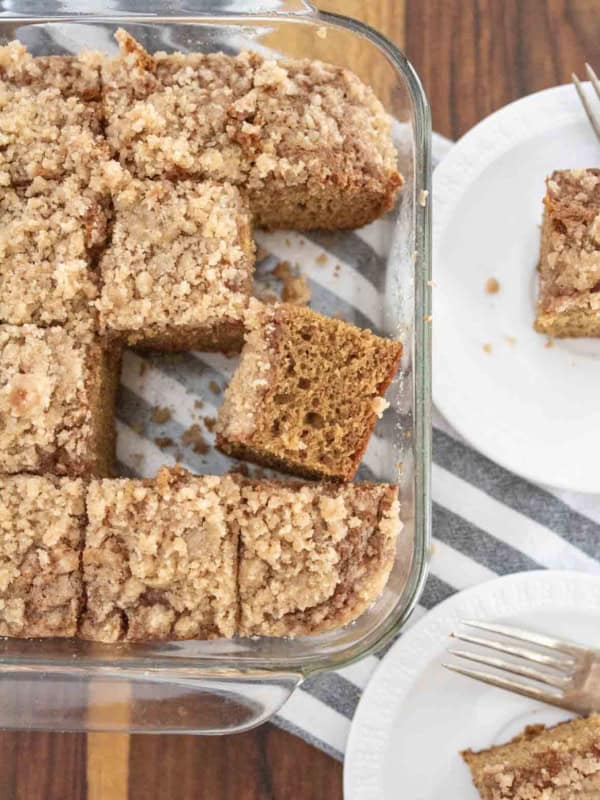
Cinnamon Bundt Cake
From Scratch Recipes
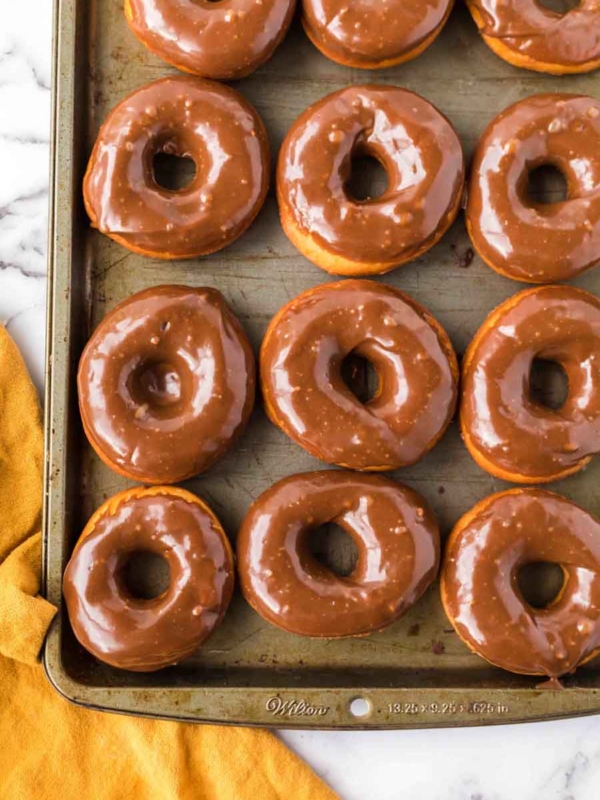
Best Fried Chocolate Glazed Donuts (Classic Yeast Recipe)
Did you make this recipe? Leave a ⭐️ review and share it on Instagram, Facebook, or Pinterest!
Buttermilk Biscuits
Ingredients
- 3 cups all purpose flour
- 1 tablespoon sugar
- 2 tablespoons baking powder
- 1 teaspoon salt
- ¾ cup cold or frozen butter
- 1 large egg
- 1 cup cold buttermilk, or a buttermilk substitute
Instructions
- Preheat the oven to 425 degrees F and line a baking sheet with parchment paper or a baking mat.
- In a large bowl, combine the flour, sugar, baking powder, and salt. Whisk together to combine well.
- Use a cheese grater to grate the butter into the flour mixture. Then use a pastry cutter or a fork to combine the butter and flour mixture well (you can use a fork for the whole process but using a cheese grater first works super well – I recommend it). The goal is to have pea-sized pieces of butter mixed into your flour mixture.
- Make a well in the center of the flour mixture and add the egg and buttermilk. Use a fork to whisk the two together and slowly bring in the flour mixture.
- Stir until the biscuits just come together, taking care not to over mix.
- Turn the dough onto a lightly floured surface and finish combining by lightly kneading the dough together.
- Roll the dough into a 2-inch-thick slab. Use a biscuit cutter to cut out as many biscuits as you can and place them on the prepared sheet, 1 inch apart.
- Re-roll the dough and cut more biscuits until you have used all of the dough, adding a bit of flour to your work surface and rolling pin as needed. You should end up with 9-12 biscuits.
- Bake the biscuits for 15-18 minutes until the tops are very golden brown.
- Remove from the oven and serve right away.
Notes
- Use a biscuit cutter. No biscuit cutter? Use a knife and cut the dough into squares. A sharp edge when cutting biscuits keeps the flaky layers from getting mashed together.
- Make sure your baking powder is fresh. Baking powder plays a big role in this recipe. If you don’t cook much, check the expiration date before adding it to your biscuits.
- Use cold butter and cold buttermilk. The cold helps to form the flaky layers in between.
- These make very large biscuits. Make smaller biscuits by rolling out the dough to 1 to 1 1/2 inches thick before cutting, getting almost double the number of biscuits. Adjust baking time as needed.
- Grating the butter makes it easy to work with. Measure the butter before grating.


I had to come and leave a comment because these absolutely WERE the best buttermilk biscuits we have ever made, or even tasted. We doubled the recipe (so 2 cups of buttermilk and 6 cups of flour, 2 tablespoons of sugar, 2 eggs, 1 and a half cups butter, and double the baking powder) and used Himalayan pink salt. (we were just curious). We added one teaspoon of baking soda (that was not intentional, it was an accident, just an FYI) and after rolling out the biscuits, we cut them into scone triangle shapes just so there would be more crunch on the edges and so we could see the layers. We chilled the biscuits in the fridge for 45 minutes after rolling out. We had preheated the oven to 350 before we started the dough. When we were ready we placed both pans, one on bottom rack and other on top and hoped for the best. In 18 minutes we saw gorgeously risen and golden brown buttermilk scone biscuits and you could actually see each layer just like the canned “flaky layer” Pillsbury brand biscuits at the store. We’ve made our share of buttermilk and regular biscuits, but none were as delectable as these were today. We are blown away. This is the ultimate recipe and method!!! Thank you so much!!! Tried the rest and this IS the BEST. No need to keep looking after this recipe. Even my youngest noticed and he’s a fan of the canned biscuits, so it made quite an impression on us. These are going with our beef stew tonight and I’ll have to give some to my neighbors or they’ll never believe me how good they came out. You rock! Love from Texas <3
Another delicious, easy to follow recipe! We used garlic butter on two biscuits and can’t wait to eat the rest! I should’ve made have of the recipe because it is just two of us, but we’ll definitely eat all 12!
These are perfect! So delicious and fluffy! I sometimes throw cheddar and chives in the dough and brush with garlic butter… sooo good!
Chive and cheddar is my favorite! I need to plant another chive plant, I miss mine at our last house!
Mmmmmmmmm. Just made these for my husband’s birthday request for biscuits and gravy for breakfast. I have a high standard, and these are delicious, even alone! Thank you!
Happy Birthday to Husband! Thank you so much for coming back to leave a review too, so helpful!
I’m a new baker and we’re only two people at home. How can I break down this recipe in half? (or 1/3?) Thanks! 🙂
Yes! It will work great if you reduce the recipe by scale, no issues there!
Melissa, could you tell me please, if divided in half, how much BUTTER should I use and what to do about the EGG? Like I said, I’m totally new at baking and just succeeded at making my very first pie crust, my only experience with dough:) My email is vrobaldo@hotmail.com if you like to send me a PM. Thanks! Waiting to make this weekend, please….
You would use 6 tablespoons of butter and you can just add the egg to a bowl, whisk it together well, and measure out 2 tablespoon of mixed egg! It’ll work great.
Could these be frozen either before being baked or after? Would love to make for a large crowd.
I haven’t played with it much but if I were trying, I’d try to freeze the cut out biscuits and then either bake them thawed or bake them frozen. I think that would be the best. Will you let me know if you try it and they work out?
Personally I always make a few batches and freeze them. Then take them straight from the freezer as needed. They always turn out just as well as freshly made ones!
So are you making and baking or are you freezing the dough and then baking?
I mixed mine in the morning, put in freezer on a baking sheet. Had to go to granddaughter gymnastics then everyone was coming for breakfast. Came home, baked straight from frozen and they were perfect! I’d also say once frozen you could transfer to a ziplock and then have them to bake a few at a time when needed.
Hello – you don’t specify salted or unsalted butter. Could you do so please?
Both work great, use what you have! I normally use salted.
These turned out so fluffy and delicious! Thanks for a great recipe!
Woohoo! So glad that they turned out great for you! Happy eating Wanda!
These really are THE BEST! I’m not sure if it is the egg that makes them extra special, or what, but these are going into our family cookbook because I know we will be making them again and again. On the fly, I added chives from our garden and some grated sharp cheddar (I didn’t realize you had a chive biscuit recipe). Then I melted some butter with garlic to brush on the tops… waaaaaaaay better than any chain restaurant can put on the table! I just reheated one for lunch and they are STILL to die for, three days later!
Girllllll that sounds SO good! I think I’ll try that myself! Thank you for sharing and enjoying making the recipe your own.
I just made these and mine actually look EXACTLY like the ones pictured here. (This is a 1st! ?) Additionally, they taste great too! Will make again.
Isn’t that the best feeling? So glad you enjoyed them. Thanks for the review!