This post may contain affiliate links. Please read our disclosure policy.

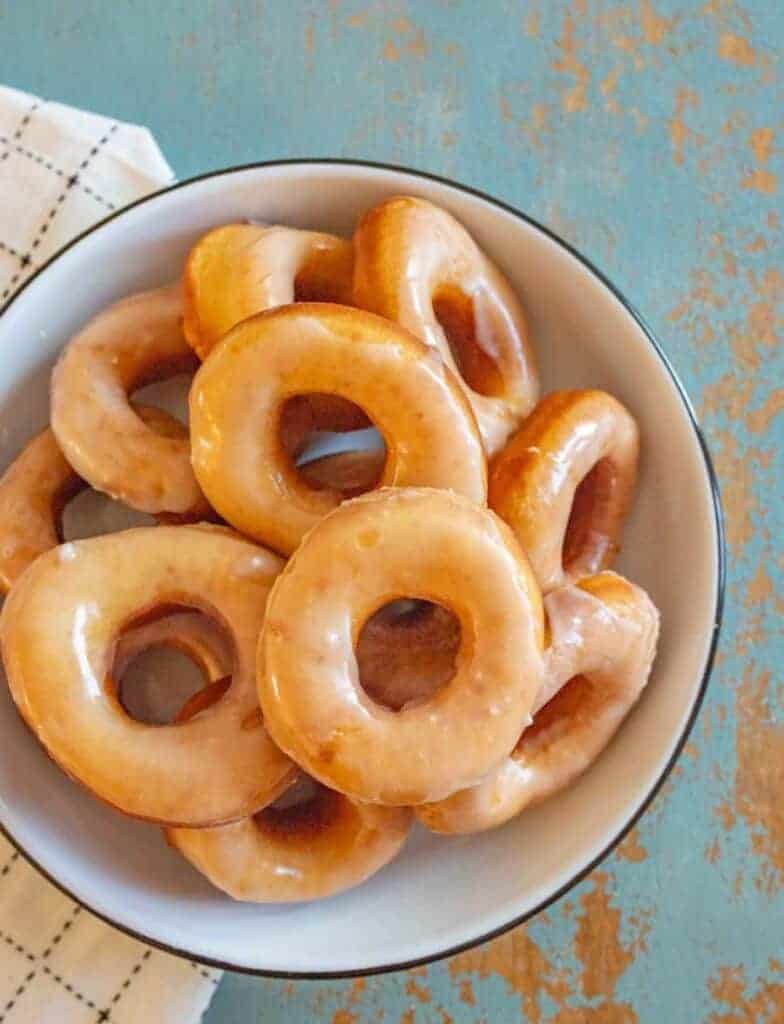
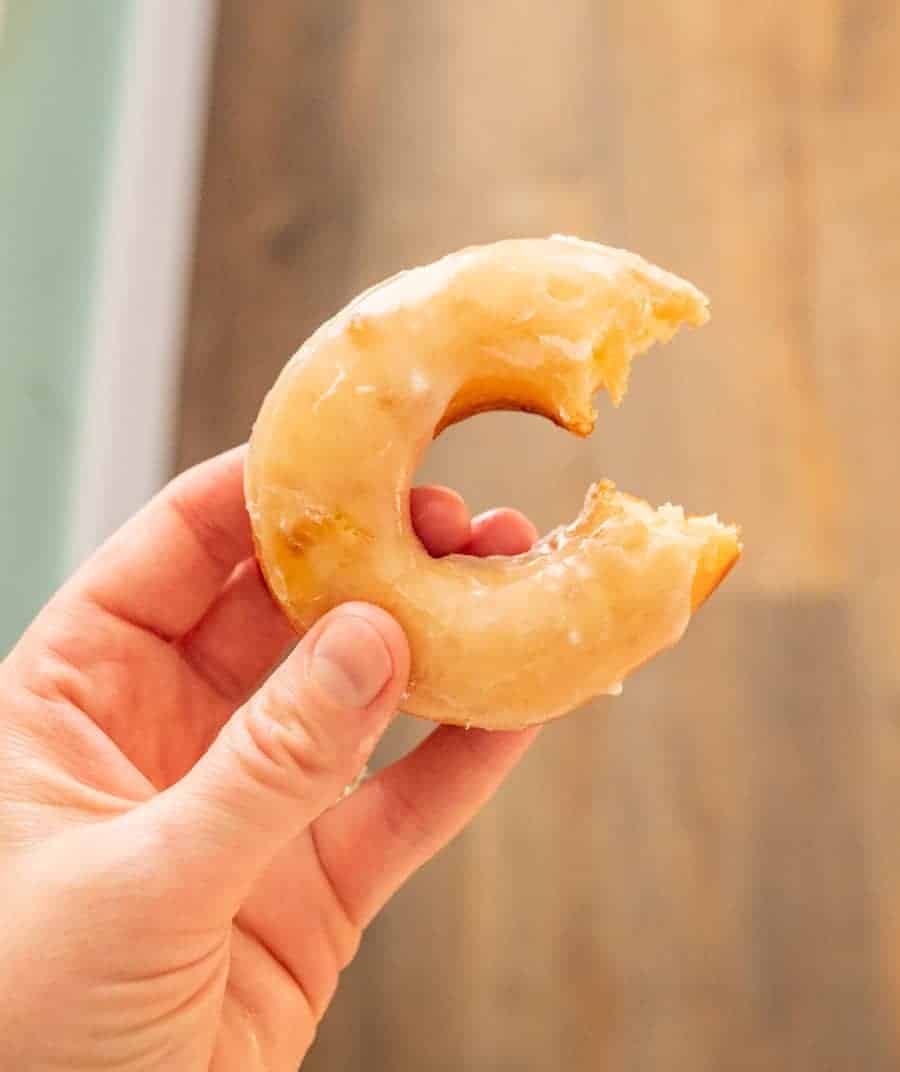
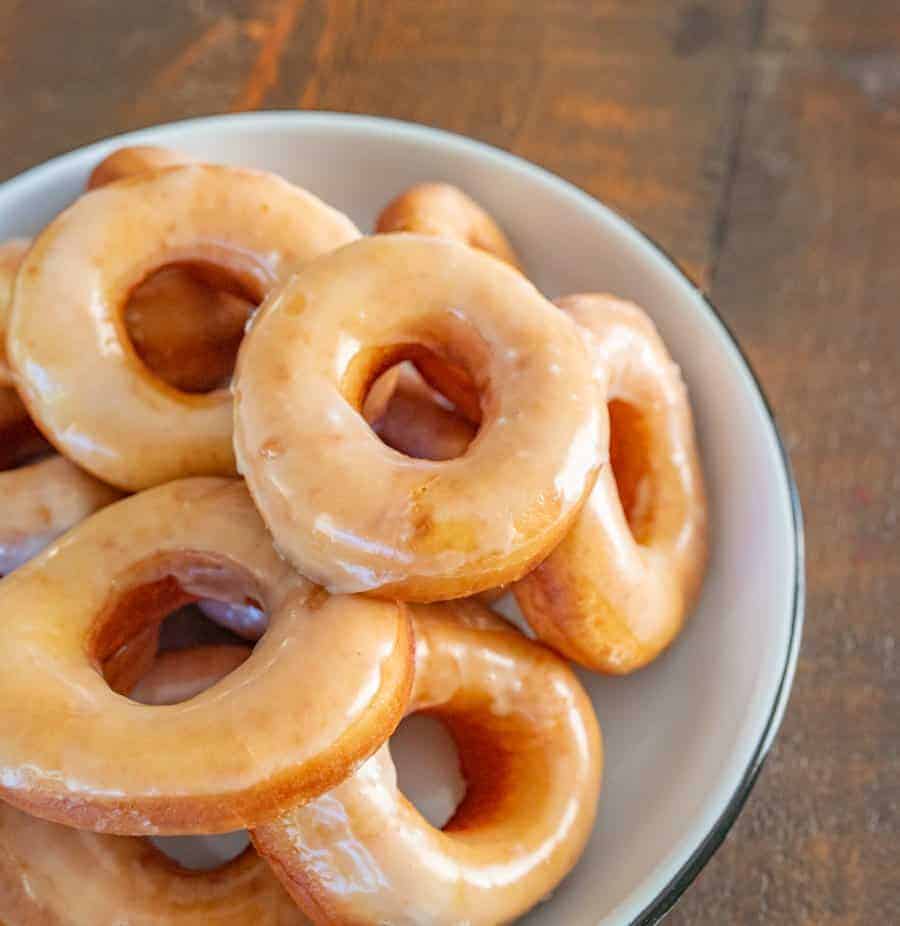
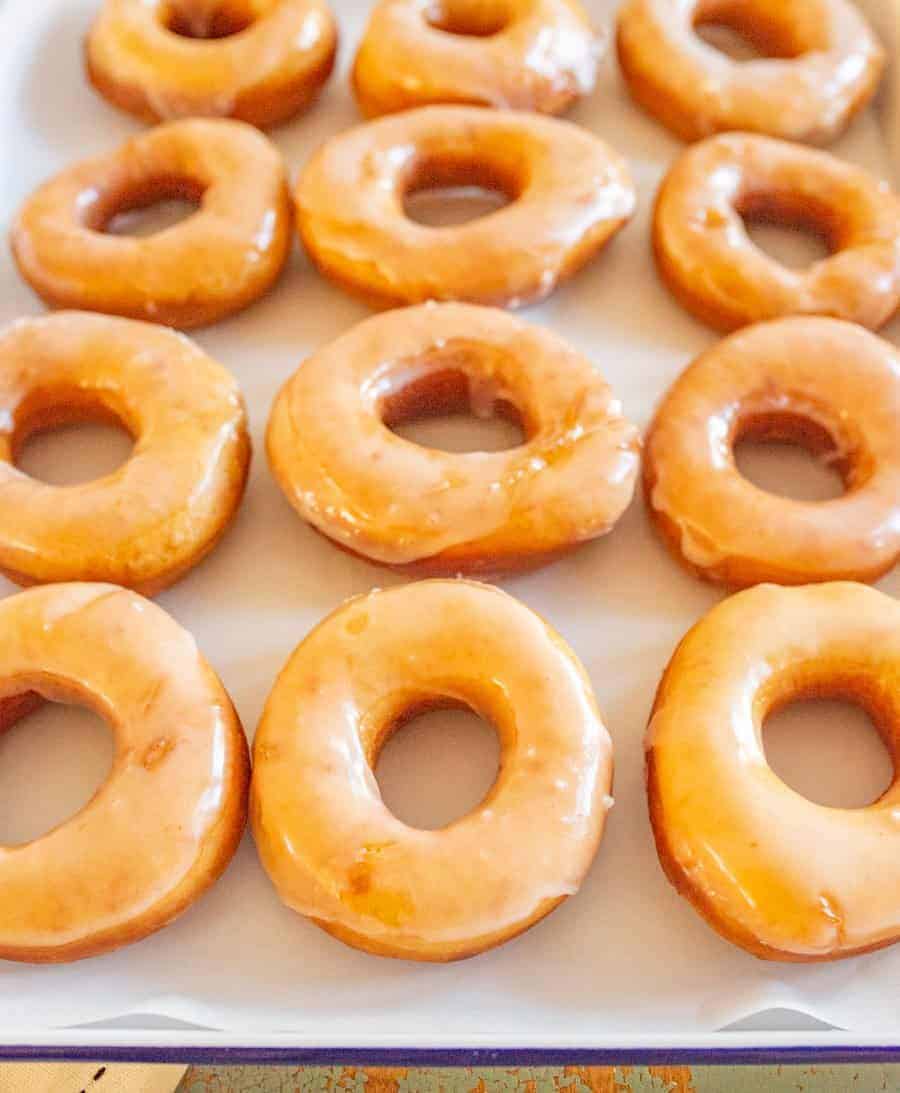
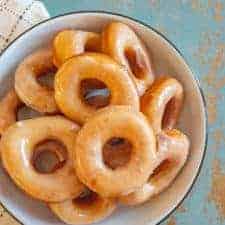
Beth’s Famous Glazed Yeast Donuts are light, fluffy, easy to make, and done in just a few hours with a rich and creamy glaze to go on top.
[I’m updating this post from 2009. You GUYS I have been at this a very long time.]
This recipe is from my sister-in-law Beth who is a fabulous cook (she’s a professionally trained chef actually!). I remember her and my brother coming down from Idaho at Christmastime to visit us in our tiny 600 square foot apartment in Provo, Utah. They were newlyweds and I didn’t know Beth well. They came down to ice skate and she made these amazing donuts for us. I took a picture and wrote up the recipe and have made it time and time again for years and years after.
Fast forward almost 10 years, I’m lucky enough to call Beth my neighbor as well as my friend. She doesn’t like to fry things very much, so we have this deal now that she makes the dough and cuts the donuts and then she shows up at my house and I fry them up. We make this recipe by our joint effort a few times a year and it’s so special to me.
I have other homemade donut recipes for you too: Apple Cider Donuts, Light and Fluffy Glazed Sourdough Donuts, and Pumpkin Donuts. Give them a try!
Table of Contents
Why You’ll Love This Recipe
- It’s made from a standard yeast bread dough.
- It is made from simple ingredients.
- The glaze adds the perfect finish to the fluffy goodness.
Ingredients
For the dough
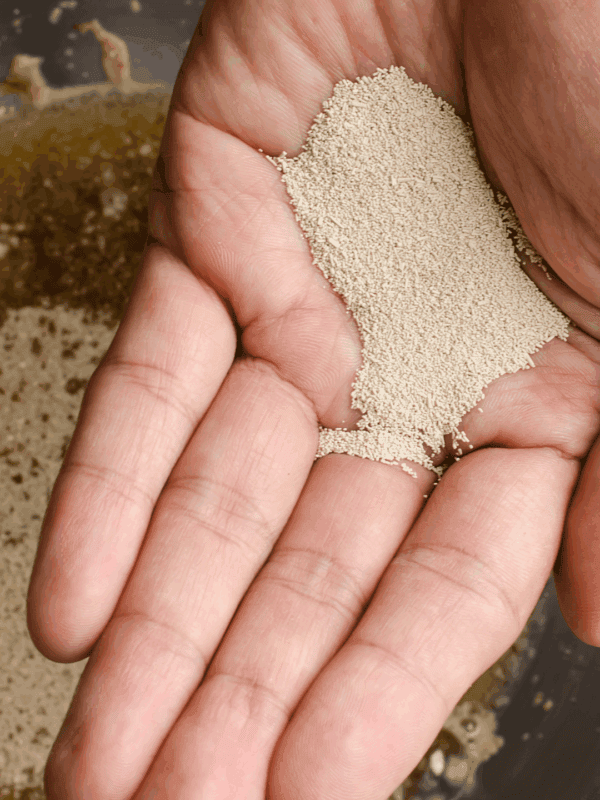
- Instant Yeast
- Water
- Lukewarm Milk
- Sugar
- Salt
- Eggs
- Shortening or Melted Butter
- All-Purpose Flour
- Canola or Vegetable Oil for frying
For the glaze
- Butter
- Powdered Sugar
- Vanilla
- Hot Water
See the recipe card below for full information on ingredients and quantities
How to Make Beth’s Famous Homemade Donuts
Step #1. Dissolve yeast in warm water. Add milk, sugar, salt, eggs, shortening or butter, and 2 cups flour. Beat until combined, then mix in remaining flour.
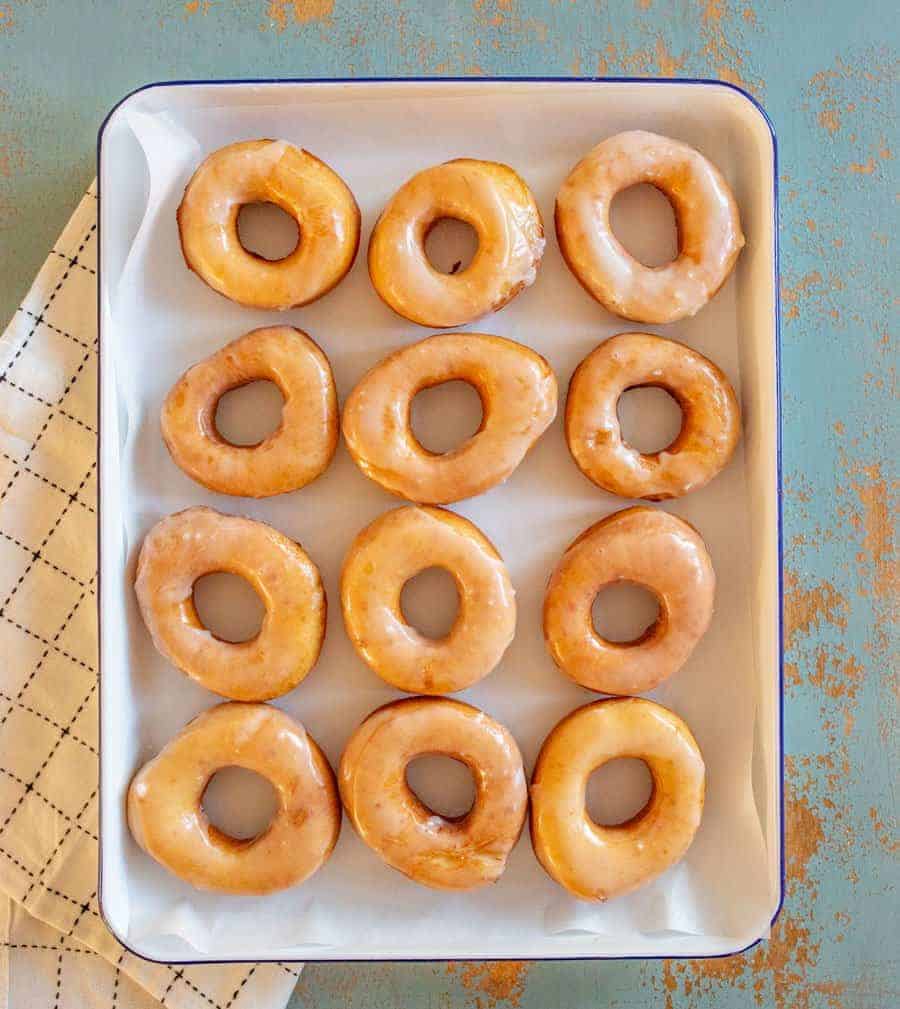
Step #3. Place cut donuts on a lined baking sheet. Let rise 20-30 minutes. Meanwhile, make glaze.
Step #2. Cover and let rise til doubled. Pour onto floured surface and roll out to 1/2″ thick. Cut with a floured donut cutter.
Step #4. Heat vegetable in a cast iron skillet. Slide donuts into oil, cook to golden then flip to other side. Remove from oil. Dip into glaze, then place on a cooling rack in a baking sheet.
Recipe FAQs
Beth and I use a mixture of melted butter, powdered sugar, vanilla, and a liquid to thin it out (in this case water, milk and cream also work well). I think the butter really makes the icing great instead of just a milk and powdered sugar icing. You can make a chocolate glaze by adding 2 tablespoons of unsweetened cocoa to the powdered sugar and adjusting the water or milk as needed.
These donuts are also great tossed in powdered sugar or a cinnamon and sugar mixture. If we are frying them up for a party I’ll often make chocolate and vanilla glaze AND powdered sugar and sugar cinnamon donuts so that people have a lot of choices.
Expert Tips
- The dough should be very soft but not overly sticky. It’s ok if it’s a bit tacky, but if it’s sticking to your hands and won’t come off, you need a bit more flour.
- To scald the milk I just stick it in the microwave and get it nice and hot. But be sure to let it come down to around 110 degrees F. If you add the milk to your yeast mixture while the milk is too hot you can kill your yeast which will ruin the recipe.
- Don’t have a donut cutter? I LOVE these biscuit cutters and the largest one with the smallest one as the hole works great for this recipe.
More Bread Recipes to Consider
Simple Gingerbread Recipes
Gingerbread Cinnamon Rolls

Yeast Bread Recipes
Instant Yeast vs Active Dry Yeast — Quick Baker’s Lesson
Yeast Bread Recipes
Garlic & Parmesan Italian Breadsticks {Twisted Breadsticks}
Did you make this recipe? Leave a ⭐️ review and share it on Instagram, Facebook, or Pinterest!
Beth’s Famous Glazed Yeast Donuts
Ingredients
For the Dough:
- 2 tablespoons instant yeast
- 1/4 cup water, 105-115 degrees
- 1 1/2 cups lukewarm milk, scalded, then cooled
- 1/2 cup sugar
- 1 teaspoon salt
- 2 eggs
- 1/3 cup shortening or melted butter
- 5-6 cups all-purpose flour
- 2 quarts canola or vegetable oil for frying
For the Creamy Glaze:
- 1/3 cup butter
- 2 cups powdered sugar
- 1 1/2 teaspoons vanilla
- 4-6 tablespoons hot water
Instructions
- Dissolve yeast in warm water in a medium bowl, let rest for 10 minutes.
- Add milk, sugar, salt, eggs, shortening or butter, and 2 cups flour.
- Beat on low for 30 seconds, scraping bowl constantly. Beat on medium speed for 2 minutes, scraping bowl occasionally. Stir in remaining flour until smooth.
- Cover and let rise until double, 45-90 minutes. (Dough is ready when indentation remains when touched.)
- Turn dough onto floured surface; roll around lightly to coat with flour. Gently roll dough 1/2-inch thick with floured rolling pin.
- Cut with floured doughnut cutter.
- Place cut donuts on a parchment or baking mat lined baking sheet. Cover and let rise until double, 20-30 minutes.
- While the cut doughnuts rise, make the creamy glaze – heat butter until melted. Remove from heat. Stir in powdered sugar and vanilla until smooth. Stir in water, 1 tablespoon at a time, until desired consistency.
- Heat vegetable oil in deep cast iron skillet to 355 to 365 degrees F (use a thermometer here, it makes all the difference!).
- Slide doughnuts into hot oil with wide spatula. Turn doughnuts as they rise to the surface. Fry until golden brown, about 1 minute on each side.
- Remove carefully from oil; drain on a double layer of paper towels.
- Dip the hot doughnuts into creamy glaze, then set on cooling rack set inside of a rimmed baking sheet to collect the drips.
- Best enjoyed warm with friends.
Notes
- The dough should be very soft but not overly sticky. It’s ok if it’s a bit tacky, but if it’s sticking to your hands and won’t come off, you need a bit more flour.
- To scald the milk I just stick it in the microwave and get it nice and hot. But be sure to let it come down to around 110 degrees F. If you add the milk to your yeast mixture while the milk is too hot you can kill your yeast which will ruin the recipe.
- Don’t have a donut cutter? I LOVE these biscuit cutters and the largest one with the smallest one as the hole works great for this recipe.
- If you don’t love glaze, these donuts are also great rolled in cinnamon sugar or powdered sugar.
Nutrition
This post was originally published in December 2009 and has been updated, rephotographed, and re-shared in December 2018.


Hi Melissa,
I tried your recipe!!2 changes I made was, I halved the recipe so it calls for 1 tablespoon yeast. I was not sure that was right so I ended up using 2 1/4 tsp yeast for 3 cups of flour.
The first rise was good and also the second. My donuts came out a bit too flat rather than fluffy and soft. was it because I used less yeast? should it be 1 table spoon?
After the second rise I noticed the dough has a dry layer on top. Is this normal?
I would like to give this another shot. Your inputs are welcome 🙂
It just might have been the conditions of your kitchen. If you are cooking in an arid kitchen I would consider placing plastic wrap over the dough while rising both times so that it doesn’t dry out. Also, if I have issues with flat baked goods, I’ll reduce the amount of time I let them rise the first time. Using the full amount of yeast will also help. I hope you try it again! You might also want to consider not rolling the dough out too thin before cutting it into donut shapes, you can leave it a little thicker and they you’ll have puffier donuts too!
Is it really 2 Tablespoons of yeast…not 2 teaspoons?
I believe the amount of milk is wrong I believe it should be 1/2 cup of milk not 1&1/2 cups of milk. Here is why, I had to add way more flour to get the dough from being to sticky about 2 full cups more. Am I right is the 1&1/2 cups of milk a misprint.?
I checked it again and the 1.5 cups is correct. I wonder why you had to use a lot of flour. I’m glad you knew to add more though. Weird! I’m going to check this again just to make sure, thank you for pointing that out.
I just wanted to tell you how much my family had enjoyed this recipe! Many times, I have made them up to the point of frying, put them in the fridge, and gone to bed. Then in the morning, I get them out and let them sit on the counter for an hour or so while we get ready, then toss them in to fry before we head to church or out for the day, and hot fresh donuts are the BEST breakfast! We’ve grown a bit of a following of people requesting these, too! We love that the recipe makes so many so we can go deliver some to friends and family! Thanks so much for sharing and being an encouragement to get in the kitchen with family!
Ooohhh thank you for the tips on making them ahead of time! That’s so great to know. And I LOVE that you love these as much as we do. They’re kind of a “thing” for us too and people totally request them. Celebration food at it’s best 🙂
Hi there, this recipe looks amazing and I will be trying it very soon. I was curious if you have ever tried freezing them & if so how well it worked? Or possibly freezing the dough prior to adding/activating the yeast? Thanks for sharing your recipe, I’ve signed up for the newsletter and look forward to receiving more.
I haven’t tried it much with the freezer… if you do will you let me know. I think freezing and reheating the already cooked donuts might be your best option though.
I feel so special. I love making donuts with you!
I can’t wait until you have a kitchen so that we can cook more together and share more awesome recipes!
Should I use 5 or 6 cups of flour??
Use enough so that you get a nice soft dough that isn’t sticky, normally it’ll be right in between the two depending on your kitchen conditions, weather, time of year…
Is there a way to make it in oven in donuts pans
Is there a way to halve this recipe so it doesn’t make so much?
Yep, you can just half all of the ingredients and it’ll work great!
Thank you so much for all those recipes ! I missed the donuts, and the good old US family cooking. Just bought a frying machine, so I will introduce it to your donuts recipe ! I love to cook, especially when I travel, it’s the best way to learn the culture and the language. Best way to know the people. Being french, I cook french food, but I learned to bake Dempfnüdel;, SauerKraut und Bradwûrst in Germany, I learned some Thai and Viet Nam recipes with a Vietnamese Friend, etc… When I was in the US, ages ago, I learned to cook Banana and Pumpkin Bread with friends, chili and tacos with an Hopi Lady. Cooking in the US is soo rich, every State has its own culture and specialities, from the Poo”boy and Gumbo from New Orleans to the San Francisco Clam Chowder, the NY Cheesecake, etc… Will keep your site in my fav and come right there whenever I want some US Food and souvenirs !
What a wonderful food culture you have made for yourself! And thank you for leaving a kind review and introducing yourself, it’s so fun to hear who’s reading and making my recipes. The internet can be a lonely place sometimes but you’ve sure made it brighter. THANK YOU!
Can i just do donut holes?
Yes mama, that works great and for a party we often just do holes! Adjust your frying time as needed.
Your recipe has 2 T. ________, I’m assuming yeast.
Looks wonderful. Always willing to try new doughnut recipes in order to find the perfect one 😀