This post may contain affiliate links. Please read our disclosure policy.
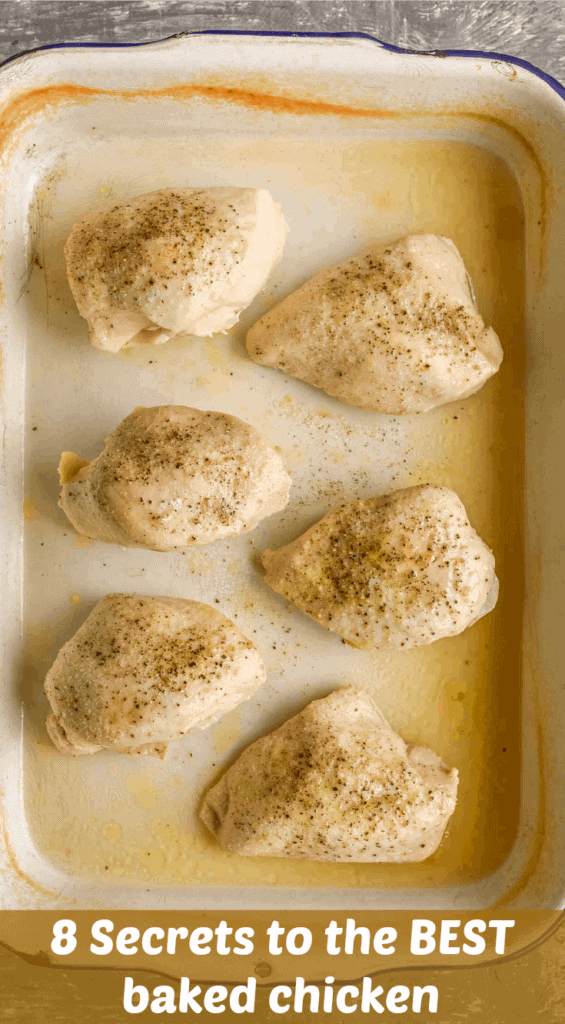
This is my Best Baked Chicken Breast recipe and always a hit with my family! Discover my 8 secret steps to making the most delicious baked chicken breast known to your kitchen.

Nothing is worse than cutting into a nice piece of chicken breast and finding that you’ve overcooked and it’s dry and tough. I’m sharing with you today my fool-proof way to make the best chicken of your life. It takes a little more time and effort but the results are always worth it in the end. Every time I get lazy and skip a step, I regret it when I sit down to eat. A little planning goes a long way, and it’s worth it when it comes to a perfectly cooked piece of chicken for dinner. Add a vegetable side and some biscuits or bread and dinner is done!
Table of Contents
Why You’ll Love This Recipe
- Foolproof: Just follow the steps and you’ll end up with perfect chicken every time.
- Versatile: You can make a whole batch and use it for several meals.
- Healthy: It doesn’t require any heavy sauces, frying, or breading.
Ingredients
- Salt
- Water
- Chicken Breasts
- Oil or Melted Butter
- Salt & Pepper
- Paprika: smoked is awesome
- Garlic Powder
See the recipe card below for full information on ingredients and quantities
How to Make the Best Baked Chicken Breast
Step #1. Mix the brine ingredients together. Add the chicken breasts to it and let brine 30-60 minutes.
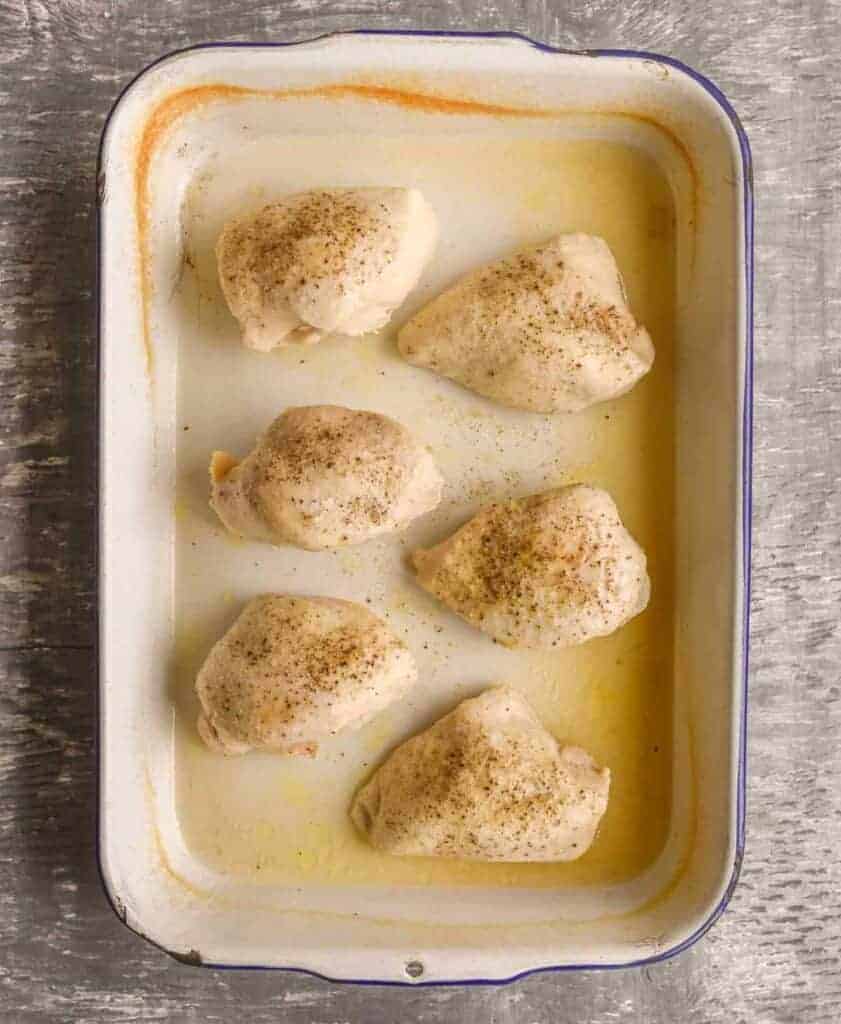
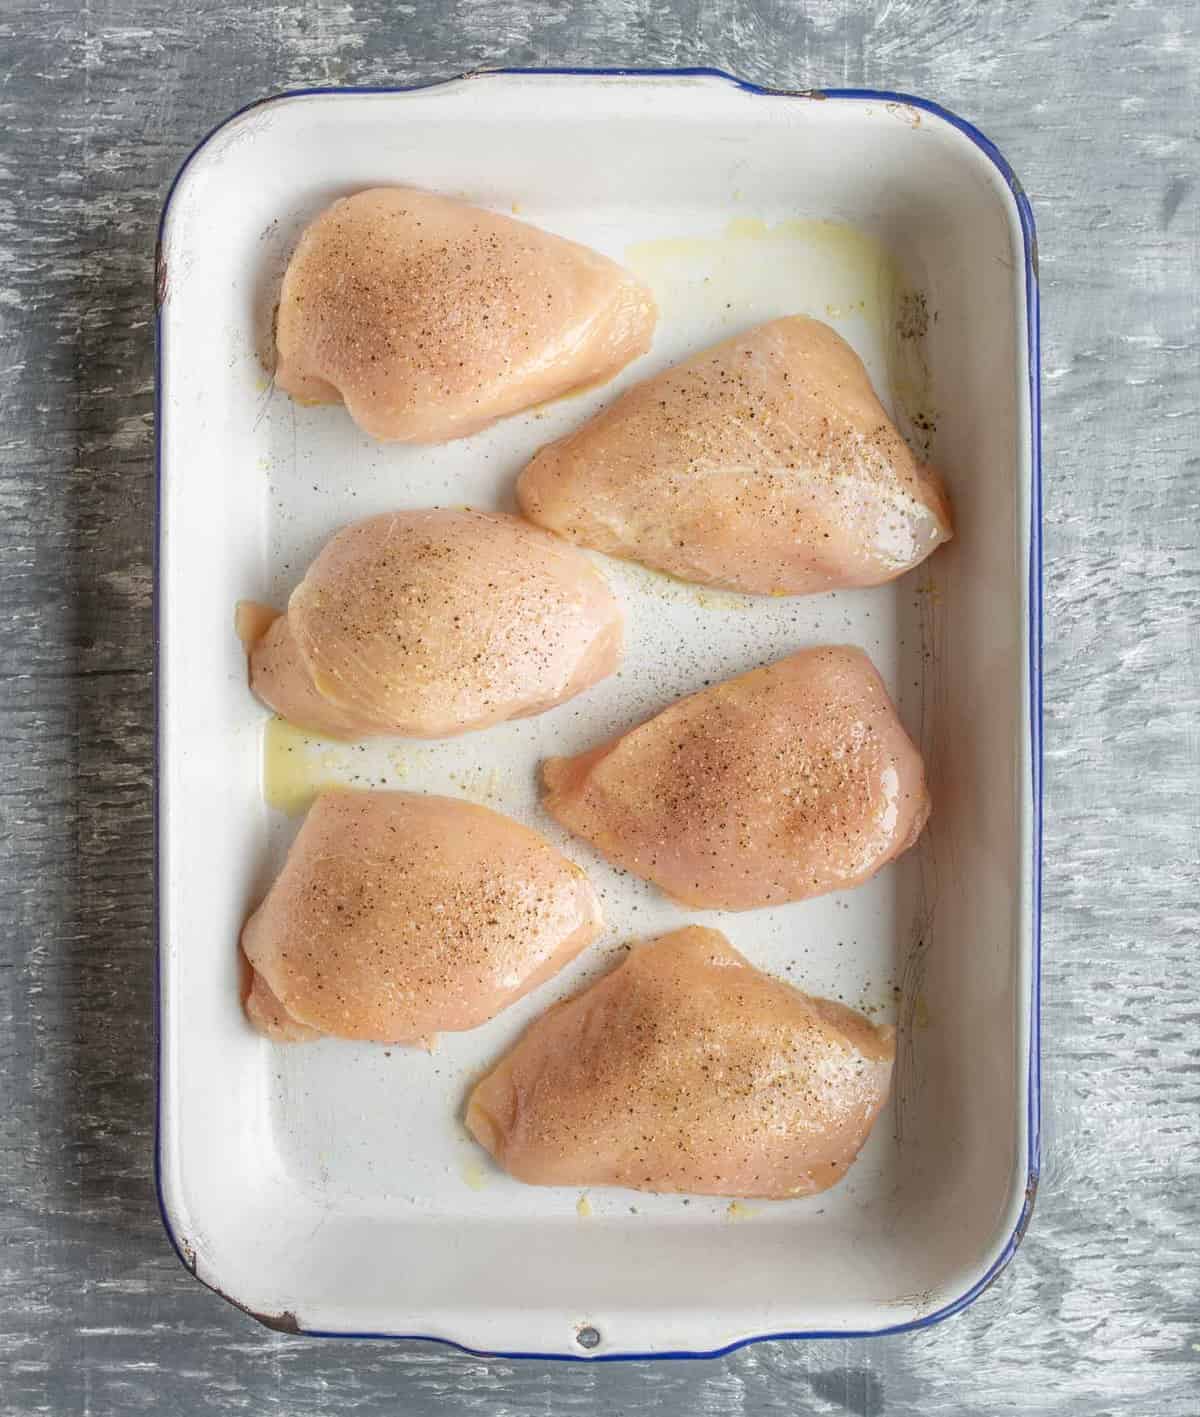
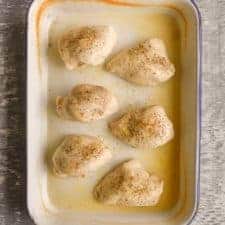
Step #3. Place the chicken in a baking dish. Brush with oil or butter. Mix the remaining seasonings together and sprinkle evenly over the chicken.
Step #2. Remove the chicken and pat dry. If the chicken is uneven, pound it to a uniform thickness.
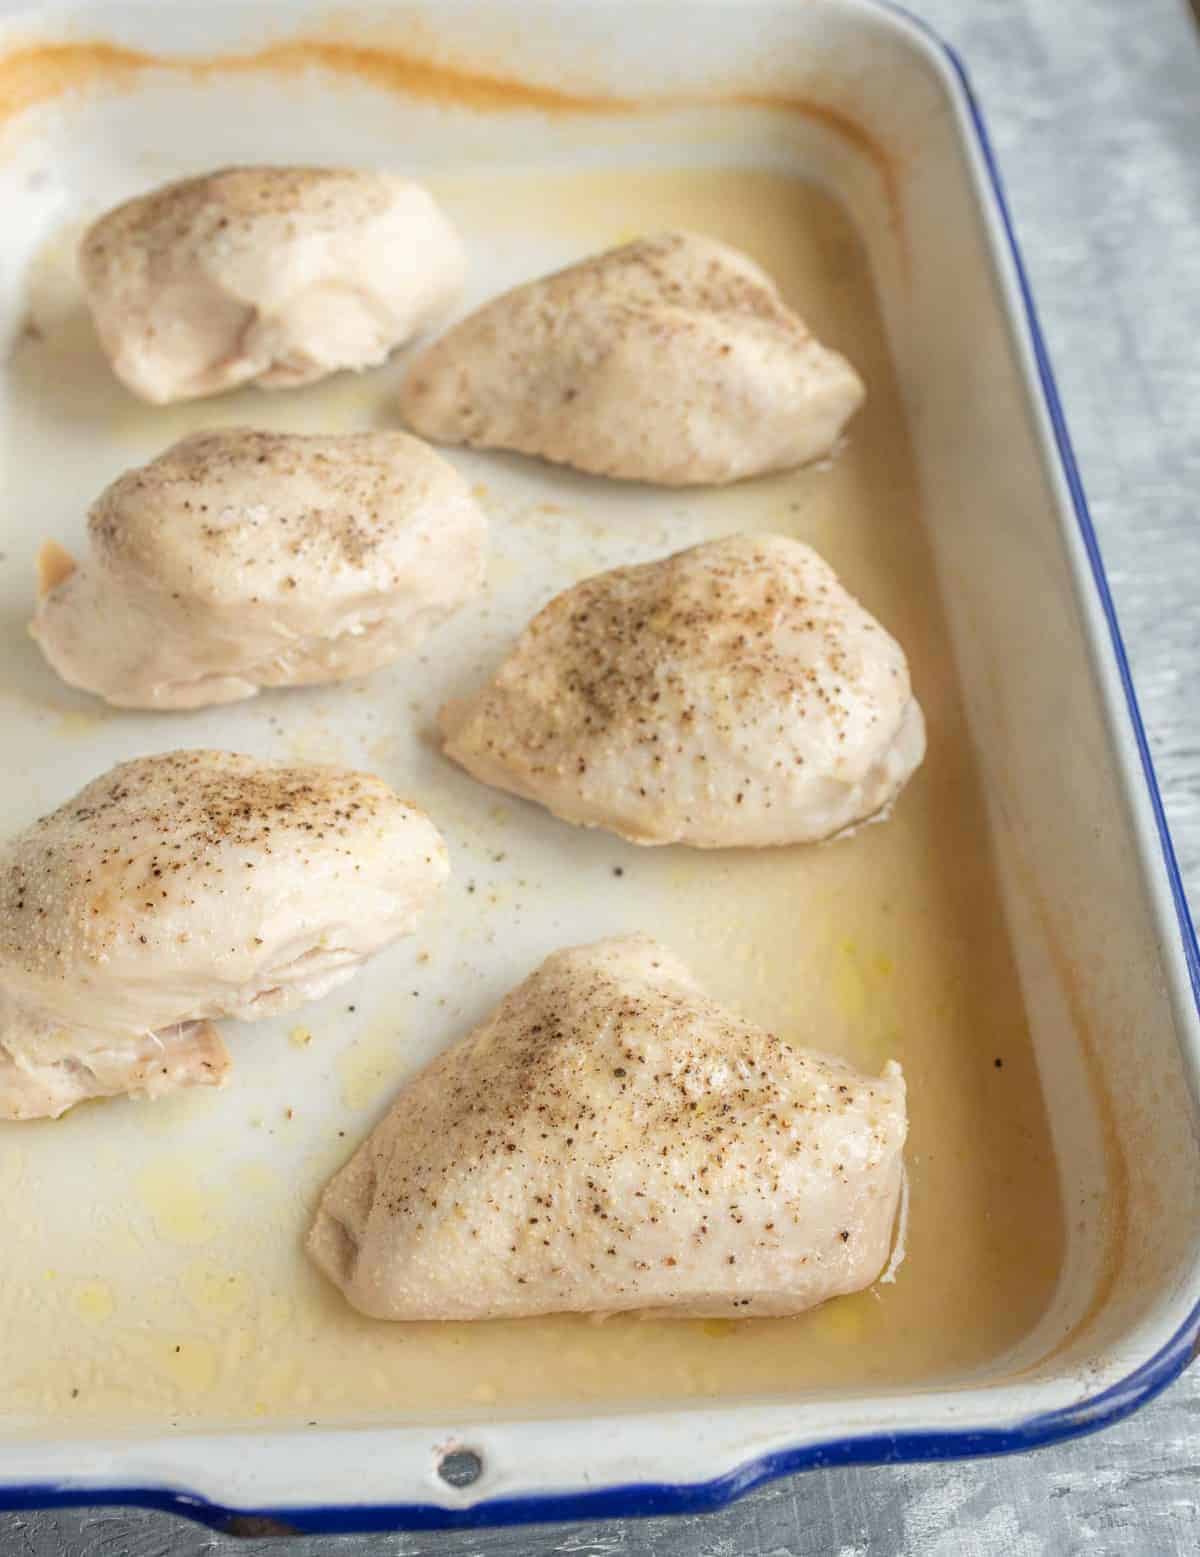
Step #4. Bake for 15-20 minutes or until a meat thermometer inserted into the thickest part of the chicken shows 160-170°F. Remove from the pan, cover and let rest for 5-10 minutes. Serve.
No! Anything over an hour will make the chicken too salty! 30 minutes is ideal.
Yes! I know this sounds like a lot of work but it is worth it!!! Brining will make your chicken moist and flavorful.
Expert Tips
- If you have a favorite seasoning blend, you can use it instead of the combination of spices listed in the recipe.
- This recipe is a great way to prep chicken for a variety of cooking methods. When I’m prepping a lot of meat for the week, I’ll do steps 1 through 5 for a big batch of chicken (around 4 pounds) and then I’ll bake some, grill a few, and pan sear a few others. I think the cooking method makes them taste different, and I use them in different things.
- I highly recommend buying an instant-read meat thermometer. I bought this simple one for around $10 on Amazon and I’ve been using it for 3 years (and I changed the battery for the first time just last month). It’s a life saver! No more guessing if your chicken is done or not, and no more overcooking “just to be on the safe side”.
- It’s easiest to have the chicken brine in a bowl or a baking dish instead of a plastic bag.
- Use a meat mallet or your rolling pin to even out the chicken breasts if there is a big different in thickness. I like to put it in a plastic zip top bag before I pound it to lessen the mess.
More Chicken Recipes to Consider

Chicken Recipes
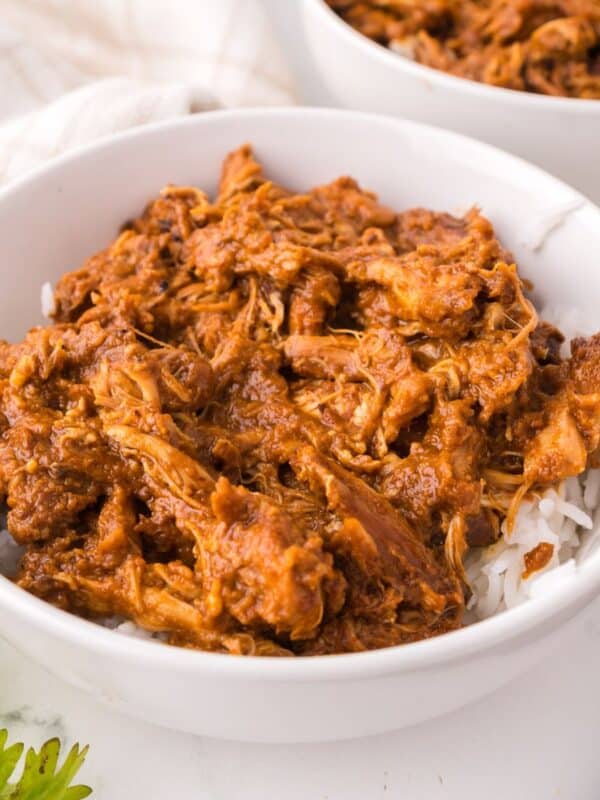
How to Make Simple Chicken Curry with Chicken Thighs
Chicken Recipes
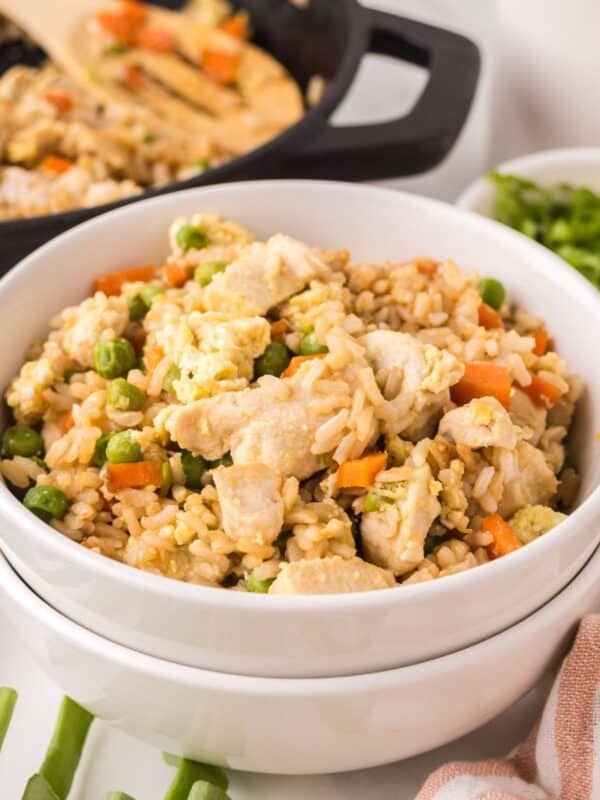
Making Chicken Fried Rice

Chicken Recipes
Sheet Pan Lemon and Herb Chicken
Chicken Recipes
Slow Cooker Thai Chicken Satay Recipe
Did you make this recipe? Leave a ⭐️ review and share it on Instagram, Facebook, or Pinterest!
The BEST Baked Chicken Breast
Ingredients
- 4 tablespoons salt
- 4 cups water
- 4 large chicken breasts
- 4 teaspoons oil or melted butter
- 1 tablespoon salt
- 1 teaspoon pepper
- 1 teaspoon paprika, (smoked is awesome)
- 1 teaspoon garlic powder
Instructions
- Add the salt and water to a large bowl and stir until the salt dissolves.
- Add the chicken breasts to the brine and let them rest for around 30 minutes (and no longer than 1 hour or the chicken will be salty)
- Remove the chicken from the water and pat it dry with paper towels.
- If the chicken is uneven in thickness, gentle pound the chicken into a more uniform thickness.
- Place the chicken in a baking dish and brush with melted butter or oil on both sides.
- Mix the additional salt, pepper, paprika, and garlic powder together in a small bowl. Season both sides of the chicken with the seasoning mix.
- Bake in a hot (450 F degree) oven for 15-20 minutes. Use a cooking thermometer to measure the temperature at the thickest part of the breast, it should be between 160-170 degrees F. (The FDA recommends 170 degrees F.)
- Once the chicken is cooked, remove the pan from the oven and loosely cover the pan with aluminum foil. Let the chicken rest for at least 5-10 minutes before serving.
Notes
- This baked chicken is fool-proof! Make sure that the chicken is cooked through and then let it rest. If your chicken is a little thick, it might take a few minutes longer to cook then my suggested times.
- This is a simple way to prep a lot of chicken. Bake a pan full, store the rest in an airtight container in the fridge, and then use it all week long. It’s really easy to chop or shred this chicken for other recipes and it reheats really well.
- Feel free to season the chicken any way you’d like.
- You can brine the chicken and then cook it using different cooking methods and get a variety of flavors from it.
- Get a meat thermometer! It’s the easiest way to guarantee perfectly cooked chicken.


You’re right! It was delicious. Seems like obtaining 1 or 2 methods for simple, foolproof, moist chicken has not been as easy as it should be. Thank you for providing me a method that I am sure to use regularly!
Ooh, I am convinced to brine! A quick tip for pounding the chicken: Plastic bags or Saran wrap can be pretty flimsy and tear easily. Instead, save the plastic bags from cereal and cracker boxes. They’re much thicker and sturdier, and the envelope shape means you can contain any flying chicken bits while you pound your meat..
That is SUCH a great idea! Thank you for sharing it with the rest of us!
I have been cooking chicken breast alot lately. Surprised how little time it took to brine. Happy accident. My take away from your article is patting dry, using butter and letting it rest. Mine have been pretty good but I will add these extra tips and see what happens. Thanks!
I just brown my chicken in a skillet for a few minutes on medium high and cover and reduce heat. Adding butter and a little chicken broth and simmer really low until the chicken just falls apart. It’s really hard to dry chicken out this way.
Love the info you’ve shared! Especially step 8! ?
Can’t wait to try this method for cooking chicken breasts! Your ceramic roasting pan looks great. Where can it be purchased?
Isn’t it great? It’s made by Crow Canyon Home and you can find it on Amazon