This post may contain affiliate links. Please read our disclosure policy.
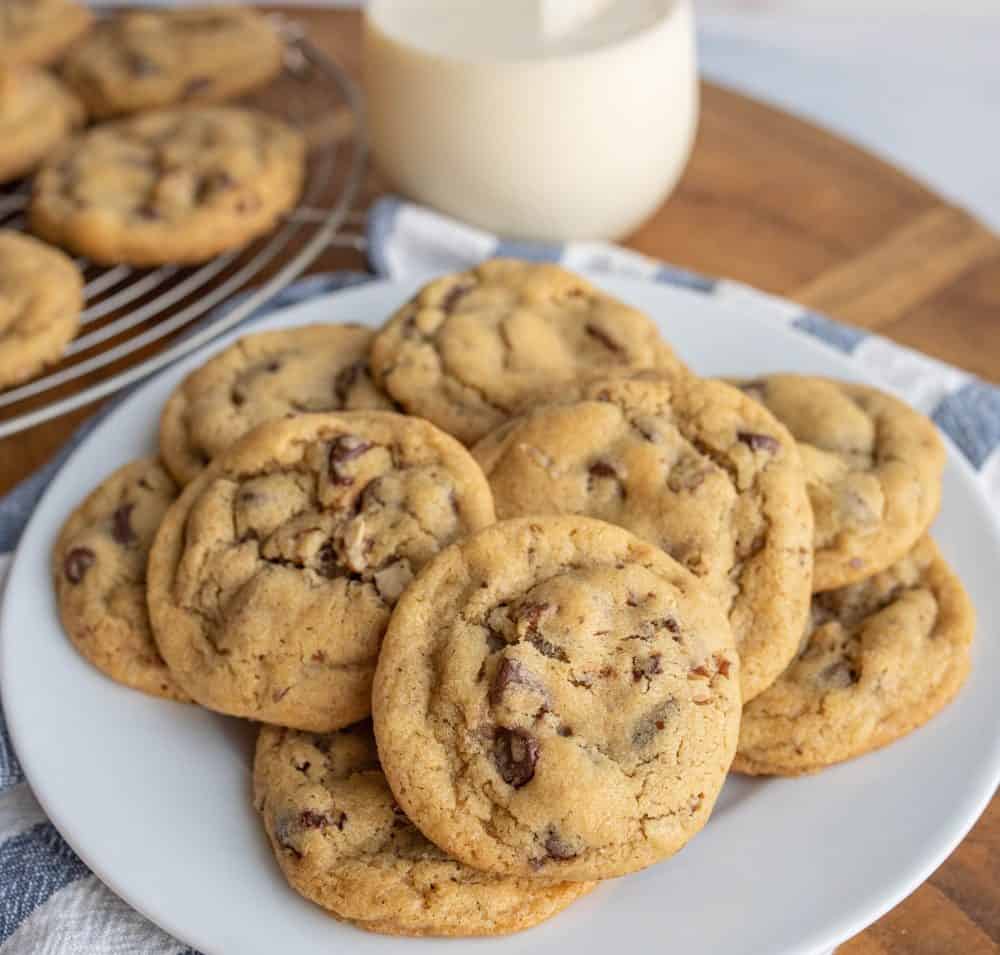
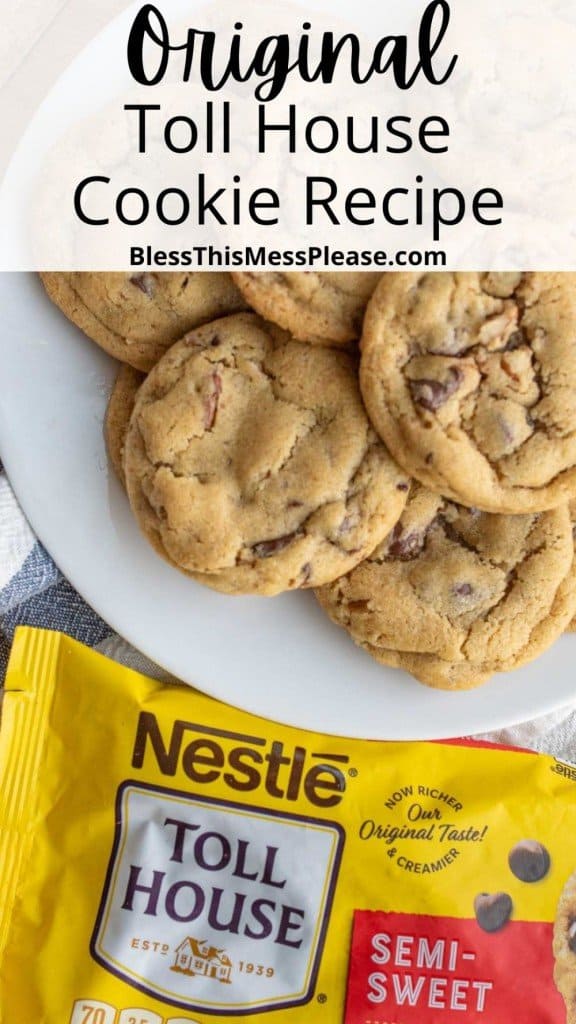
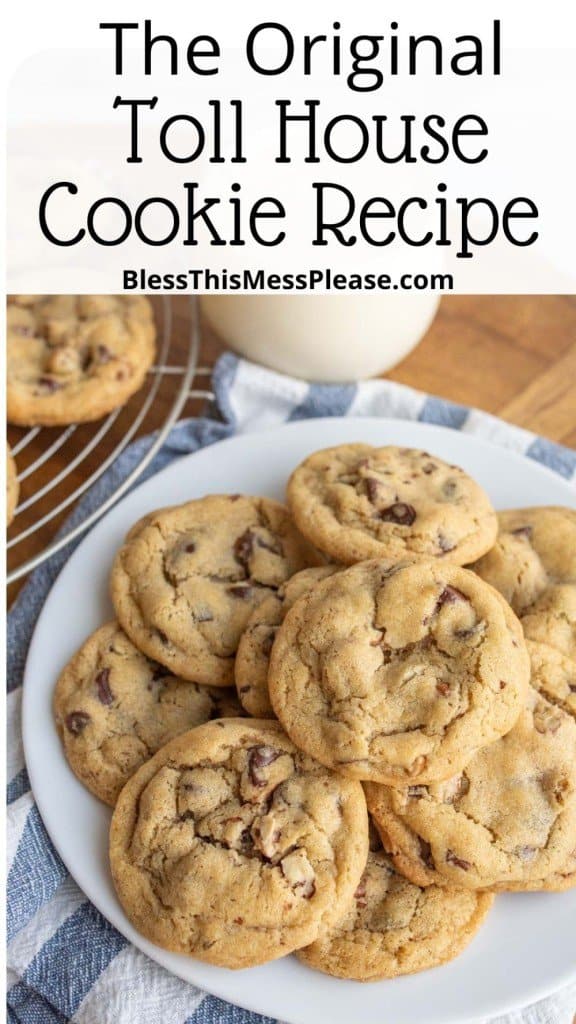
This is THE recipe that started it all — the original Nestle Toll House Cookie recipe! How many of you grew up making the recipe on the back of the Nestle chocolate chip bag?! This recipe is a classic that is easy to make and turns out great every.single.time!
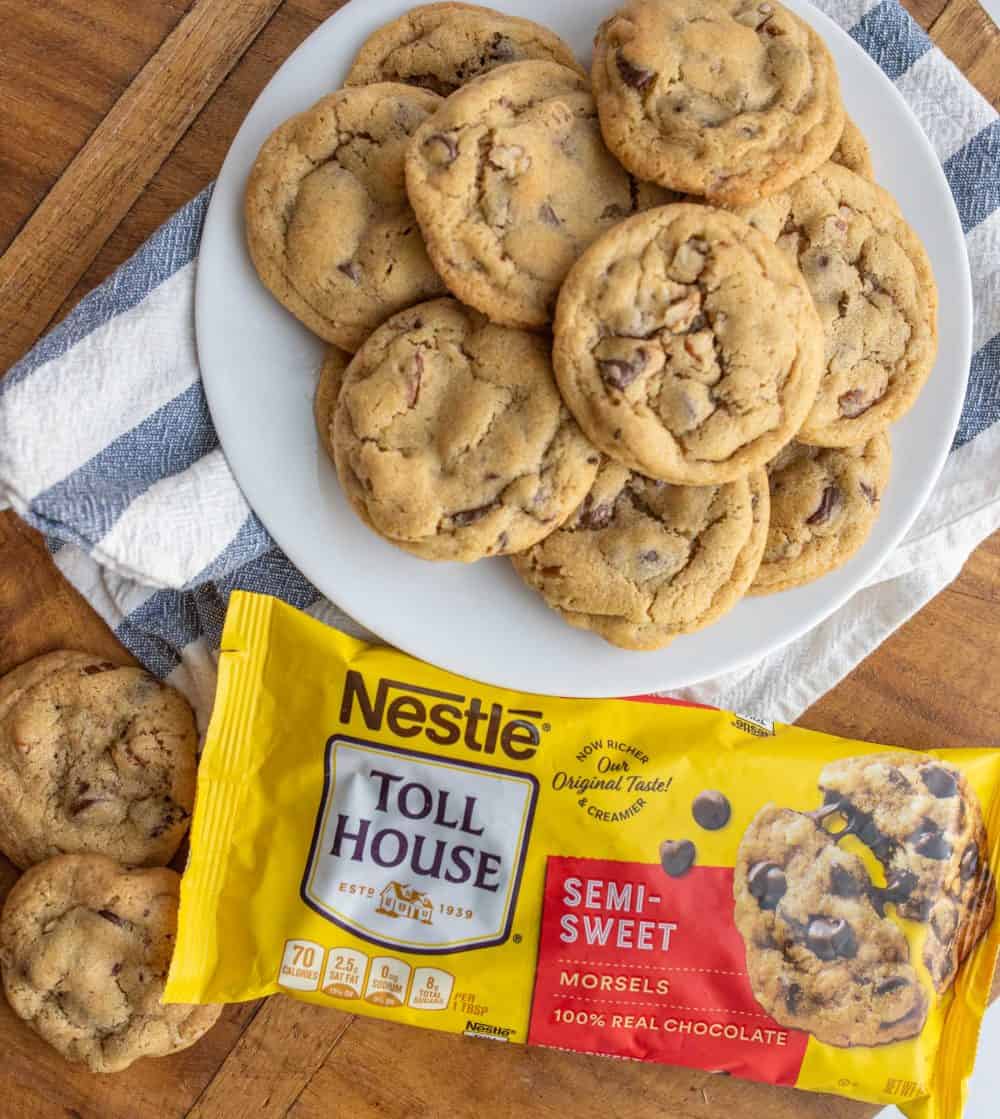
Table of Contents
24 Best Chocolate Chip Cookie Recipes Ever!

🩷 Melissa
I love knowing random factoids, so here is a good one for you! Do you know who invented the original chocolate chip cookie? A woman named Ruth Wakefield ran the successful Toll House restaurant in Whitman, Massachusetts, in the 1930’s!
She was making a batch of cookies when she decided to break pieces of Nestlé Semi-Sweet chocolate into the cookie dough. To her surprise, the chocolate didn’t melt; instead, it held its shape, giving the best texture to her cookies.
Ruth officially became the inventor of the chocolate chip cookie. She sold the rights to her recipe to Nestlé for only $1.00! Little did she know this would become the most popular cookie ever and turn into THE famous Toll House Cookie recipe!
Why You’ll Love This Recipe
- Everyone needs a tried-and-true chocolate chip cookie recipe, and this one won’t disappoint. It is easy, legendary, and delicious.
- This recipe has withstood the test of time! You only need everyday ingredients to make them; they are so yummy.
- You can double or even triple this recipe and freeze the extra. The dough can be kept in the freezer for up to 3 months!
Recipe Ingredients
- Flour – all-purpose
- Baking soda
- Butter – If using unsalted butter, you will need to add 1/8 to 1/4 teaspoon salt.
- Sugar – brown and white sugar (granulated)
- Vanilla extract
- Eggs
- Nestle Toll House Semi-Sweet Chocolate Chips
See the recipe card below for full information on ingredients and quantities.

The Original Toll House Cookie Recipe
Equipment
- large mixing bowl I love these bcause they have lids and double as serving bowls.
- parchment paper The precut pieces are easy to use and cut as needed.
- baking sheet These are a go-to that every kitchen should have.
- wire rack These fit nicely in baking sheets.
Ingredients
- 2 1/4 cups all-purpose flour
- 1 teaspoon baking soda
- 1 teaspoon salt
- 1 cup 2 sticks salted butter, softened
- 3/4 cup granulated sugar
- 3/4 cup packed brown sugar
- 1 teaspoon vanilla extract
- 2 large eggs
- 2 cups Nestle Toll House Semi-Sweet Chocolate Morsels, (12 ounce package)
- 1 cup chopped nuts, (I used pecans)
Instructions
- Preheat the oven to 375 degrees F. and line a baking sheet with parchment paper or a baking mat.
- In a large mixing bowl combine flour, baking soda, and salt. Whisk to combine and set aside.
- In a second bowl add the sticks of butter, granulated sugar, and brown sugar. Beat together until light and fluffy, about 3 minutes (you can beat them by hand, with an electric hand mixer, or with a stand mixer).
- Add the eggs, one at a time, beating well after each addition.
- Add the vanilla and beat to combine.
- Gradually beat in the flour mixture.
- Stir in the morsels and the nuts.
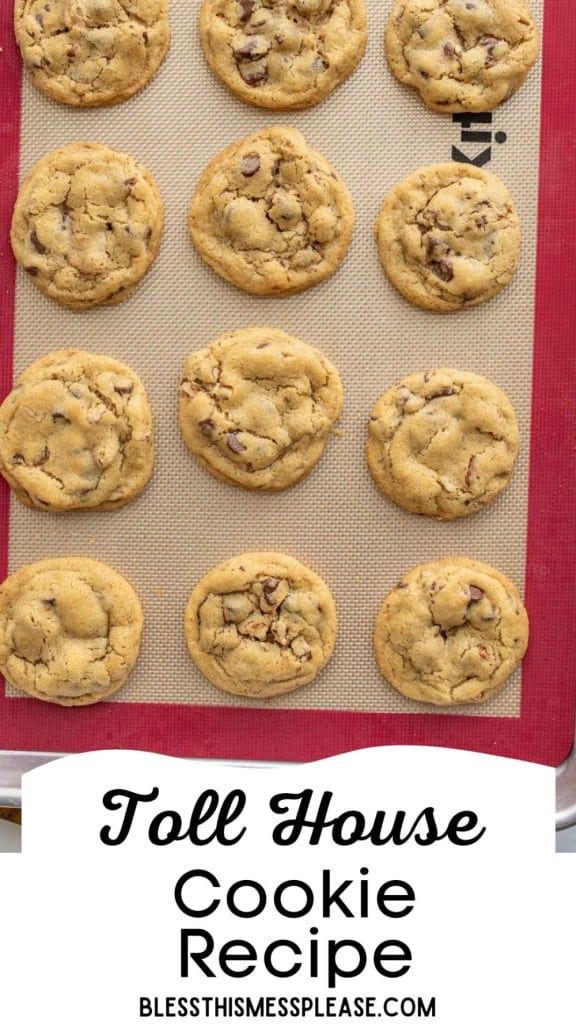
- Drop a heaping tablespoon of dough onto your baking sheet, leaving 2 inches between each cookie.
- Bake cookies for 9 to 11 minute or until golden brown. Allow the cookies to cool on the sheet for 2 minutes after baking. Remove to wire racks to cool completely.
Video
Notes
- If you are omitting the nuts, add an additional 2 tablespoons of flour to the dough.
- I liked my cookies a little bigger than my normal cookie scoop (1 tablespoon), so I recommend making your cookie dough balls heaping tablespoons and baking them for 11 minutes. They were perfect!
- Store leftover cookies in a closed container or the freezer for much longer.
- Take cookies out of the oven just before they look done. You want them to be golden brown. They will continue to bake on your baking sheet for a couple of minutes.
Nutrition
How to Make Original Toll House Cookies
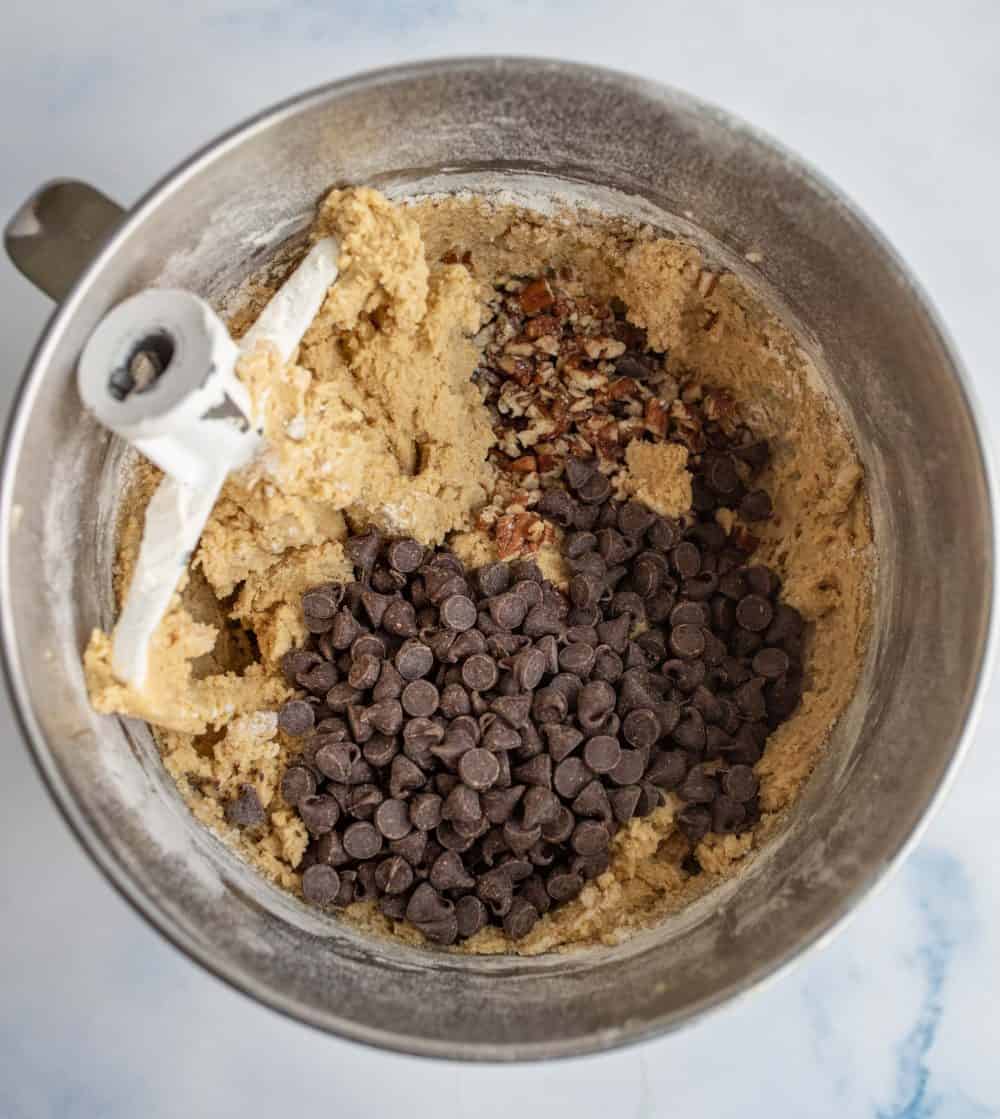
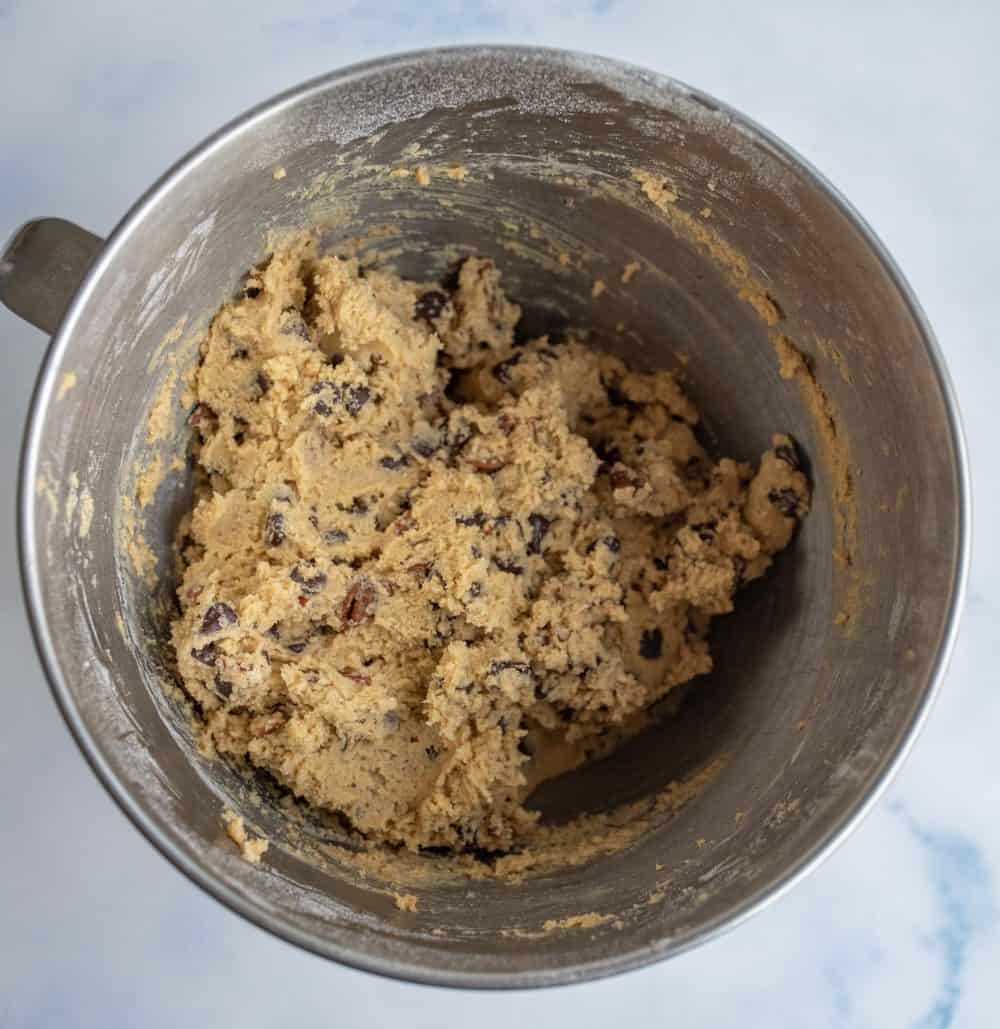
Step 1: Add the dry ingredients and whisk, then add the remaining ingredients.
Step 2: Gradually beat together until well combined, and drop a heaping tablespoon of dough onto the baking sheet.
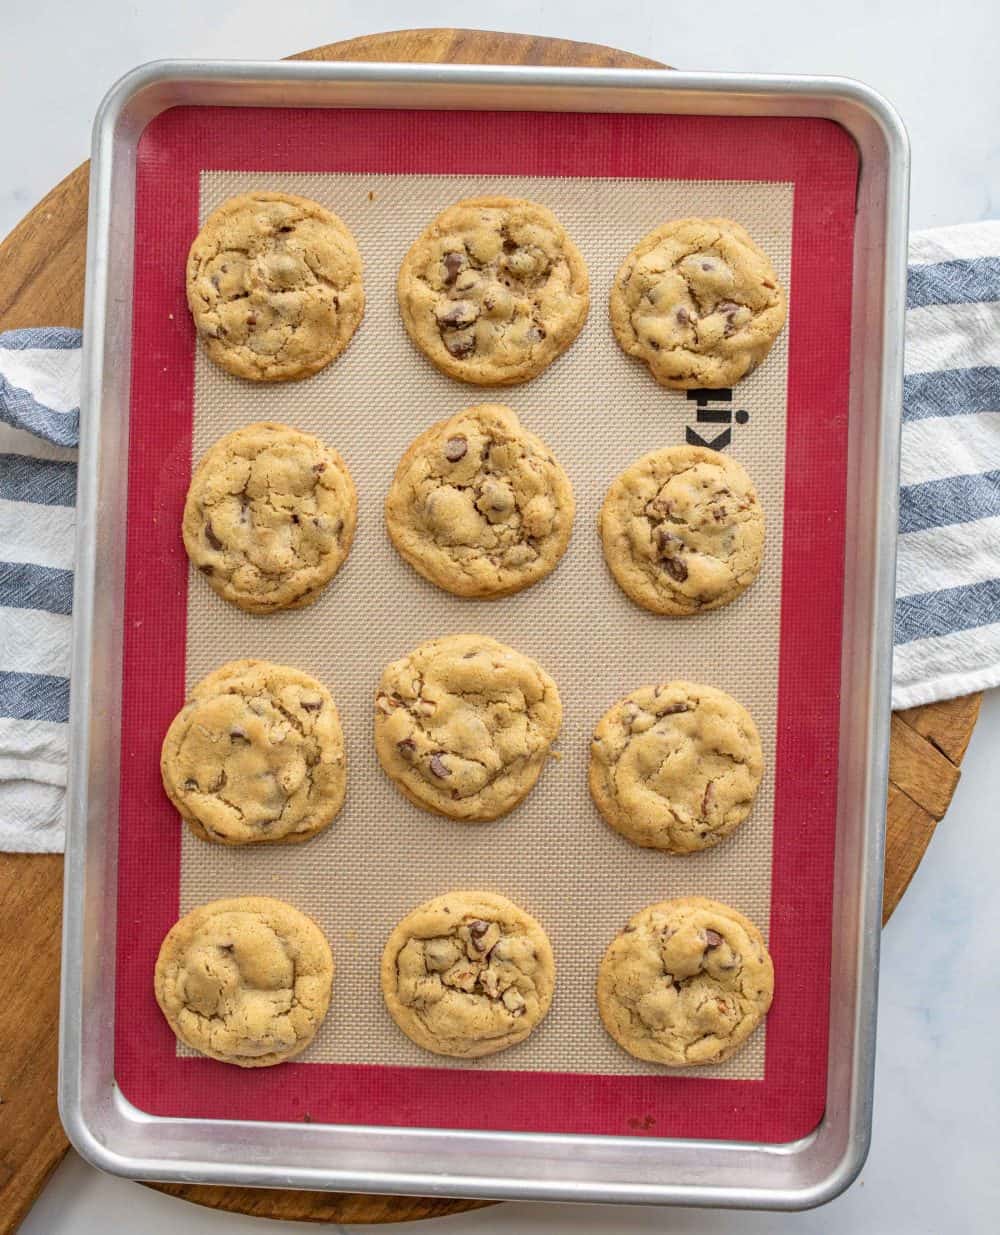
Step 3: Bake until barely golden brown and let cool on the pan.
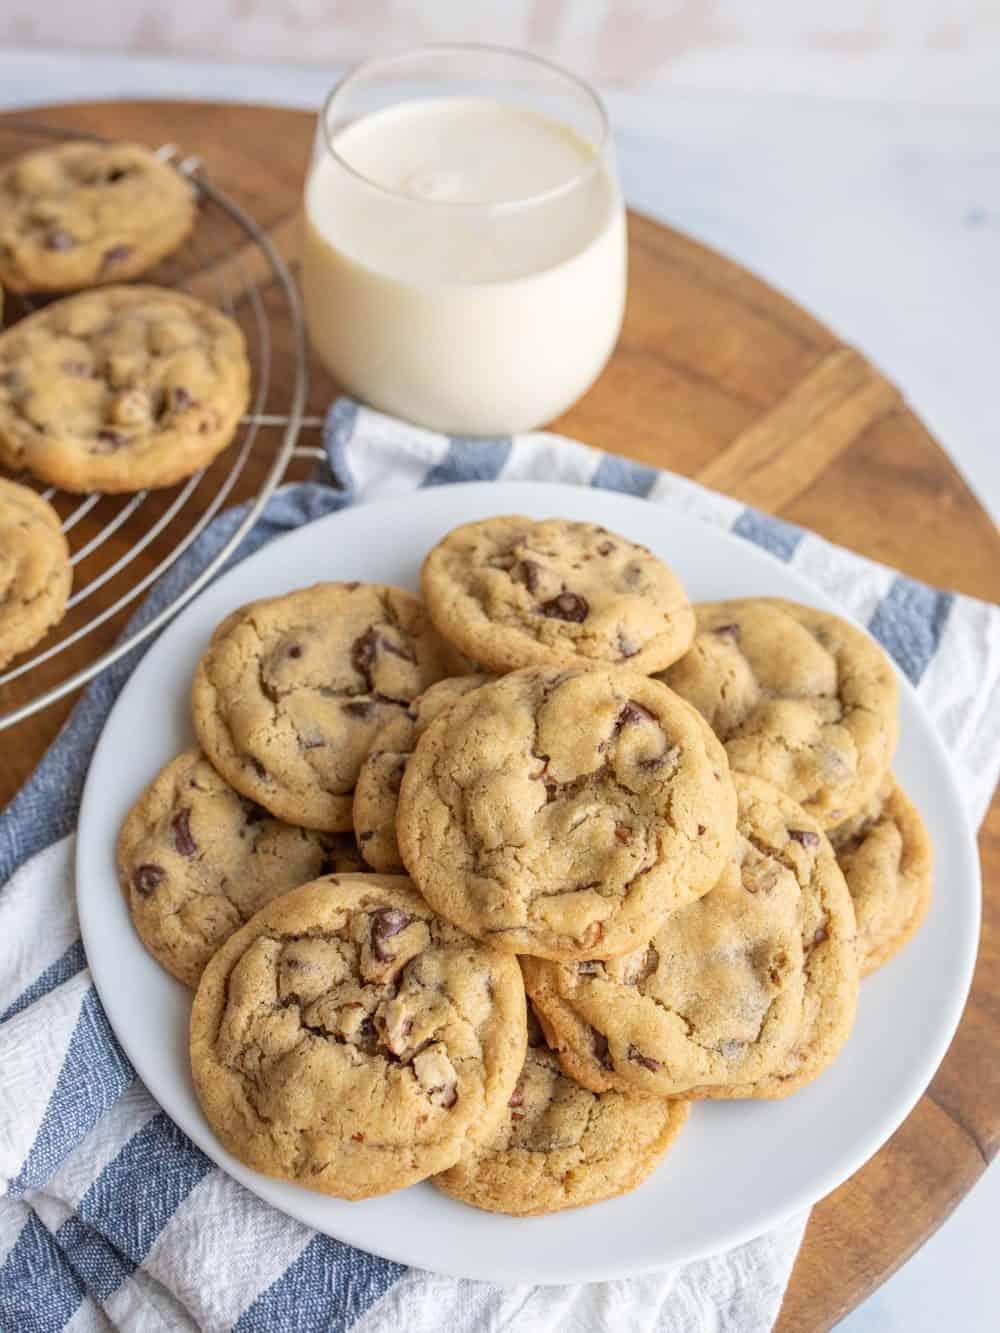
Step 4: Enjoy while warm with a cold glass of milk!
Recipe FAQs
Nope, this recipe does not need to be refrigerated before baking. Yay for no waiting on cooking!
Yes! I love to make a double or triple batch of cookies so we can eat one, share one and freeze one for later. Store uncooked cookie dough properly in an airtight container for up to 3 months. When you are ready to bake the dough, take the dough from the freezer, warm to room temperature and bake as instructed.
These classic cookies will keep at room temperature in an airtight container for 2-3 days without losing flavor. If the air temperature is warm, though, store them in the refrigerator so the semi-sweet bits of chocolate don’t melt.

Expert Tips
- I recommend making cookie dough balls in a heaping tablespoon and baking them for 11 minutes to achieve a desirable spread.
- For a crispier cookie, flatten the dough balls slightly before baking or bake just a little bit longer to get thin crisp edges. It’s a personal preference, but I like my Toll House chocolate chip cookies to be a little soft and chewy, so I stick with the original instructions off the back of the Nestle chocolate chips bag.
- For a little extra texture, use nuts in this recipe (any kind you like, I prefer pecans!)
- If you love experimenting with chocolate chip cookies like with this retro recipe, try my Oatmeal Chocolate Chip Cookies, Sourdough Chocolate Chip Cookies, or my Brown Butter Chocolate Chip Cookies!
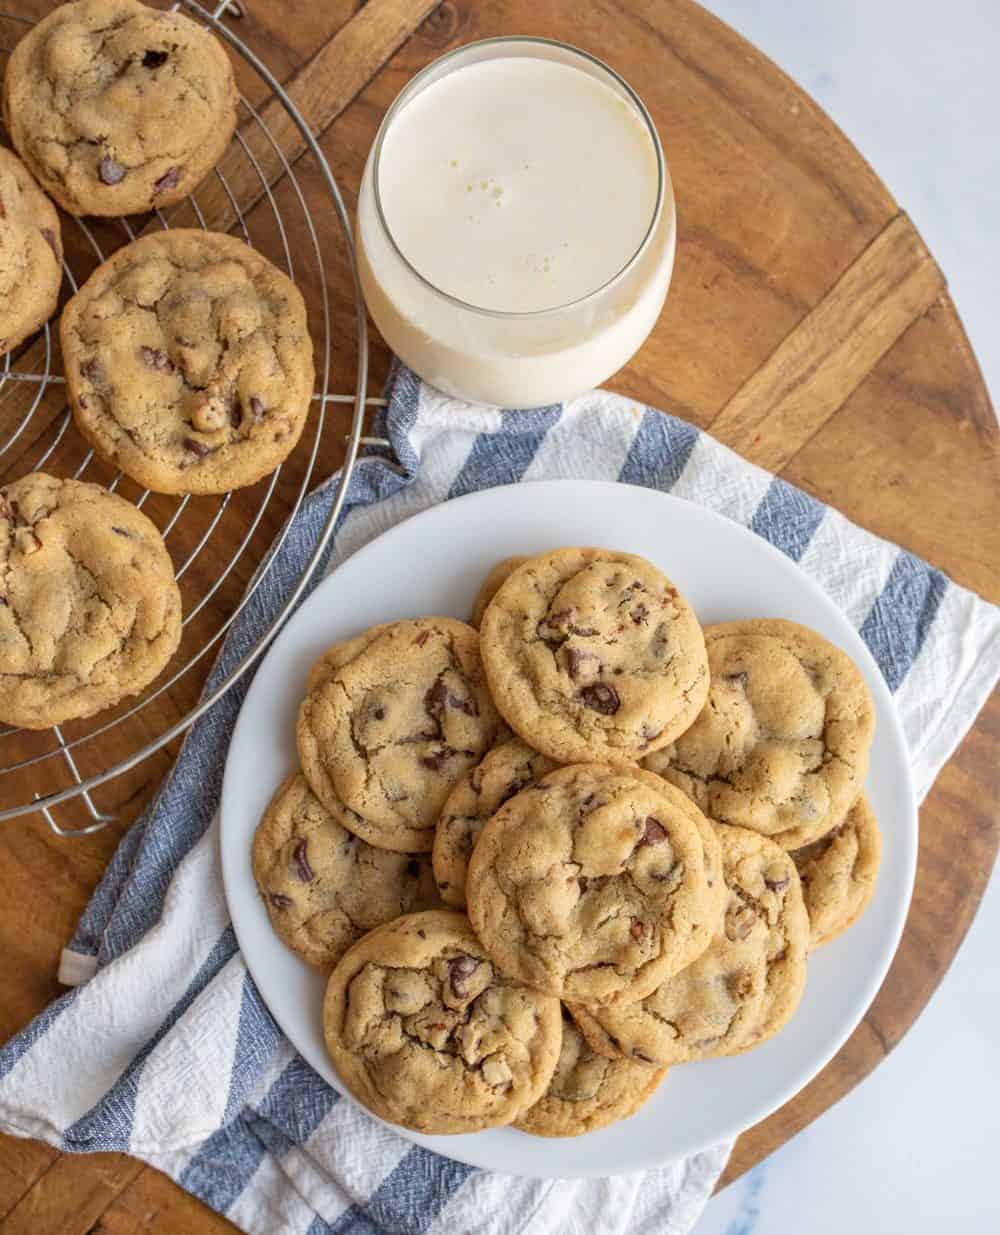
How to Make Toll House Cookies Soft & Chewy
To prevent hard and burnt cookies, take them out of the oven just before they look done. You want them to be just barely golden brown. They will continue to bake for a couple of minutes on your baking sheet. But this little tip will drastically change your cookies for the better!
How to Freeze Chocolate Chip Cookies
Although it’s highly unlikely you’ll ever have this problem, here’s what to do with leftover chocolate chip cookies—freeze them!
Allow the freshly baked cookies to cool completely, preventing moisture build-up and freezer burn. Once cooled, set the cookies in a single layer on a baking sheet and place them in the freezer for about an hour. This initial freezing step, called flash freezing, helps maintain the cookies’ shape and prevents them from sticking together.
After the cookies are solid, transfer them to an airtight container or a resealable freezer bag, placing parchment paper between layers to avoid sticking. Label the container with the date, and store the cookies in the freezer for up to three months.
When you’re ready to enjoy a cookie, simply let it thaw at room temperature for a few minutes or warm it in the microwave for a quick, comforting treat. Freezing chocolate chip cookies not only preserves their flavor and texture but also makes it easy to satisfy your sweet tooth anytime.
More Chocolate Chip Cookie Recipes to Consider
Oatmeal Cookies
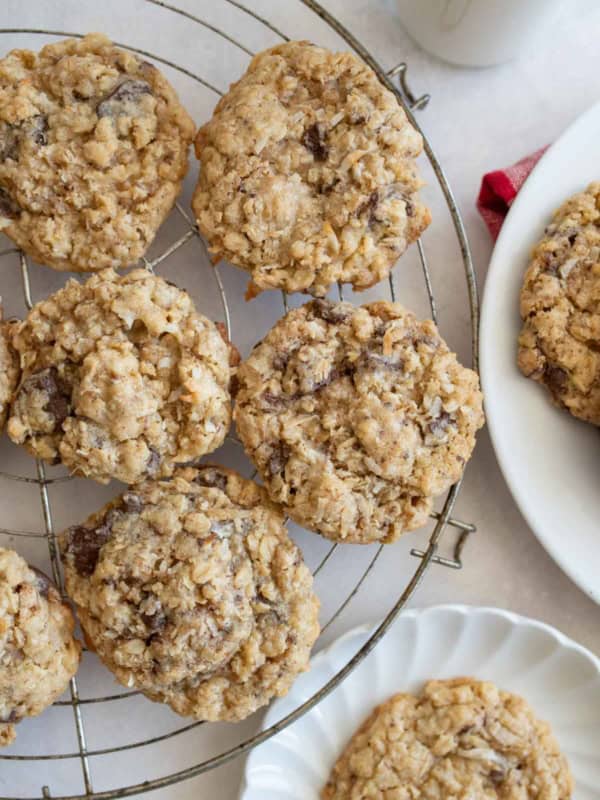
Oatmeal Coconut Cookies With Dark Chocolate Chunks
Chocolate Chip Cookies
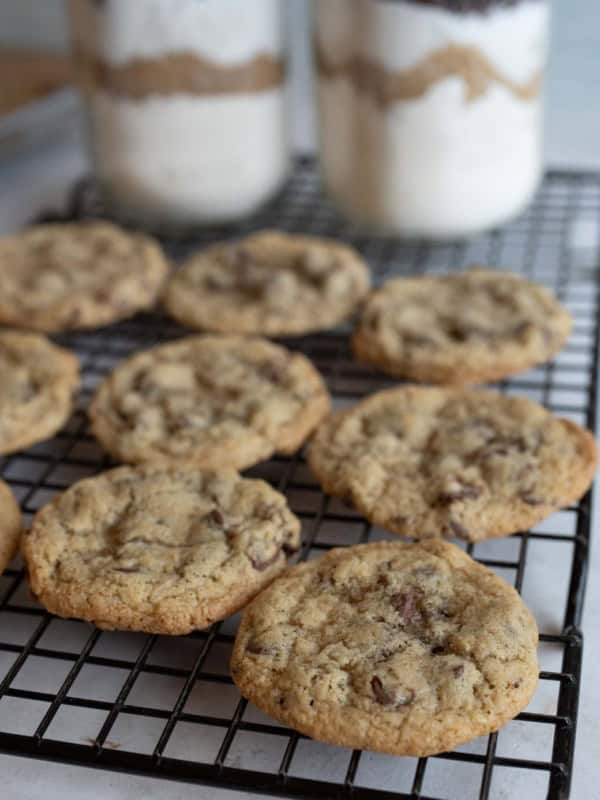
Mason Jar Chocolate Chip Cookie Recipe
Chocolate Chip Cookies
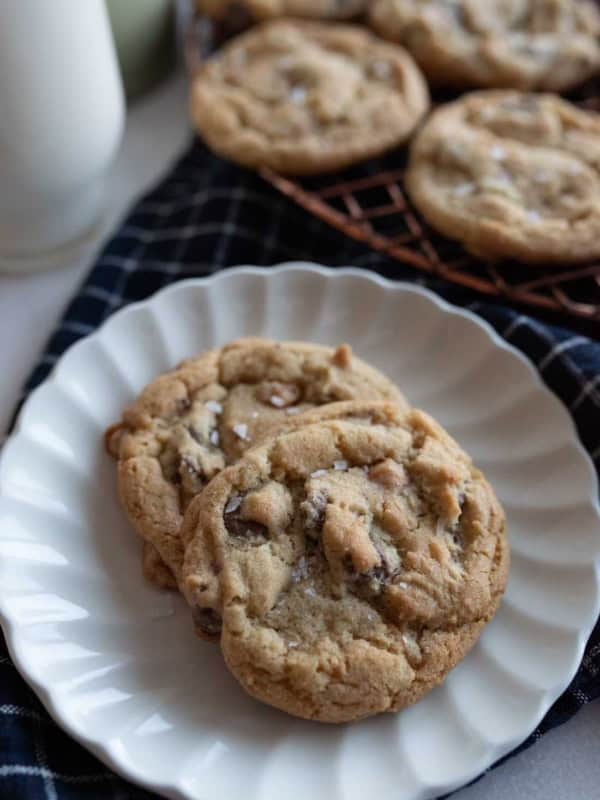
Salted Caramel Chocolate Chip Cookie Recipe
Did you make this recipe? Leave a ⭐️ review and share it on Instagram, Facebook, or Pinterest!



I made my gluten free by only doing 2 cups of the H‑E‑B gf flour blend which doesn’t have xantham gum in it so I added 1&1/2 tsp xantham gum and left out the nuts and didn’t add any extra flour to make up for it as I find gluten free flour to need much less than reg flour in reg flour recipes. And they turned out Delish! With great texture too which I’ve found hard to do with gf baked goods!
I have made these cookies for years and I found that if your cookies are spreading too much its because the room temperature is warm. I just put my cookie dough in the fridge to keep it cold and the recipe turns out perfectly. I use milk chocolate morsals instead of semi sweet.
Great tip! Thank you so much.
My cookies always come out crumbly. Any idea why?
You want to make sure the butter is softened but not melted or half melted, really whip up the butter and spend a few minutes mixing the butter and sugars with a hand mixer or stand mixer before adding vanilla and eggs. The most important thing is to understand bake the cookies a little. I find 8 minutes is usually the perfect amount of time for my oven but it could be 9 or 10 minutes if you make bigger cookies, the bottom and edges should be golden brown but the center should still be soft, then let them cool on the sheet pan for 10 minutes and then transfer to cooling rack, this will let the cookies set up a bit before transferring so they don’t fall apart. I’ve been using this recipe for over a decade and it is always my go to.
I’ve got this recipe down and have made it numerous times. They are always a hit by adding a little extra flour and baking just the right time according to my oven. Love this recipe and is my go-to chocolate chip recipe. Thank you!
Love these cookies, they are always a hit with my family! I use the recipe exactly as written minus the nuts. I never have an issue with them spreading too much. I do not roll into a ball, just grab a chunk with 2 spoons with no specific formation and lay on greased cookie sheet, bake for about 8 and 1/2 minutes once the oven is to temperature. They turn out perfect.
They sound perfect Jessica! Thank you for leaving a review!
I live in higher elevation. I found at first my cookies were flat and disgusting. If you find this you need to add a couple tablespoons of flour. Do a cook test see if that improves. I had no idea the smallest elevation can make a difference.
Delicious cookies thank you.
Used this recipe and they spread terribly. I’ll not use this recipe again.
I made this recipe and the cookies spread horribly! Definitely disappointed
Did you add the extra flour for if you omitted the nuts? It’s just a measuring thing and the peril of the imperial system, you just measure lighter than most I guess.
This happened to me the very first time I made them. I spooned and leveled the flour into the measuring cup and the next time I made them I just made sure to scoop the flour directly from my container and they didn’t spread.
If not adding nuts, add 1 to 2 Tbsp of all purpose flour
Thank you for placing this recipe on Pinterest! I really appreciate having it at my fingertips instead of having to ‘hunt for my recipe’ at home. I made it while visiting my son and his family on the other side of the country from home. It would have been a hassle to get it from home.
great cookies, just like my mom used to make. My grandson made these with me We used “Measure for Measure” (brand name) gluten free flour, but the rest of the ingredients were the same. We divided the dough into 3 parts, one for just chocolate chips, one for Chocolate chips and walnuts, and one for white chocolate chips and macadamia nuts (those were mine). They were all perfect and my grandson took some to the sweet gluten-free lady who lives downstairs from him. T
Thank you!