This post may contain affiliate links. Please read our disclosure policy.


Poached Eggs are a timeless delight, offering a soft, delicate texture and a runny yolk that complements a variety of dishes. While poaching eggs may seem like a daunting task, with the right technique and practice, you can achieve perfect poached eggs every time. In this article, we will guide you through the process of poaching an egg to perfection.
How to make Poached Eggs:
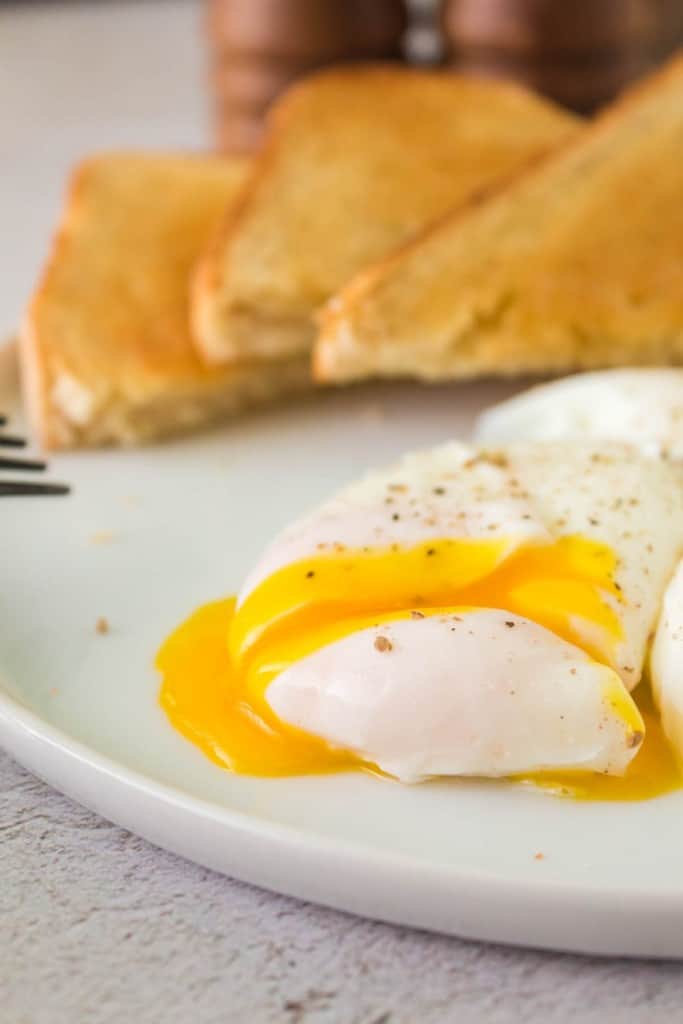
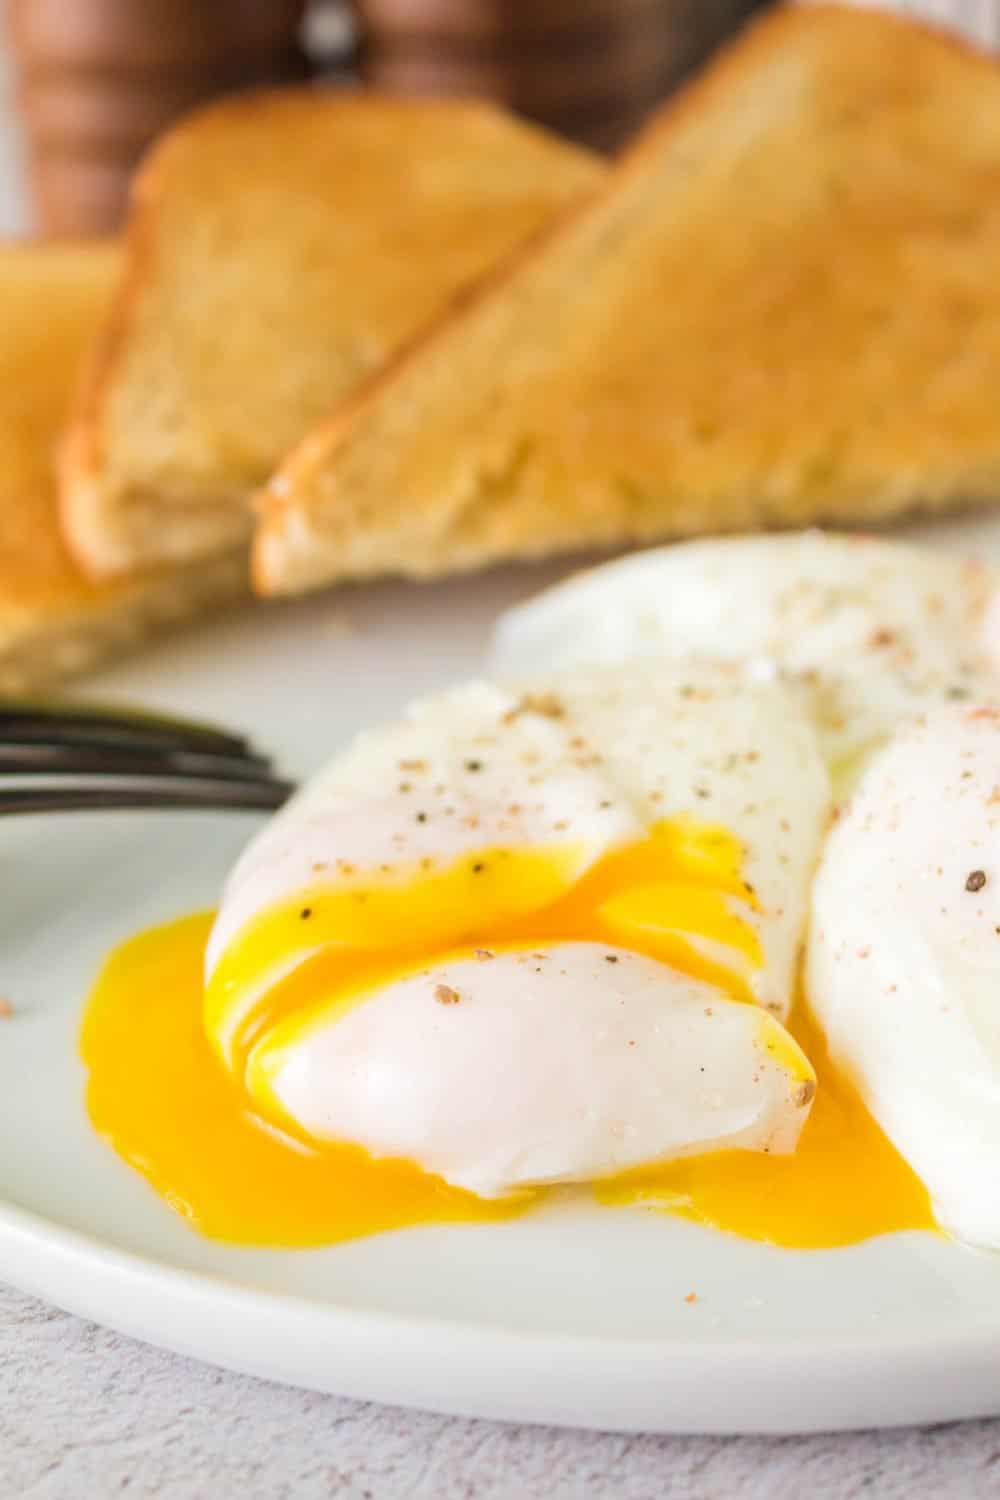
Poached eggs have a creamy texture thanks to the gentle cooking method. They are light and fluffy, perfect for any meal of the day, and are extra light thanks to no cooking oil needed.
The Art of Perfecting the Poach:
While poaching eggs may seem intimidating, mastering the art is worth the effort. Achieving perfectly poached eggs requires attention to detail, practice, and a gentle touch. The process involves carefully simmering the eggs in water, coaxing them into a beautifully formed shape. With patience and a few tried-and-true techniques, you can create poached eggs that are worthy of admiration.
Ingredients and Tools:
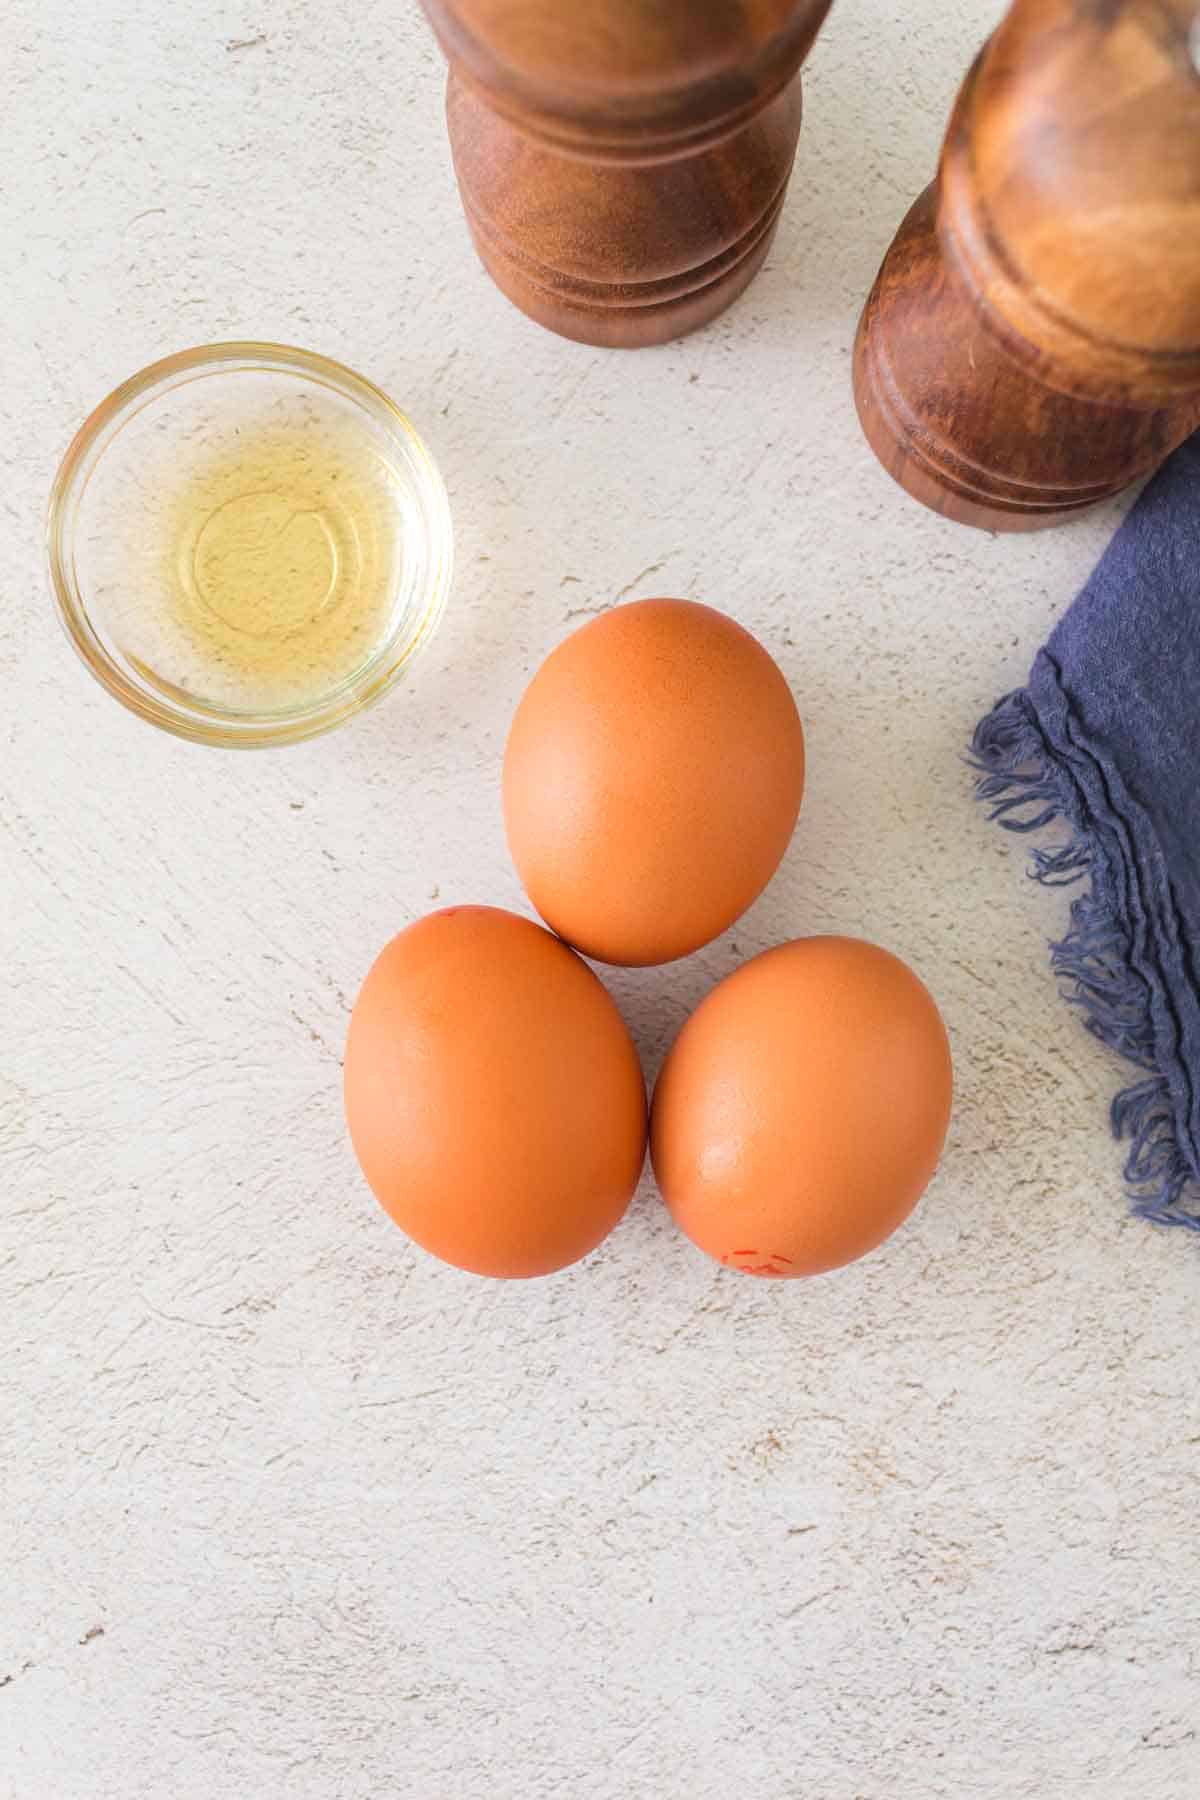
To poach an egg, you will need the following ingredients and tools:
- Fresh eggs
- Water
- White vinegar (optional, helps to coagulate the egg whites)
- Slotted spoon
- Timer
- Saucepan or shallow skillet
- Paper towels
Step-by-Step Guide:
Step 1: Prepare the Water
Start by filling a saucepan or shallow skillet with about 2-3 inches of water. Place it on the stove and bring the water to a gentle simmer over medium heat. It should not reach a rolling boil, as this can disrupt the delicate structure of the eggs.
Step 2: Add Vinegar (Optional)
Adding a teaspoon of white vinegar to the simmering water can help the egg whites coagulate more quickly and maintain their shape. This step is optional, but it can be beneficial, especially when dealing with less-than-fresh eggs.
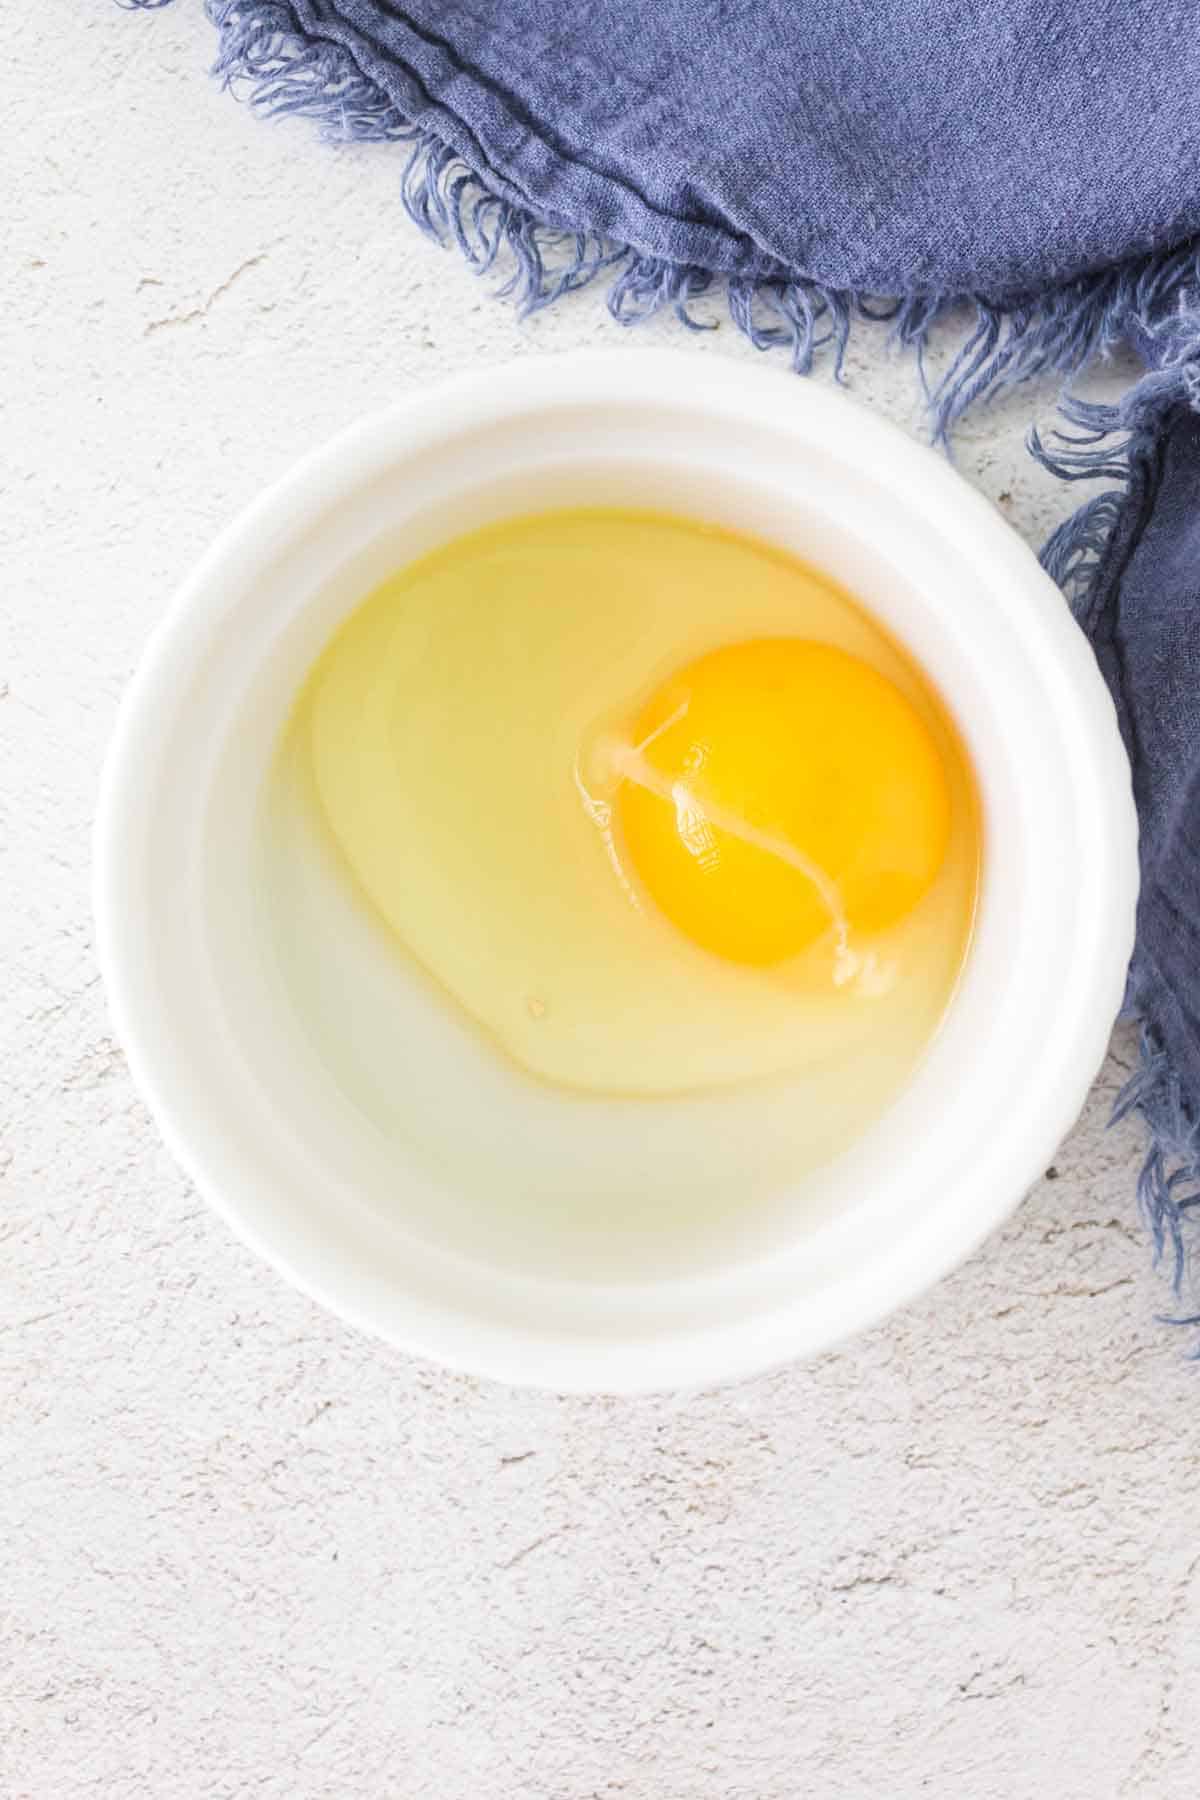
Step 3: Crack the Egg
Crack a fresh egg into a small bowl or ramekin. This allows you to inspect the egg for freshness and removes the risk of shells accidentally ending up in the poaching water. Repeat this step for each egg you plan to poach.
Step 4: Create a Gentle Whirlpool (Optional)
To help the egg form a nice shape, you can create a gentle whirlpool in the simmering water. Use a spoon or whisk to stir the water in one direction, forming a circular motion. This swirling action helps the egg white wrap around the yolk more evenly, resulting in a neat poached egg.
Step 5: Slide the Egg into the Water
Gently slide the cracked egg into the simmering water, aiming for the center of the whirlpool if you created one. The swirling water will help the egg maintain its shape. Repeat this step for the remaining eggs, ensuring there is enough space between them to avoid sticking together.
Step 6: Set the Timer
Once all the eggs are in the water, set a timer for 3-4 minutes. The cooking time may vary depending on the desired level of doneness and the size of the eggs. Adjust the time according to your preference.
Step 7: Remove the Poached Egg
Using a slotted spoon, carefully lift each poached egg out of the water. Allow any excess water to drain off before transferring the egg to a plate lined with paper towels. The paper towels will absorb any residual moisture, keeping the eggs from becoming waterlogged.
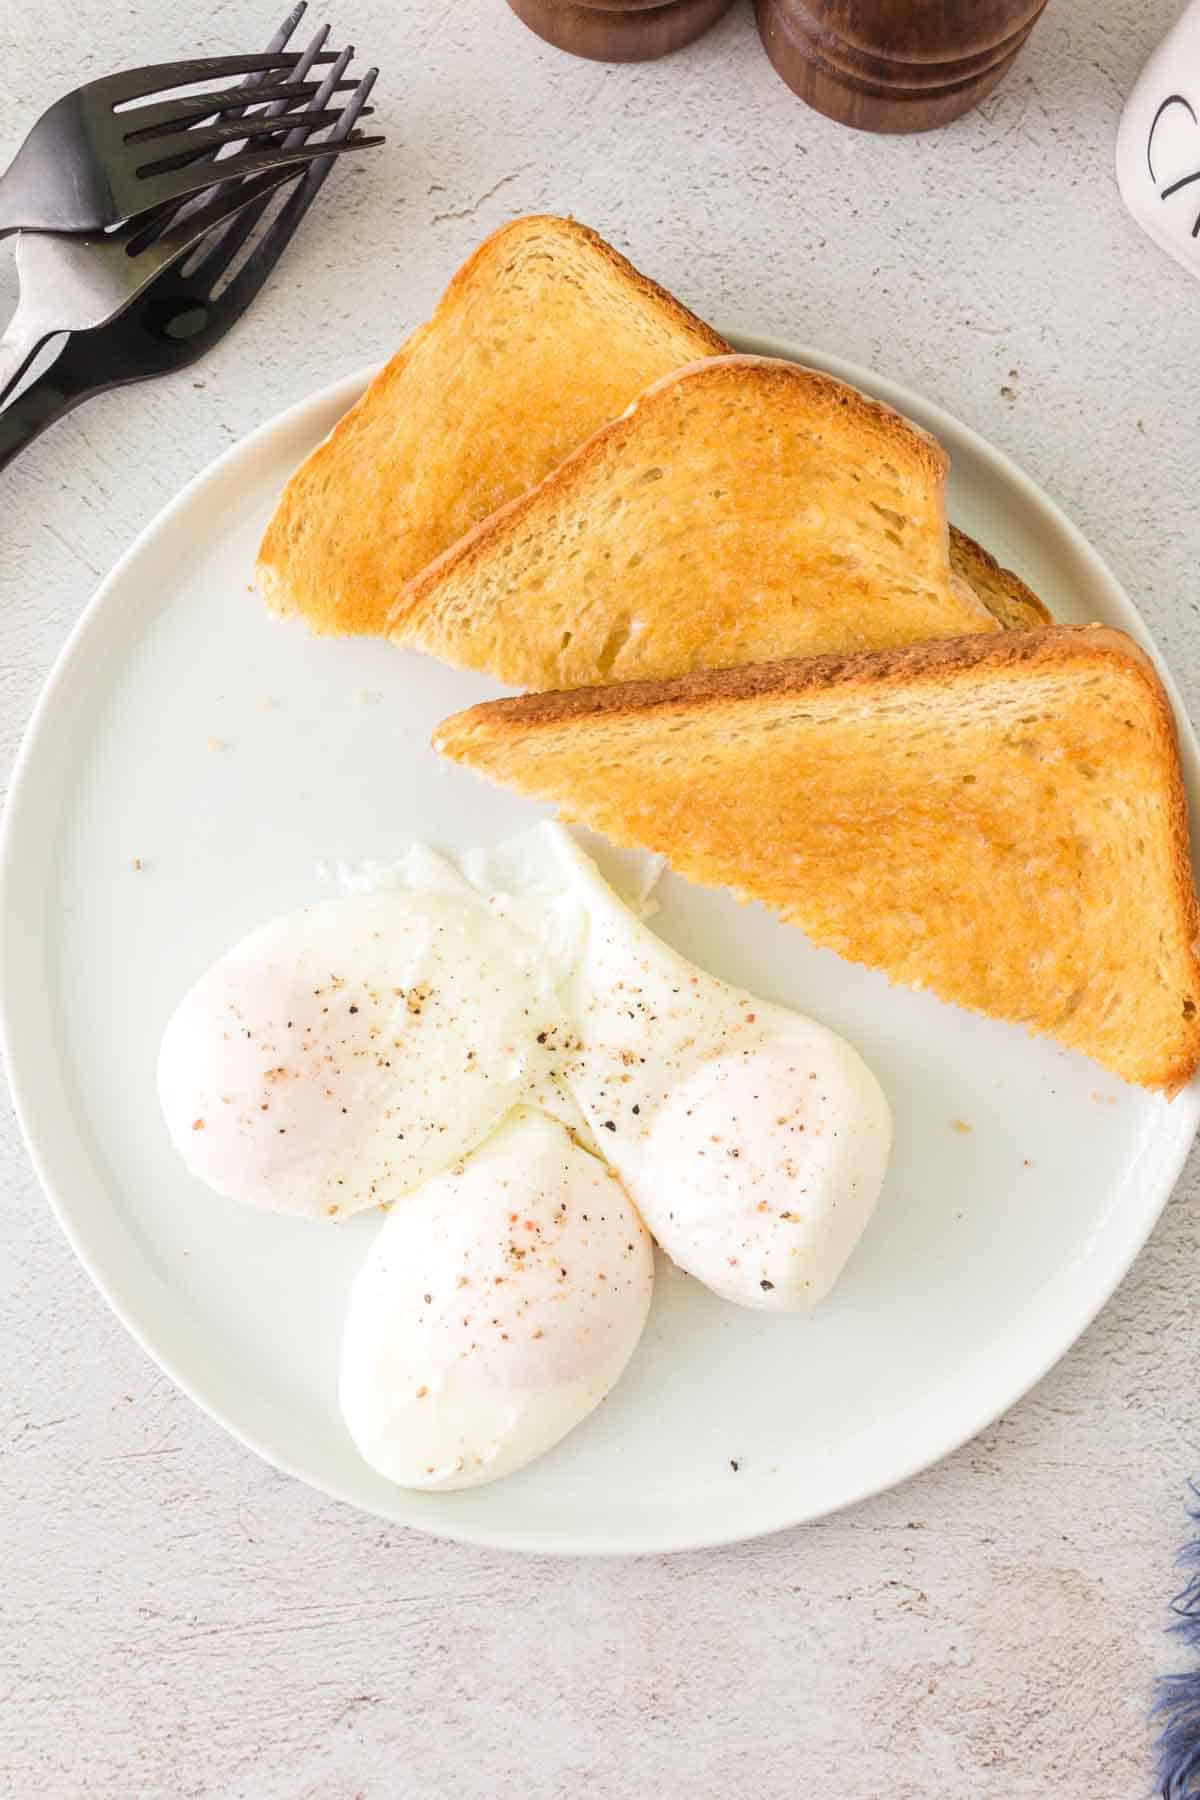
Step 8: Serve and Enjoy
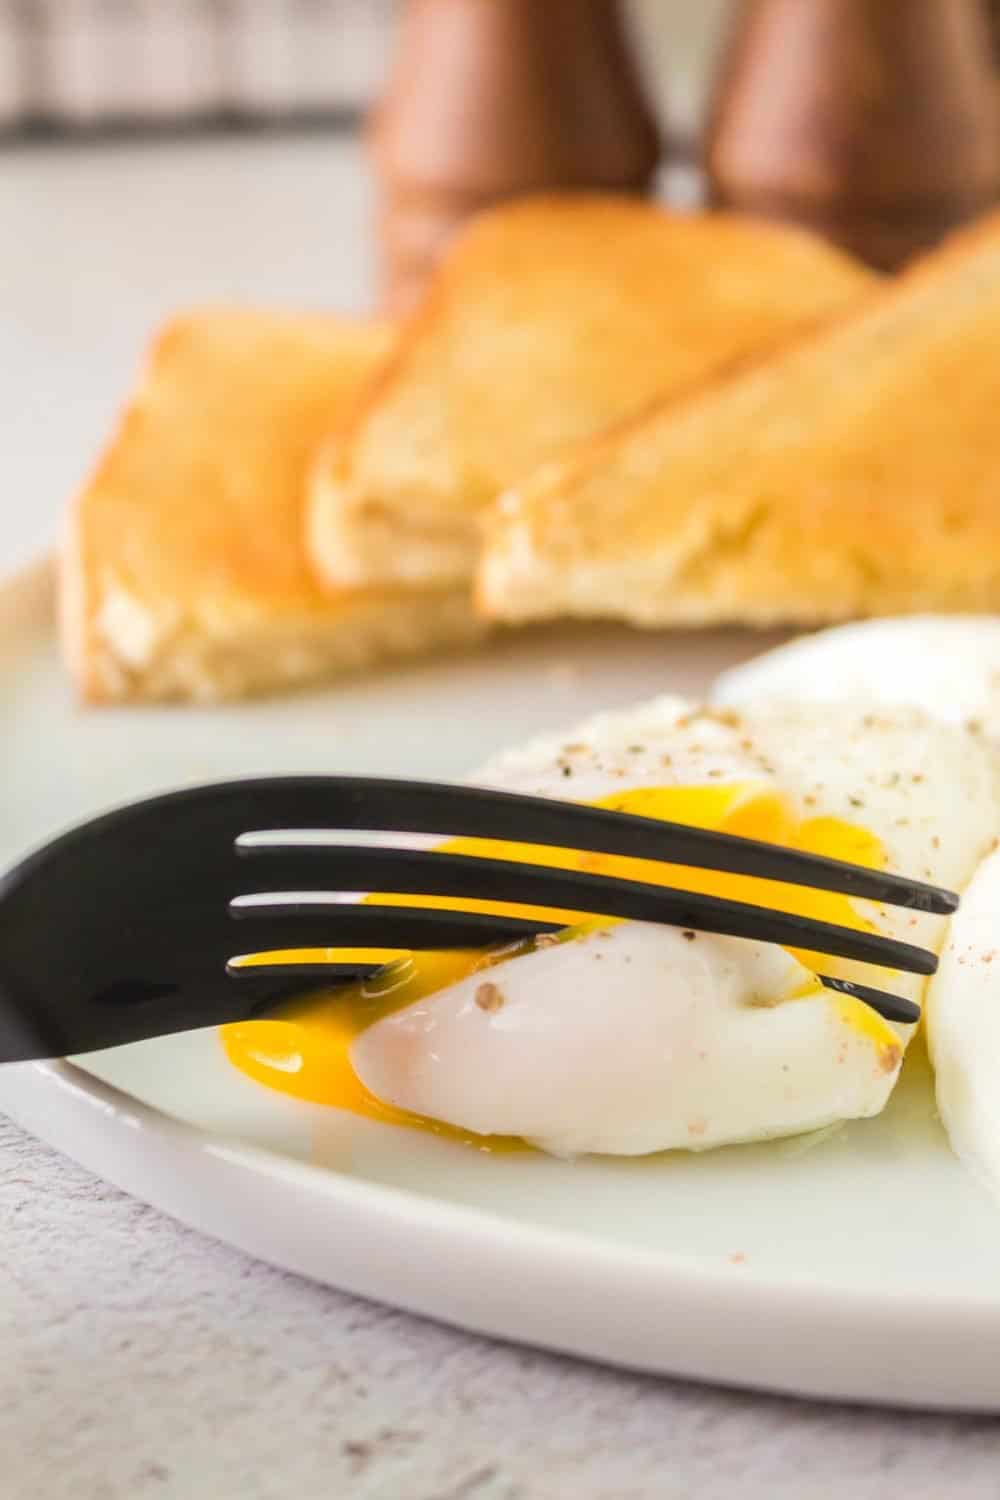
Your perfectly poached eggs are now ready to be enjoyed! Serve them over toasted bread, atop a bed of sautéed vegetables, or alongside a variety of dishes. The silky yolk will add richness and depth to your culinary creation.
Cook Time for Poached Eggs:
- 3 minutes (yolk runny and white 95% set (slightly runny by the yolk)
- 3 minutes 30 seconds (white is set and the yolk is tender and liquidy)
- 4 minutes (The yolk has formed a soft layer, perfect for dipping bread or crackers in the yolk without having it leak everywhere)
Frequently Asked Questions
Yes, you can poach multiple eggs at once. However, it’s important to have enough space in the pot for each egg to cook separately. Using a larger pot or a wide skillet can accommodate multiple eggs. You can also poach eggs in batches if you have a smaller pot.
The cooking time for poaching an egg can vary depending on factors such as the size of the egg and desired doneness. Typically, it takes about 3-4 minutes to poach an egg with a runny yolk and a firm white. If you prefer a firmer yolk, you can cook it for an additional 1-2 minutes.
The water temperature for poaching eggs should be around 180-190°F. It’s important to keep the water at a gentle simmer, just below boiling, to prevent the egg from breaking apart.
Poached eggs are versatile and can be served in various ways. They are commonly enjoyed with toast, English muffins, or on top of eggs Benedict. They can also be served with sautéed vegetables, salads, or as a topping for dishes like avocado toast, grain bowls, or hash browns.
More recipes:
If you’ve tried this poached eggs recipe or any other recipe on Bless This Mess, then don’t forget to rate the recipe and leave me a comment below! I would love to hear about your experience making it. And if you snapped some pictures of it, share it with me on Instagram so I can repost on my stories.

Poached Eggs
Ingredients
- 3 fresh eggs, (I wouldn’t do more than 3 eggs as they touch and bind together)
- 1 tablespoon apple cider vinegar, (white vinegar works as well)
- salt and pepper to taste when serving
Instructions
- Bring a pot of water to a boil. (I used my Dutch oven 5 QT and had about 3 to 4 inches of water in it. This allows the egg to be thicker and more bubbly. If you are doing it in a skillet, it will be flatter and look more like a fried egg. I put about 4 cups of water in my pot).
- While the water is boiling, crack the egg into a ramekin or a glass and place it back in the fridge until ready to use. One egg per container. No need to cover them up.
- Once the water is boiling add the apple cider vinegar and reduce to low.
- You should have small bubbles in the bottom of the pot, but none that are breaking the surface.
- Add the eggs, do not stir or mix. Cook for 3 to 4 minutes depending on how set you want the yolk.
- Use a serving slotted spoon and place them on a plate lined with a paper towel to absorb any extra water.
- Place on a serving dish and serve immediately!
Notes
- Serving Suggestions: serve with a side of fruits, breakfast meat (sausage links, bacon,…), on English muffins, or with toast.
- Storage: Store in an airtight container in the fridge for up to 2 days
- Have fun with the recipe: Serve with avocado toast, over ham steaks, or on an English muffin
Nutrition
Poaching eggs may take some practice to master, but with the right technique and patience, you can achieve beautifully poached eggs every time. By following the steps outlined in this guide, you’ll be able to serve up restaurant-quality poached eggs to impress your family and friends. So, don’t be intimidated—grab some fresh eggs, set up your poaching station, and get ready to elevate your breakfast and brunch experiences with the art of poaching eggs!


