This post may contain affiliate links. Please read our disclosure policy.
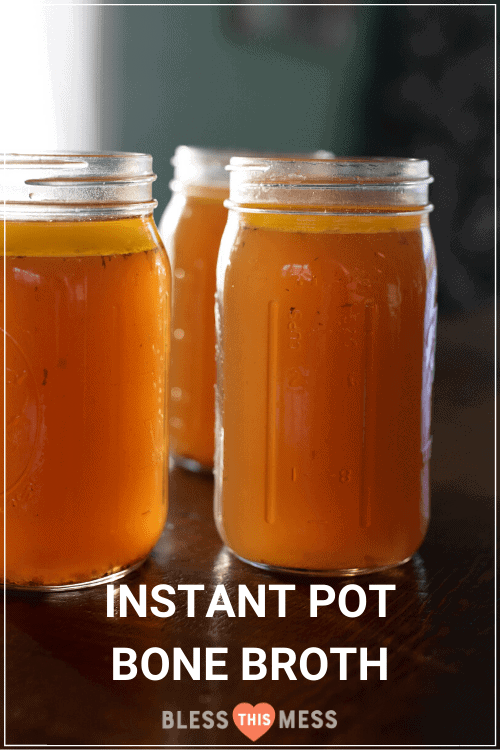
Get an easy nourishing warm drink or a great addition to soups and other recipes that call for broth with this silly easy Instant Pot bone broth!
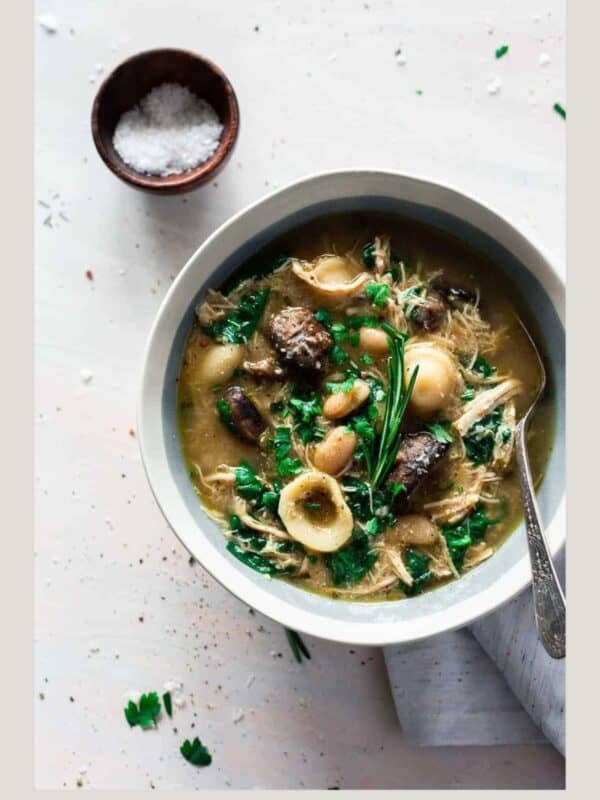
Bone broth made in the Instant Pot speeds up the process and gets flavorful, rich, and healthy broth every time — I love this simplified method! Add it to this Chicken Gnocchi Soup Recipe , Brunswick Stew Recipe, or Italian Wedding Soup !
Have you hopped on the bone broth bandwagon yet? This isn’t just ordinary broth you’d get in a carton from the store. It’s normally simmered for anywhere between 12 to 48 hours to get all the collagen and healing properties extracted from the bone marrow. Made with beef bones, veggies, bay leaves, vinegar, and peppercorns, the flavors have time to soak and meld to make a really rich, hearty broth. When you make bone broth in the Instant Pot, the same thing happens but it’s done a lot quicker than the traditional method!
Table of Contents:
Table of Contents
What is bone broth?
Bone broth is simply a savory broth made using animal bones and connective tissues, vegetables, and spices simmered for around 12 to 48 hours to extract all the health-boosting, flavorful properties from the bones and veggies.
Bone broth ingredients:
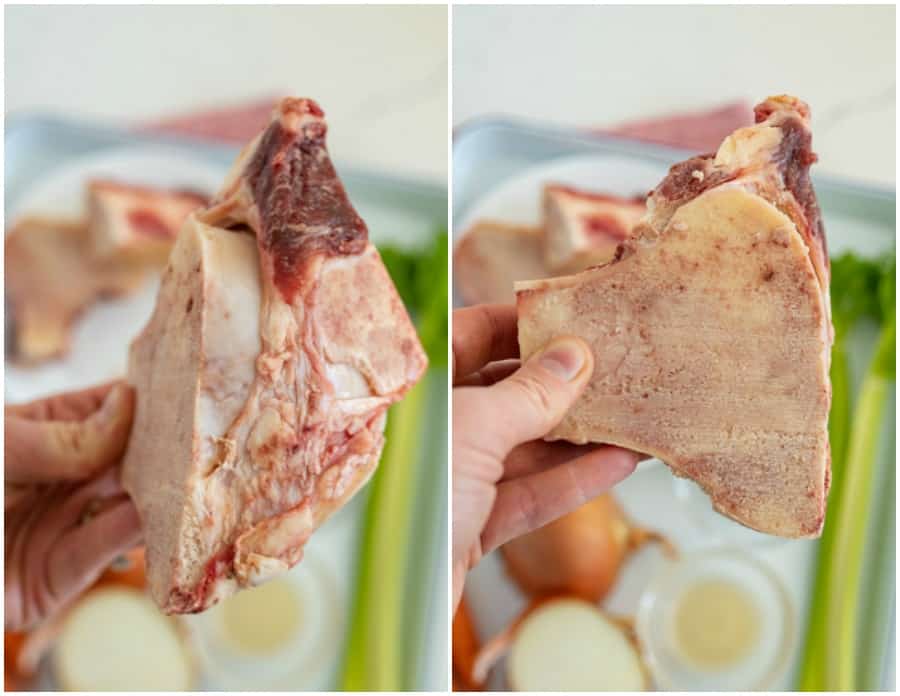
Beef bones: When it comes to buying bones for bone broth, you can ask a butcher if they sell broth or soup bones. We buy a cow or a portion of a cow from a local rancher every so often and I just request soup bones to be packaged when the meat is cut. Most small butcher shops will have them. Feel free to pop on social media and crowd source where others have found bones locally to save time. The bones are going to be large bones (like hips and leg bones) that are often cut in half so that the marrow cooks out easily. You can use knuckles and feet for more collagen in your broth, but I generally don’t.
Onion, carrots, celery, bay leaves, peppercorns, garlic: These add a robust, savory, rounded-out flavor to the broth.
Vinegar: The vinegar is what makes this more of a “heritage” recipe. It’s a very old tip that helps to pull the nutrients out of the bones; I think it’s vital to making nourishing broths.
Water: The amount of water you add will depend on two things, how thick/condensed you’d like your broth and how large your pressure cooker is. You’ll get a thicker, more flavorful broth using less water (though I don’t mind it thinner at all — you can always adjust seasonings while cooking). Note that you should never fill your pressure cooker past the 3/4 fill line indicated on the inner cooking pot. So, when adding water, stop when you reach that line, regardless of how much you have added. You’ll be able to fit more water in a larger pressure cooker. If the broth is generally going to be used for cooking, I’ll make more of it and thinner (add 12 cups of water). If I wanting it for a healing drink to be enjoyed on its own, I’ll add the 8 cups of water so that it has more flavor.
Why use an Instant Pot?
Using an Instant Pot will drastically reduce the cook time without sacrificing the quality of the bone broth. Here’s a whole post on how and why Instant Pots can cook things so much faster without taking away from the quality of the food.
Tips for making the best bone broth:
Use vinegar: The acid helps to draw out the “good stuff,” aka all that collagen and minerals from the bone marrow.
Roast the bones: You can roast the bones before making the broth for added complexity to the flavor (but it’s not necessary if you’re tight on time).
Use less water: The less water, the more flavorful the broth because it won’t be watered down as much and the flavors will be more concentrated.
Frequently Asked Questions:
Bone broth can be used in any soups, stews, sauces, or other recipes that calls for broth! You can also warm it up and sip it plain as a nourishing drink. I like to add a little lemon juice and a sprinkle of cayenne.
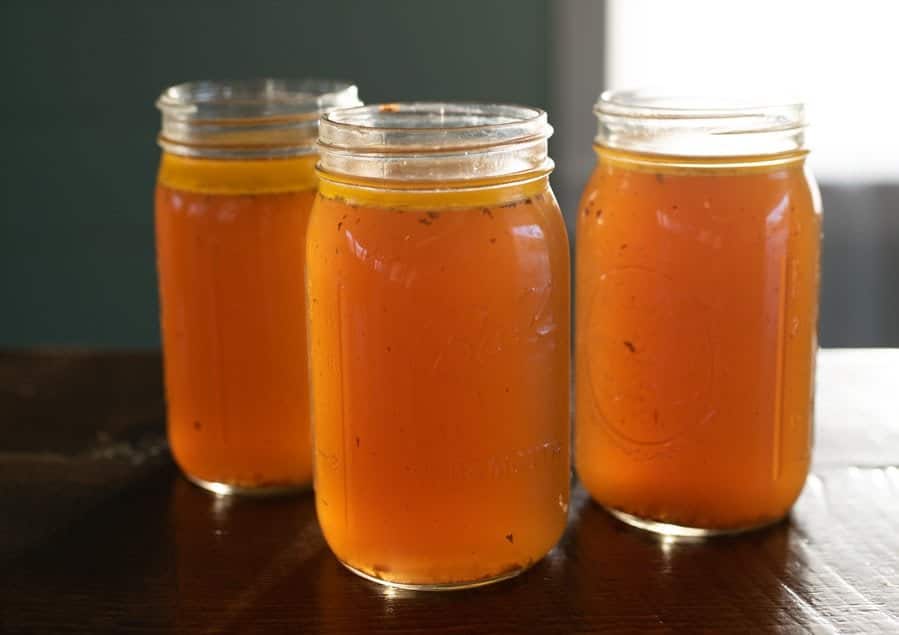
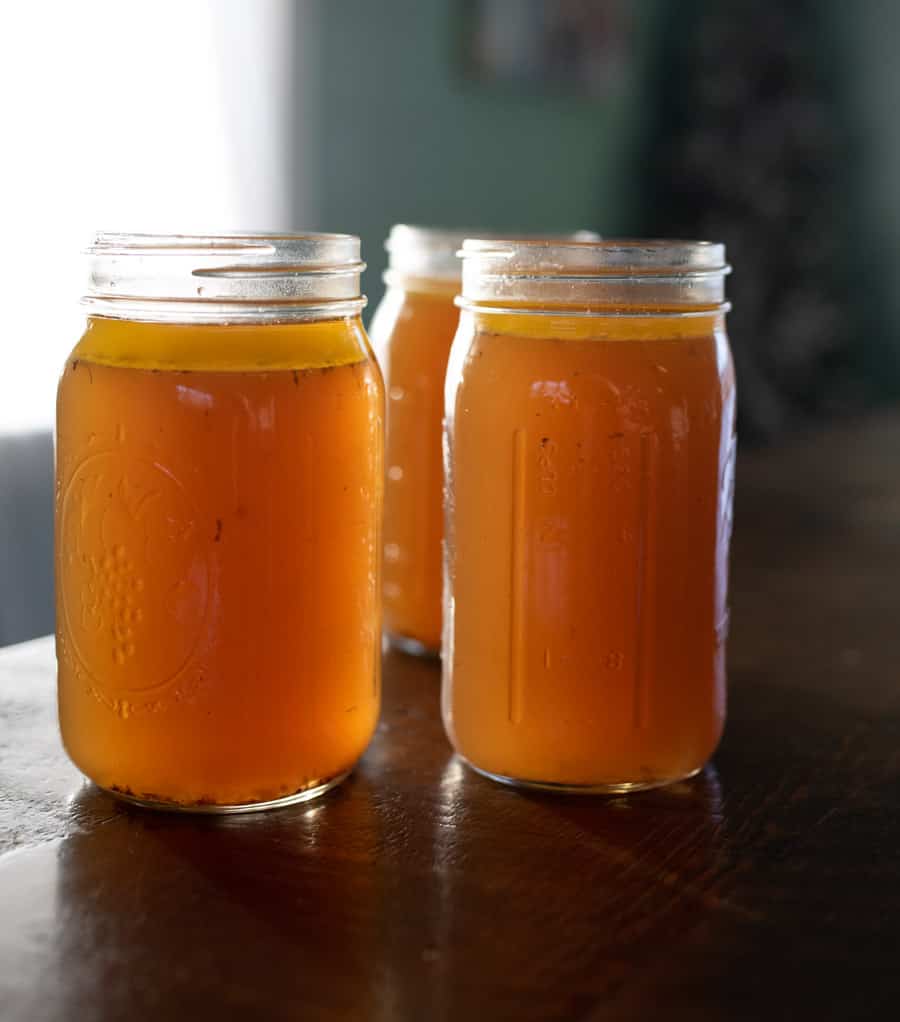
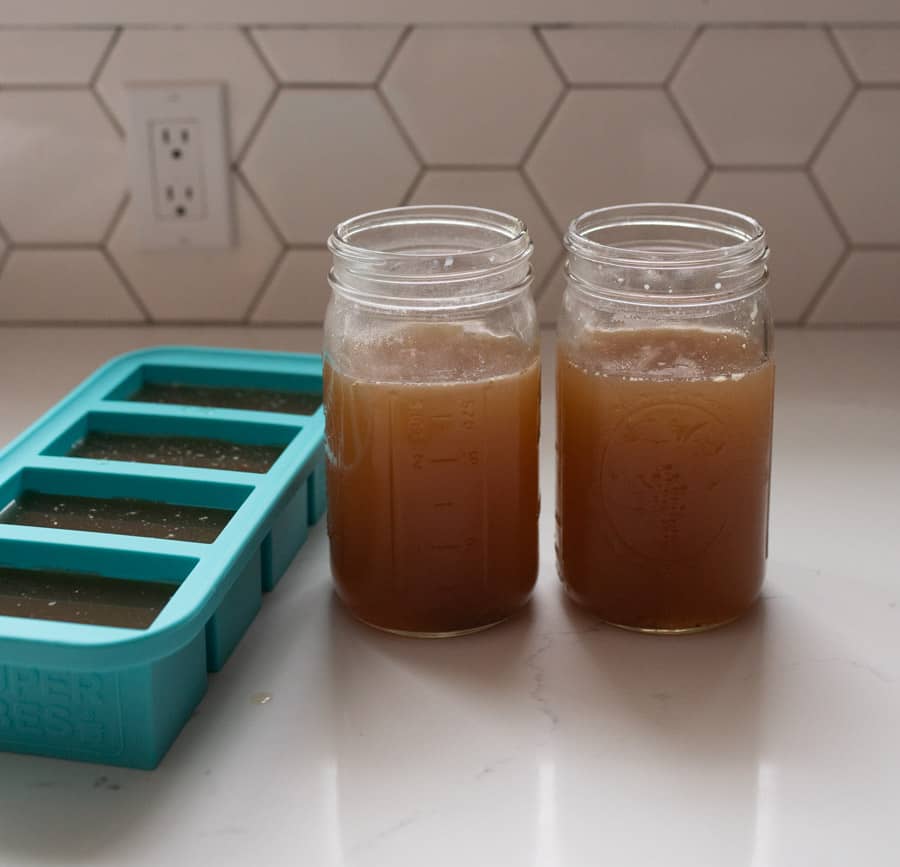
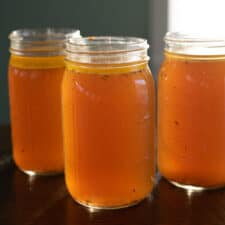
Once your broth has cooled fully, you can store it as you like. I like storing in wide mouth Mason jars. It should keep in the fridge for up to 5 days.
Yes! I use wide mouth Mason jars. Put them in the freezer but be careful to not let them bump into each other when frozen, as glass is extra fragile when cold. You can also store them in something called a “Souper Cube” which is silicone and freezes the broth in 1 Cup chunks. I also love using these reusable deli containers. Lots of freezing options!
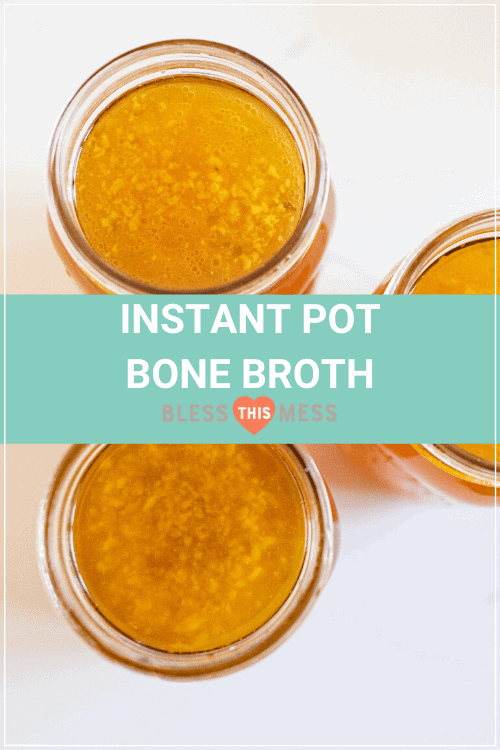
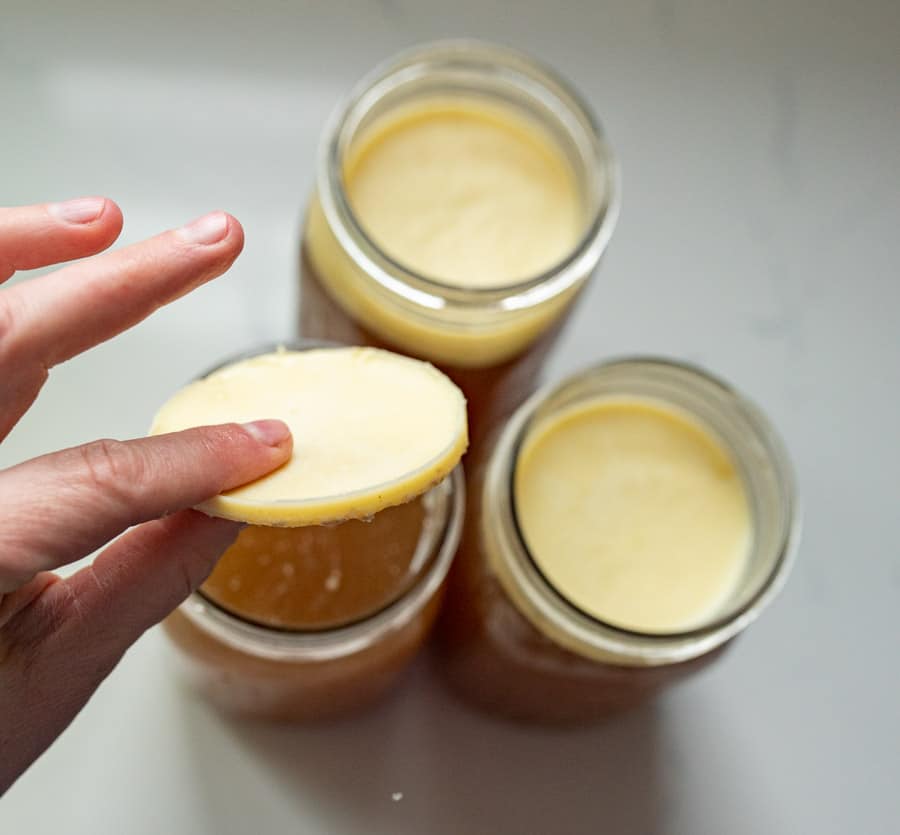
After your broth cools over night in the fridge. The fat will rise to the top. You can remove it, keep it in there, or remove it and use it. It’s beef tallow that you have rendered! Isn’t that neat. I use the fat to saute things in, you can do with it as you like.
Once your broth has cooled, then you can store it in the freezer. You can freeze in wide mouth mason jars (with plenty of head space at the top), you can use fun little contraptions like silicone molds (the ones in the pictures are in 1 cup portions), or you can freeze it in deli containers.
Here’s an example of the kind of bones that a butcher will give you for soup bones. They are normally large bones with a lot of marrow in them.
More Soup, Stew, and Chowder Recipes:
Soups, Stews & Chowders
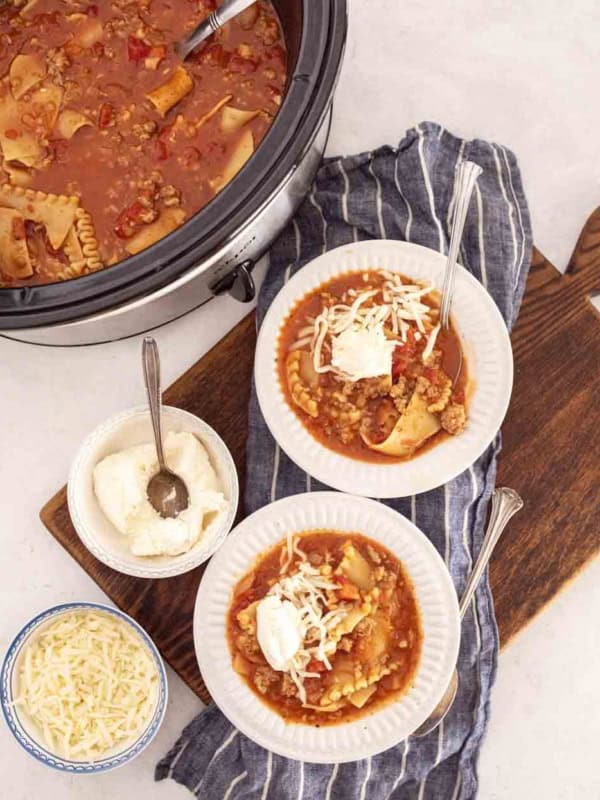
Lasagna Soup in Slow Cooker Recipe
Soups, Stews & Chowders
70+ Cozy Soup Recipes for the Best Winter Soups

Soups, Stews & Chowders
Slow Cooker Chicken Soup
Soups, Stews & Chowders
Slow Cooker Butternut Squash Soup
Did you make this recipe? Leave a ⭐️ review and share it on Instagram, Facebook, or Pinterest!
Instant Pot Bone Broth
Ingredients
- 3 pounds beef bones
- 1/2 to 1 large onion
- 2 to 3 large carrots
- 2 to 3 ribs celery
- 3 bay leaves
- 1/2 teaspoon black peppercorns
- 2 cloves garlic
- 2 tablespoon vinegar, (white or apple cider vinegar)
- 8 to 12 cups water, see notes
Instructions
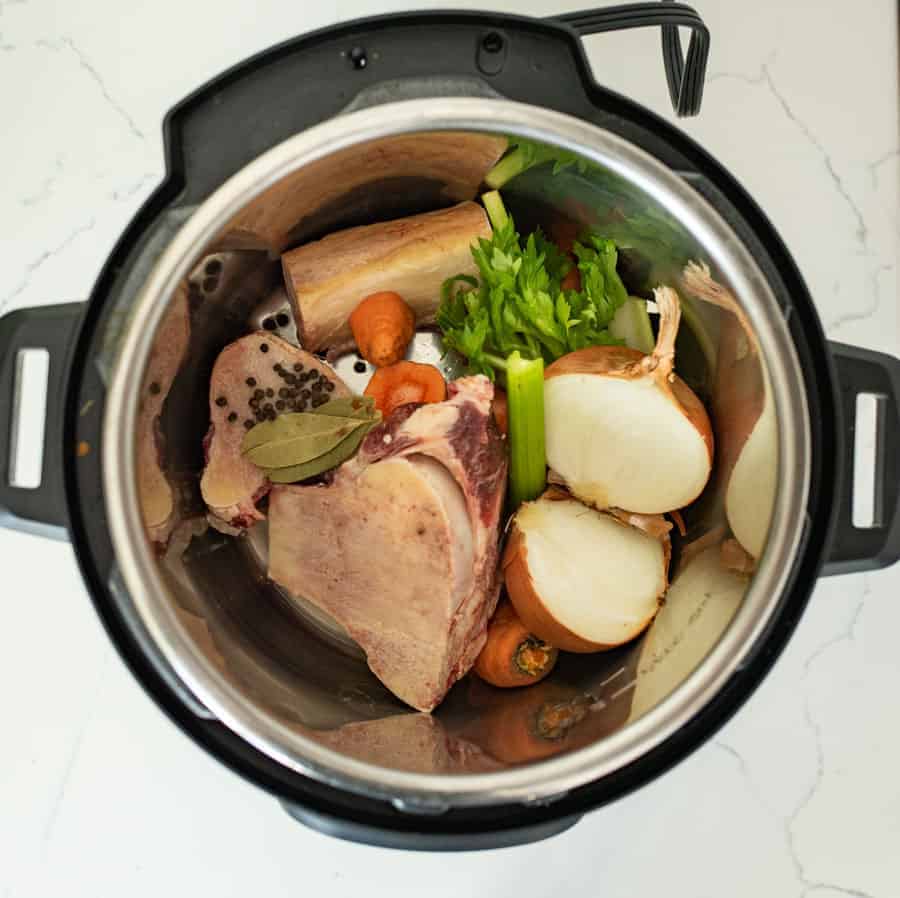
- To prepare the veggies, simply wash them and cut them into a few large pieces. I normally cut the onion in half or quarters and the carrots and celery into 2 to 3 large pieces. There’s no need to peel them or remove the celery leaves.
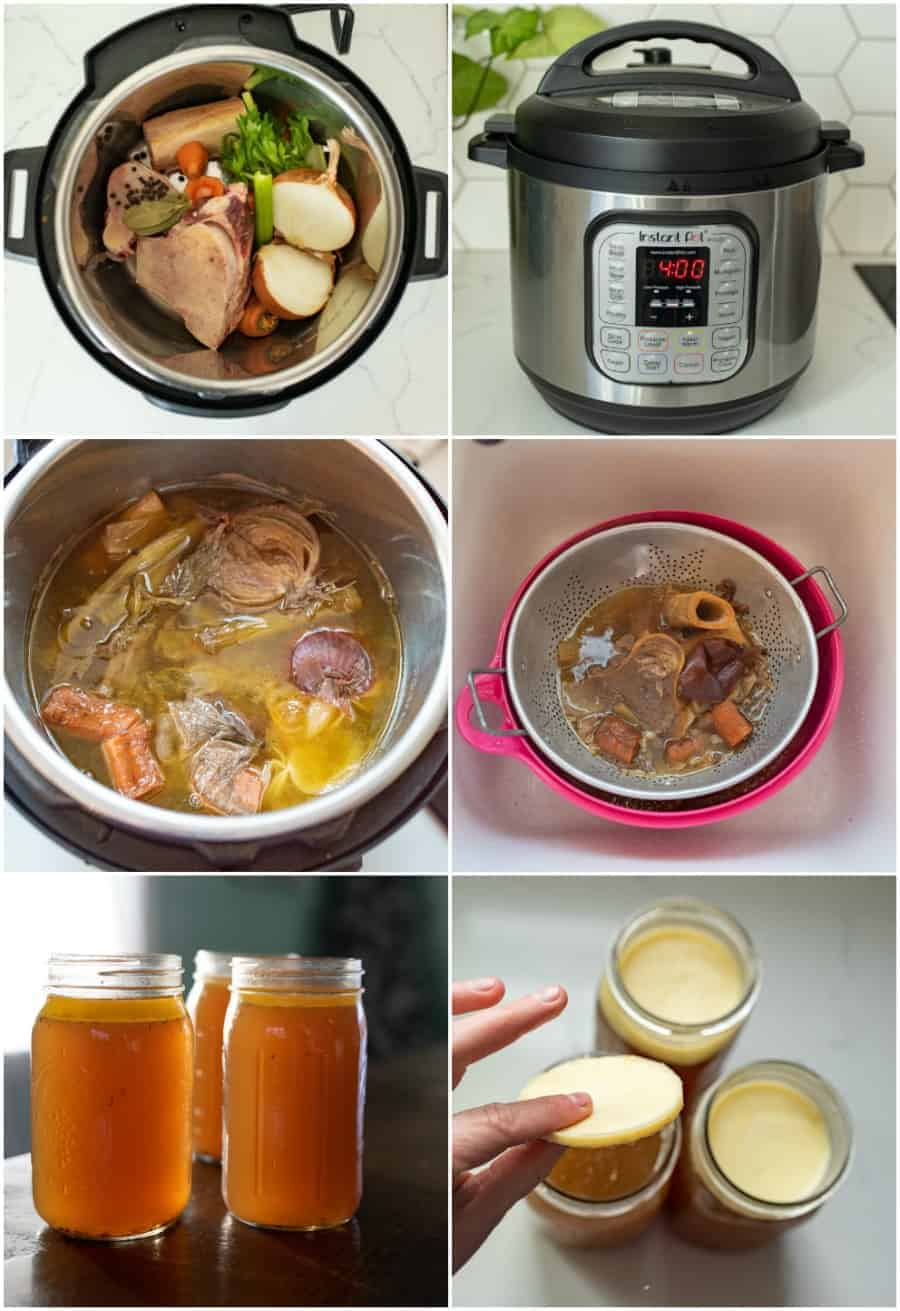
- Add the bones, onion, carrots, celery, bay leaves, garlic, vinegar, and 8 to 12 cups water to the insert of your pressure cooker.
- Place the lid on the pressure cooker, and set the valve to sealing. Adjust the cook time to 4 hours on high pressure.
- Let the pressure cook come to pressure and then cook for 4 hours. When it has gone through the cook time, let it natural pressure release.
- I normally will set the cook time while I’m making dinner and then just let it cook and come down from pressure overnight. The default setting for InstantPots once something has finished cooking and come down from pressure is to keep it warm (it essentially goes to the slow cooker mode), so the broth can stay in the InstantPot for a very long time which means you can deal with it when it’s convenient for you.
- When the pressure has released, remove the lid.
- Place a colander or strainer in a very large bowl in your sink.
- Carefully remove the inner pot of your pressure cooker, and pour all of the contents of the pot into the prepared colander sitting inside a bowl. Pick up the colander, and allow it to drain over the bowl until no liquid drips out. Discard the leftover bones and veggies left in the bowl (see notes).
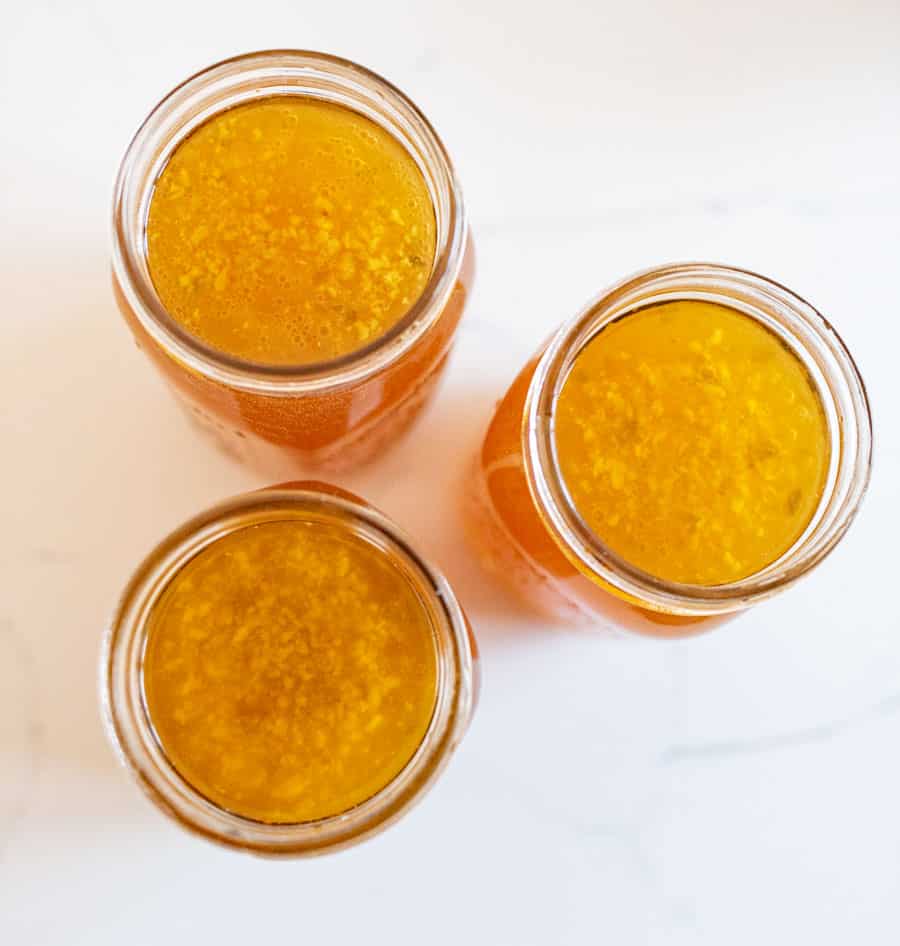
- Ladle the liquid from the bowl into a container(s) that you can put a lid on and stick in your fridge to cool (I use quart mason jars). Cover your containers and refrigerate overnight or until totally cool. Don’t let your broth cool at room temperature, and don’t put hot broth into your freezer.
- The fat will float to the top of the container(s) and solidify into a white layer on top. You can choose to discard the fat or keep it. (It’s up to you; it’s delicious in soups and gravy if you choose to keep it in.)
- Once your broth has cooled fully, you can store it as you like. It’ll keep in the fridge for 3 to 5 days, or in the freezer for 3-or-so months (see notes for freezing tips).
- Use in soups, to make gravy, or as a nourishing drink.
Notes
- *The amount of water you add will depend on two things, how thick/condensed you’d like your broth and how large your pressure cooker is. You’ll get a thicker, more flavorful broth using less water (though I don’t mind it thinner at all — you can always adjust seasonings while cooking). Note that you should never fill your pressure cooker past the 3/4 fill line indicated on the inner cooking pot. So, when adding water, stop when you reach that line, regardless of how much you have added. You’ll be able to fit more water in a larger pressure cooker. If the broth is generally going to be used for cooking, I’ll make more of it and thinner (add 12 cups of water). If I wanting it for a healing drink to be enjoyed on its own, I’ll add the 8 cups of water so that it has more flavor.
- The big beef bones that you have used are very hard and can be used with a dog as a chew bone if you trust them not to chew through them since they’re so hard. I give all the other scraps from the colander (super soft veggie scraps) to my chickens. They love the soft flavorful veggies. I’m left with very little waste from this process.
- You can freeze bone broth in wide mouth mason jars (1/2 pint, pint, and quart all work), just be sure they are wide mouth (not having a “neck” like regular mouth jars reduces breakage) and give the liquid ample room to expand when freezing (I leave 2 inches head space). And be really careful to not let them bump into each other when frozen (like when you are transporting them out of the freezer) as glass seems extra fragile when cold. You can also use something like a “Souper Cube” which is silicone and freezes the broth in 1 cup chunks (great if using a small amount in a recipe). I also love these reusable deli containers (and have them in three sizes). You have lots of freezing options!
- When it comes to buying bones for bone broth, you can ask a butcher if they sell broth or soup bones. We buy a cow or a portion of a cow from a local rancher every so often and I just request soup bones to be packaged when the meat is cut. Most small butcher shops will have them. Feel free to pop on social media and crowd source where others have found bones locally to save time. The bones are going to be large bones (like hips and leg bones) that are often cut in half so that the marrow cooks out easily. You can use knuckles and feet for more collagen in your broth, but I generally don’t.
- After your broth cools, it might look thick like jelly. This is a great sign; that’s the collagen and marrow and what makes homemade bone broth nourishing. If yours does not look like jelly when cold, it’s just because you used more water and it’s more diluted OR it’s because you didn’t cook it long enough. No worries, all that goodness is still in there.
- The vinegar is what makes this more of a “heritage” recipe. It’s a very old tip that helps to pull the nutrients out of the bones; I think it’s vital to making nourishing broths.
- I make bone broth the same way in my slow cooker! Add everything, cover, and cook it on low overnight. Easy!


It tastes like beef broth! Finally!!!!!! Thank you for teaching me better ratios of stuff and a quicker way to make the broth! I did need to reset my IP to low slow cook last night before bed ……my keep warm feature shuts off after 10 hours and today was my sleep in day? Now to cool, remove the fat and package it up for future use…happy day to you!!!!
I’m so happy it worked out for you, it was easy wasn’t it?!
I love making broth….but it always tastes like a bunch of veggies…..most recipes just say to add some…..I like that you put actual quantities…it gives me a better idea on the ratio…..I have been using way too many veggies! I’m gonna try your Instant Pot method and give the crock pot a rest. Thanks!