This post may contain affiliate links. Please read our disclosure policy.
We’ve had a very productive few weeks at the house and I thought I’d show you some of the progress we have made!
If you are new to the blog or just tuning in, my husband and I and our 5 young children are building our dream home in beautiful southern Utah. We are doing 99.3% of the work OURSELVES and we are 22 months into the journey. It’s been a wonderful but arduous ride and we are so excited to be nearing a move-in date. We are tired but we are excited. Years of dreaming, working, and planning are coming together into a beautiful home we plan on living in forever.
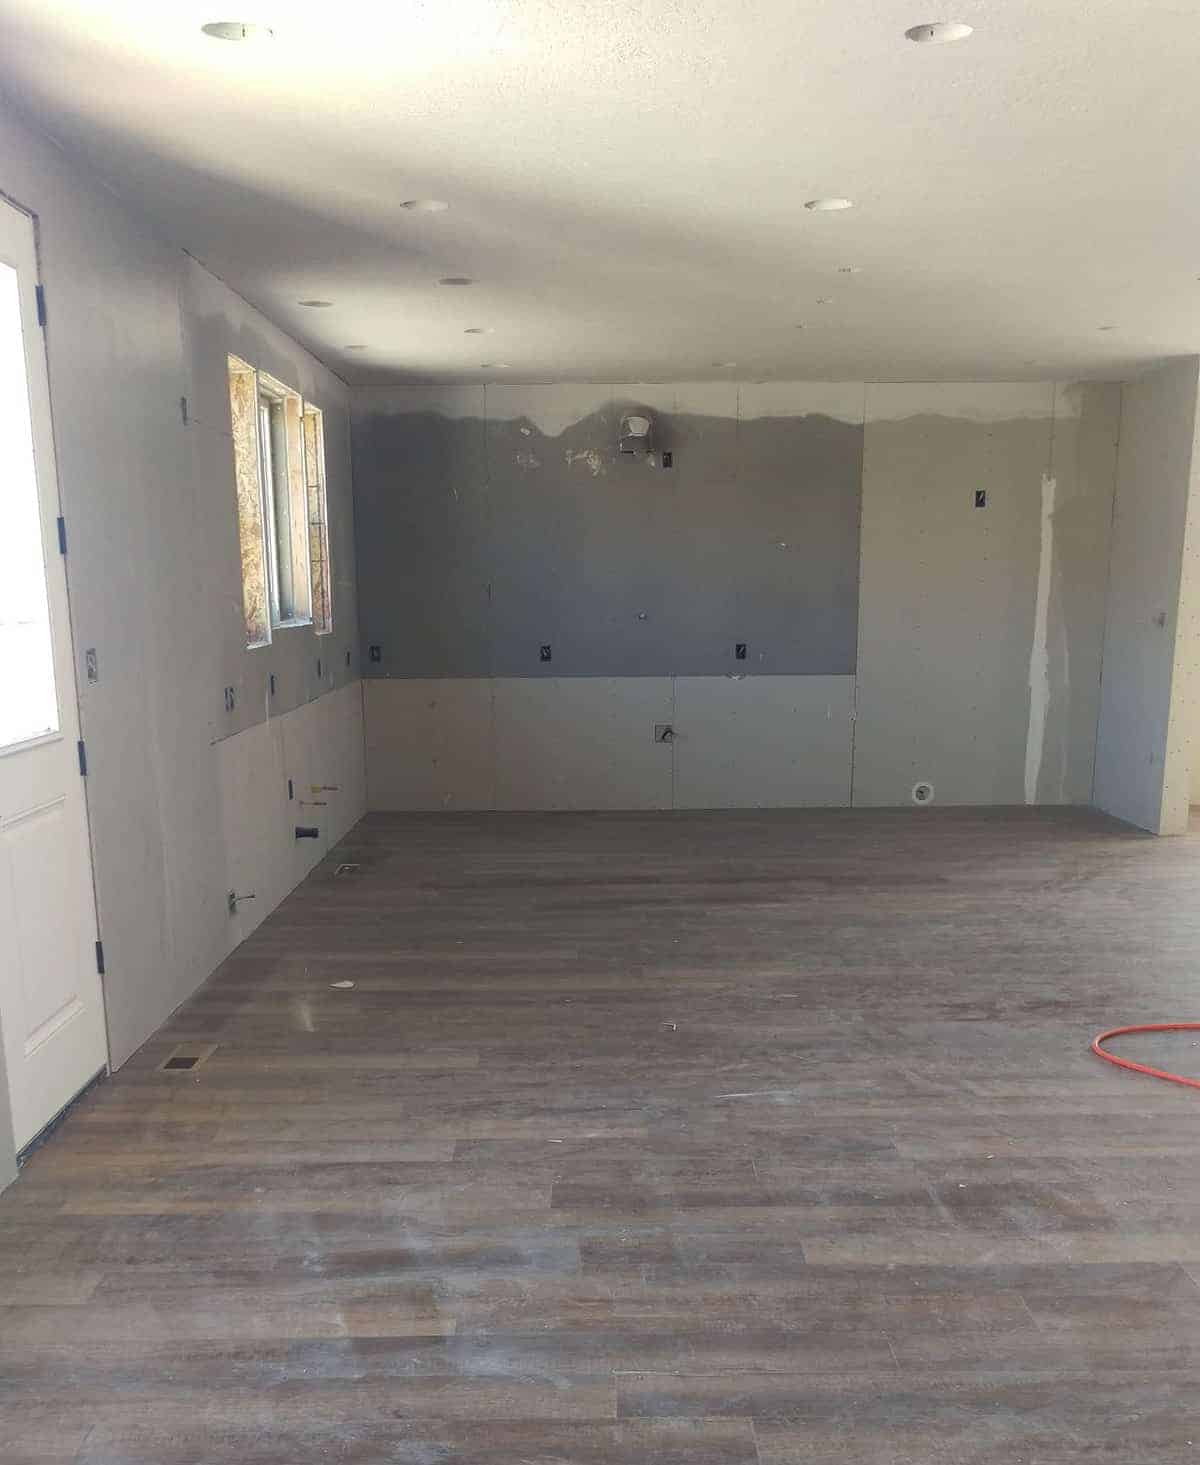
Our workload the past few weeks hasn’t really increased, but the house sure does look different from just a few weeks ago because the work has been big, fun, and obvious. Plumbing and wiring were just not that exciting without big visual changes; getting flooring and cabinets, though have changed the whole house. It’s starting to look like a home!
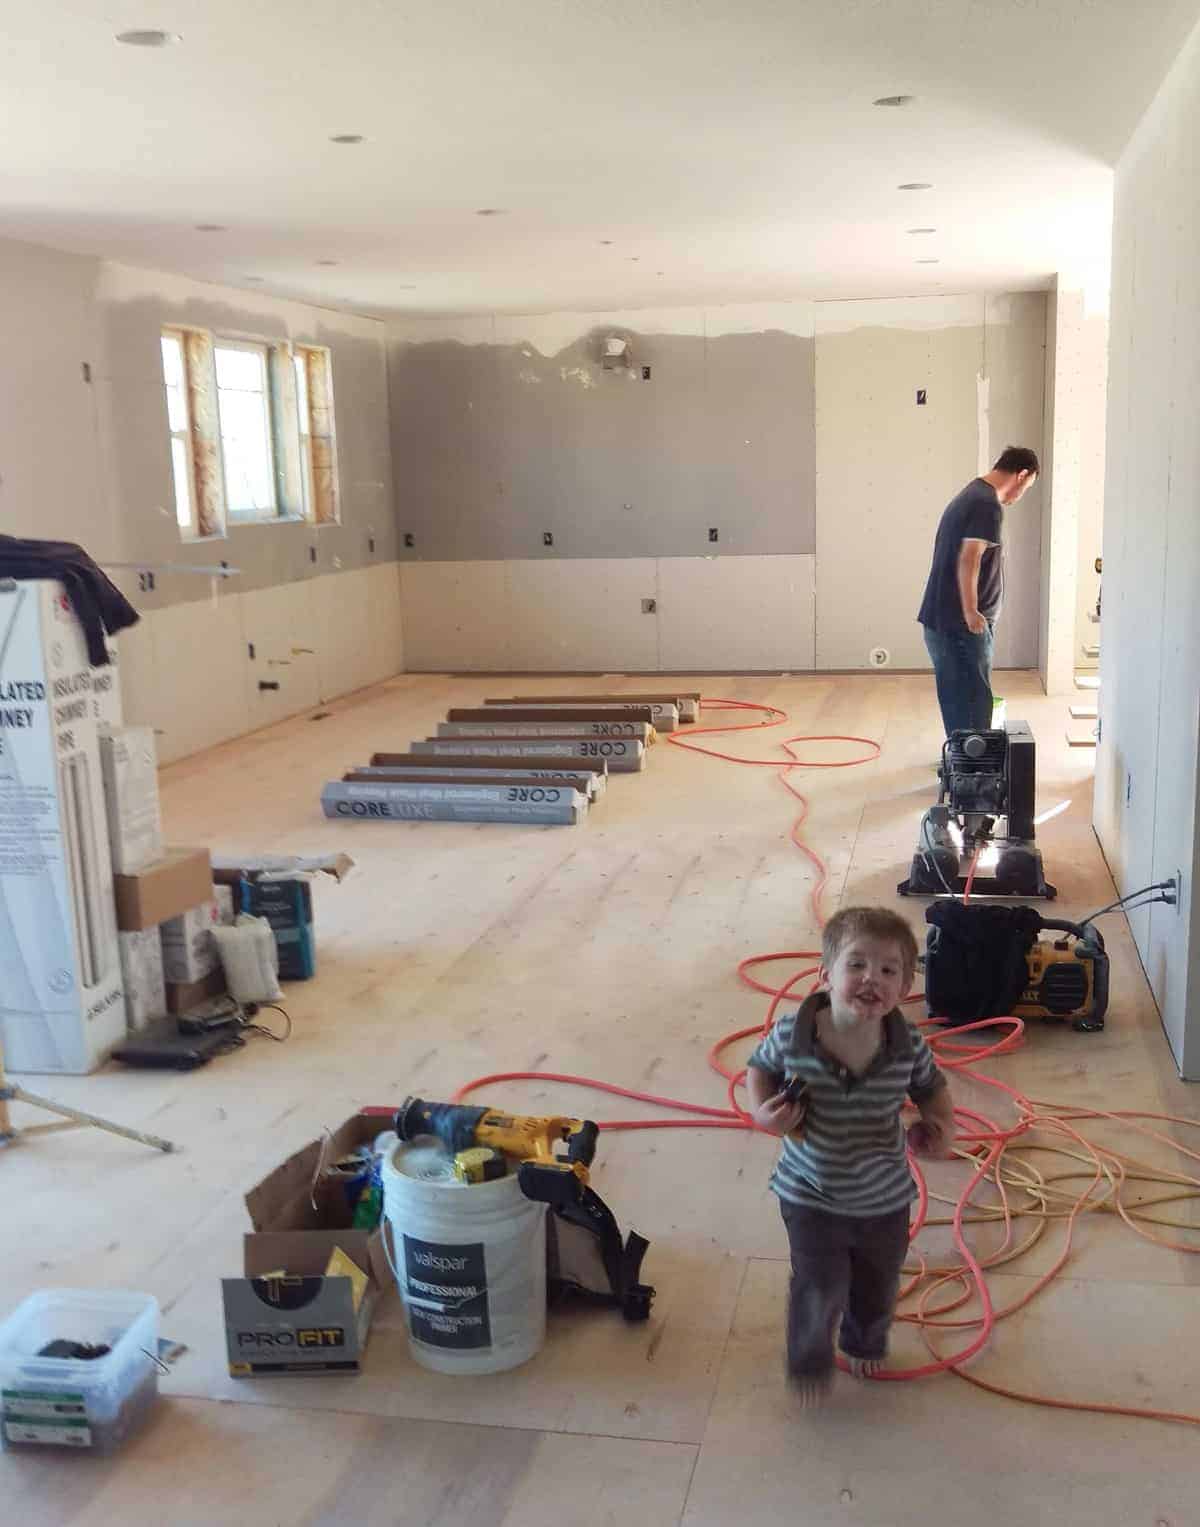
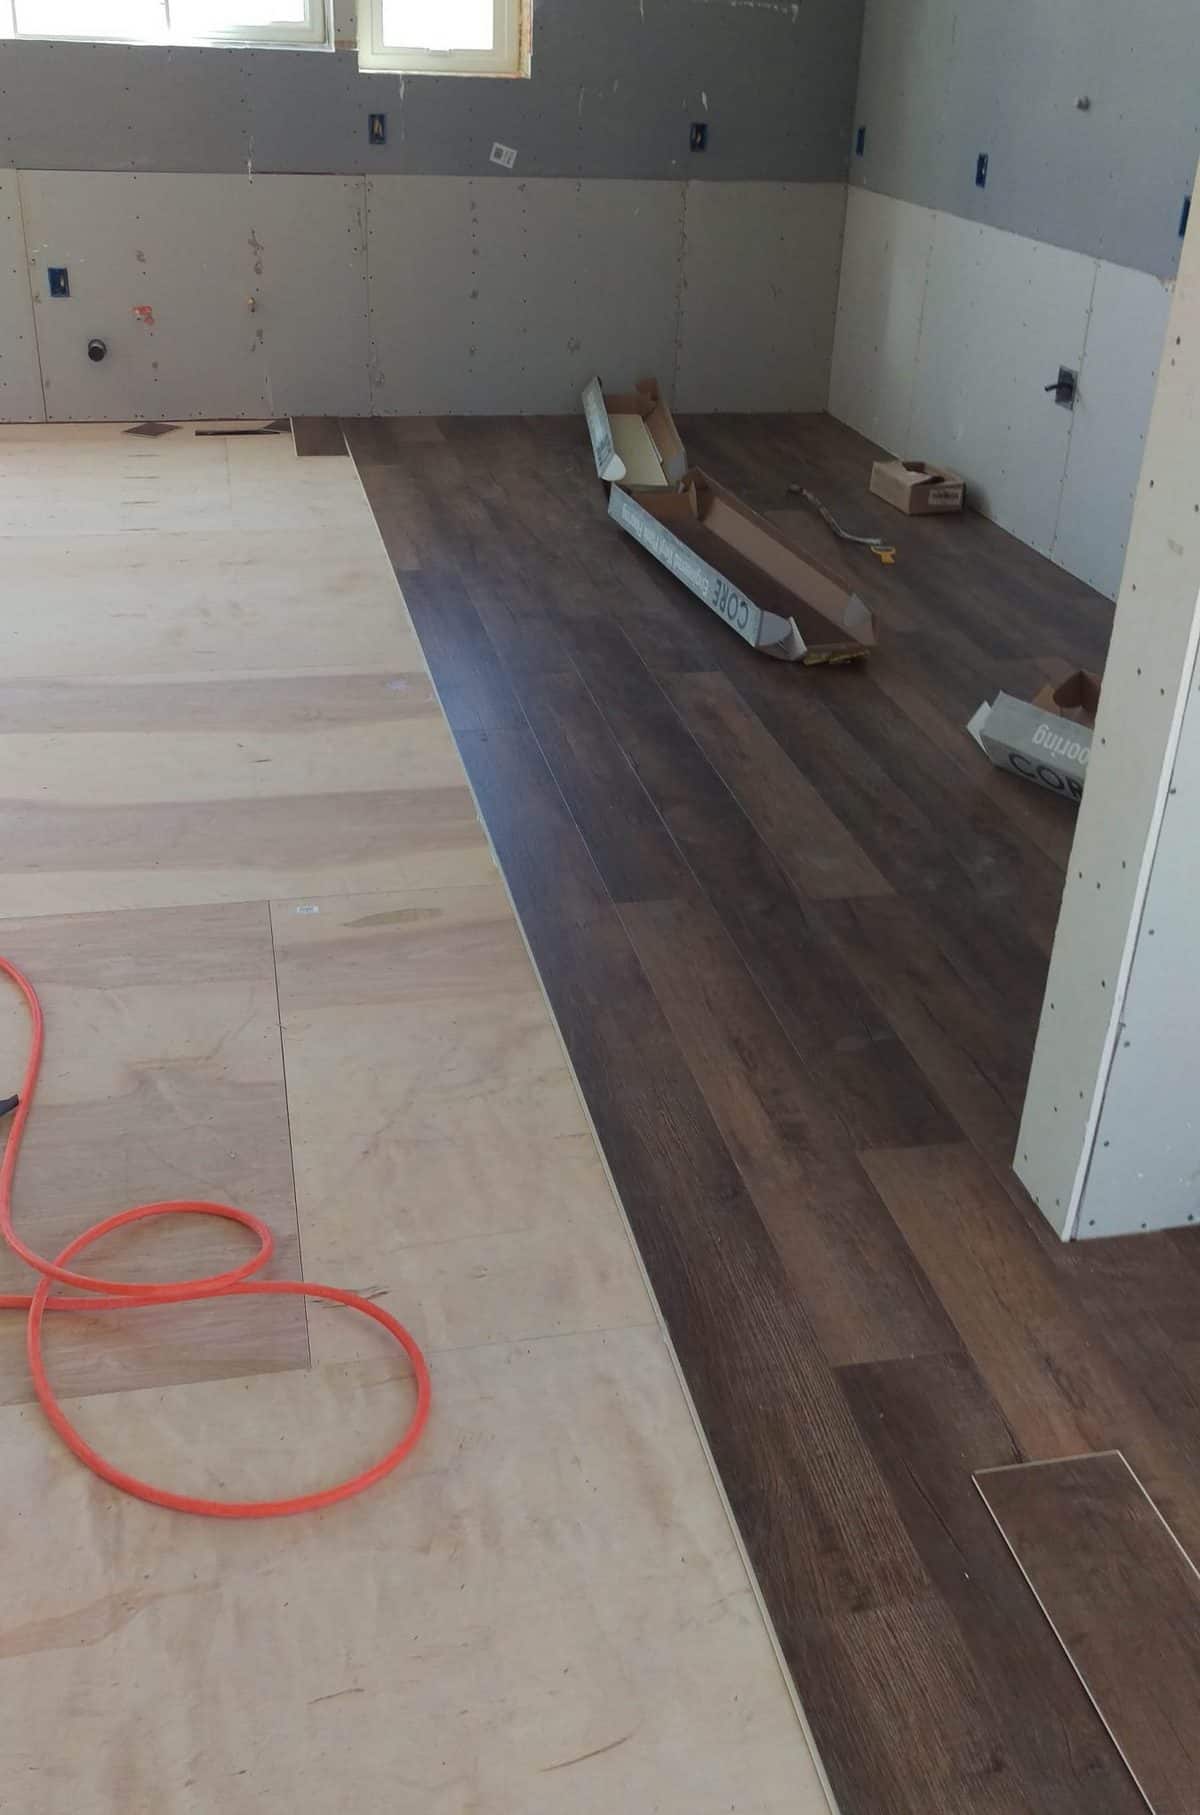
Our sub-floor was pretty beat up from weather, working, and life, plus I picked out some pretty thick tile (this post has all the pictures of my pretty tile), so we decided to add a layer of sheeting on top of the current sub-floor to smooth it out and raise the floor just a bit to make the transition to tile in a few places less obvious. Even just adding the sub-flooring made the house look so different and we kept teasing that we should just finish this layer and call it good.
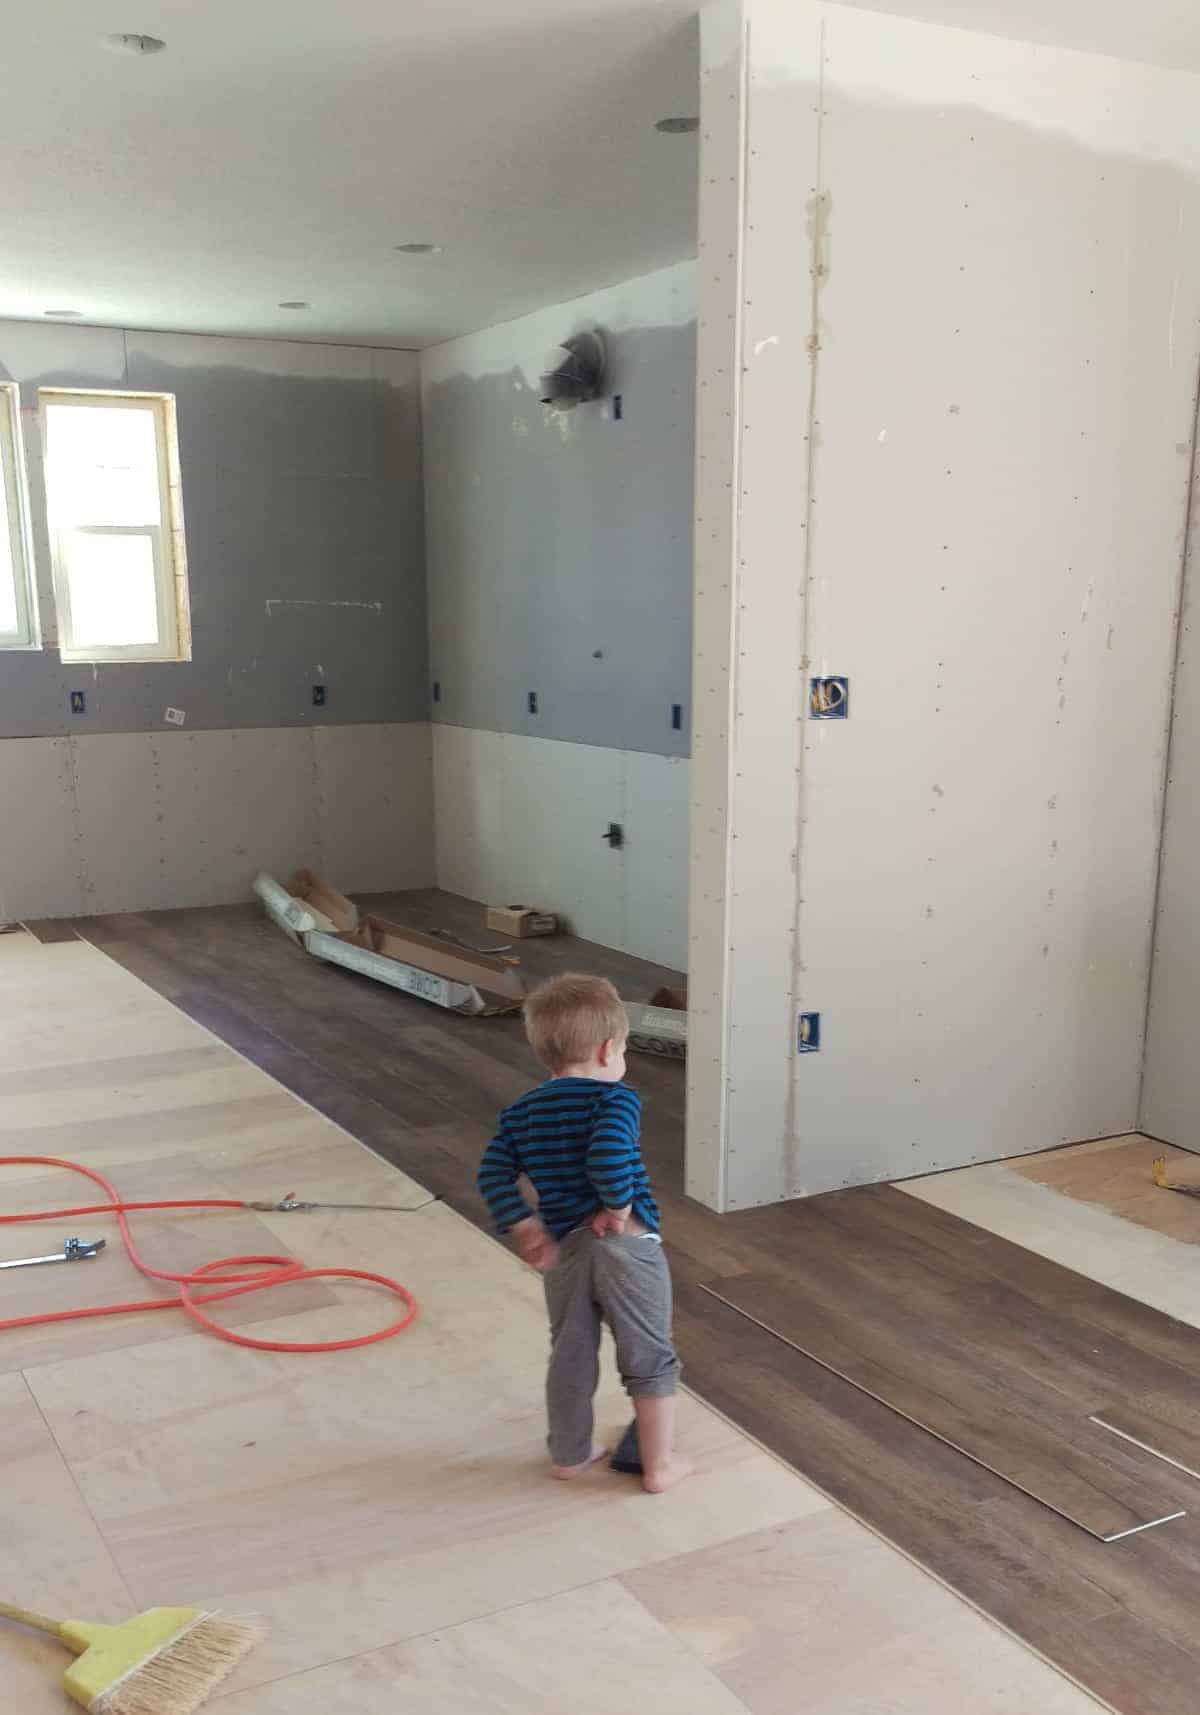
But stop at the sub-floor we did not. I picked our Luxury Vinyl Planks from Lumber Liquidators in Farmland Hickory and I’m so, so happy with them. Hardwood floors with my family just seemed like way too much upkeep so after a ton of research, I went with vinyl blanks. This color is gorgeous. It has a really thick wear layer (8mm), it has nice textures, the finish is slightly matte which I love, and I plan on loving these floors for years and years to come.
We started laying floor on Monday afternoon and Thomas and I worked on it like it was a full-time job for a week solid. We’ve been working on this house for so long that we don’t do big marathon work weeks very often anymore. They leave us too tired and our children too emotionally needed from having parents who were busy and too tired all week. But cabinets were coming and we had to get the floor in so we spent hours and hours and days and days laying this flooring ourselves.
It was the week of quesadillas, grilled cheese, and cold cereal for dinner. On Saturday night of that week I took the kids home around 8pm to put everyone to bed and Thomas stayed to finish laying the floor alone. He came home after midnight, exhausted, but all of the floor was in!
We chose to glue this flooring down (it clicks together and can be a floating floor, but for how large of spaces we needed to cover we thought it better to glue it too). The glue said it came off easily from finished surfaces and after the first day it did rub right off, so we kept on going. What we didn’t realize was once the glue cured for a few days that it would be a nightmare to get off. I have little specks of glue all of my entire floor from my dirty hands, little feet print stepping in it and then walking, laying it too thick and it coming up between the cracks. It’s literally everywhere. I have worked for days and days to try to scrape it all off, but even once it is off you can see the residue of where it was. I finally called the manufactures to see what would take off the glue and I payed over $100 for fancy glue remover. It’s taken me days to clean part of the floor and I have so much left.
Word to the wise, if you go with this flooring, clean the glue as you go and save yourself the headache later.
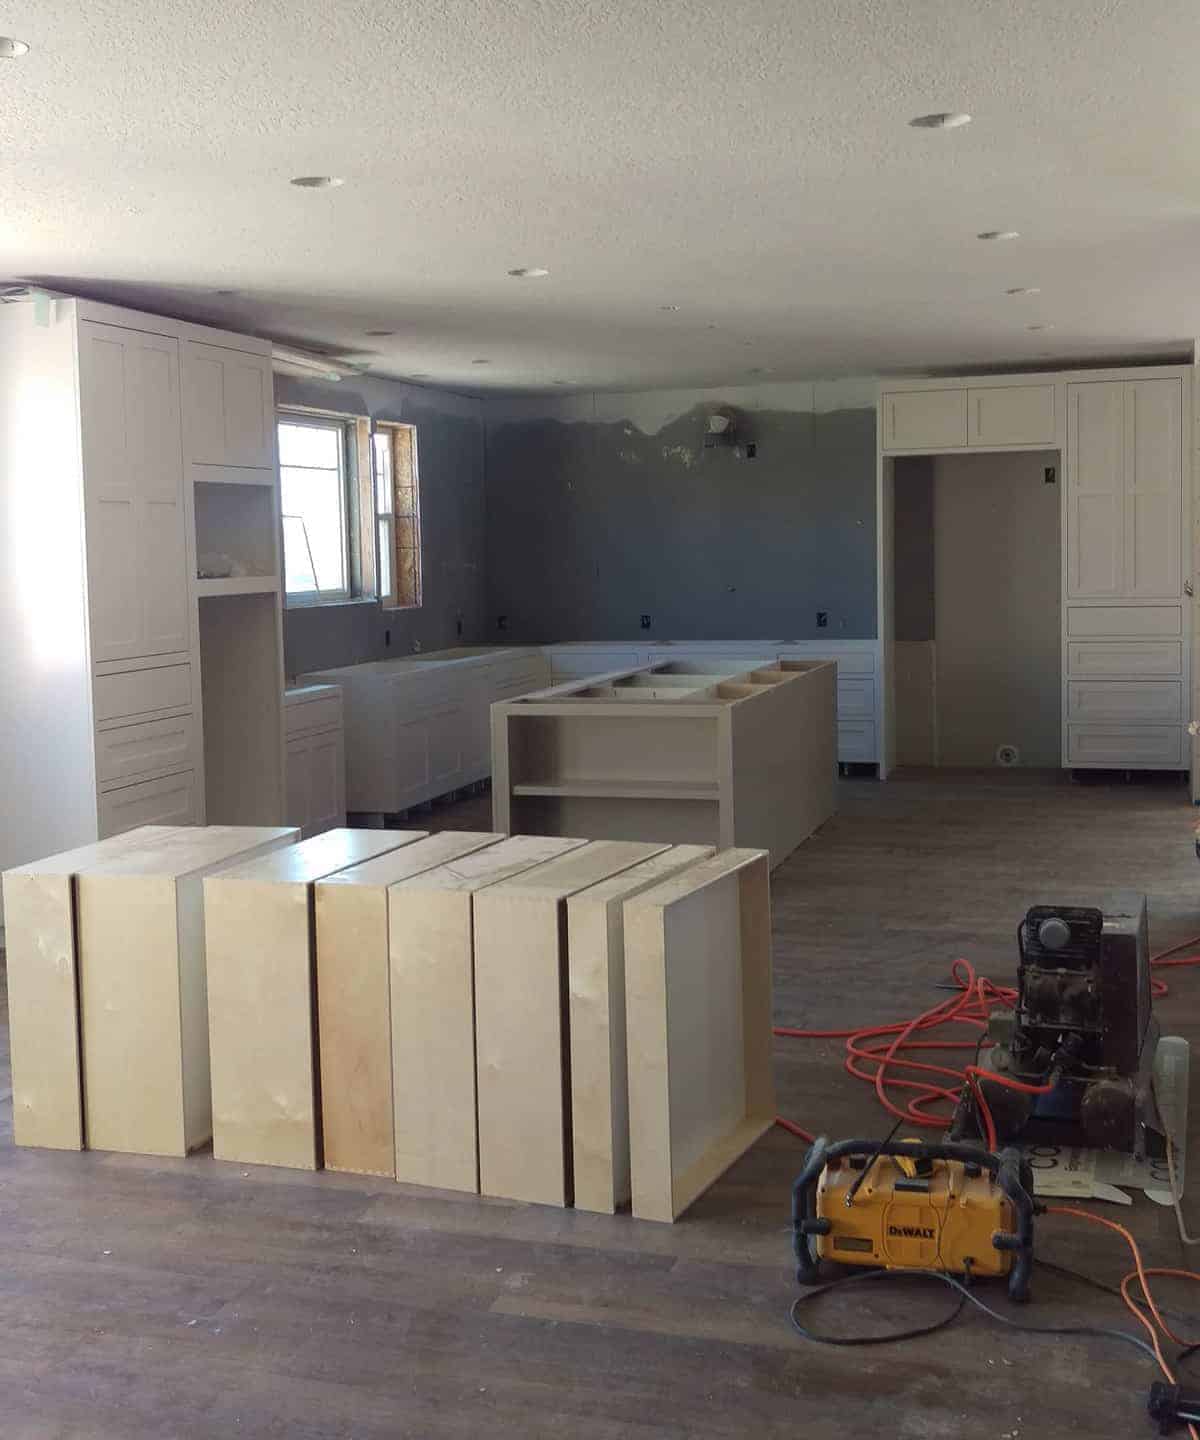
Just the week after the flooring went in, our cabinets came! I planned all along to just order cabinets from Home Depot and install them ourselves. We did that in our remodel and it was great. I spent a total of 15 HOURS sitting at a little desk in Home Depot (which is 2 hours from my house, so it’s a major time commitment just to get there), and they still hadn’t helped me figure out what we needed. So I started shopping around for custom cabinets because I was so tired of spending so much time at HD without much to show for it.
I contacted 10 custom cabinet people, only 4 returned my calls and emails, and of the 4 that I asked for bids from, only 2 ever got me the bid. One was for a price very similar to getting the Home Depot cabinets and one was about $10,000 LESS than getting HD cabinets. The quote came from a guy who actually has a sister that lives in the next little town over and lots and lots of people have used him here. So I was able to go to some houses locally that have used him and see his work and talk to people. I’m SO happy we chose to look around and get custom cabinets.
With the money I felt like I was saving on the cabinets I went ahead and had him do my mud room, laundry room, a storage thing in my bathroom, and my book-nook upstairs and we came out just over what I would have spent at Home Depot. The cabinets are gorgeous, well made, and I got to pick everything out, including the colors, just how I wanted. I’m really, really happy with how the cabinet situation turned out.
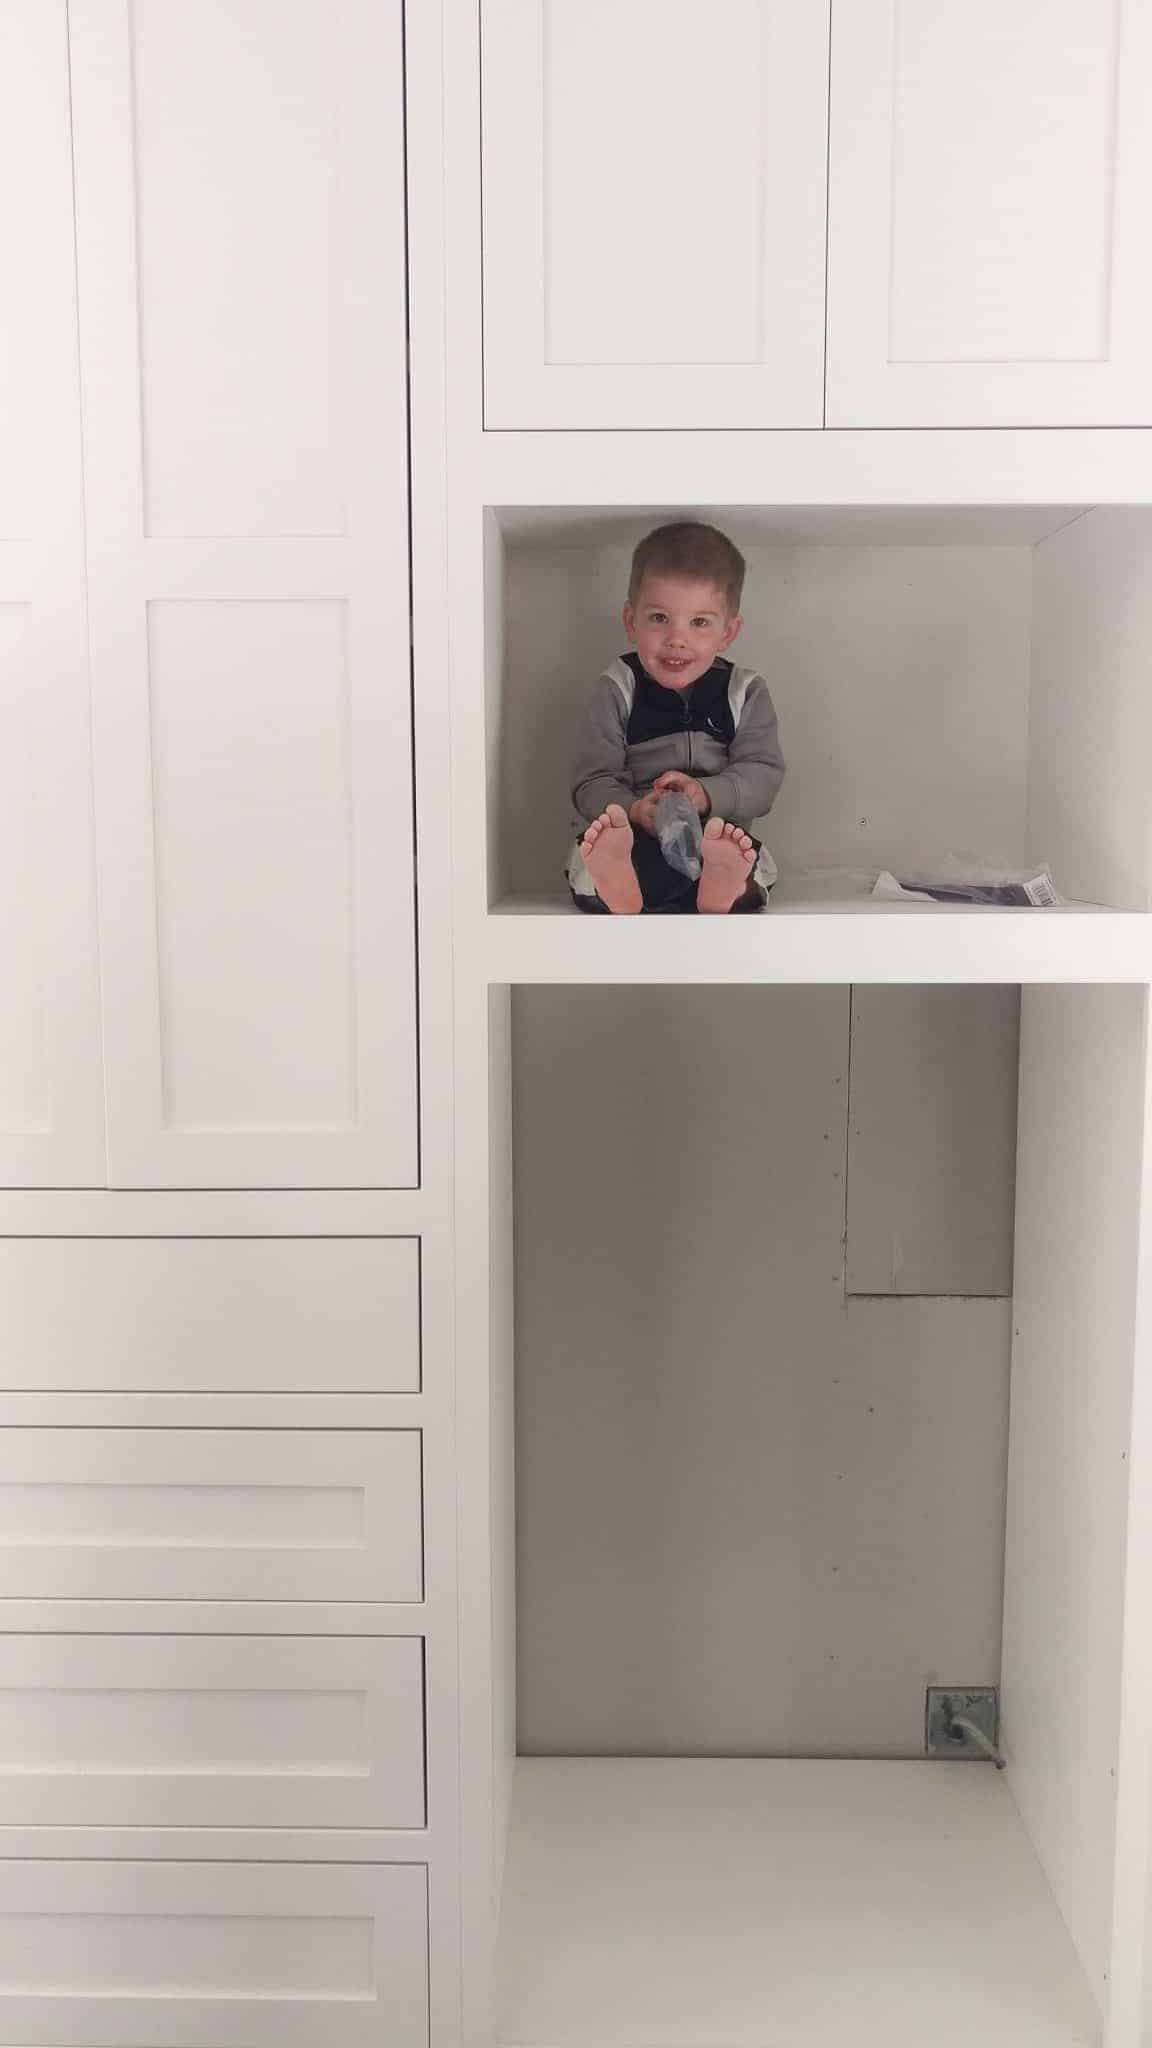
Bebe Graham in the microwave hole! I’m not going to lie, I teared up when I walked in and saw the cabinets in. They made the house look so real.
I still have some complicated house emotions to work through (did you know I started therapy the summer after we started building? Well, I did and it was the best choice ever). It’s been so long and so much work that I try to keep myself from getting excited so that I don’t get burnt out or jaded or down-right sad and depressed when it just takes months and months of work to get anything done. Then I feel guilty because I’m sad, burnt-out, and jaded while building the house of my dreams. And on top of all of that, I spent too much worrying about comments other people make about the house. Complicated much?
Anywho, I feel like seeing the cabinets was one of the first times in a really long time that I let myself see myself living in the house. I thought about where my favorite cast iron skillet might go, and which drawer should the spices go in. I dreamed about all of the cookies I would make on that island, and how many years I’d get to look at my beautiful mountains while washing dishes. It was glorious.
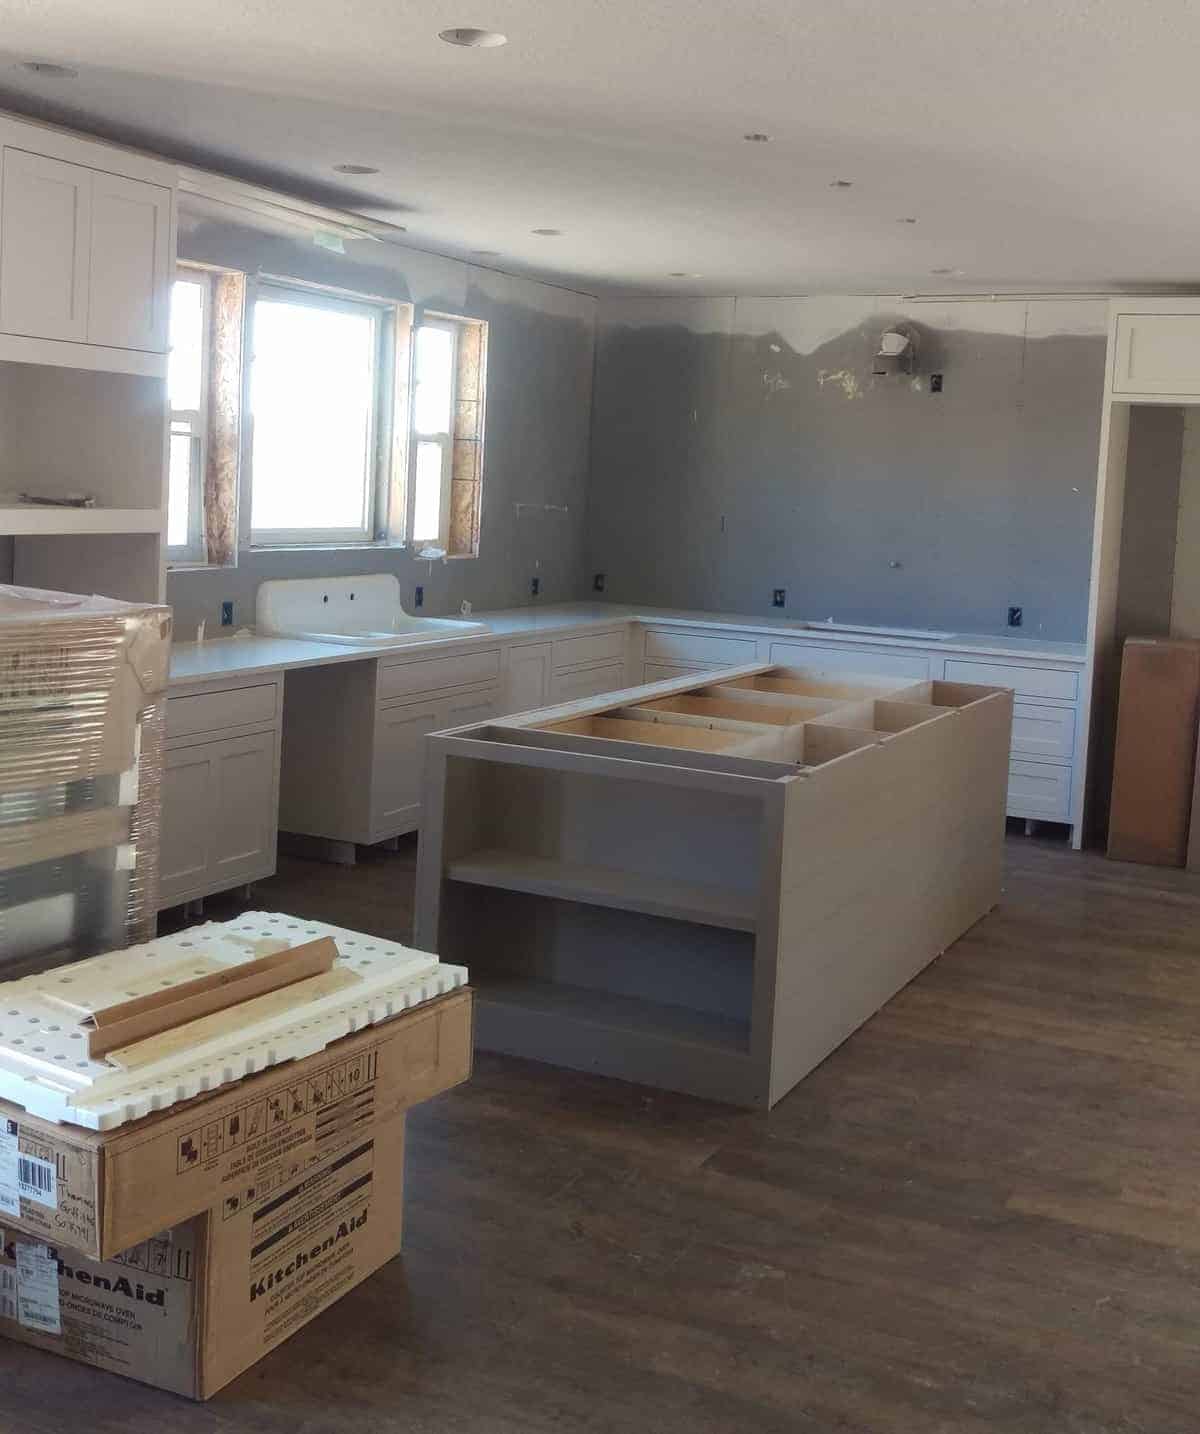
Friends, how perfect is this kitchen? This is literally my dream kitchen and I cannot wait to cook in it. Come and visit it and I’ll cook for YOU in it!
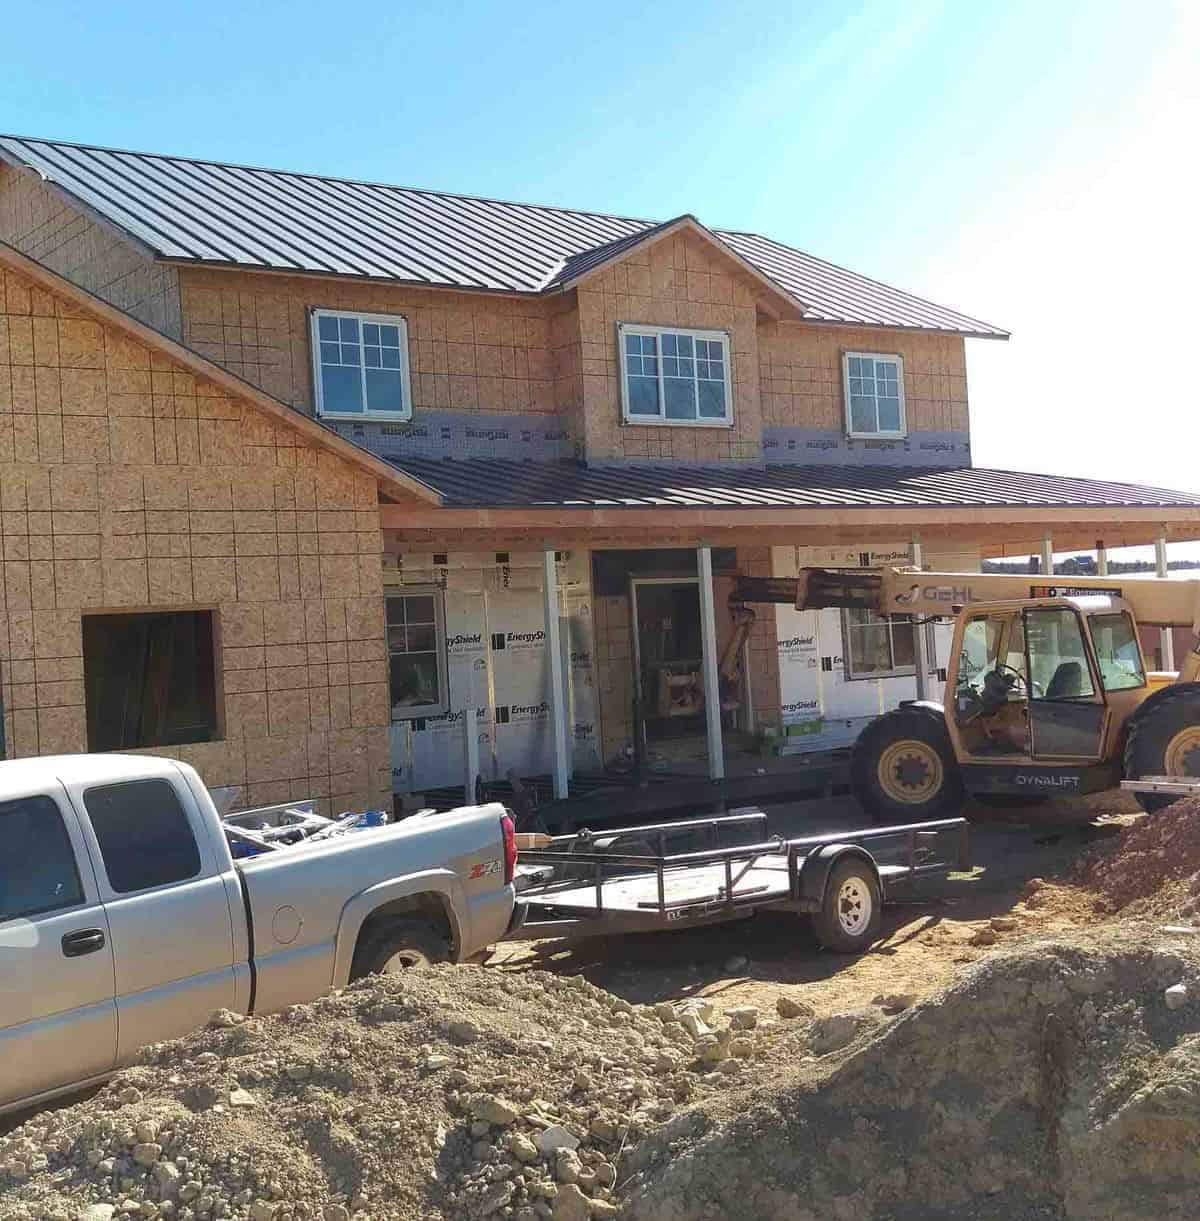
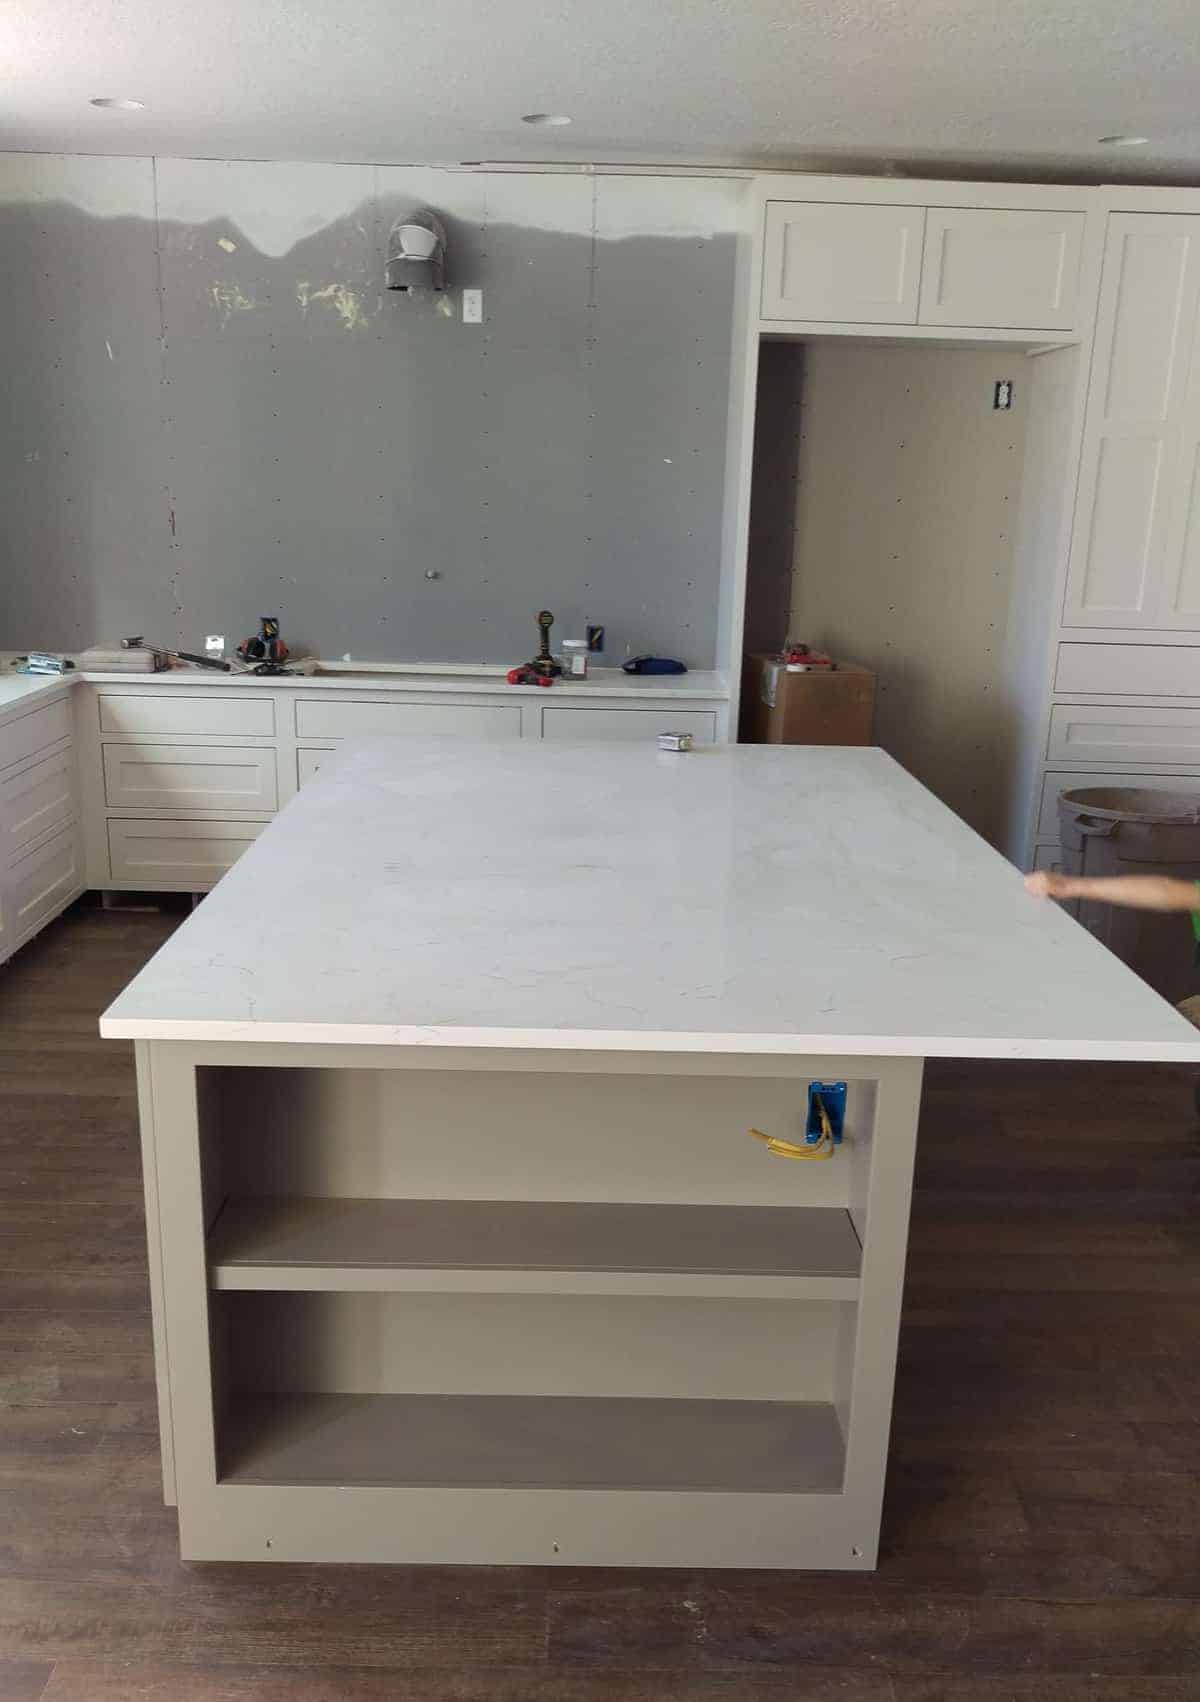
Next were countertops! And while we are on this picture (above) can you see how much of the porch Thomas has done? It’s all roofed and the roof has all of the tin on it. The wrap-around porch really grounds the house and makes it look so pretty from the outside.
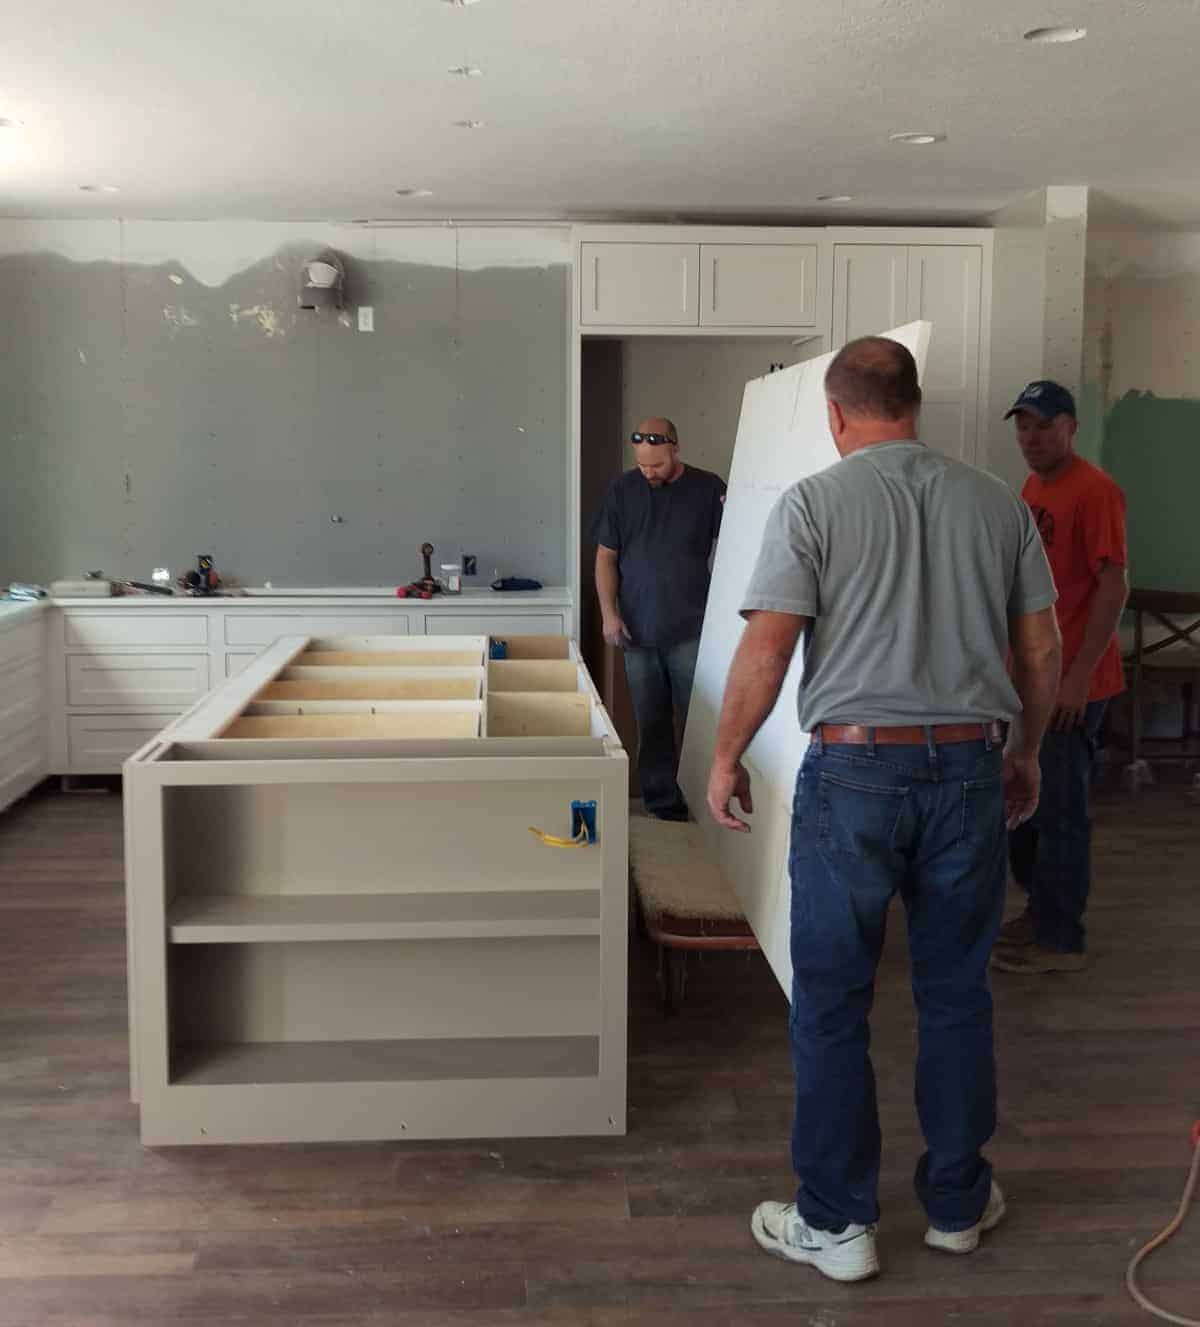
Here they are getting the 10’x5′ island countertop in. The guy said it weighed almost 1000 pounds!
Isn’t she a beaut? And this kitchen sink, my friends, makes me swoon. It’s a vintage reproduction and it’s huge, almost 4 feet wide!

I decided while we still had the money that I would go ahead and get my dining room table made. We planned the room and the table together and I really wanted to be able to use it as soon as the house was ready. The table is 4.5 feet wide and 9 feet long with 4 benches down the two sides. We should be able to fit tons of people and tons of food on and around this table. When we sold The Shanty (the first house we bought together and loved but never got around to fixing) last summer, I made sure I took some wood before the deal was done. The Shanty was built in 1898 but was in really rough condition. The guy who bought the land from us said he planned to tear the house down. So I took lots of floor beams and have been keeping them in our barn since then. The top of this table is made from my almost-120-year-old Shanty wood and it makes my heart so very happy. The man who made it for me really kept the integrity of the old wood and all of the old saw marks are really easy to see.
This table means so much to me and I can’t wait for all of the memories we are going to make around it. I also had him use Shanty wood to make 3 floating shelves for the kitchen. There were some cool old square nail holes (because the wood is so old they had square nails back then!) and he really took the time to highlight those old details. He made the fronts of the shelves with pieces that had the best nail holes. I can’t wait to show them to you.
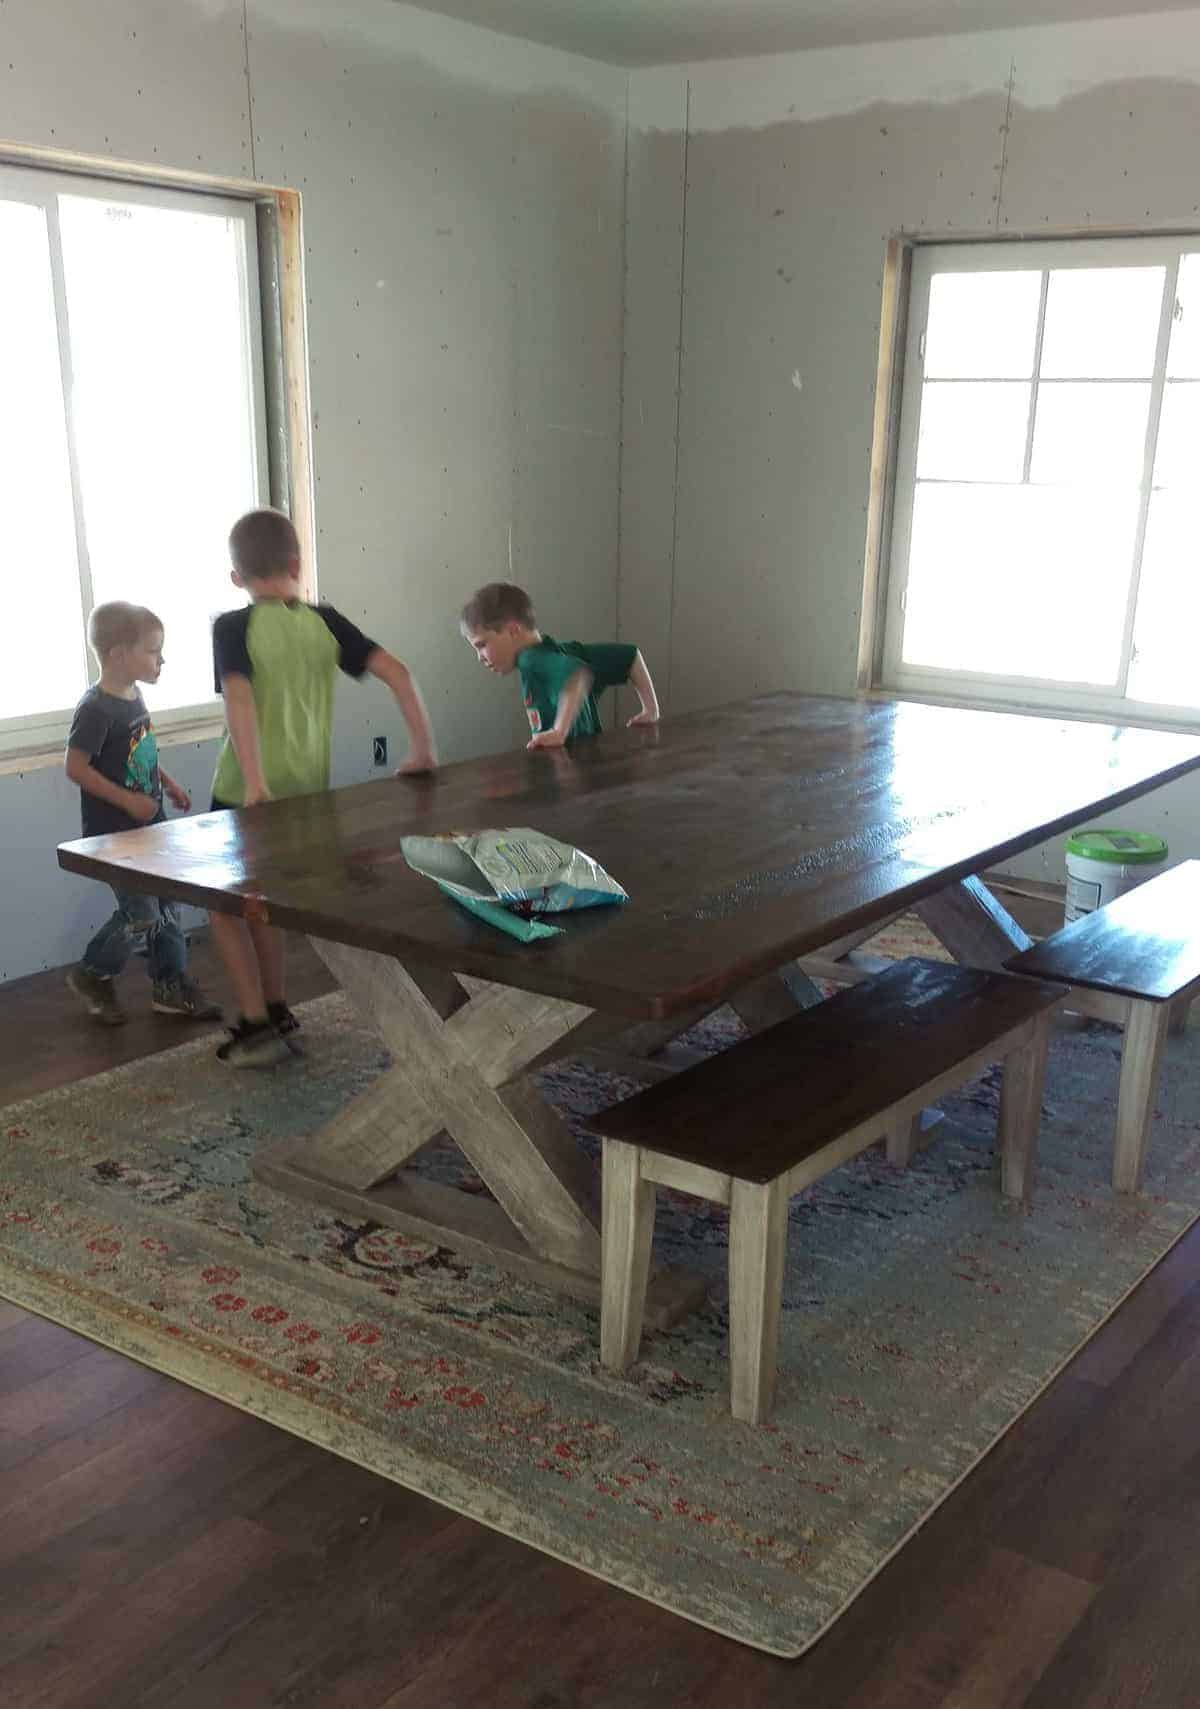
I had to put the rug down because the table weighs a whole lot and I didn’t think I’d get the rug under it once it was in. So once the table and rug were in, it was time to pick the wall color. I’m doing shiplap in this room but instead of the traditional white, I wanted green shiplap with white trim. Green is my favorite color so I really wanted it in here. My house is pretty neutral (lots of gray and white and brown), so this green is fun. I picked the lighter of these two colors shown.
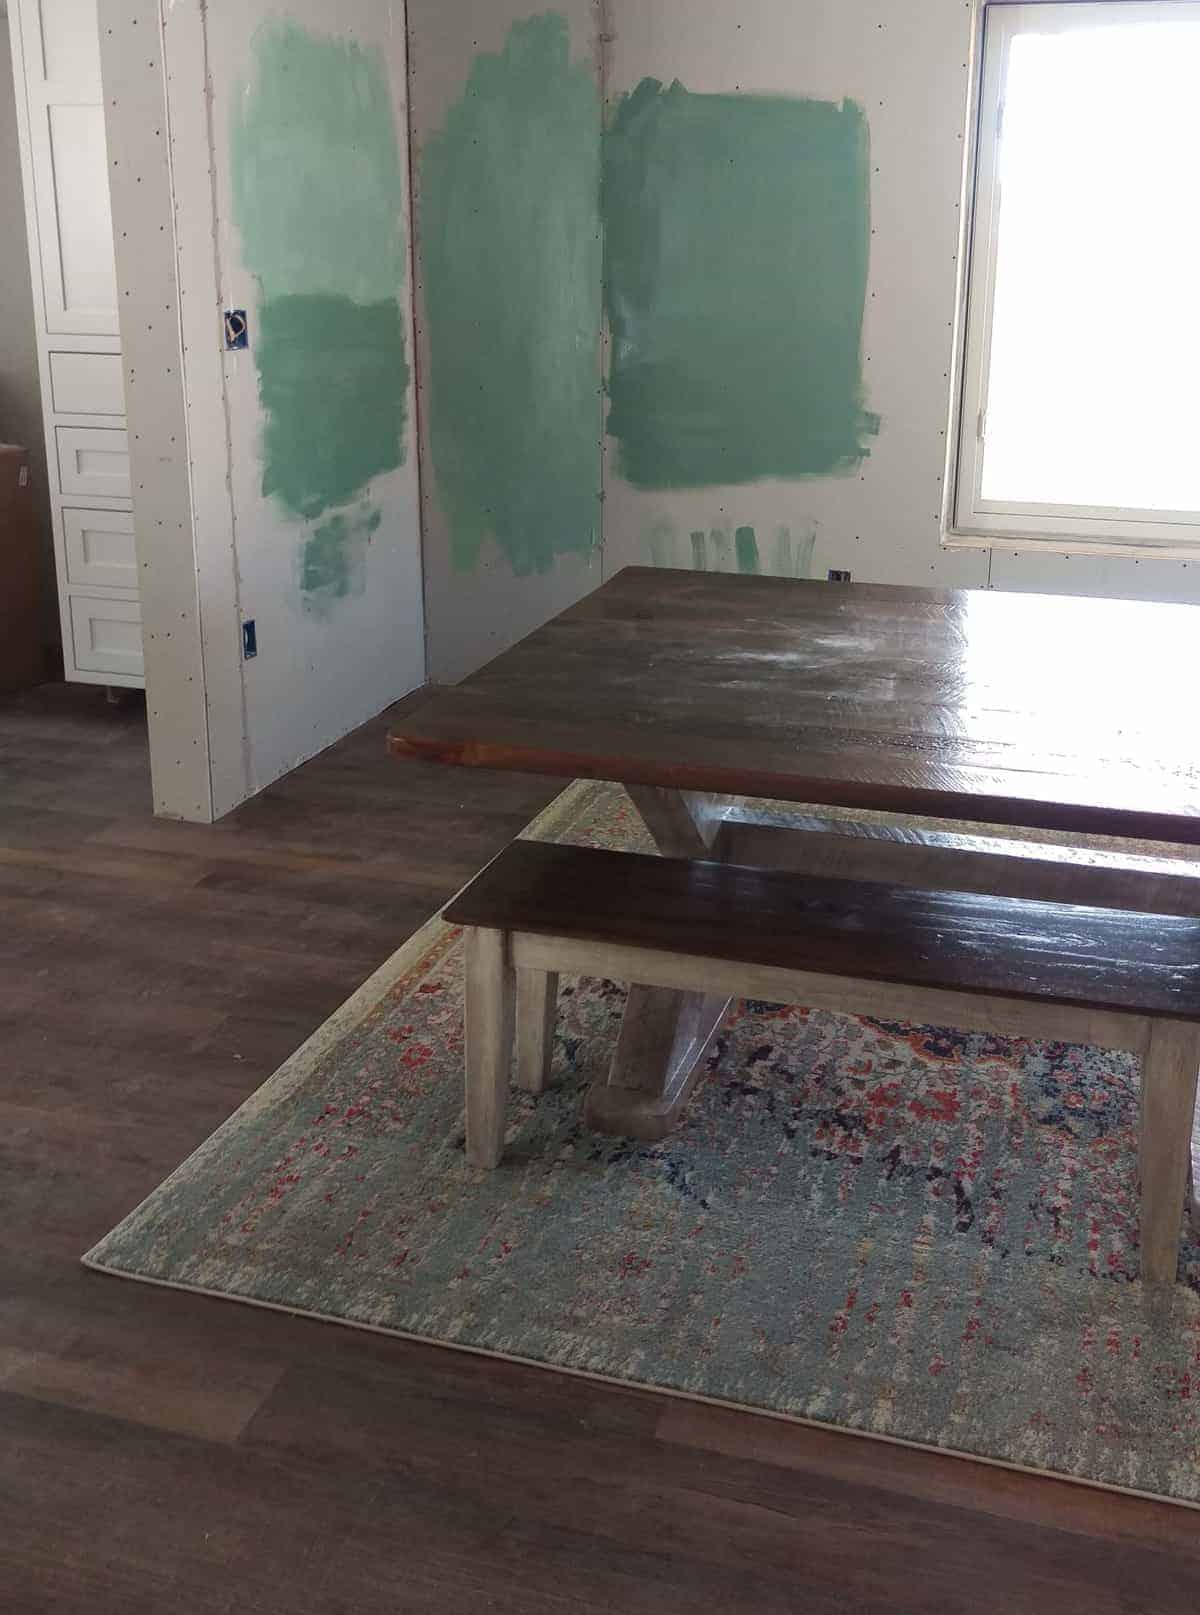
My custom copper hood from Coppertop Metals goes on this wall (below) and I pick it up this week. Then we are doing white hexagon tile to the ceiling for the back splash.
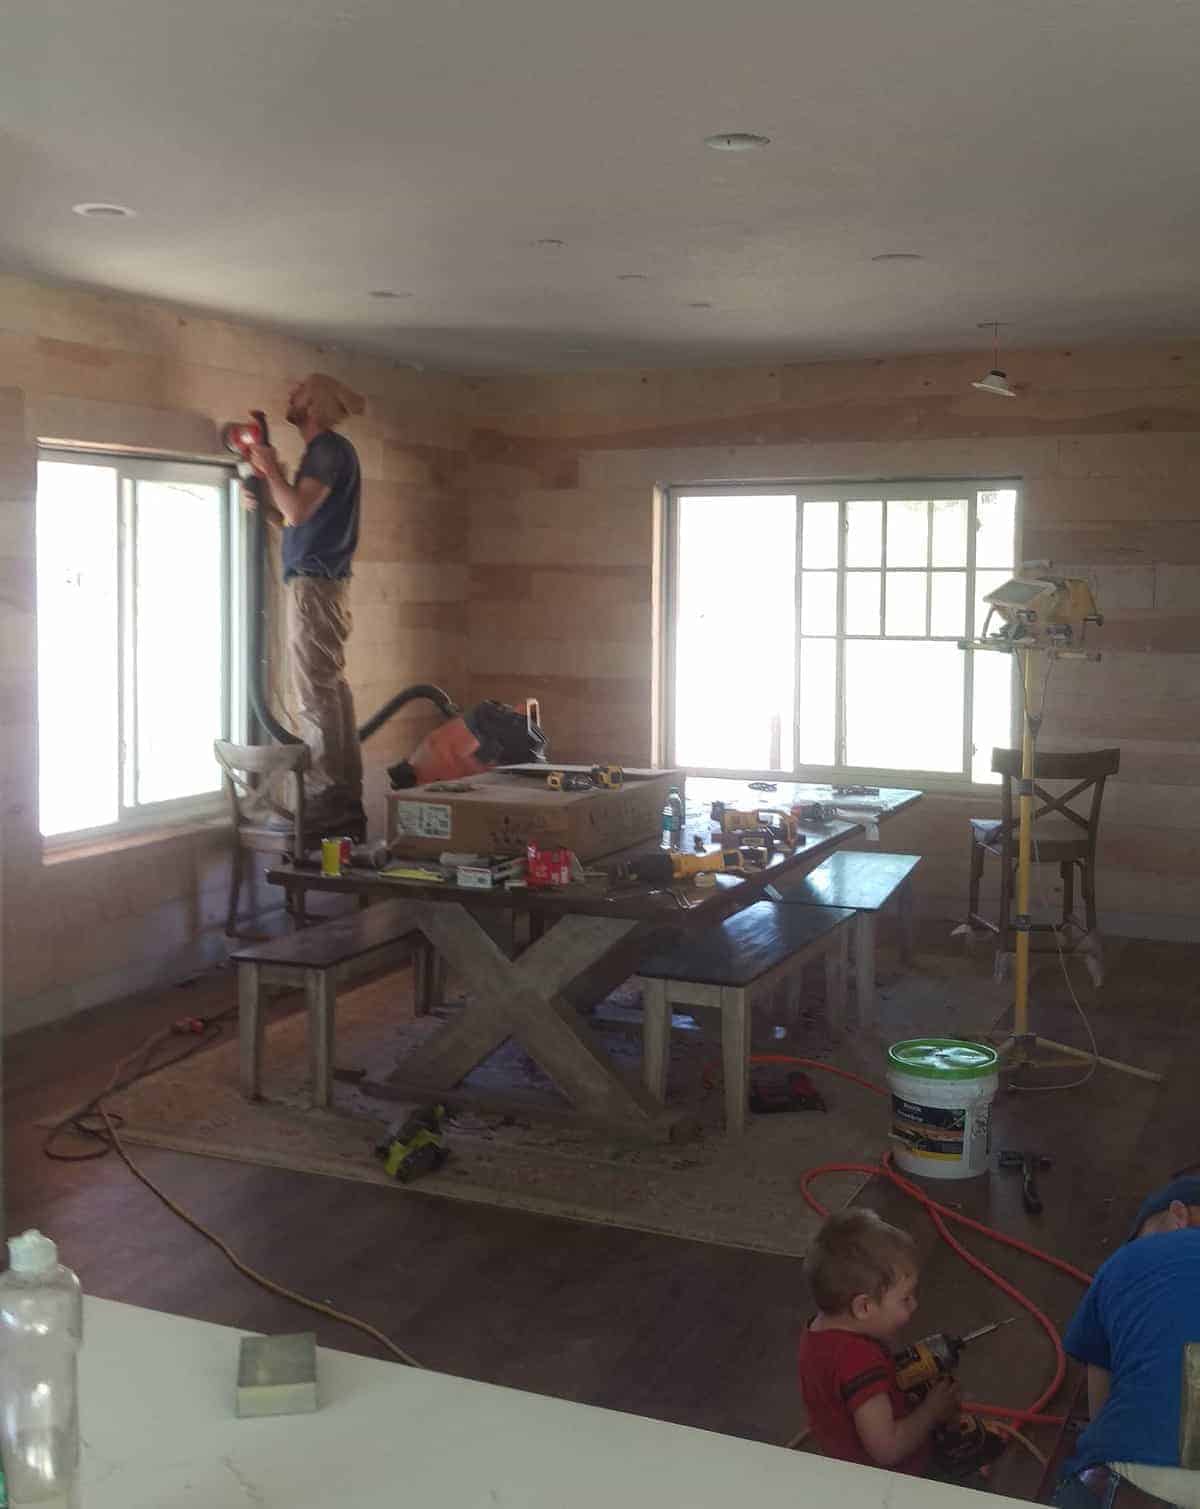
Over Thanksgiving, Thomas had some wonderful cousins show up and make themselves SO useful. We got lots of shiplap up, we puttied the stable holes, and sanded them smooth. Now all this room needs is paint, trim, and lights.
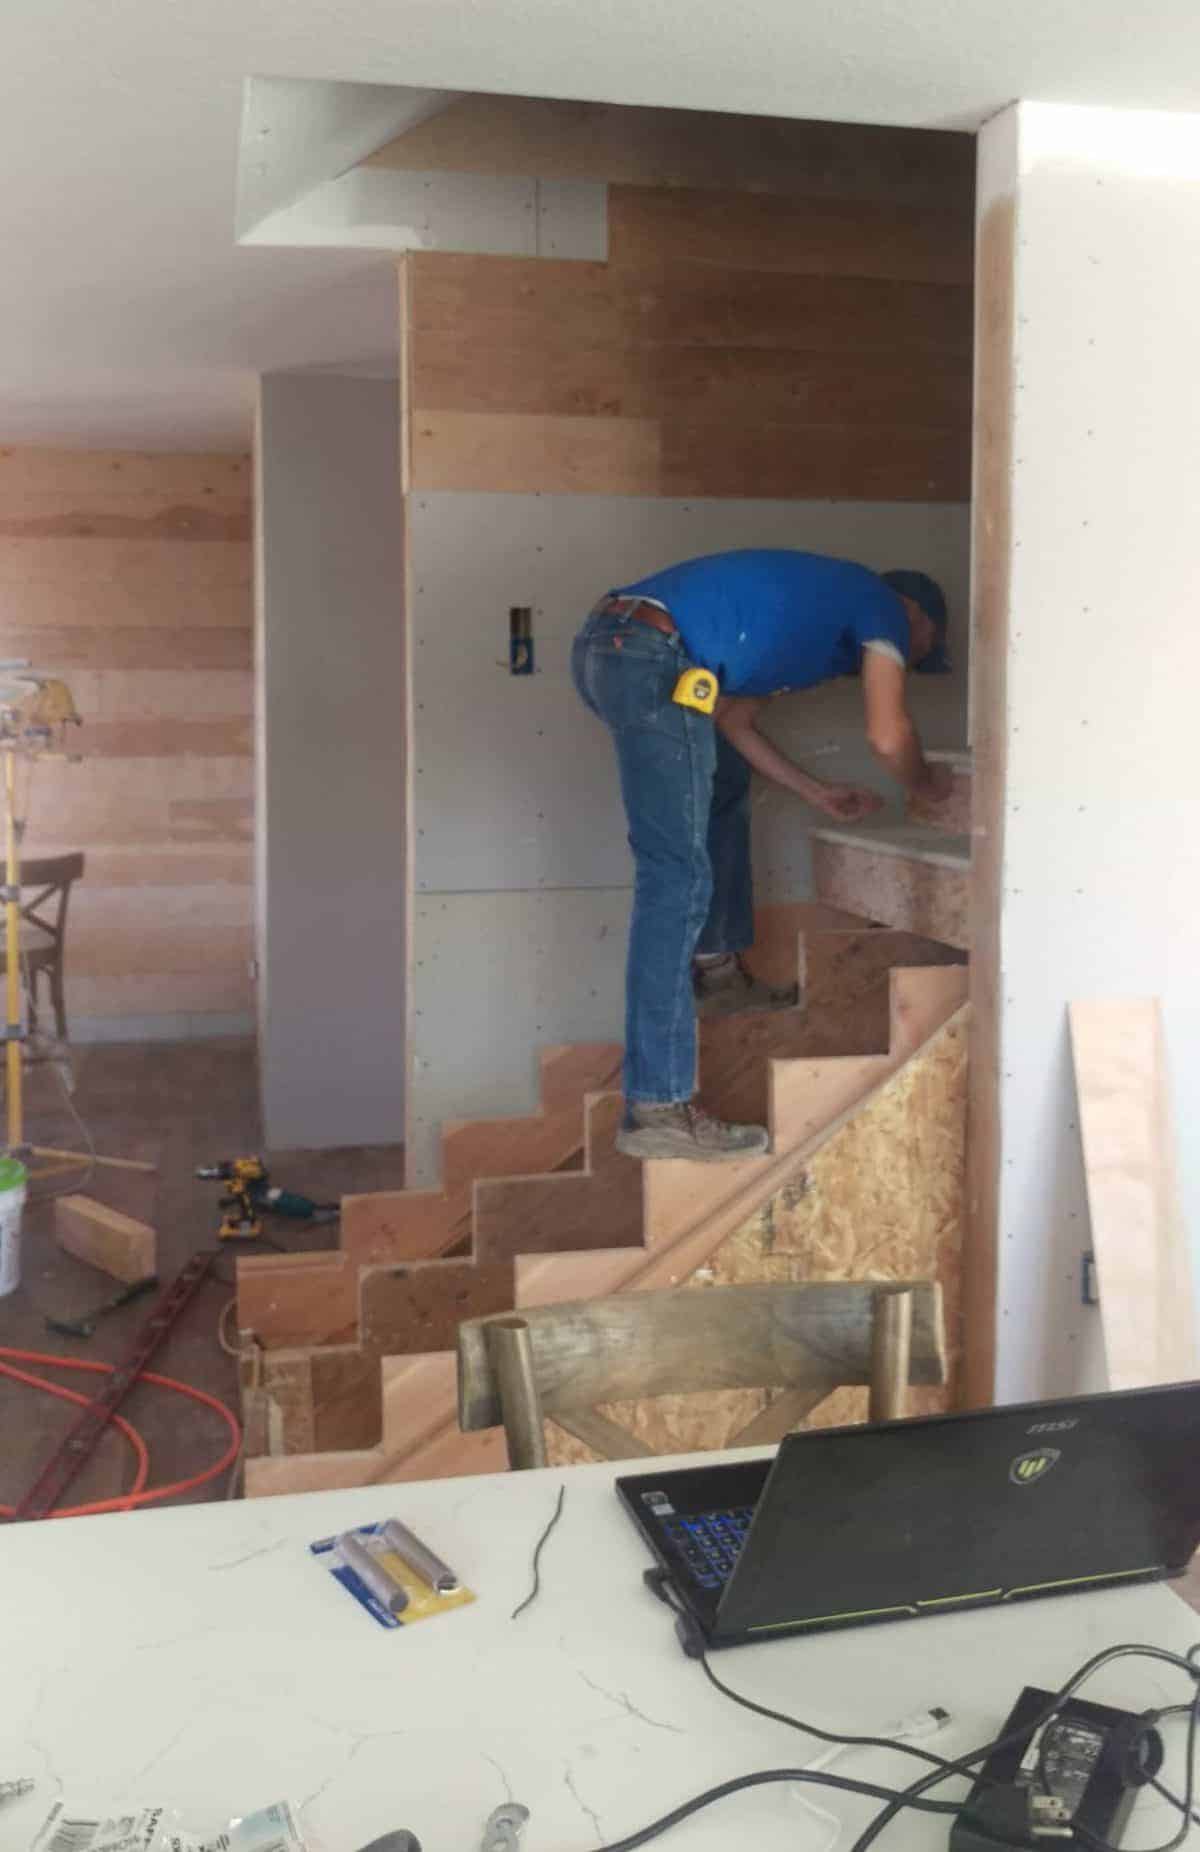
Thomas is currently working on the stairs. Who knew that stairs were so complicated? Good thing Thomas is a math wiz/engineer/genius. Those things + YouTube sure are helpful when it comes to DIY house building.

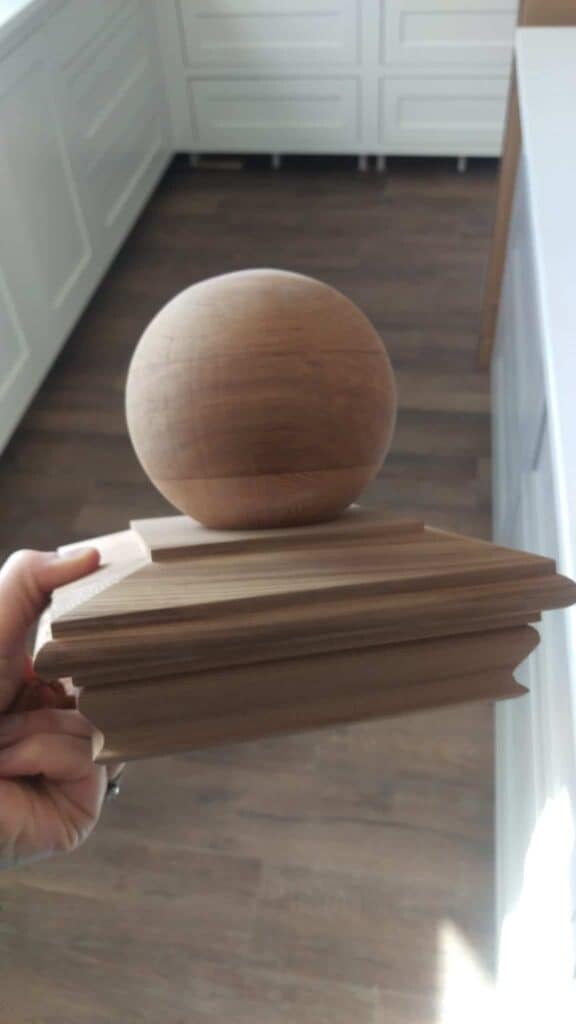
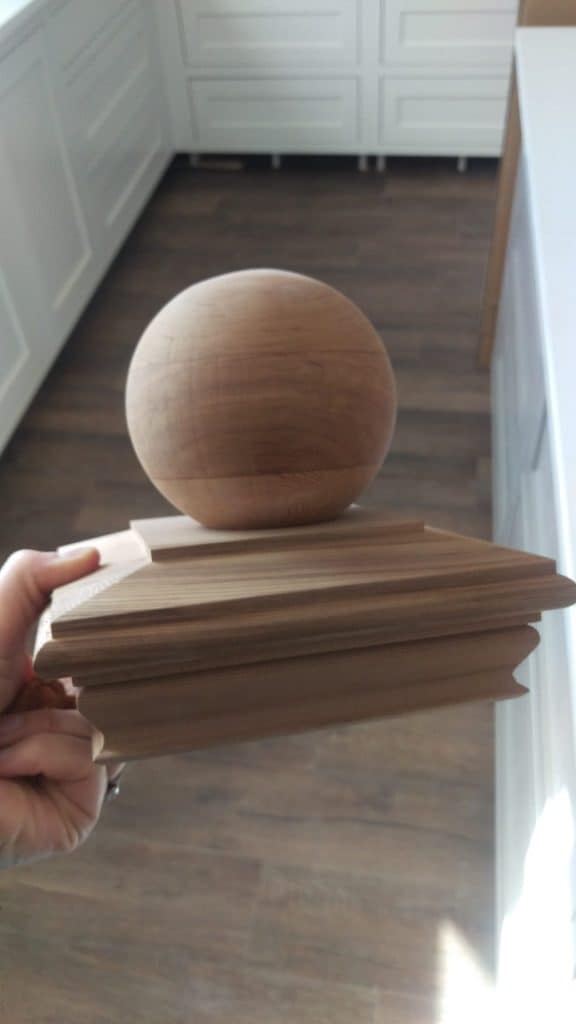
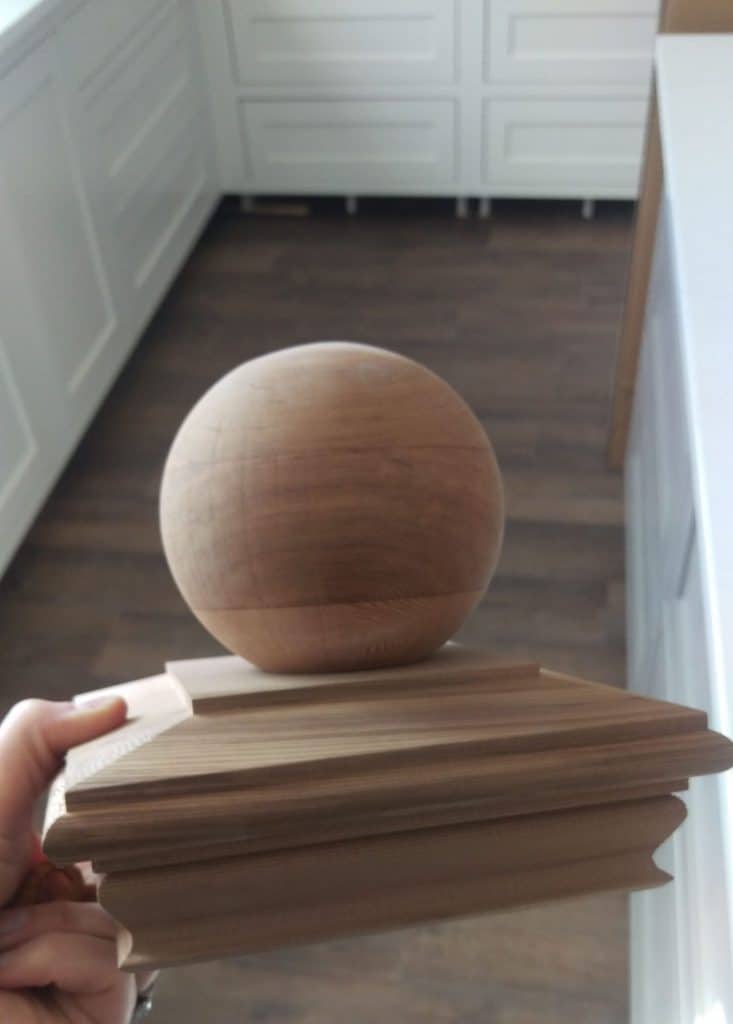
So the big chubby post at the end of a stair case (that the handrail goes into) is called a newell post. I didn’t find one I loved online that was pre-made and I couldn’t even find any salvaged vintage ones I liked either. So Thomas is making me one and I picked this for the cap. How fun will it be to rub your hand on a ball every time you go up and down the stairs? A staircase in my childhood had one and I loved it, but I can’t remember for the life of me whose stairs they were. My grandma’s? I need to call her!
That’s not scary at all, Boyfriend…
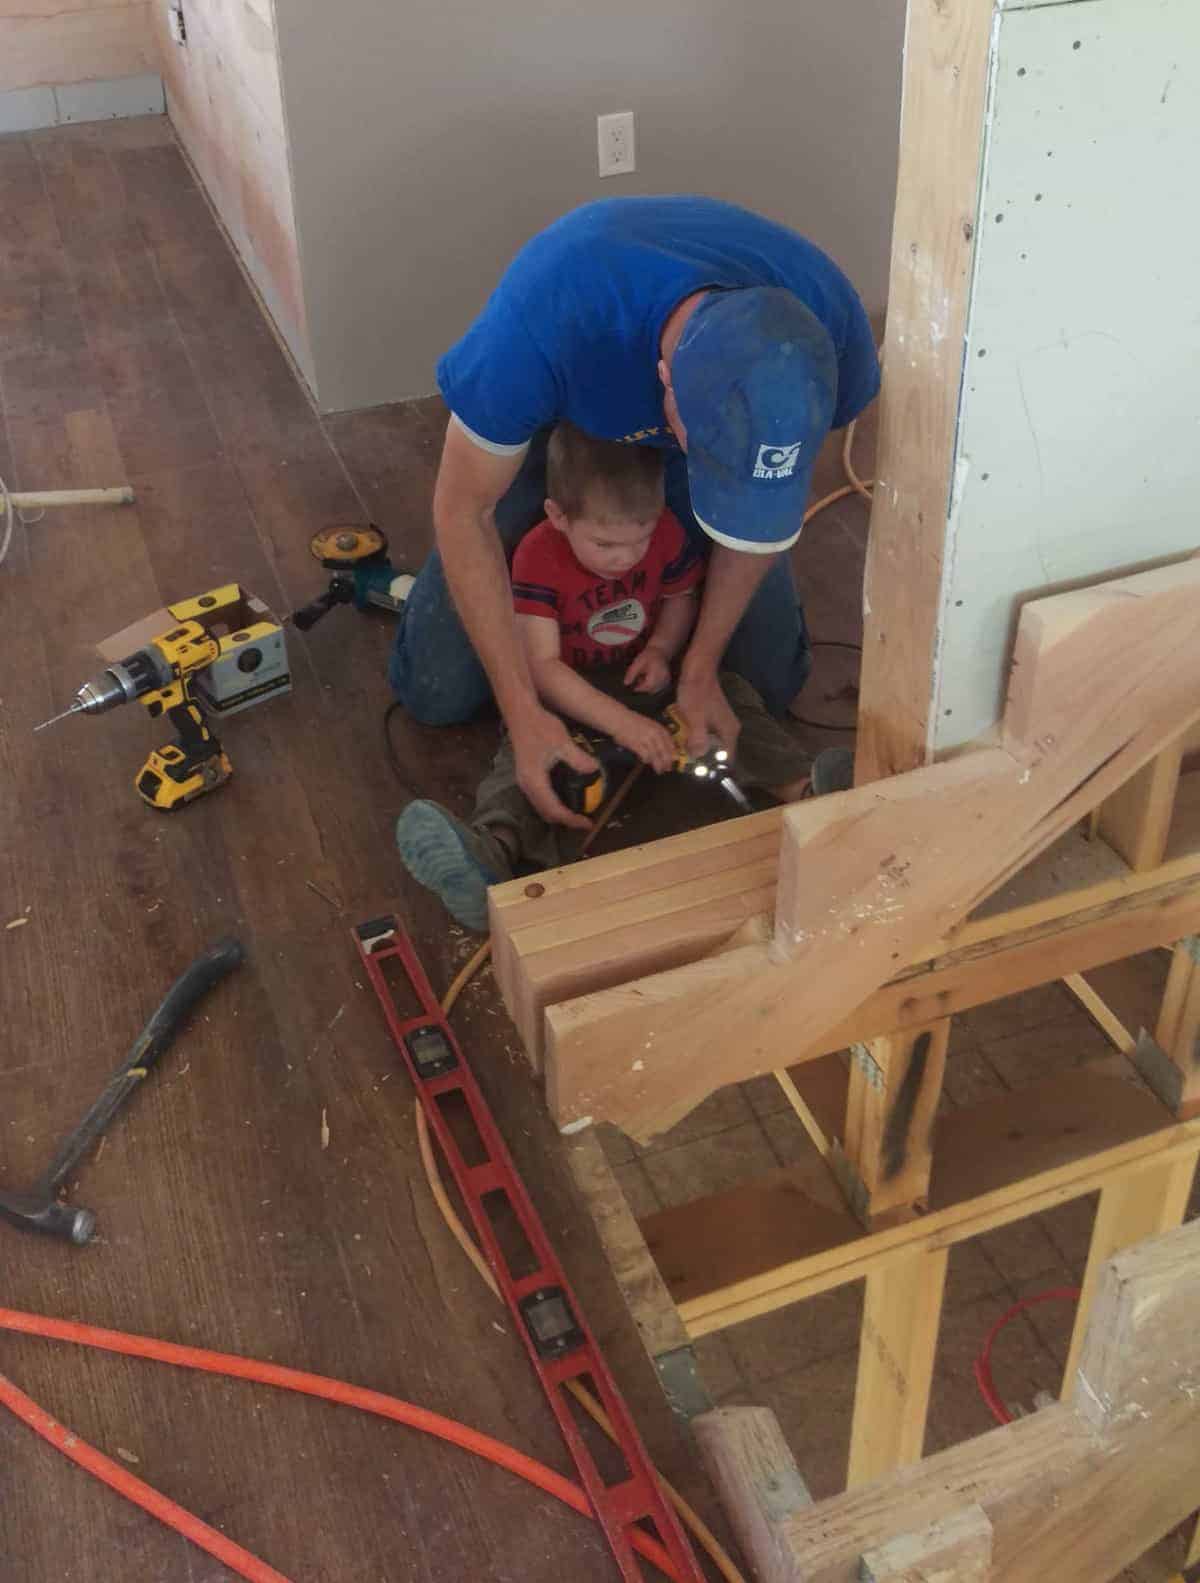
Some weeks, building the house is pretty taxing on the kids (like the flooring installation week) but all-in-all I think they’ll look back on this time with fond memories. Their dad is so kind and patient and he even lets them use his tools to build things like little tables. When he was working on the porch a lot in early November, he let them make a little fire pit outside in the dirt close to where he was working. They spent so many Saturdays collecting scrap wood and dried weeds to burn and had a blast doing it. Little boys love to play in fire. It’s the little things like that that I hope they remember and love.
This is a grainy cell phone picture but it makes my heart so happy. Last Saturday, December 2, 2017 we had our first dinner at the new house. Carry out pizza for the win.

So we have flooring, most of the cabinets, countertops, lots of the shiplap, some of the lighting, vanities in the bathroom, and a roof on the porch.
Moving forward, we still have lights and switches to install, toilets and plumbing to hook up, stairs to finish, shiplap to paint, doors and trim to put on, and a million other little things. Carpet is scheduled to come the 21st of December! All of our interior doors were supposed to be here today but they just called to let us know they wouldn’t be here until mid-January. What?! It’s going to take over 3 months to get them here and we didn’t plan on that.
We had planned on paying for someone to come and install the doors and trim to help us meet our Christmas move-in date but it was going to cost so much more than we planned. So we had to decide if we wanted to save that money and do it ourselves, and we decided that was a whole lot of money we’d rather spend on landscaping in the spring. So we’re not sure how long it’s going to take to get those things done on our own or if we’ll move in without them all completed. Either way, we won’t be meeting our Christmas move-in goal, but we’ll be close. We plan on moving in but that won’t mean we are done building; we still have the porches to finish, all of the outside, garage, garage doors, downstairs, and more. Basically we are going to move in and spend 2 more years finishing…
There you have it, 2500 words all about the biggest DIY project of our lives. Thank you for sharing in this journey with us. We so appreciate your kind words and thoughtful cheering on. When I’m struggling I get on my blog and read your kind house comments. They mean so much to Thomas, too. Thank you, thank you, thank you!
This post was originally published in 2017 and has been updated in November 2019.


Looking good.
Melissa – this is going to be amazing! I love that every inch of this place is you and Thomas! What a legacy for your family!
When its done you’ll have to give me the personal tour! You are amazing!
Melissa, the house is looking amazing. So happy you got to enjoy your first family dinner together around that meaningful table. Hard to believe it was just a year ago we were standing out there installing ThermalBuck while it snowed inside the house!! You and Thomas make a great team – congratulations on your progress. That kitchen will be the warmest, welcoming place in all of Orderville!