This post may contain affiliate links. Please read our disclosure policy.
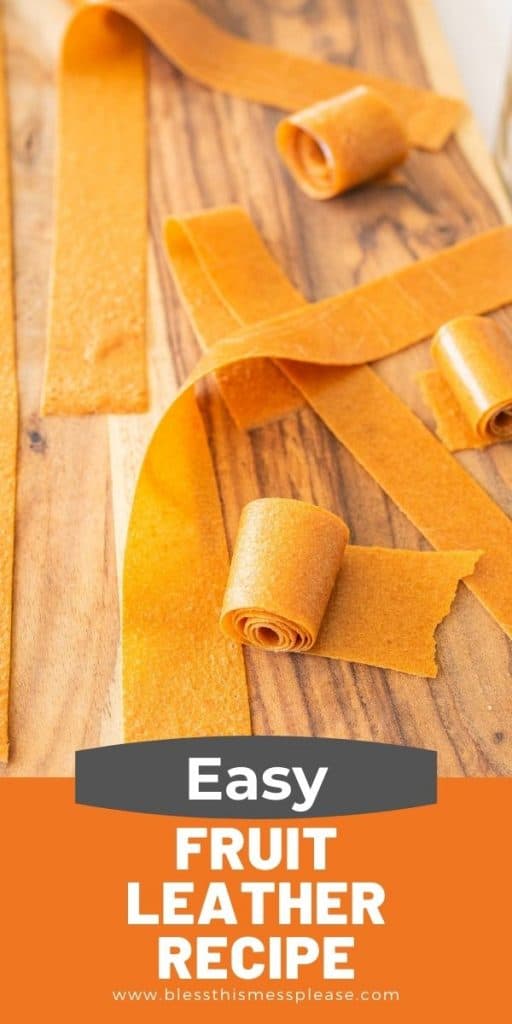
Making Homemade Fruit Leather is one of the best ways I’ve found to use up overripe fruit. It turns soft peaches, mushy berries, and overripe mangoes into something my kids actually get excited about!
Quick Recipe Overview
WHAT: Homemade fruit leather made from blended fruit puree dried in your oven until chewy and pliable.
WHY: Turns fresh or frozen fruit into healthy, portable snacks without added preservatives or artificial ingredients.
HOW: Blend fruit smooth, spread thin on parchment paper, then bake at low temperature until no longer tacky.
Table of Contents
- Quick Recipe Overview
- Why You’ll Love this Homemade Fruit Leather Recipe
- Ingredient Notes
- Favorite Flavors for Homemade Fruit Leather
- Homemade Fruit Leather Recipe Recipe
- How To Make Homemade Fruit Leather
- Silicone Mat vs. Parchment Paper: Which Should You Use?
- FAQs for Homemade Fruit Leather
- My Best Tips for Making Homemade Fruit Leather
- What to Serve With Homemade Fruit Leather
- Storage & Reheating Tips
- Similar Recipes to Try
- More Snack Recipes to Consider
Why You’ll Love this Homemade Fruit Leather Recipe
- Easy and fun to make
- The recipe can use any fruit you have on hand! The flavor combos are endless!
- You do not need a food dehydrator! Your oven will do just fine.
🩷 Melissa
Making fruit leather in the oven is a fun and simple way to preserve seasonal fruit and one of your favorite treats to make for traveling, hiking, or school lunches.
You don’t need a dehydrator for this homemade fruit leather recipe, just your oven! A blender makes quick work of the pureeing and you can make just about any fruit combinations you like.
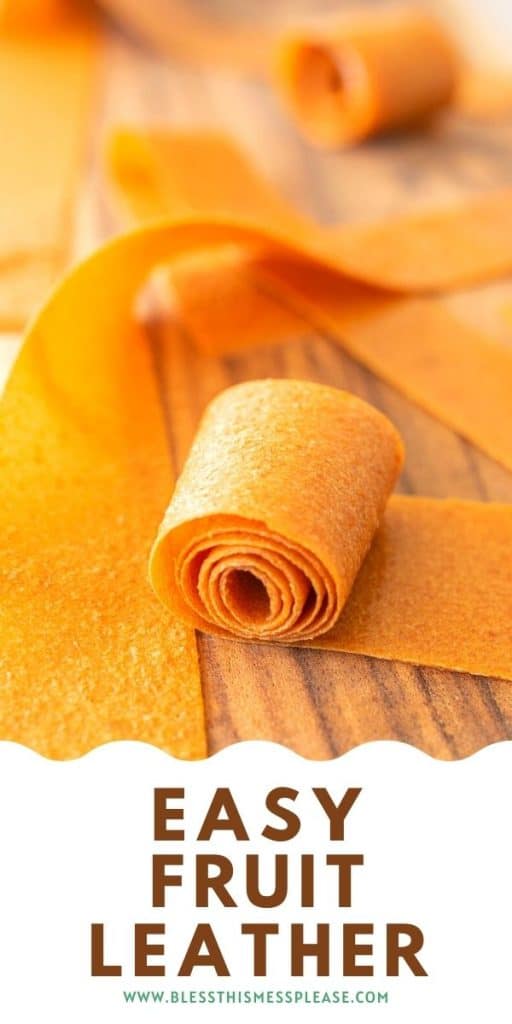
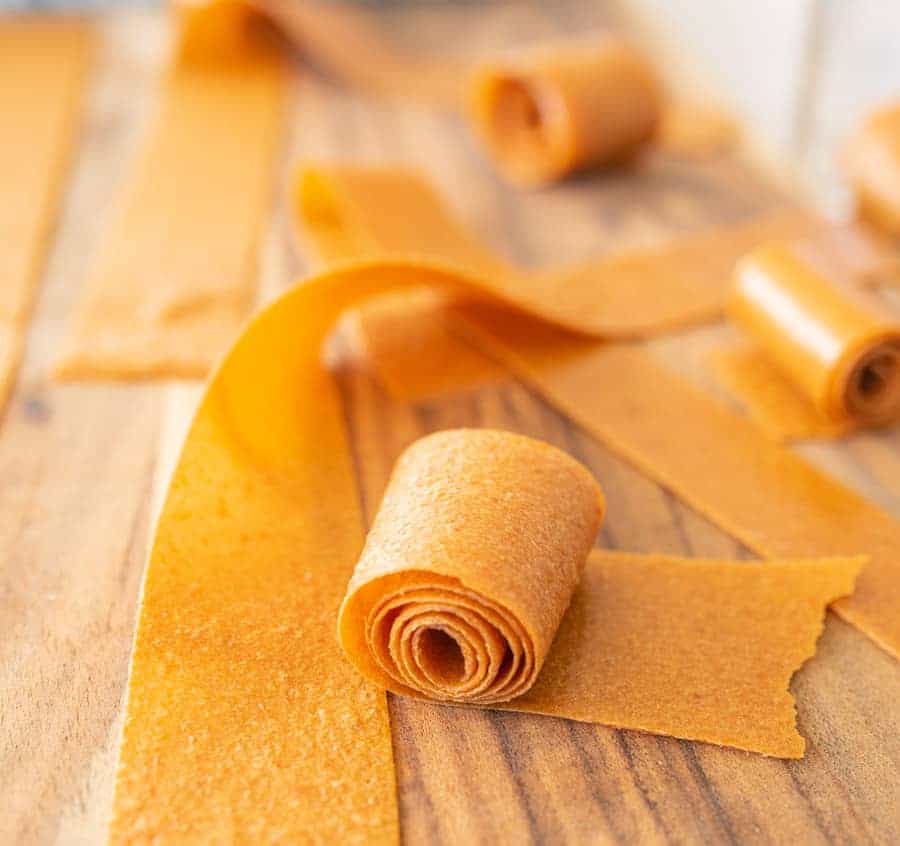
This fun and easy snack to make will be a hit with the kids, and adults! You can even roll up the fruit leather to make your own homemade fruit by the foot!
Ingredient Notes
Fruit: You have so much flexibility with this recipe. You can use one fruit or a combination of fruits. And fun fact, you can even use frozen fruit or fresh fruit! I tend to make fruit leather when I have a bumper crop of something and need a way to preserve them besides freezing or canning.
Sugar: This is an optional ingredient and will depend on your tastes as well as how sweet your fruit was to start with. You don’t have to include added sugar but sometimes a little really makes for a lovely end product. You can also use honey or maple syrup as a natural sweetener instead of white sugar for added sweetness.
Lemon juice: I like to use just a little to help preserve the color of the fruit. Using just a bit of lemon juice helps apricot, apple, peach, or pear fruit leather to not turn totally brown from oxidation. It also adds a nice balance to sweet fruits.
Additions: You can add things to your fruit leather to make it your own like cinnamon or even fresh ginger. Try warming spices like nutmeg or cloves with apple or pear leather, or add vanilla and other extracts for depth of flavor. Banana and kiwi are also great additions to tropical fruit blends.
One tip I always share: The riper your fruit, the better your fruit leather will taste and the sweeter it’ll be naturally. If your fruit is beautifully ripe, you may not need to add any sugar at all!
See recipe card below for full information on ingredients and quantities.
Favorite Flavors for Homemade Fruit Leather
- Apples plus dash of cinnamon
- ¾ peaches with ¼ mixed raspberries and/or blackberries
- ¾ apricots with ¼ blueberries
Homemade Fruit Leather Recipe
Ingredients
- 4 cups ripe fruit, (fresh or frozen)
- 1 tablespoon of lemon juice, (fresh or bottled)
- Sugar to taste, (I like to add at least 1 tablespoon for taste and up to ⅓ of a cup, depending on ripeness of fruit)
- 2 large rimmed baking sheets
- 2 baking mats or pieces of parchment paper to fit baking sheets
Instructions
- Prepare the fruit by washing it and removing any large seeds or pits (remove the seeds from pears and apples and the pits from plums, peachs, and apricots, the small seeds in berries I don’t worry about). There’s no need to remove any skins.4 cups ripe fruit
- Cut any larger fruit into halves or quarters to help the blender process them.4 cups ripe fruit
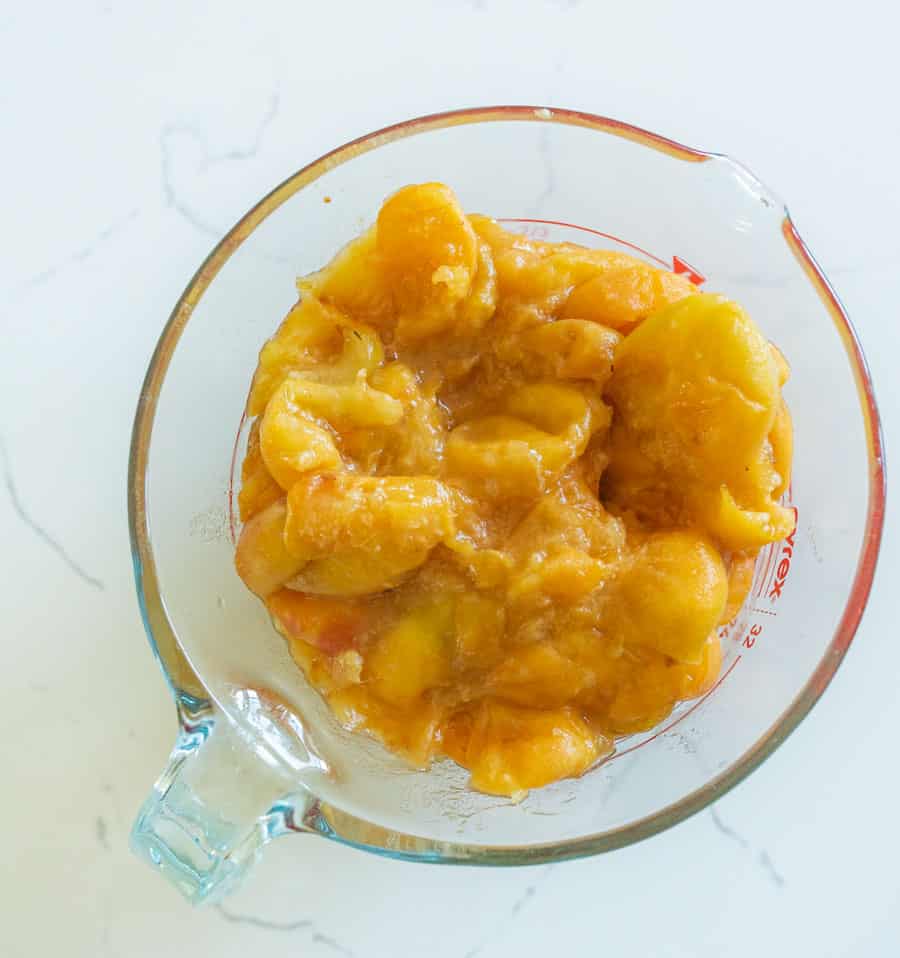
- Place the fruit and lemon juice in the jar of your blender. Blend until very smooth. If you are having trouble getting the fruit to process (it’ll depend on how moist/ripe/type of fruit), add as little water as possible to help the blender process the fruit. I’ll generally add 1 tablespoon at a time until the blender is able to work well. Often times you won’t need to add any water at all, that’s preferred as it will shorten you drying time to have less water in the fruit puree. You can also use small amounts of fruit juice to help the blender along instead of water.4 cups ripe fruit, 1 tablespoon of lemon juice
- Taste the fruit leather and adjust the taste with sugar. You’ll want it to be a bit sweet but not too sweet.Sugar to taste
- Blend in the sugar if you added any.Sugar to taste
- Place the baking mats or parchment paper in the bottom of the baking sheets (my baking sheets are 11 by 16 inches).2 baking mats or pieces of parchment paper to fit baking sheets, 2 large rimmed baking sheets
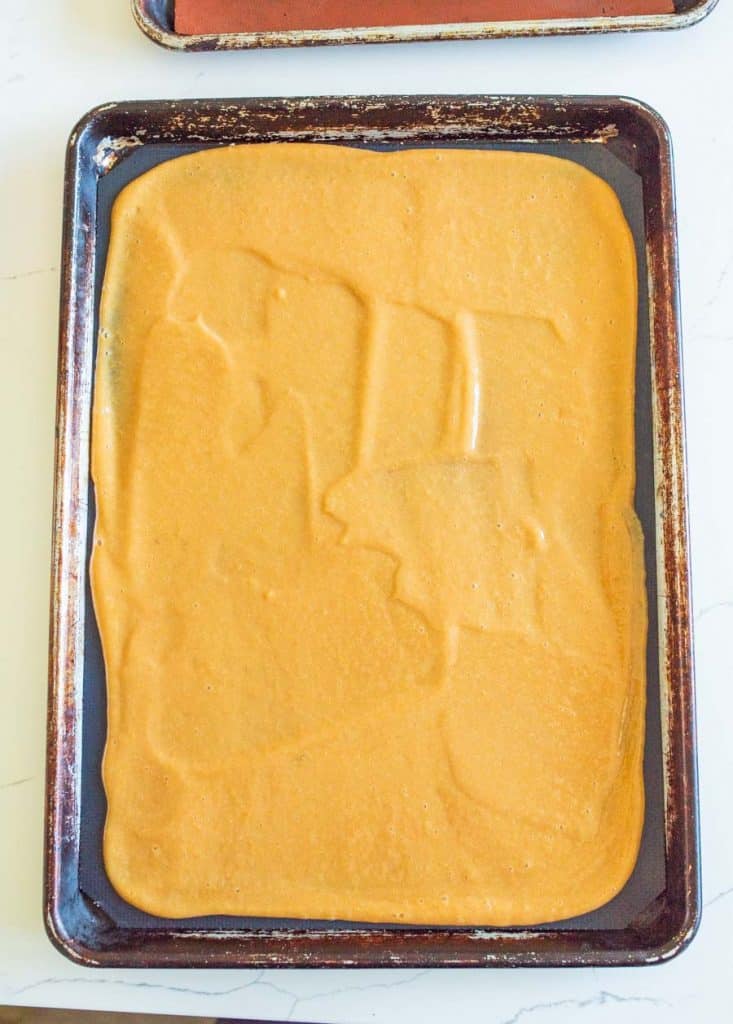
- Divide the fruit mixture evenly between the two pans, pouring it into the center of the pan.
- Use a spatula (an offset metal spatula like you’d use to ice a cake works great), to evenly spread the fruit leather over the pan taking care to not touch the edges of the pan or get off of the baking mat/parchment paper. The more even you can spread it the better.
- Adjust your oven racks so that they are in the upper middle and lower middle of the oven.
- Place the prepared pans into the oven on the two racks and turn your oven on to the lowest temperature it’ll allow. Mine will let me bake at as low as 170 degrees F. The lower the better.
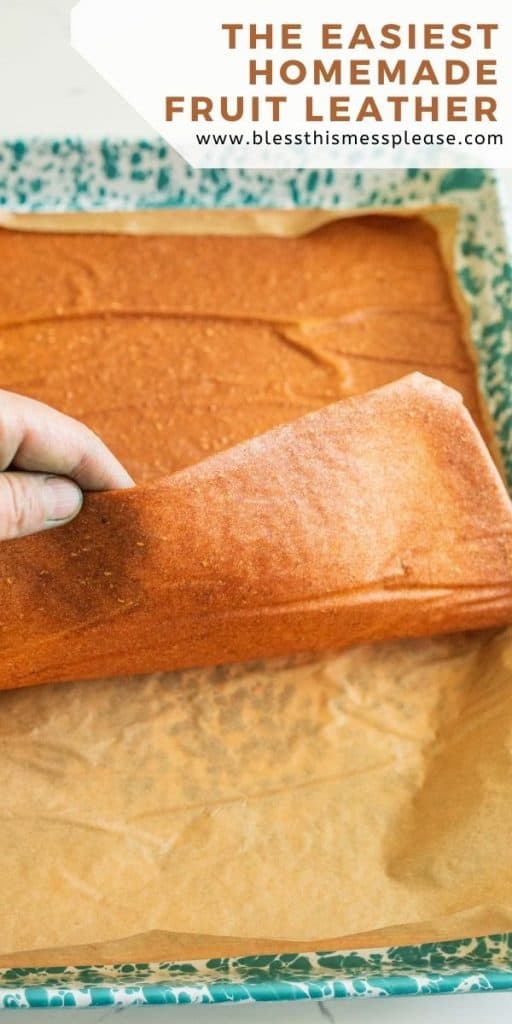
- Bake for 3-6 hours or until the fruit leather is no longer tacky to the touch. It’s OK to open the oven to allow some of the steam to escape occasionally and to rotate the pans in the oven to help them to cook evenly.
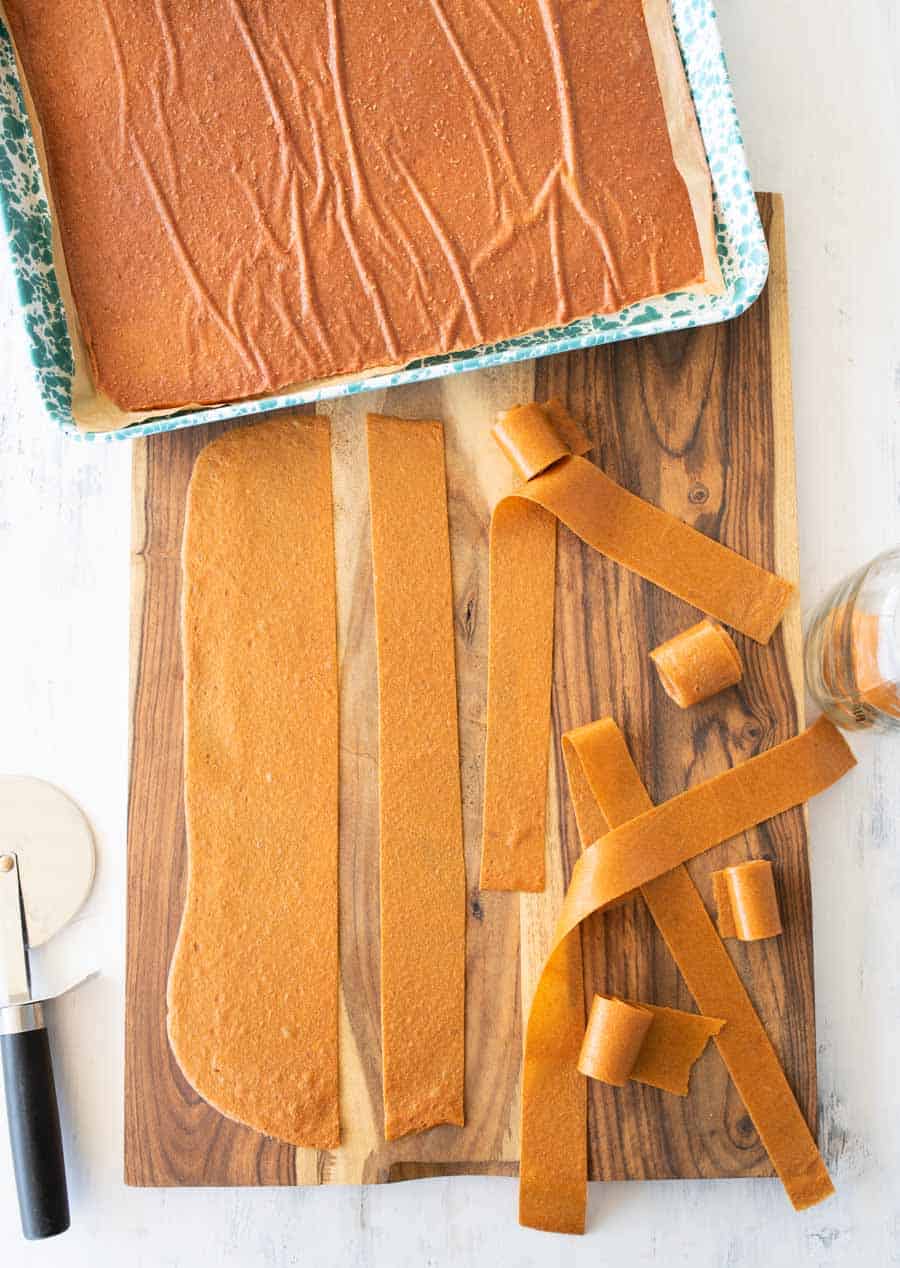
- Allow the pans to cool completely before removing the fruit leather from the pans and cutting into strips to store.
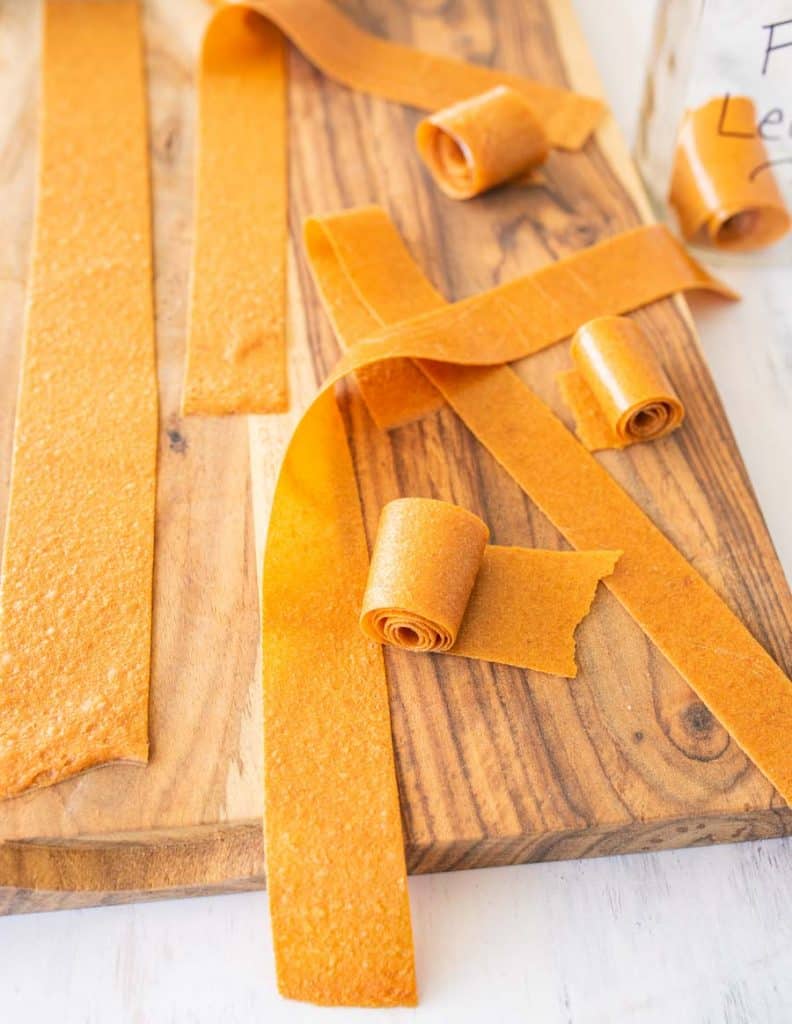
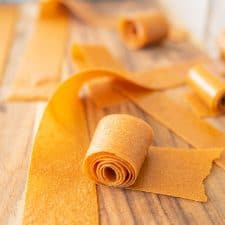
- If you made the fruit leather on parchment paper you can just cut the parchment paper and the fruit leather together, making homemade “fruit by the foot”. This is a great idea for sending fruit leather to school in lunch boxes or to store it for traveling as it’s less likely to stick together (and my kids love peeling it from the paper themselves). I’ll use kitchen shears to cut the fruit leather and paper into 1 inch wide strips. Then roll and store and in air-tight container.
- If you used a baking mat, simply peel the fruit leather from the mat and place it on a cutting board. Use a pizza cutter to cut it into 1 inch wide strips. Roll and place and an airtight container.
Notes
Nutrition
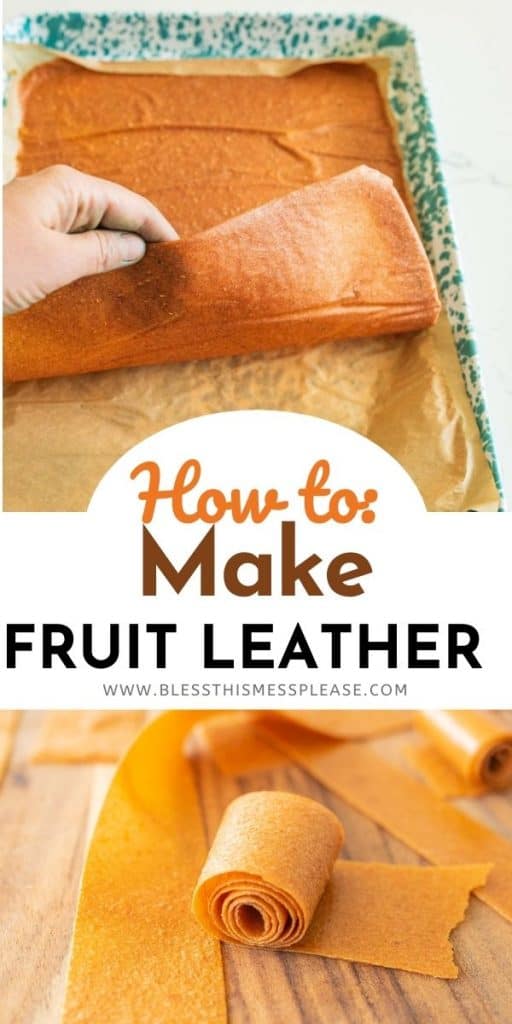
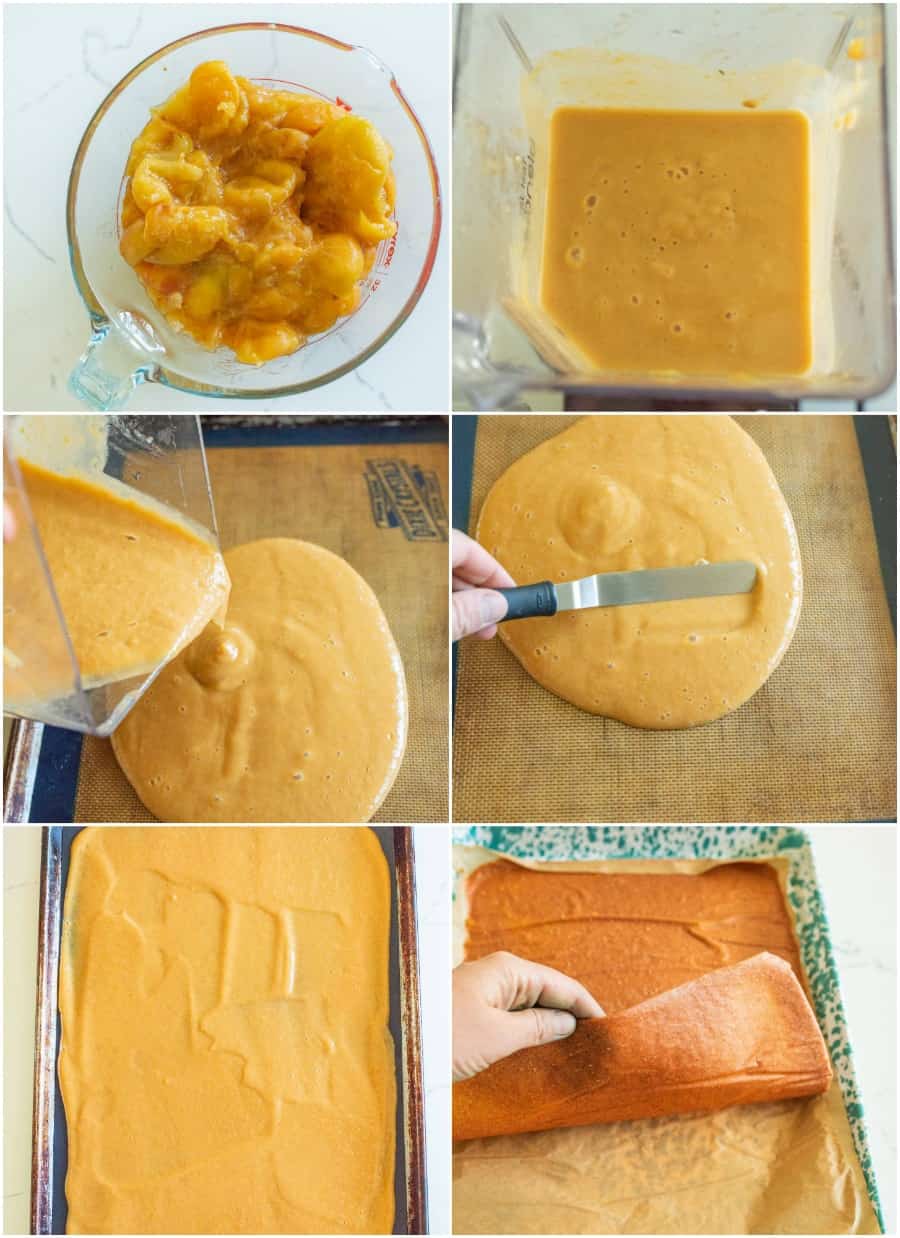
How To Make Homemade Fruit Leather
Step 1: Wash fruit and remove large pits or seeds (apple cores, peach pits, etc.). Cut larger pieces into quarters. Small berry seeds can stay.

Step 2: Combine fruit and lemon juice in your blender. Process until completely smooth, adding water one tablespoon at a time only if needed. You can also use a food processor if you don’t have a blender – both will give you a smooth consistency. Taste and blend in sugar if desired.
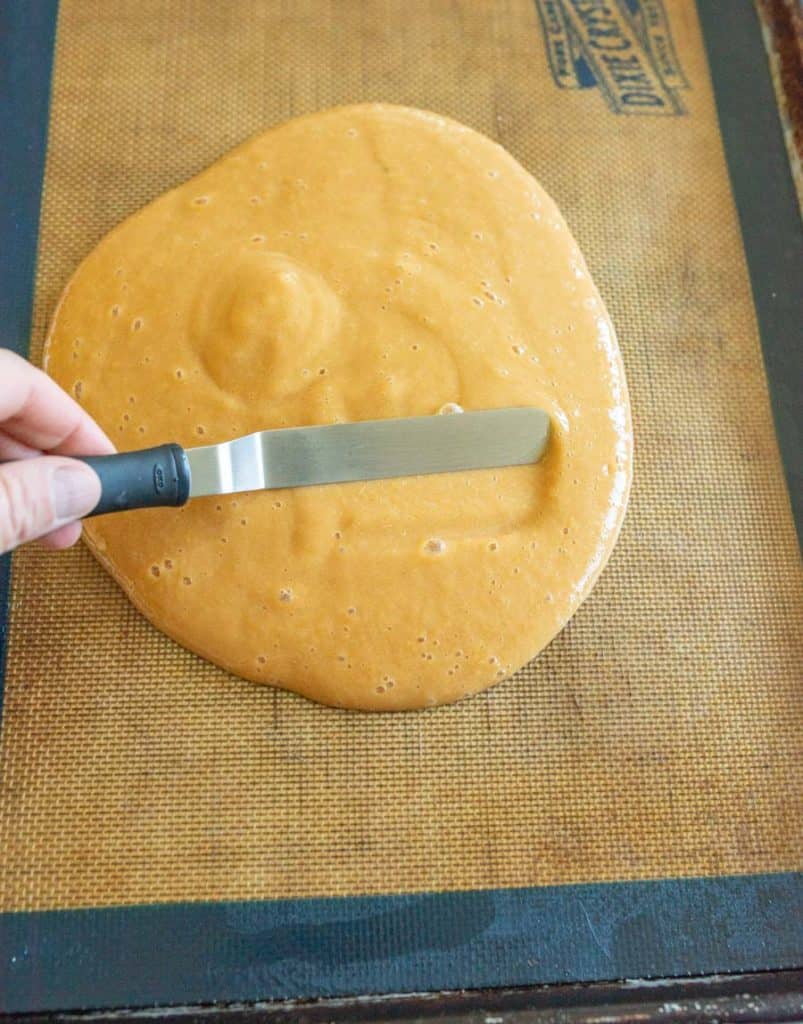
Step 3: Place the baking mats, parchment paper, or wax paper on a lined baking sheet. Pour the fruit puree evenly between pans and spread into thin, even layers using a spatula, staying within the paper edges.
Step 4: Position racks in upper-middle and lower-middle of oven. Place pans in oven and set temperature to lowest setting (170°F ideal). Bake 3-6 hours until no longer tacky, rotating pans halfway through.
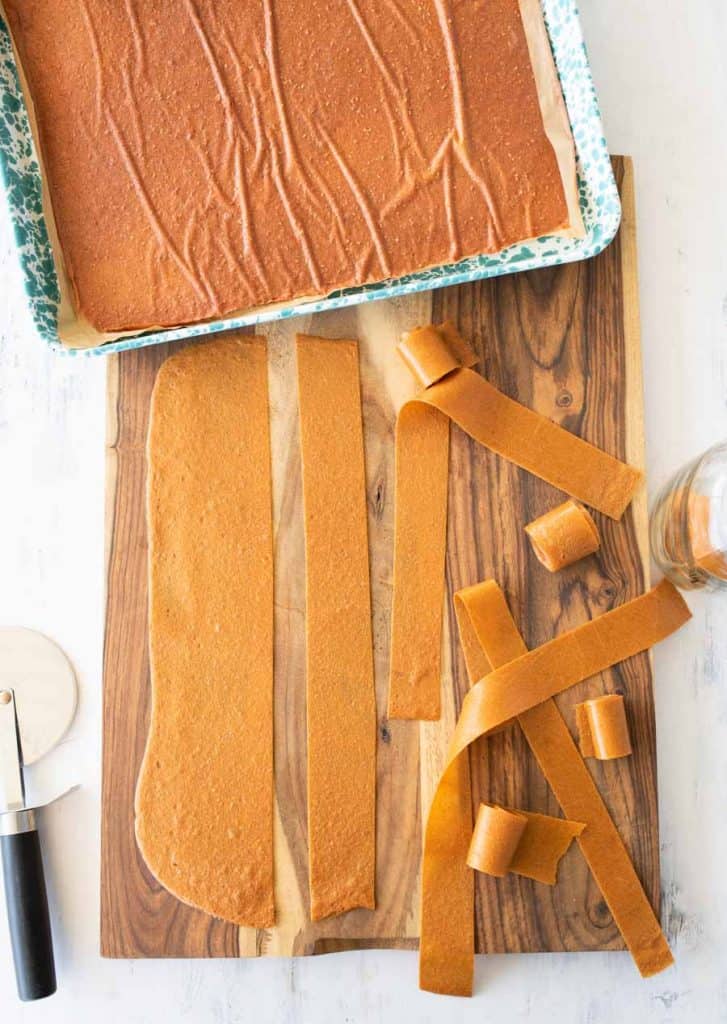
Step 5: Let pans cool completely. Cut fruit leather and parchment together into 1-inch strips with kitchen shears, or peel from baking mat and cut with pizza cutter.
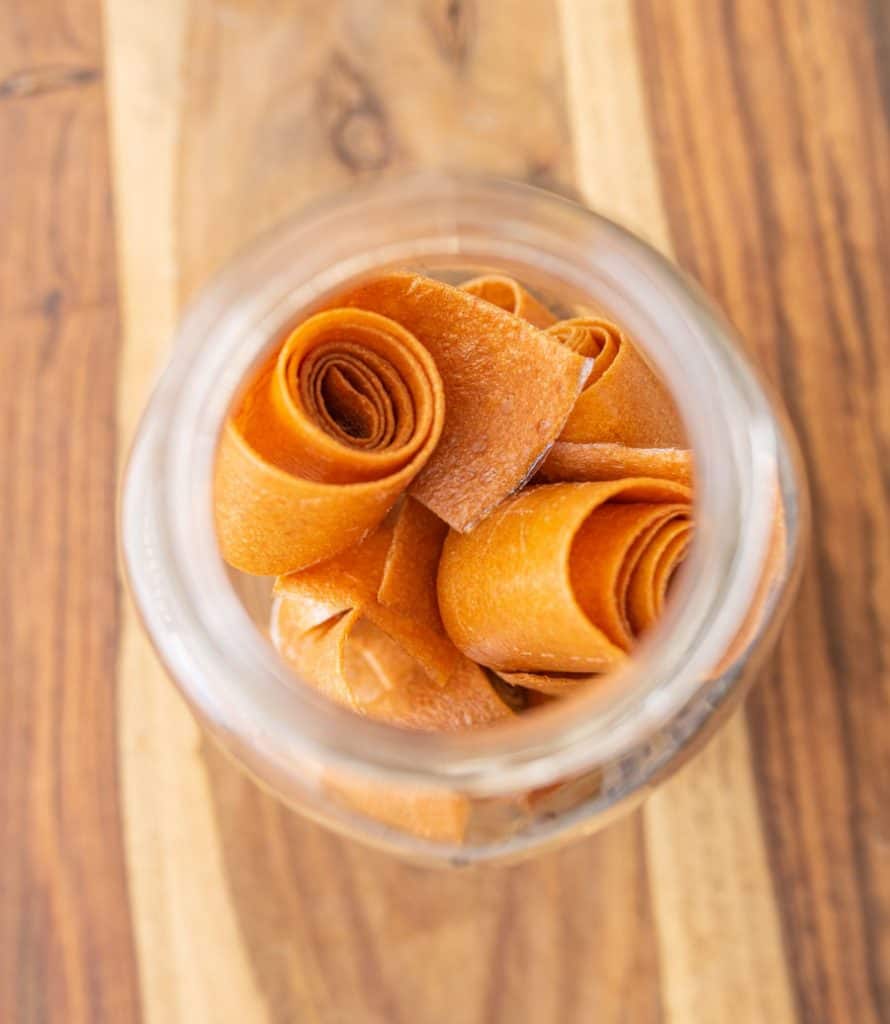
Step 6: Roll strips individually and store in an airtight container at room temperature for up to a week.
Silicone Mat vs. Parchment Paper: Which Should You Use?
Both work great, but here’s the difference:
Silicone baking mat
Peel the cooled fruit leather off the mat, place it on a cutting board, and use a pizza cutter to slice it into 1-inch strips. Roll them up and store in an airtight container.
Parchment paper
My personal favorite for lunches! Use kitchen shears to cut right through the parchment paper and the fruit leather together into 1-inch strips. You end up with homemade “fruit by the foot” that kids can peel themselves. It’s less likely to stick together and makes packing lunches so easy.
FAQs for Homemade Fruit Leather
Any fruit you have; the flavor combinations are endless! I love to use a base of peaches or apricots. Apples, mangos, cherries, blackberries, raspberries, and blueberries are also great!
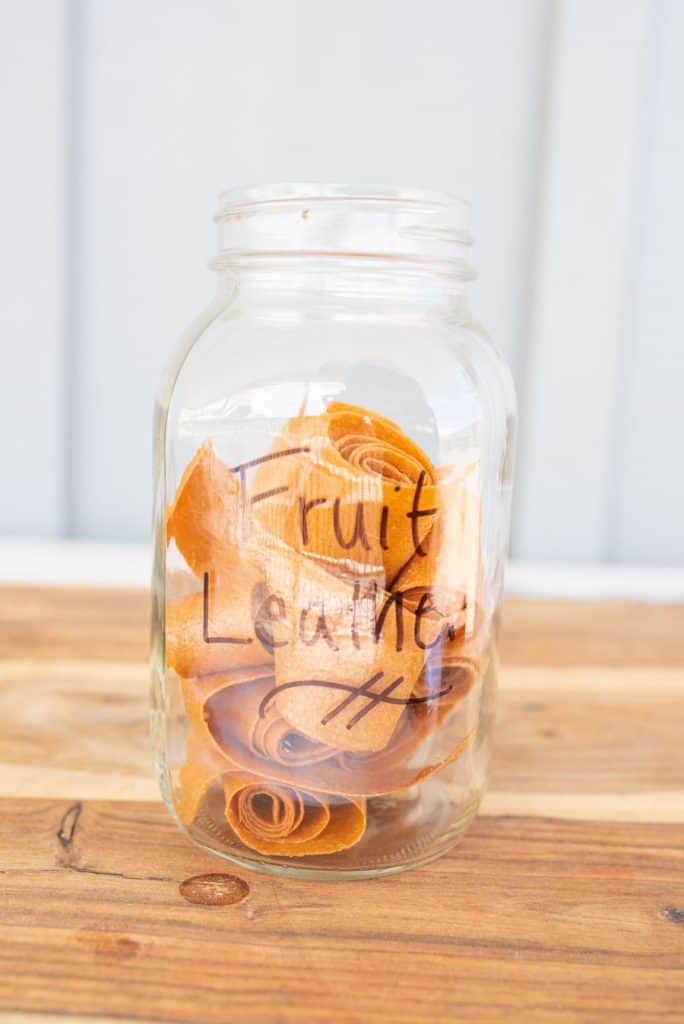
Rolled up fruit leather can be kept in a glass mason jar with a lid or in an air-tight container.
Fruit leather can be kept in the pantry for about 2 weeks. For longer storage, I’ll keep it in the fridge to ensure it doesn’t mold.
If you live somewhere humid, skip the pantry and keep your fruit leather in the fridge in an air-tight container. You can also wrap individual rolls in plastic wrap before storing.”
It likely needs more drying time, or the puree was spread unevenly. Thicker spots take longer to dry. You can leave it in the turned-off oven overnight to finish drying. Adding too much sugar can also make it stay tacky – stick to 4 cups of fruit with no more than ⅓ cup sugar.
Yes! If you have a food dehydrator, this recipe works perfectly with it. Just follow your dehydrator’s guidelines for the timing and temperature settings specific to fruit leather. The recipe itself doesn’t change at all — you’re just using a different drying method.

My Best Tips for Making Homemade Fruit Leather
☞Spread Evenly: Use an offset spatula to create a uniform thickness (about ⅛ inch). Uneven spreading means some parts dry while others stay tacky.
☞Skip the Water: Only add water if your blender absolutely won’t process the fruit. Less liquid means faster drying time and more concentrated flavor.
☞Rotate Your Pans: Switch pan positions halfway through baking to ensure even drying, especially if your oven has hot spots.
☞Test for Doneness: The Fruit Leather should feel dry to the touch but still pliable. If it’s brittle, you’ve gone too far and made fruit chips instead.
☞Roll Immediately: Cut and roll the Fruit Leather while it’s still slightly warm for easier handling and neater rolls.
☞Mix and match! Some of my favorite combinations: strawberry-peach, blueberry-lemon, and mango-raspberry.
☞Stock your freezer. Grab bags of frozen fruit when they’re on sale and you can make fruit leather any time of year.
What to Serve With Homemade Fruit Leather
Pack fruit leather strips in lunch boxes alongside sandwiches and carrot sticks for an easy sweet treat. They’re perfect for road trips, hiking snacks, or after-school fuel. Pair with cheese cubes and crackers for a balanced snack plate, or add to breakfast boards with yogurt and granola. These beat store-bought versions every time – roll them up in cellophane bags with ribbon for teacher appreciation or holiday treats.
Storage & Reheating Tips
Room temperature
Store rolled fruit leather in an airtight container for up to 1 week. Keep away from heat and direct sunlight.
Refrigerator Storage
Extend freshness up to 1 month by refrigerating in sealed containers. The leather may firm up slightly but will soften at room temperature.
Freezer Storage
Freeze rolled strips in freezer bags for up to 6 months. Thaw at room temperature for 10-15 minutes before eating.
Make-Ahead
Prepare fruit puree up to 2 days ahead and refrigerate until ready to spread and dry. The dried fruit leather actually stores better than fresh fruit, making it perfect for meal prep.
Rehydrating
If fruit leather becomes too dry or brittle, place a damp paper towel in the container for a few hours to restore flexibility.
Similar Recipes to Try
More Snack Recipes to Consider
Healthy Snacks
Easy Coconut Date Nut Balls
Dip Recipes
Spicy Hot Corn Dip
Dip Recipes
Orange Marshmallow Fruit Dip Recipe
Did you make this recipe? Leave a ⭐️ review and share it on Instagram, Facebook, or Pinterest!


Some recipes say to cook the fruit and yours doesn’t. Any comments on this? Clearly you don’t find it necessary
You don’t need to at all! I think most people cook it to make it softer to mash or puree but if you are using a high powered blender, there’s not need to cook it first…
I use a baking silicone mat to spread my fruit on, then when it’s dry I place the fruit on parchment paper to cut it. I use great parchment paper and have had the same issue on and off when it sticks, even with the same batch where one comes off on one pan and the other doesn’t. The silicone mat has saved me and makes it simple 🙂
I’ve had issues with cheap parchment paper, you could try spraying it with a little cooking spray or buying a different brand…
I’ve been making fruit leather first for my daughter and now for my grandchildren for almost 40 years, first in a 20-stage dehydrator and now in my oven. Although I have a dehydrating setting in my oven, I was pleased to see that someone had perfected making the leather without that feature. If I could pass on a few tips I’ve learned over the years:
1 – My family is obsessed with apple fruit leather, so each year my husband and I can up to 50 quarts of applesauce to have handy to make the fruit leather year round. I have a Squeezo which makes processing the apples for sauce quick and fun with the grandchildren’s help.
2- With any of the fruit leathers I make, I always keep the ingredients as simple as possible, as my goal is to eliminate as many additives and preservatives as possilbe. EX: We make our applesauce with the sweetest apples and only add organic cinnamon. Or, another favorite is to puree thawed sweet fruit (like peaches) and spread those on the pan to dehydrate.
3- If you like a thicker fruit leather – you can double the amount you put in the pan – it simply takes twice as long to dehydrate. (It is done when it is the texture of soft leather and no longer sticky to touch).
Fruit leather has been the one treat that every child I have ever made it for begs me to make. It goes in Christmas stockings, gets mailed to grandchildren for holidays and birthdays, and one of my granddaughter’s takes a batch back to college with her each time she comes home – to share with friends (or I’ve discovered with random people on the plane). That is, if she doesn’t eat the entire batch herself in one sitting (kid you not!)
So, even if you don’t have a dehydrator try this recipe – your children and/or grandchildren will love you for it.
Thanks so much for the comment! So great to hear some tips and tricks.