This post may contain affiliate links. Please read our disclosure policy.

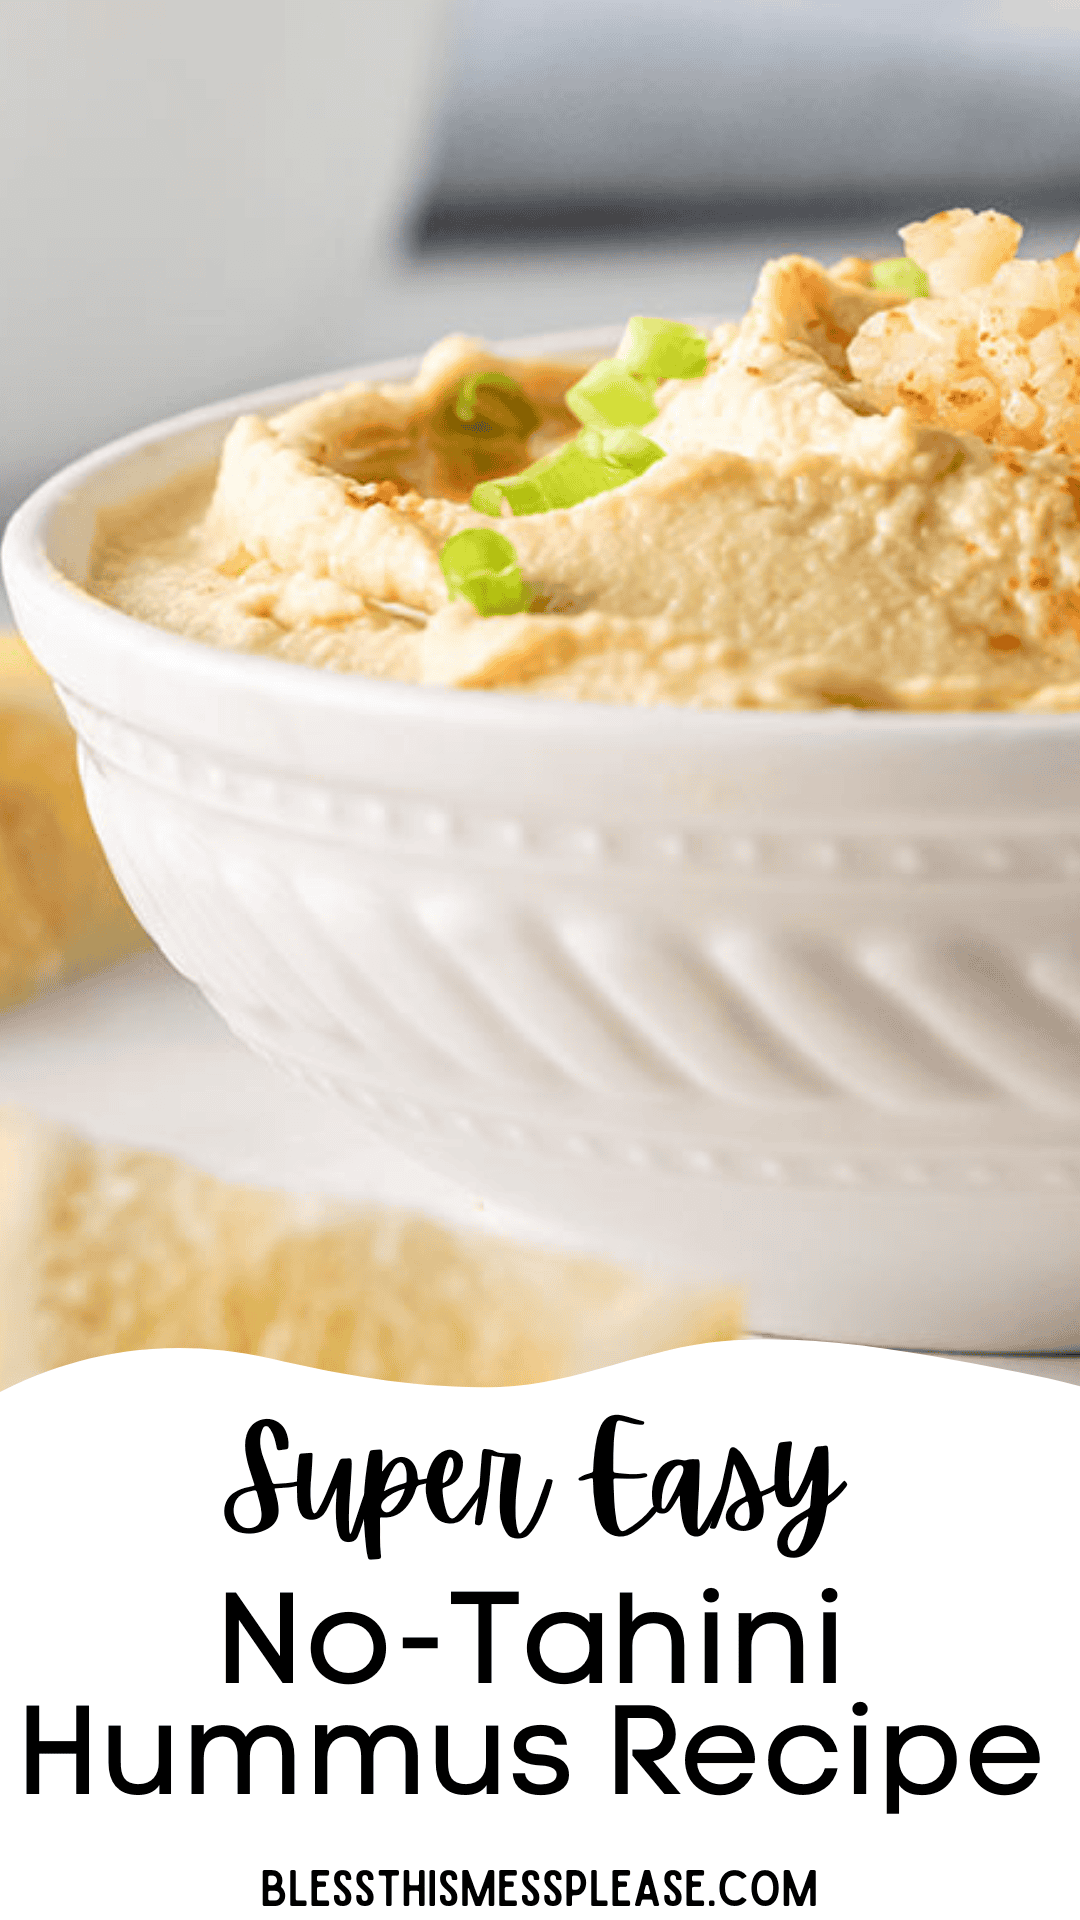
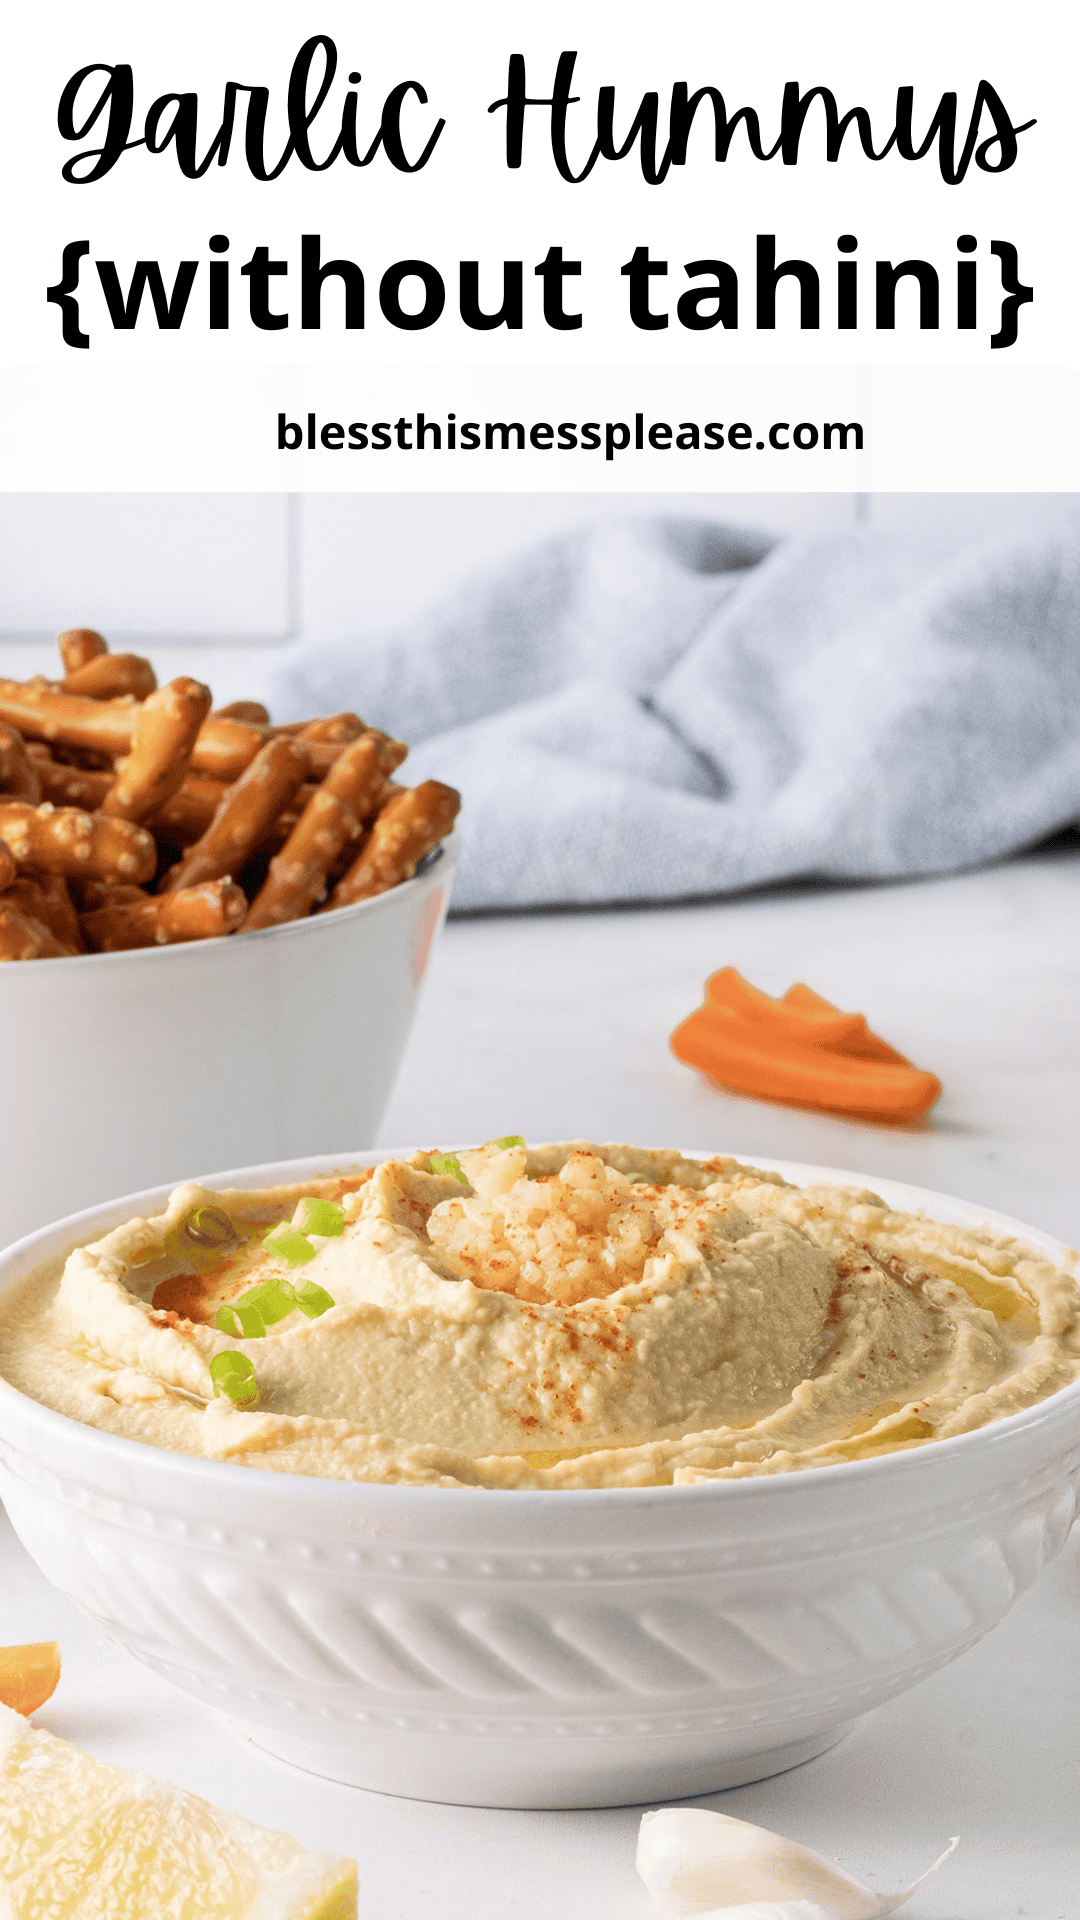
You’ll love this delicious Garlic Hummus Recipe Without Tahini that uses creamy avocado instead! A super easy recipe with simple ingredients, this flavorful dip is perfect for snacking, parties, or a healthy lunch option.
🧄🍋 While this recipe is perfect as-is, it creates an excellent base for personalization. You can easily adjust the garlic level, add herbs like cilantro or basil, or incorporate spices like cumin or smoked paprika to create your perfect flavor profile!
My 2 Best Tips For Making This Garlic Hummus Recipe Without Tahini
Dried vs Canned Beans: I prefer cooking my own chickpeas from dried beans rather than buying canned beans — I think it tastes much better and the texture is smoother. (See the recipe for starting with dried beans.) If you do want to use canned beans, I recommend cooking them for a short time to make them softer so the hummus will be smoother. Note in recipe for this, too!
Use Ripe but Firm Avocados: The perfect avocado for this recipe should yield slightly to gentle pressure but not be mushy. Too ripe, and your hummus might taste overly avocado-forward; too firm, and it won’t blend smoothly. The ideal avocado will have a dark green-black exterior.

🩷 Melissa
Can’t find tahini or just don’t have it on hand? This recipe brilliantly substitutes avocado, giving you that perfect creamy texture!
This garlic hummus works as an everyday snack with veggies, a protein-packed lunch addition, or an impressive appetizer for guests.
Here are a few ways I serve hummus:
Garlic Hummus Recipe Without Tahini
Ingredients
- 1 cup dried chickpeas, about 1/2 pound, or one can garbanzo beans, about 15.5 ounces **See note
- 1/4 teaspoon baking soda
- ½ cup smashed avocado
- 5 tablespoons lemon juice
- 2 cloves of garlic, peeled
- ½ teaspoon salt
- freshly ground pepper
- 1 tablespoon olive oil
Instructions
Cook the Dried Chickpeas:
- Soak the chickpeas by placing them in a large bowl and covering with water (about 3-4 inches above the chickpeas). Allow them to soak overnight or at least 8 hours. The chickpeas will expand as they absorb water, so be sure there's enough space in the bowl.
- To cook the chickpeas, drain and rinse the soaked chickpeas. Transfer them to a large pot and cover with fresh water (about 2 inches above the chickpeas).
- Sprinkle 1/4 teaspoon baking soda over the water. Bring the water to a boil, then reduce the heat to low and simmer for 1 to 1.5 hours, or until the chickpeas are tender. Skim off any foam that rises to the surface during cooking.
- Once the chickpeas are very tender, drain and allow to cool for a few minutes.
Note for Canned Beans
- If using canned garbanzo beans, drain and rinse the beans, and then place into a pot on the stove, cover with a few inches of water, and boil for 15-20 minutes or until very tender. Drain and use to make the hummus.
Make the Hummus:
- Place the beans, lemon juice, avocado, garlic, salt, and pepper in a food processor and blend until smooth. Depending on your food processor this may take up to 5 minutes. If the hummus is too thick, add cold water 1 tablespoon at a time until the desired consistency.
- Taste and add more salt and/or lemon juice as needed.
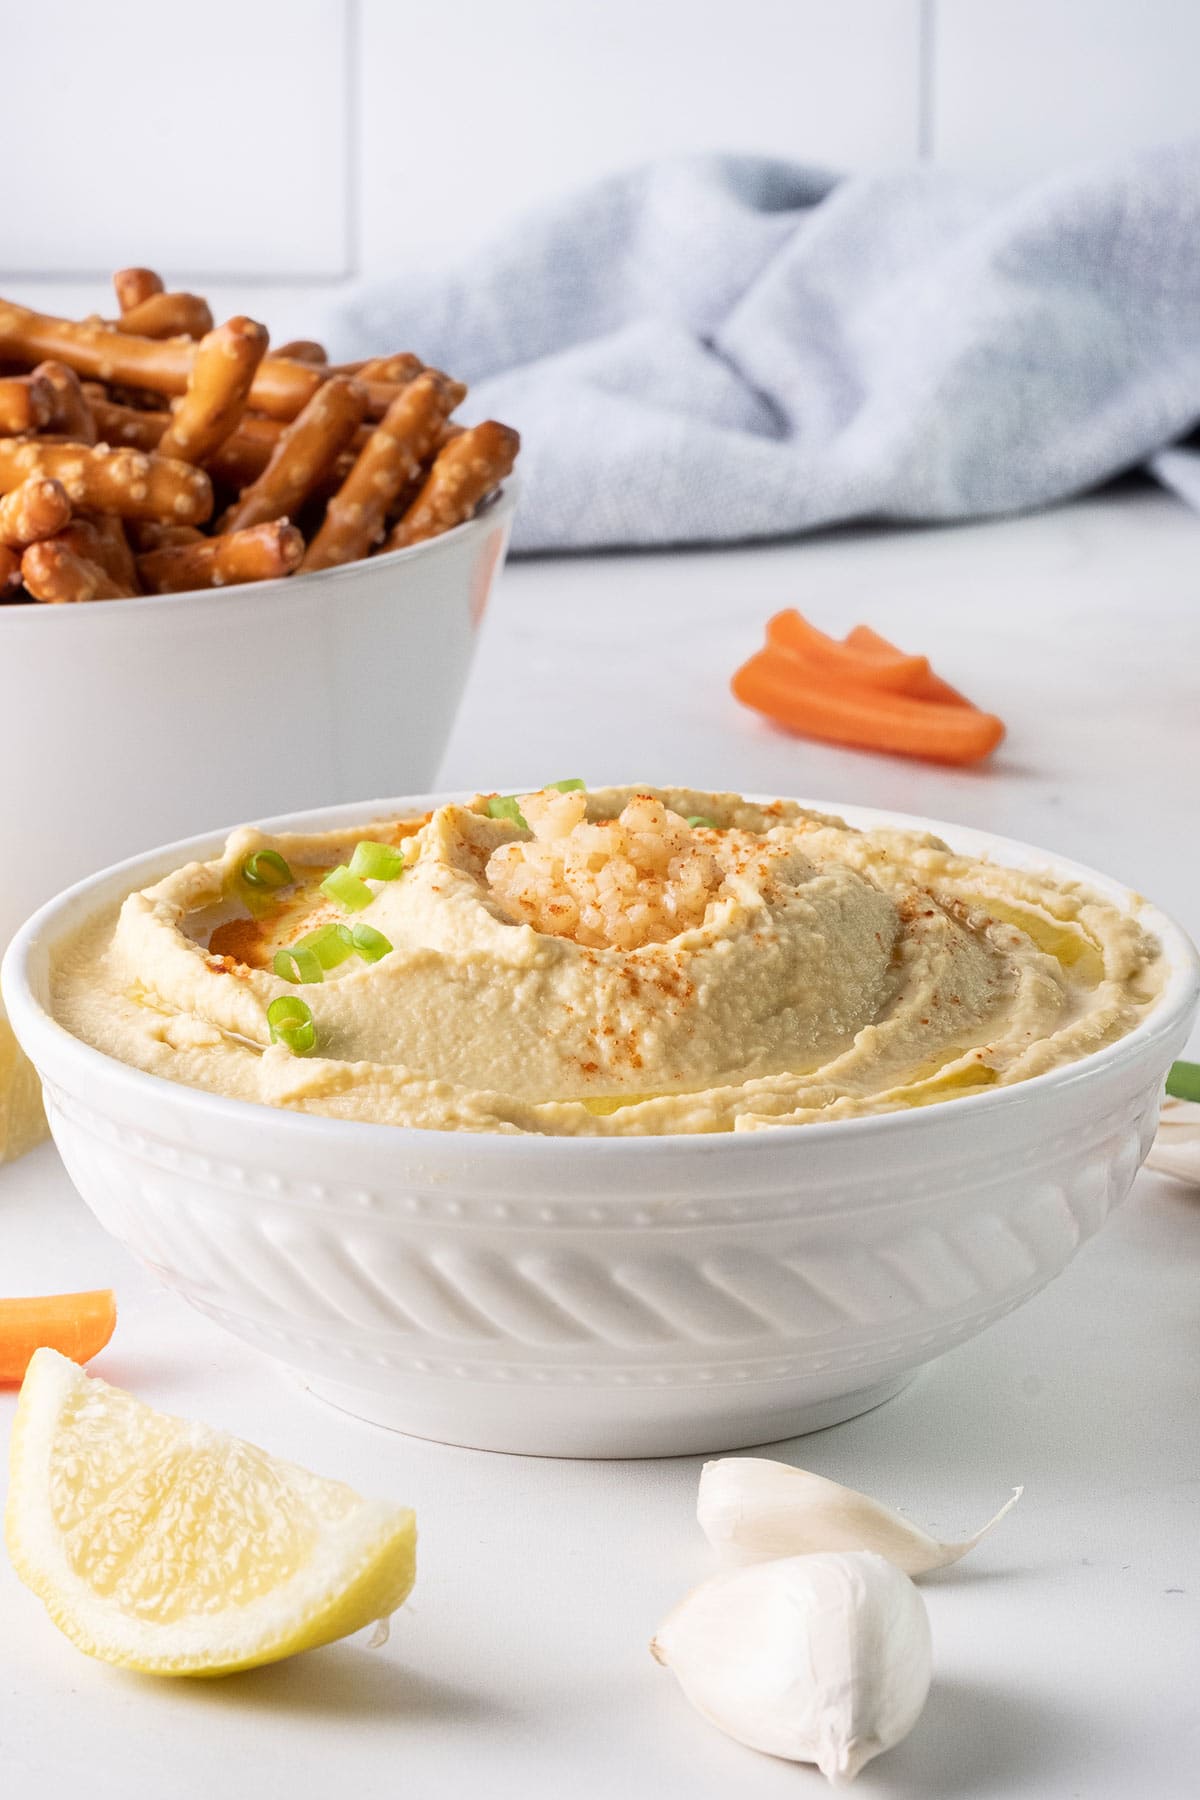
- Pour into a serving bowl, drizzle olive oil over the top, and serve with vegetables, pretzels, or pita chips.
Notes
- Adjust the garlic level, adding more or less depending on how much you love garlic!
- Add herbs like cilantro or basil
- Incorporate spices like cumin or smoked paprika either into the hummus mixture or sprinkled on top
- If you’re sensitive to garlic’s intensity, try roasting the cloves before adding them to your hummus. Wrap unpeeled garlic cloves in foil with a drop of olive oil and roast at 400°F for 15-20 minutes until soft and caramelized for a sweeter, more mellow flavor.
- Place leftovers in an airtight container and refrigerate for up to 3-4 days.
- Batch and freeze cooked chickpeas so you can have hummus anytime without buying canned beans! Just cook a larger amount of dried chickpeas and freeze the extras in 1½-cup portions (equivalent to one can). Cool the chickpeas completely after cooking, drain well, and store in airtight containers or freezer bags. Frozen cooked chickpeas maintain their quality for up to 6 months and can be thawed overnight in the refrigerator when needed.
Nutrition
Recipe FAQs
I personally prefer cooking dried chickpeas instead of using canned beans for hummus because it make for a better texture and flavor. Dried chickpeas typically yield a more authentic taste with less of the metallic undertones sometimes found in canned varieties. They also allow you to control the salt level and cooking firmness precisely.
Properly cooked chickpeas for hummus should be very tender – softer than you might prepare for other dishes like salads. Test by squeezing a chickpea between your fingers – it should mash easily with minimal resistance. Undercooked chickpeas will result in grainy hummus.
For this recipe, use 1 cup of dried chickpeas to replace one 15.5 oz can. This will yield approximately 2 cups of cooked chickpeas needed for the recipe.
More Delicious Dip Recipes To Try
Dip Recipes
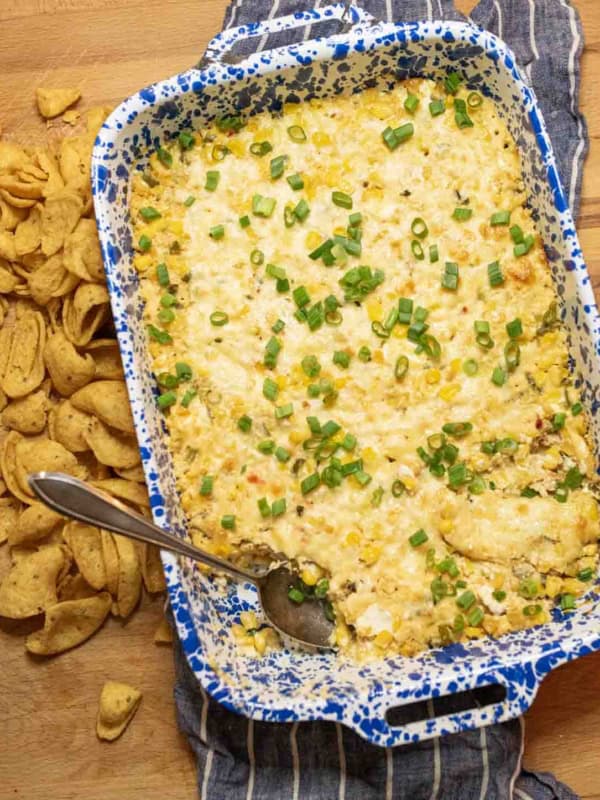
Spicy Hot Corn Dip
Dip Recipes
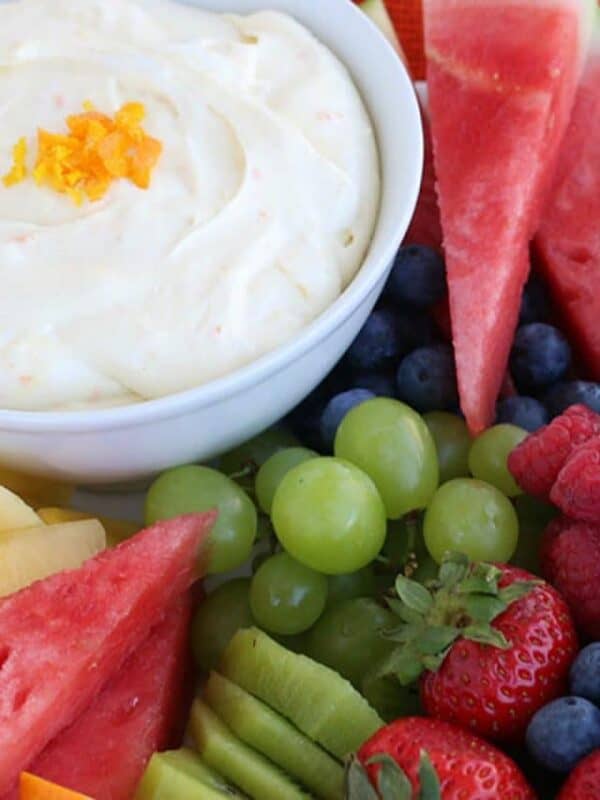
Orange Marshmallow Fruit Dip Recipe
Dip Recipes
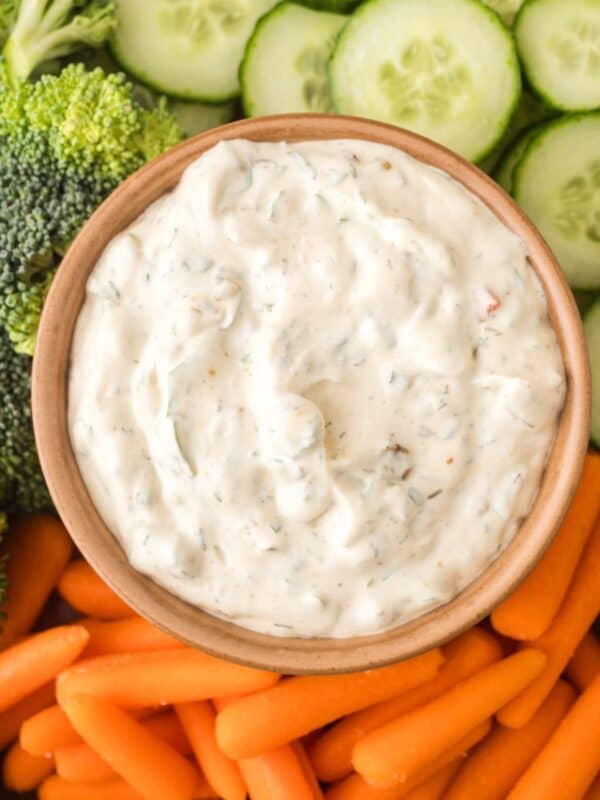
Knorr Veggie Spinach Dip Recipe
Appetizer Recipes
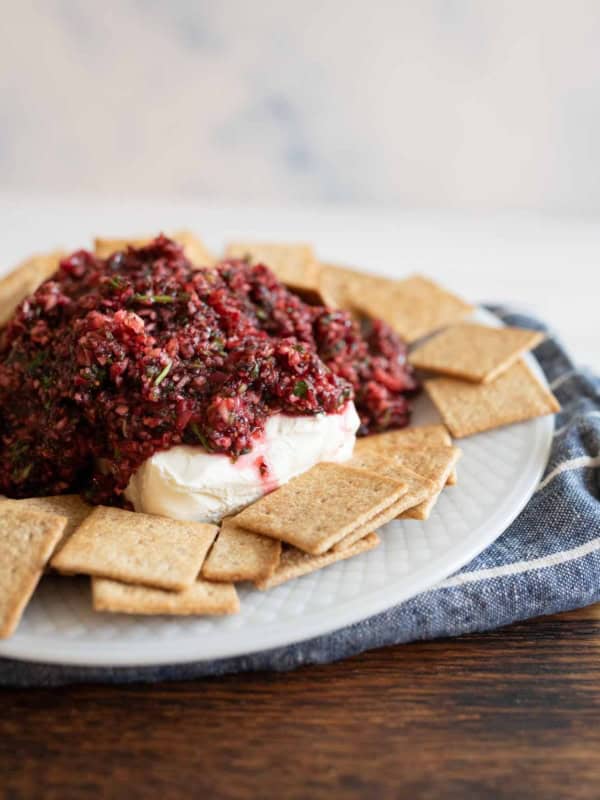
Fresh Cranberry Salsa Recipe | Sweet & Spicy Holiday Dish
Did you make this recipe? Leave a ⭐️ review and share it on Instagram, Facebook, or Pinterest!


