This post may contain affiliate links. Please read our disclosure policy.
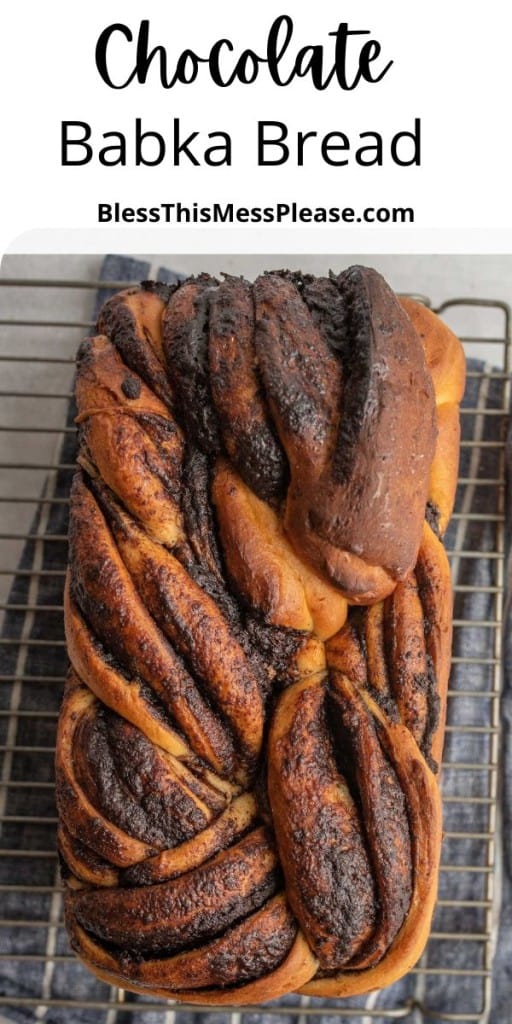
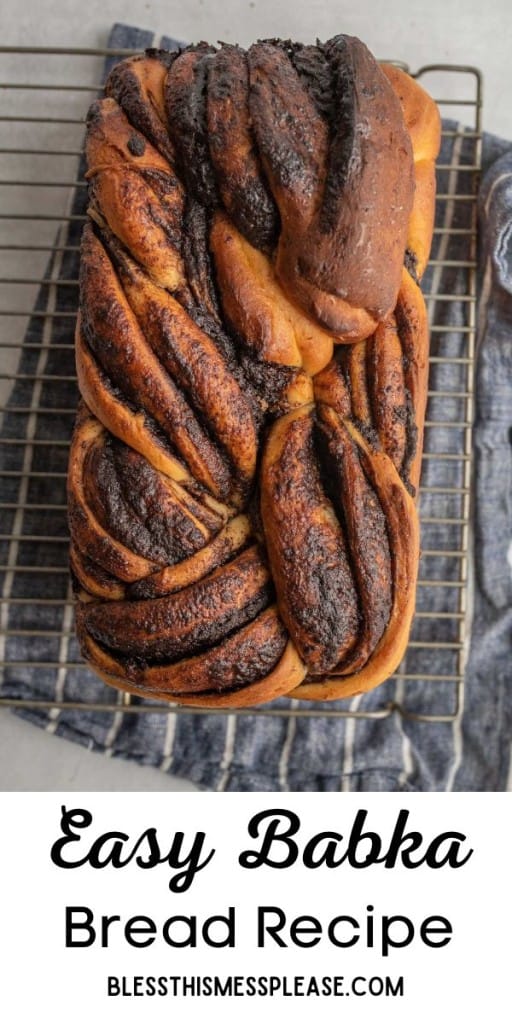
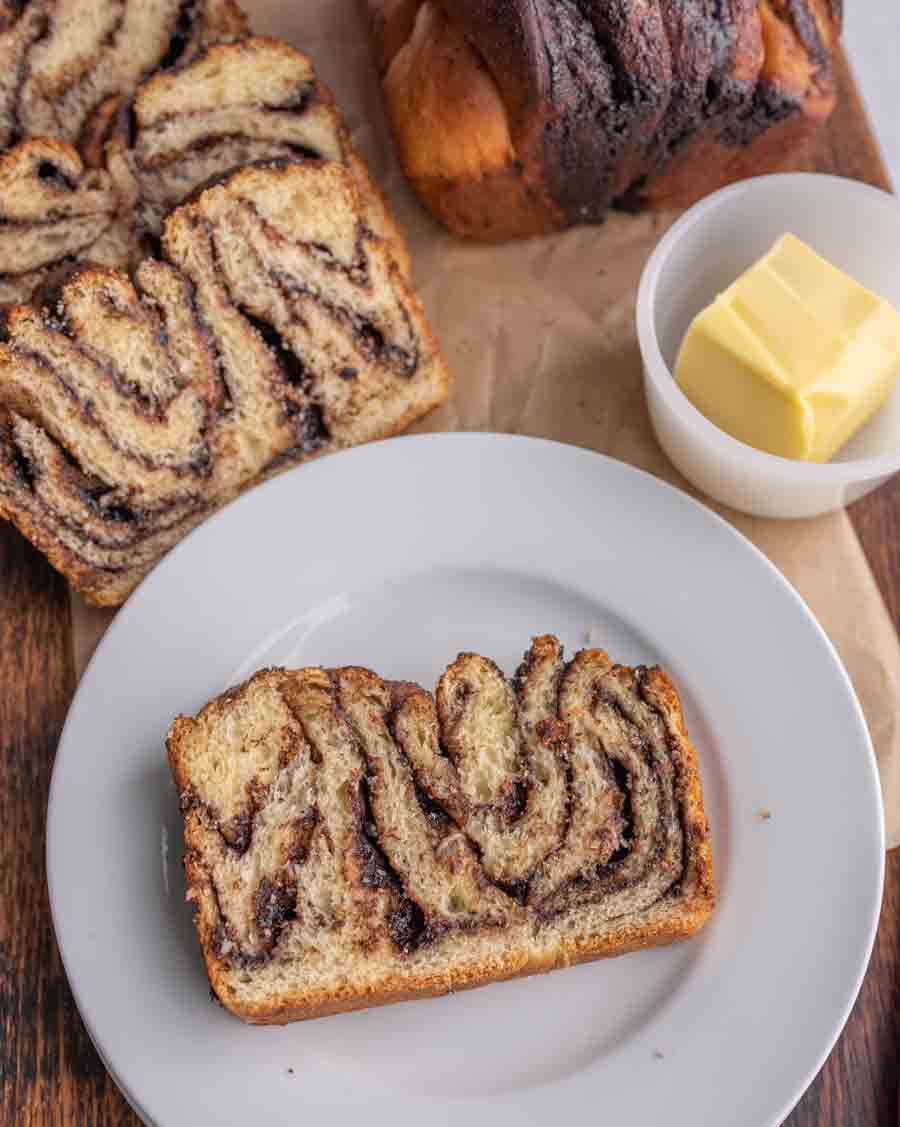
Chocolate Babka is a buttery soft and rich bread that is full of all kinds of chocolate layers.
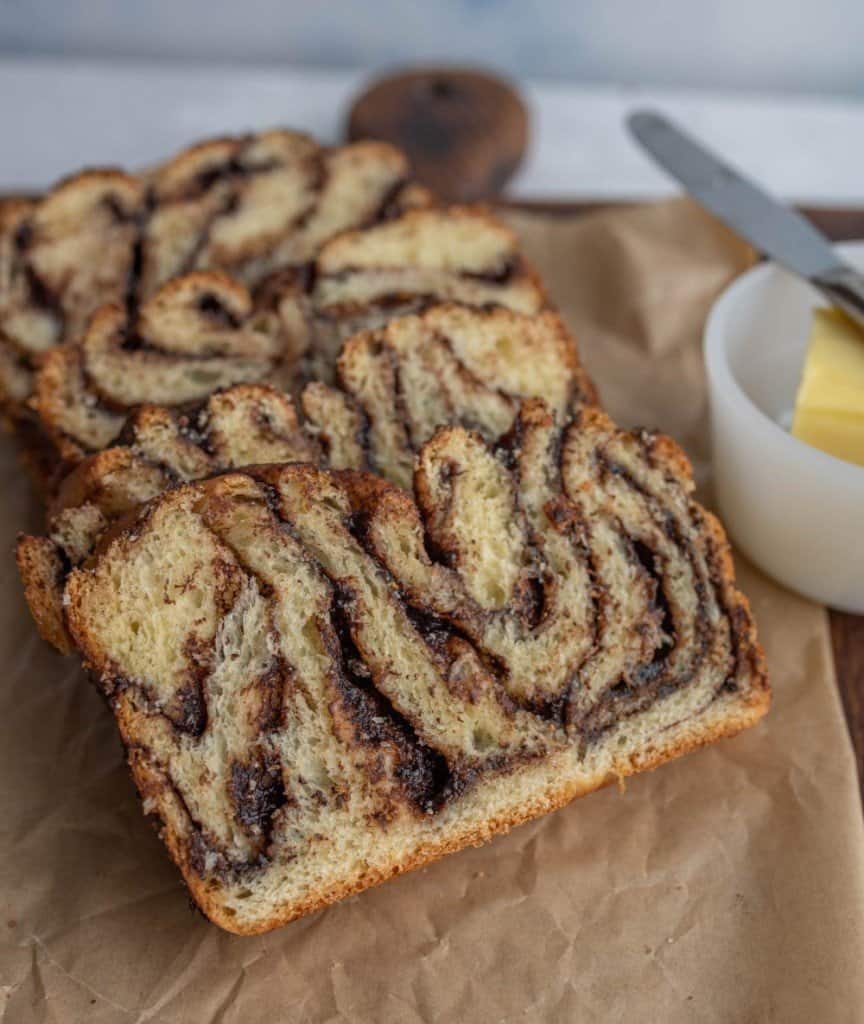
If you are unfamiliar with Babka it is basically a cross between cinnamon rolls and swirl bread. Babka looks beautiful and is incredibly sweet, fluffy and the best to serve for breakfast or dessert.
Chocolate Babka
Babka originates from the Jewish communities in Eastern Europe. The “Babka” word comes from the Slavic word for Grandmother. There a stories of grandmothers repurposing leftover challah dough into this yummy bread. Now, babka is a popular item in bakeries around the world.
Don’t be scared by making this yeast bread. It is a bit of a labor of love but most of the time is spent letting the dough rise. It is most definitely rewarding to see the final product in all it’s glory.
Ingredients
- Yeast
- Sugar
- Milk
- Butter
- Sugar
- Flour
- Eggs
- Salt
- Cocoa
Recipe Instructions
- I think this recipe is easier to make then cinnamon rolls and it’s so pretty too!
- You make a basic enriched yeast dough recipe (it has milk and eggs in it so that it’s extra tender and soft).
- Roll the dough out into a large triangle and then spread out the chocolate filling.
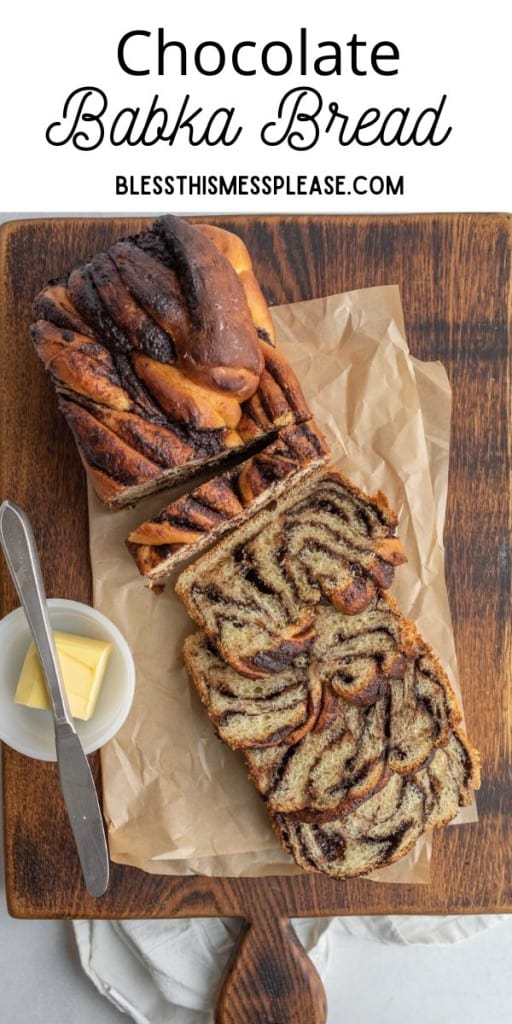
- Roll up the dough like you would cinnamon rolls but then you are splitting the log down the middle instead of cutting it into rounds.
- Twist the bread against itself and then pile it all into a well greased loaf pan.
- Let it rise and then bake (this recipe makes two loaves of babka bread just FYI).
- This is so good eaten warm and fresh the day it’s make.
Frequently Asked Questions
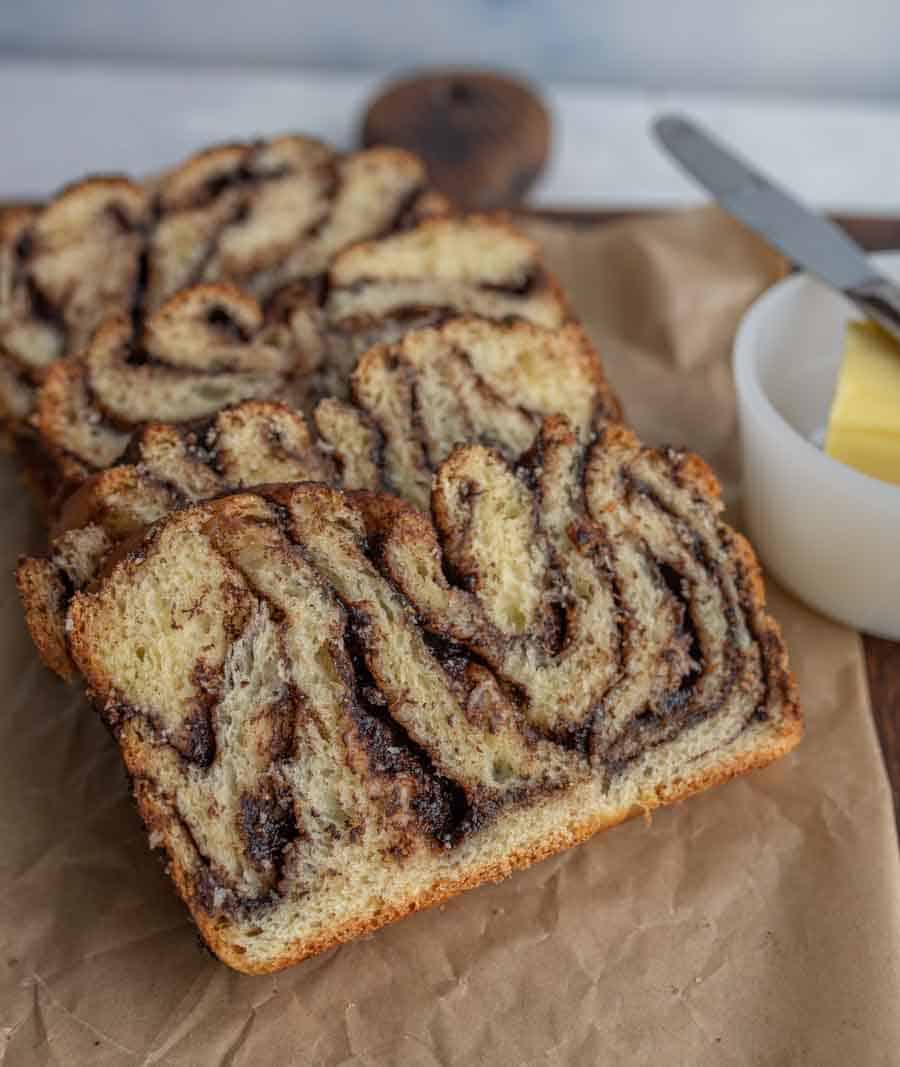
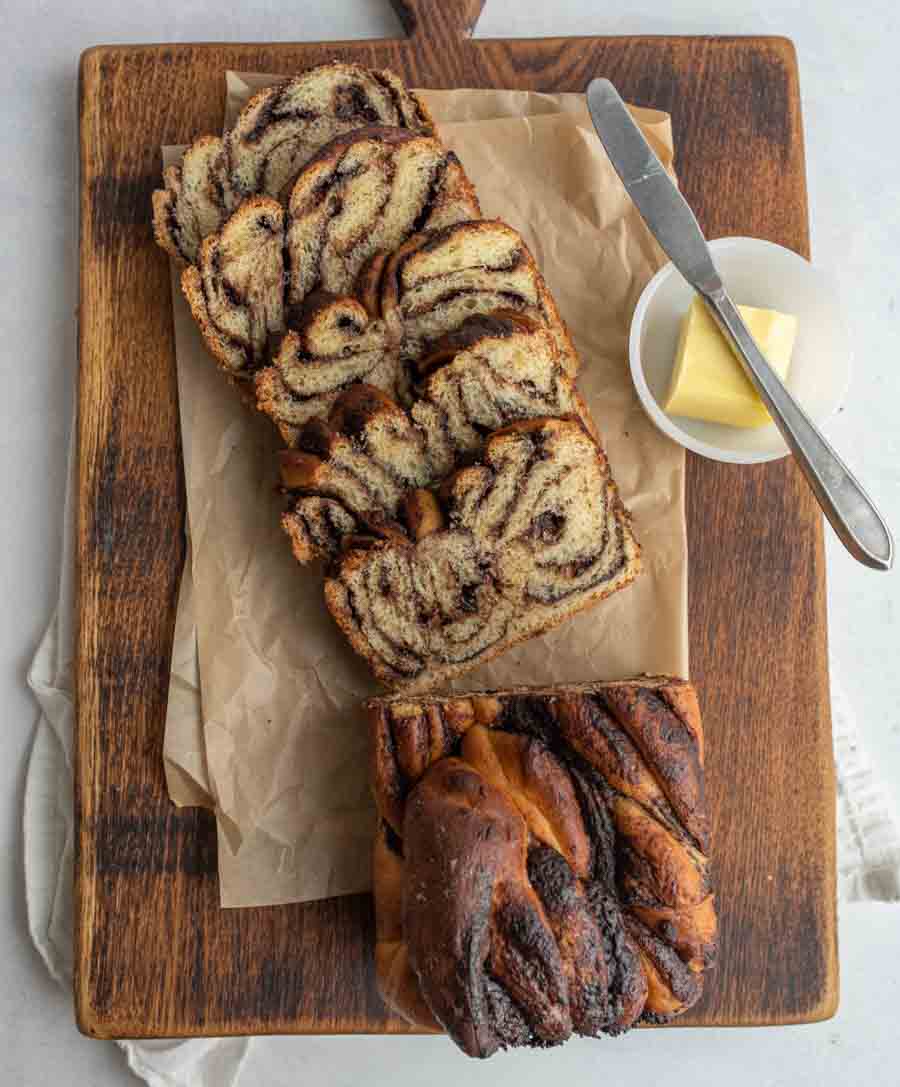
Babka is really great to serve for a breakfast, brunch or any type of baby or bridal shower. It can be served with your favorite hot drink or just alone. I have also served Babka as a dessert and it is a hit. I like it sliced while warm and it’s great with a little butter on top, it’s also good toasted.
This recipe calls for decadent chocolate filling but there are plenty of other options. Nutella, chopped nuts, or fruit jam would be delicious weaved into a Babka.
Babka freeze beautifully. After the babka is baked and completely cooled then wrap it in a few layers of plastic wrap and then a layer of tin foil. It will stay good in the freezer for up to 2 months. When you are ready to eat the loaf, simply defrost at room temperature, slice and toast.
More Bread Recipes
- Chocolate Chip Sourdough Bread
- Cracked Wheat Braided Bread
- Old Fashioned Date Nut Bread
- Cinnamon Sour Cream Coffee Cake
If you’ve tried this Chocolate Babka or any other recipe on Bless this Mess, then don’t forget to rate the recipe and leave me a comment below! I would love to hear about your experience making it. And if you snapped some pictures of it, share it with me on Instagram so I can repost on my stories.
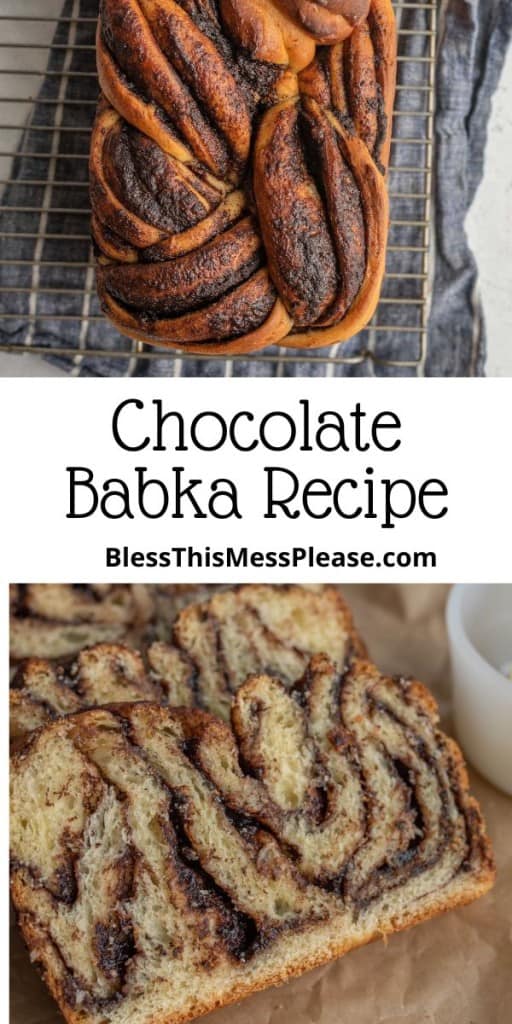
Trust me when I say that you have got to make Chocolate Babka. It is soft, sweet bread worthy of any of your chocolate cravings.
Chocolate Babka Recipe
Ingredients
Dough:
- ¼ cup warm water
- 2 ½ teaspoon yeast
- 1 tablespoon granulated sugar
- 1 ½ cups milk
- ½ cup butter
- ½ cup granulated sugar
- 5 ½ cup flour
- 2 eggs
- 1 teaspoon salt
Chocolate filling:
- ½ cup melted butter
- ¼ cup cocoa
- 1 ½ cup granulated sugar
Glaze:
- 1/2 cup water
- 1/2 cup sugar
Instructions
- Stir warm water, yeast and 1 tablespoon sugar in a small bowl and set aside.
- Microwave the milk and butter together in a microwave safe bowl just until the butter is just melted (milk should be warm, not hot! It should be about 100 degrees F, let it cool a minute if needed or you’ll kill the yeast and the bread won’t rise). You can also do this step on the stovetop if you prefer.
- Put the warm milk and butter mixture and 1/2 cup sugar in a large bowl and add half the flour. Mix well to combine. This can be done in the stand mixer or by hand, just be sure to mix very well by hand.
- Add eggs one at a time and mix well after each addition.
- Add yeast mixture and mix well.
- Add salt and remaining flour and mix until completely combined (mixture will be very sticky).
- Cover bowl with tea towel and let rest until double, about 30-45 minutes.
- Prepare two 9×5 inch bread pans by greasing them well with butter or shortening (cooking spray doesn’t work as well here with the rich filling).
- After the dough has risen, remove the dough from the bowl onto a lightly floured surface.
- Dived the dough in half, and working with one half, roll the dough out into a large rectangle that is roughly 24 inches long and 12 inches wide. The dough will be quite thin, about 1/4 of an inch. Add more flour as needed so that it doesn’t stick too much to your work space. It’s nice to have the dough be a little tacky though because it makes it easier to roll it out thinly, just be sure it isn’t sticking very badly.
- Mix the butter, cocoa, and sugar together in a small mixing bowl for the filling.
- Spread half the filling evenly all over the rolled out rectangle of dough.
- Roll the dough up tightly along the longest edge like you would cinnamon rolls.
- Cut the log in half down the length of the log (opposite of how you would cut cinnamon rolls). I like to leave about 1 inch of my dough connected still at the top, it makes it a little easier to work with and twist together.
- Twist the 2 cut halves together against each other, keeping the cut sides up.
- Place the twisted log of dough into the well greased loaf pan by placing one end of the twist in the pan, layering it back on itself, and then fold it back on itself again. The whole log is still connected but you go back and forth in the pan (end to end) about three times so that it fills the pan in layers. This is a messy process but it’s going to look great no matter how it goes in! Trust me…
- Repeat with other half of the dough for a second loaf.
- Let the loaves rise 30-60 minutes or until the dough has risen about an inch or so out of the pan.
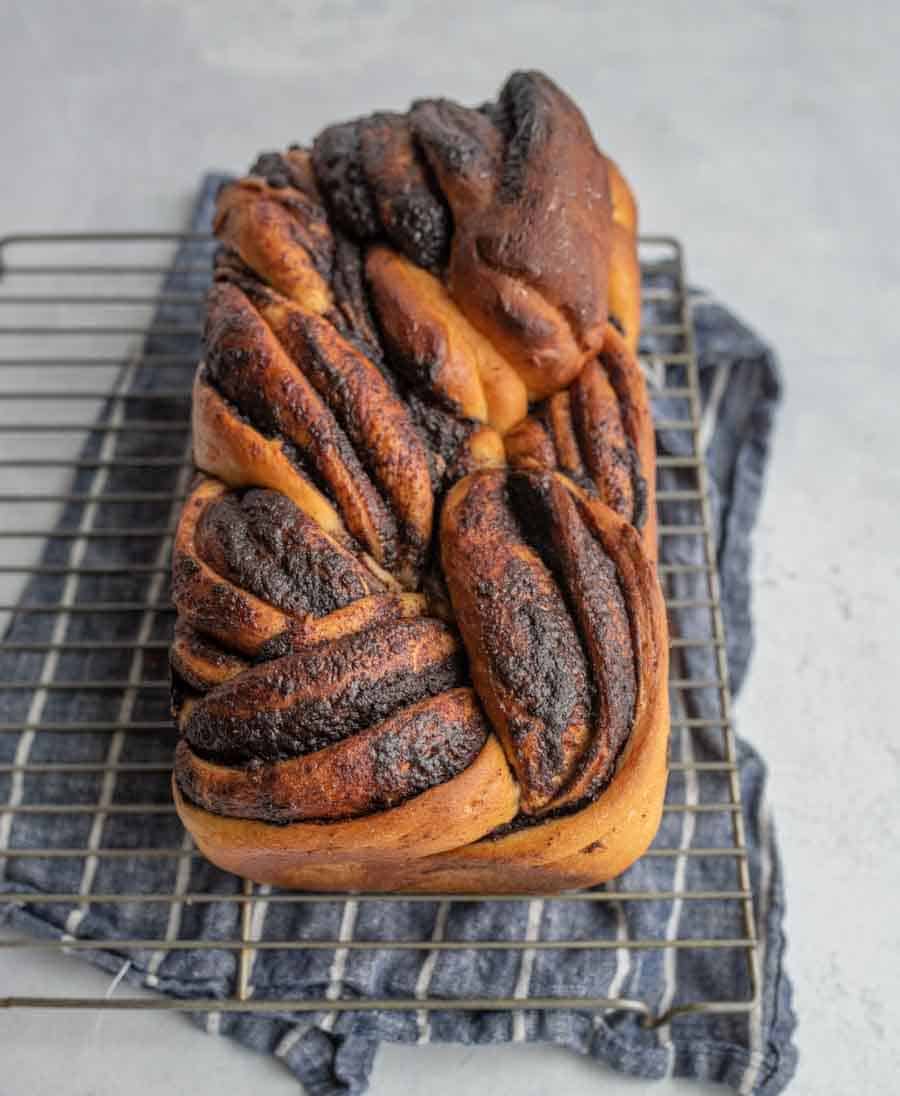
- Bake at 350 degrees F. for 45-55 minutes or until an instant thermometer reads 190 degrees F. The top of the bread will be very deep in color. I really like to use a thermometer for this bread because it’s easy to under bake it.
- While the bread is baking, bring the water and sugar for the glaze to a boil in a small saucepan and then remove it from the heat. You are dissolving the sugar and making a simple syrup, don’t over cook it by boiling it for any period of time.
- Once the bread has finished cooking and is out of oven, brush the top of the bread all over with the sugar syrup. It makes the tops very shiny.
- Let the bread cool for 15 minutes in pan.
- Remove from the pan and cool on cooling rack.
- Serve warm or at room temperature. This bread is best the day it’s made but leftovers are good sliced and toasted. You can also store the extra loaf in the freezer (see post for freezing instructions).
Notes
- The glaze sometimes feels like an extra step to me and I don’t always do it. It’s more of a traditional babka step and I wanted to include it for you. It helps to make the top shiny and seals in some of the moisture in the bread. You can skip it if you want to. This bread is also good with 1 cup powdered sugar mixed with a tablespoon or so of milk or cream and drizzled with a more traditional sweet bread glaze.
- It’s a little messy to cut and wrap up the bread, just go for it, it looks great once cooked and sliced up.
- Don’t stress if you can’t get your bread to roll out as thin as directed, it can be a little thicker, it’ll just have less swirls in the finished product but still tastes great.
- You can use Nutella and chocolate chips in the filling instead of what I called for and it’s also delicious.
- You can also roll out all of the dough for both loaves at the same time if you have a large enough work space. I’ll often roll all of the dough about, about 48 inches long and still 12 wide. Then I’ll spread all of the filling out over all of the dough and then I’ll just use my knife to cut the two rectangles apart before I start rolling them up. It works well too.


