This post may contain affiliate links. Please read our disclosure policy.
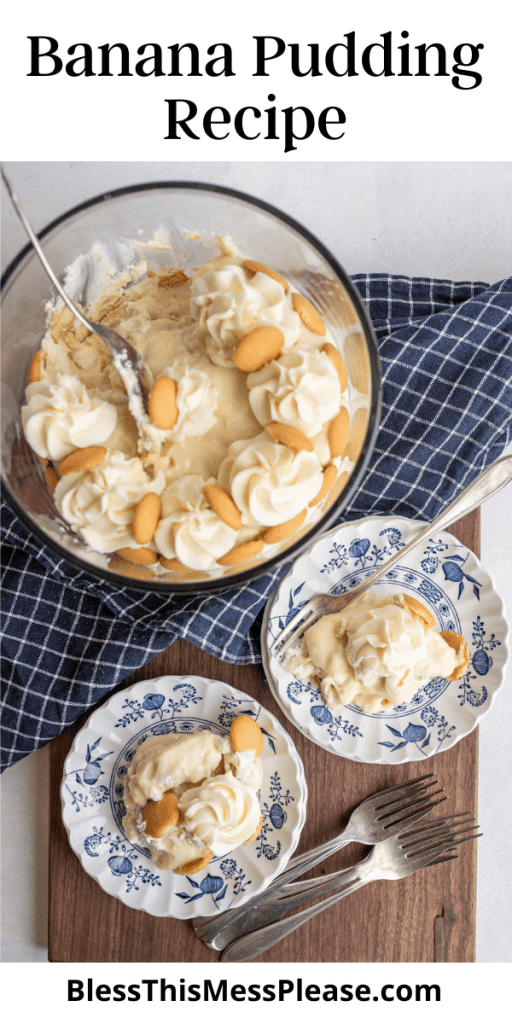
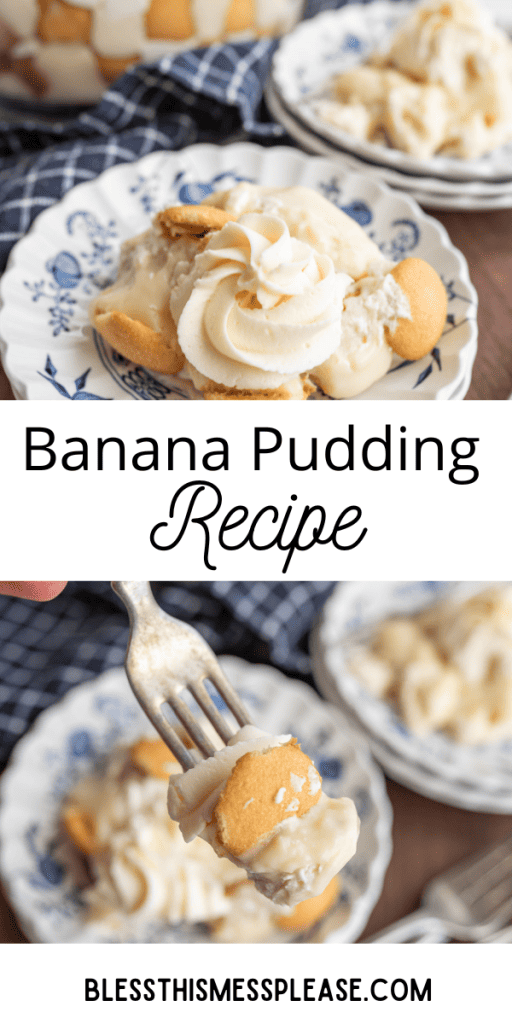
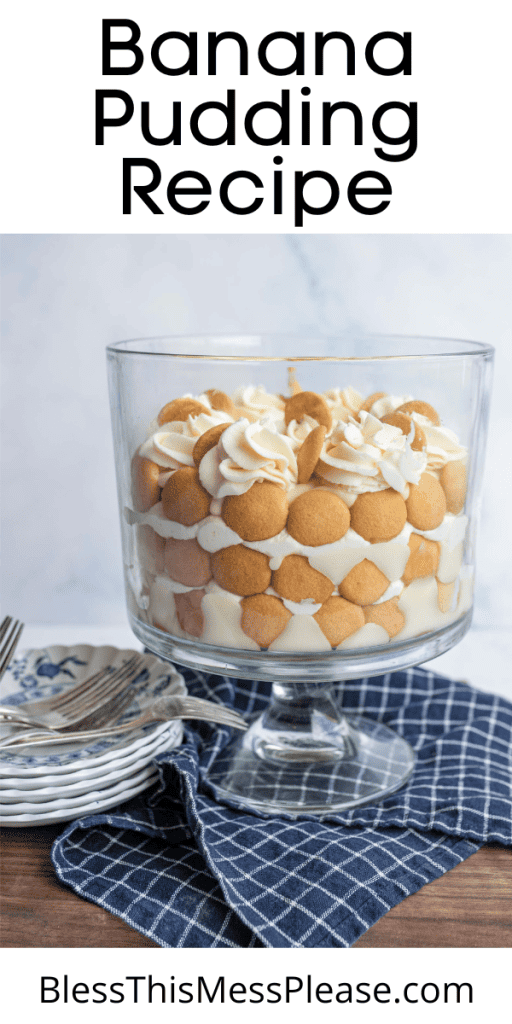

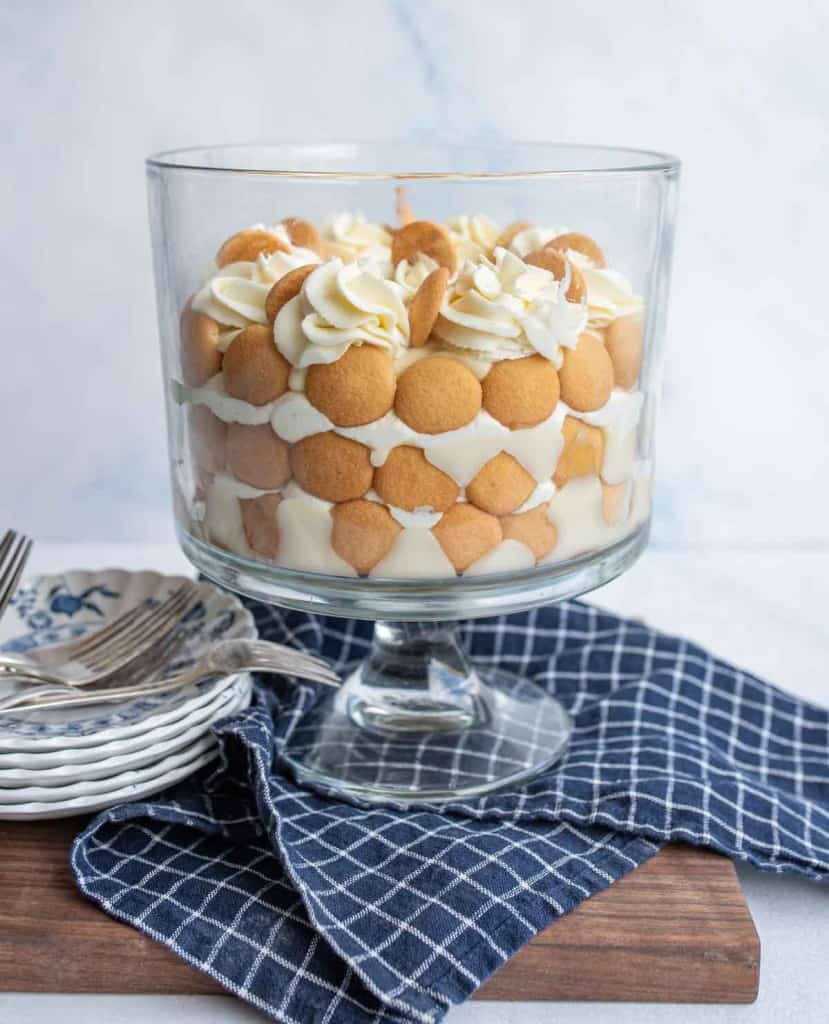
This Homemade Banana Pudding Recipe is a heavenly no-bake dessert with the rich creaminess of homemade vanilla pudding and chantilly cream, the natural sweetness of ripe bananas, and the satisfying crunch of Nilla wafers.
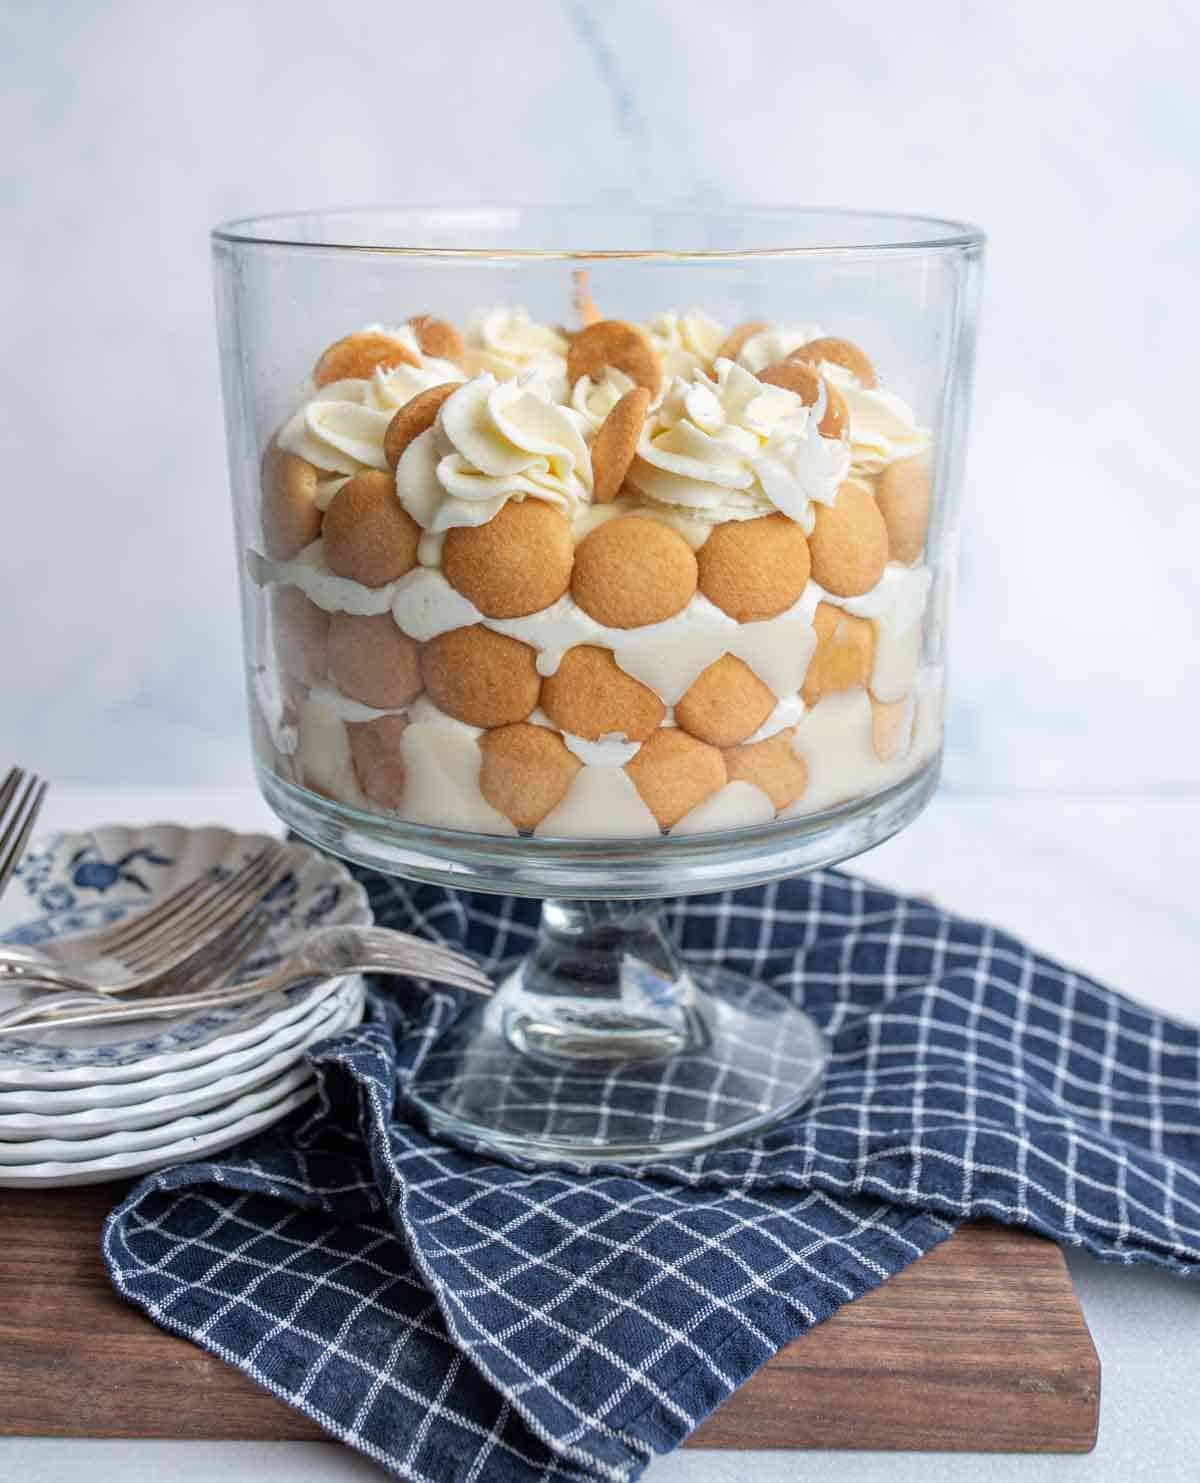
Table of Contents
My 2 Best Tips For Making This Homemade Banana Pudding Recipe
Make Chantilly Cream: While store-bought whipped topping works in a pinch, homemade Chantilly cream takes this dessert to another level. The homemade whipped topping adds such a special element to the banana pudding — I call it the secret that sets my banana pudding recipe apart!
The Art of Tempering: When adding hot milk mixture to egg yolks, do it very slowly while whisking constantly. This gradual temperature increase prevents the eggs from scrambling and ensures a silky-smooth pudding texture. If you notice any lumps after combining the mixtures, strain the pudding through a fine-mesh sieve before cooling.
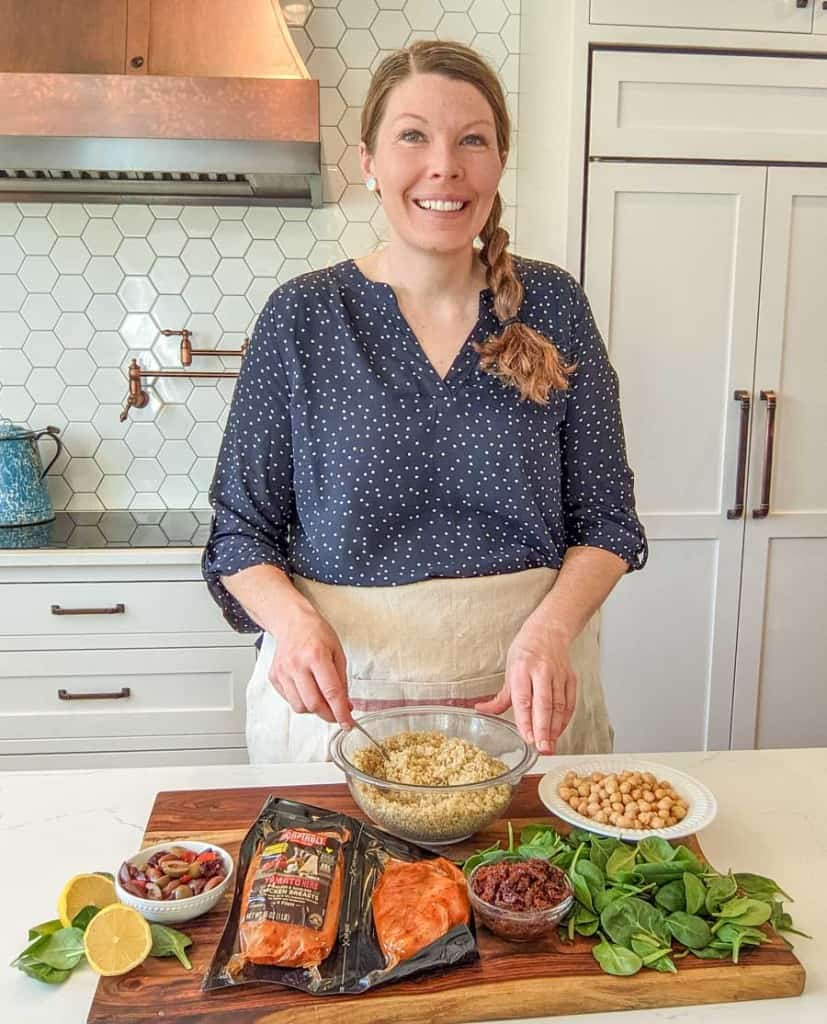
🩷 Melissa
Why I Love This Recipe!
This timeless dessert is universally loved, making it perfect for family gatherings, potlucks, and holiday celebrations. It’s the kind of recipe that gets requested again and again!
So why am I such a fan of this dessert?
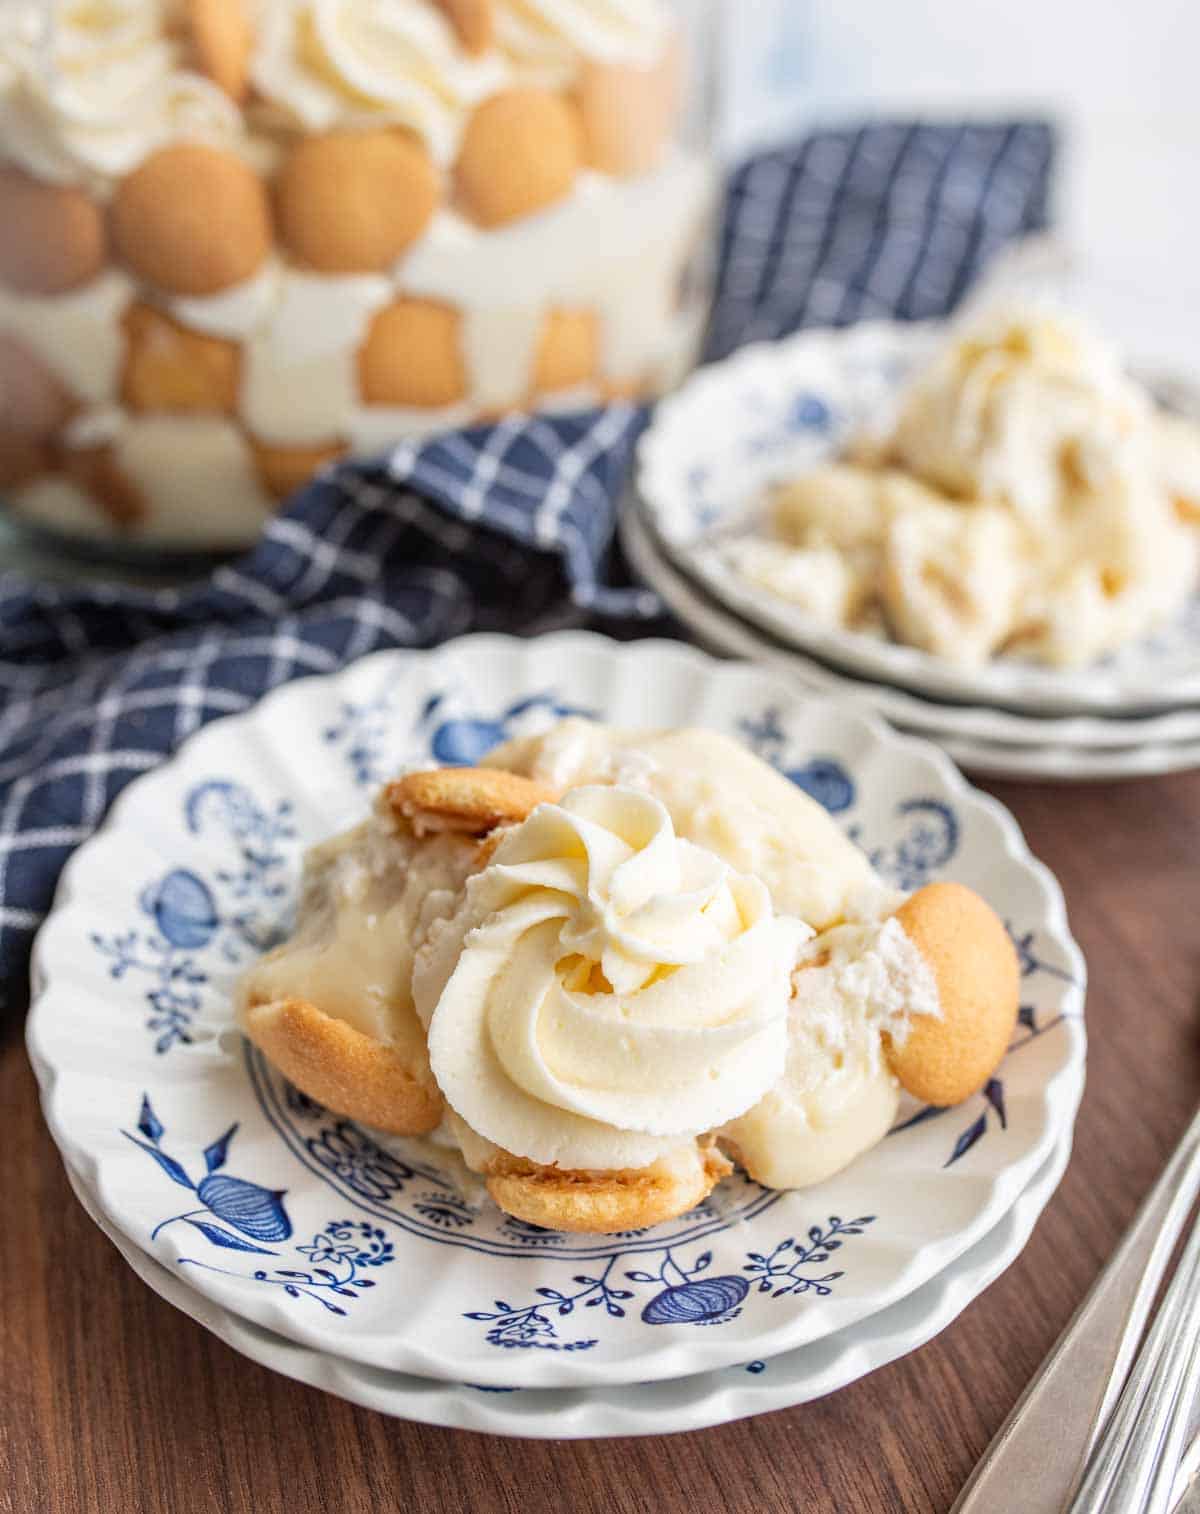
- Creamy & Dreamy Texture: The homemade pudding and chantilly cream create a lovely creaminess and the cookies are always a great texture.
- Nostalgic Comfort: Definitely a true comfort food, especially if you grew up eating this dessert like I did!
- Quick and Easy: This recipe is actually pretty easy — homemade pudding isn’t difficult and the chantilly cream can be made quickly with a stand or handheld mixer.
Recipe Ingredients
- Mini Nilla Wafer Cookies: These adorable miniature vanilla wafer cookies will provide a delightful crunch and a subtle vanilla flavor to your banana pudding.
- Ripe Bananas: You’ll need 3-4 bananas, thinly sliced. Choose ripe bananas with brown speckles for the best flavor. Slicing them thinly ensures that each bite of your pudding is infused with sweet banana goodness.
- Chantilly Cream: Chantilly cream, with its airy and sweet profile, is the perfect companion to banana pudding. I definitely encourage you to try the homemade version, but if you’re strapped for time, you can substitute with a carton of store bought whipped cream.
- Sugar: Sugar is the key to sweetening the vanilla pudding and balancing the natural tartness of the bananas.
- Cornstarch: Cornstarch plays a crucial role in thickening the pudding, giving it that creamy, luscious texture.
- Salt: A pinch of salt enhances the overall flavor of the pudding, balancing the sweetness and providing depth.
- Whole Milk: Whole milk is essential for creating a rich and creamy base for your pudding.
- Egg Yolks: The egg yolks help thicken the pudding and provide a velvety consistency. (Save the whites for another dish, maybe something with a meringue topping!)
- Unsalted Butter: Butter adds a luxurious richness to the pudding, contributing to its creamy texture.
- Pure Vanilla Extract: Vanilla extract infuses the pudding with a warm and aromatic flavor that complements the bananas and Nilla wafers.
See the recipe card for full information on ingredients and quantities.
Popular Substitutions and Variations
1. Gluten-Free Option: If you’re on a gluten-free diet, don’t fret. Simply substitute regular vanilla wafers with gluten-free alternatives, and ensure that your vanilla pudding mix is also gluten-free.
2. Vegan Banana Pudding: For a dairy-free and vegan-friendly version, swap out dairy milk and whipped cream with almond milk and coconut whipped cream. You can also use a plant-based vanilla pudding mix.
3. Chocolate Banana Pudding: Add a decadent twist by incorporating chocolate into your banana pudding. You can layer it with chocolate chips, drizzle it with chocolate sauce, or mix cocoa powder into your pudding for a delightful chocolate-banana fusion.
How To Make Banana Pudding
Step 1: Mix sugar, cornstarch, salt, and milk in a saucepan, bring to a boil, and cook for 1 minute.
Step 2: In a separate bowl, whisk egg yolks and gradually add a cup of the hot mixture.
Step 3: Combine egg mixture with the rest in the saucepan, bring to a boil for 1 more minute, and stir in butter and vanilla. Let the pudding cool to room temperature.
Step 4: Layer wafers, banana slices, pudding, and Chantilly cream in a serving bowl. Cover and refrigerate for a few hours or overnight to set and for the flavors to develop.
Homemade Banana Pudding Recipe
Ingredients
- 1 box Mini Nilla wafer cookies
- 3-4 ripe bananas, thinly sliced
- Chantilly cream, or store-bought whipped cream topping
- ⅔ cup granulated sugar
- 4 tablespoons cornstarch
- ¼ teaspoon salt
- 4 cups whole milk
- 4 large egg yolks
- 4 tablespoons unsalted butter, softened
- 4 teaspoons pure vanilla extract
Instructions
- In a 2-quart saucepan, combine the sugar, cornstarch, and salt. Ensure they are thoroughly mixed together.
- Gradually stir in the milk, ensuring it integrates well with the dry mixture to avoid lumps.
- Place the saucepan over medium heat. Keep stirring the mixture continuously until it begins to boil. Once it starts boiling, allow it to boil for 1 minute, ensuring the milk thickens as expected.
- In a separate, medium-sized bowl, whisk the egg yolks until smooth. Gradually (and slowly) add a cup of the hot milk mixture to the egg yolks, whisking vigorously. This process is called tempering and ensures the eggs don’t scramble from the heat.
- Pour the egg yolk mixture back into the saucepan with the rest of the milk mixture. Place it back over medium heat, bringing it up to a boil. Allow it to boil for another 1 minute.
- Remove the saucepan from the heat. Stir in the butter and vanilla extract, mixing until the butter is completely melted and the mixture is smooth.
- Allow the pudding mixture to cool down to room temperature. This might take an hour or so.
- In a large serving bowl or individual dessert dishes, start with a layer of wafer cookies, followed by a layer of banana slices, then a generous layer of the pudding, and finally, a dollop of Chantilly cream. Repeat layers until all ingredients are used up.
- Cover the serving bowl(s) with plastic wrap and place them in the refrigerator for a couple hours, preferably overnight, to allow the flavors to meld and the pudding to set.
Notes
- Before serving, you can crumble a few extra nilla wafers on top for added crunch.
- If you fancy some added texture, consider sprinkling some toasted coconut flakes or chopped nuts between layers.
- Swap out the vanilla wafers with some homemade graham crackers!
Nutrition
Recipe FAQs
Yes, you can prepare banana pudding ahead of time. In fact, it often tastes even better after a few hours or overnight in the refrigerator. This allows the flavors to meld together, creating a richer taste. You can prepare it up to 24 hours in advance for the best results, though you may want to add a fresh layer of sliced bananas just before serving to prevent browning.
To minimize browning, choose bananas that are ripe but still firm (yellow with small brown spots). Toss the sliced bananas in a small amount of lemon juice before layering them into the pudding, which helps prevent oxidation. Additionally, make sure the banana slices are completely covered by pudding, as exposure to air causes browning. For the freshest presentation, consider adding the final layer of banana slices just before serving.
While you can substitute instant pudding mix for convenience, homemade pudding offers superior flavor and texture. The from-scratch version has a richer taste, smoother consistency, and doesn’t contain artificial ingredients or preservatives found in instant varieties. However, if you’re in a time crunch, two 3.4-ounce packages of instant vanilla pudding prepared according to package directions can be substituted.
More No-Bake Dessert Recipes To Try
No Bake Desserts
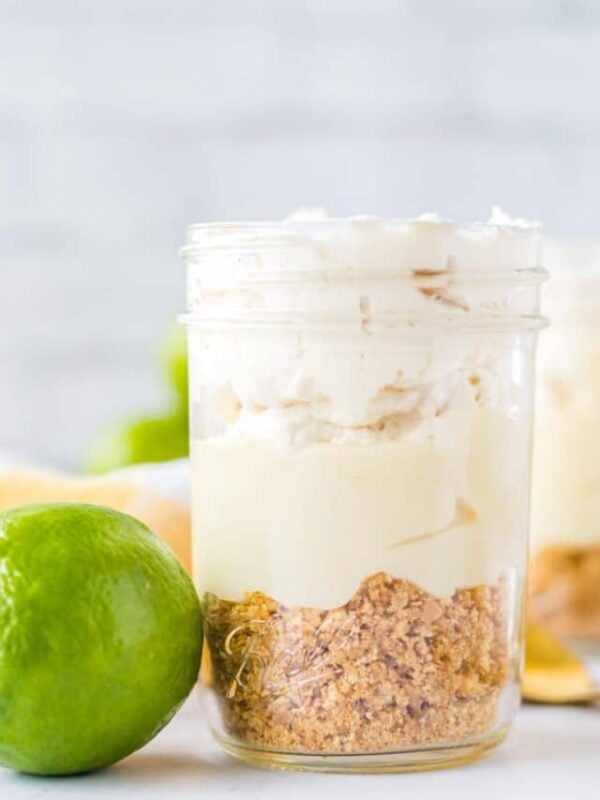
Key Lime Mousse {Key Lime Pie In A Jar}
No Bake Desserts
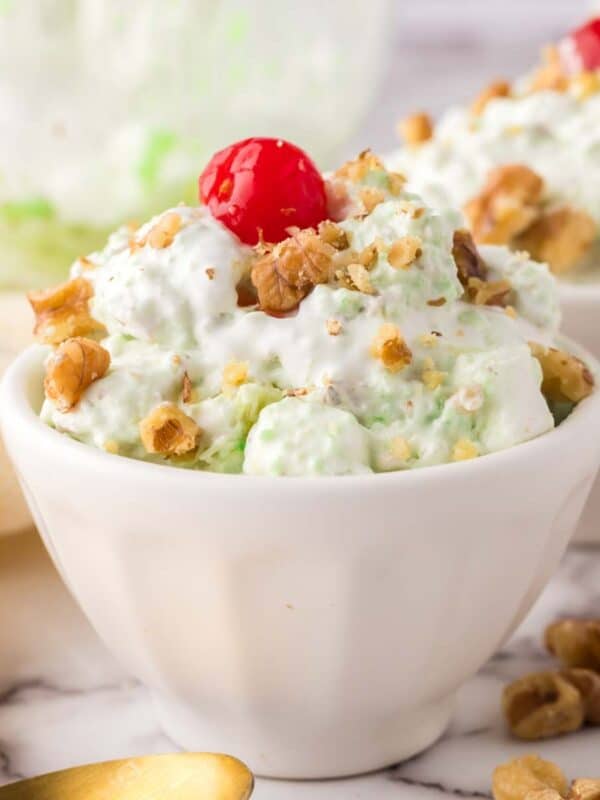
Watergate Salad Recipe
No Bake Desserts
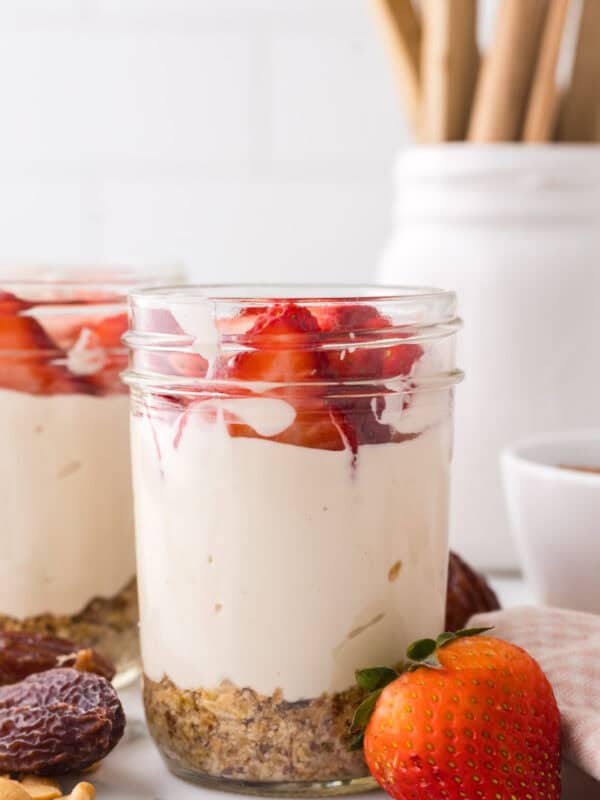
Healthy No-Bake Cheesecake
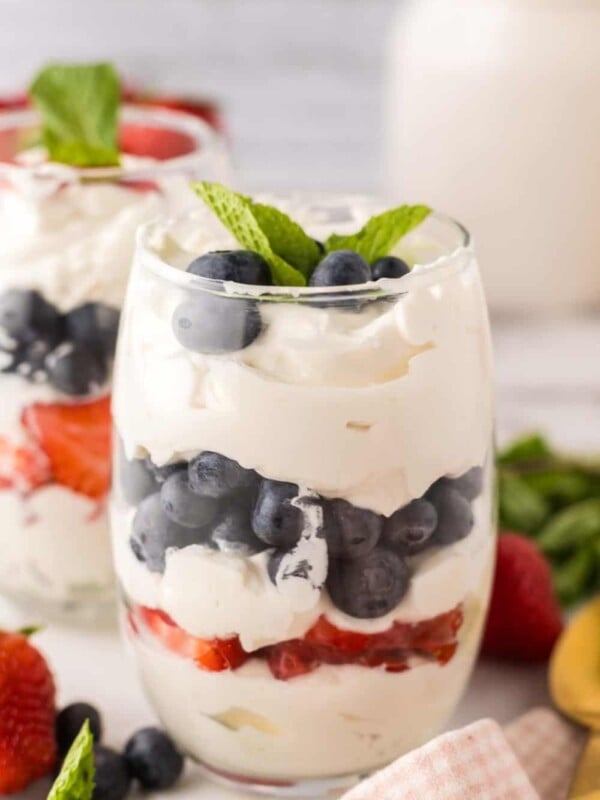
No Bake Desserts


I’ve made this recipe twice in the past couple of weeks, and it has been devoured both times! Easy to make and a delightful dessert.