
This post may contain affiliate links. Please read our disclosure policy.

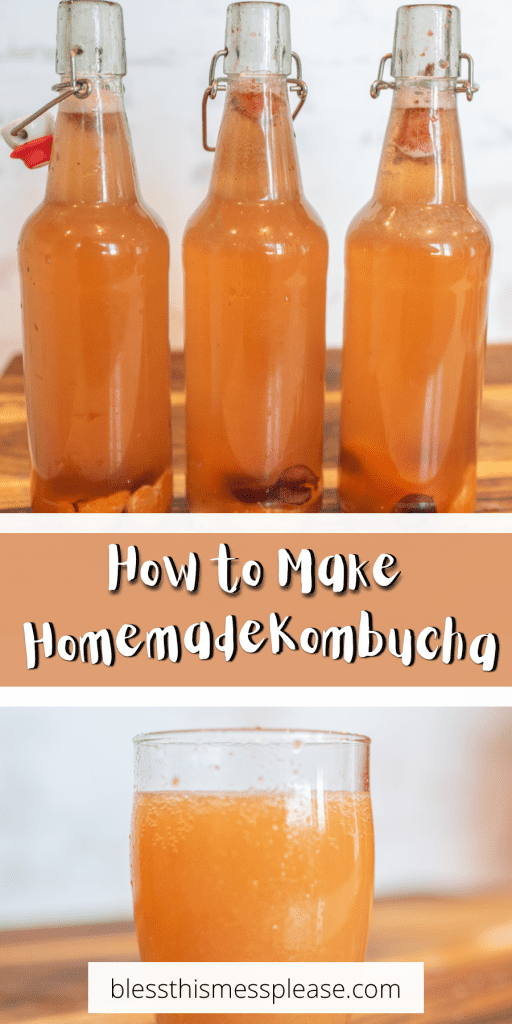

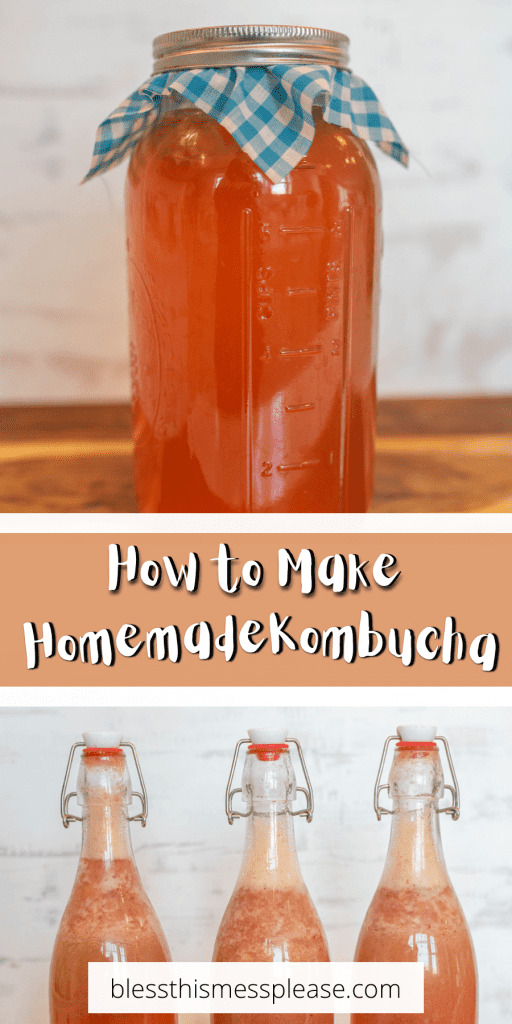

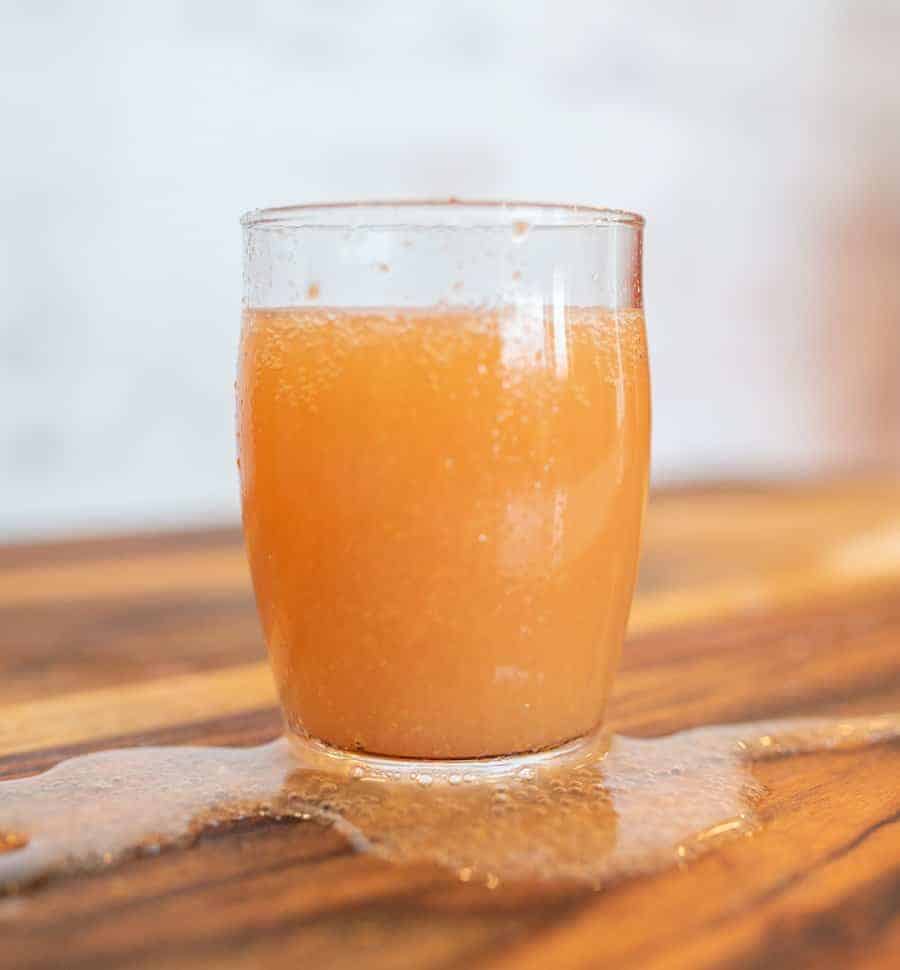
If you’ve ever been curious about brewing your own kombucha, now is the perfect time to learn how to make Homemade Kombucha from scratch. This bubbly, tangy tea is not only refreshing but also rich in beneficial probiotics that support gut health!
Quick Recipe Overview
WHAT: Fermented tea beverage made with a kombucha SCOBY (symbiotic culture of bacteria and yeast), black tea, sugar, and starter tea.
WHY: Costs pennies per bottle, customizable flavors, packed with probiotics, and incredibly satisfying to brew at home.
HOW: Steep sweetened tea, cool completely, combine with starter tea and SCOBY in jar, ferment 3-7 days, then flavor and bottle.
Table of Contents
- Quick Recipe Overview
- Why You’ll Love This Homemade Kombucha Recipe
- {VIDEO} DIY Kombucha: How to Make Kombucha at Home
- Ingredient Notes
- Supplies Needed
- Homemade Kombucha Recipe Recipe
- How to Make Kombucha
- Substitutions & Variations
- FAQs for Homemade Kombucha
- History of Kombucha
- What is a SCOBY?
- Where to Get a SCOBY
- Small Batch Kombucha Brewing Method
- A Note About Caffeine
- Best pH Levels for Finished Kombucha
- Handy Kombucha Making Chart
- My Best Tips for Making Homemade Kombucha
- What to Serve With Homemade Kombucha
- Storage & Reheating Tips
- Similar Recipes to Try
- More Fermenting Recipes to Consider
Why You’ll Love This Homemade Kombucha Recipe
- It’s so easy!
- If you love to drink kombucha, it will save you a ton of money.
- It has lots of health benefits because of the fermentation.
{VIDEO} DIY Kombucha: How to Make Kombucha at Home

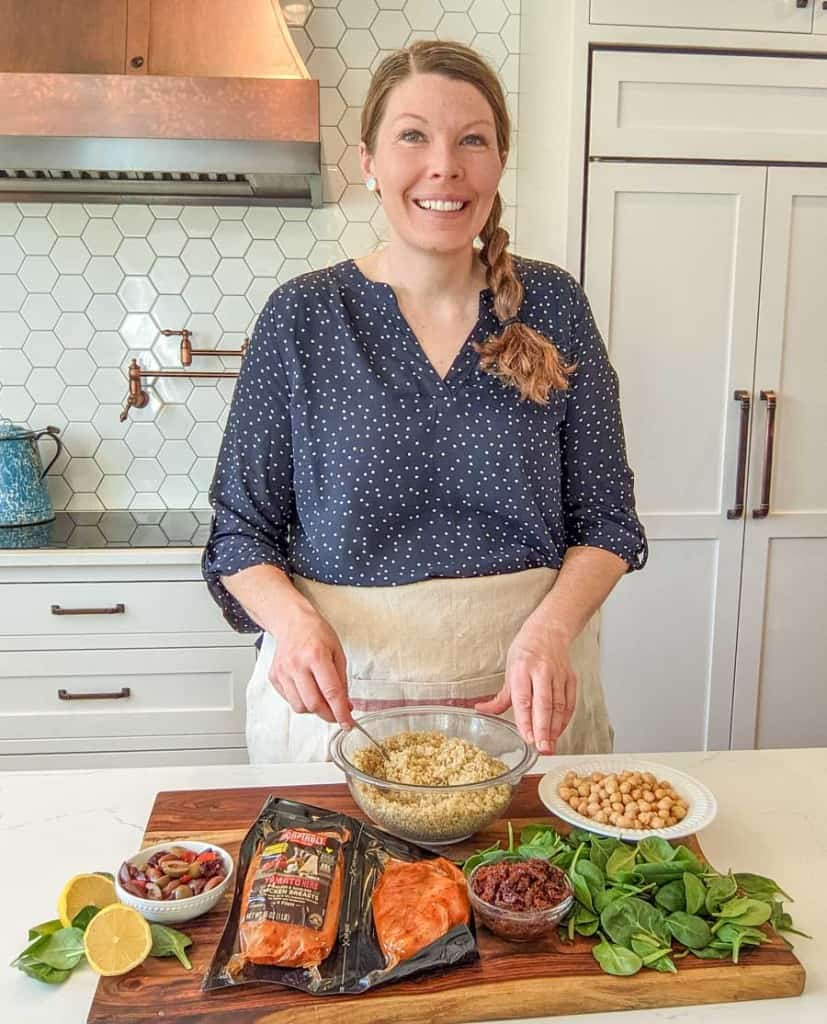
🩷 Melissa
Making homemade kombucha is easier than you think! You don’t need special equipment, and it’s inexpensive! This tutorial makes 1/2 gallon every 5-7 days.
If you have even considered learning how to ferment something, this is a great place to start! It takes just a little bit of hands-on time once a week to make your own kombucha. Give it a try! You might just find that you want to get some sourdough starter going too!
Ingredient Notes
Sugar: Use organic sugar for best results. You can also use brown sugar. Avoid alternative sweeteners like honey.
Tea: Use organic black tea. You can also use a mix of white and/or green tea in addition to your black tea.
Water: Untreated tap water works great. If your tap water is treated, you’ll want to use filtered or distilled water.
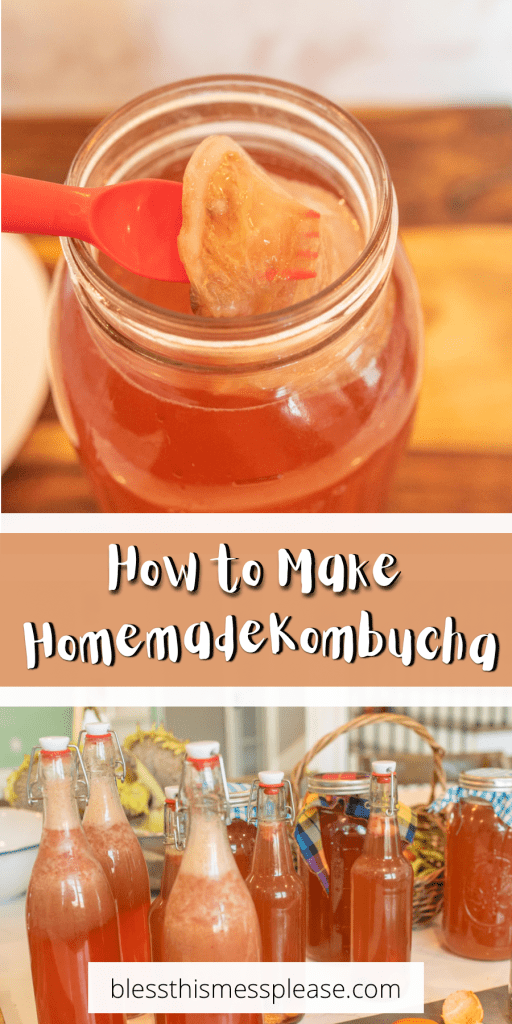
SCOBY: This is the live and active culture that turns your sweet tea into kombucha. Get one from a friend, or buy a starter SCOBY online. You can use one over and over again and they’ll grow a new one each brewing cycle, so it’s a great one-time investment.
See the recipe card below for full information on ingredients and quantities.
Supplies Needed
You don’t need a whole lot of supplies.
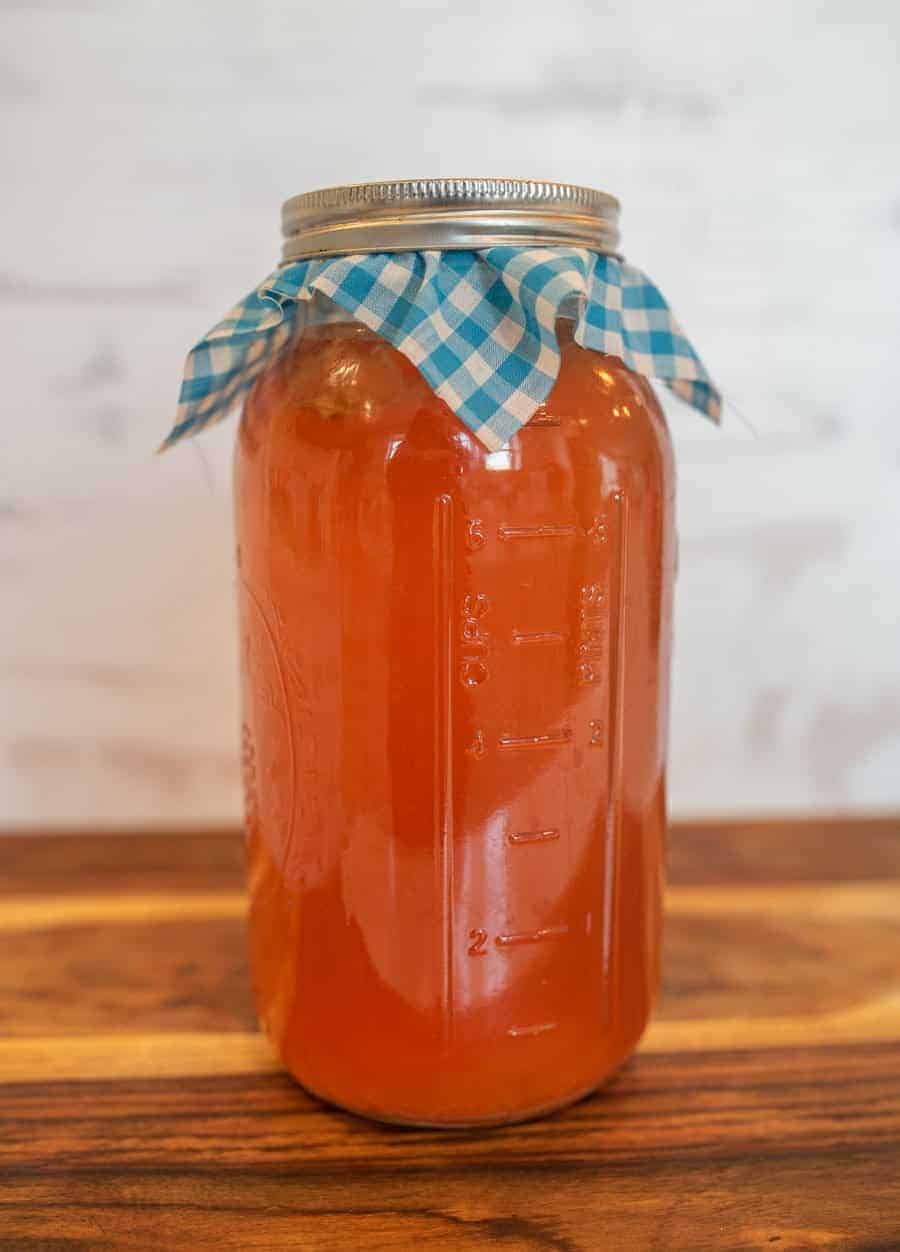
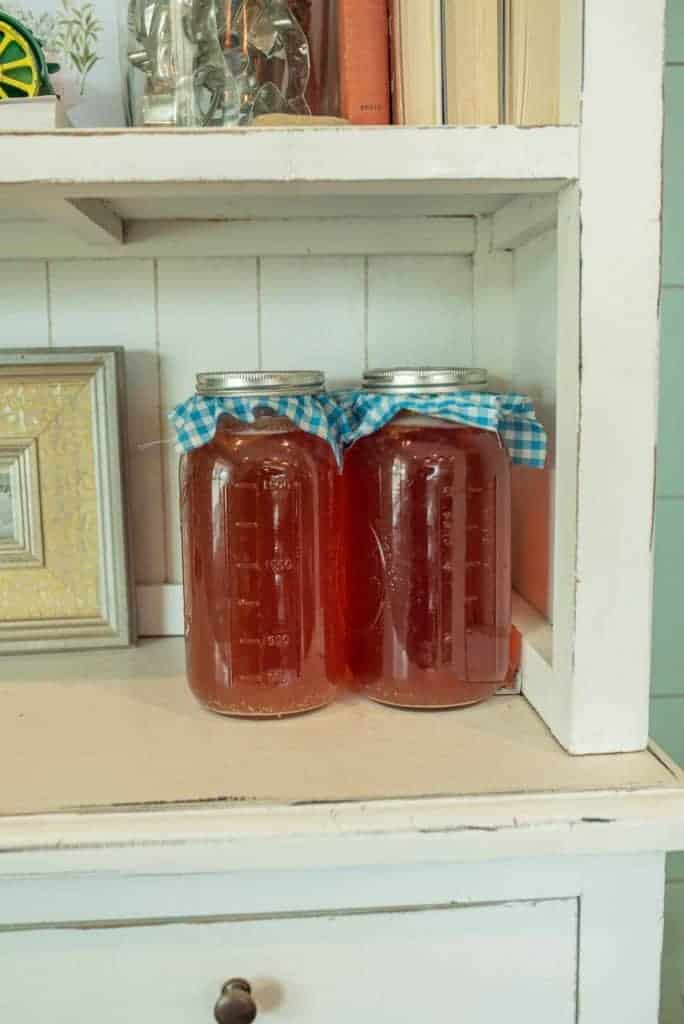
- For this method, I use one 1/2 gallon mason jar (with a screw-on lid and a piece of fabric to cover the top).
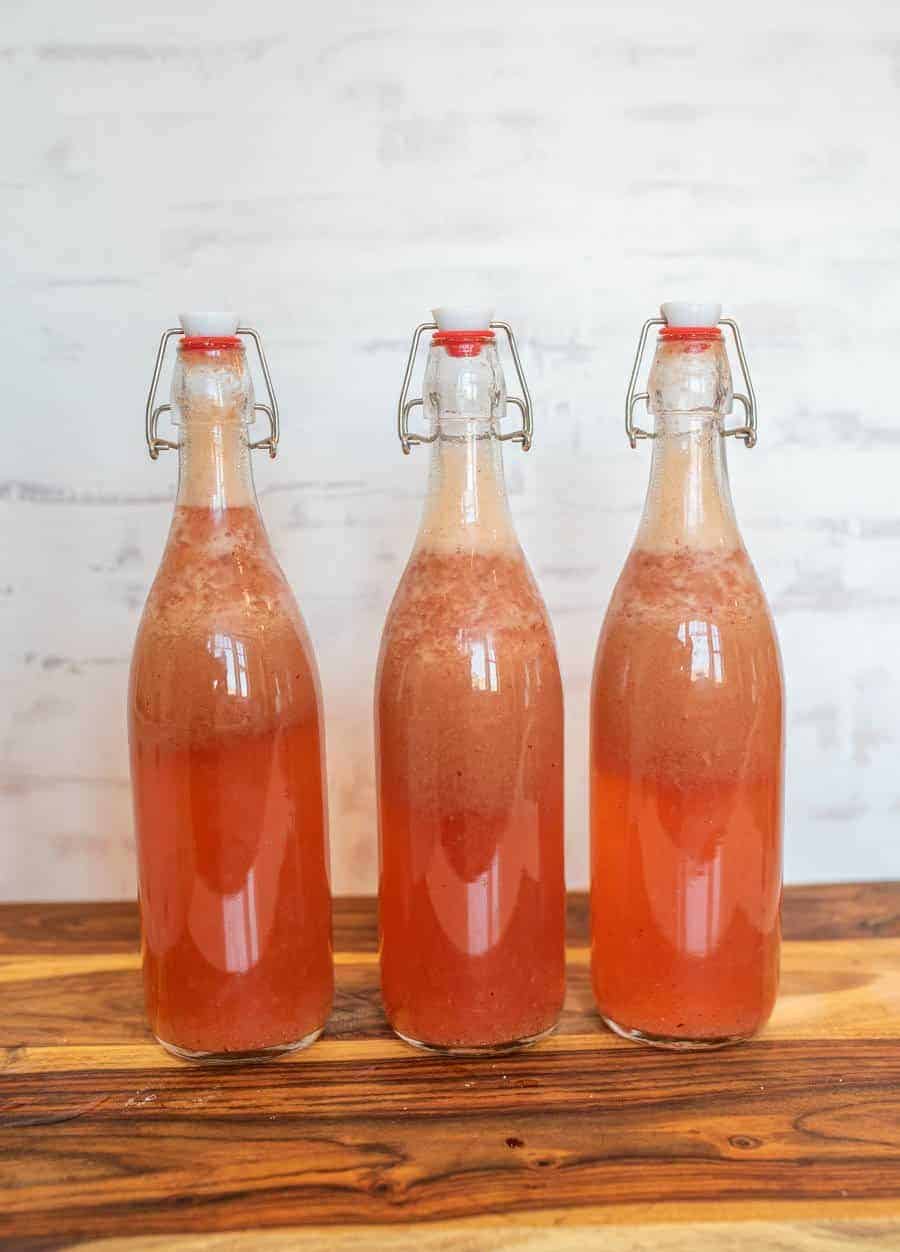
- If you are going to do a second fruited ferment, you’ll need six 16-ounce brewing bottles of kombucha
Extra Tip: I love The Big Book of Kombucha. If you are just starting out buy it or check it out from the library. It’s a great resource!

Homemade Kombucha Recipe
Video
Ingredients
- 2-3 tea bags or 1 tablespoon loose leaf tea*
- 1/3 cup sugar*
- 1 small SCOBY
- ½ to 1 cup starter liquid, (raw unflavored kombucha)
- Water to fill jar*
Instructions
- Work with clean hands and utensils, but don’t use anti-bacterial soaps. Hot water is best for cleaning.
- Add the tea bags and sugar to a 4-cup container and add 3 cups boiling water. Steep for 5 minutes. Remove the tea bags. Let mixture cool.2-3 tea bags or 1 tablespoon loose leaf tea*, 1/3 cup sugar*
- IF this is your very time making kombucha you will need to buy a SCOBY and starter liquid or get one from a friend. Place the starter liquid in a 1/2 gallon jar. If this is not your first kombucha ferment, remove the SCOBY from your half gallon jar and place it on a clean surface. Place your kombucha that has been through it’s first ferment in a clean jar for drinking or in brewing bottles for a second ferment to flavor. Reserve 1 cup first ferment kombucha (just leave it in the jar).1 small SCOBY, ½ to 1 cup starter liquid
- When the tea cools, add it to the starter kombucha in the 1/2 gallon jar and then fill the jar with more water until it is 1 inch or so from the top.Water to fill jar*
- Gently place the SCOBY in the jar and secure a breathable tightly woven cloth or coffee filter over the top. Let ferment 3-7 days at room temperature.1 small SCOBY
- TIP: to speed the process you can add cold water to the jar with the remaining liquid (about half full) and then add the hot sweet tea mixture on top. You only want your starter liquid to get warm though, adding very hot water to it will kill the live and active cultures.
TO FLAVOR AND SECOND FERMENT:
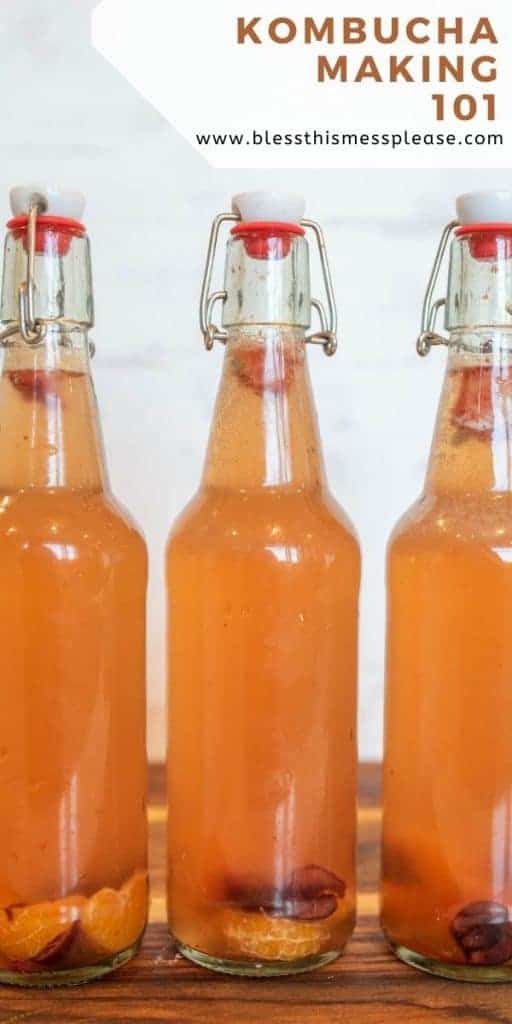
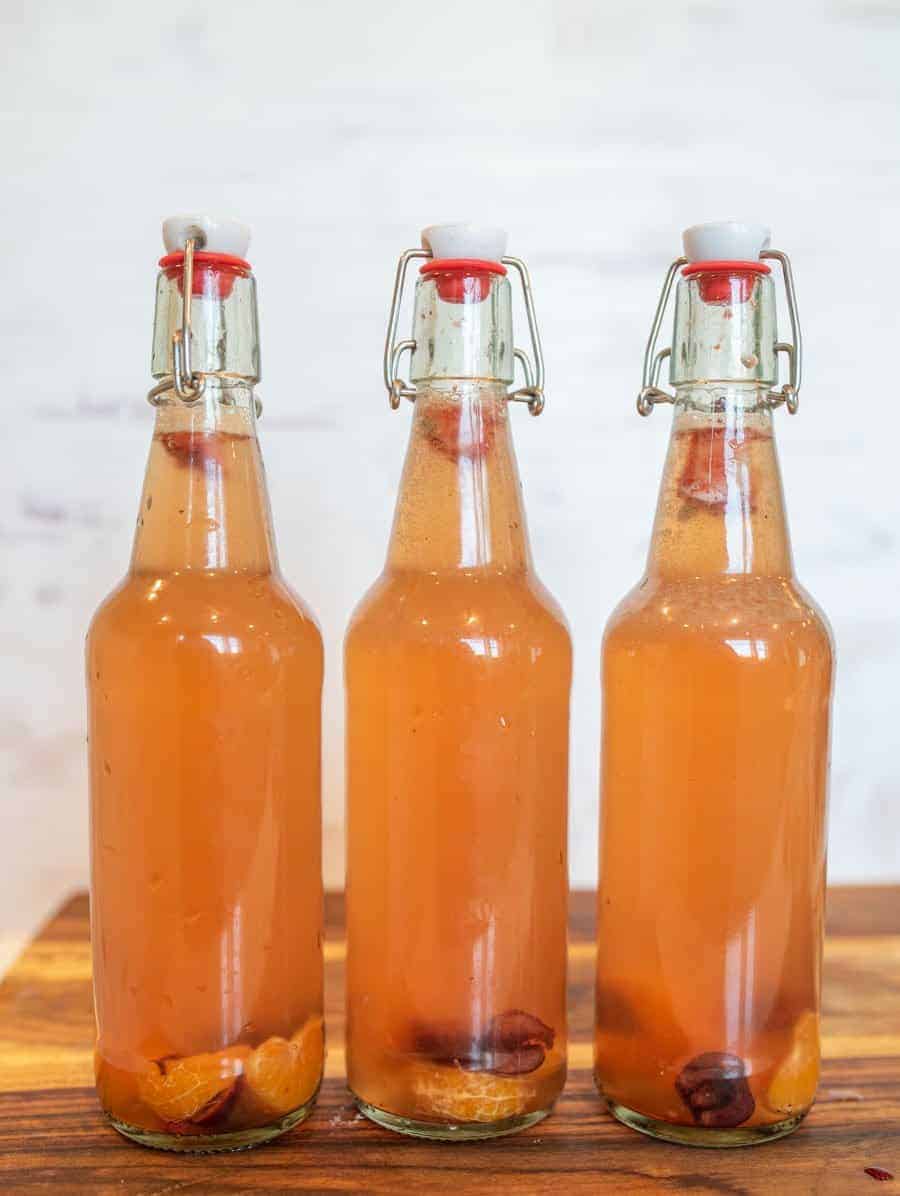
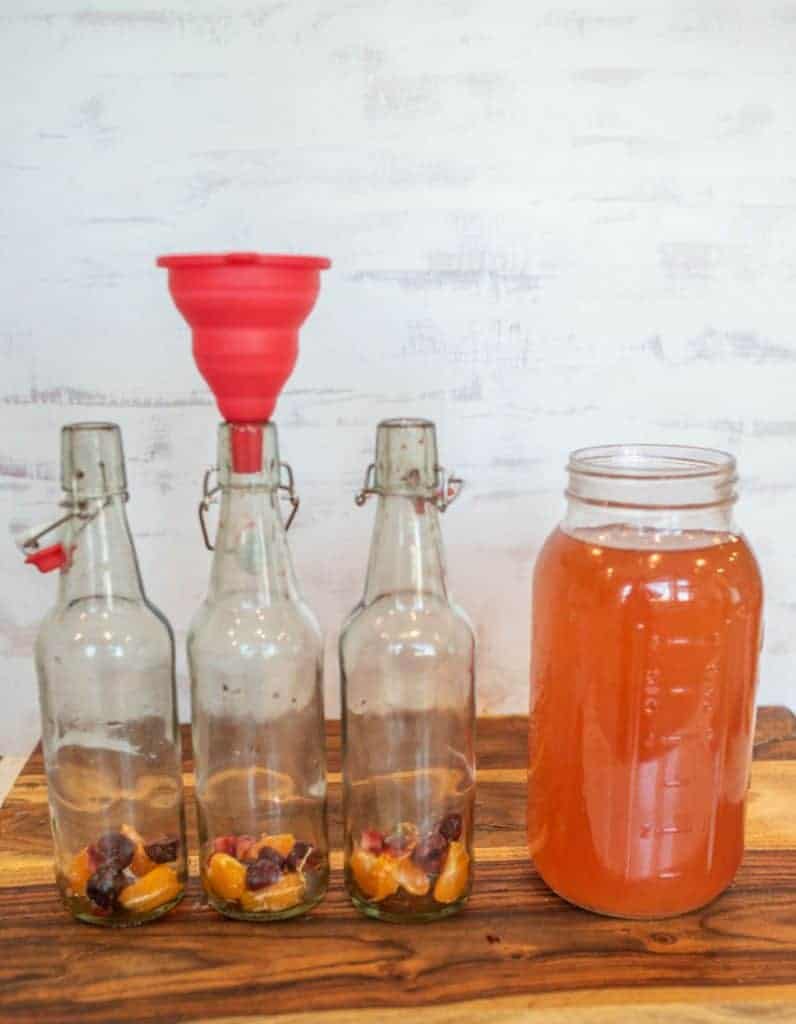
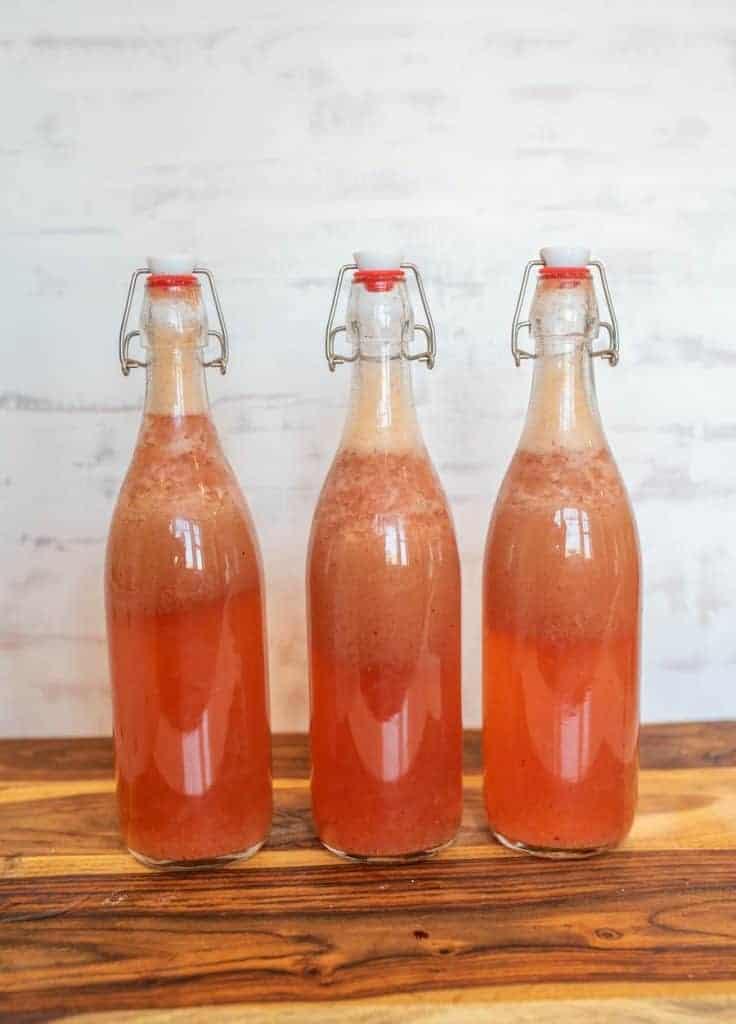
- A half gallon of first fermented kombucha will fill three 16-ounce brewing bottles, fill to just where the neck starts to curve.
- Add a few ounces of fruit chopped into small pieces, fruit puree, or fruit juice. It should fill the bottle 1-2 inches from the top. You can also add things like herbs, turmeric, ginger, or edible flowers.
- Secure the caps to the brewing jars and ferment for another 3-7 days at room temperature.
Notes
Nutrition
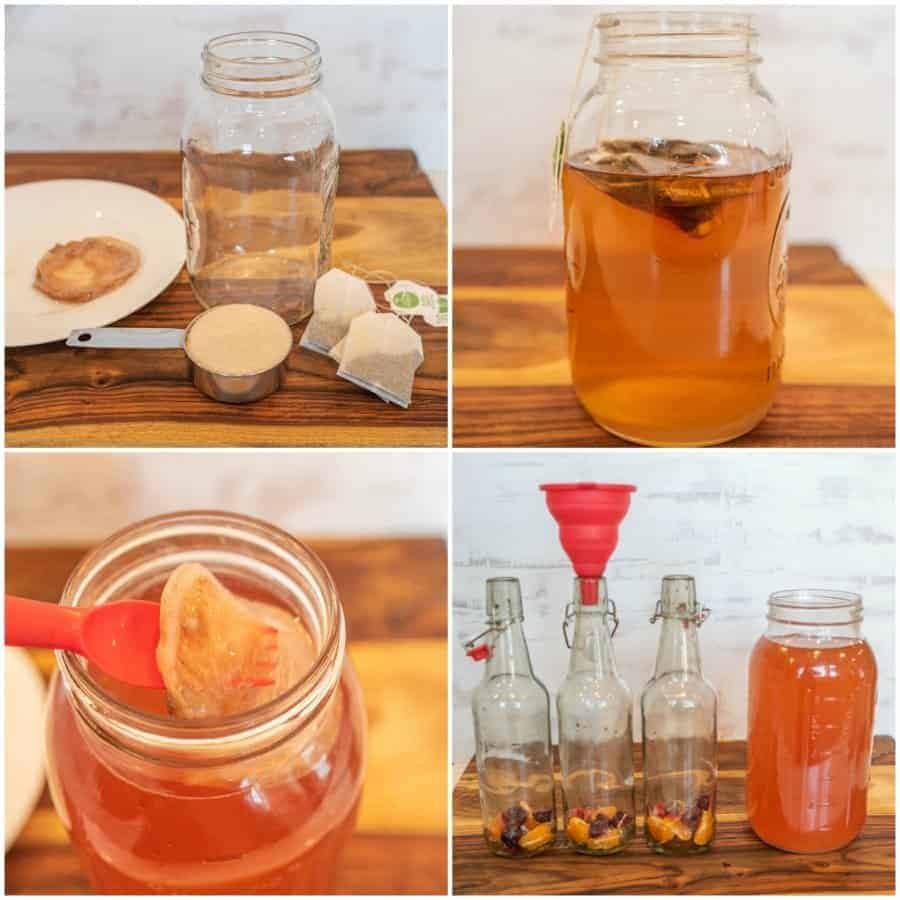
How to Make Kombucha
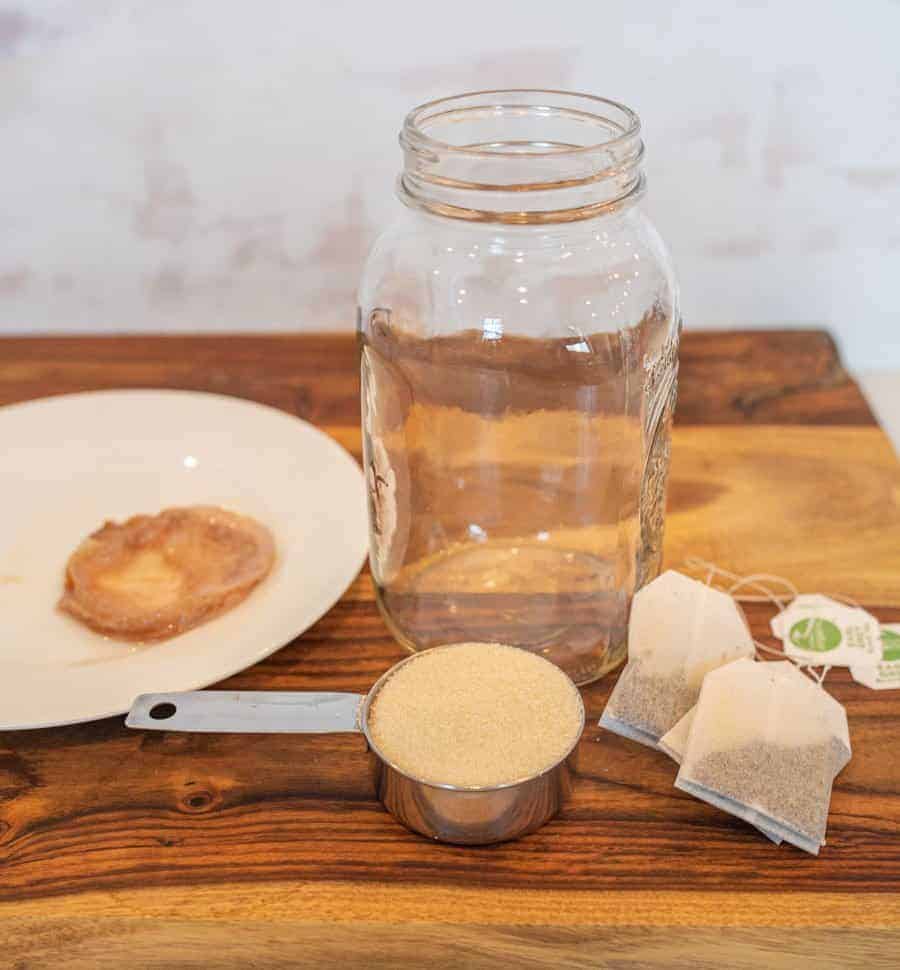
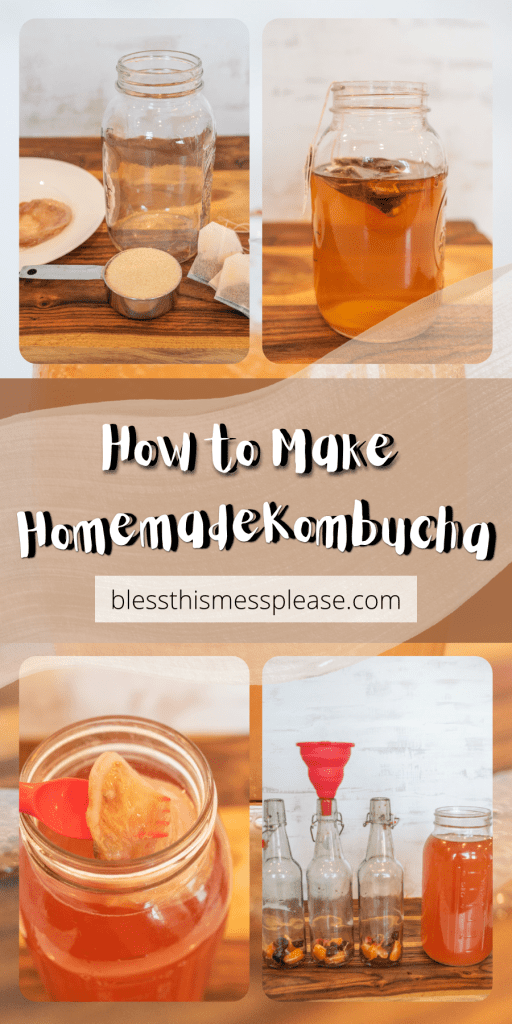
Step 1: Add tea bags and sugar to a container, pour 3 cups boiling water over them, steep 5 minutes, then remove tea bags and let cool completely to room temperature.
Step 2: For first-timers, add store-bought kombucha (your starter tea) and kombucha SCOBY to a half gallon jar. For subsequent batches, reserve 1 cup from your previous ferment and leave the SCOBY in the jar.
Step 3: Pour cooled sweetened tea into the jar with starter tea, then fill with water until 1 inch from the top. Gently add the SCOBY.
Step 4: Cover jar opening with tight-weave cloth or coffee filter secured with a rubber band. Let sit at room temp for 3-7 days away from direct sunlight.
Step 5: After 3 days, taste your kombucha. When it reaches your preferred tartness, remove the SCOBY, reserve 1 cup as starter tea for your next batch, and bottle the rest.
Step 6: Second Fermentation (Optional)- Add fruit, juice, or flavorings to brewing bottles, fill with kombucha leaving 1-2 inches headspace, seal tightly, and ferment 3-7 days for carbonation.
Substitutions & Variations
Tea Variations
Experiment with ratios of black, green, and white tea once you’re comfortable with the process. Try 2 parts black tea to 1 part green for a lighter flavor.
Flavor Combinations for Second Fermentation
- Ginger and lemon for a spicy, citrus kick
- Berries (strawberry, blueberry, raspberry) for fruity sweetness
- Pineapple and turmeric for tropical vibes
- Apple and cinnamon for fall flavors
- Herbs like mint, lavender, or rosemary
Batch Size
This recipe makes a half gallon, but you can scale up to gallon jars using the same ratios. Just double everything and use a larger SCOBY or give it extra fermentation time.
FAQs for Homemade Kombucha
Mold is NOT good. Throw away any liquid or SCOBYs that mold (this isn’t common). Mold might look like colors on the scoby or floral blooming dots. Yeast in kombucha might look like dark brown snotty strings (delightful, right?), but it isn’t mold.
The short answer is yes. The chemical reactions between bacteria, yeast, and sugar result in the formation of a small amount of alcohol during the fermentation process. If there was more than a tiny bit of alcohol in it, they wouldn’t sell it to everyone at the grocery store.
It is tangy, tart, and a bit sour. It has been compared to a sour apple taste with a tad more sweetness.
I’d highly recommend finding The Big Book of Kombucha! It’s where I learned everything, and it answered Buy it or find it at the library!
Yes! You can use black tea, white tea, green tea, or a combination of any of these. I do suggest using organic tea for the best results with the healthy bacteria.
History of Kombucha
“Kombucha originated in Northeast China around 220 B.C. and was initially prized for its healing properties. Its name is reportedly derived from Dr. Kombu, a Korean physician who brought the fermented tea to Japan as a curative for Emperor Inkyo. Eventually the tea was brought to Europe as a result of trade route expansions in the early 20th century, most notably appearing in Russia (as “Kambucha”) and Germany (as “Kombuchaschwamm”). Despite a dip in international popularity during WWII due to the shortage of tea and sugar supplies, kombucha regained popularity following a 1960s study in Switzerland comparing its health benefits to those of yogurt.”
-Christina Troitino of Forbes found in The Big Book of Kombucha
Basically, kombucha is a fermented tea that is made with water, tea, sugar, bacteria and yeast. Besides the health benefits of kombucha, I love the taste, and it is so much cheaper to brew at home than to buy from the store.
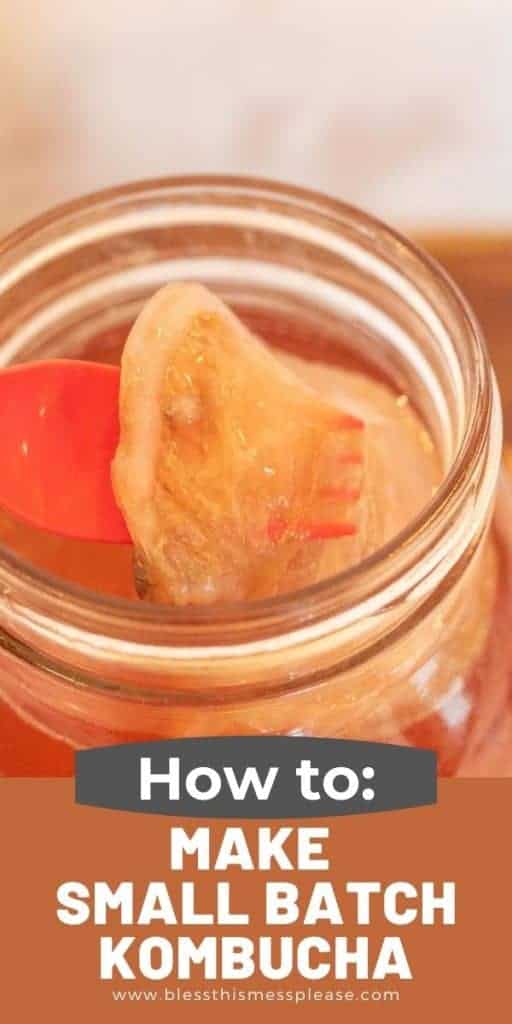
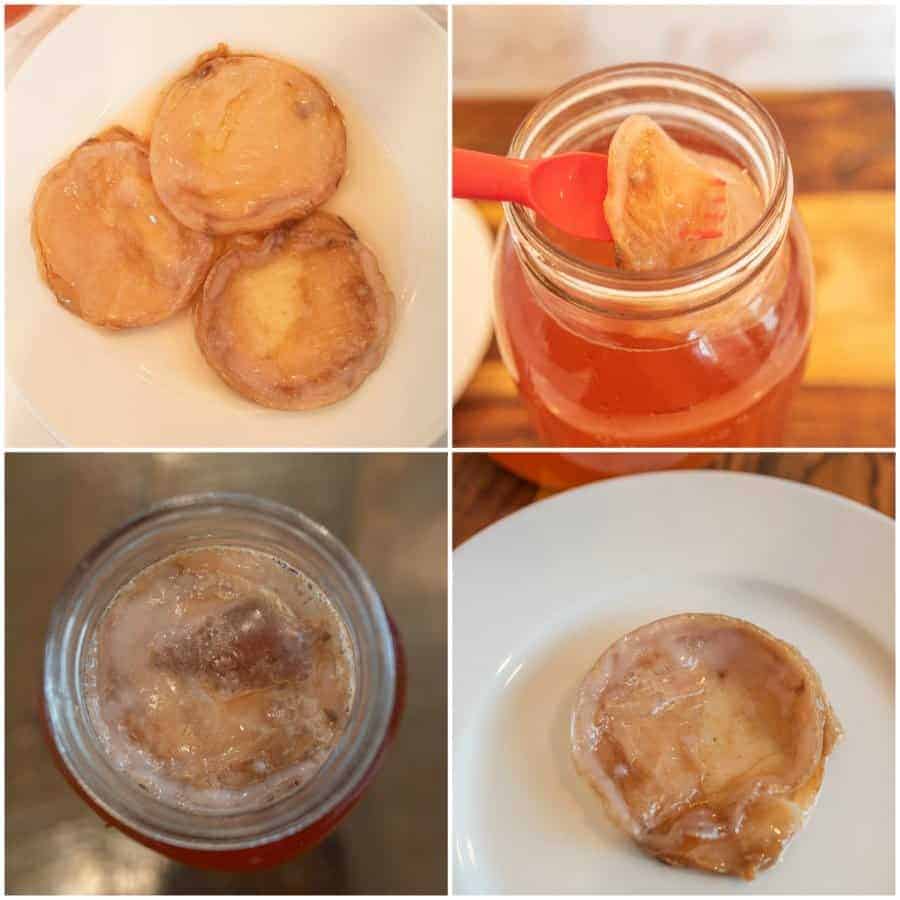
What is a SCOBY?
SCOBY stands for “symbiotic culture of bacteria and yeast.” It looks like a mushroom and has the texture of a gummy bear. The larger the SCOBY, the faster the brewing cycle.
The SCOBY is the equivalent of a sourdough starter or kefir grains in other fermenting processes. It’s the culture that turns your sweet tea into nourishing and zippy kombucha.
Where to Get a SCOBY
The SCOBY is the only thing you’re really going to have to find to make kombucha at home.
- You can buy a SCOBY online.
- You can get a SCOBY from a friend. They multiply, so they are very easy to share.
- You can attempt to grow your own SCOBY from unflavored raw kombucha from the store.
No matter how you get one, you need one before you start AND you’ll need 1/2 cup of unflavored kombucha to go with it. Again, get this from a friend. A SCOBY bought online will come with this starter liquid.
Small Batch Kombucha Brewing Method
Let’s get nerdy here. Kombucha starts as a sweet tea, and with the help of a SCOBY, it turns into something amazing.
The method in this post is batch brewing and will make 1/2 gallon of kombucha every 5-7 days.
If you do a second ferment with fruit, you’ll end up with three 16-ounce bottles every 5-7 days. This is a great amount for one to two people a week.
During the first fermentation of the double-fermentation process (also called the primary fermentation), the sweet tea and SCOBY are in a vessel that is protected from contamination like dust and fruit flies but not sealed. It is an aerobic (with oxygen) fermentation process. At the end of primary fermentation, the kombucha is technically ready to go. You can enjoy it then if you wish!
However, most people enjoy it carbonated and flavored, which is where the secondary fermentation comes in. I always do a second ferment! We love all of the flavors we can make at home.
For secondary fermentation, the finished first-ferment kombucha is added to airtight bottles. A couple of ounces of pureed fruit, whole chunks of fruit, or fruit juice are often added at this stage as well.
By enclosing the kombucha in an anaerobic (without oxygen) environment and feeding it a little fresh sugar (in the form of fruit), yeasts convert that sugar into carbon dioxide. The sealed bottle prevents the carbon dioxide from escaping, leading to carbonation.
A Note About Caffeine
Properly fermented, finished kombucha should contain less than 1/3 of the caffeine concentration than when initially started! I’m sensitive to caffeine, and kombucha doesn’t bother me.
That being said, the SCOBY is healthiest when it has some caffeine in the tea, so to reduce the amount, use 1/3 black tea and a white and green tea mix for the other 2/3.
I also have luck using 1/3 hibiscus tea—it makes the kombucha a beautiful color, too! You can play around with it.
Best pH Levels for Finished Kombucha
According to experts, the proper pH level of finished kombucha is between 2.5 and 3.5. I don’t check mine often but it’s fun to know.
You can just use simple pH test strips to get this number. It’s fun to test a few times during the brew cycle to see how it changes. Again, it’s not necessary, but it is interesting.
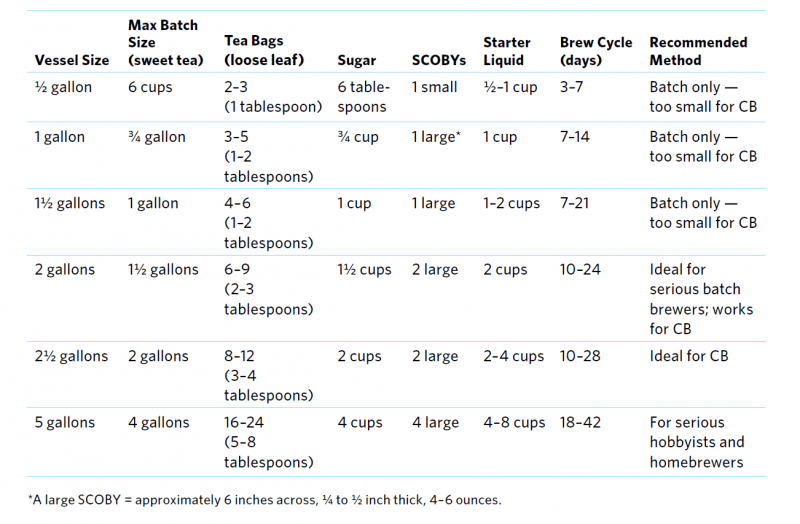
Handy Kombucha Making Chart
My Best Tips for Making Homemade Kombucha
☞Avoid Metal Contact: Never let your SCOBY touch metal for extended periods – it can react with the acids in kombucha. Use glass, ceramic, or plastic containers and wooden or plastic utensils.
☞Location Matters: Keep your brewing jar away from direct sunlight but in a visible spot where you’ll remember to check it. A kitchen counter away from the window works perfectly. You can also hang a reminder on your calendar to check your brew!
☞Start a SCOBY Hotel: Your SCOBY will multiply with each batch, creating new layers. Peel apart the layers and start a “SCOBY hotel” – a jar with extra SCOBYs and starter liquid as backup or for sharing with friends.
☞Use Proper Bottles: For consistent carbonation during second fermentation, use bottles designed for brewing (flip-top bottles work great). Regular mason jars won’t build as much pressure and create less fizz.
What to Serve With Homemade Kombucha
Kombucha pairs beautifully as a refreshing beverage alongside meals or as a standalone afternoon drink. It complements spicy foods particularly well, cutting through heat with its tangy effervescence.
Try serving it with Asian-inspired dishes, grain bowls, salads, or as a healthier alternative to soda with pizza or sandwiches. The probiotic qualities make it a nice digestive aid after heavy meals.
Storage & Reheating Tips
Room Temperature
First fermentation happens at room temperature (68-78°F is ideal). Second fermentation also occurs at room temperature for 3-7 days.
Refrigerator Storage
Once kombucha reaches your desired flavor, refrigerate immediately to slow fermentation. It will keep for 2-3 months in the fridge, though flavor continues developing slowly.
SCOBY Storage
Keep your SCOBY in at least 1 cup of starter liquid in a glass jar at room temperature between batches. Cover with cloth and it will stay healthy for weeks.
Freezer Storage
Not recommended for finished kombucha or SCOBYs. Freezing kills the beneficial bacteria and ruins the texture.
Make Ahead
Kombucha is inherently a make-ahead beverage! Brew large batches, refrigerate, and enjoy over weeks. Start your next batch before finishing the current one for continuous supply.
Please ask more kombucha-making questions in the comments. I’ll answer and add them here to make this post as complete as possible.

Similar Recipes to Try
More Fermenting Recipes to Consider
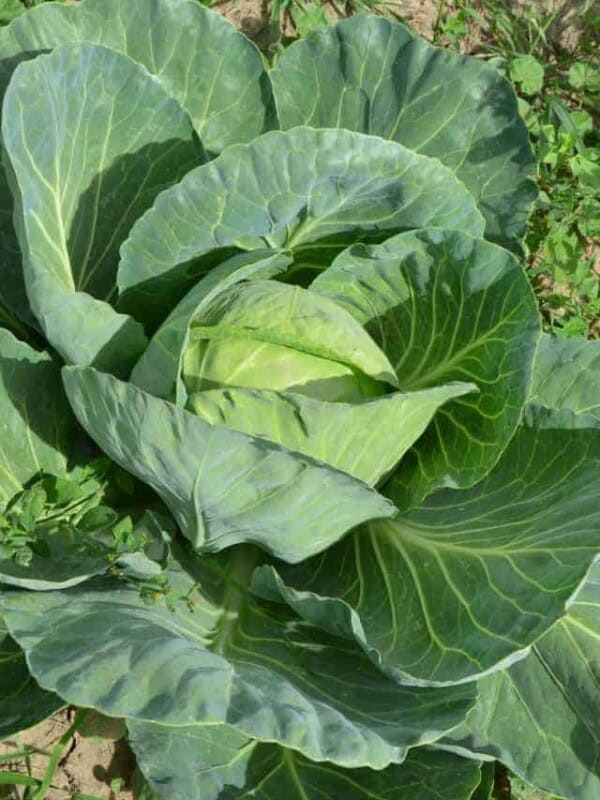
Preserving Guide
How To Preserve Cabbage
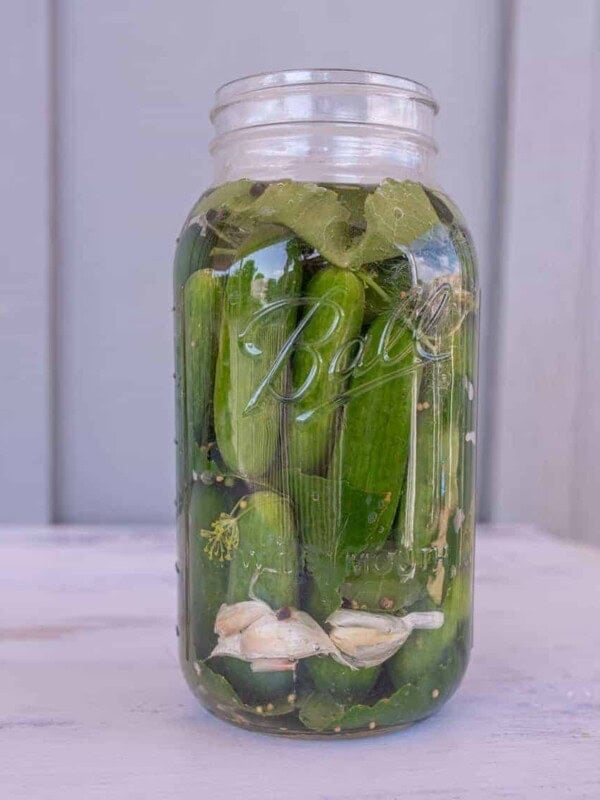
Fermented Foods
Grandma-Approved Easy Fermented Pickles Recipe
Did you make this recipe? Leave a ⭐️ review and share it on Instagram, Facebook, or Pinterest!


In chart from book, what is CB? I.e. ” too small for CB?
CB= continuous brew which is not the method that I’m teaching here