This post may contain affiliate links. Please read our disclosure policy.

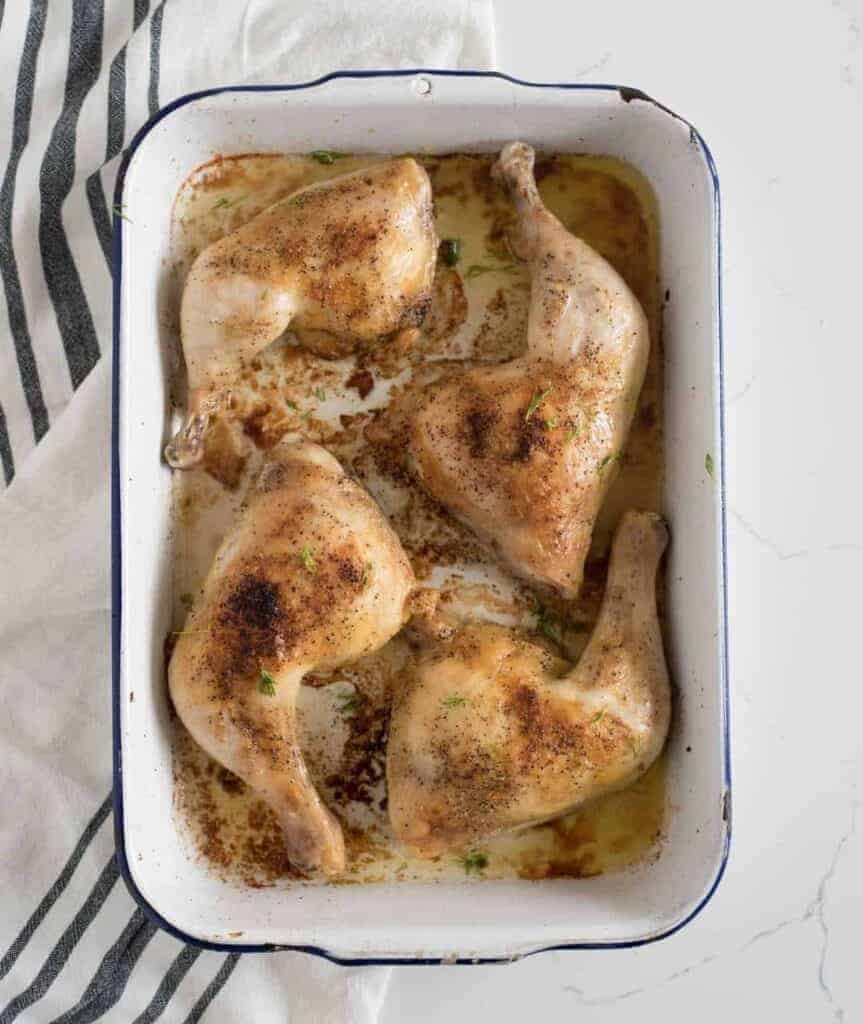
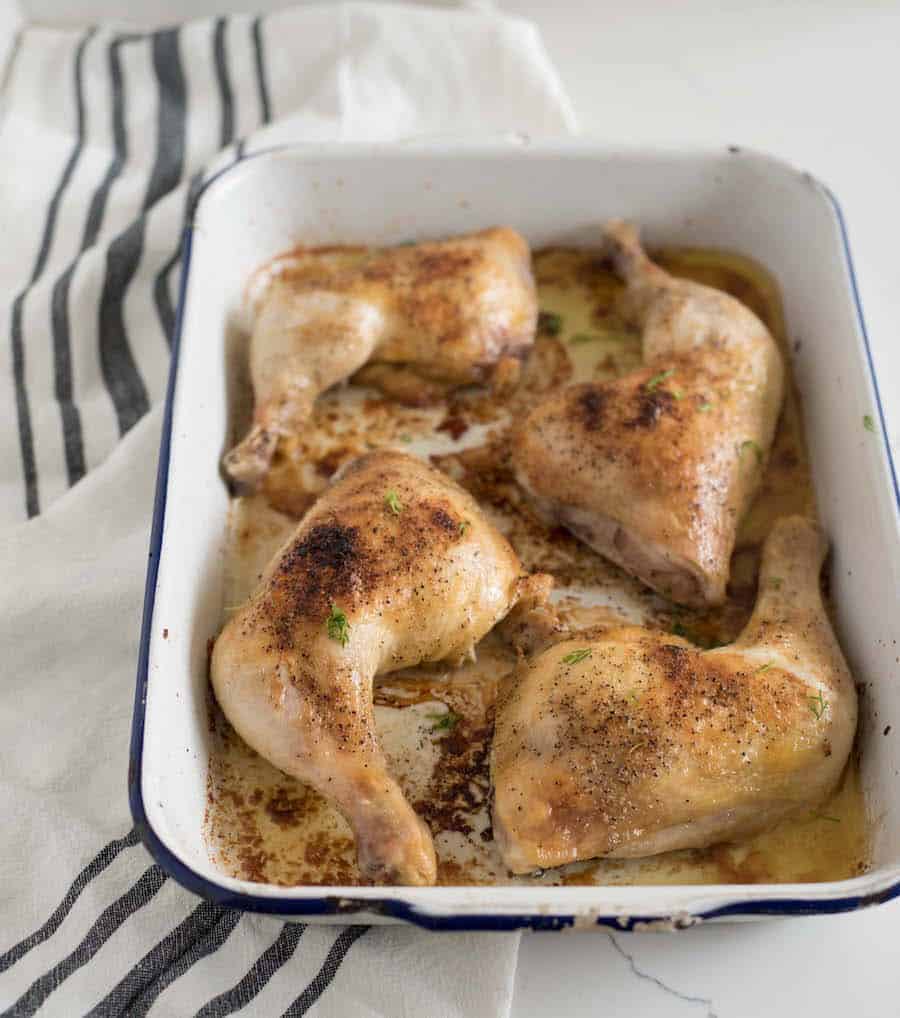
These are the best oven baked chicken leg quarters — tender, crispy, and juicy on the inside, you simply brush with butter and simple seasonings before cooking them in the oven at a low temperature for an hour, with a final spike in the temp to crisp the skin up real nice at the end.
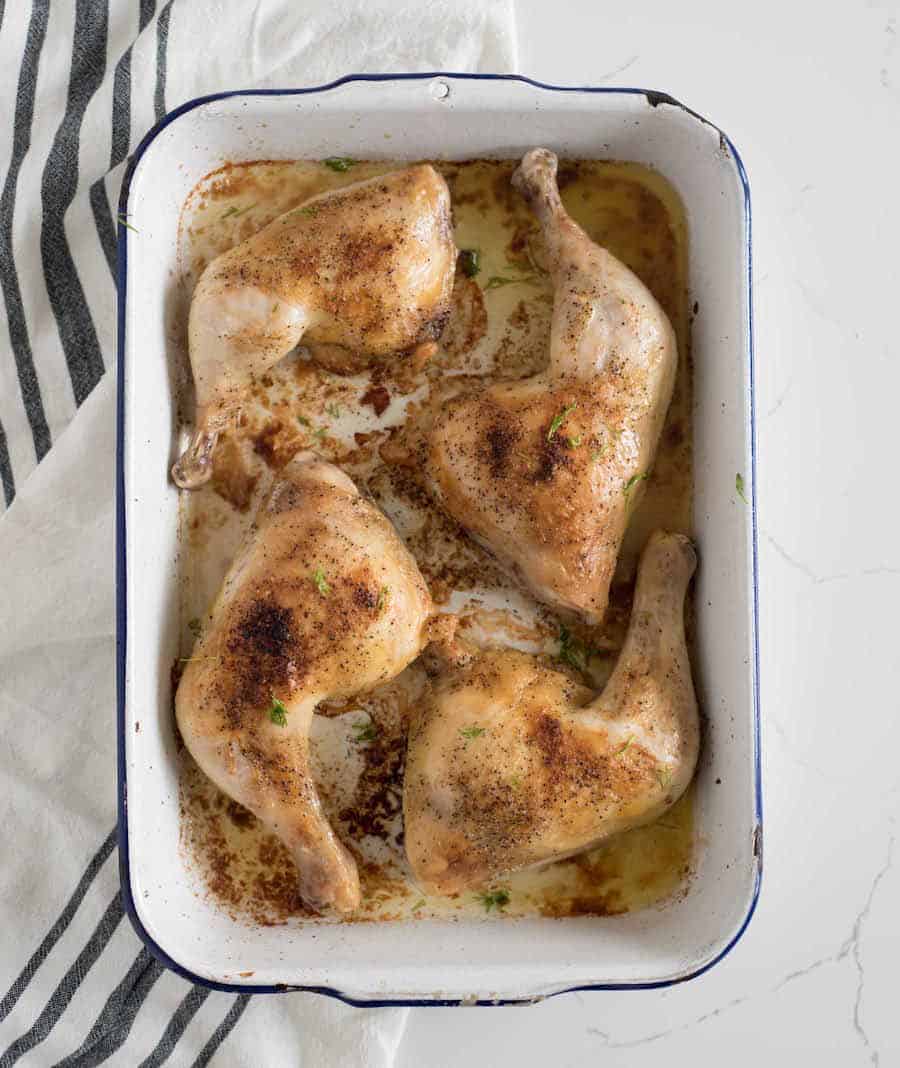
Table of Contents
- Why You’ll Love this Recipe
- Ingredients
- How to Make Baked Chicken Leg Quarters
- Baking Tips for Chicken Leg Quarters
- Seasoning Tips
- Should I remove chicken skin before cooking?
- What to do with the juice at the bottom of the pan when baking chicken legs:
- Round out this meal with:
- Other baked chicken recipes you’ll love:
- Are chicken legs healthy?
- How long will baked chicken legs keep for?
- The Best Oven Baked Chicken Leg Quarters Recipe
Why You’ll Love this Recipe
I love a budget-friendly and patience-friendly meal, and these oven baked chicken quarters cover all those bases and more. Chicken legs are fairly simple and inexpensive, but when you butter them up, season them well, and bake them low and slow in the oven, they become tender and juicy and perfect dinnertime contenders. I turn up the oven’s heat at the very end to get the skin nice and crispy, and it’s seriously delicious.
Plus, it takes about zero time for you to prep it all. Getting the chicken ready might cost you 5 minutes, and then you put them in the oven for an hour, freeing you up to get sides ready (or just chill for a bit!) while they bake. Chicken legs are no fuss as long as you know how to do them, and if you ask me, this recipe is the perfect place to start.
Ingredients
- Chicken leg quarters: I love this cut of chicken. It’s inexpensive and so full of flavor.
- Butter: this adds some fat, flavor, and something for the seasoning to stick too. Plus it helps the chicken crisp up.
- Seasonings of your choice: I like to use a custom season salt made by combining 1/4 cup kosher salt, 4 teaspoons garlic powder, 1 tablespoon ground black pepper, 2 teaspoons onion powder, and 1/2 teaspoon cayenne pepper
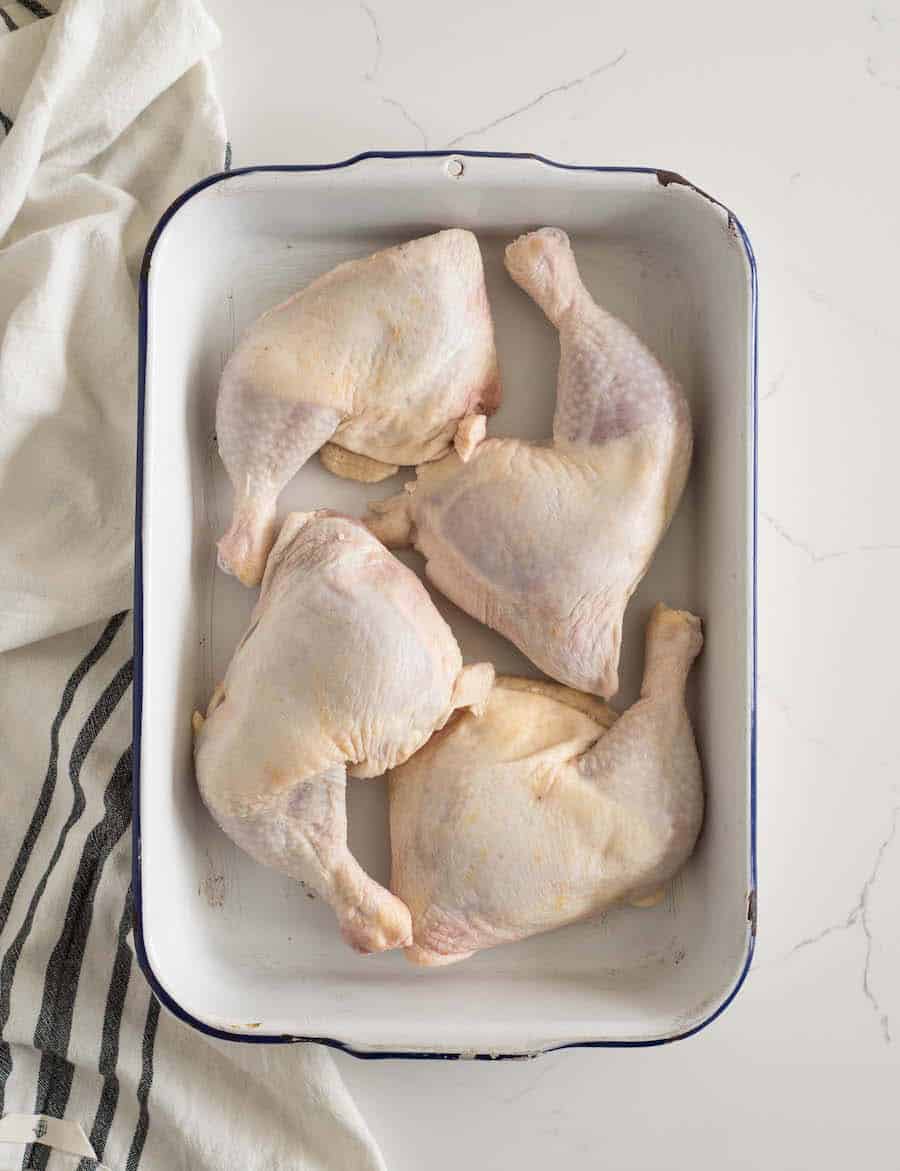
How to Make Baked Chicken Leg Quarters
- Pat your chicken dry.
- Brush it with butter and then sprinkle with your seasoning.
- Cover with foil and bake a low temperature.
- After a longer cooking time remove the foil and crank up the heat to finish the cooking process.
- Serve right away.
Baking Tips for Chicken Leg Quarters
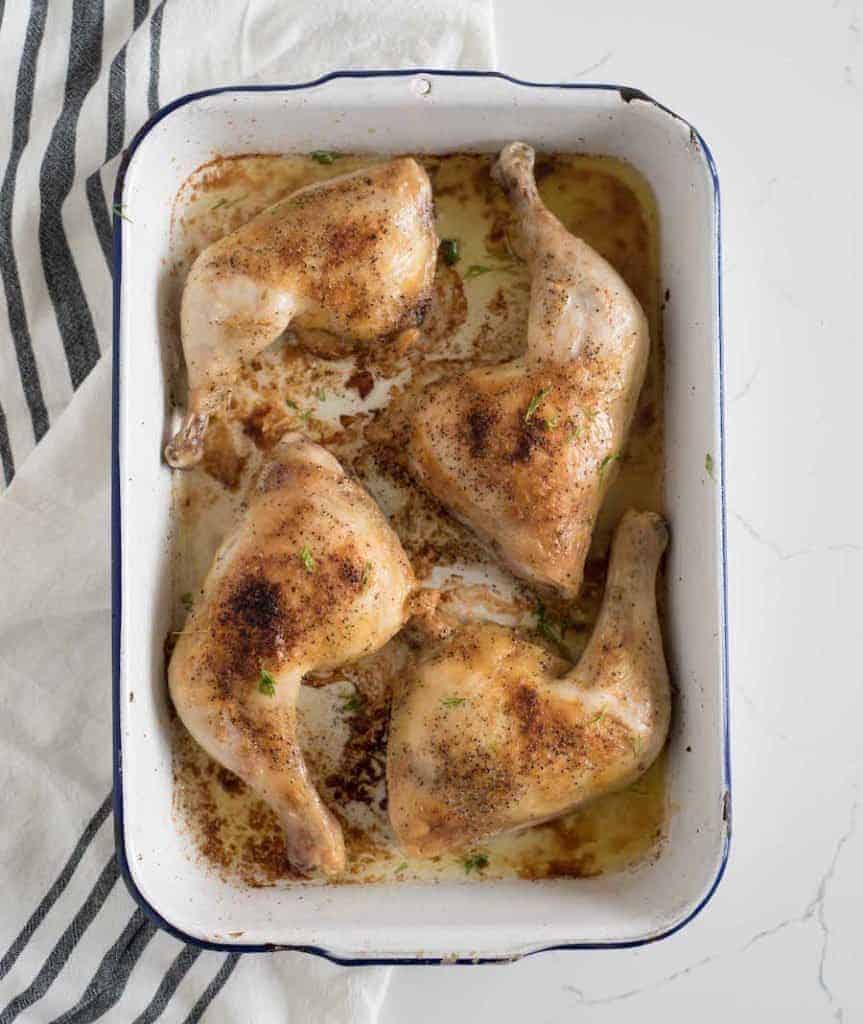
Slow and low is why I love this recipe. By starting out at a low temperature, you give the meat time to cook and become tender. Finishing it off at a higher temperature makes the skin delicious and crispy. It might take a little while in the oven but you only have 5 minutes of hands-on time.
Seasoning Tips
When it comes to seasoning, you can go as simple as salt and pepper, you can use your favorite seasoning blend (like Everything but the Bagel seasoning from Trader Joe’s, Montreal Chicken Seasoning, Lemon Garlic, or anything else), or you can make your own magic season salt by combining 1/4 cup kosher salt, 4 teaspoons garlic powder, 1 tablespoon ground black pepper, 2 teaspoons onion powder, and 1/2 teaspoon cayenne pepper, optional. I just toss everything in a little mason jar, add the lid, and shake to combine. This is a great basic season salt recipe. It’s great on french fries and all kinds of meat.
Should I remove chicken skin before cooking?
No! Please don’t. Chicken skin adds so much flavor (as do the bones) and gives the outside such an incredible crispy texture. It’s higher in fat, so this wouldn’t be a meal you eat every day, but it certainly won’t do any harm every once in a while! You’ve got to live a little, right?
What to do with the juice at the bottom of the pan when baking chicken legs:
The juice that is at the bottom of the pan is super good, just FYI. If you are serving some kind of vegetable with this dish, I’d spoon some of the chicken drippings over the top or even make gravy for potatoes with them.
Round out this meal with:
- My Favorite Cornbread Recipe
- Deli-Style Broccoli Salad
- Crispy Homemade Sweet Potato Fries
- Classic Scalloped Potatoes
- Sauteed Asparagus
- Red Velvet Cake
Other baked chicken recipes you’ll love:
- The Best Baked Chicken Legs (5 ingredients and so good)
- Oven Baked Chicken Thighs
- Crispy Sheet Pan Baked Chicken Taco Meat
If you’ve tried this chicken leg quarters recipe or any other recipe on Bless this Mess, then don’t forget to rate the recipe and leave me a comment below! I would love to hear about your experience making it. And if you snapped some pictures of it, share it with me on Instagram so I can repost on my stories.
Are chicken legs healthy?
Chicken, no matter the cut, is a great source of lean protein (yes, even the dark meat!). I know chicken breast is all the rage because it’s a bit lower in fat and calories, but I’m on a mission to spread the gospel of chicken legs and all their flavor-filled, easy-to-make glory.
How long will baked chicken legs keep for?
You can store these in your fridge in a sealable bag or airtight container (whichever you choose, line the bottom with a paper towel to catch excess liquid and keep the legs from getting soggy) for up to 3 or 4 days. I recommend reheating them in the oven so the skin has a chance to re-crisp.
You must try making these fabulous chicken leg quarters recipe sometime soon because they’re crispy, juicy, and perfectly seasoned!
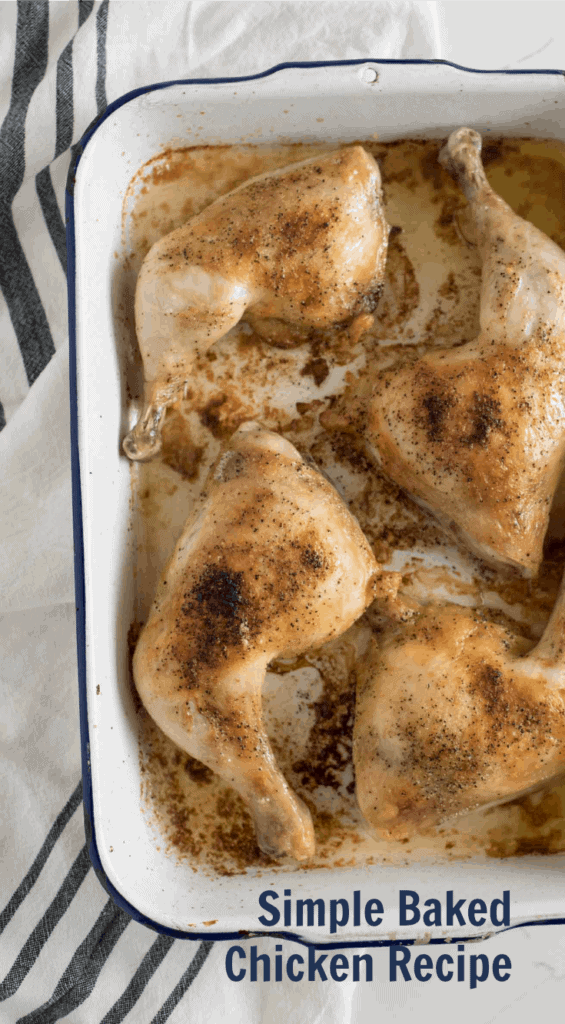
You’ll love how great this simple baked chicken leg quarters recipe is! It’s easy to make, you’ll love how flavorful the chicken is, and it’s one you’ll make over and over again!
The Best Oven Baked Chicken Leg Quarters
Ingredients
- 4 chicken leg quarters, (about 3 pounds)
- 4 tablespoons butter
- Seasoning to taste, see notes
Instructions
- Preheat the oven to 300 degrees F.
- Place the chicken leg quarters in the bottom of a rimmed baking sheet or a baking dish.
- Melt the butter and brush it over each chicken leg quarter.
- Sprinkle generously with seasoning of choice.
- Cover the pan with foil and bake for one hour.
- Increase the oven temperature to 425 degrees, remove the foil and bake for an additional 10-20 minutes until the skin is crisped to your liking and the chicken registers 165 degrees on an instant read thermometer.
- Let the chicken rest for 10 minutes before serving.
Notes
- When it comes to seasoning, you can go as simple as salt and pepper, you can use your favorite seasoning blend (like Everything But the Bagel seasoning from Trader Joe’s, Montreal Chicken Seasoning, Lemon Garlic, or anything else), or you can make your own magic season salt by combining 1/4 cup kosher salt, 4 teaspoons garlic powder, 1 tablespoon ground black pepper, 2 teaspoons onion powder, and 1/2 teaspoon cayenne pepper, optional. I just toss everything in a little mason jar, add the lid, and shake to combine. This is a great basic season salt recipe. It’s great on french fries and all kinds of meat.


These are fantastic! I made the seasoned salt that you shared and seasoned the chicken leg quarters generously, baked them in my largest baking dish, then when I uncovered them and baked them at 425, I added halved brussel sprouts and cubed potatoes that I had seasoned and tossed in a little bit of olive oil. I had to cook the chicken longer at 425 – not sure if that’s because the leg quarters were HUGE or because I added the veggies. While the chicken rested, I continued to cook the veggies in the liquid from the chicken. It was DELICIOUS! Thank you!
Ohhh I love the addition of veggies, that’s a great idea! Isn’t the drippings on the pan so good with the veggies? I love it like that too.
Also- sliced onions, mini carrots and sliced celery !!
This is a perfect low carb recipe for anyone eating a ketogenic diet.
This is a perfect recipe for those of us eating a low carb keto diet, because the fat is not an issue!
Is it the same baking time for 2 leg quartesr? Thank you!
Yep, it’ll be the same!
Hopefully you’ll see this son, haha! How long would you cook this if it was doubled? I’m making 10 for a crowd of 13 (including 5 younger kids). I’m so excited for my husband’s birthday party tomorrow!
I had surgery yesterday or I would have gotten back to you sooner! I bet it’ll be really close to the same time, maybe 10 minutes longer to account for the full oven. Did you try it? I’d love to hear how it works out.
Would roasting time need to be adjusted for bone in skin on thighs?
Yes, it’ll be slightly shorter since it’s a small piece of meat. I’d do the first bake 15 minutes less (at the low temperature) and then adjust the temp and bake as directed.
Love this recipe I use it every single time I make chicken quarters. Seasoning salt garlic and onion powders and Italian seasoning and its always delicious. Please let me know how you would do this to a whole chicken (3 or so pounds) thanks a lot.
I’m so glad you like it! You can do the same thing with a whole chicken, just cook it longer! I bet it’ll take 1 hour on 300 and another 30 minutes on the higher temperature to cook through, I’m not positive though so just play around with the cooking times and use a thermometer to make sure the chicken get cooked all the way through.
Tonight is the second time making this recipe. What I did was, separate the skin from the chicken, squirted fresh lemon in there along with spices…spread butter on top and sprinkled the rest of the spices. Other than that, I followed your directions exactly and the chicken was juicy and a crispy skin…DELICIOUS!!!
Ohhhh great tips and tricks, thank you for sharing!
OMG Melissa, I would give up writing a blog after these comments! I think the problem is that people don’t know how to SCROLL DOWN!!!!! You’re directions were right on!! It has been quite entertaining as I await REMOVING THE FOIL AND UPPING THE TEMP TO 425!!!! …
Bahaha, thank you girl. I think I need to write them in bold? I’m not sure what it is about this recipe but it totally has great comments right?! Hope you loved it!
Is covering with foil essential to it coming out right? I just ran out 🙁
Do you have a dish with an oven proof lid, like a dutch oven or a skillet with a lid? Covering it will keep it from drying out, but you don’t have to only use foil for that step. Does that help?