This post may contain affiliate links. Please read our disclosure policy.
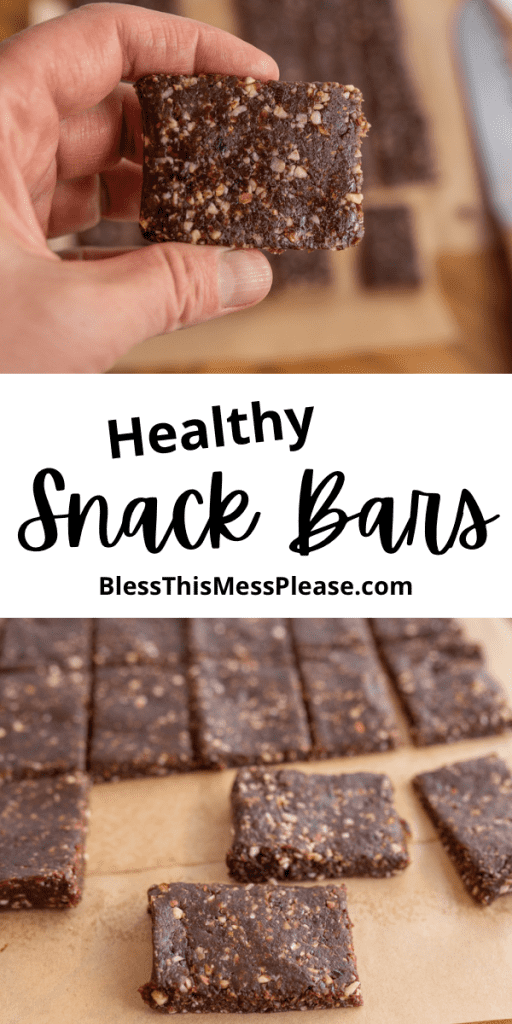
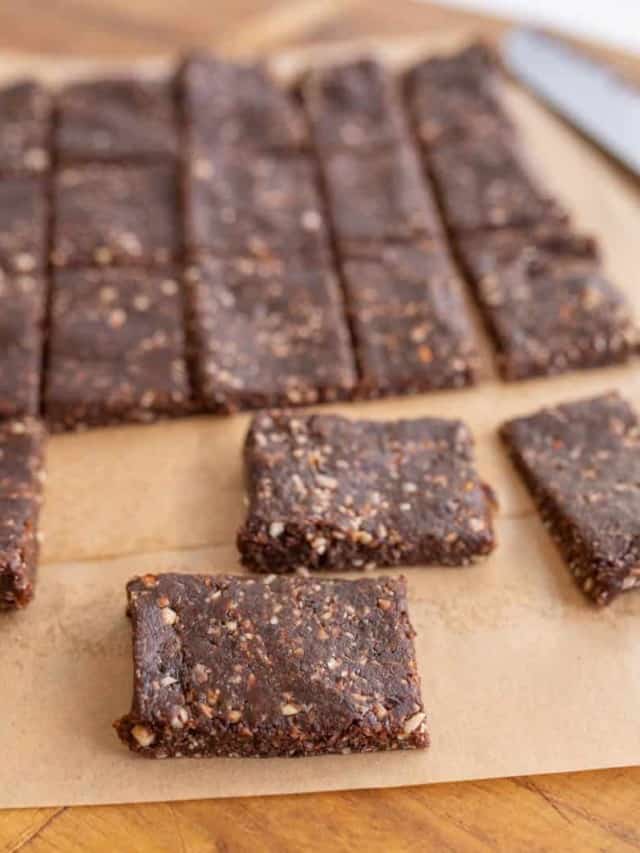
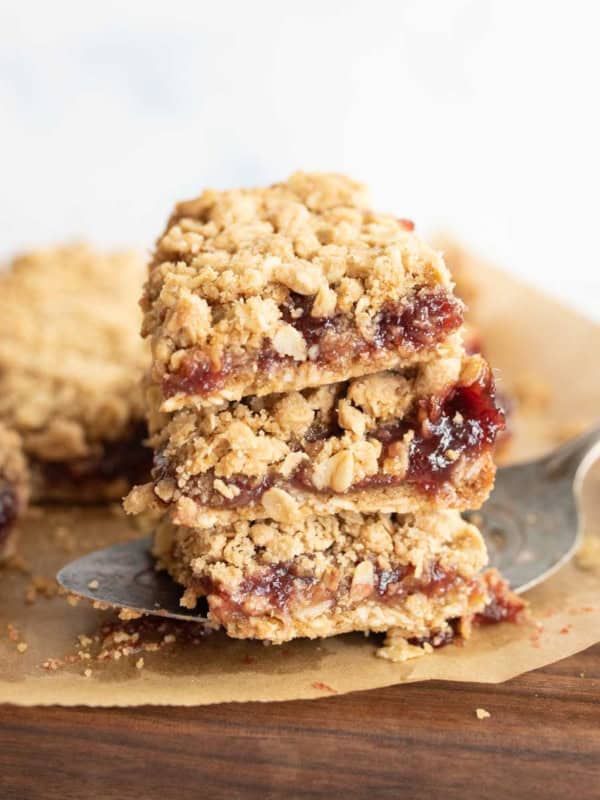
These Healthy Snack Bars are made with just 5 wholesome ingredients including dates, nuts, and peanut butter. No added sugar, no baking required—perfect for anyone looking for nutritious homemade snacks!
Quick Recipe Overview
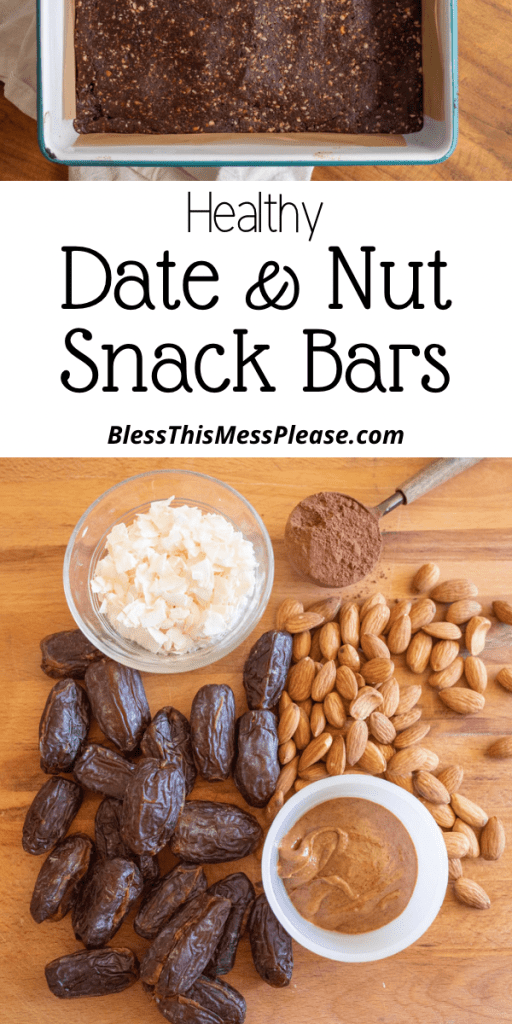
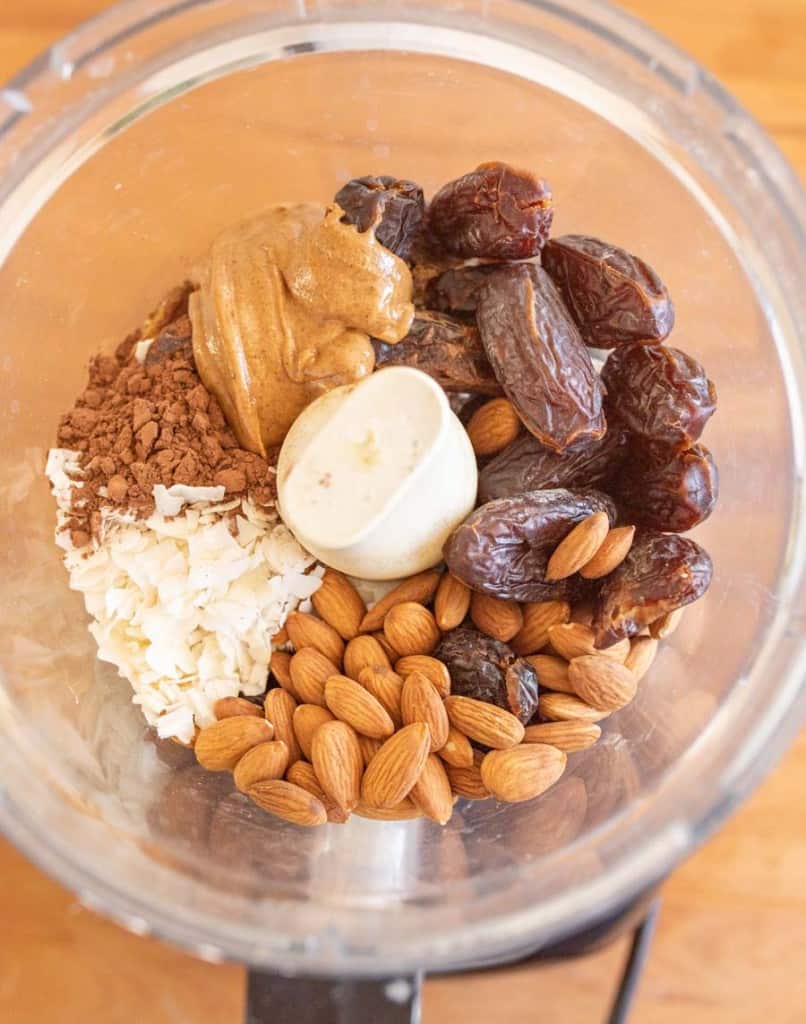
WHAT: No-bake healthy snack bars made with dates, nuts, coconut, cocoa powder, and nut butter for naturally sweet energy bites.
WHY: These bars skip the added sugar and artificial sweeteners you’ll find in store-bought protein bars while delivering real whole food nutrition.
HOW: Simply blend ingredients in a food processor, press into a pan, chill for 30 minutes, then cut into bars and enjoy.
Table of Contents
- Quick Recipe Overview
- Why I Love Making Healthy Snack Bars
- Ingredient Notes
- Homemade Healthy Snack Bars Recipe Recipe
- How To Make Healthy Snack Bars
- Substitutions & Variations
- FAQs for Snack Bars
- My Best Tips for Making Healthy Snack Bars
- What to Serve With Snack Bars
- Storage & Make Ahead Tips
- Similar Recipes to Try
- More Healthy Snack Recipes To Try
Why I Love Making Healthy Snack Bars
I started making these healthy snack bars after reading one too many ingredient lists on store-bought varieties. Between the artificial sweeteners, mysterious preservatives, and prices that made my wallet cry, I knew there had to be a better way.
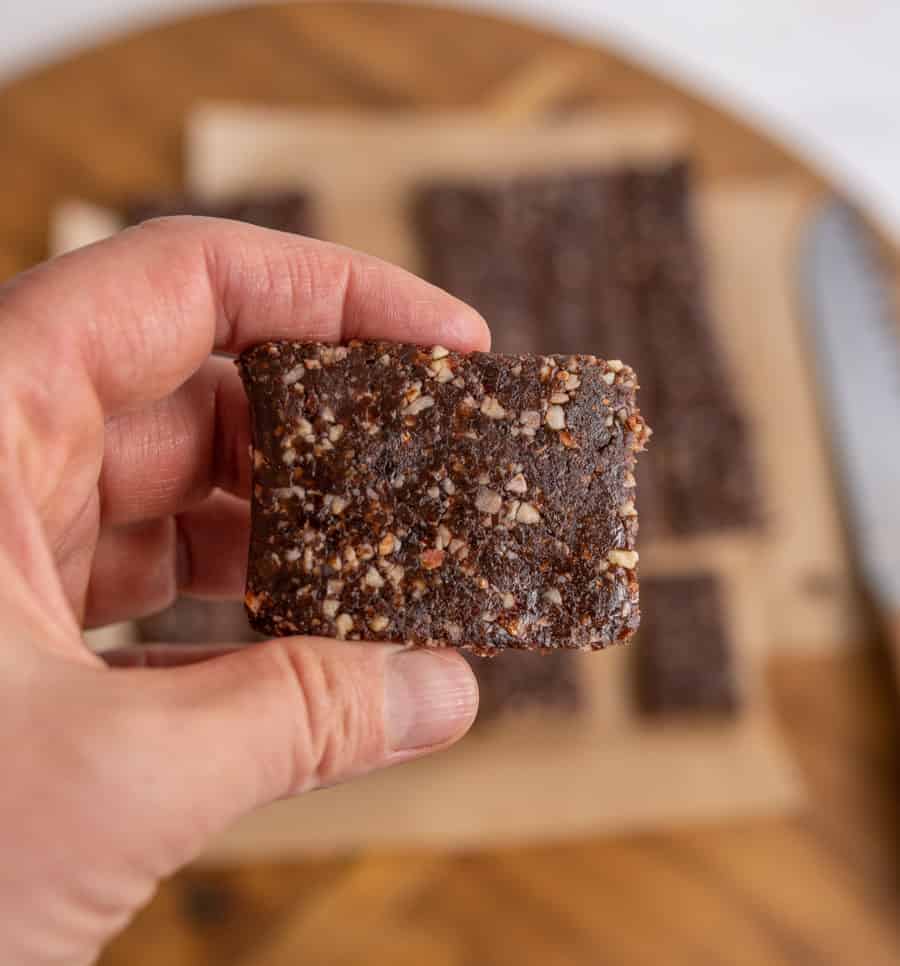
The dates provide natural sweetness and act as the binding agent, while the nuts add that satisfying crunch and grams of protein. Each bar also delivers grams of fiber to keep you satisfied longer. I’ve packed these in my kids’ lunchboxes, grabbed them before morning workouts, and even served them to guests who couldn’t believe they were homemade. They have a bit of a chewy texture so they work best for older kids’ lunchboxes, not toddlers.
The best part? You control exactly what goes into each bar. No weird additives, no added sugar, just pure ingredients you can pronounce. They’re so rich and chocolatey that they remind me of a candy bar—except this version actually nourishes your body instead of just spiking your blood sugar. My family has been munching on these treat for years, and they’ve become our answer to those expensive protein bars at the grocery store that sometimes lack essential vitamins.

🩷 Melissa
Forget everything you thought you knew about healthy snacks being boring. These no-bake energy bars are about to become your new obsession—packed with natural ingredients, bursting with flavor, a crunchy texture and so simple that you’ll actually make them on repeat.
We’re talking dates for sweetness, nuts for that satisfying crunch, and zero compromises on taste. Whether you need a pre-workout boost, an afternoon pick-me-up, or something to toss in the kids’ lunchboxes, these bars deliver.
Best part? They come together in minutes and cost a fraction of what you’d pay at the store. Your taste buds (and your wallet) will thank you!
Ingredient Notes
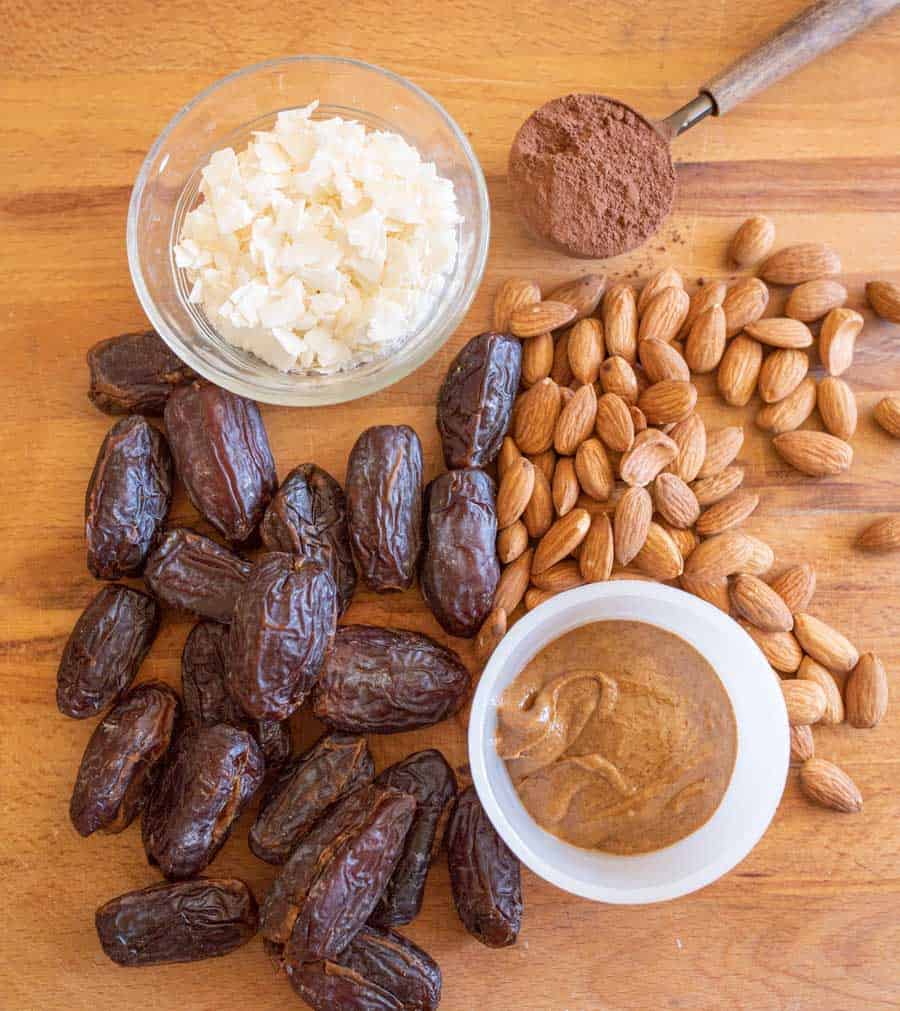
Dates: Look for soft, moist dates without added sugar or preservatives.
Nut butter: Natural peanut butter works best (the kind where oil separates on top). Almond butter, cashew butter, or tahini are great alternatives.
Unsweetened shredded coconut: The unsweetened variety is essential since dates provide plenty of natural sweetness.
Cocoa powder: Use natural unsweetened cocoa powder for the best chocolate flavor. Dutch-processed works too, though it produces a slightly different flavor.
See the recipe card below for full information on ingredients and quantities.
Homemade Healthy Snack Bars Recipe
Ingredients
- 2 cups pitted dates
- 3/4 cup raw cashews or almonds
- 1/4 cup nut butter, (I used natural peanut butter)
- 1/2 cup unsweetened shredded coconut
- 2 tablespoons cocoa powder
- 1 pinch salt
Instructions
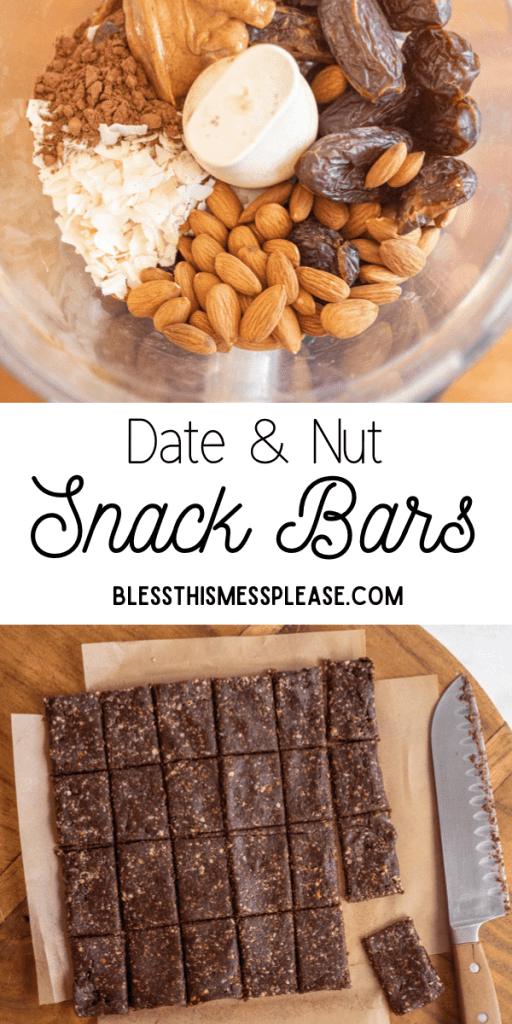
- Toss everything into a food processor and process until the mixture starts to go smooth and clump into a ball. The dates will be all chopped up but you’ll still have bits of nut.2 cups pitted dates, 3/4 cup raw cashews or almonds, 1/4 cup nut butter, 1/2 cup unsweetened shredded coconut, 2 tablespoons cocoa powder, 1 pinch salt
- Turn the mixture out into an 8 or 9 inch square dish lined with parchment paper. Use your hands to firmly press the mixture into the bottom of the dish. Cover and refrigerate for 30 minutes.
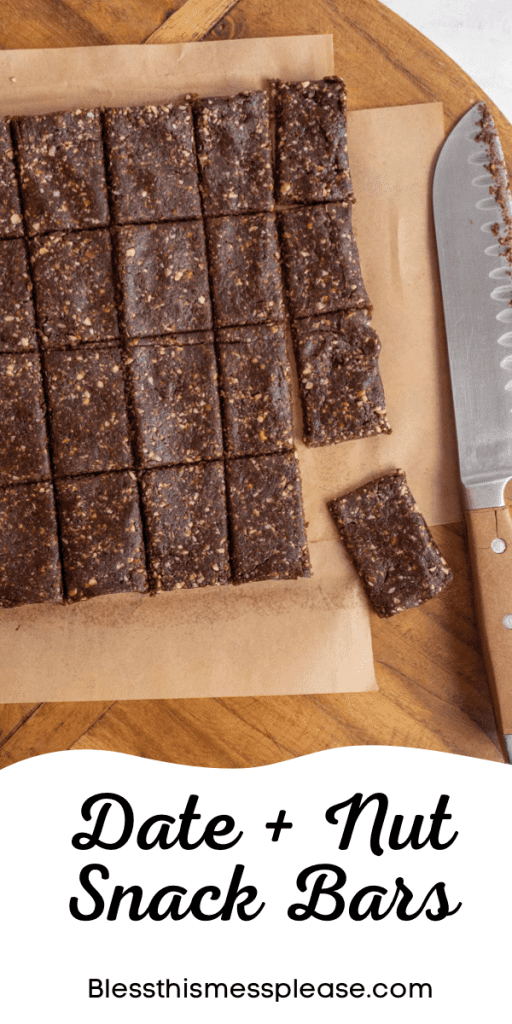
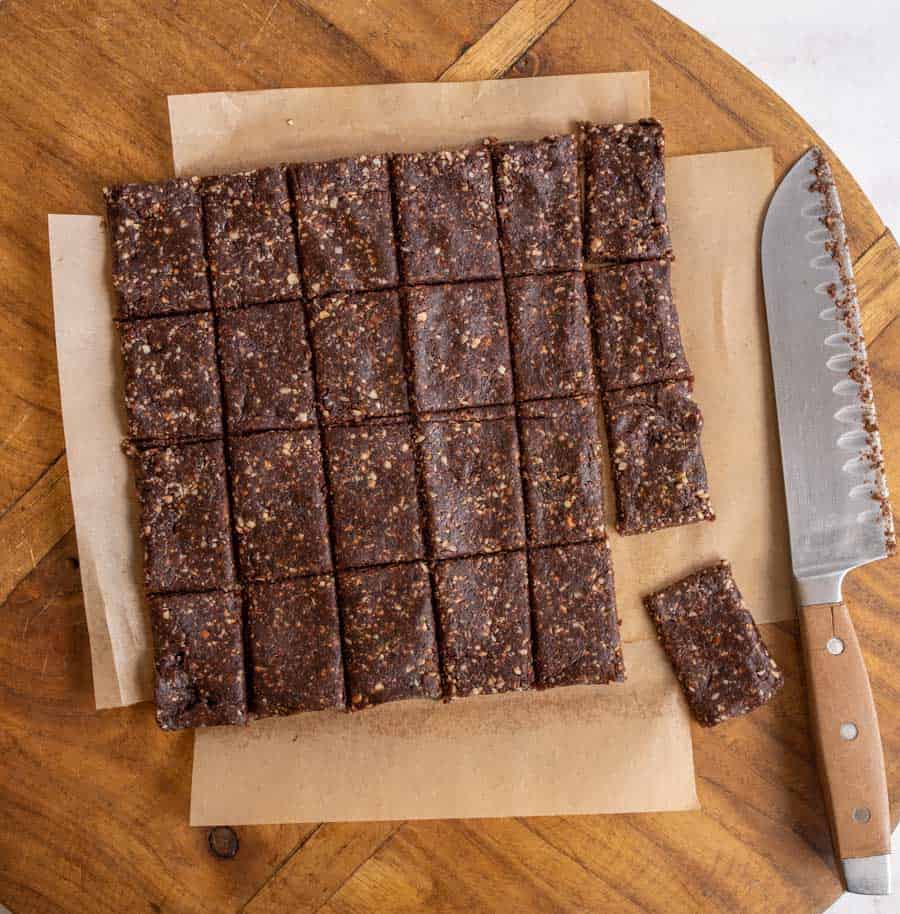
- Remove the bars from the pan and cut into pieces using a sharp knife.
- Store in an air-tight container in the fridge or freezer.
- Enjoy these bars cold or frozen.
Notes
- I think a high power blender could be used to make these, but I haven’t tried it myself.
- If your dates are very dry or starting to turn a little white (happens when they dry out) let them soak in warm water for 10 minutes before using, strain well and then use.
Nutrition
How To Make Healthy Snack Bars
- Step 1: Toss everything into a food processor and process until the mixture starts to go smooth and clump into a ball. The dates will be all chopped up but you’ll still have bits of nut.
- Step 2: Turn the mixture out into an 8 or 9 inch square dish lined with parchment paper. Use your hands to firmly press the mixture into the bottom of the dish. Cover and refrigerate for 30 minutes.
- Step 3: Remove the bars from the pan and cut into pieces using a sharp knife.
- Step 4: Store in an air-tight container in the fridge or freezer.
- Step 5: Enjoy these bars cold or frozen.
Substitutions & Variations
Chocolate Chip Variation
Fold in 1/4 cup dark chocolate chips or cacao nibs after processing for extra chocolate bursts throughout the bars.
Protein Power Version
Add 2-3 tablespoons of your favorite protein powder to the mixture for an extra protein boost. You may need to add a splash of water to help bind everything together.
Tropical Twist
Swap the cocoa powder for 2 tablespoons of dried pineapple or mango, chopped fine. Add 1/4 teaspoon vanilla extract for a tropical flavor profile. For extra creaminess, blend in 1/4 cup dried banana chips.
Cinnamon Spice
Replace cocoa powder with 1 tablespoon cinnamon and add 1/4 teaspoon each of nutmeg and ginger for warming seasonal flavors perfect for fall.
Seed Butter Swap
For nut-free versions, use sunflower seed butter or pumpkin seed butter instead of peanut butter. The bars will have a slightly different taste but work just as well. If the mixture seems too dry, add a tablespoon of maple syrup to help bind everything together.
FAQs for Snack Bars
Yes! Almonds, walnuts, pecans, or cashews all work beautifully. Each nut brings a slightly different flavor profile—almonds offer a mild sweetness, walnuts add earthiness, and pecans bring buttery richness. You can also add hemp seeds for an extra boost of nutrition. Feel free to mix different nuts for variety or use whatever you have on hand.
This usually happens when the dates are too dry. Dates need to be soft and pliable to act as the “glue” holding everything together. If your dates feel hard or have white crystals on them, soak them in warm water for 10 minutes, drain well, and pat dry before using.
Yes! Replace the nuts with sunflower seeds or pumpkin seeds, and use sunflower seed butter instead of peanut butter. The texture will be slightly different but still delicious and nutritious. This makes them perfect for school snacks where nuts aren’t allowed.
While they’re technically shelf-stable for short periods, I highly recommend storing them in the fridge or freezer. The cold temperature keeps them firm and easier to handle—perfect if you’ve cut them into minis. If they warm up to room temperature, they become quite sticky but are still perfectly safe and tasty to eat.

My Best Tips for Making Healthy Snack Bars
☞Choose the right dates: Medjool dates work best because they’re naturally soft, sweet, and create a caramel-like consistency. Deglet Noor dates can work but may need longer soaking since they’re typically drier.
☞Process in stages: Don’t dump everything in at once! Start by processing the dates and nuts together until finely chopped, then add the nut butter, coconut, and cocoa. This ensures even mixing and prevents overprocessing.
☞Press firmly and evenly: When pressing the mixture into your pan, use the back of a measuring cup or your palm wrapped in plastic wrap to compress it tightly. This step is crucial for bars that hold together well when cut.
☞Let them chill completely: That 30-minute refrigerator time isn’t optional! It allows the dates to firm up and bind everything together. For cleaner cuts, chill for a full hour or even overnight.
☞Cut with confidence: Use a sharp, slightly warm knife to cut through the bars. Wipe the blade clean between cuts for neat edges. If the mixture sticks to your knife, run it under hot water, dry it, and continue cutting.
What to Serve With Snack Bars
Morning Fuel: Pair these bars with your morning coffee or tea for a quick breakfast alongside fresh fruit. They’re substantial enough to keep you satisfied until lunch without weighing you down.
Pre or Post-Workout: Enjoy one bar about 30 minutes before exercise for sustained energy, or immediately after your workout with a protein shake to aid recovery.
Afternoon Pick-Me-Up: Combat the 3 PM slump by enjoying a bar with a handful of fresh berries and a glass of cold milk or your favorite non-dairy alternative.
Lunchbox Addition: Pack these in your kids’ lunches alongside veggies, hummus, and sliced apples for balanced nutrition they’ll actually eat.
Travel Companion: These bars are perfect for road trips, hiking, or airplane snacks. Pack them in a small cooler bag with an ice pack to keep them firm.
Storage & Make Ahead Tips
Room Temperature Snack Bars
These bars can sit at room temperature for 2-3 hours during serving or travel, but they’ll become softer and stickier. If transporting them on a hot day, use an insulated lunch bag with an ice pack.
Refrigerator Storage
Store bars in an airtight container in the fridge for up to 2 weeks. Place parchment or wax paper between layers if stacking to prevent sticking. The cold temperature keeps them firm and easy to grab on busy mornings.
Freezing Snack Bars
These bars freeze beautifully for up to 3 months! Wrap individual bars in parchment paper, then place in a freezer-safe container or bag. You can eat them straight from the freezer for a firmer, almost fudge-like texture, or let them thaw for 10-15 minutes at room temperature.
Make-Ahead Tips for Snack Bars
This recipe is perfect for meal prep! Make a double batch on Sunday and you’ll have healthy snacks ready all week. You can even prep the mixture, press it into the pan, and freeze it uncut. When you’re ready, thaw slightly and slice into fresh bars.
Individual Wrapping
For grab-and-go convenience, wrap each bar individually in parchment paper or plastic wrap before storing. This makes them perfect for tossing in purses, gym bags, or lunchboxes without worrying about them sticking together.
Similar Recipes to Try
- No-Bake Peanut Butter Energy Balls – Another quick snack using similar ingredients rolled into bite-sized portions.
- Homemade Granola Bars – Baked bars with oats, honey, and dried fruit for a different texture.
- Almond Butter Protein Bars – Slightly more complex bars with added protein powder, healthy fats and seeds.
- Coconut Date Energy Bites – Simple two-ingredient balls perfect for quick snacking
More Healthy Snack Recipes To Try
Healthy Snacks
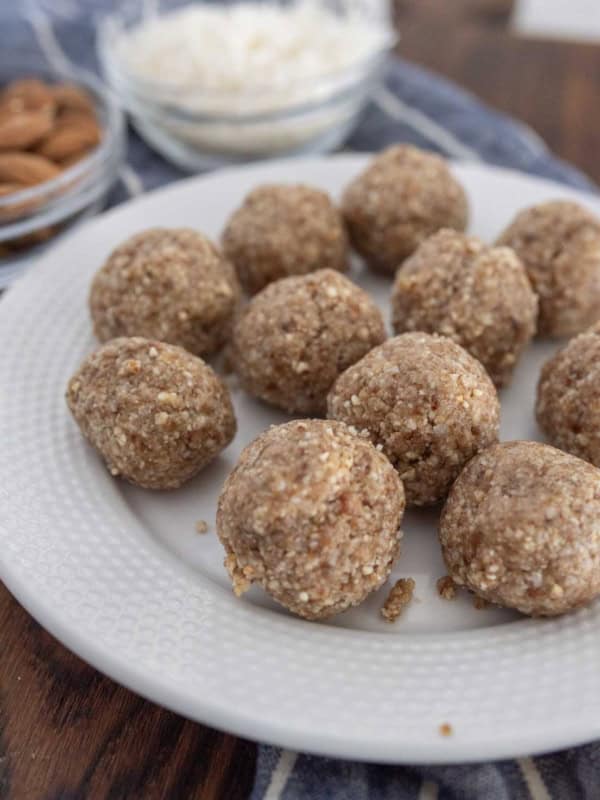
Easy Coconut Date Nut Balls
Smoothies
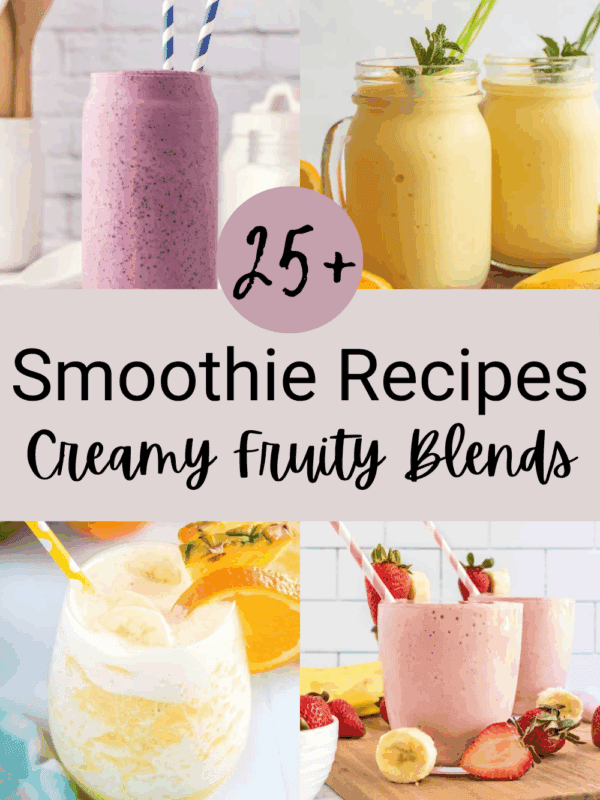
25+ Best Smoothie Recipes
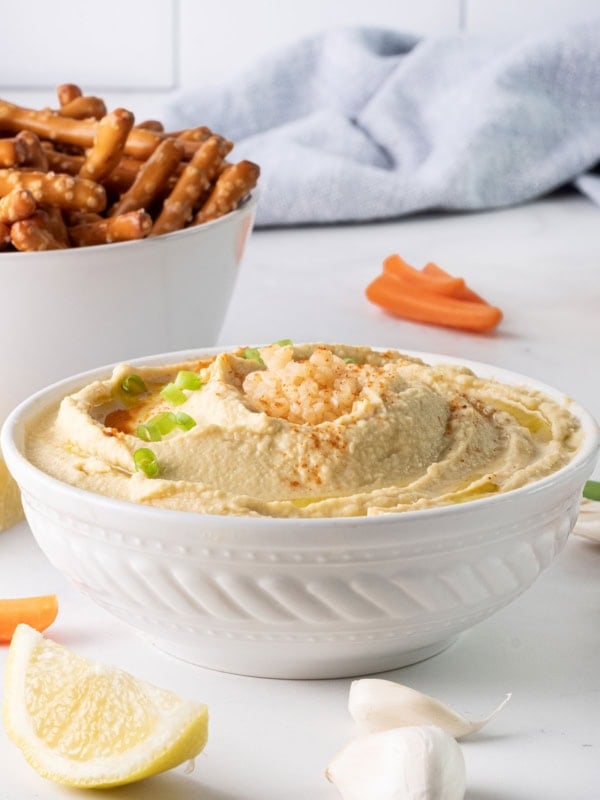
Dip Recipes
Lemon Garlic Hummus Recipe Without Tahini
Did you make this recipe? Leave a ⭐️ review and share it on Instagram, Facebook, or Pinterest!


These sound delicious and I want to make them for a trip my daughter and are going on. However, she does not like coconut. Is there something else I could use? We are going to use pecans instead of the almonds or cashews. Thanks for your help.
Yes! Just sub it out for more nuts or leave it out all together, no big deal!
Hello,
I do roast dates in 1 table spoon pure ghee for 4 to 5 minutes on law flame and than add rest of ingredients. It gives better taste ( we love it)
Love, love, love this recipe! Dates + cashews are a perfect combo and no bake is my favorite thing ever! I need to try these for sure.
ENJOY!!! Happy snacks bars to you friend, they are so good!
I made this today and they are very good. I used shelled pistachios and added chia seeds. Amazingly easy and delicious!
Sounds delicious! Thanks for sharing your fun variation!
Its very yummy but my bars are very oily do you know why?
Sometimes if you over process the nuts they start to turn into nut butter instead of just the chopped nuts. I bet that’s what happened in your case!
Hi, has anyone tried these without the cashews, or have you substituted the cashews for something else? My daughter is very allergic and I wouldn’t want to keep these in the house. I would love any ideas on how I could make these work. Thanks! 🙂
You can just just about any nut for the cashews, it all works great!
Sometimes I get headaches from nuts, esp peanuts. I looked up replacements for nuts and found coconut butter. That might be an option.
Delicious! Mine weren’t quite holding together, so I added a generous tablespoon of coconut oil. Next time I would consider adding ground flax seed, chia, anything yummy such as pumpkin or sunflower seeds
Both the chia and flax seed help them stay together better too. You’ll love the additions!
Yummy! loved them
WOW! These looks so yumme.
I was so excited to make these, they sound like just what I need for a quick substantial snack while taking care of my 9 month old…but they burned out my Cuisinart! 🙁
Ahhhh! What size was your food processor?! That’s so sad. I’m going to send you an email…