This post may contain affiliate links. Please read our disclosure policy.
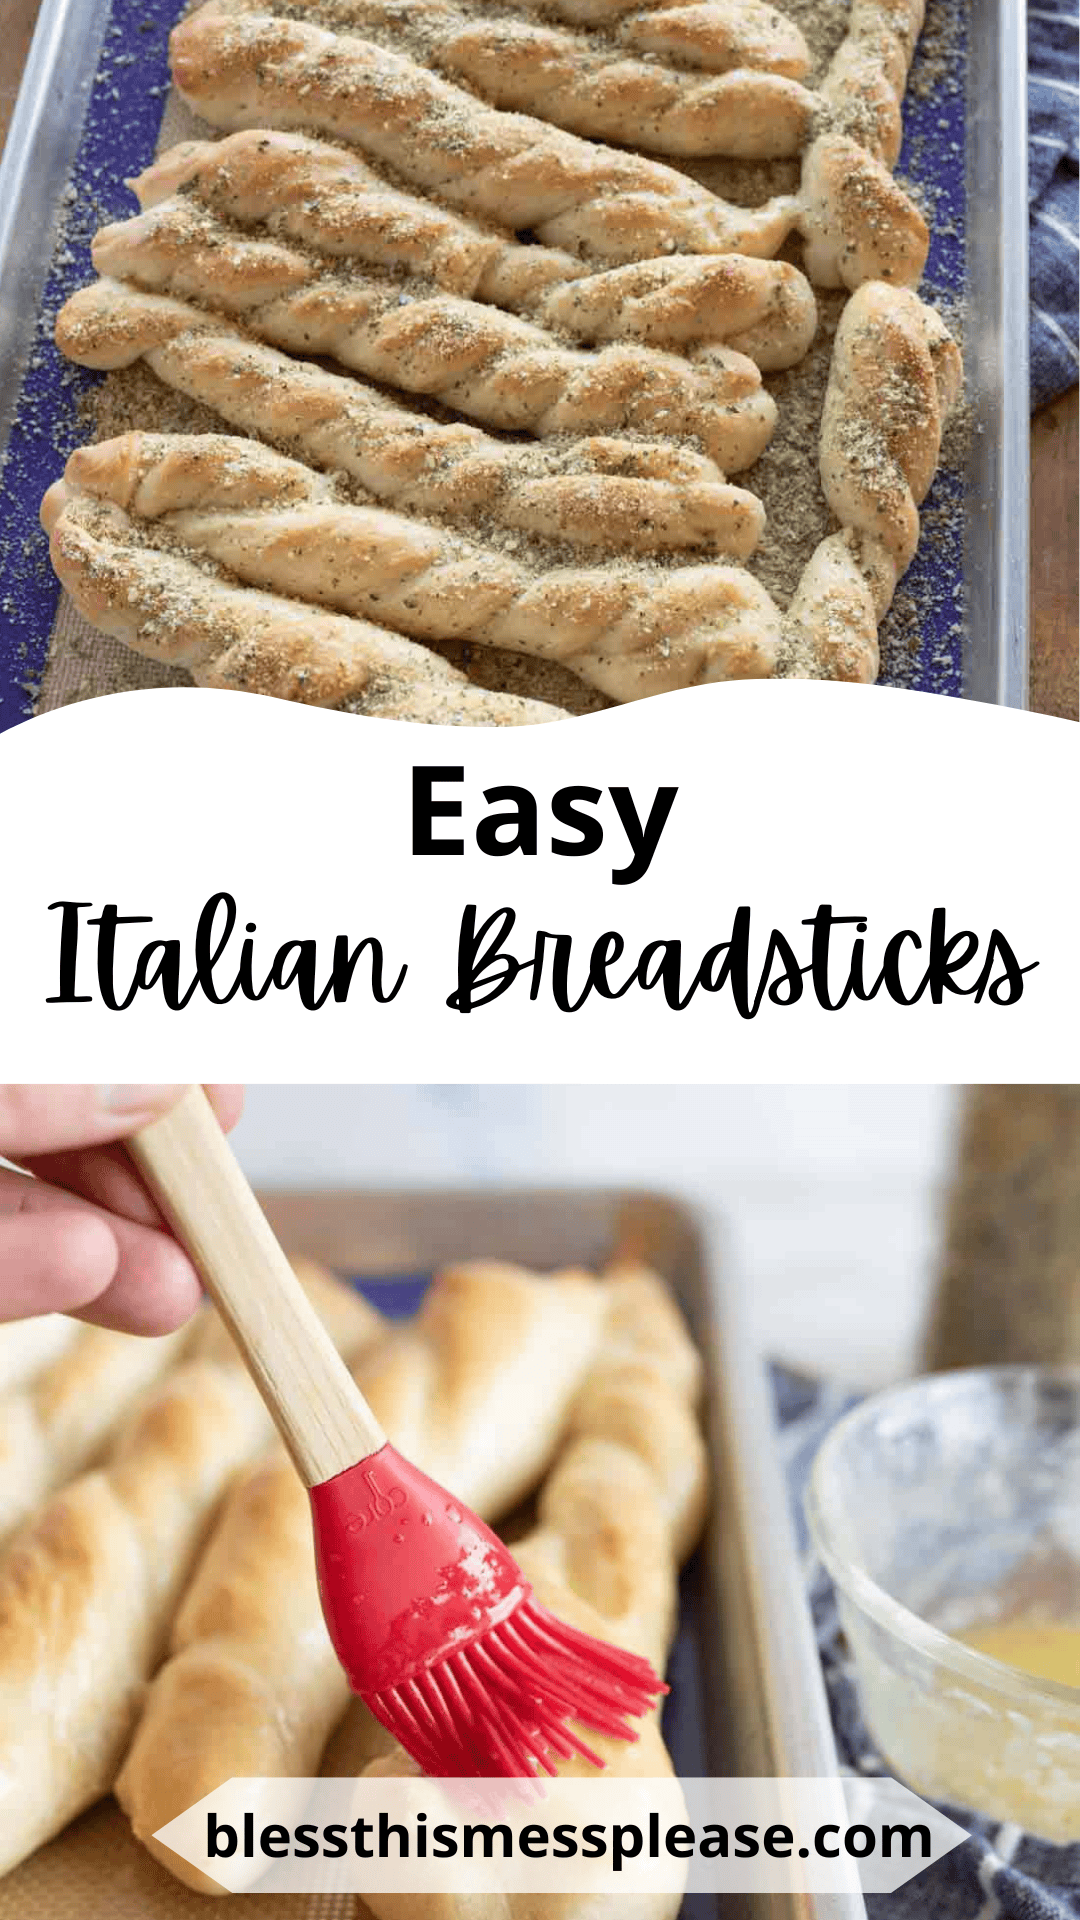
Learn how to make easy Italian Breadsticks at home with this simple recipe. These soft, buttery twisted breadsticks with a homemade garlic and parmesan seasoning are perfect for any meal and will become your family’s favorite bread side dish!
🥖 The forgiving dough works around your schedule with adjustable rising times, making it perfect for busy weeknights or leisurely weekend cooking sessions!
My 2 Best Tips For Making Italian Breadsticks
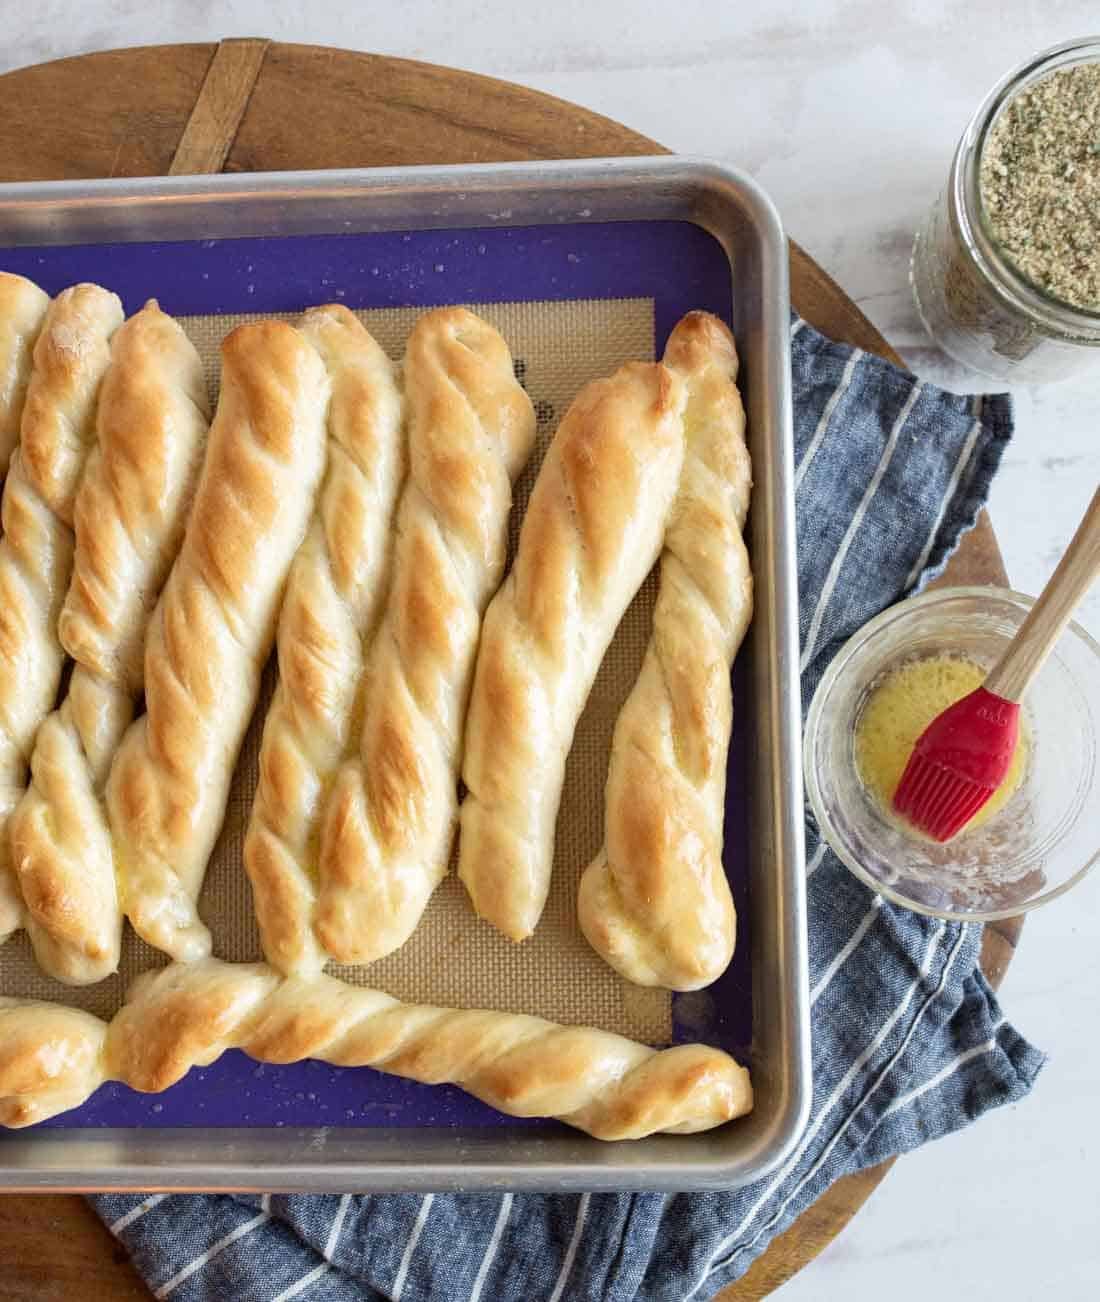
Brush with Butter While Hot: Apply the melted butter immediately after removing breadsticks from the oven. The heat helps the butter absorb into the crust, creating that irresistible buttery flavor throughout.
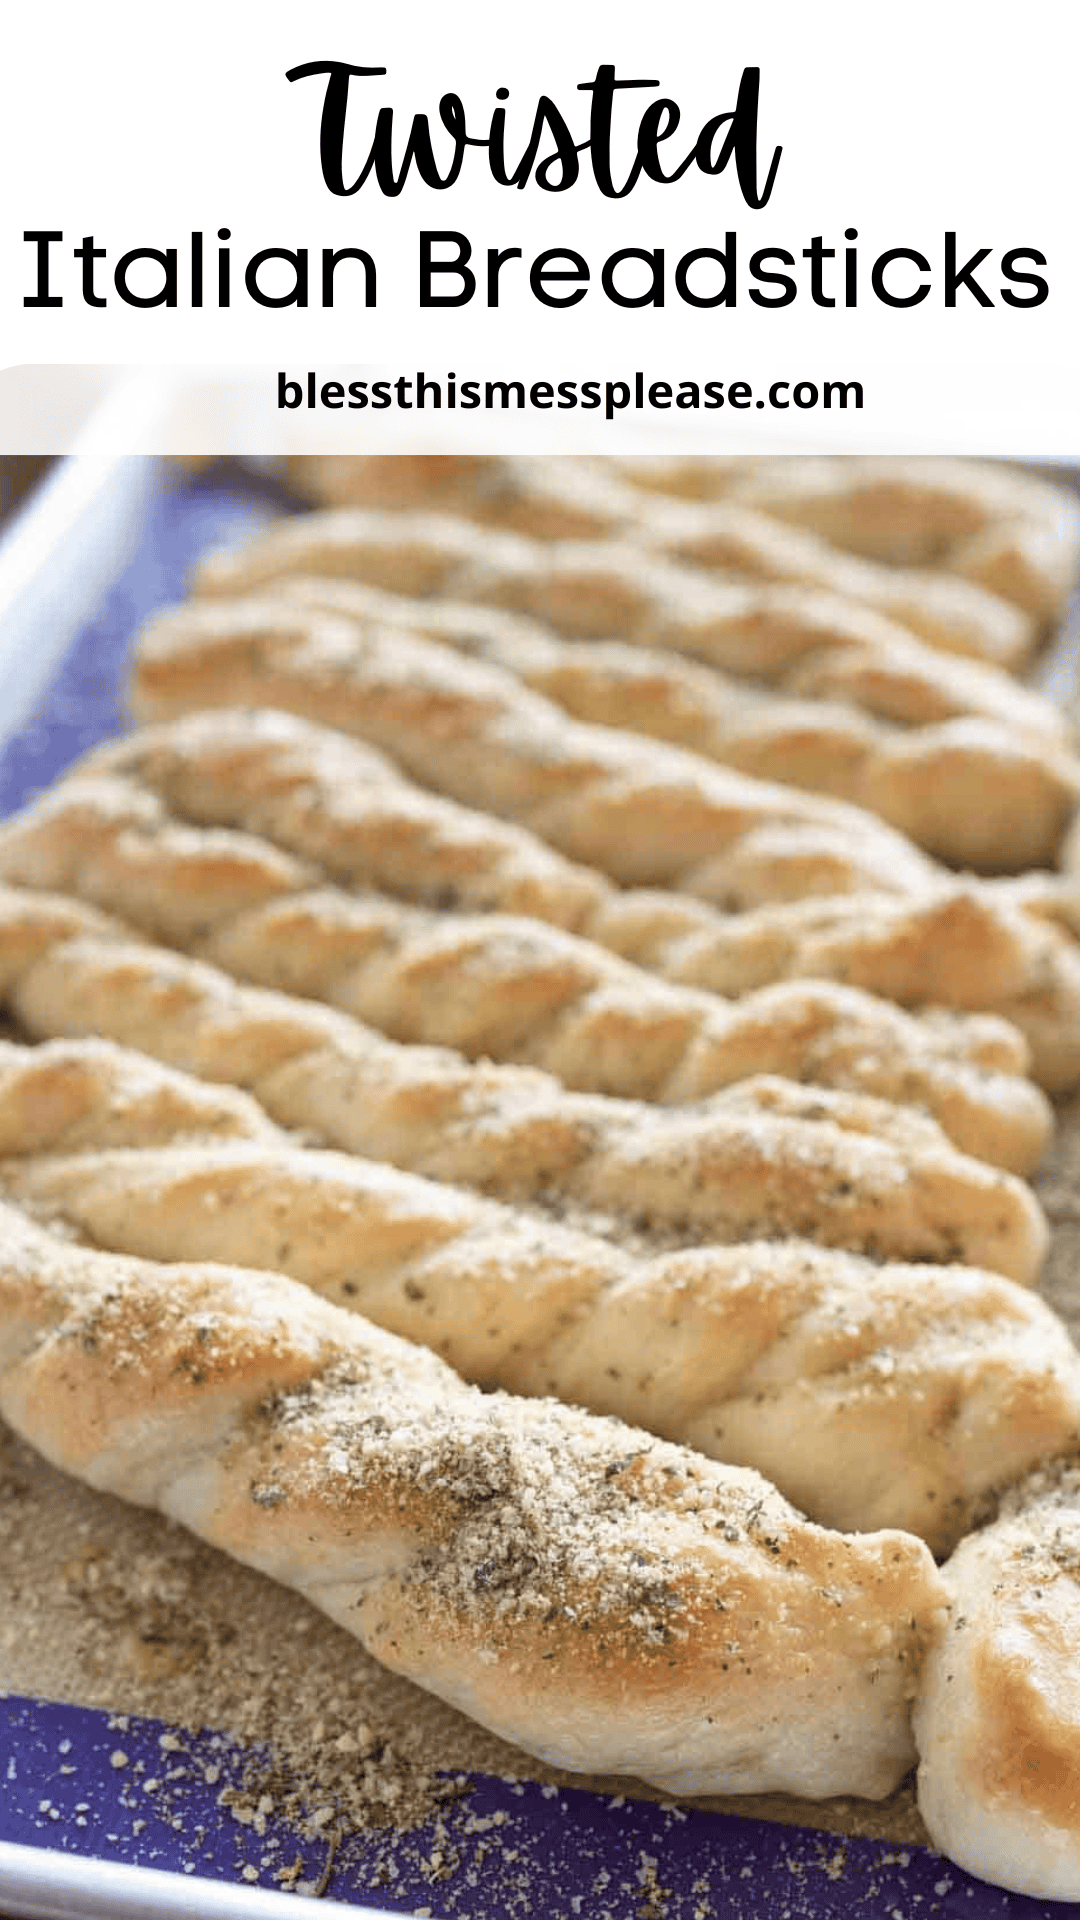
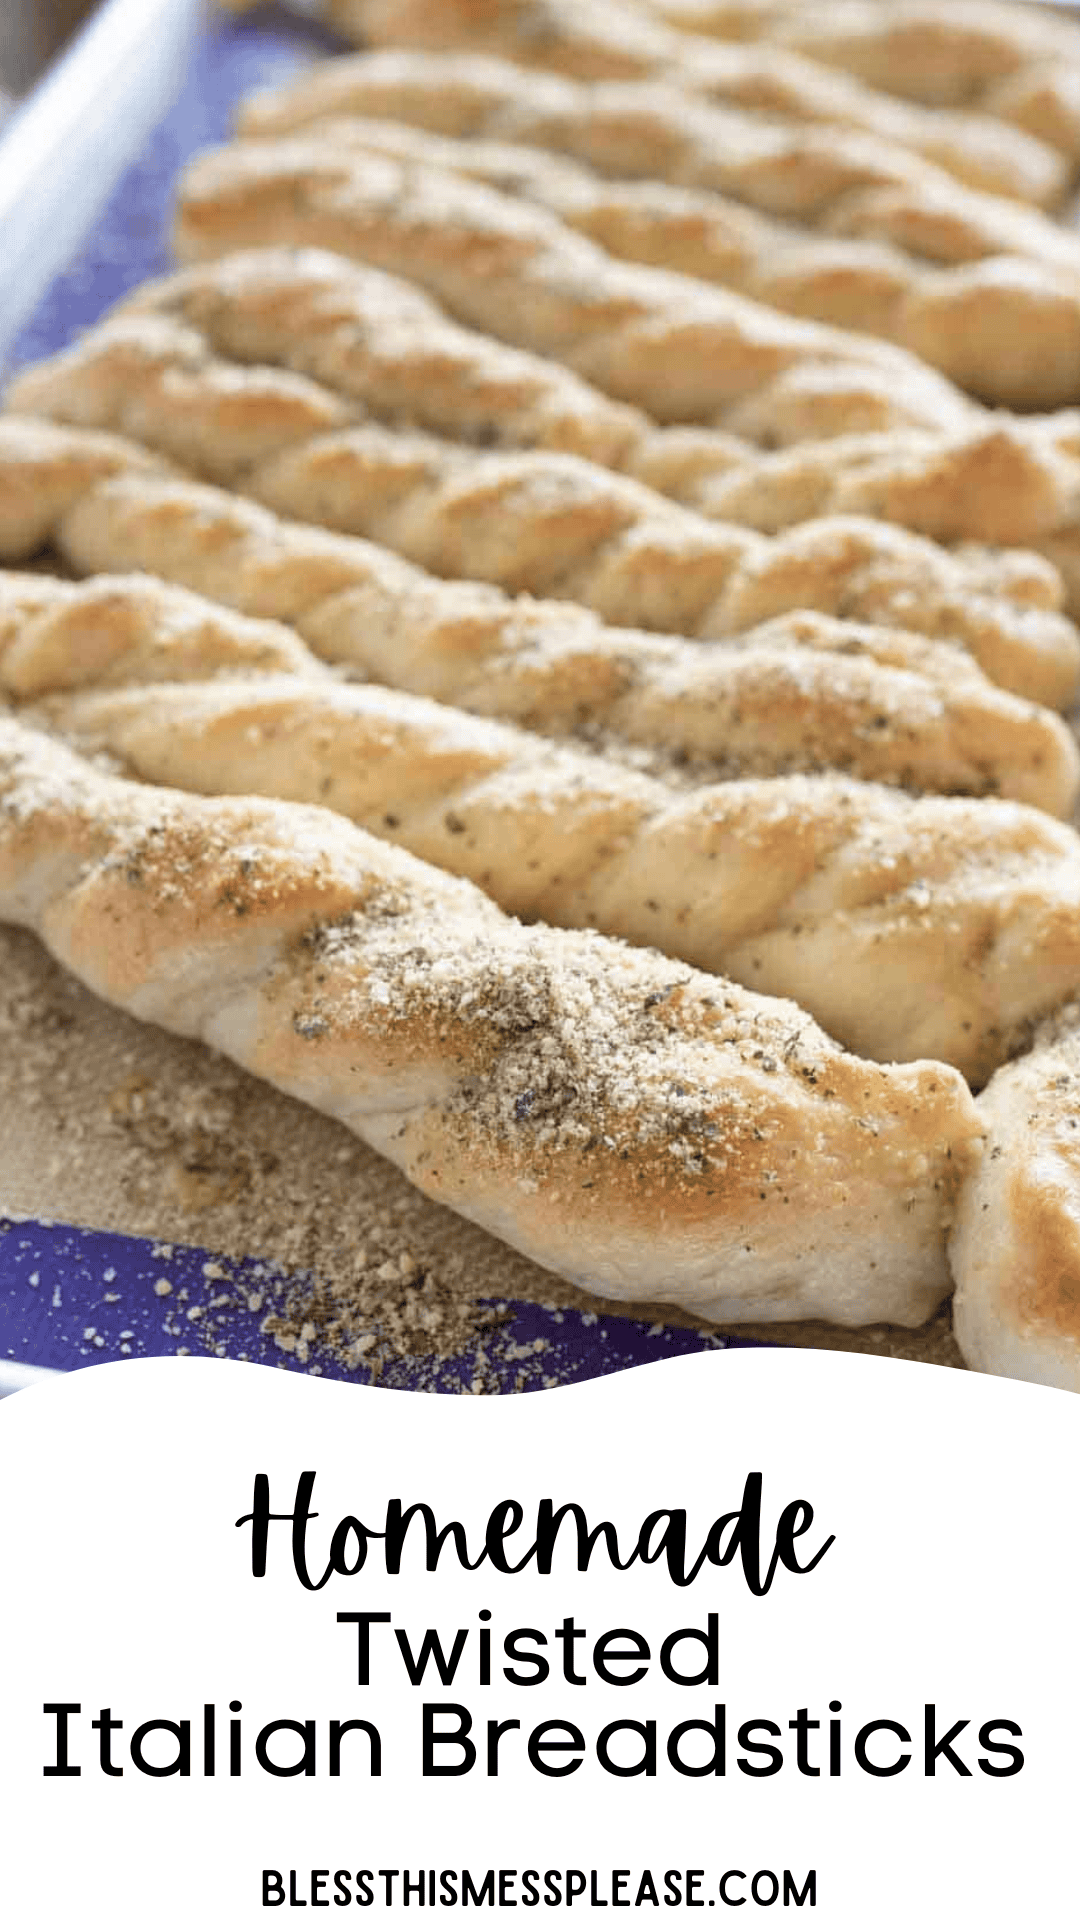
Getting The Perfect Twist Shape: After folding each strip in half, hold one end firmly and twist the other end away from you about 3-4 times. Press both ends firmly onto the baking sheet to prevent untwisting during baking. Practice really does make perfect!

🩷 Melissa
These Italian breadsticks strike the ideal balance between soft and chewy on the inside with a beautifully golden exterior that’s never too hard or crusty. They’re seriously perfect breadsticks!
Even the pickiest eaters can’t resist these buttery, cheesy, garlic infused breadsticks that pair perfectly with pasta, soup, or enjoyed on their own as a snack.
Plus it’s easy to make in bulk. Whether you’re cooking for four or feeding a crowd, this recipe doubles or triples effortlessly, making it ideal for dinner parties and family gatherings.

Italian Breadsticks {Twisted Breadsticks}
Video
Ingredients
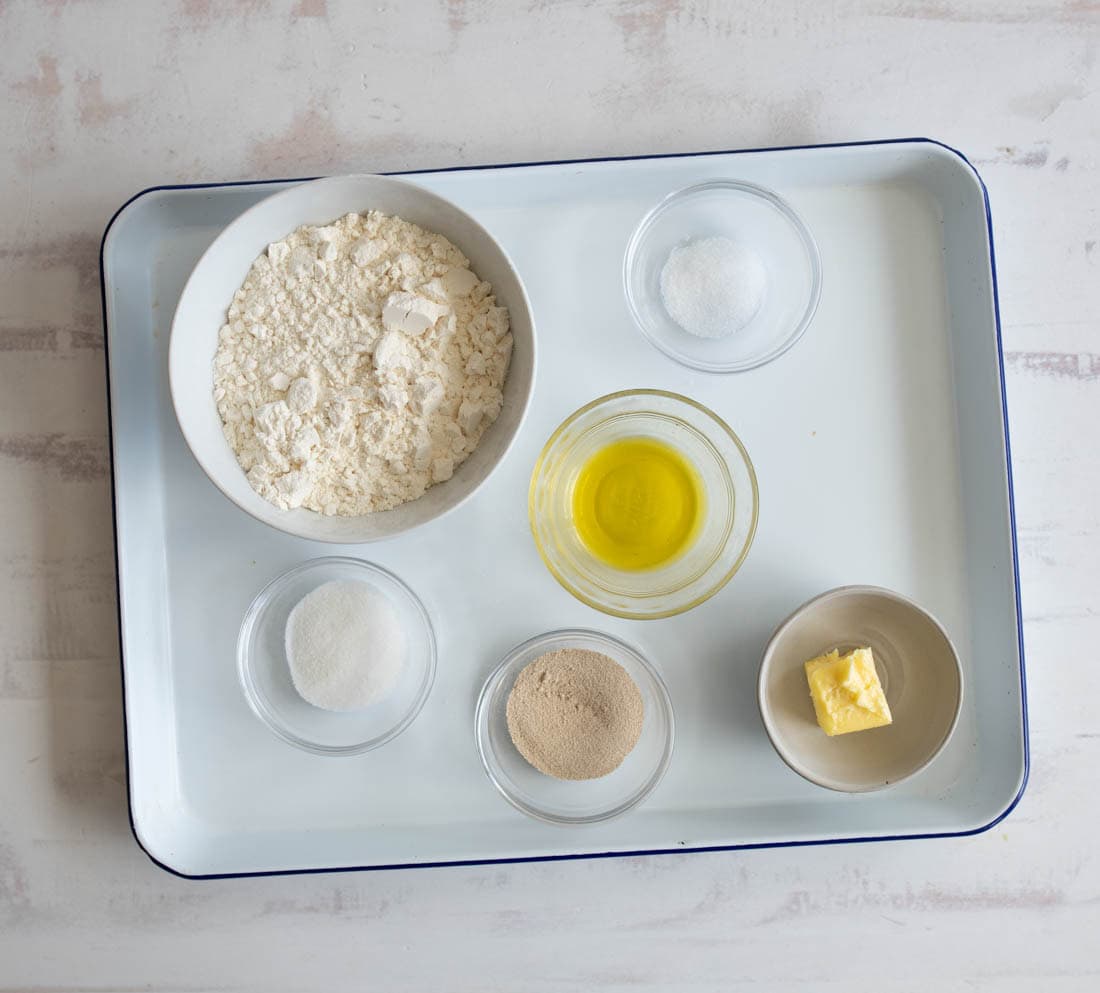
- 1½ cups warm water
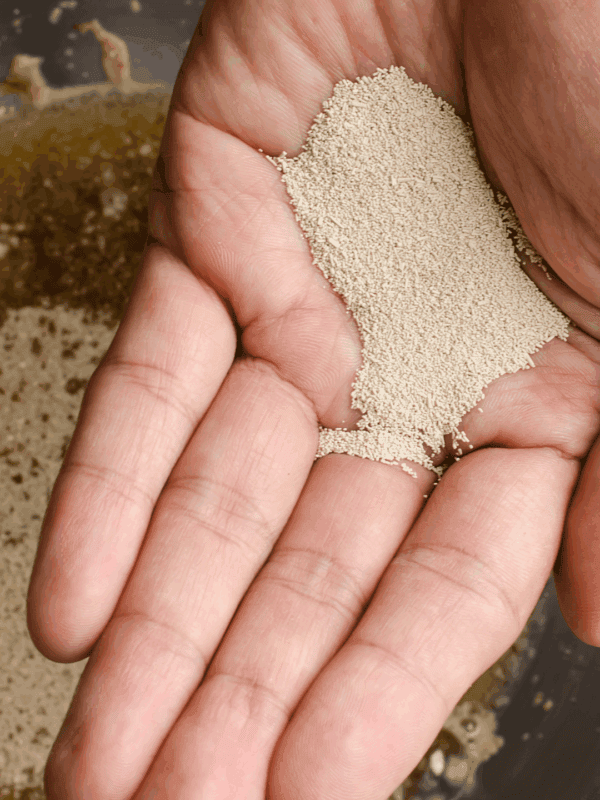
- 1 tablespoon instant yeast
- 1 tablespoon sugar
- 1 tablespoon olive oil
- 1 teaspoon salt
- 3½ to 4½ cups all-purpose flour
- 2 tablespoons butter, melted
- Parmesan cheese or Garlic Parmesan Seasoning, optional, see notes
Instructions
- In a medium bowl, combine warm water, yeast, sugar, olive oil, and salt.
- Stir in 1 cup of flour. Add another cup and stir again.
- Add remaining flour a little at a time, stirring until a shaggy dough forms.
- Transfer to a floured surface and knead in more flour until a smooth, elastic dough forms. It should be soft but not sticky.
- Place dough back in the bowl, cover, and let rise for 20 to 45 minutes, depending on your schedule.
- Roll the risen dough into a rectangle about 18×10 inches.
- Cut into 12 equal strips using a sharp knife or pizza cutter.
- Take each strip, fold it in half, and twist the ends in opposite directions.
- Place twists on a baking sheet lined with a silicone mat or parchment paper, pressing the ends against the pan to help them hold their shape.
- Let the shaped breadsticks rise for 15 to 30 minutes while the oven preheats to 425°F.
- Bake breadsticks for 15 to 20 minutes, or until golden brown.
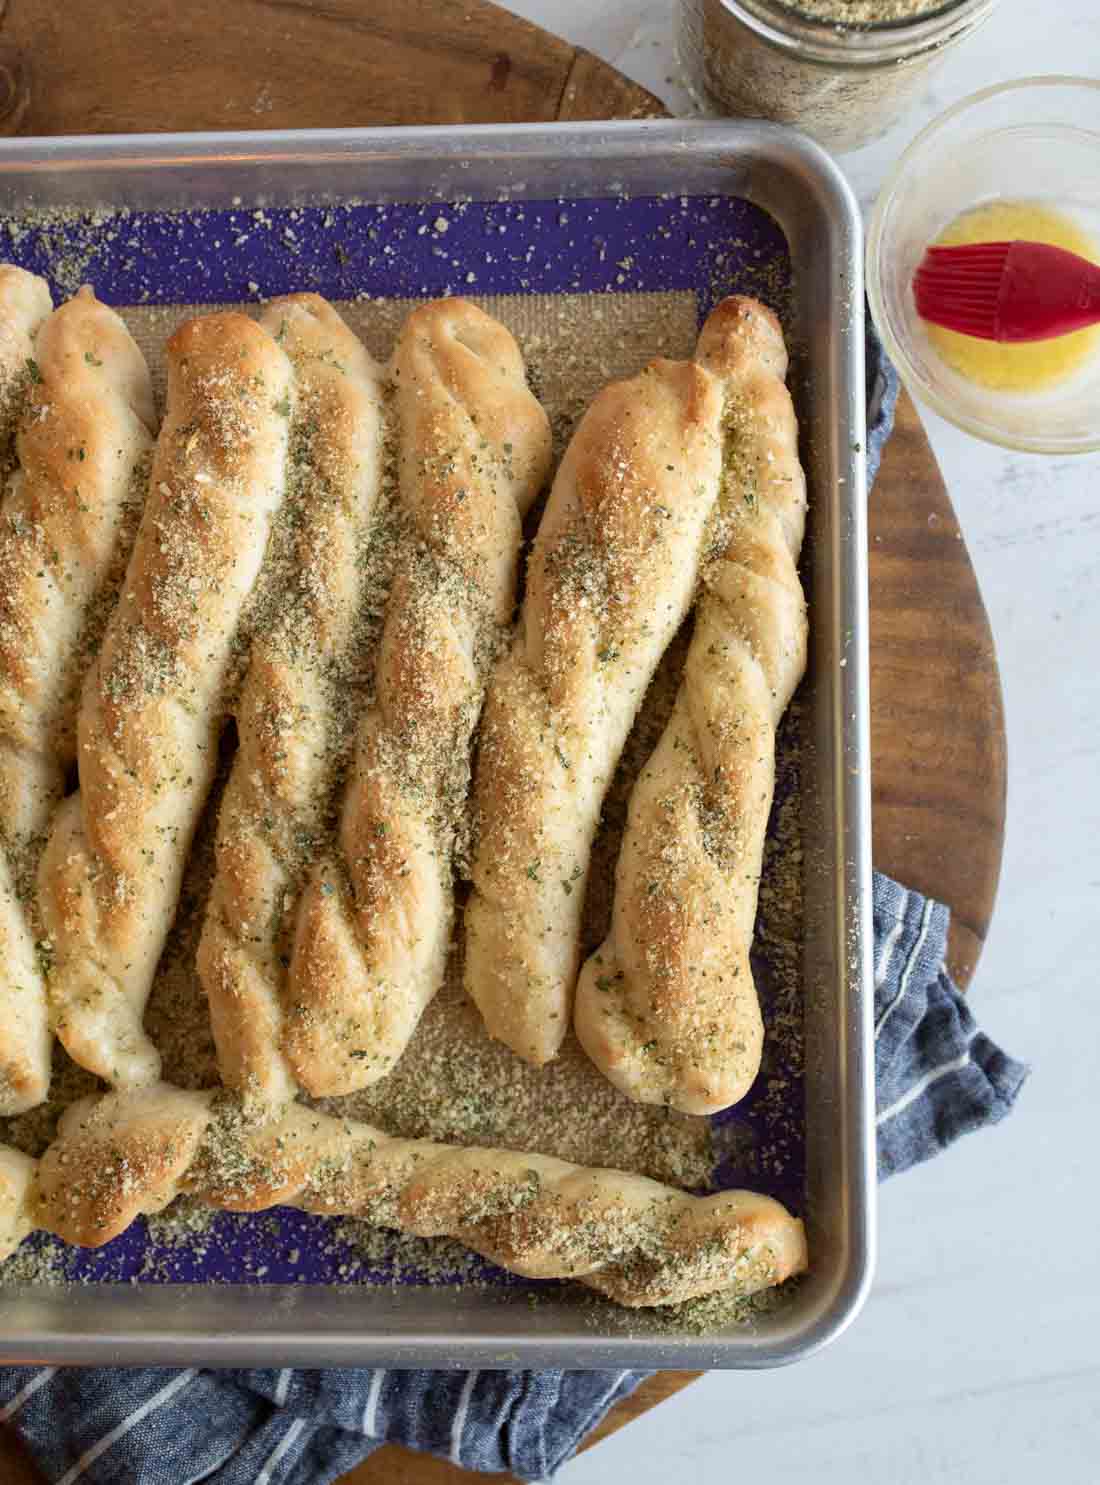
- Brush hot breadsticks with melted butter.
- Sprinkle with Parmesan cheese or your favorite Garlic Parmesan Seasoning (highly recommended!).
Notes
- Store cooled breadsticks in an airtight container at room temperature for up to 3 days. Reheat in a 350°F oven for 5-7 minutes to restore their texture.
- Freeze baked and cooled breadsticks in freezer bags for up to 3 months. Thaw at room temperature and reheat in the oven for best results.
Nutrition

How To Make Italian Breadsticks
Step 1: n a medium bowl, combine warm water, yeast, sugar, olive oil, and salt. Stir in 1 cup of flour. Add another cup and stir again. Add remaining flour a little at a time, stirring until a shaggy dough forms.
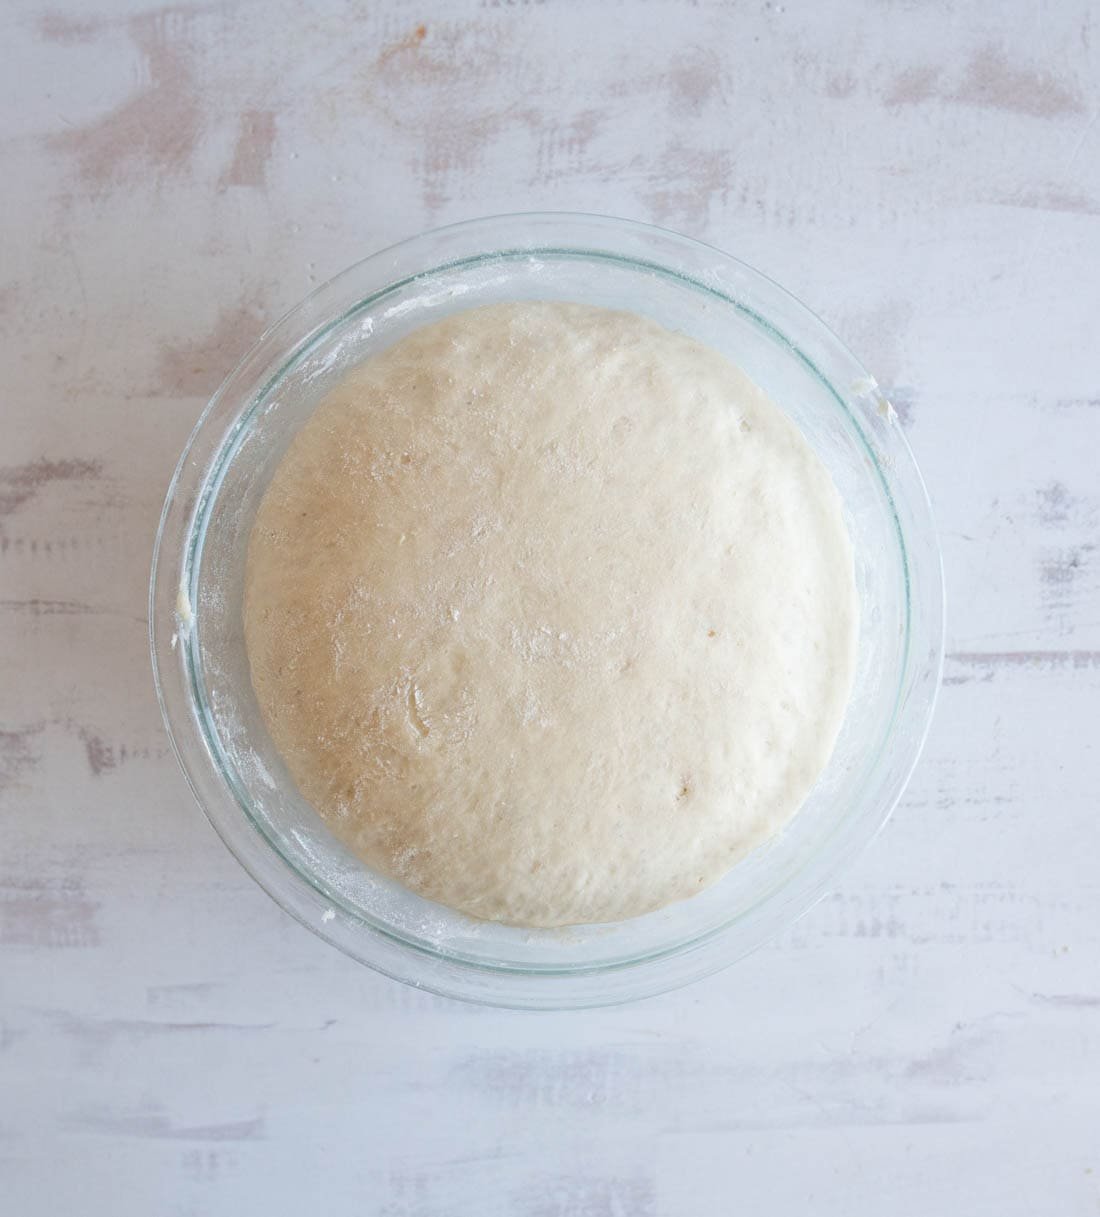
Step 2: Transfer to a floured surface and knead in more flour until a smooth, elastic dough forms. It should be soft but not sticky. Place dough back in the bowl, cover, and let rise for 20 to 45 minutes, depending on your schedule.
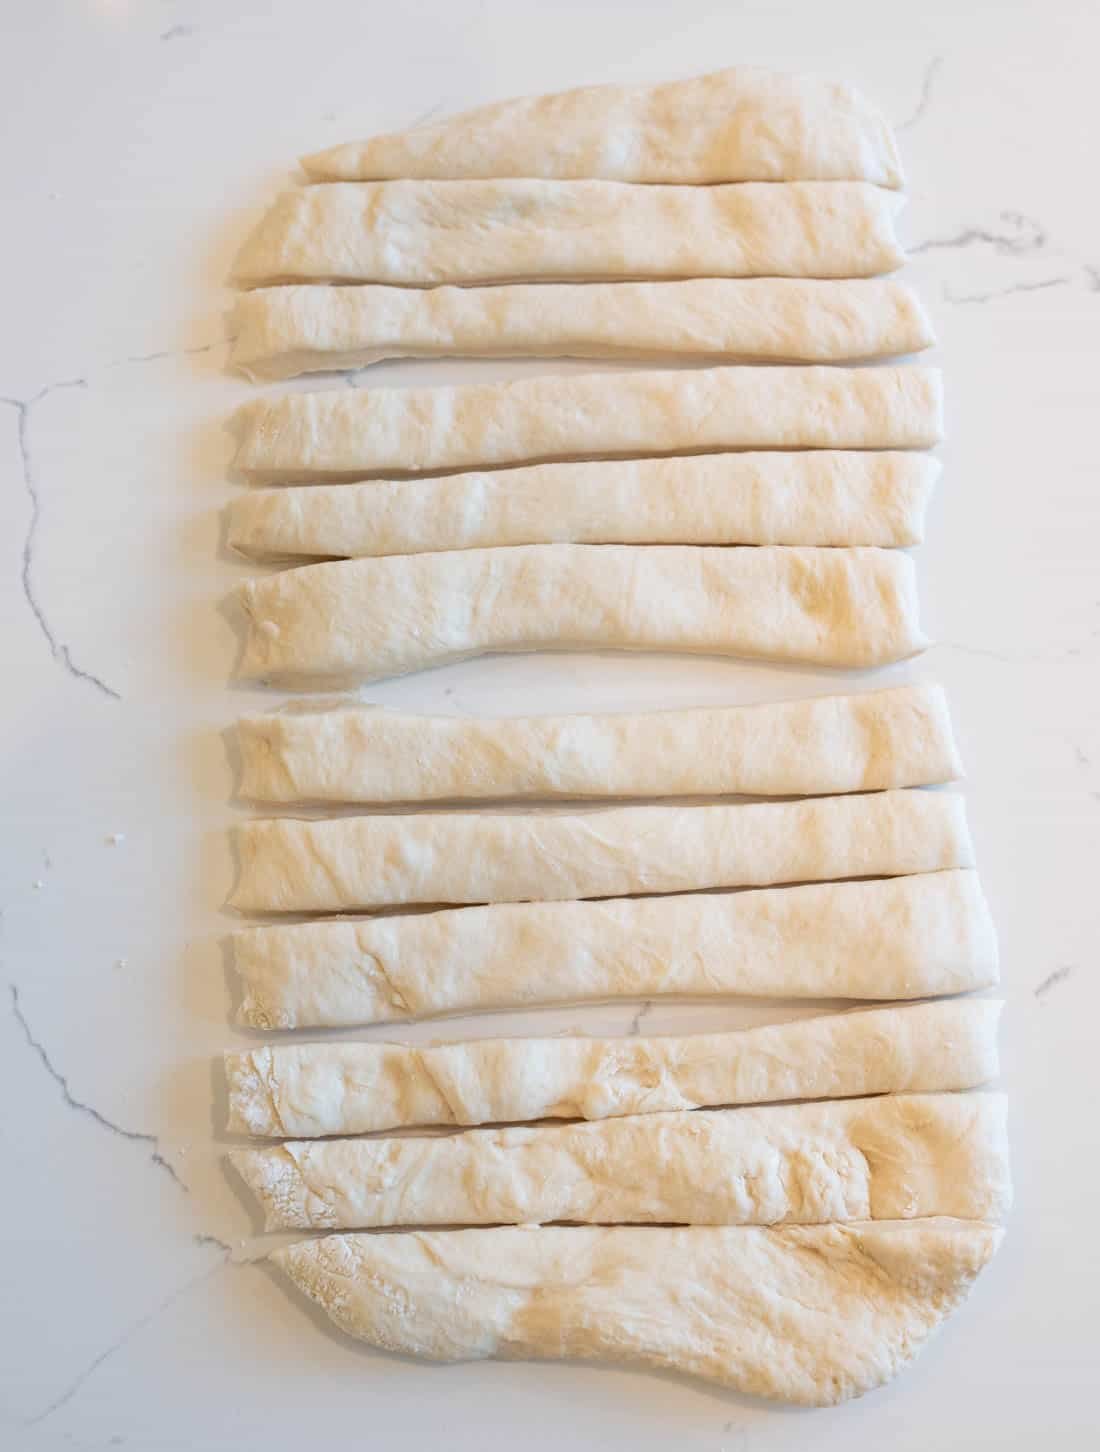
Step 3: Roll the risen dough into a rectangle about 18×10 inches. Cut into 12 equal strips using a sharp knife or pizza cutter.
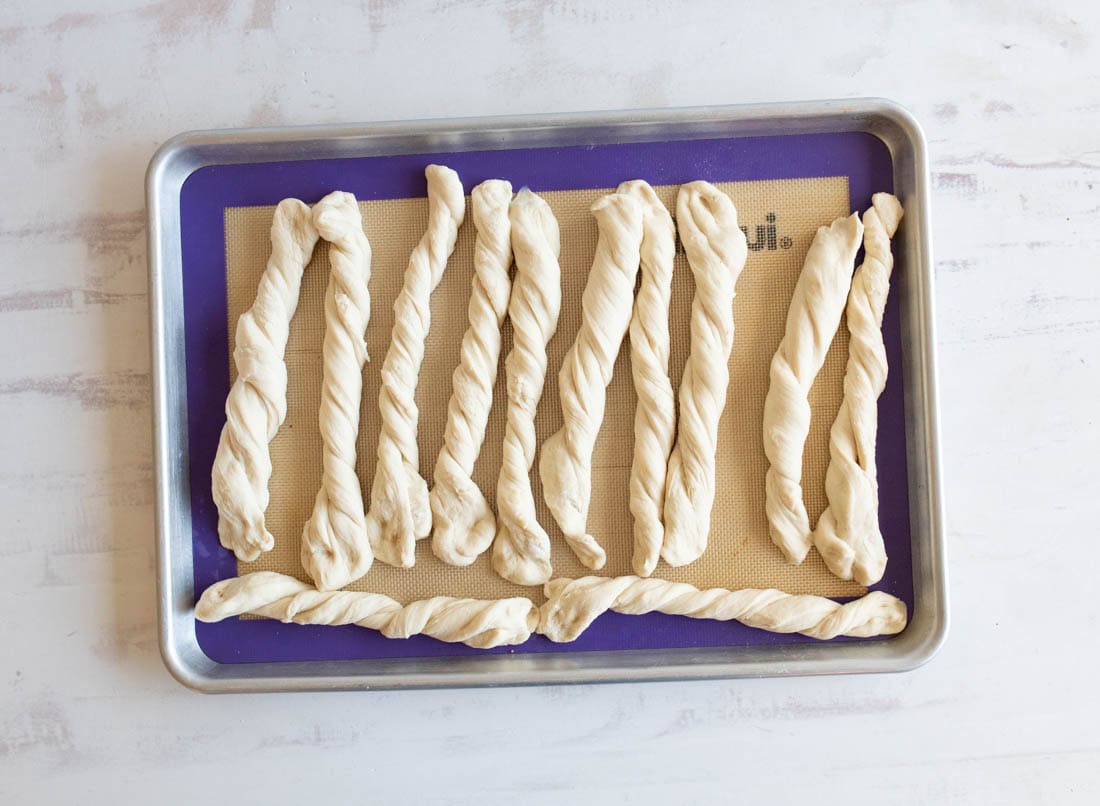
Step 4: Take each strip, fold it in half, and twist the ends in opposite directions. Place twists on a baking sheet lined with a silicone mat or parchment paper, pressing the ends against the pan to help them hold their shape. Let the shaped breadsticks rise for 15 to 30 minutes while the oven preheats to 425°F.
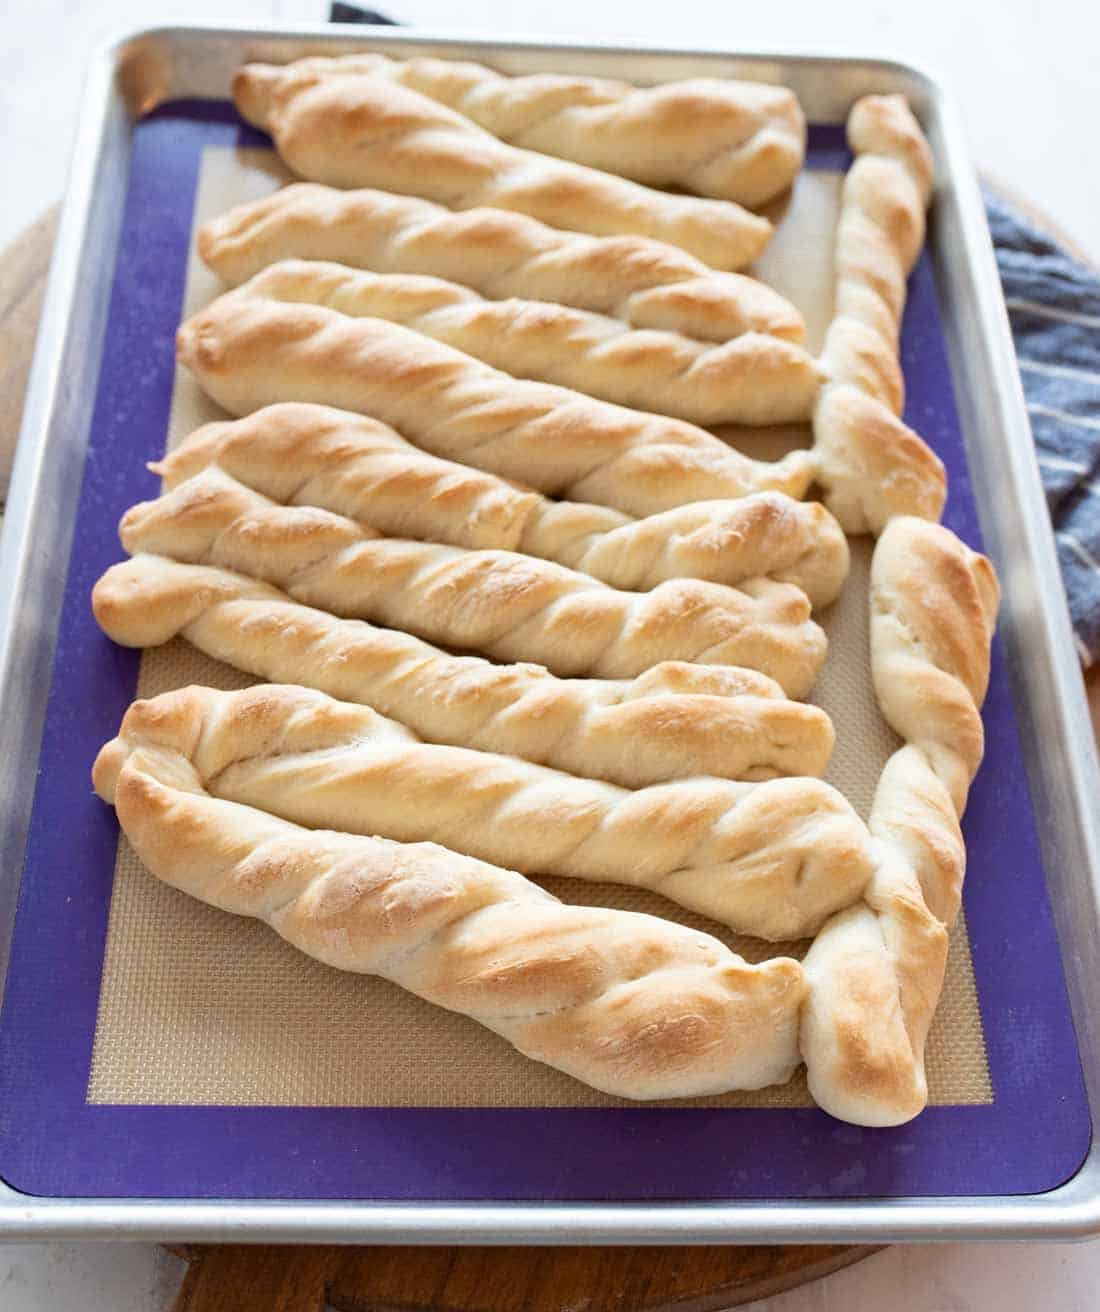
Step 5: Bake breadsticks for 15 to 20 minutes, or until golden brown.
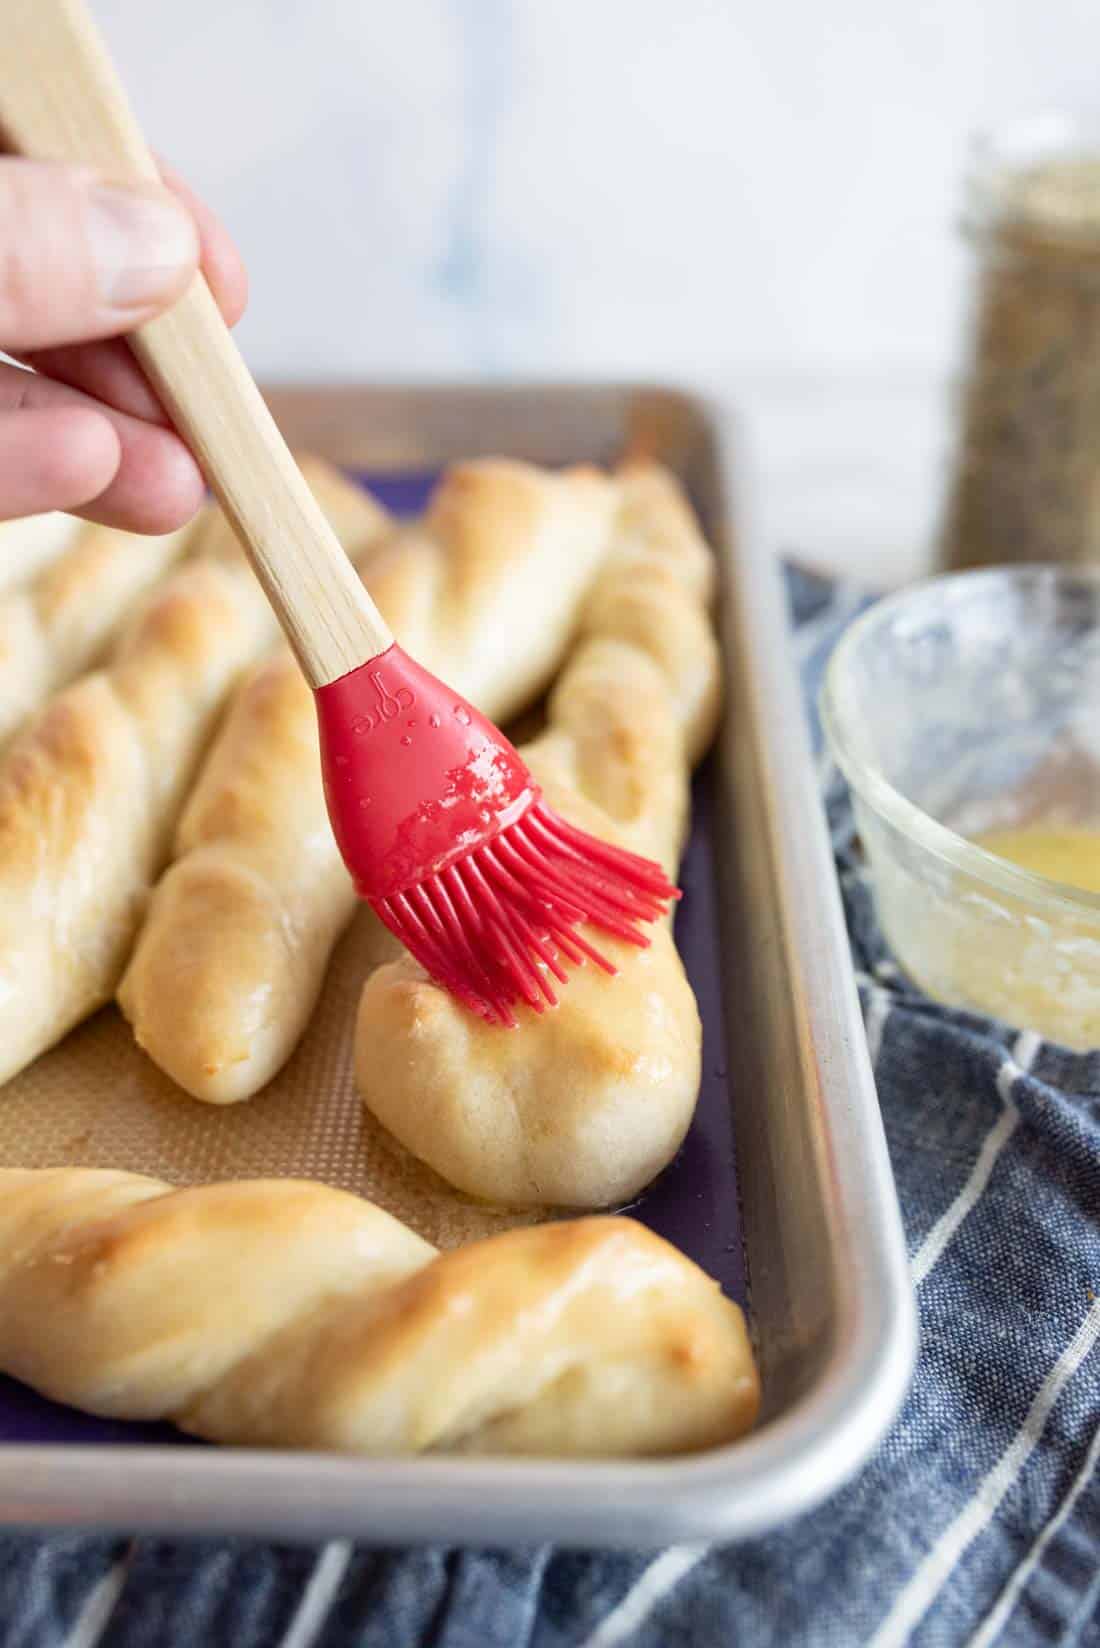
Step 6: Brush hot breadsticks with melted butter.
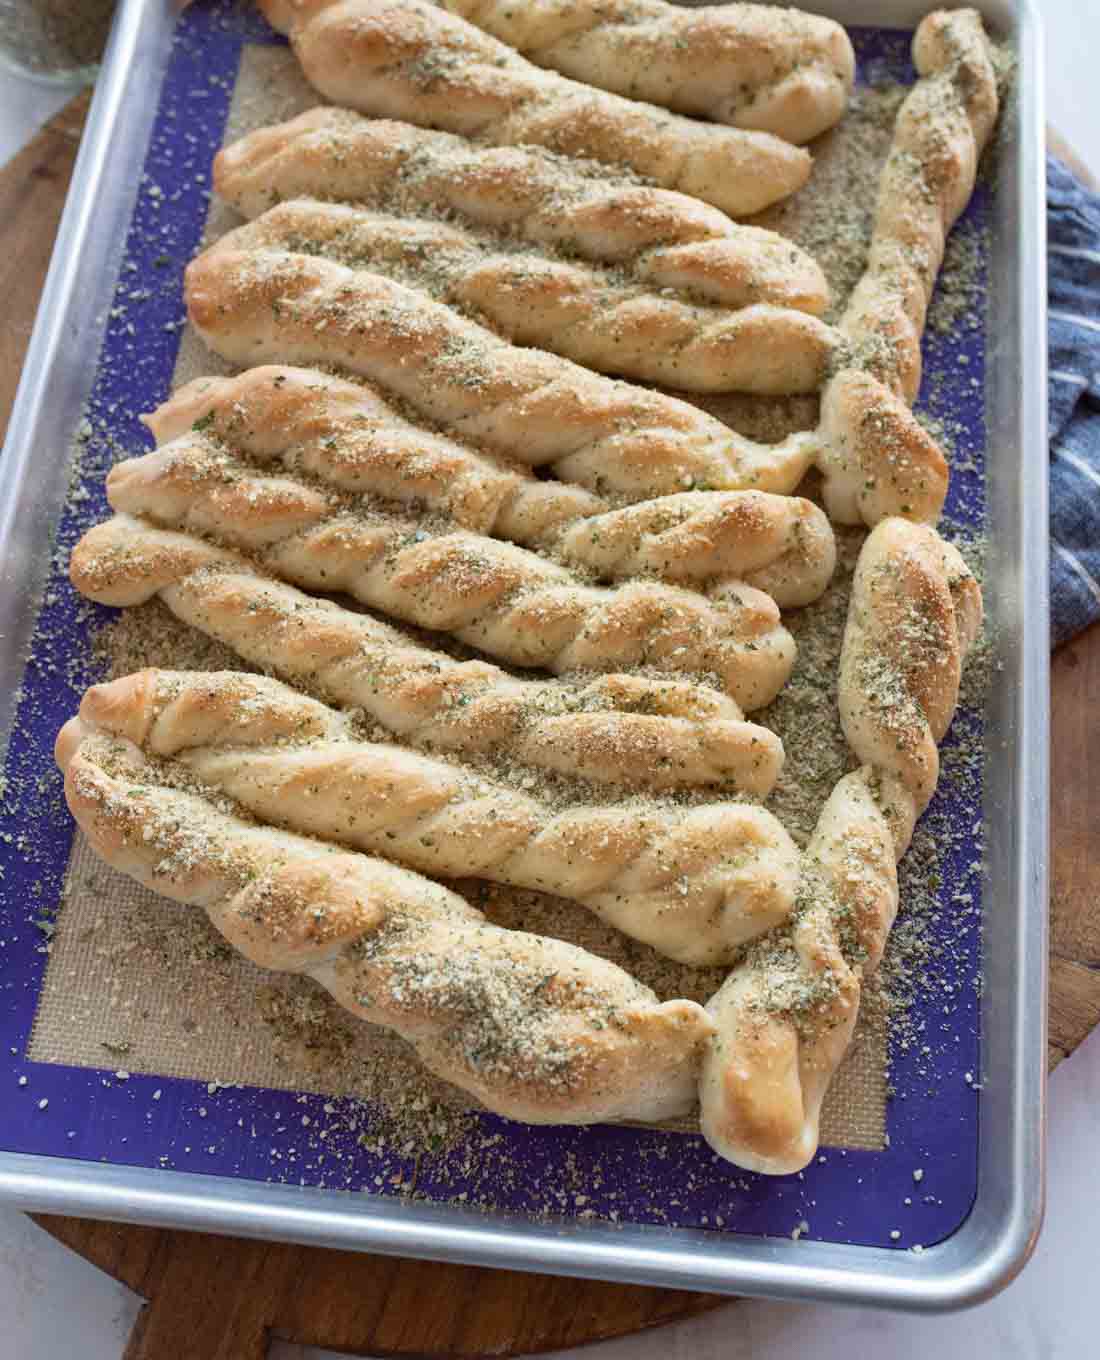
Step 7: Sprinkle with Parmesan cheese or your favorite Garlic Parmesan Seasoning.
Recipe FAQs
Yes! You can prepare the dough and shape the breadsticks, then cover and refrigerate for up to 24 hours before baking. Let them come to room temperature and rise for 15-20 minutes before baking.
Absolutely! Freeze baked and cooled breadsticks in freezer bags for up to 3 months. Thaw at room temperature and reheat in the oven for best results.
After folding each strip in half, hold one end firmly and twist the other end away from you about 3-4 times. Press both ends firmly onto the baking sheet to prevent untwisting during baking.
More Comforting Bread Recipes To Try
Simple Gingerbread Recipes
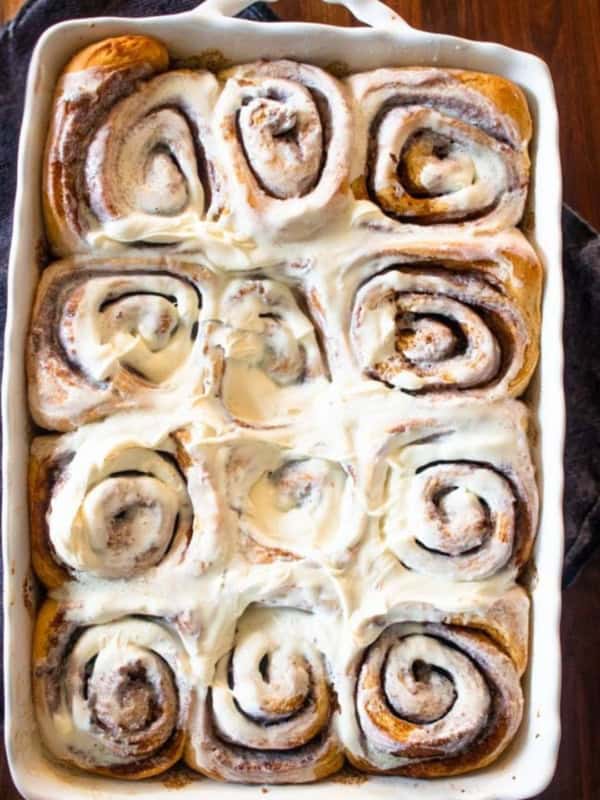
Gingerbread Cinnamon Rolls

Yeast Bread Recipes
Instant Yeast vs Active Dry Yeast — Quick Baker’s Lesson
Snacks
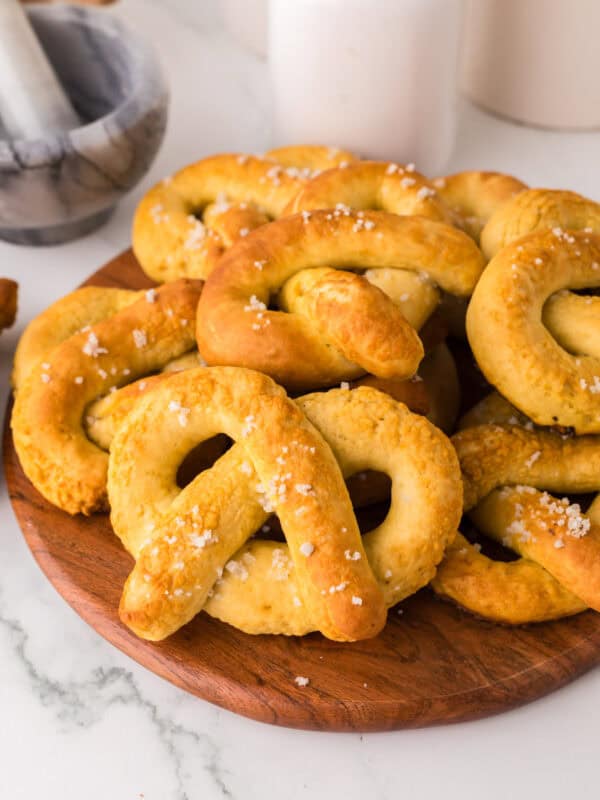
Big Soft Pretzels
Did you make this recipe? Leave a ⭐️ review and share it on Instagram, Facebook, or Pinterest!


My kids love these bread sticks! I can’t even get them from the oven to the table before they are half gone!