This post may contain affiliate links. Please read our disclosure policy.
Giveaway closed.
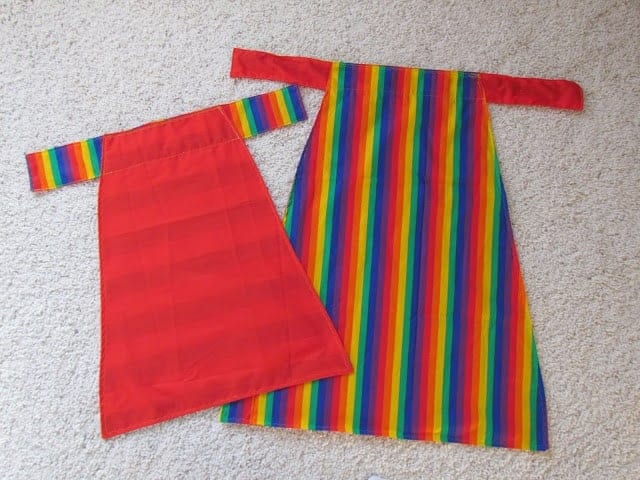
My first guest post! And my first GIVEAWAY! This is so exciting! I’d like you to meet my sister. She’s a fun mother of 3 little men who keep her on her toes (read: high energy boys!). We both got the craftin’ gene from our momma. She’s been kind enough to work her tail off for this post, amid her crazy house. I know you all will love it. AND NOW FOR THE GIVEAWAY PART… My sister has agreed to make and give away a personalized cape or apron. She will make it according to the measurements YOU give her. YOU get to choose if it’s going to be an apron or a cape and if you want ruffles or pockets. It will be in the same red and striped fabric as pictured below.
My first guest post! And my first GIVEAWAY! This is so exciting! I’d like you to meet my sister. She’s a fun mother of 3 little men who keep her on her toes (read: high energy boys!). We both got the craftin’ gene from our momma. She’s been kind enough to work her tail off for this post, amid her crazy house. I know you all will love it. AND NOW FOR THE GIVEAWAY PART… My sister has agreed to make and give away a personalized cape or apron. She will make it according to the measurements YOU give her. YOU get to choose if it’s going to be an apron or a cape and if you want ruffles or pockets. It will be in the same red and striped fabric as pictured below.
Ways to earn an entry in the giveaway:
1) Comment
2) Pin it to Pinterest and leave another comment.
3) Like my blog on Facebook and comment again.
4) Post about this giveaway and how to on your blog and then let me know in another comment!
So there you have it FOUR FABULOUS WAYS to enter! Start entering today…I’ll close the commenting on Saturday, March 3rd at 11:59pm and pick the results with random.org. Then on Monday, March 5th I’ll announce the winner!
Thanks, Sister! Thanks, followers! Good luck!
Yup, that’s me. A little more about me… I majored in Elementary Education, then taught first through sixth grade art as the art specialist for an elementary school for two years. After meeting the man of my dreams, getting married, and starting our family, I became a stay-at-home mom. I don’t craft as often as I would sometimes like, but I wouldn’t trade my life for another! And I squeeze in a good craft now and again!
My oldest especially likes to pretend to be a superhero. What little kid doesn’t like to tie a blanket or towel around their neck and run around pretending to fly at some point in his growing up? I had the idea to make a cape for my three boys for a while. So when the stomach flu went around our house in January and I was stuck inside for two weeks, I finally did something about that. So here is the tutorial I came up with that day. The pattern can also easily be turned into an apron for your little chef!


First, measure. Measure from shoulder to shoulder and from the nape of the neck to knees or the length you would like the cape to be. For the apron, measure from hip to hip and from belly button to knees or again the length you would like the apron to be.

Second, double the width (shoulder to shoulder measurement) i.e. 10 inches becomes 20 inches. Then measure the width (the doubled one) and length (measurement from neck to knee) on to your fabric. To make this reversible you should have two pieces of material right sides together. Once you have your marks, cut out your rectangle.

Third, fold your fabric in half lengthwise. Or as I told my kids when I taught school… fold it hotdog. Once it’s folded in half, measure half of your original width from the fold i.e. width of 10 inches… measure 5 inches from the fold and mark. Then cut from that mark at an angle down to the bottom corner.

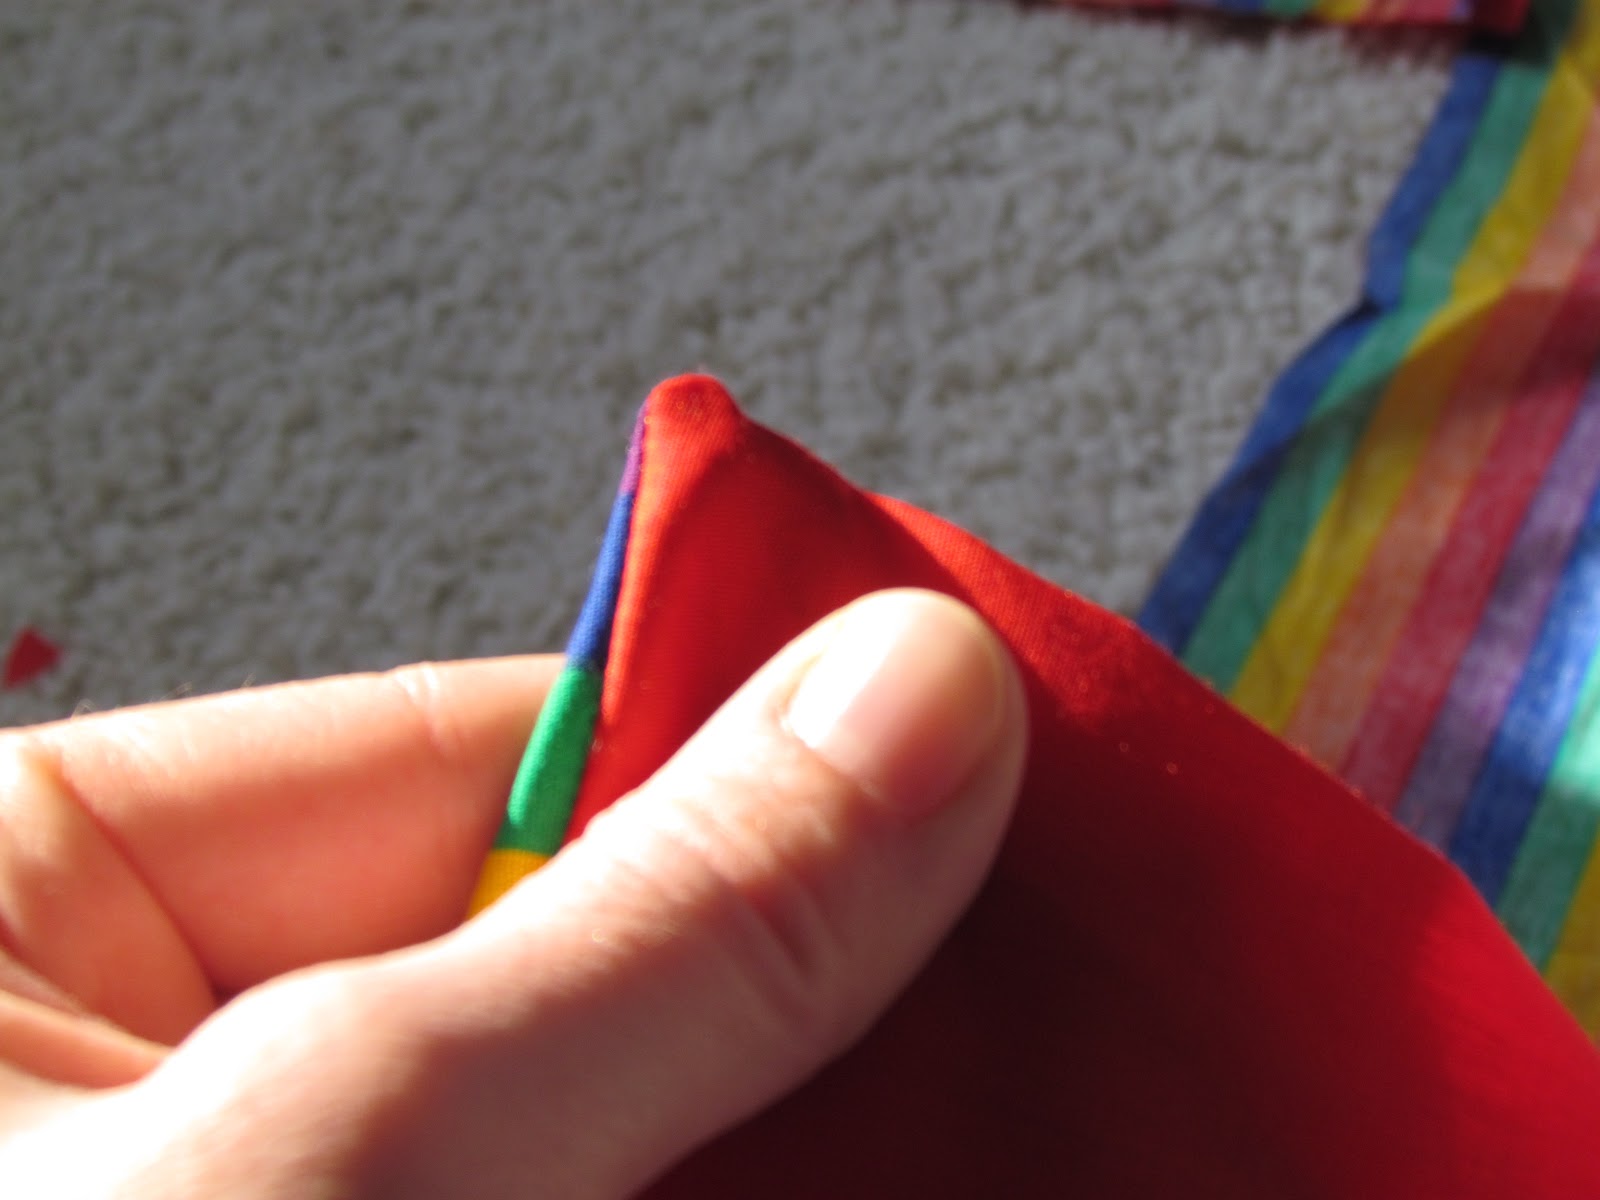
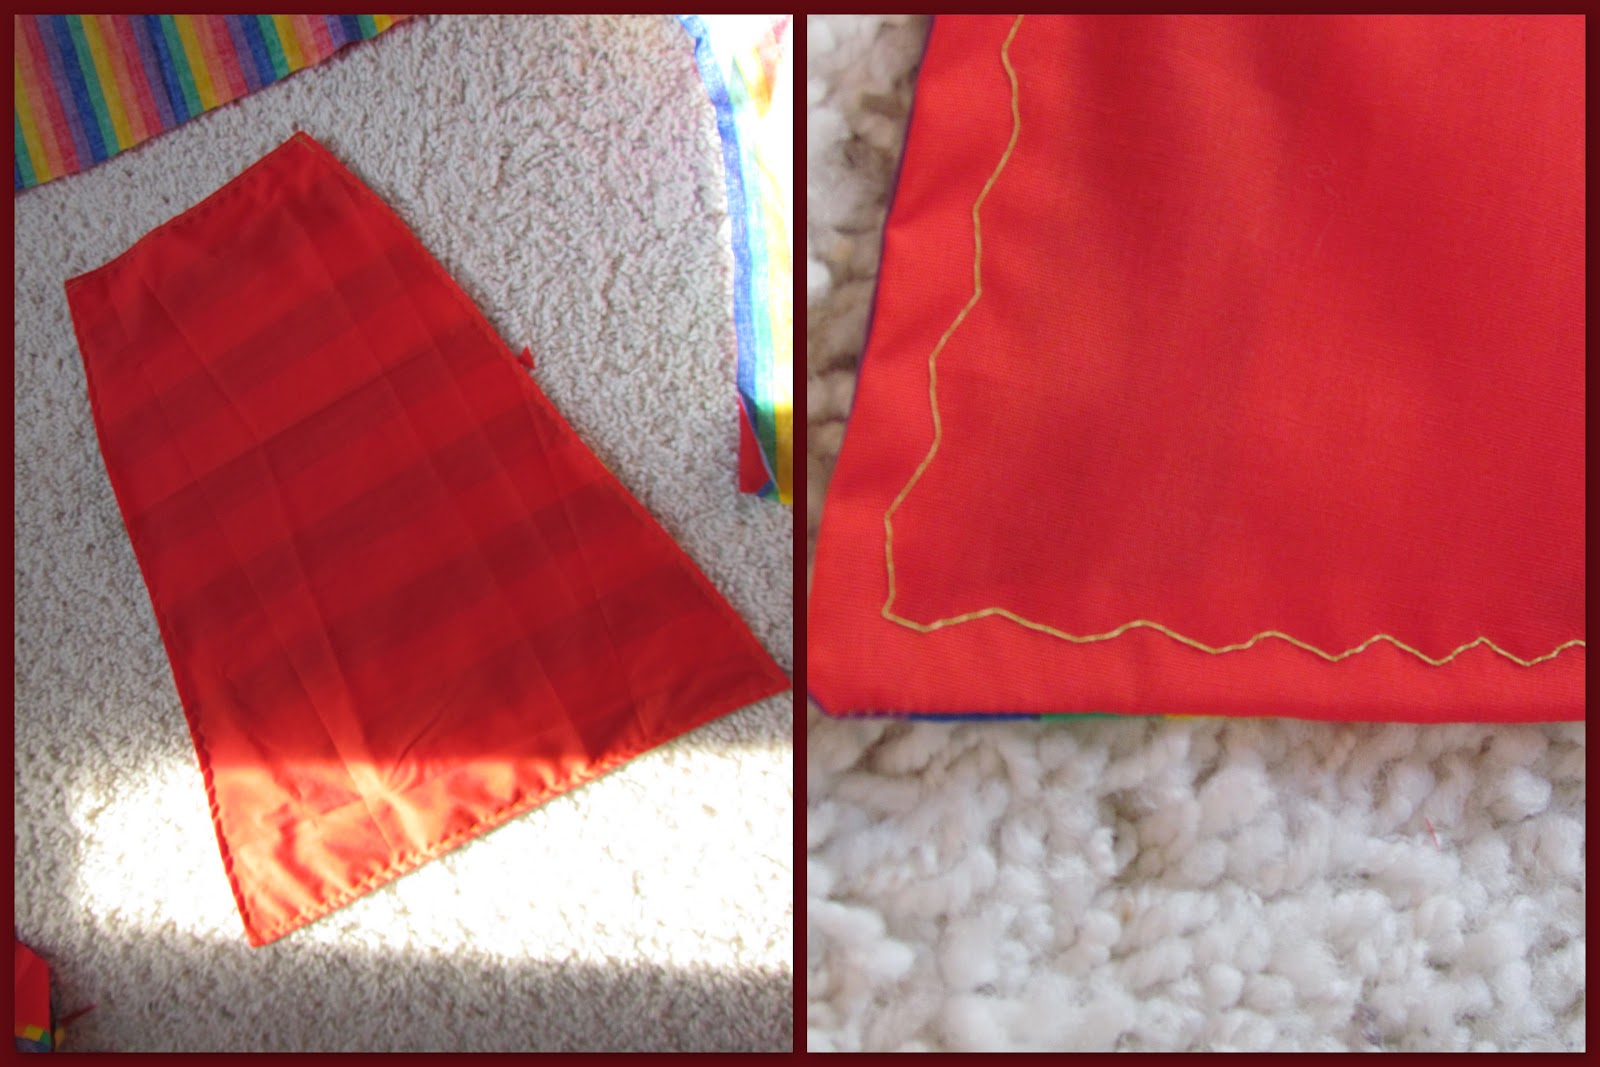
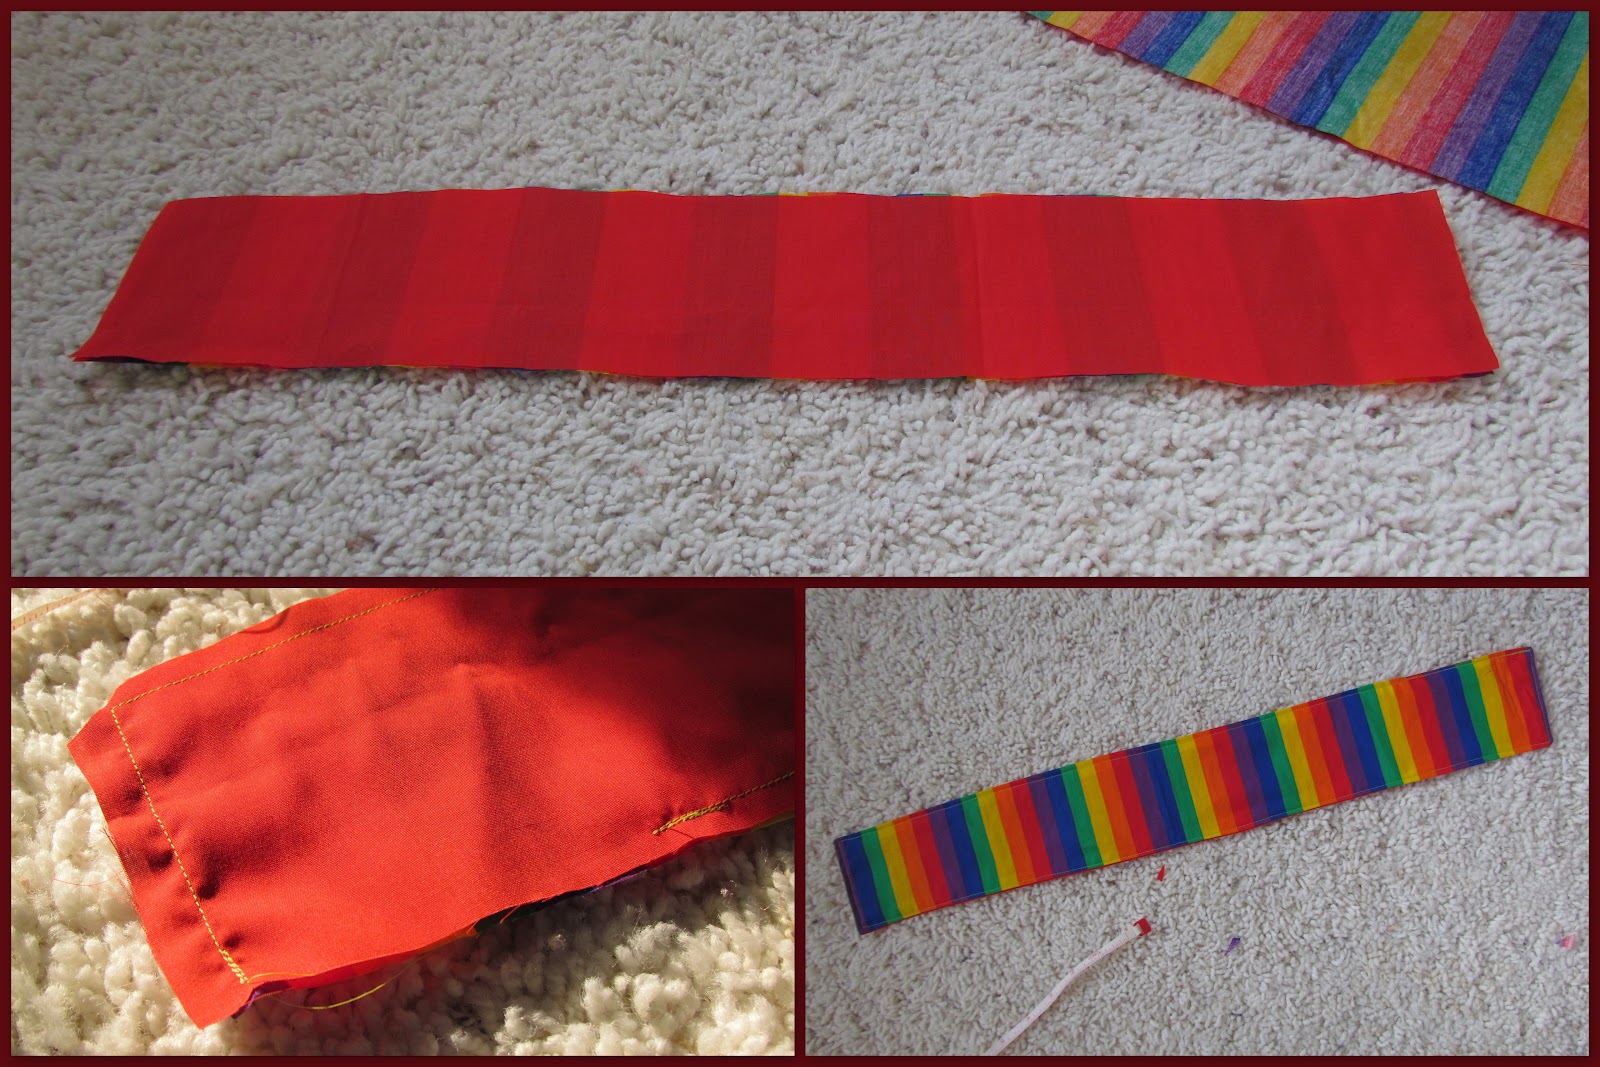
Fourth, unfold and sew two pieces of fabric together leaving enough room to stick your hand in and turn it right side out. Once sewn, cut corners at an angle to make it easier to turn them right side out. Turn right side out. Use a pencil or your scissors to push corners out. Finger press your opening and sew close. I then sewed all the way around my cape with a decorative stitch to help hold it together (my boys are rough and tough on things), and it helps give it a more finished look.

Fifth, measure and cut the band for tying on the cape or apron. For a cape measure 2 ½ ft to 3 ft (30 to 36 inches) depending on the size of the child and how wide you want the band. A thin band is easier to tie and doesn’t need to be quite as long. A thick band needs to be longer to be able to tie it, but with a wide band you end up with more of a collar. You can even fold it in half before tying it to give a Robin-type collar. For an apron, cut the band at least 3 ft (36 inches) and again it may need to be cut longer depending on the child or if you make it for an adult. Sew the two pieces of material together right sides together…leaving a spot to turn the band right side out. Trim corners. Turn right side out. Finger press and sew opening closed. Sew decorative stitching around the edge of the band.
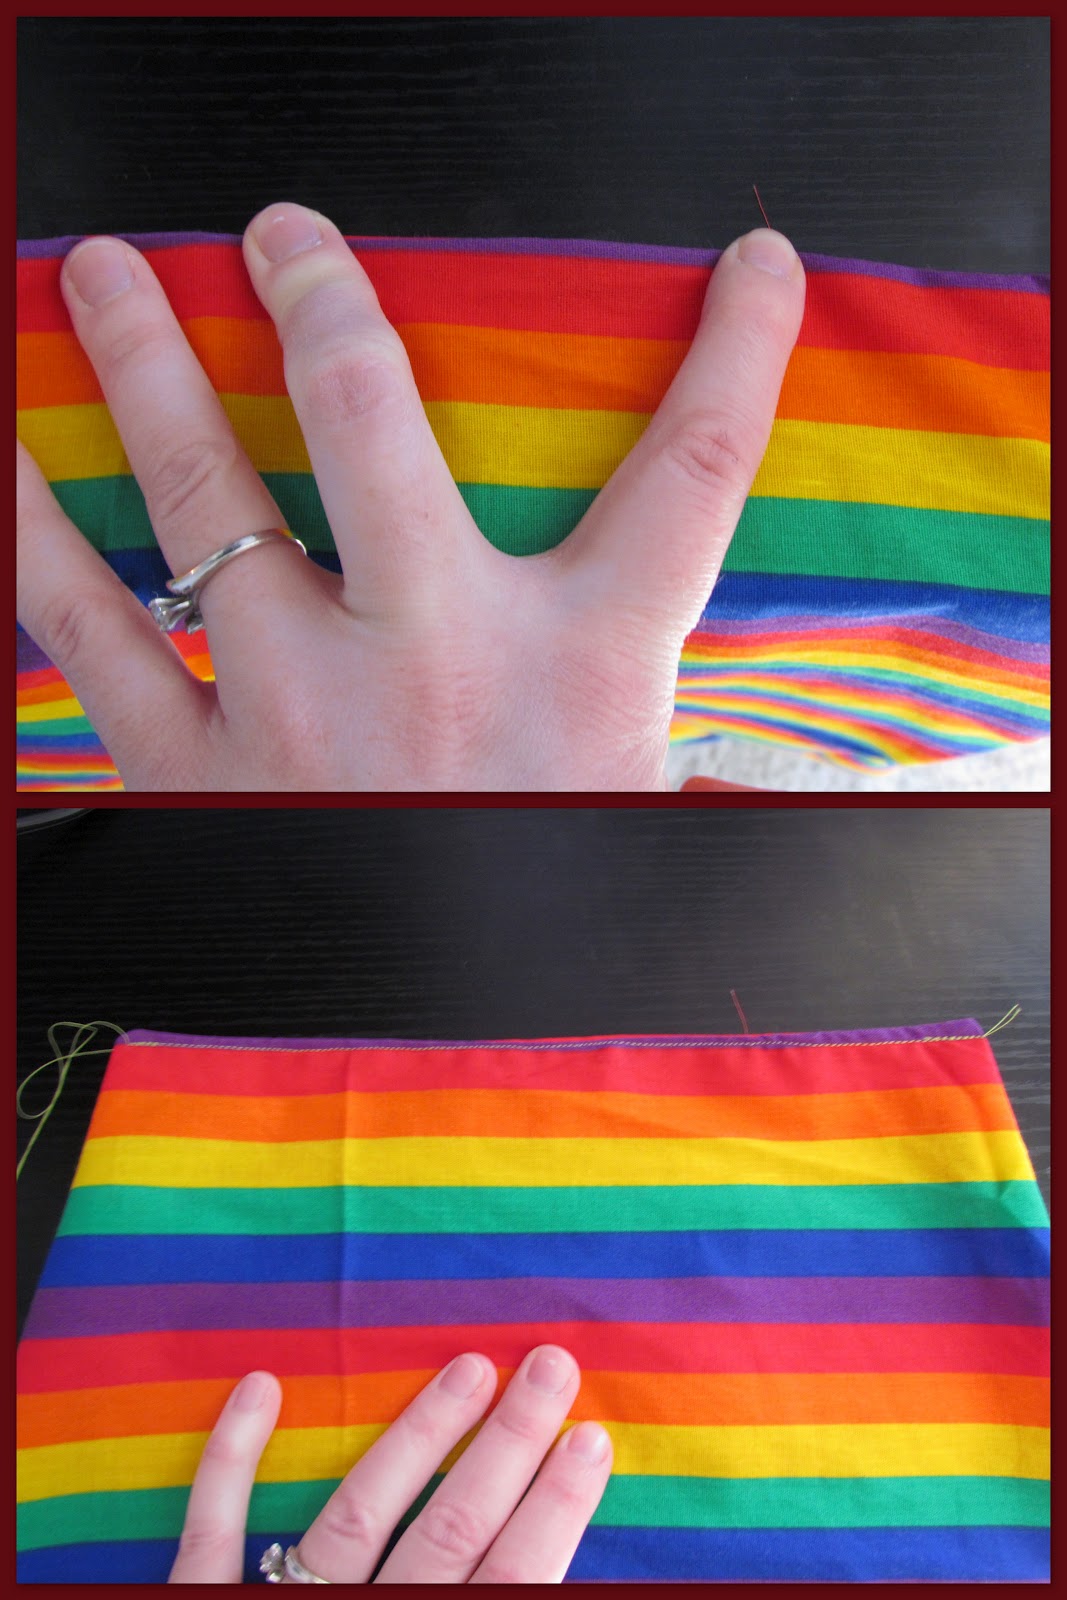
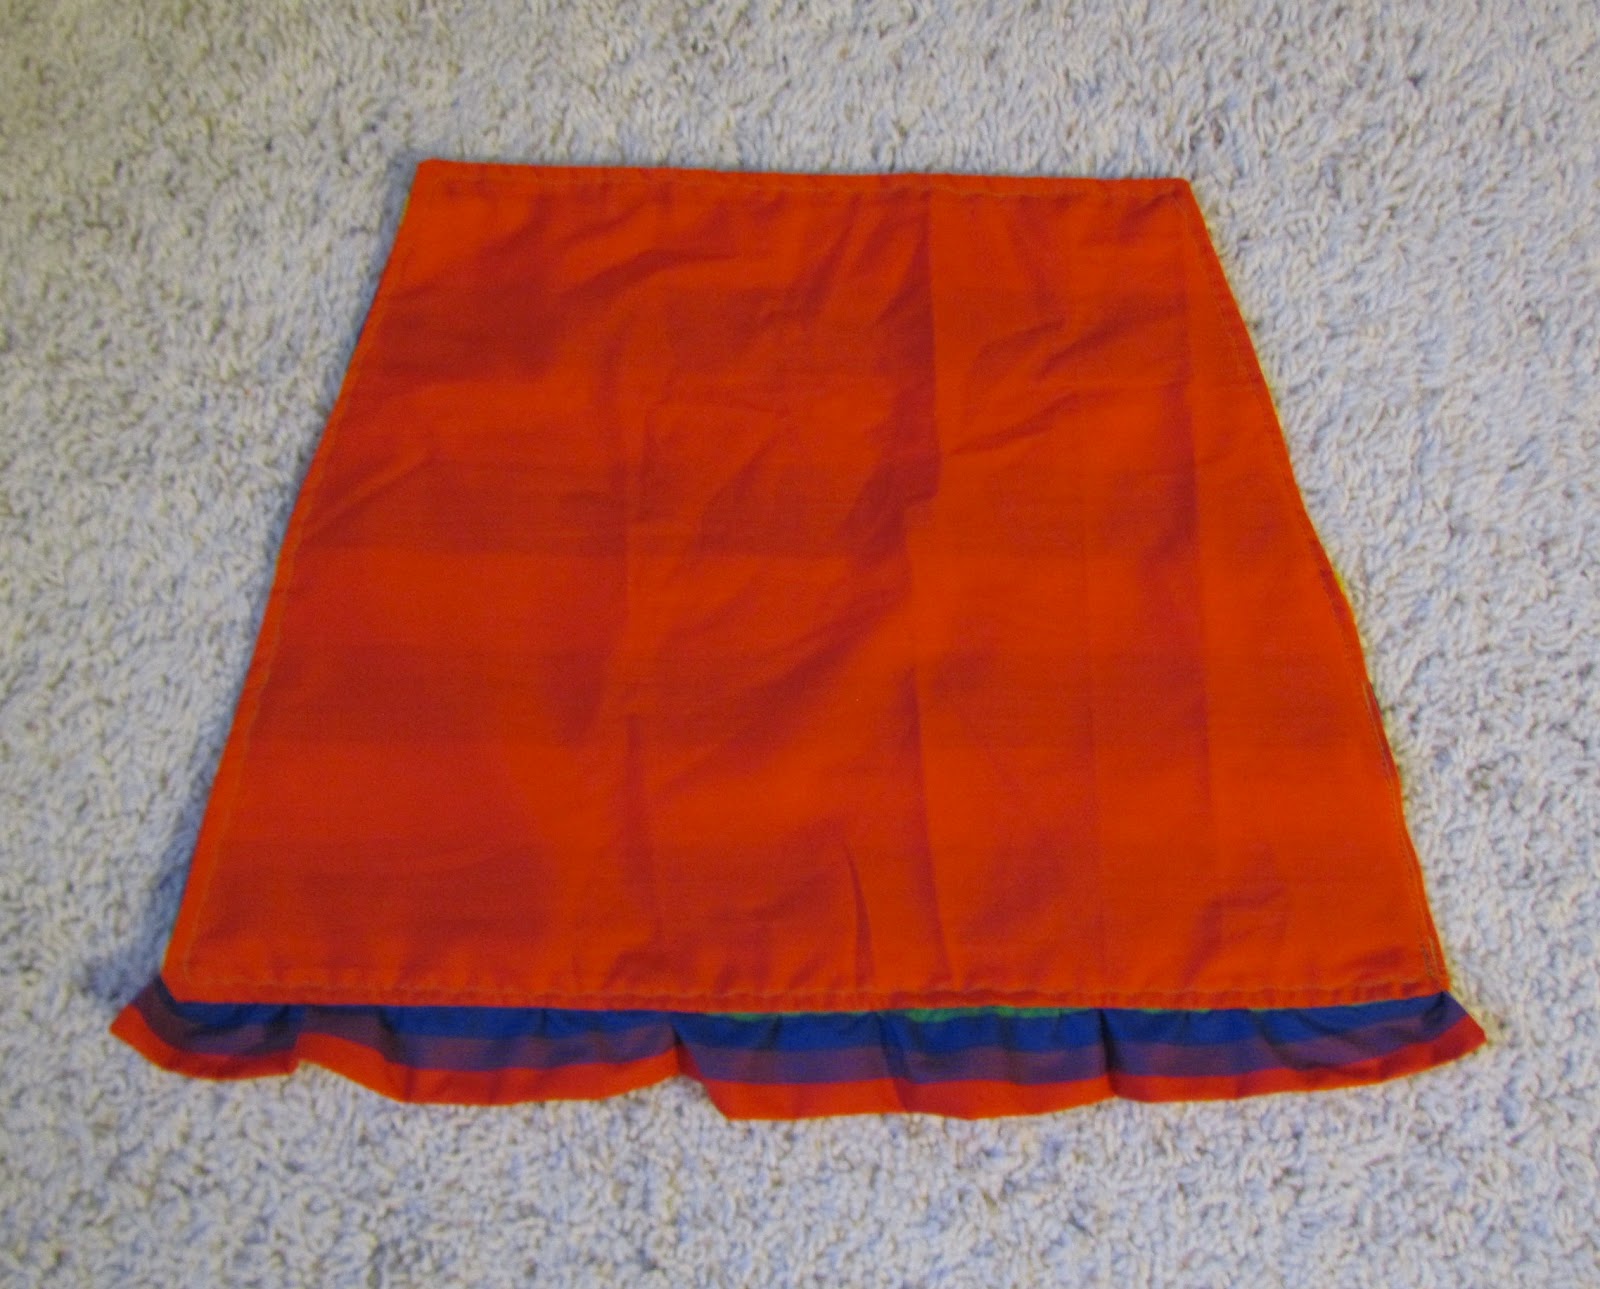
Sixth, add the band to cape or apron. Fold the cape in half lengthwise. Fold the band in half lengthwise. (Remember hotdog!) Lay the cape down and match the fold of the band to the fold of the cape. Unfold the band and pin in the middle. Unfold the cape and pin the band down to the cape. This was the easiest way for me to match up middles, so I hope it makes sense. After the band is pinned in place, sew it down in place. To keep it nice and secure, I sewed it down all around its four sides. I had the opposite color showing on the band versus the side of the cape I sewed it to. BUT you can sew the band to either side with either side of the band showing… that’s the beauty of having this be reversible!

Seventh, tie on and let the imagination begin!


Some variations:
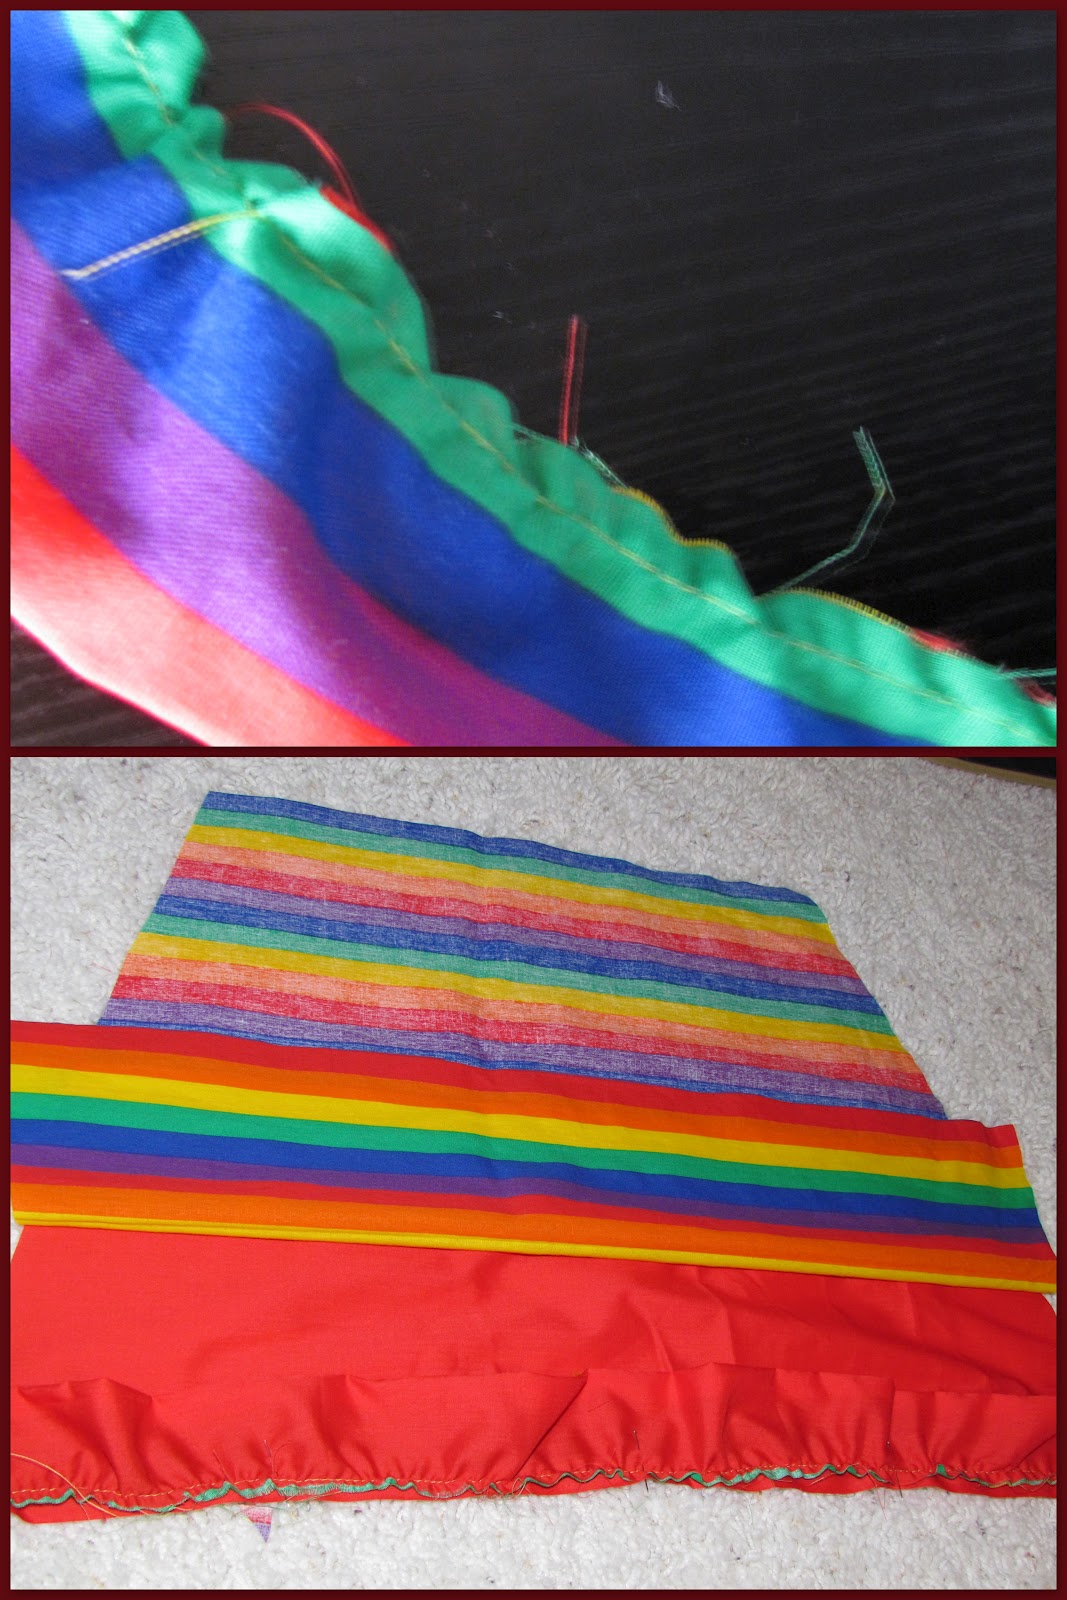
To add a little girly-ness to the cape or the apron, add ruffles. This step is to be added AFTER step 3 and BEFORE step 4!
To add ruffles, again with the two fabrics right sides together, cut out a long strip. Make sure it is longer than the bottom of your cape or apron. The longer it is the more ruffles you’ll have. I cut my strip out about 2 inches wide, but that can also be up to you. Sew three sides together… leaving one of the long sides completely open. Turn right side out. Sew the fourth side with the biggest, loosest stitches you can. Leave the threads long on both ends so you can use them to bunch up the fabric. Bunch up the fabric until it is the same length as the bottom of the apron or cape. Pin the ruffles in place on the bottom of the RIGHT side of the material…they will end up inside. Make sure to pin it well so the right parts get sewn and the wrong ones don’t. Then continue with step 4 and the rest of the steps.
To make pockets for the apron sew only three sides of the band in place (the two sides and the bottom). I also sewed a line from the top of the band down to the bottom in the middle of the waist to create two pockets and to help it from gapping. I didn’t do it, but you could also sew on big pockets to the apron. Just sew them on between steps 3 and 4.

Happy sewing!


Love this! So cute!
https://personalisedaprons.org
Oh boo. I was gone all week & missed this. 🙁 Can’t wait to hear who wins. I vote Ashley.
What child wouldn’t LOVE this? I hope I win so that I can get one, because even though it is simple, it may not be simple enough for me! I “Liked” your blog on facebook too.
Oh, how adorable! A cape.. with ruffles? Such sweetness. 🙂