Homemade Subway Bread Recipe
on Apr 18, 2022, Updated Apr 02, 2024
This post may contain affiliate links. Please read our disclosure policy.


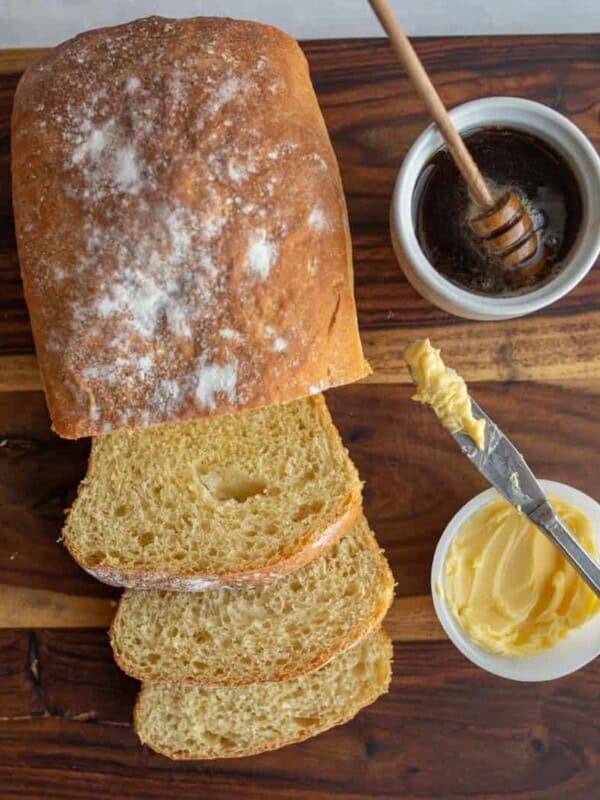
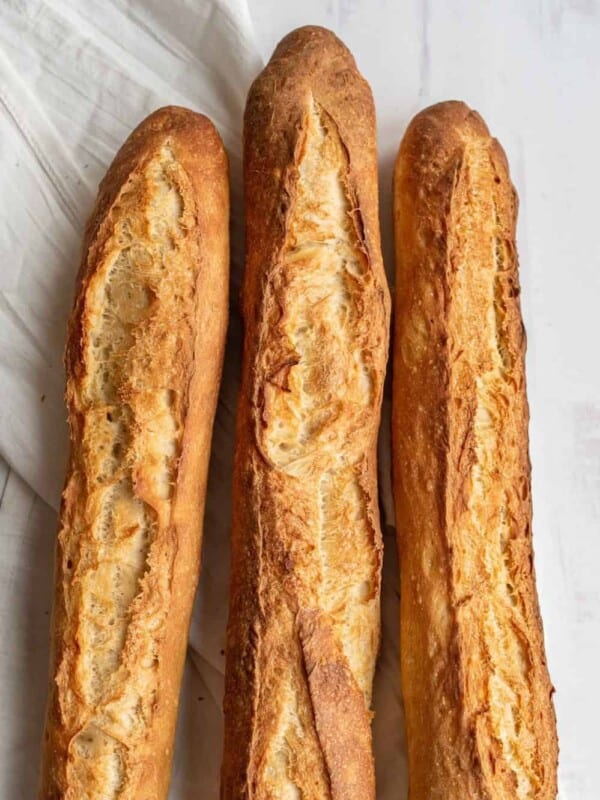
Perfect Homemade Subway Bread recipe, just like the restaurant. This recipes makes a perfect copycat loaf of Subway bread for sandwiches at home.
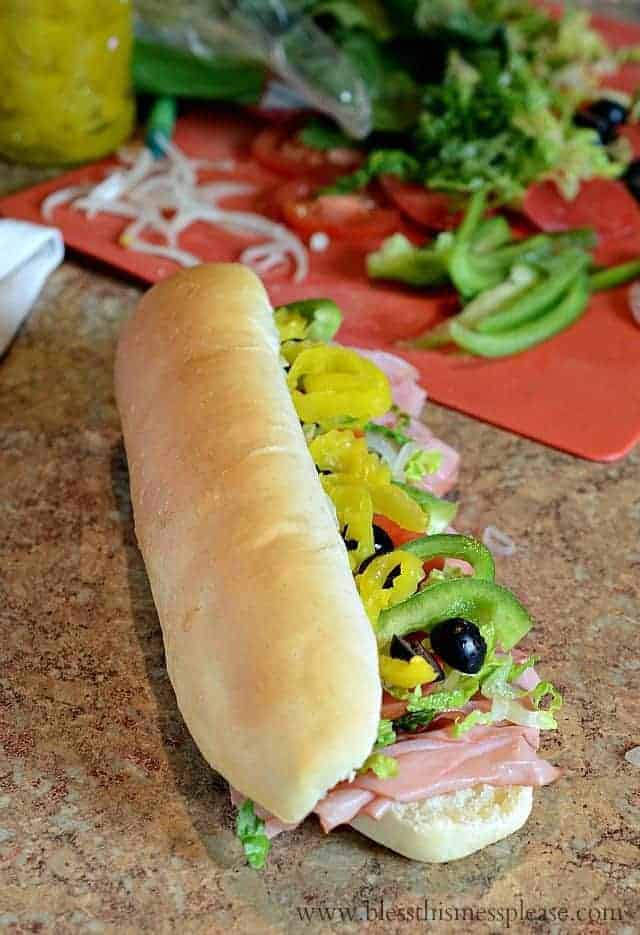
I love making homemade bread. It’s easier than you think, makes the house smell amazing, and provides that little extra something for your meal. Plus I can put on as many banana peppers as my heart desires, so I’ll also be making up a batch of easy refrigerated pickled banana peppers, too.
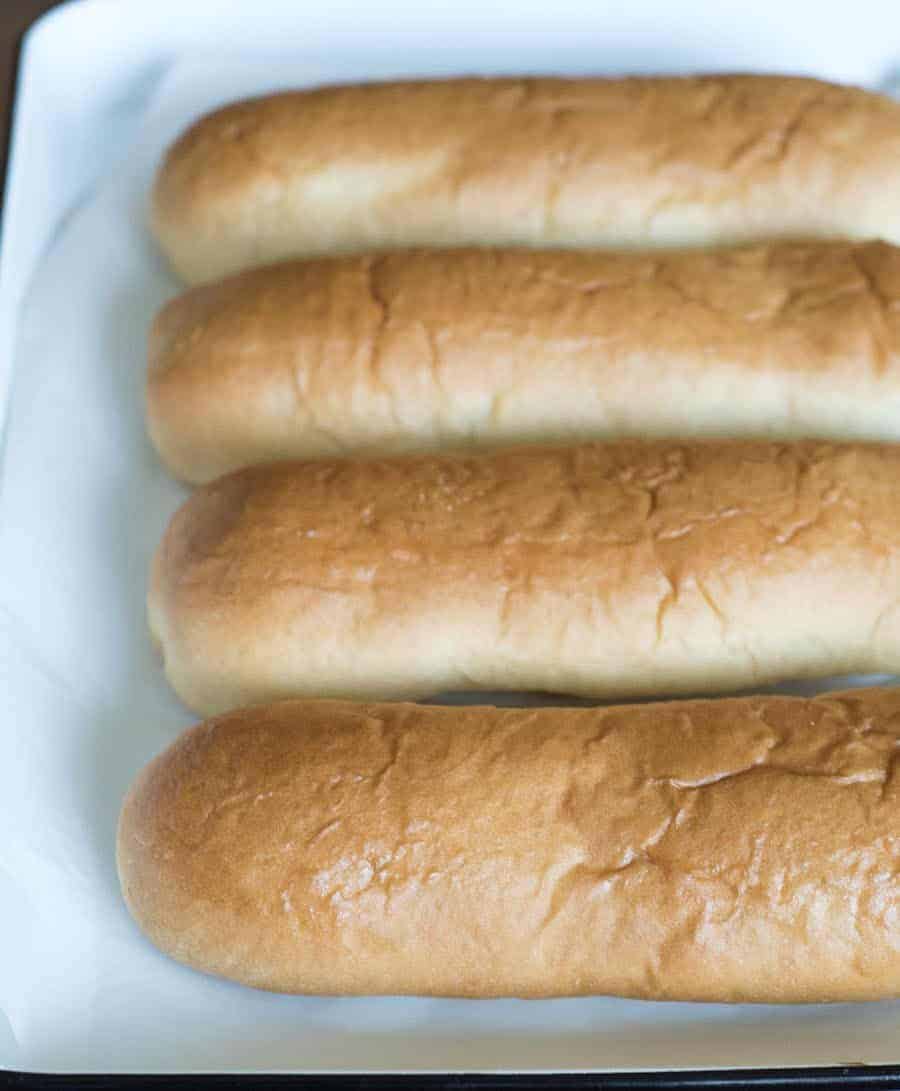
The homemade Subway bread was just perfect. It had a very soft crust (thanks to a little butter and letting it steam in a towel as it cooled) and a light middle, and it kind of smashed into nothing when you ate it. Just like the real thing.
Your family will be shocked and amazed at your mad skills, and you can wow them with an amazing cheese steak sandwich served on this perfect sandwich bread. Mom for the win!
Table of Contents
Why You’ll Love This Recipe
- Soft crust and light as air in the middle – a perfect replica of Subway bread
- This is a great recipe to keep on hand for any future hoagie needs
- A simple bread recipe with basic ingredients you’ll likely find in your pantry
Recipe Ingredients
- Yeast – If buying yeast in the packets, you’ll need to open two to measure out the amount needed for this recipe
- Sugar – Plain old sugar to make the yeast happy!
- Olive oil
- All-purpose flour
See the recipe card below for full information on ingredients and quantities.
Popular Variation: Italian Herb & Cheese Bread
I have had a few people email me and say that just before baking they brushed the outside of the dough with olive oil or butter and then sprinkled on some Italian seasoning and some Parmesan cheese for a great homemade Subway Italian Herb and Cheese bread.
I can’t wait to try this myself on any number of creative sandwich recipes!
How to Make Homemade Subway Bread
- Mix wet ingredients with all dry ingredients except the flour. Let the mixture stand for 5 minutes.
- Add 1 cup of flour and mix for 3 to 5 minutes. Add an additional cup of flour and mix well, and then add rest of flour a little at a time, until a soft dough is formed. Knead until smooth.
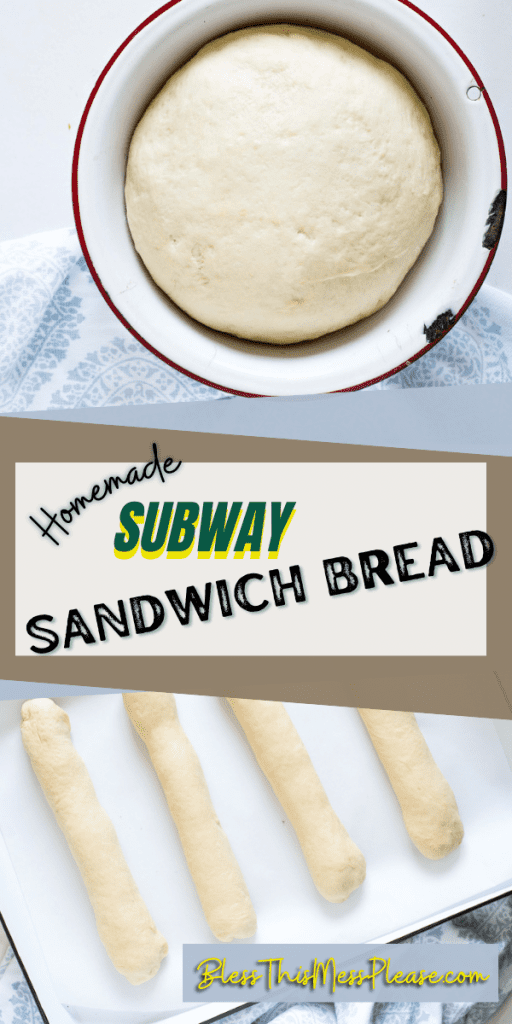
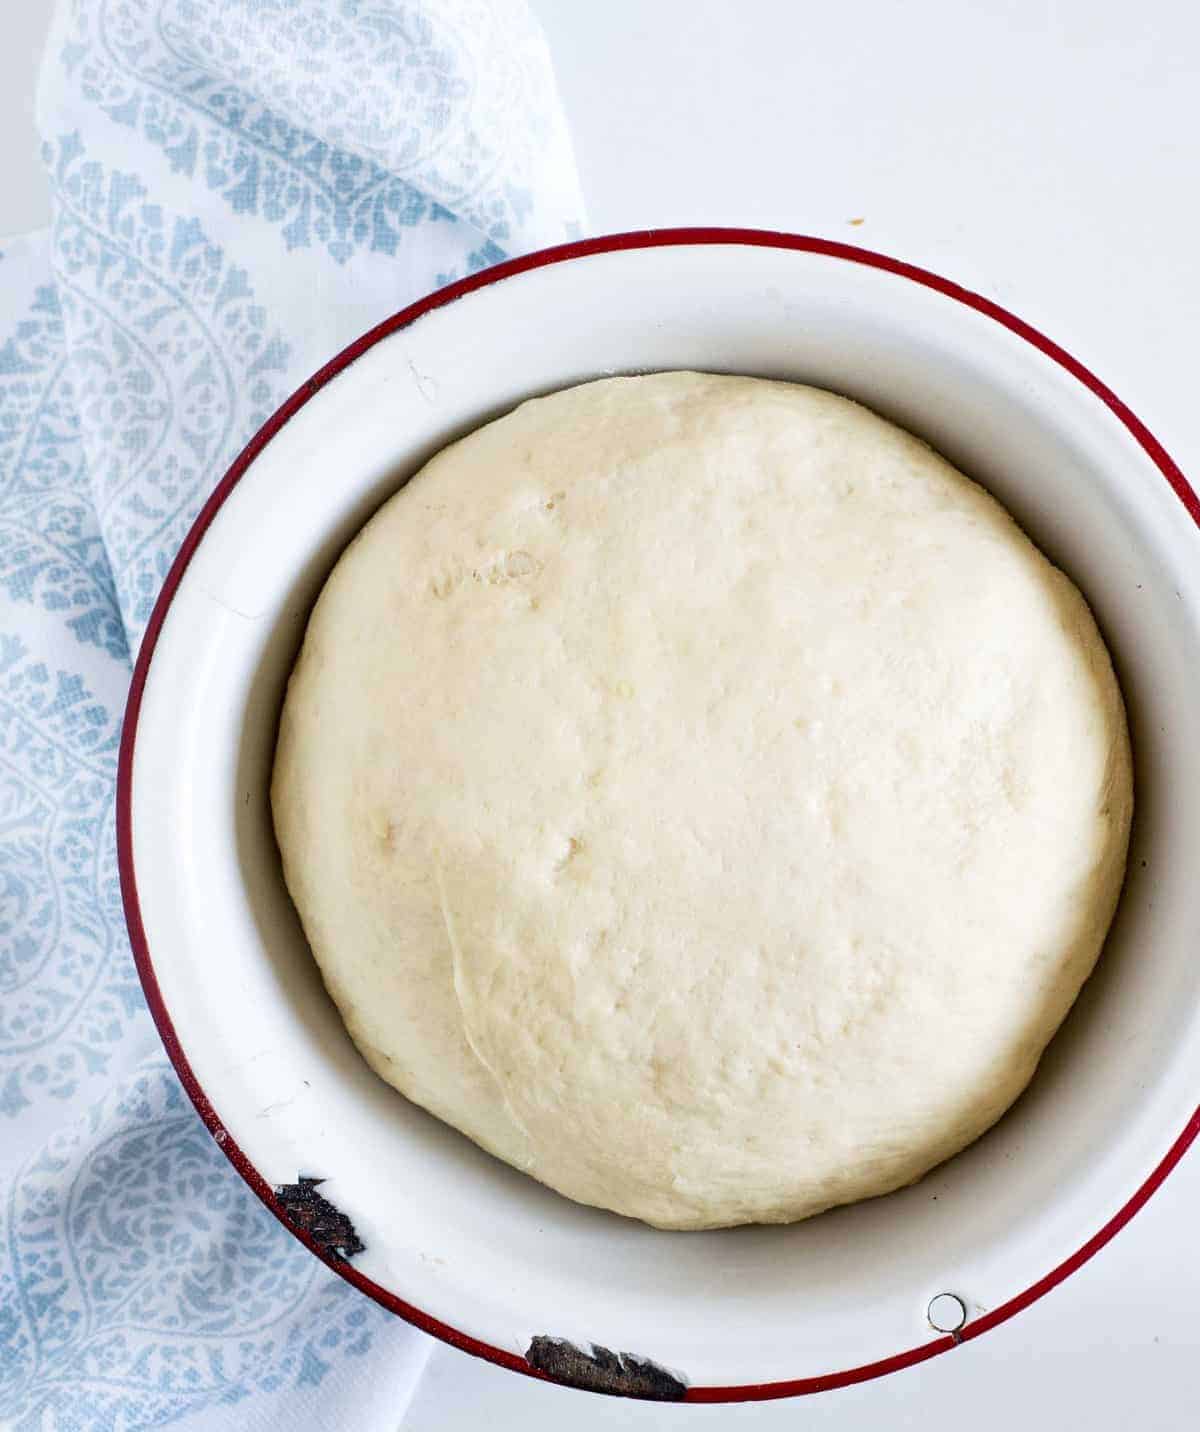
- Place the dough in a bowl and cover. Allow to rise and then shape into 4 rolls, allowing these to rise again.
- Bake at 350 for 25 minutes, brushing with butter and covering when they come out of the oven.
Recipe FAQs
If you haven’t ever made a simple bread recipe before, the goal is to add just enough flour for it to be a soft but not sticky dough. If you add too much flour, you’ll end up with Subway bricks instead of bread.
No stand mixer? This recipe can be made by hand, just be sure to knead it for a full 8 minutes. That’s a long time but developing the gluten helps the bread to be soft.
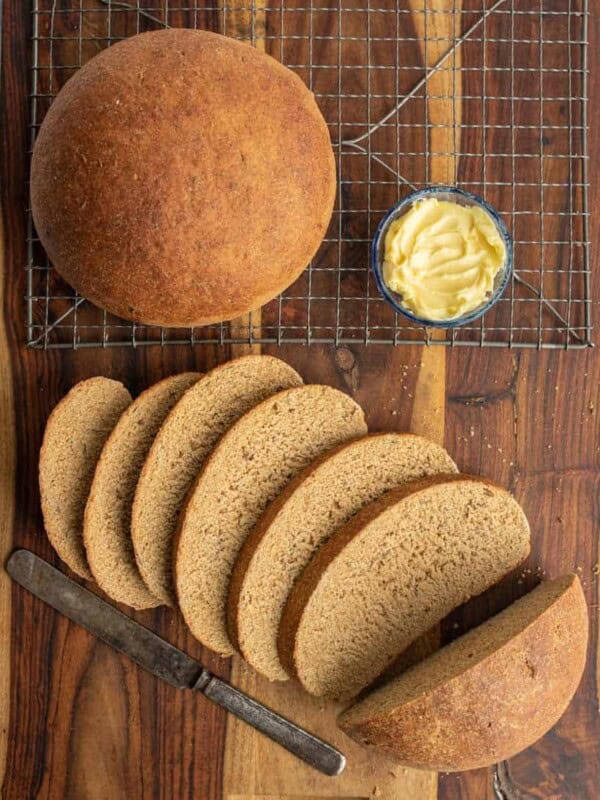
This recipe works well with half whole wheat flour mixed with half all-purpose flour for whole wheat sub buns.
Expert Tips
- This bread froze just about as well as other breads. It was still soft but seemed a bit dryer after freezing. Fresh is best but they do freeze and thaw well.
- Do not skip rubbing with butter and covering the bread with a towel to cool. This is the key to the texture of this awesome bread!
- One of the awesome Bless this Mess readers, Kim, had great success using her bread machine to make this recipe. She let the bread machine run the full dough cycle, which is 1.5 hours long. After the cycle she shaped the loaves and let them rise for an hour before baking.
More Amazing Bread Recipes to Consider
Yeasted Breads
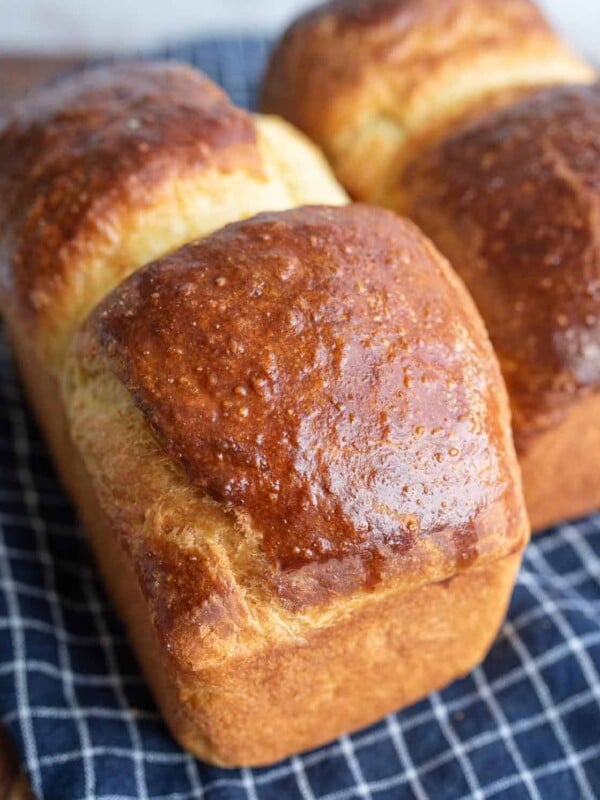
Brioche Bread
Yeasted Breads
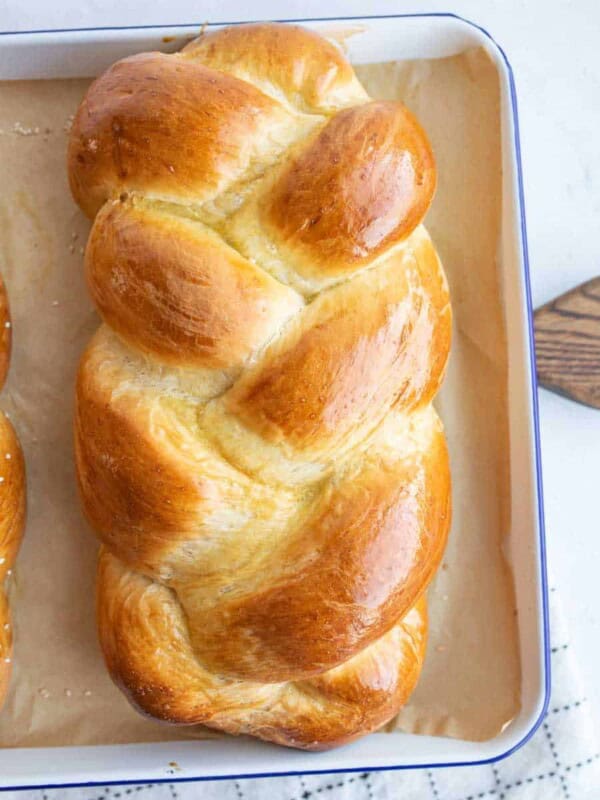
Challah Bread
Yeasted Breads
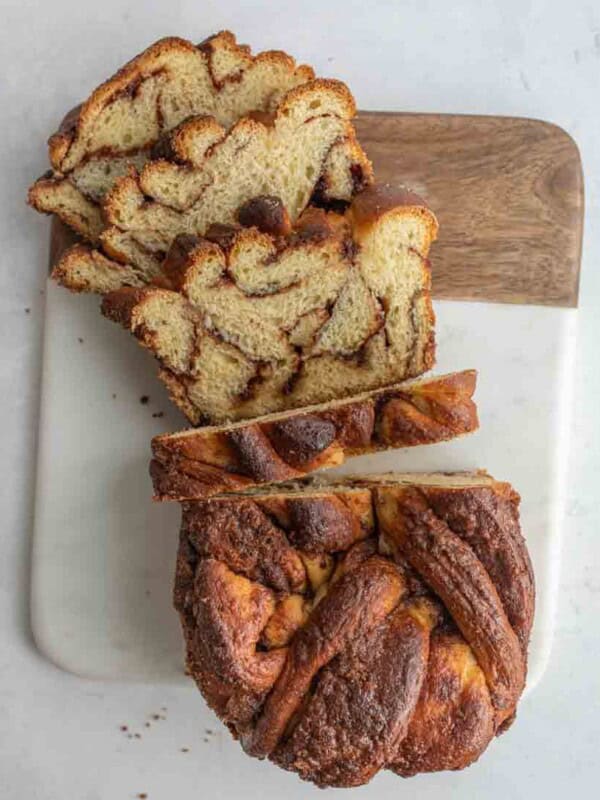
Cinnamon Babka
Yeasted Breads
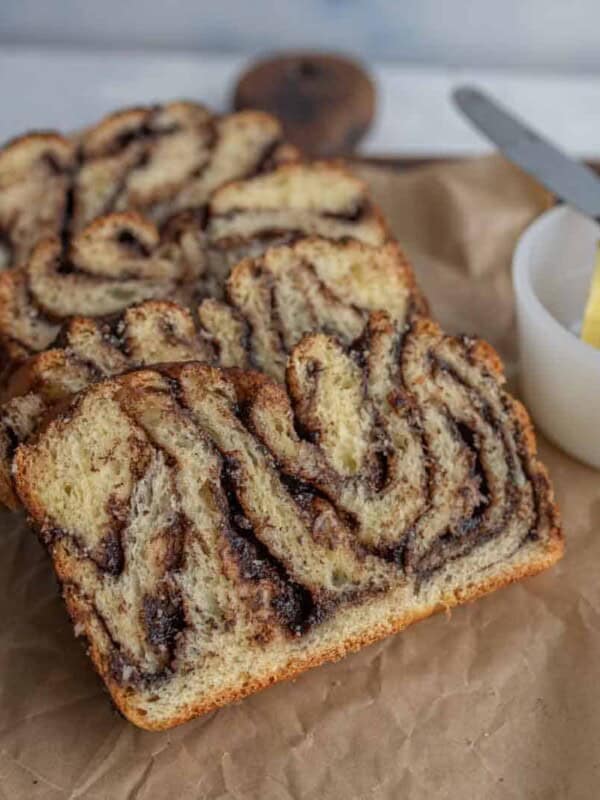
Chocolate Babka

Homemade Subway Bread Recipe
Ingredients
- 1 cup warm water, (110 degrees F)
- 1 tablespoon instant yeast
- 1 tablespoon sugar
- 1 1/2 teaspoon salt
- 4 tablespoons olive oil
- 2 1/2 to 2 3/4 cups all-purpose flour
Instructions
- In the bowl of your stand mixer, add the water, yeast, sugar, salt, and olive oil. Let the mixture stand for 5 minutes.
- Add 1 cup of flour and mix with the dough hook for 3 to 5 minutes. Add an additional cup of flour and mix until well combined. Continue adding the flour, 1/4 cup at a time, until a soft dough is formed. The dough should still stick to the bottom of of the bowl, but pull away from the sides. Let the dough mix for around 8 minutes total.
- When the dough has come together but is still sticking a bit to the bottom of the bowl, turn it out onto a lightly floured surface and knead until smooth. The dough should be very soft. Shape the dough into a ball and return it to the bowl. Cover the bowl with plastic wrap and allow the dough to rise for a half hour.
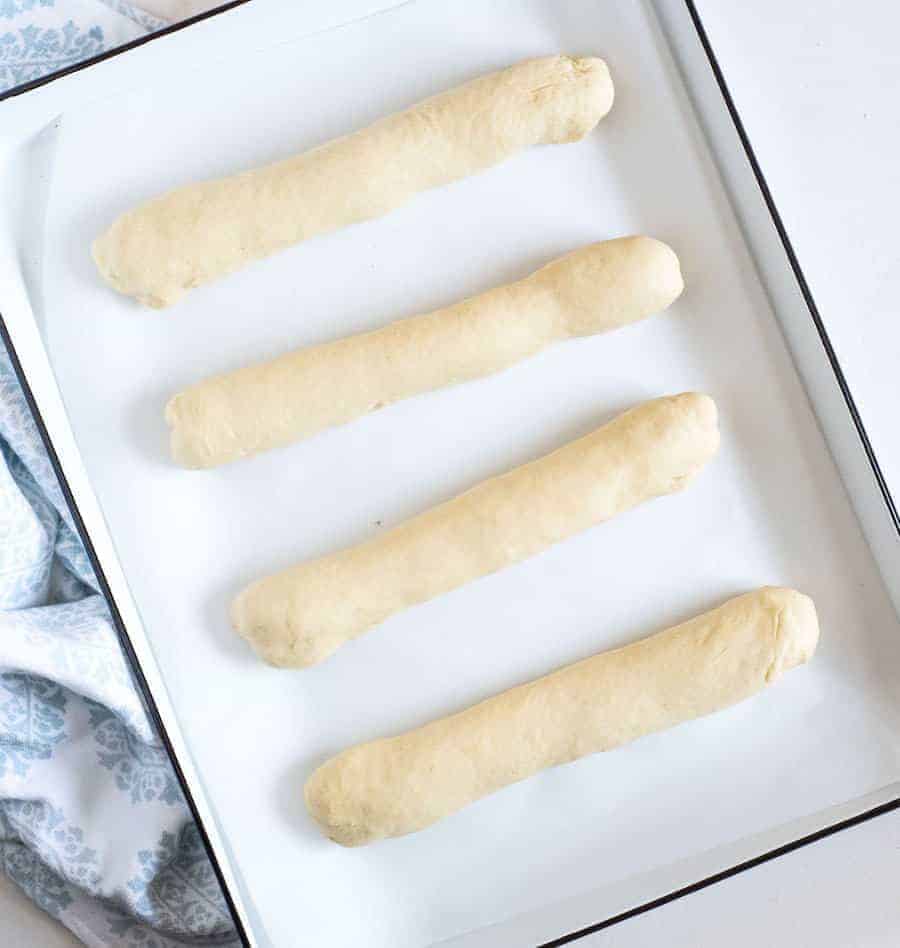
- After the dough has risen, turn it out onto a clean surface and divide it into 4. Roll each piece of dough into a long skinny loaf that is about 9 to 10 inches long.
- Place the rolled loaves onto a baking sheet lined with parchment or a baking mat. Repeat with the rest of the dough. Allow at least 2 inches between each loaf on the pan.
- Cover the loaves with a greased piece of plastic wrap and allow the loaves to rise until doubled, about an hour.
- Towards the end of the rising time, preheat the oven to 350 degrees. When the loaves are ready, bake them in the preheated oven for 25 minutes.
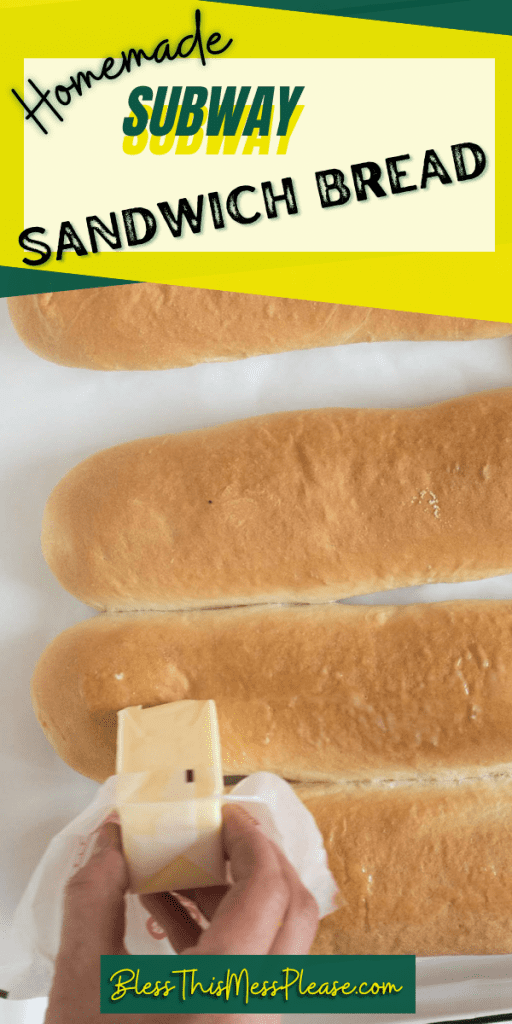
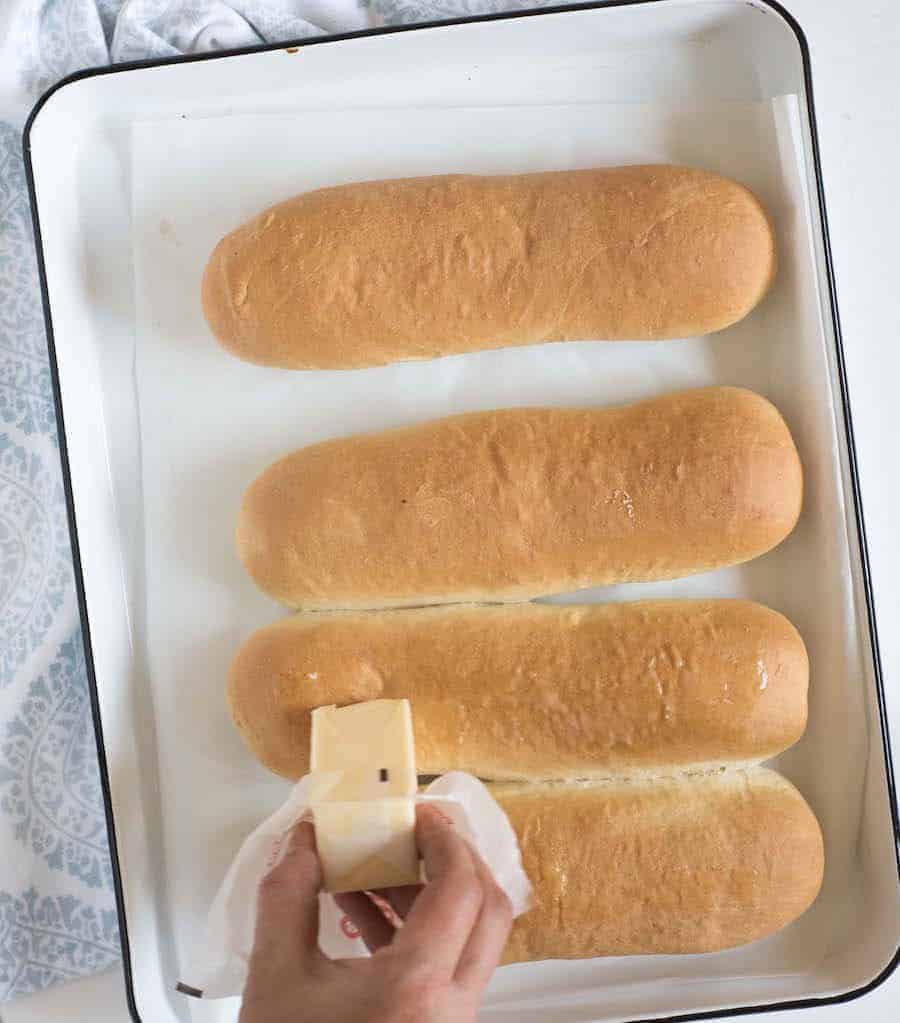
- When the loaves come out of the oven, rub the tops with a stick of butter and cover them with a dish towel to cool.
- Let the loaves cool for at least 30 minutes before cutting down the middle and topping with your favorite sandwich fixings.
Notes
- Rubbing the loaves with butter and covering them with a towel to cool are part of what keeps them very soft, so be sure not to miss those steps
- If you don’t have a stand mixer, just mix the flour in a bit at a time, kneading very well after it’s all incorporated.
- Add seasonings to the dough to change it up, like garlic powder or Italian seasonings.
- Instead of shaping the dough into loaves for Hoagie-style bread, make it into whatever shapes of sandwich rolls your family likes. Note that smaller shapes may need a shorter baking time.


What would be a reason mine didn’t rise? I know I my home runs a little cooler but I typically put my breads and what not into my oven with the oven light on and that usually keeps a nice warm environment for them to rise but this recipe didn’t.
How hot was your water going in? Is your yeast fresh?
Absolutely amazing rolls!. I used active dry yeast instead of instant but still came out great. probably won’t make you 4 foot longs but made 4 rolls that are a perfect size for a nice lunch sandwich. The flavor is really spot on to subway too.
Instant yeast does not go into water. Dry active yeast goes in water. Instant goes in with dry ingredients
This recipe is SO GOOD and so easy. I added Italian herbs and cheese on top before baking and it tastes identical to subways!
Simple yet great bread recipe. My family loves it. Will be making often. Thanks for making the directions clear.
Is there anything I need to change for being up 7000ft elevation you know adding anything or changing cook time or temp??? Thank you
Exact same thing here. Are there any updates? Inspiring bread maker wants to know
love the recipe but wondering why no one ever lists what speed to use on the mixer.
Deborah,
Usually the mixer will have info on that. The heavy duty ones can handle it on any speed most likely since they have more powerful motors. Cheaper mixers may be best if run at lower speeds.
I’m new to bread making but mostly working out the taste part. Bread itself comes out pretty good. I’ll eventually get the flavors right. When I make bread, I use the lowest speed the mixer has when kneading the bread. In the early stages when it is still more liquid, I may use the second speed from the lowest. For my mixer which has six speeds, 2 when mostly mixing and 1 when kneading the bread. Keep in mind, kneading is hard on the motor. The more expensive ones can likely take it at higher speeds but if you have a cheaper mixer like I have, slower is easier on the motor. Keep in mind, it’s not a race to the finish. Taking longer isn’t a bad thing. After all, that’s why some do it by hand. It takes longer but to them, the time is worth it.
Hope that helps.
How is the loaf the next day? I have picky bread eaters and they have to have it soft. Would be nice to make this the day before.
Thanks!