Homemade Girl Scout Cookies: Thin Mints
on Apr 01, 2019, Updated Apr 17, 2024
This post may contain affiliate links. Please read our disclosure policy.
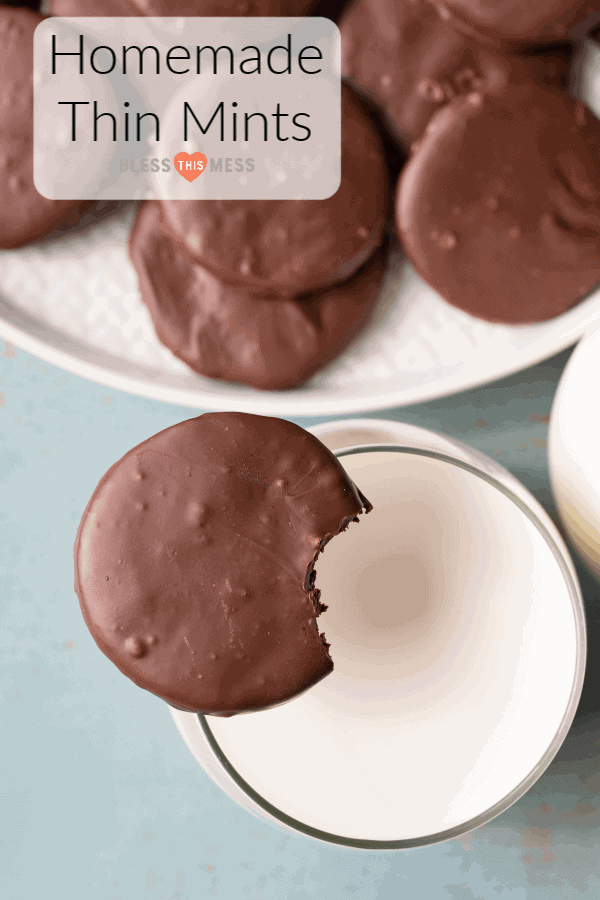
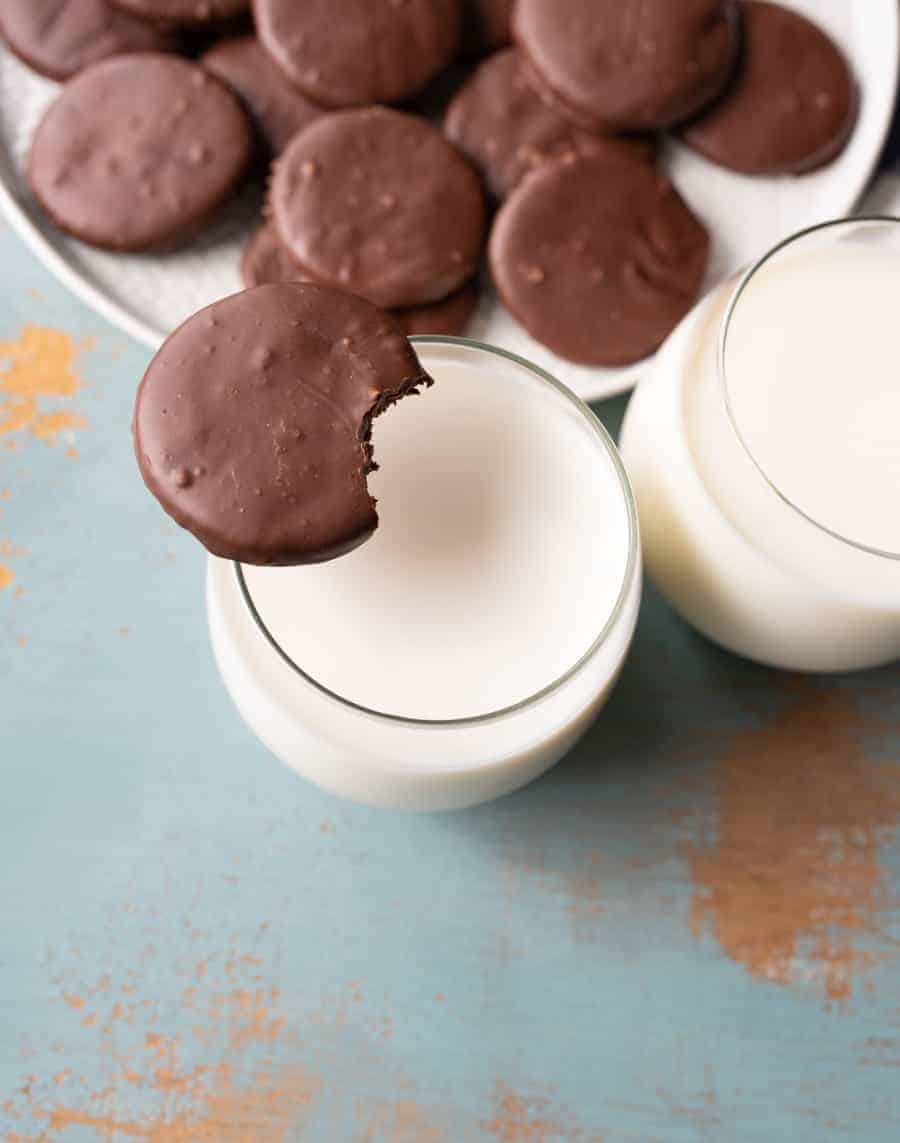
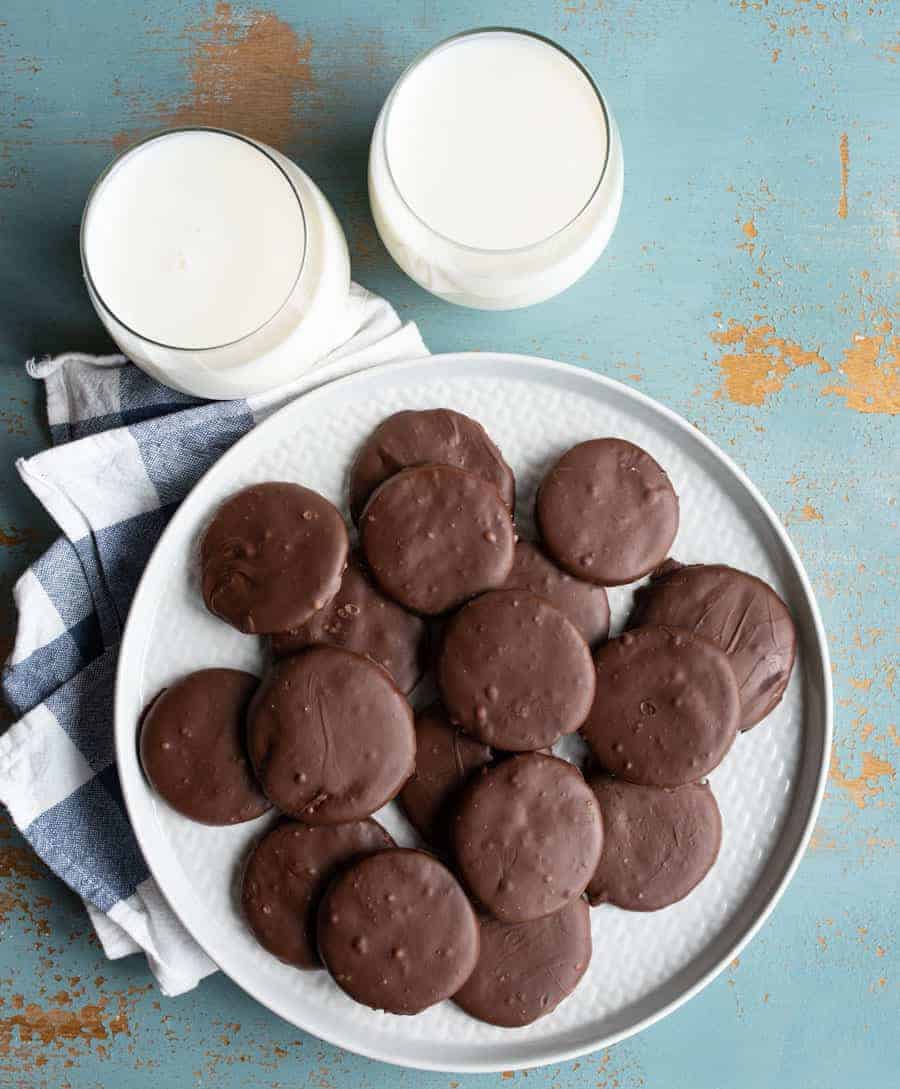
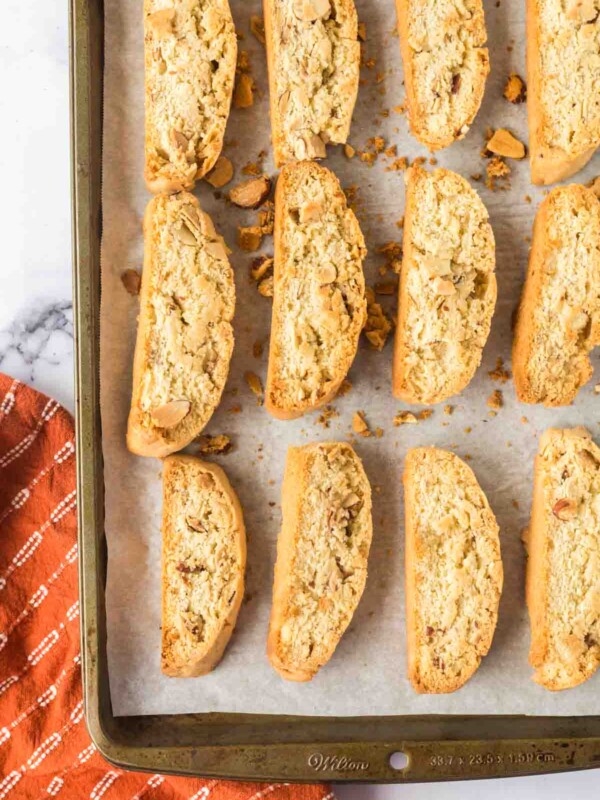
There may not be a better treat than Girl Scout Cookies, and these Homemade Thin Mints certainly don’t disappoint…and they’re available year ‘round!
When I hear the phrase “Thin Mint,” I must have one immediately! But I live in the middle of nowhere and don’t have the Girl Scout Cookie hook-up that one can only dream of and salivate over. So, I have to improvise. This recipe was born after some research and lots of delicious testing that I didn’t happen to mind one bit.
If you’re a Thin Mint lover like I am, these cookies will be your saving grace, especially if you don’t live near an active cookie-hawking group of little ladies or if it’s the wrong season to support the gals. The mint flavor marries perfectly with the chocolate, and the center of the cookie is the exact texture of the boxed version.
Table of Contents
Why You’ll Love This Recipe
- I think these are even better than the original!
- Easy and fun recipe to do with the kids
- Keeps well in the freezer for 2-3 months and make a yummy frozen treat, too
Recipe Ingredients
- Butter – Use a little less salt than called for in the recipe if using salted butter.
- Powdered sugar
- Cocoa powder – Use Dutch-processed or dark cocoa. I use Hershey’s Special Dark Cocoa.
- Vanilla extract
- Flour – Regular all-purpose flour
- Melting chocolate – Choose a good quality so it will be decadent!
- Peppermint extract – Find this in the baking aisle near the vanilla extract
See the recipe card below for full information on ingredients and quantities.
How to Make Homemade Thin Mint Cookies
- Make the cookie dough: Cream the butter with the sugar and then add the rest of the cookie dough ingredients.
- Turn the dough into cookies: Split the dough into thirds and refrigerate for a bit. Roll out and cut into round shapes.
- Bake the cookies: Bake the cookies and let them cool.
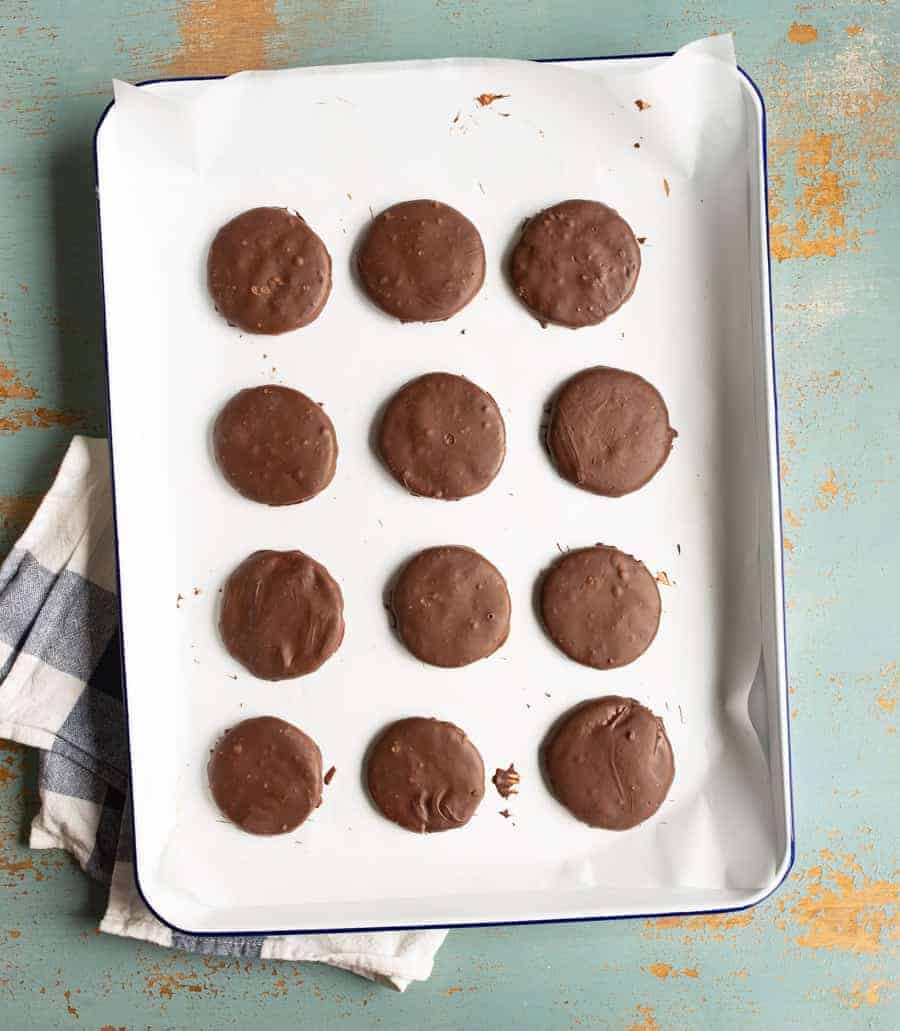
- Coat with chocolate: Melt the chocolate and coat the cookies. Refrigerate to set and enjoy!
Some people thumb their noses at Thin Mints because of the, in my personal opinion, ingenious combination of chocolate and mint. While that could seem like an unlikely pair, just like mint-chip ice cream, Thin Mints have the richness of chocolate treats with just a hint of refreshing, zesty peppermint.
These freeze very well in an airtight container or bag… if they stick around long enough! Thin Mints can keep up to 2 to 3 months in the freezer. Some people actually prefer snacking on frozen cookies as opposed to room temperature, so if you’re a fan of cold treats, give it a try!

Expert Tips
- The first time I made these cookies, I was surprised how normal-tasting they were. I wasn’t in love. The next morning, however, magic had happened. The cookie had absorbed moisture from the chocolate, and the mint flavor had time to marry with the chocolate. The texture of the cookie in the center became exactly what I was looking for! If you can, make these a day in advance, and let them sit before digging in.
- These Thin Mint cookies are a great cookie to make ahead and store in the freezer. Wrap them well in freezer bags, and they will keep for a few months. Let them defrost in the fridge or at room temperature or eat them straight out of the freezer!
- Get the best quality of ingredients you can find to elevate the taste of these cookies, especially for the pepermint extract, cocoa powder, and chocolate.
More Cookie Recipes to Consider
Cookies
Italian Wedding Cookies

Desserts
Fruit Pizza

Cookies
Banana Oatmeal Cookies
Recipes
How to Brown Butter

Homemade Girl Scout Cookies: Thin Mints
- Total Time: 55 minutes
- Yield: 4 dozen cookies 1x
Description
There may not be a better treat than Girl Scout Cookies, and these Homemade Thin Mints certainly don’t disappoint…and they’re available year ‘round!
Ingredients
- 1 1/4 cups butter, at room temperature
- 2 cups powdered sugar
- 1 cup dutch processed cocoa or dark cocoa powder (I used Hershey’s Special Dark Cocoa)
- 1/2 teaspoon salt
- 1 teaspoon vanilla
- 1 1/2 to 1 3/4 cups flour
- 1 pound good quality melting chocolate
- 3/4 to 1 teaspoon pure peppermint extract
Instructions
- In a stand mixer with a cookie paddle attached, cream the butter and sugar together on medium speed until the mixture is light and fluffy, about 2 minutes.
- Add the cocoa powder, salt, and vanilla, and mix until incorporated. Add half of the flour and mix. Add the remaining flour, 1/4 cup at a time, until you get a pretty dry dough. You don’t want the dough to be sticky at all, and it might even crumble just a little. Don’t be worried about a dry dough. We want a cookie that’s cripsy and doesn’t spread when baked!
- Divide the dough into 3 balls, and pat them together to form a disk. Cover the disks in plastic wrap and refrigerate for about 15 minutes. If it stays in the fridge longer, let it rest at room temperature for 15 minutes before rolling out. The butter makes the dough super stiff if it’s too cold.
- Preheat the oven to 350 degrees. Remove plastic from a disk and roll the dough out between 2 pieces of parchment paper or on a lightly floured surface. Roll the dough thin, 1/4-inch to 1/8-inch thick.
- Use a 2-inch circle cutter to cut out the cookies. Place on a cookie sheet and bake for 8 to 9 minutes. It’s super hard to tell when a near-black cookie is done. I baked mine for 10 minutes the first round, and they tasted burnt on the bottom, so you’ll need to adjust as you go. Repeat with the rest of the dough. Place the cookies on a wire rack to cool.
- After cookies have cooled completely, it’s time to get dippin’! Chop up the chocolate. Put it in a microwave-safe bowl, and microwave it for 1 minute. Reduce the power to half, and continue to microwave in 30-second increments, stirring after each 30 seconds. Do this until the chocolate is smooth and melted. It’s possible to scorch and ruin the chocolate in the microwave. If you are prone to this, use a double-boiler method instead. If the chocolate seems too thick, you can add a little shortening to thin it out. When the chocolate is melted, stir in the peppermint extract. I started with 1/2 teaspoon of peppermint extract and then added a few drops at a time until it was minty enough for me. You should be right around 1 teaspoon of extract.
- Drop a cookie in the melted chocolate, and make sure all of it gets covered in the chocolate. Fish the cookie out with a fork. Tap the fork on the edge of your bowl to encourage extra chocolate to drip off. Place the chocolate-coated cookie on a piece of parchment or waxed paper until set.
- Best if enjoyed after waiting 8 hours after dipping in chocolate.
Notes
- If you can, make these a day in advance, and let them sit before digging in. They taste even better after the flavors have time to set in.
- I hear they store well in the fridge and freezer like real Thin Mints, but mine didn’t last that long.
- This was a very fun recipe to do with the kids and made for a nice treat after the activity!
- My favorite time of year for these cookies is summer. Freezing them ahead and biting into one straight from the freezer on a hot summer day is true luxury!
- Prep Time: 45 min
- Cook Time: 10 min
- Category: dessert
- Method: bake
- Cuisine: American


I just downed 6 boxes of Thin MInts…..they were screaming at me no matter where I hid them….this recipe is dangerous for me to know about!!!!
I love this! We just posted our very first Kitchen Fun and Crafty Friday Link Party and we would LOVE for you to stop by and link this up! https://kitchenfunwithmy3sons.blogspot.com/2012/02/kitchen-fun-and-crafty-friday-link.html
yum!!!!!
You are amazing! I must get to the store and buy peppermint extract. Thank you!
You all are so lucky living in the States…. I haven’t had girl scout cookies since moving to Europe 30 years ago!! So many thanks for the recipe👍